Break the rules! Balance harsh sunlight with flash for fantastic photo portraits
Tame bright midday sunlight falling on your subjects by utilizing some key skills to take super sunny portraits
The best camera deals, reviews, product advice, and unmissable photography news, direct to your inbox!
You are now subscribed
Your newsletter sign-up was successful
Watch video: Balance harsh midday sun with off-camera flash
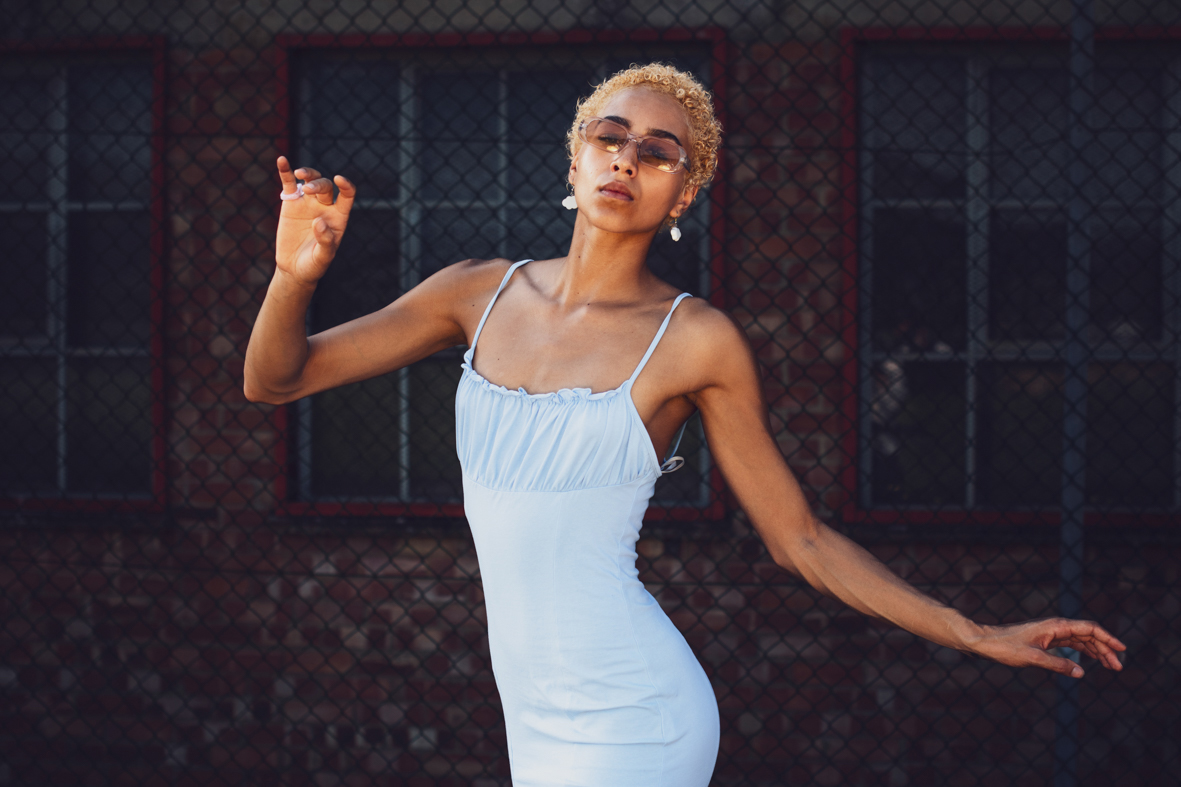
One of the golden rules for portrait photography is that you shouldn’t shoot people in direct sunlight. Without clouds to diffuse it, the light from the sun is very hard-edged. We’re likely to get strong shadows over the face, squinting subjects and greasy hot spots on the skin. As such, many photographers would put the camera away, wait for cloud cover, or come back at the magic hour. However, the sun can be a wonderful source if we know how to work the angles and manipulate the light.
Read more: Best lenses for portraits
The main challenge with direct sunlight is the strong contrast it creates in our subject. The difference between the brightest and darkest part of the subject is so great that the shadows can look impenetrably dark. We need to find a way to reduce the contrast, by lifting the shadows or reducing the highlights – or doing both.
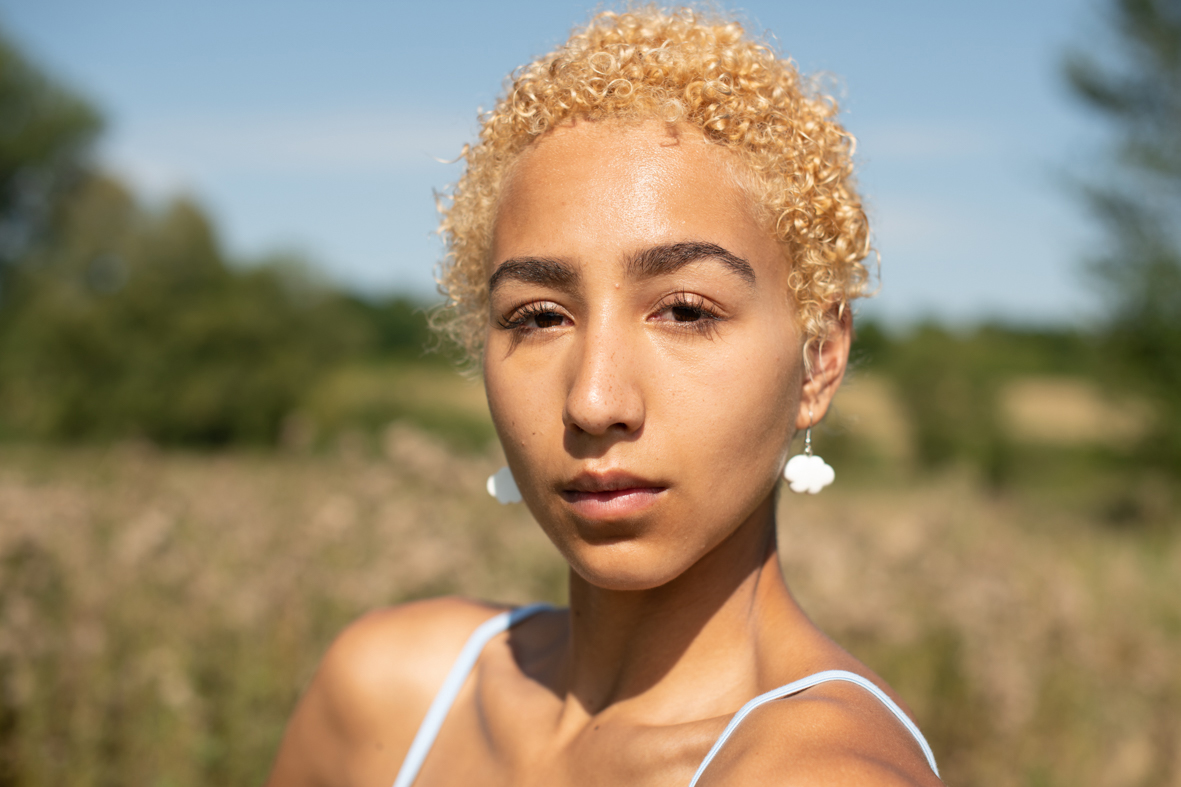
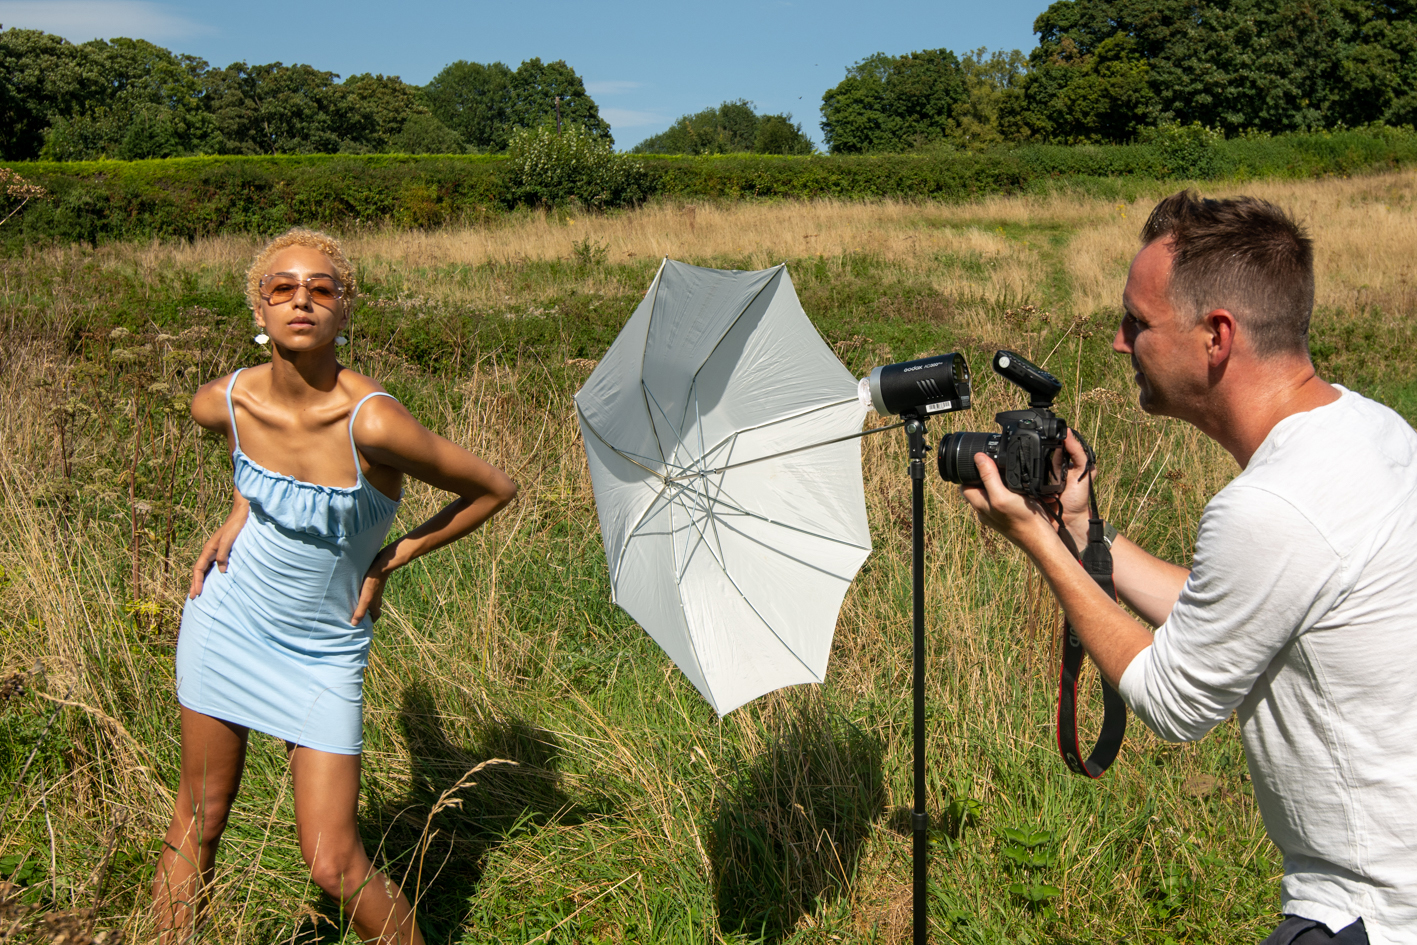
There are several ways we can achieve this. For our shots, we used an off-camera flash. In this sense we can think of the sun as a secondary light source. Our subject has her back to the sun, so it’s hitting the edges of the figure and creating bold highlights. From here, we need to lift the front side of the subject with a flash. We’ll explain how to do this, and explore a few more options for sunlit portraits in this article…
01 Embrace the sunlight
Why not embrace the hard light look? Ask your subject to turn their face to the sun and lift the chin, so that the eye sockets are not in shade. Look for butterfly lighting under the nose (where the shadow cast by the nose forms a butterfly shape).
02 Use fill flash
We can use a flash to gently fill the shadows on a sunny day. Our flash should be close to the same angle as the camera. A hotshoe-mounted Speedlite can also work well. Try using the flash in ETTL mode and Spot metering to set the exposure off the face.
The best camera deals, reviews, product advice, and unmissable photography news, direct to your inbox!
03 Look for natural bounce
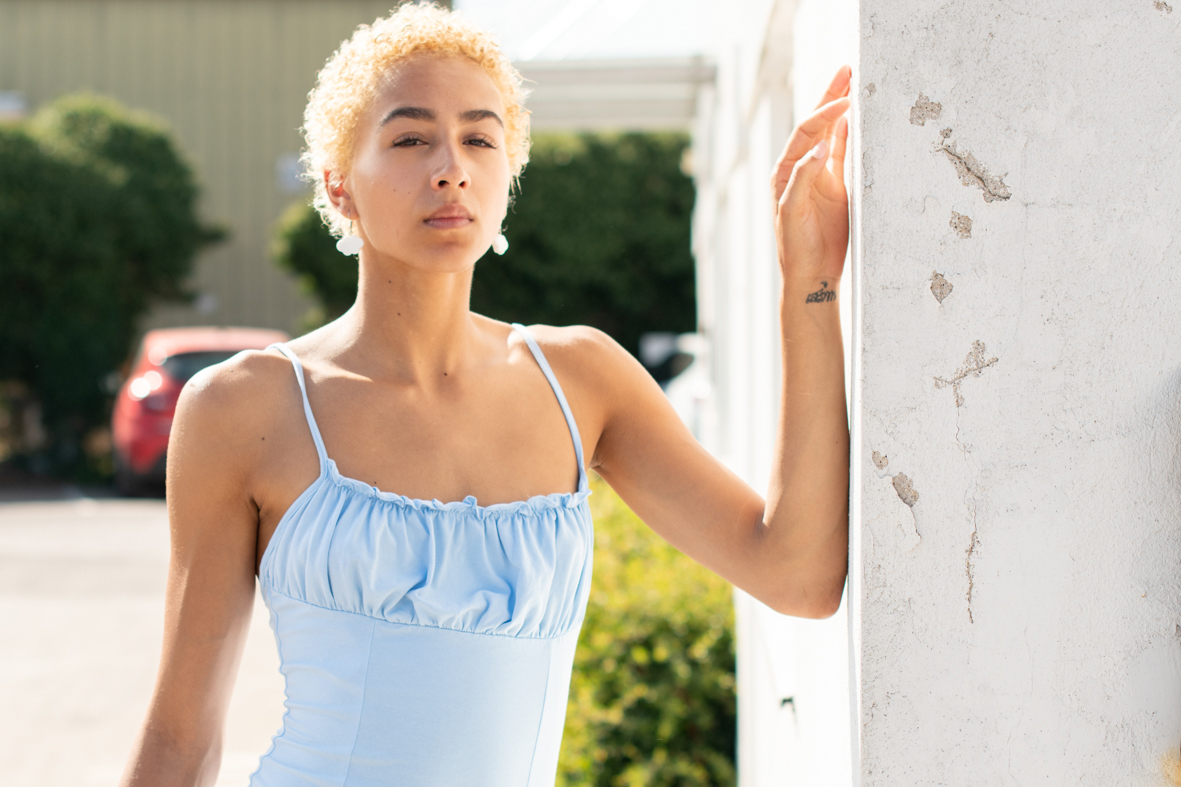
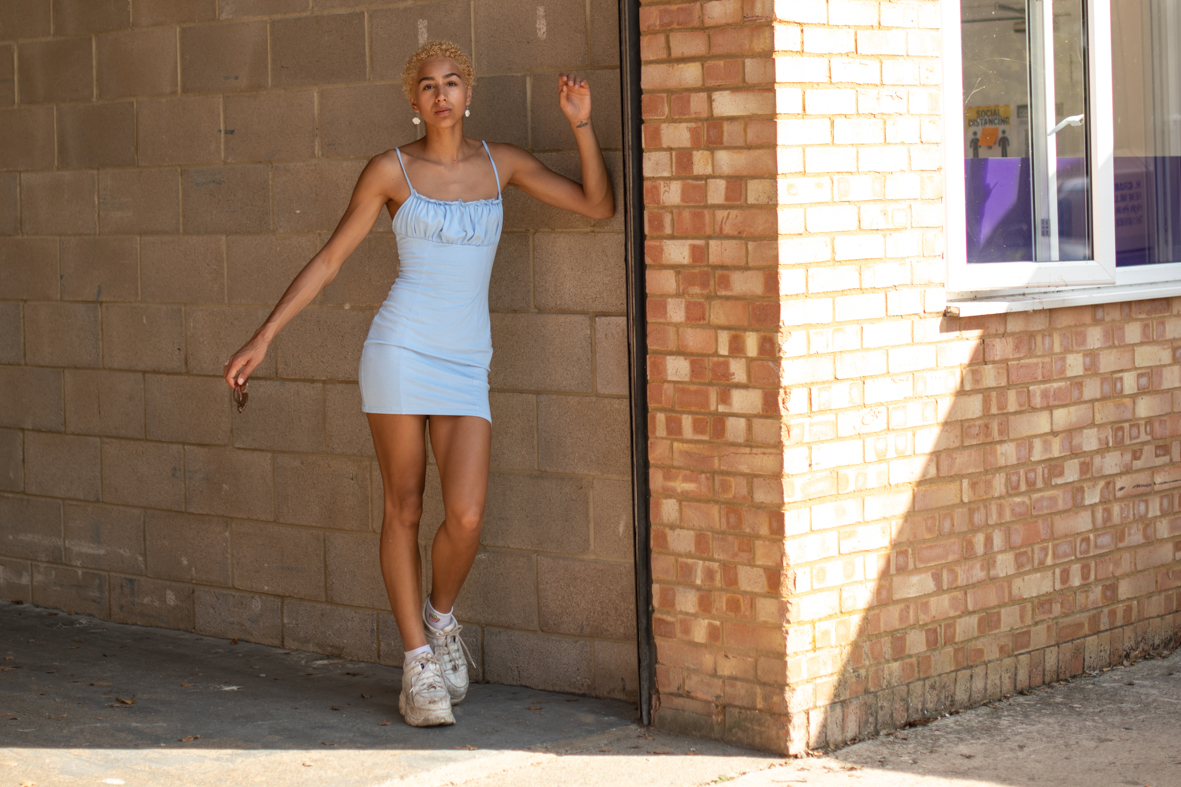
Look for sunlight bouncing off bright surfaces, like white walls. Bring the subject’s face in close to the surface, and it’ll act like a secondary light source to fill in the shadows. You could also use a white reflector for similar results.
04 Use a scrim
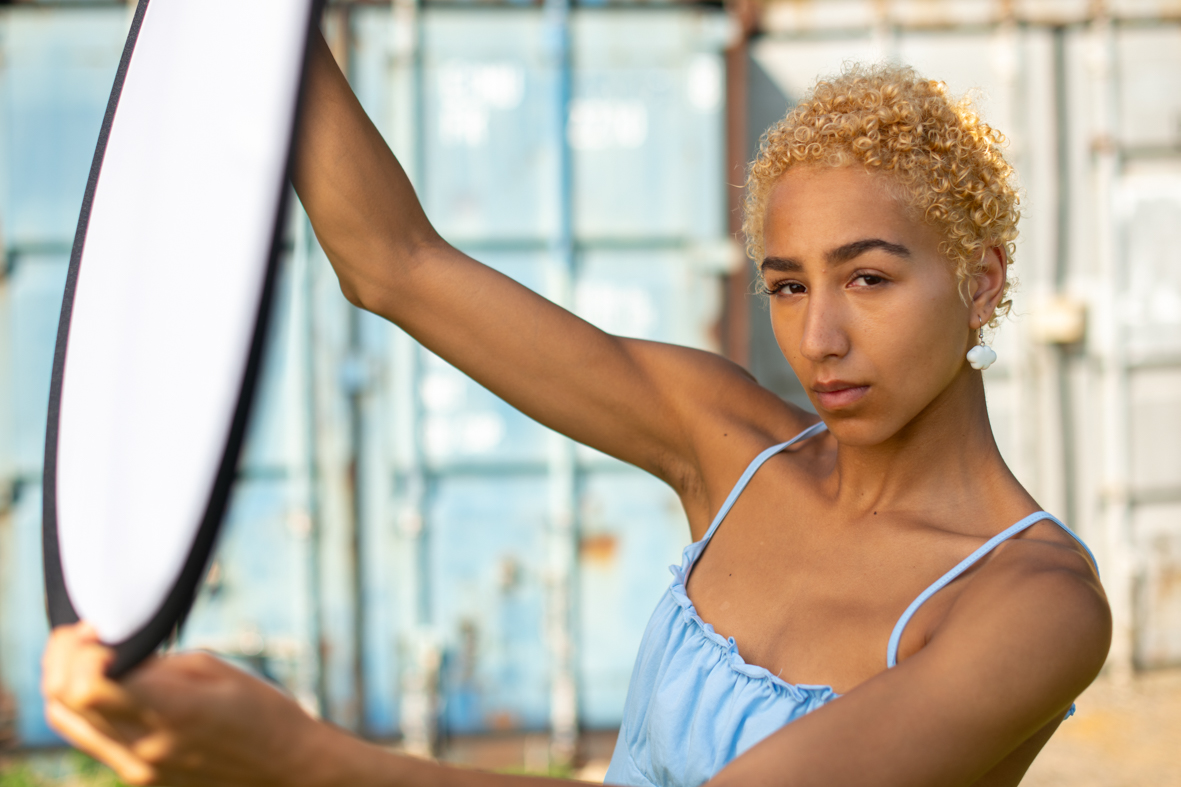
A scrim can be any semi-translucent material that we use to partially block the sunlight, like tracing paper, a shoot-through umbrella, or the diffusion panel from a 5-in-1 reflector like this here. Position the scrim between subject and sun to diffuse the light.
05 Make a spot light
A reflector is mostly used to lift the shadows under the chin, or as a subtle fill light source, but it can also give you a spot light effect. Ask your subject to stand in the shade, then bounce a beam of sunlight onto them with the shiny gold or silver side of a reflector.
06 Look for open shade
There’s different kinds of shade. The best for portraits is usually open shade, in spots under high trees or in doorways. We’re looking for areas out of direct sunlight, to avoid top lighting, but with plenty of bright, reflected light to gently fill the shadows for balanced light.
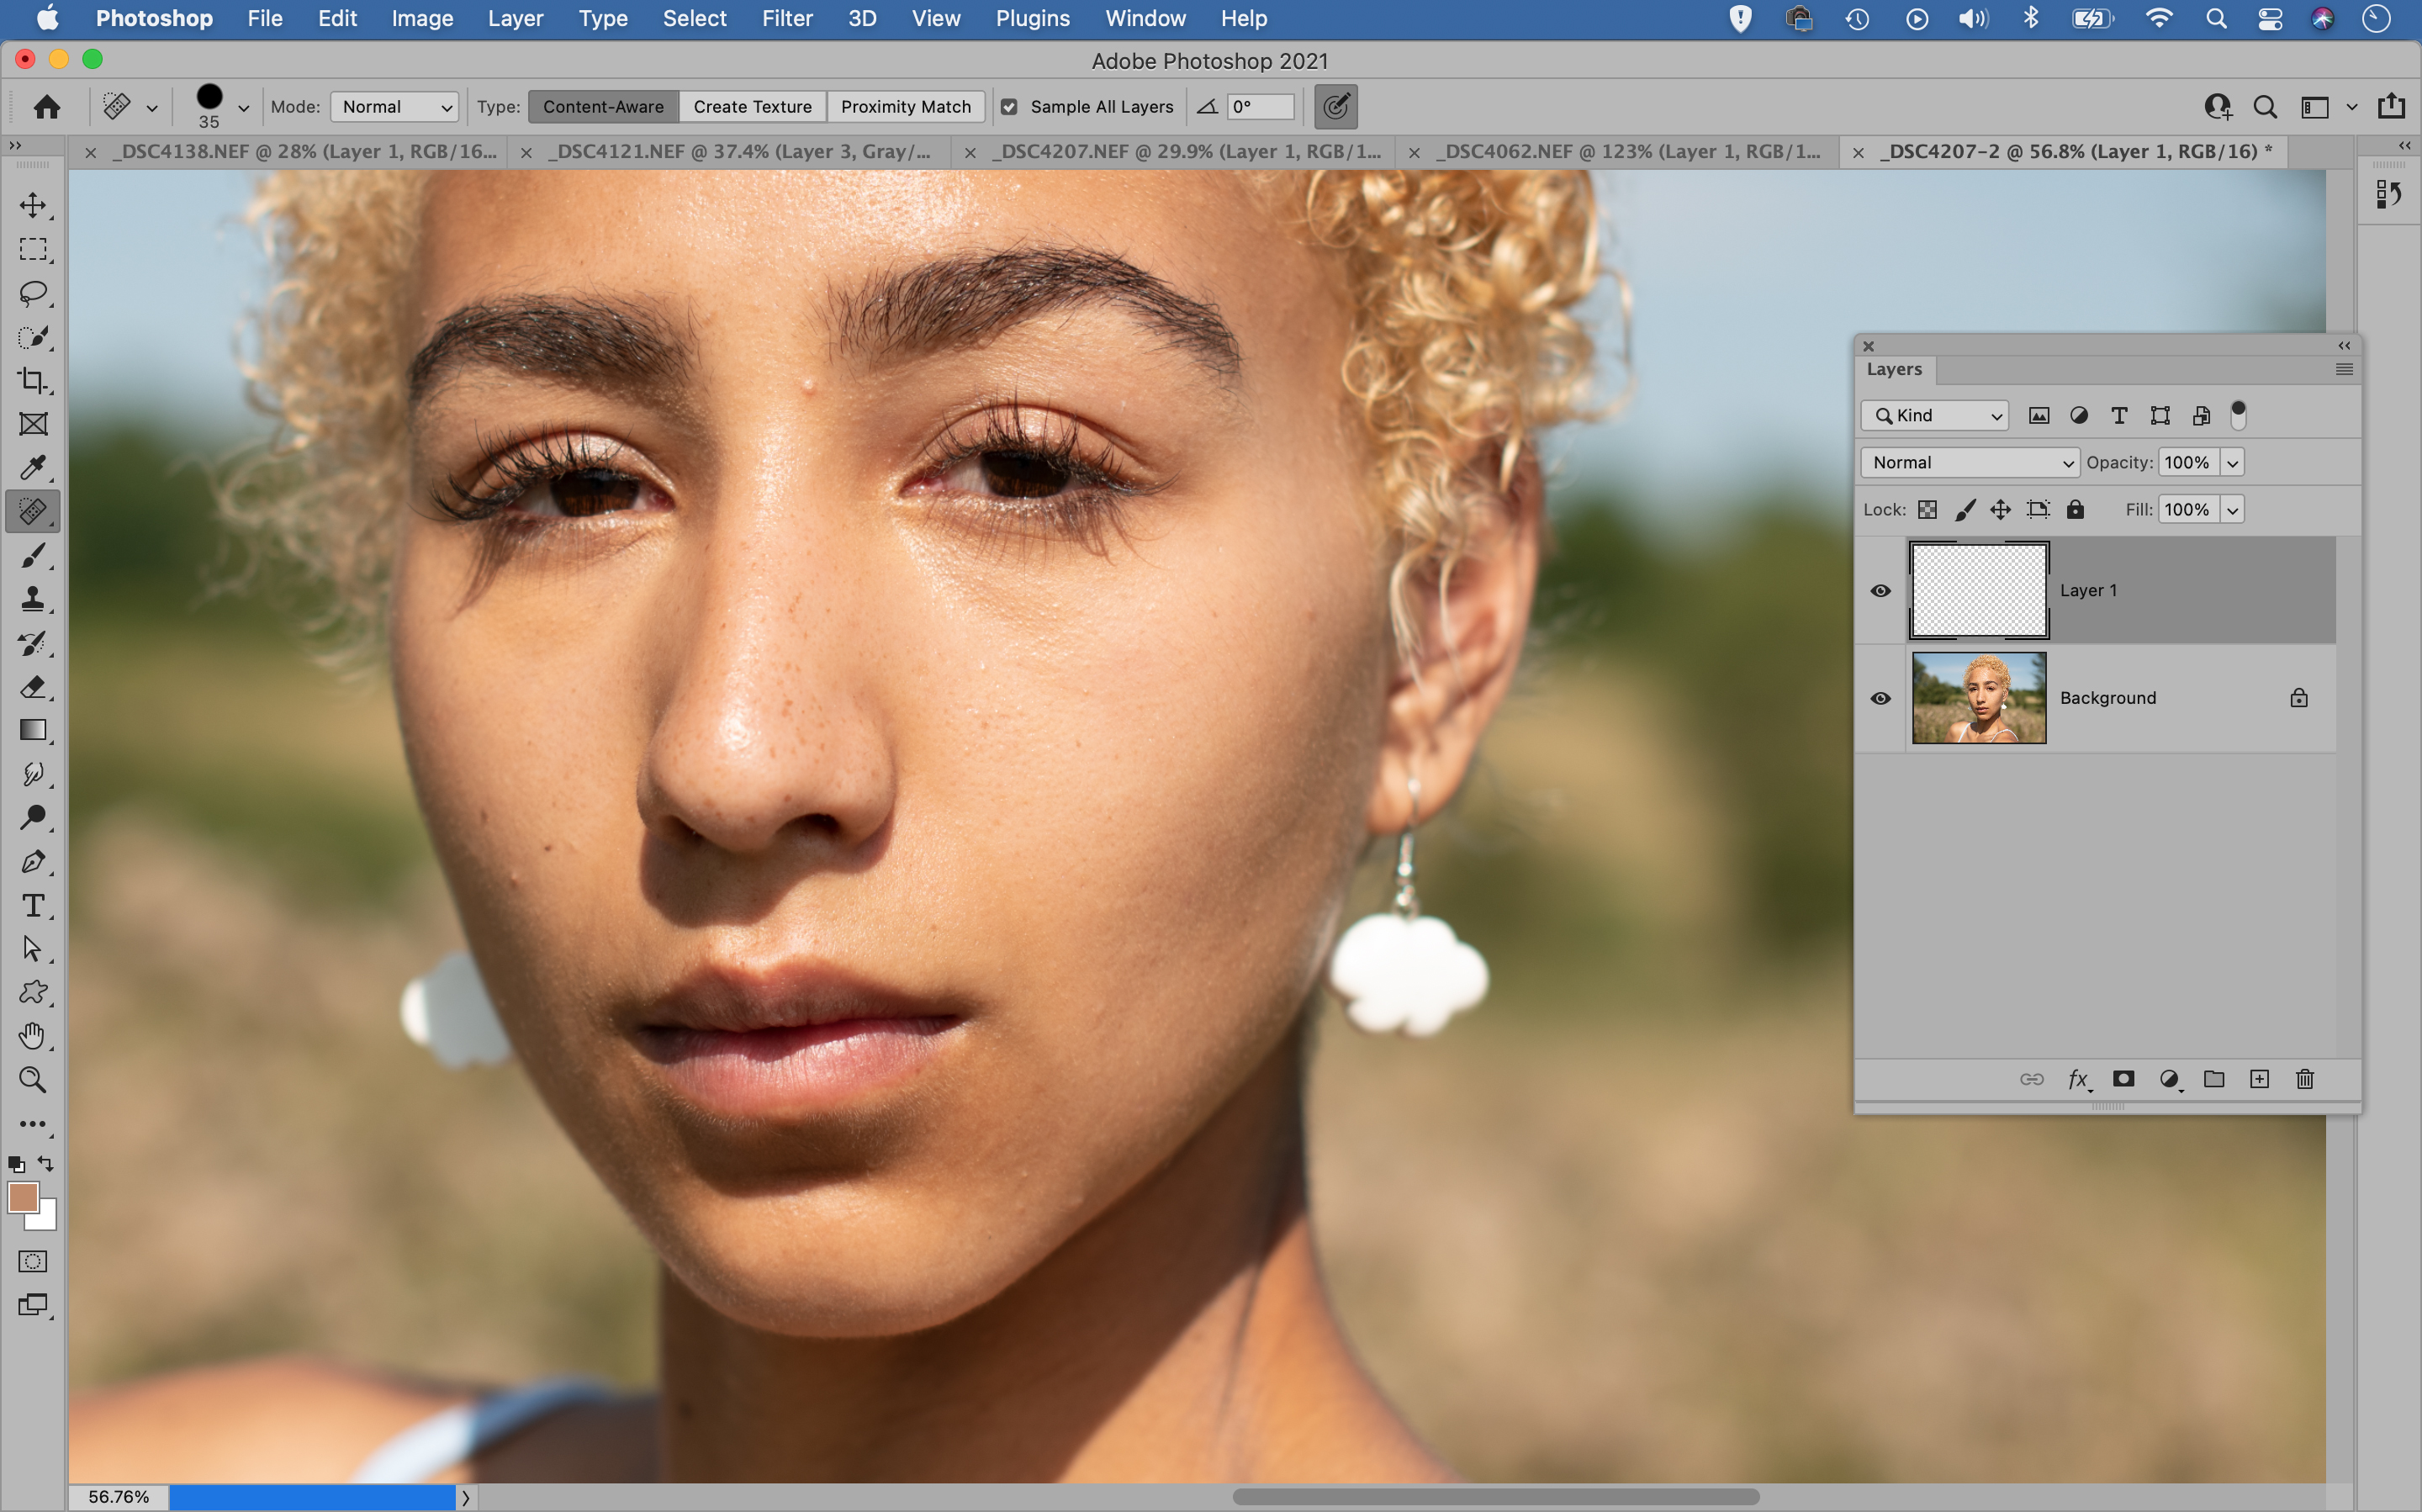
07 Retouch the skin
Hard sunlight portraits tend to require more retouching, because the hard light more clearly shows pimples and rough patches of skin. To fix this, open in them Photoshop and make a new layer then grab the Spot Healing Brush tool, set it to ‘Sample All Layers’ then paint to remove small any small imperfections.
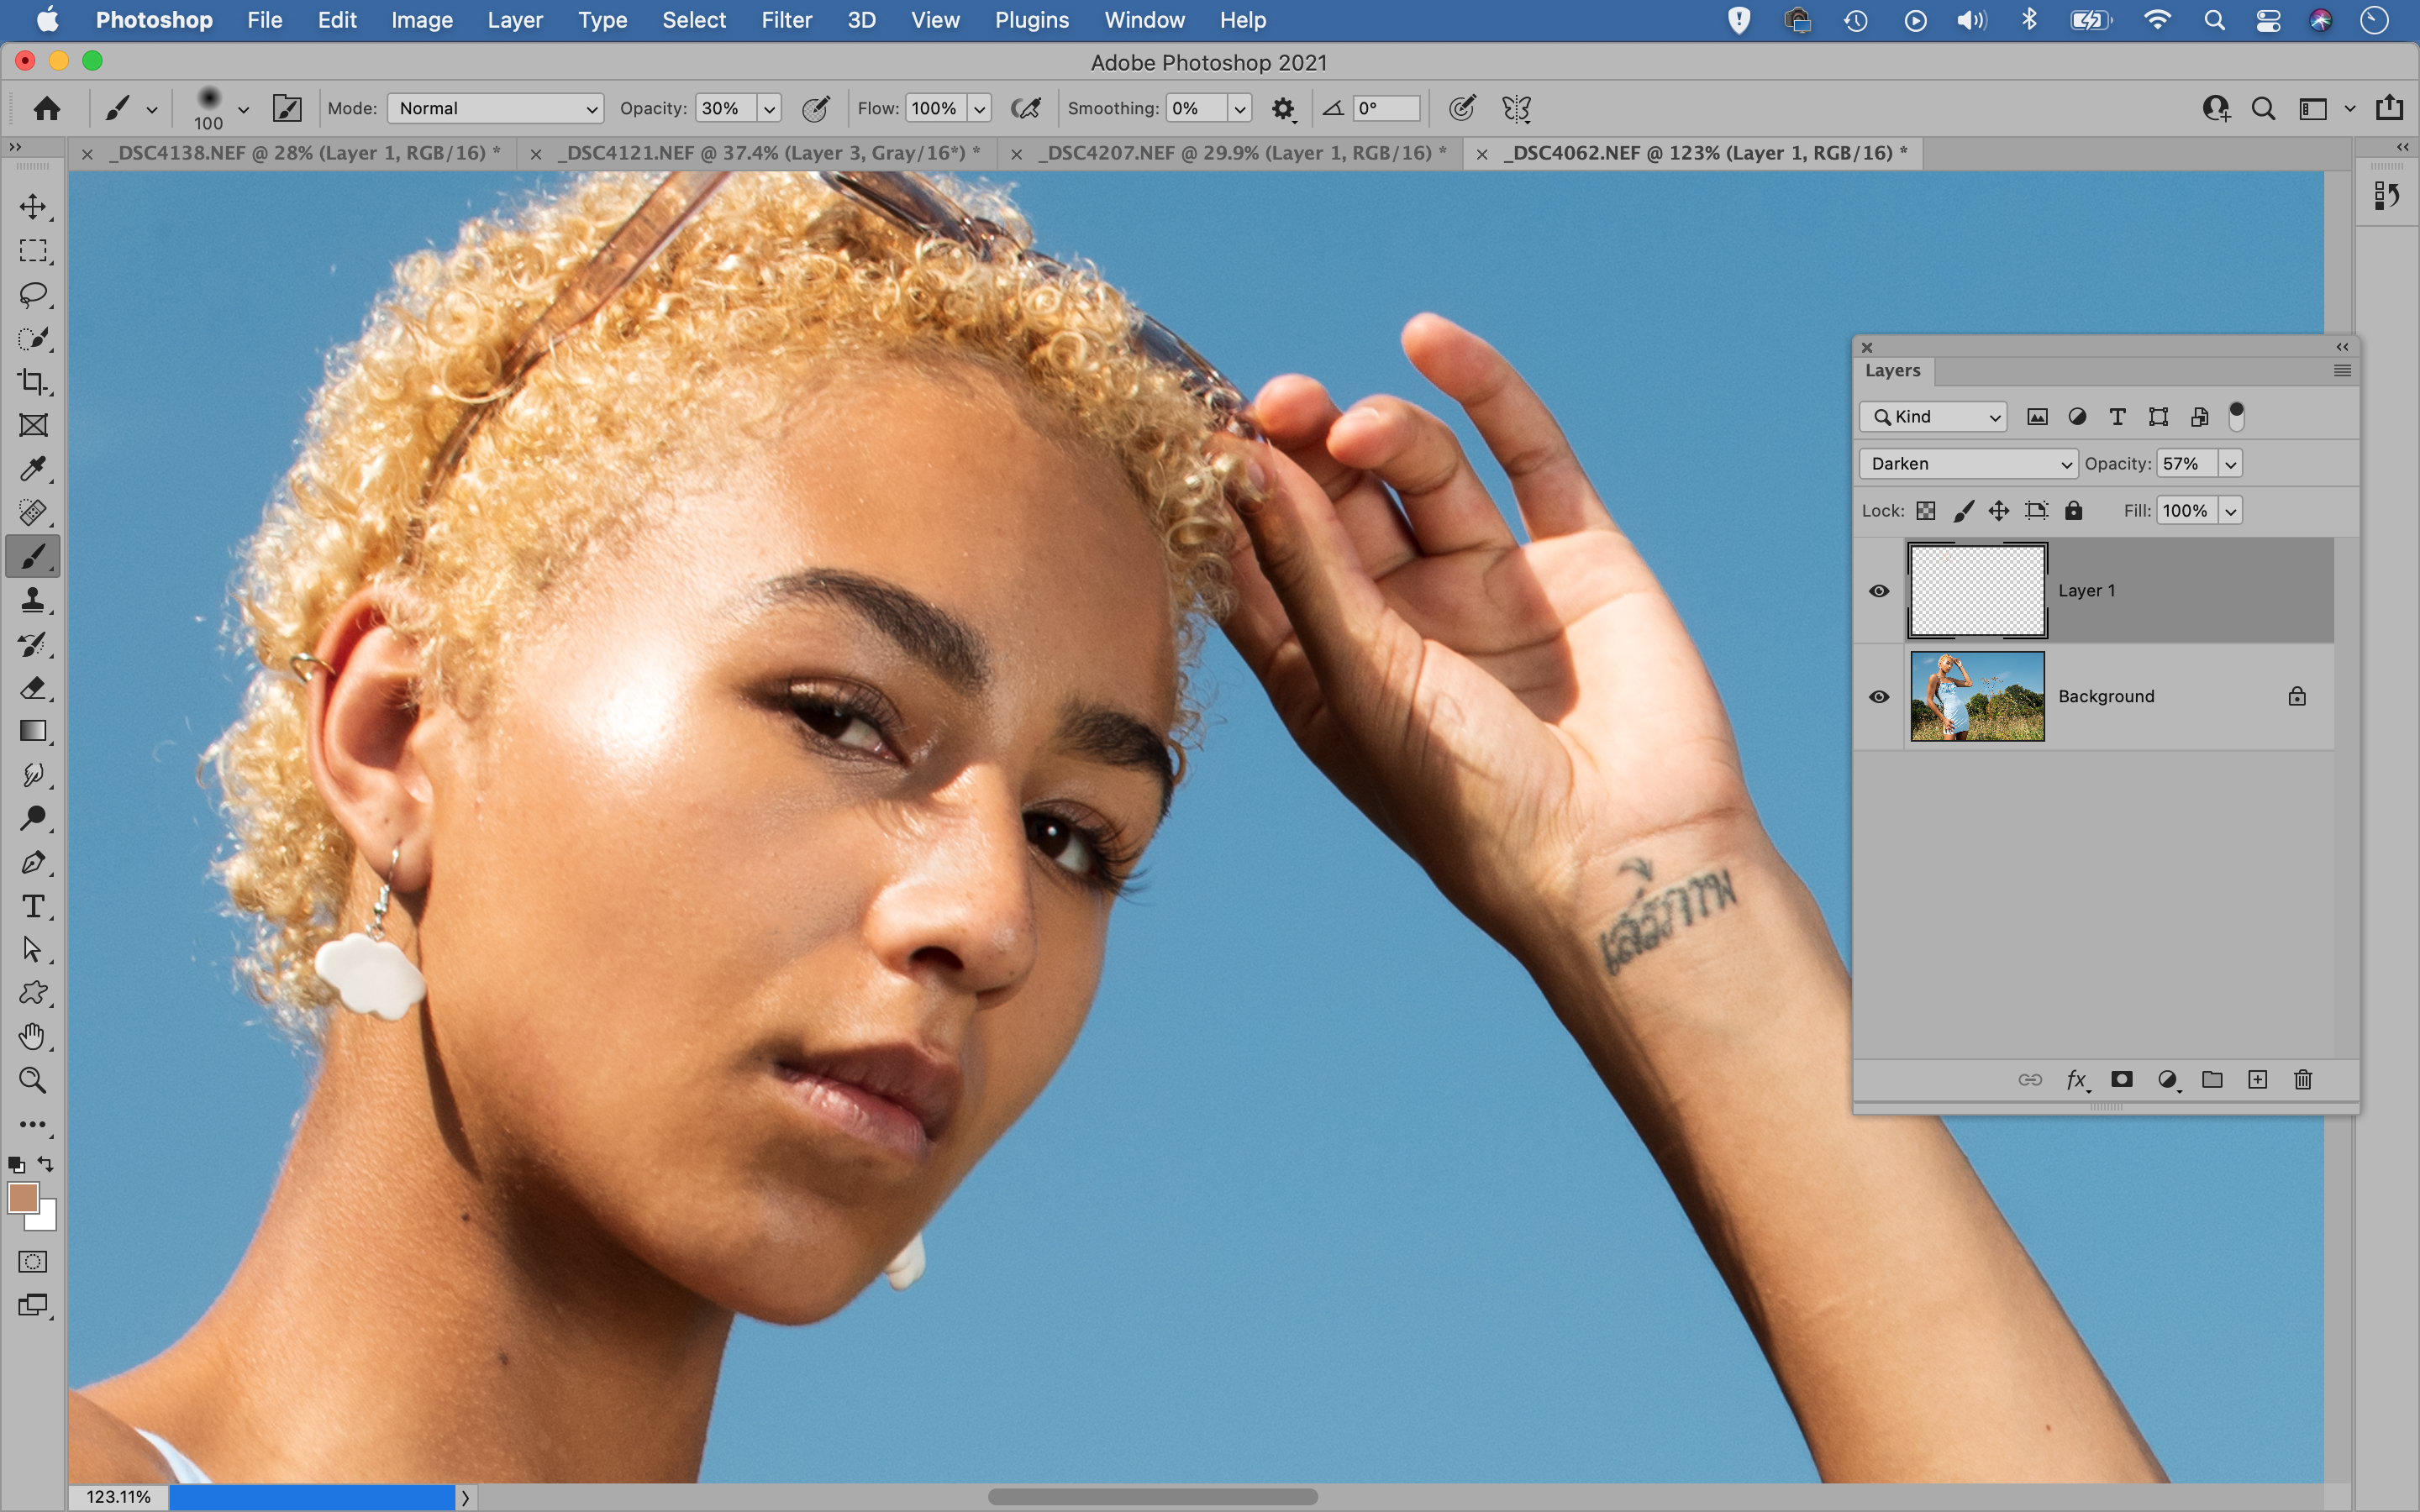
08 Reduce hot spots
Direct sunlight can create oily-looking hot spots on skin. Make a new layer, then grab the Brush tool, hold Alt and sample a nearby skin colour. Hit 3 for 30% brush opacity, then paint over the hot spot. Try reducing the layer opacity a bit, set the blend mode to Darken and add a touch of noise with Filter>Noise>Add Noise.
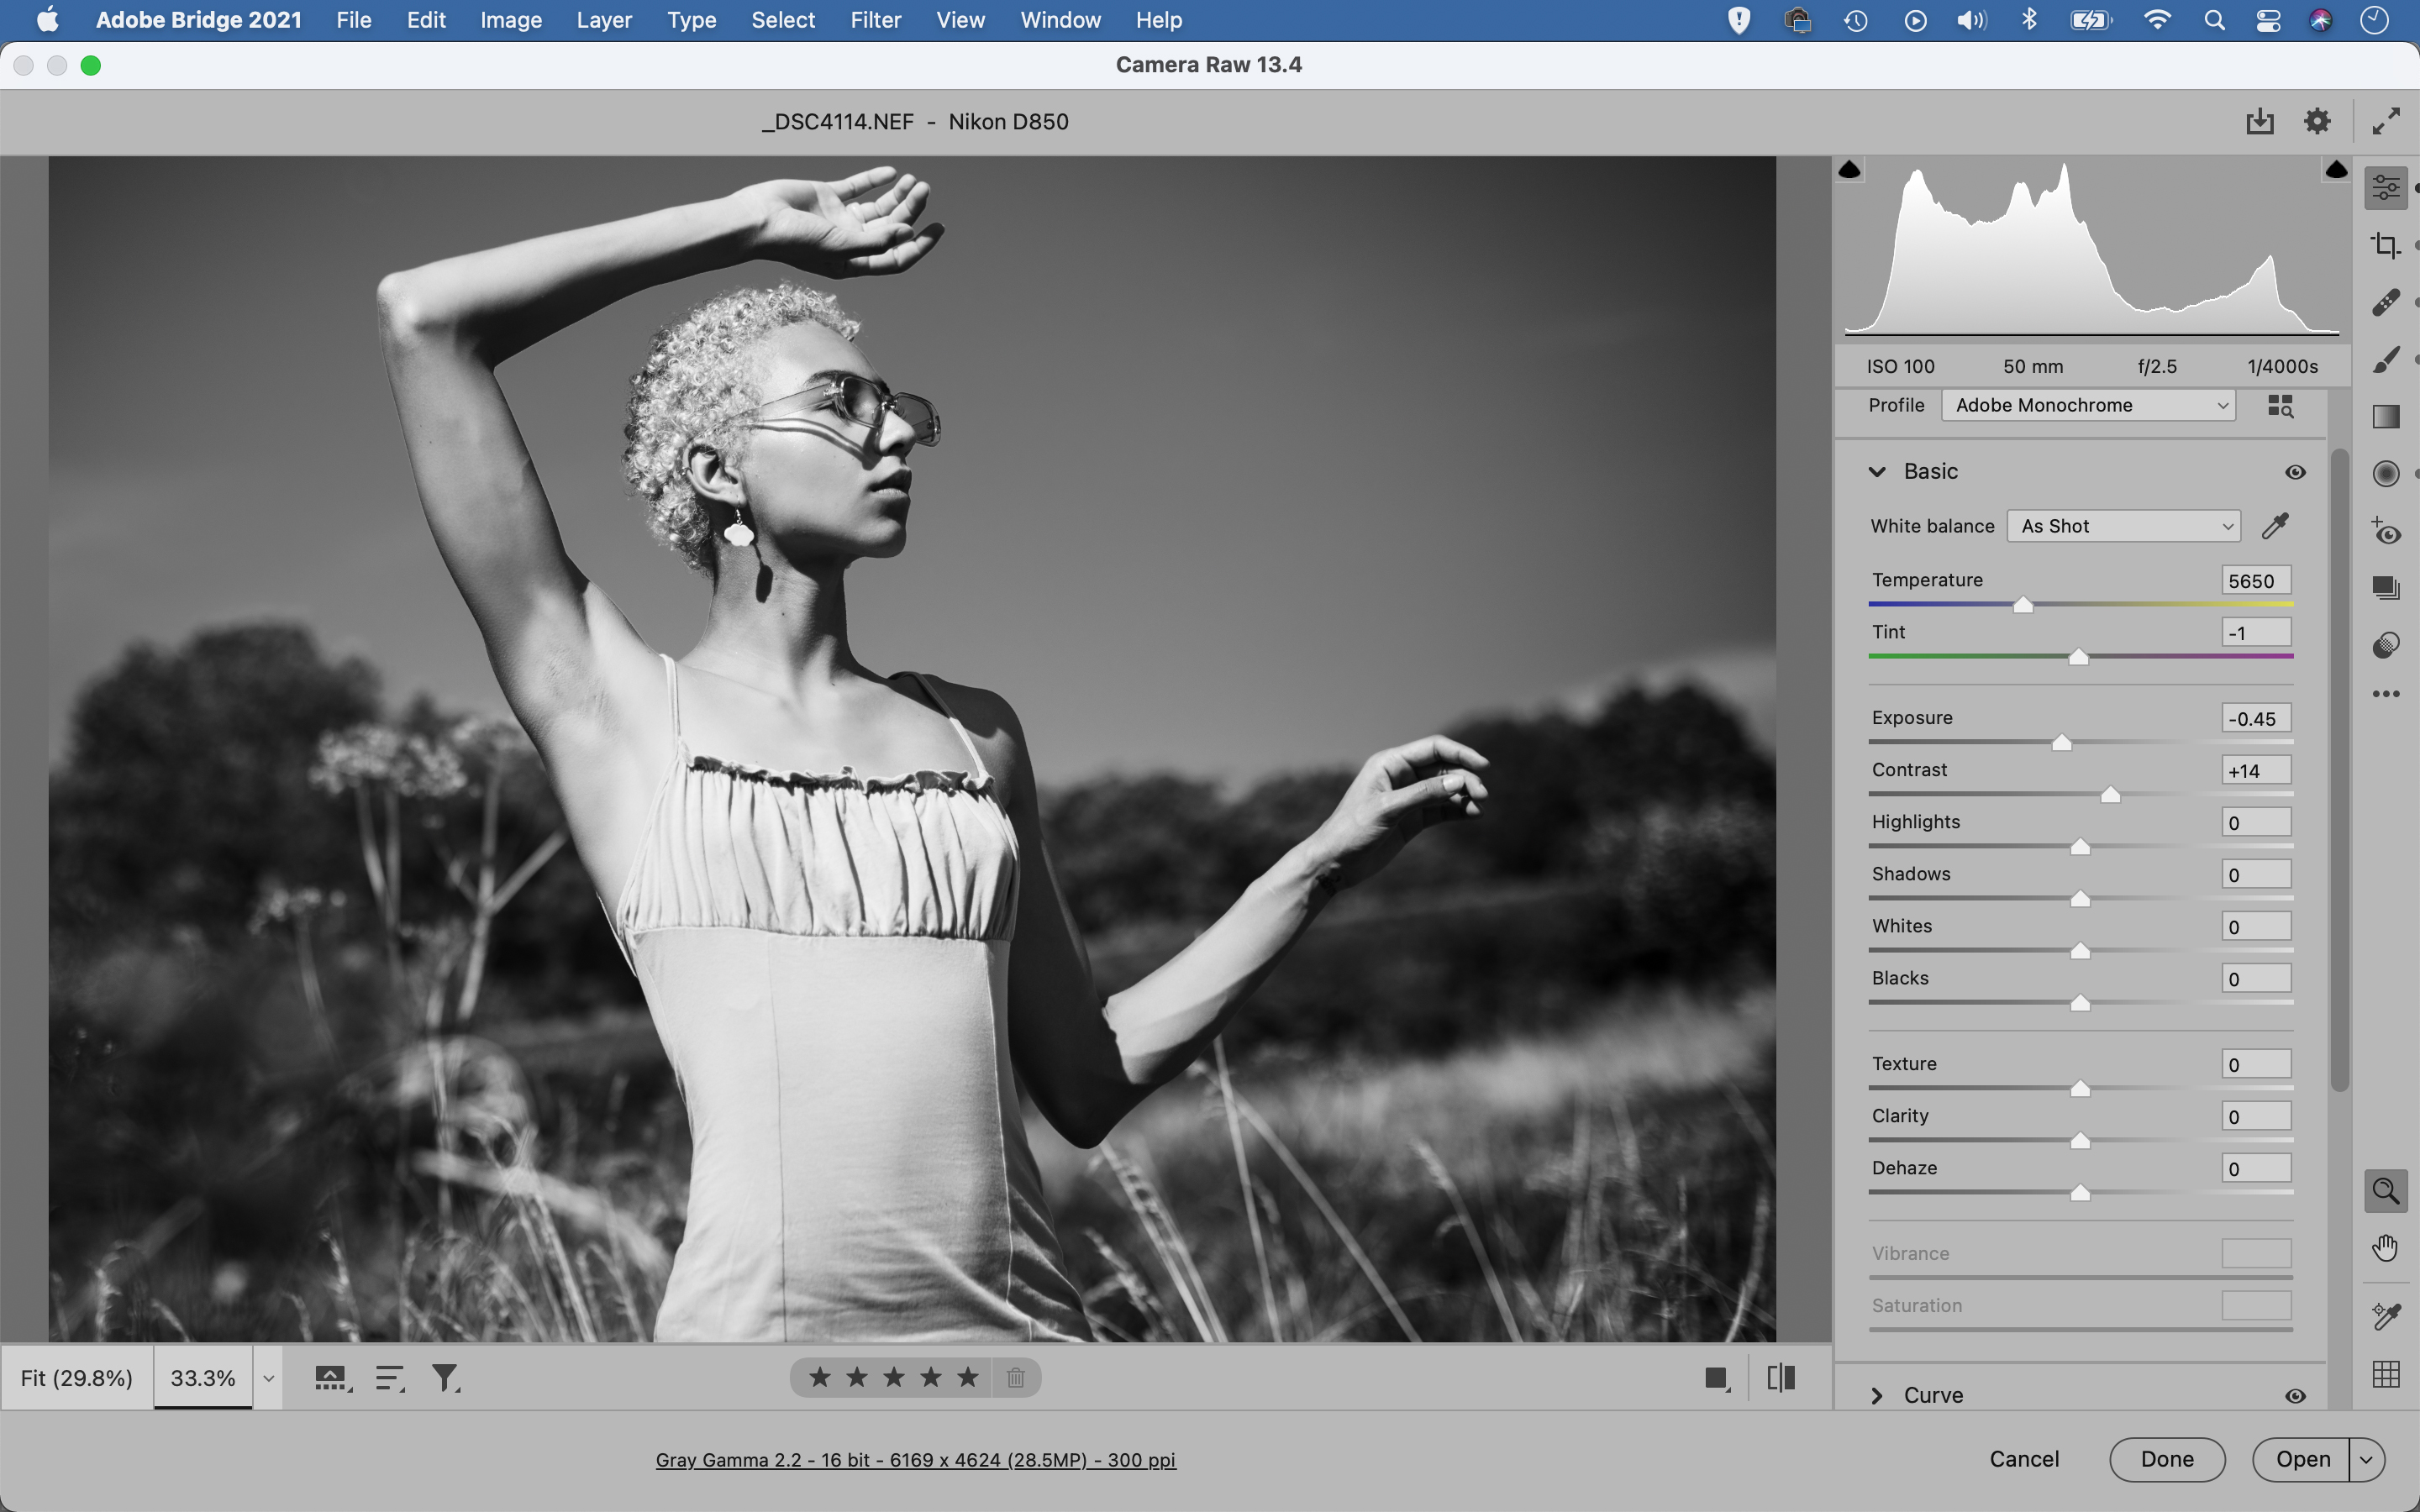
09 Try a mono conversion
Portraits in sunny conditions tend to work really well in black and white, as there’s usually plenty of bold contrast and texture, features that both lend themselves well to a monochromatic look. Convert to mono in Camera Raw, or Lightroom, using the B&W Mixer panel, then try darkening the blues for a bolder sky.
PhotoPlus: The Canon Magazine is the world's only monthly newsstand title that's 100% devoted to Canon, so you can be sure the magazine is completely relevant to your system.
Read more:
Best cameras for portraits
Best portrait photography tips
The best photo editing software: image editors for novices through to pros
The best photo-editing laptops: top laptops for photographers
10 best online photography courses – from beginner guides to masterclasses
The lead technique writer on Digital Camera Magazine, PhotoPlus: The Canon Magazine and N-Photo: The Nikon Magazine, James is a fantastic general practice photographer with an enviable array of skills across every genre of photography.
Whether it's flash photography techniques like stroboscopic portraits, astrophotography projects like photographing the Northern Lights, or turning sound into art by making paint dance on a set of speakers, James' tutorials and projects are as creative as they are enjoyable.
He's also a wizard at the dark arts of Photoshop, Lightroom and Affinity Photo, and is capable of some genuine black magic in the digital darkroom, making him one of the leading authorities on photo editing software and techniques.
