The best camera deals, reviews, product advice, and unmissable photography news, direct to your inbox!
You are now subscribed
Your newsletter sign-up was successful
Portrait photography requires a plethora of knowledge, from having good people skills to solid camera knowhow and understanding how lighting works.
This only becomes more complicated when you start bringing studio lights, radio triggers, flash and modifiers into the picture.
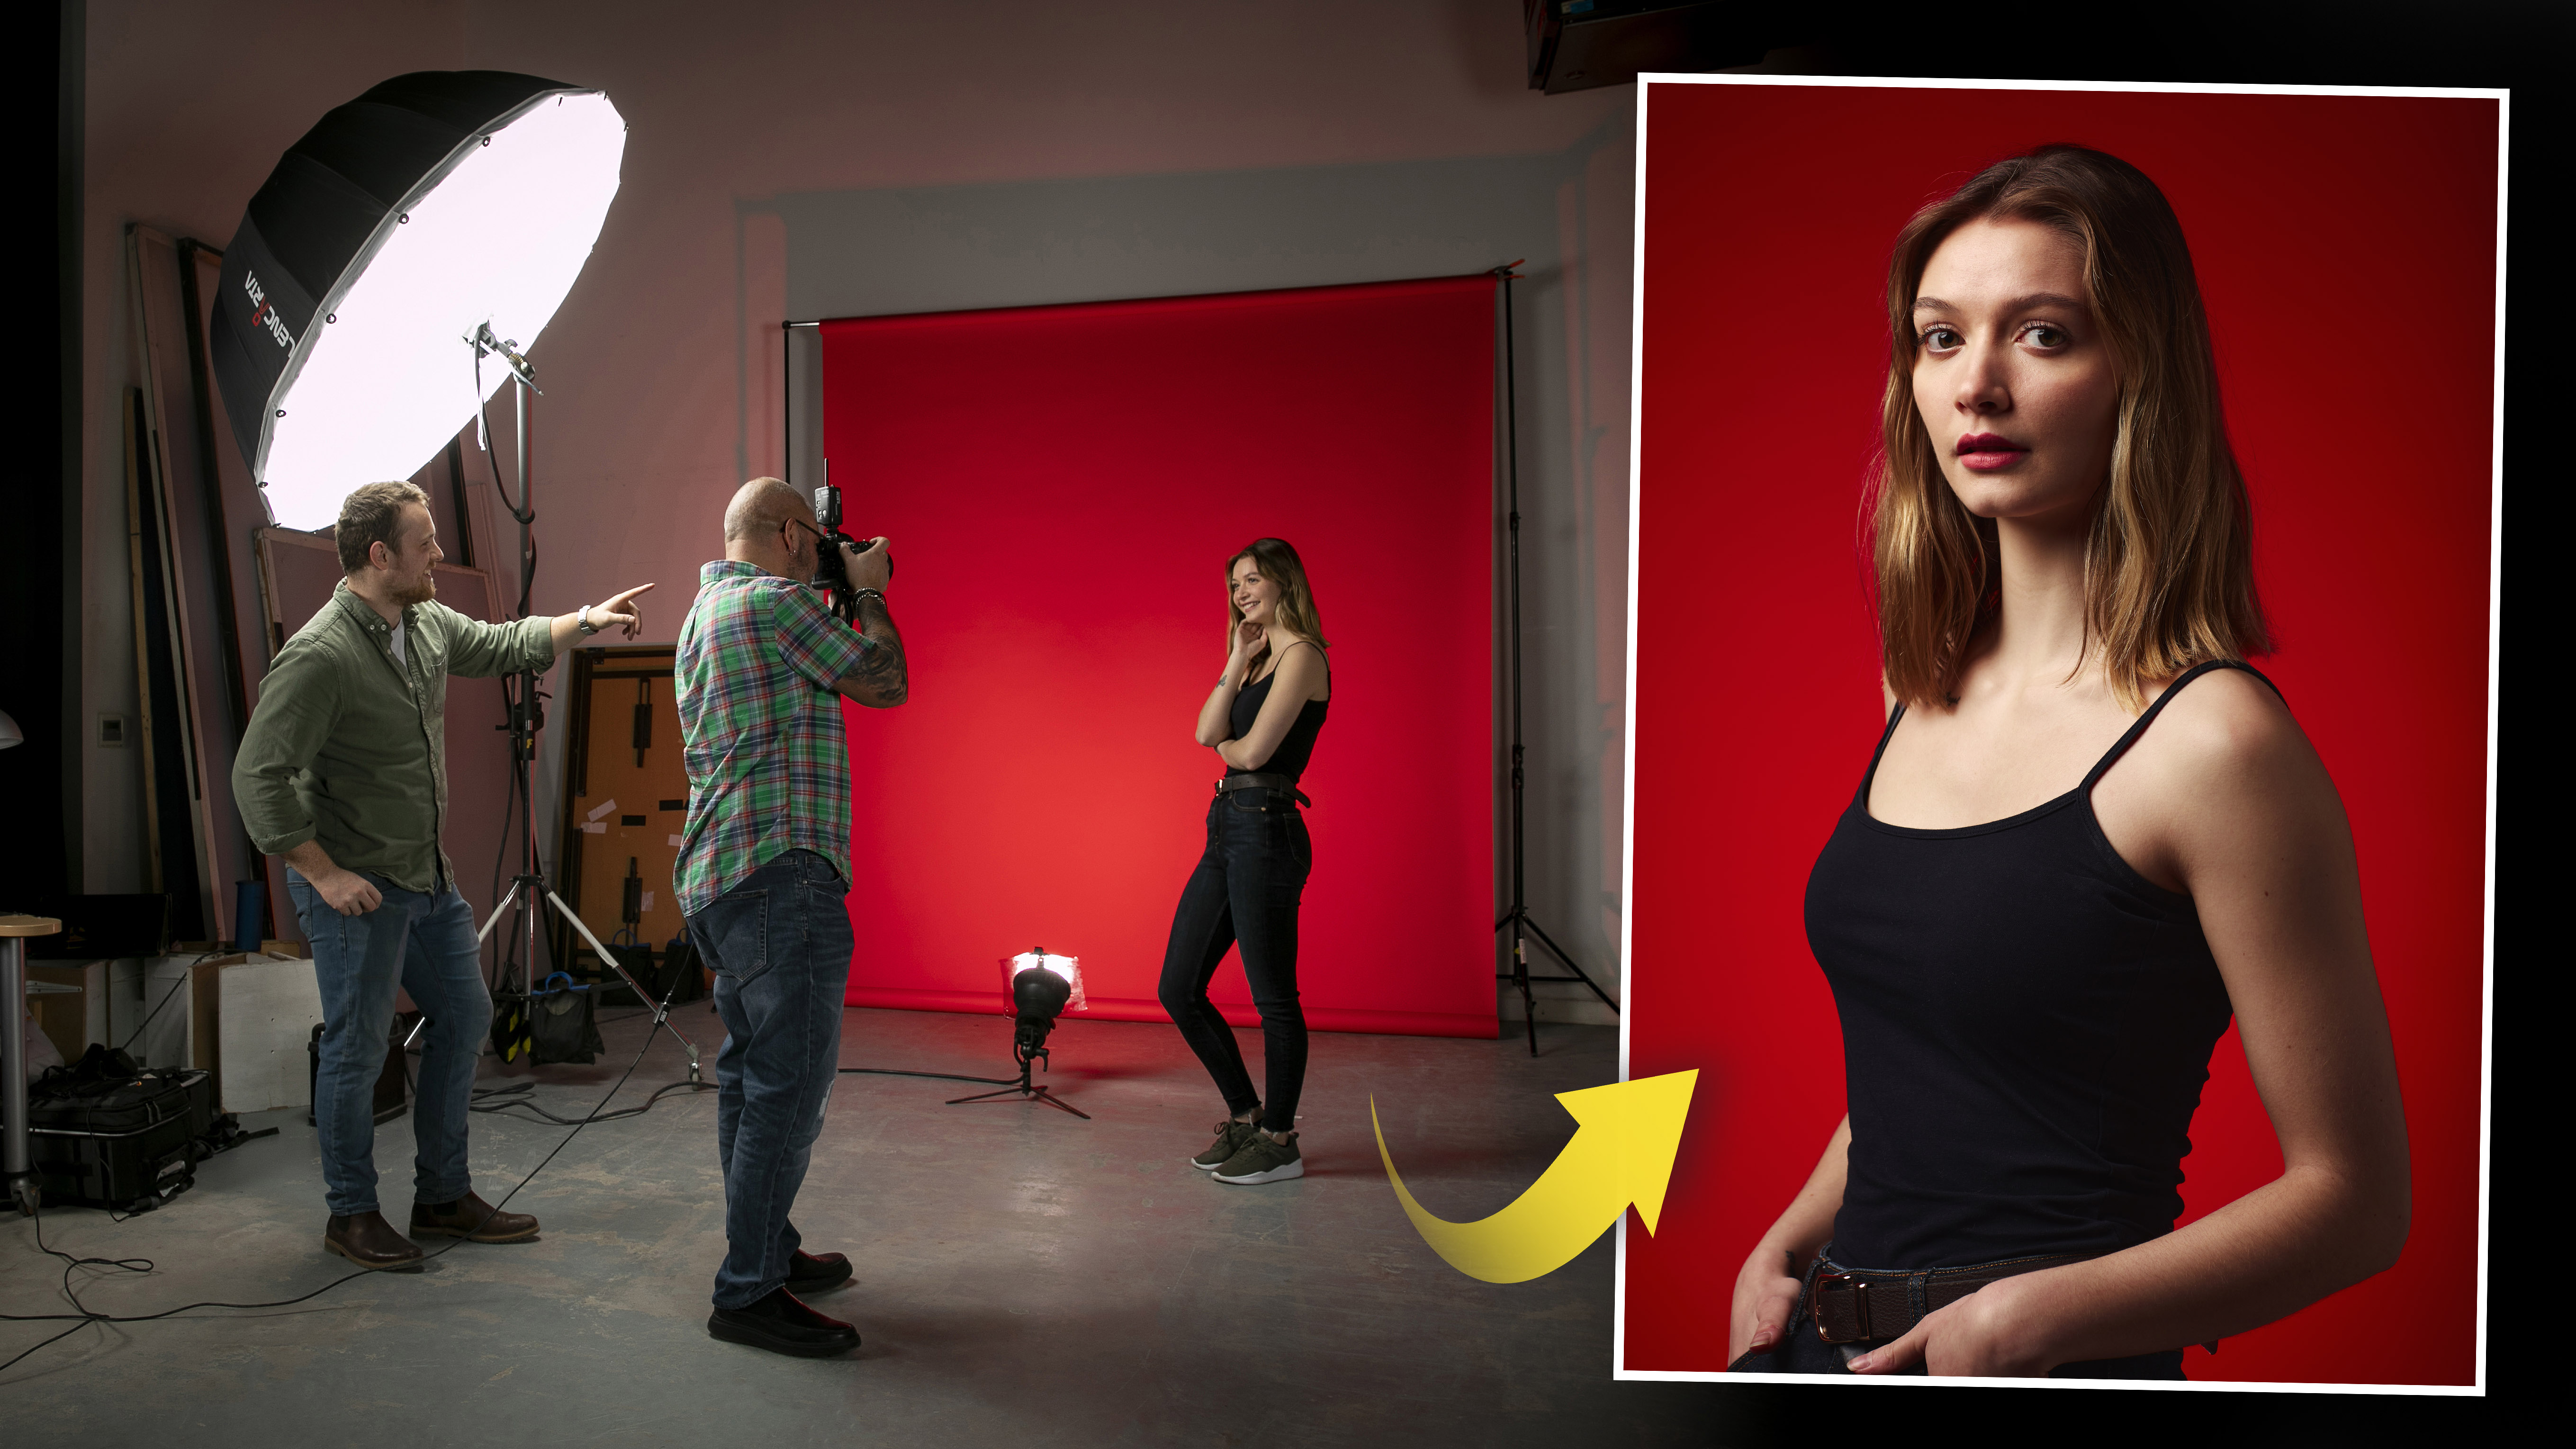
It can seem like a minefield and can be difficult to know where to start, so that's why this month we teamed up reader of PhotoPlus: The Canon Magazine, Michael Brown, for a masterclass in studio portraiture photography with portrait pro Phil Barker.
• These are the best lenses for portrait photography
Phil, originally from Yorkshire in England, is a Bath-based professional photographer who began as an assistant photographer when he was just 13 years old! Phil studied photography at the University of Derby, and has been working at Future as a studio and location photographer for the last four years.
He specializes in portrait and product photography. To see his stunning portfolio visit his website, and check out his top 10 tips for studio portraits…
01 Manual mode
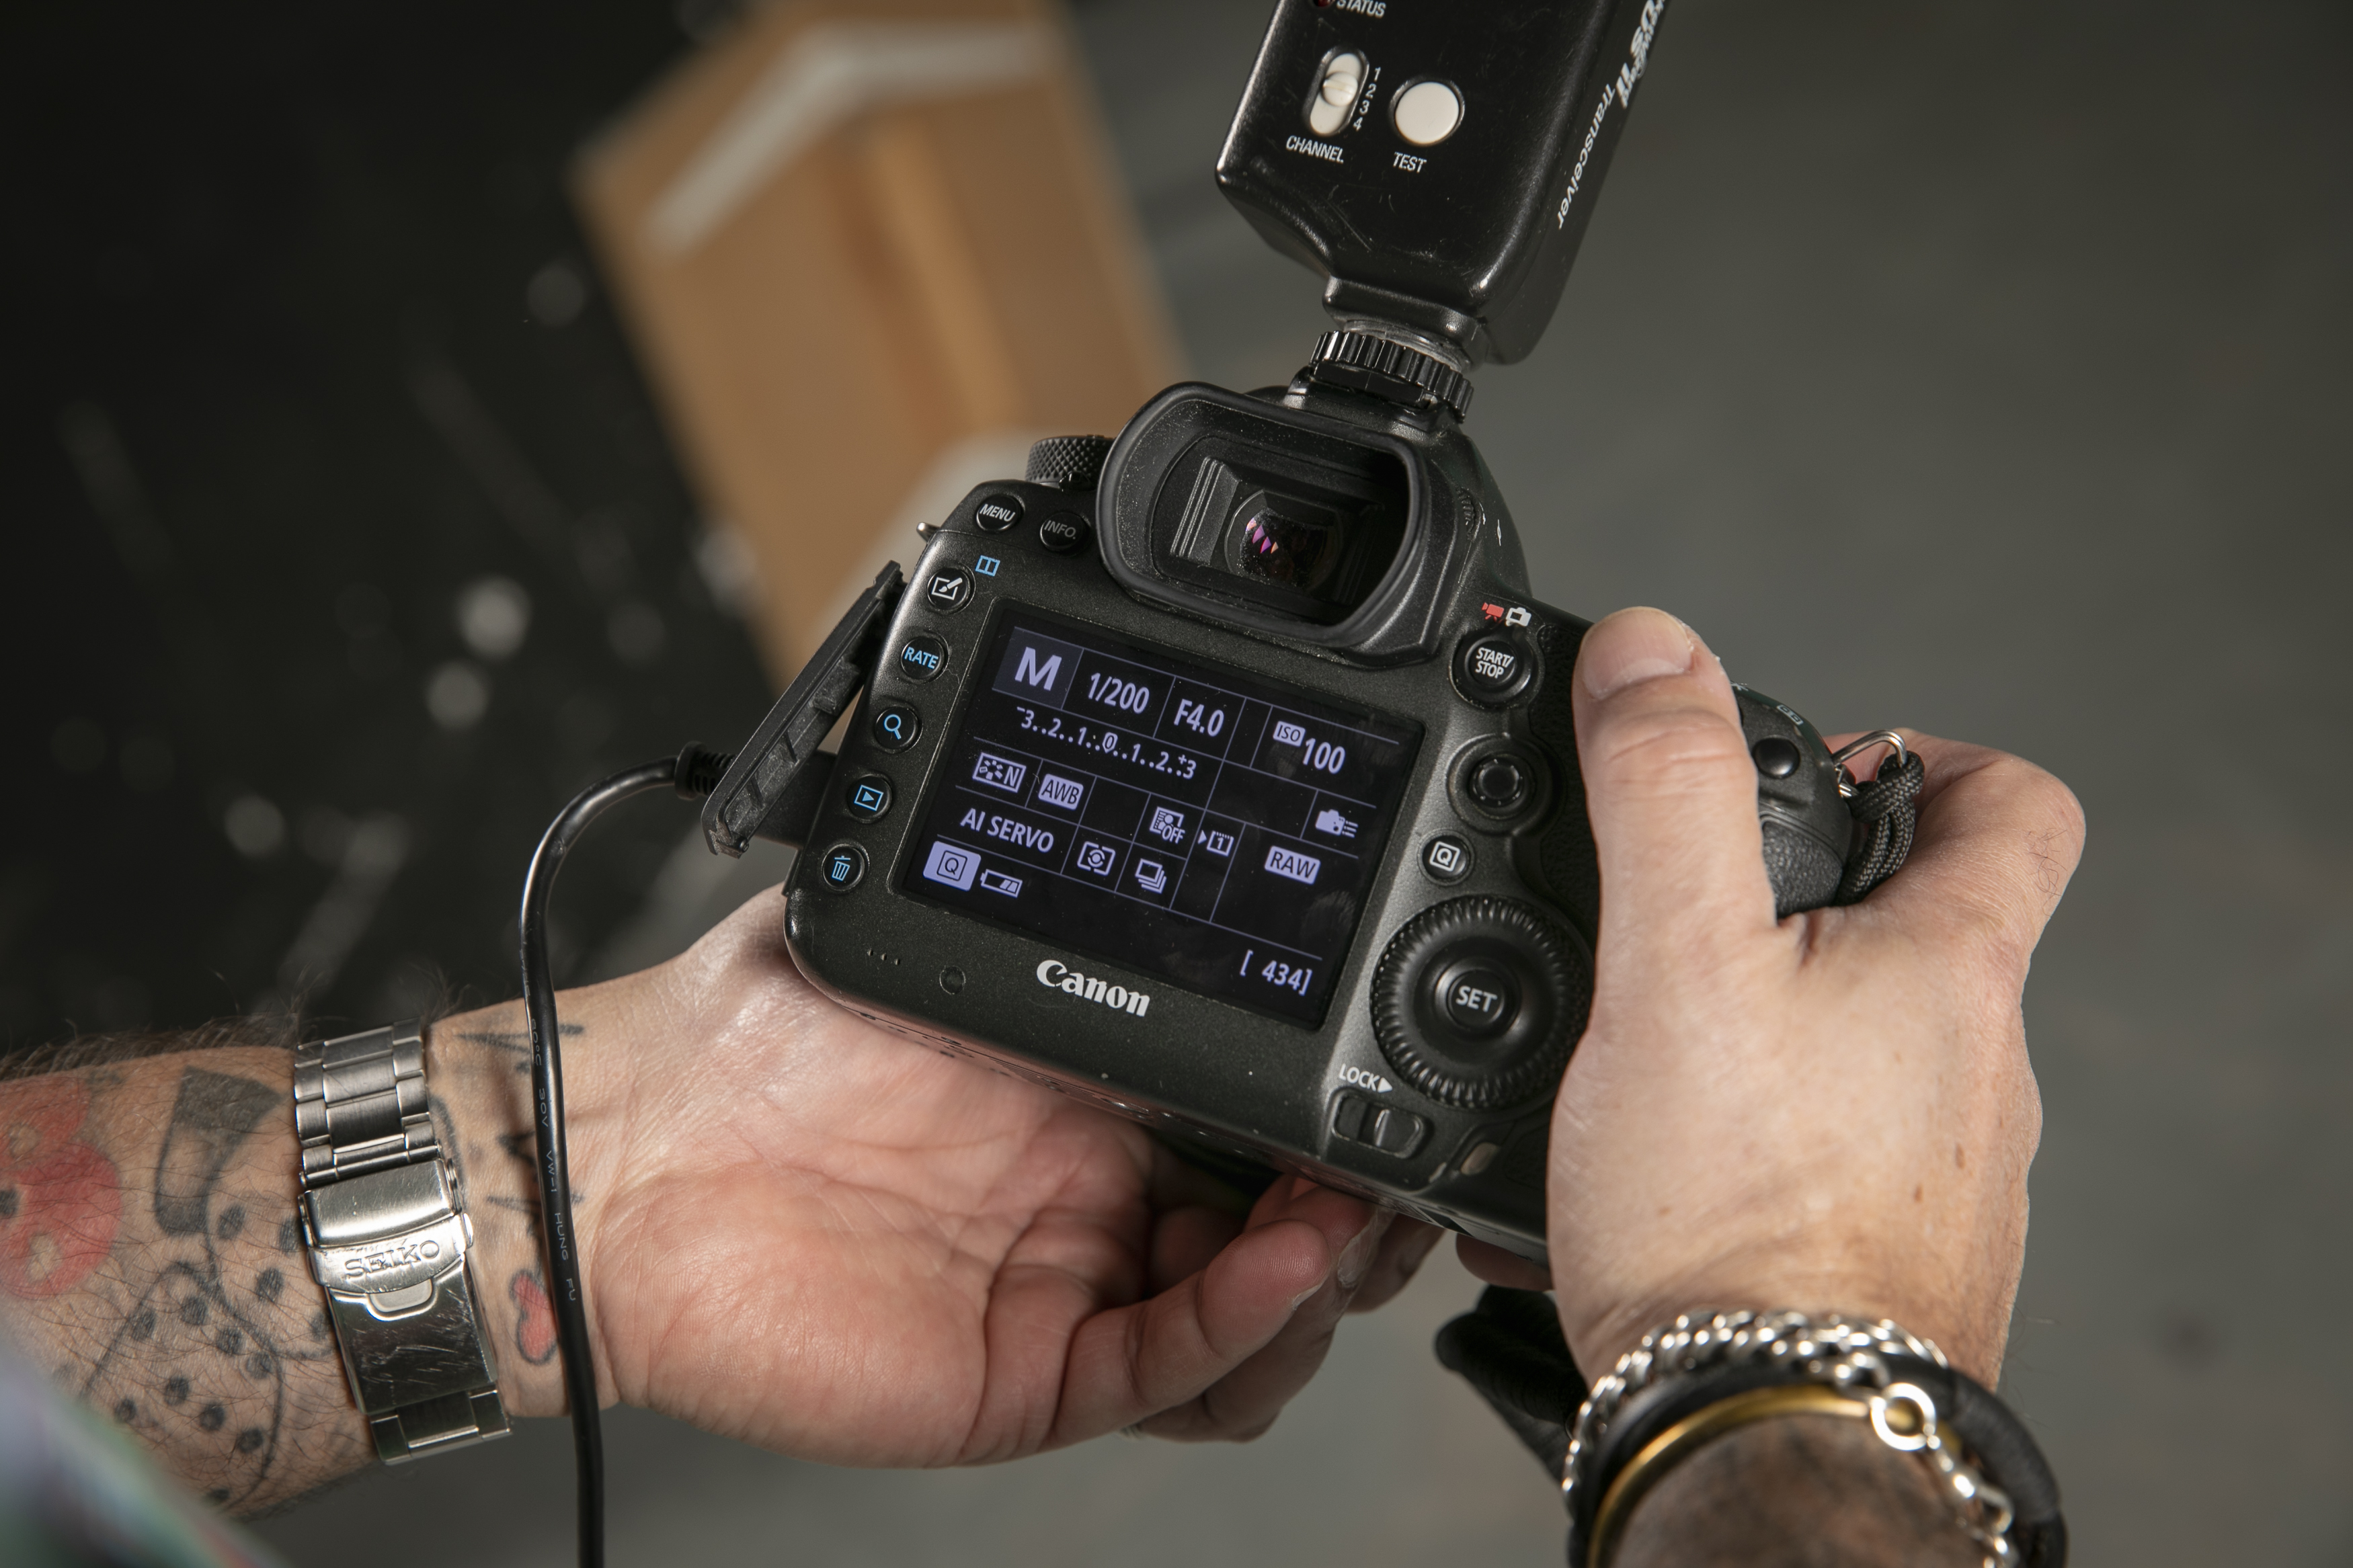
"Although Michael was used to shooting in Manual mode for landscape photos, when using lights in a studio for portraits, there is no ambient light to factor in, so you control the aperture, shutter speed and ISO, and then adjust your lights for the brightness of the exposure," says Phil.
The best camera deals, reviews, product advice, and unmissable photography news, direct to your inbox!
"We started off shooting at f/5.6, 1/200 sec and ISO100 on our cameras, and tweaked our lighting power to around half (4.8) to start our first set up."
02 Pro studio lights and wireless triggers
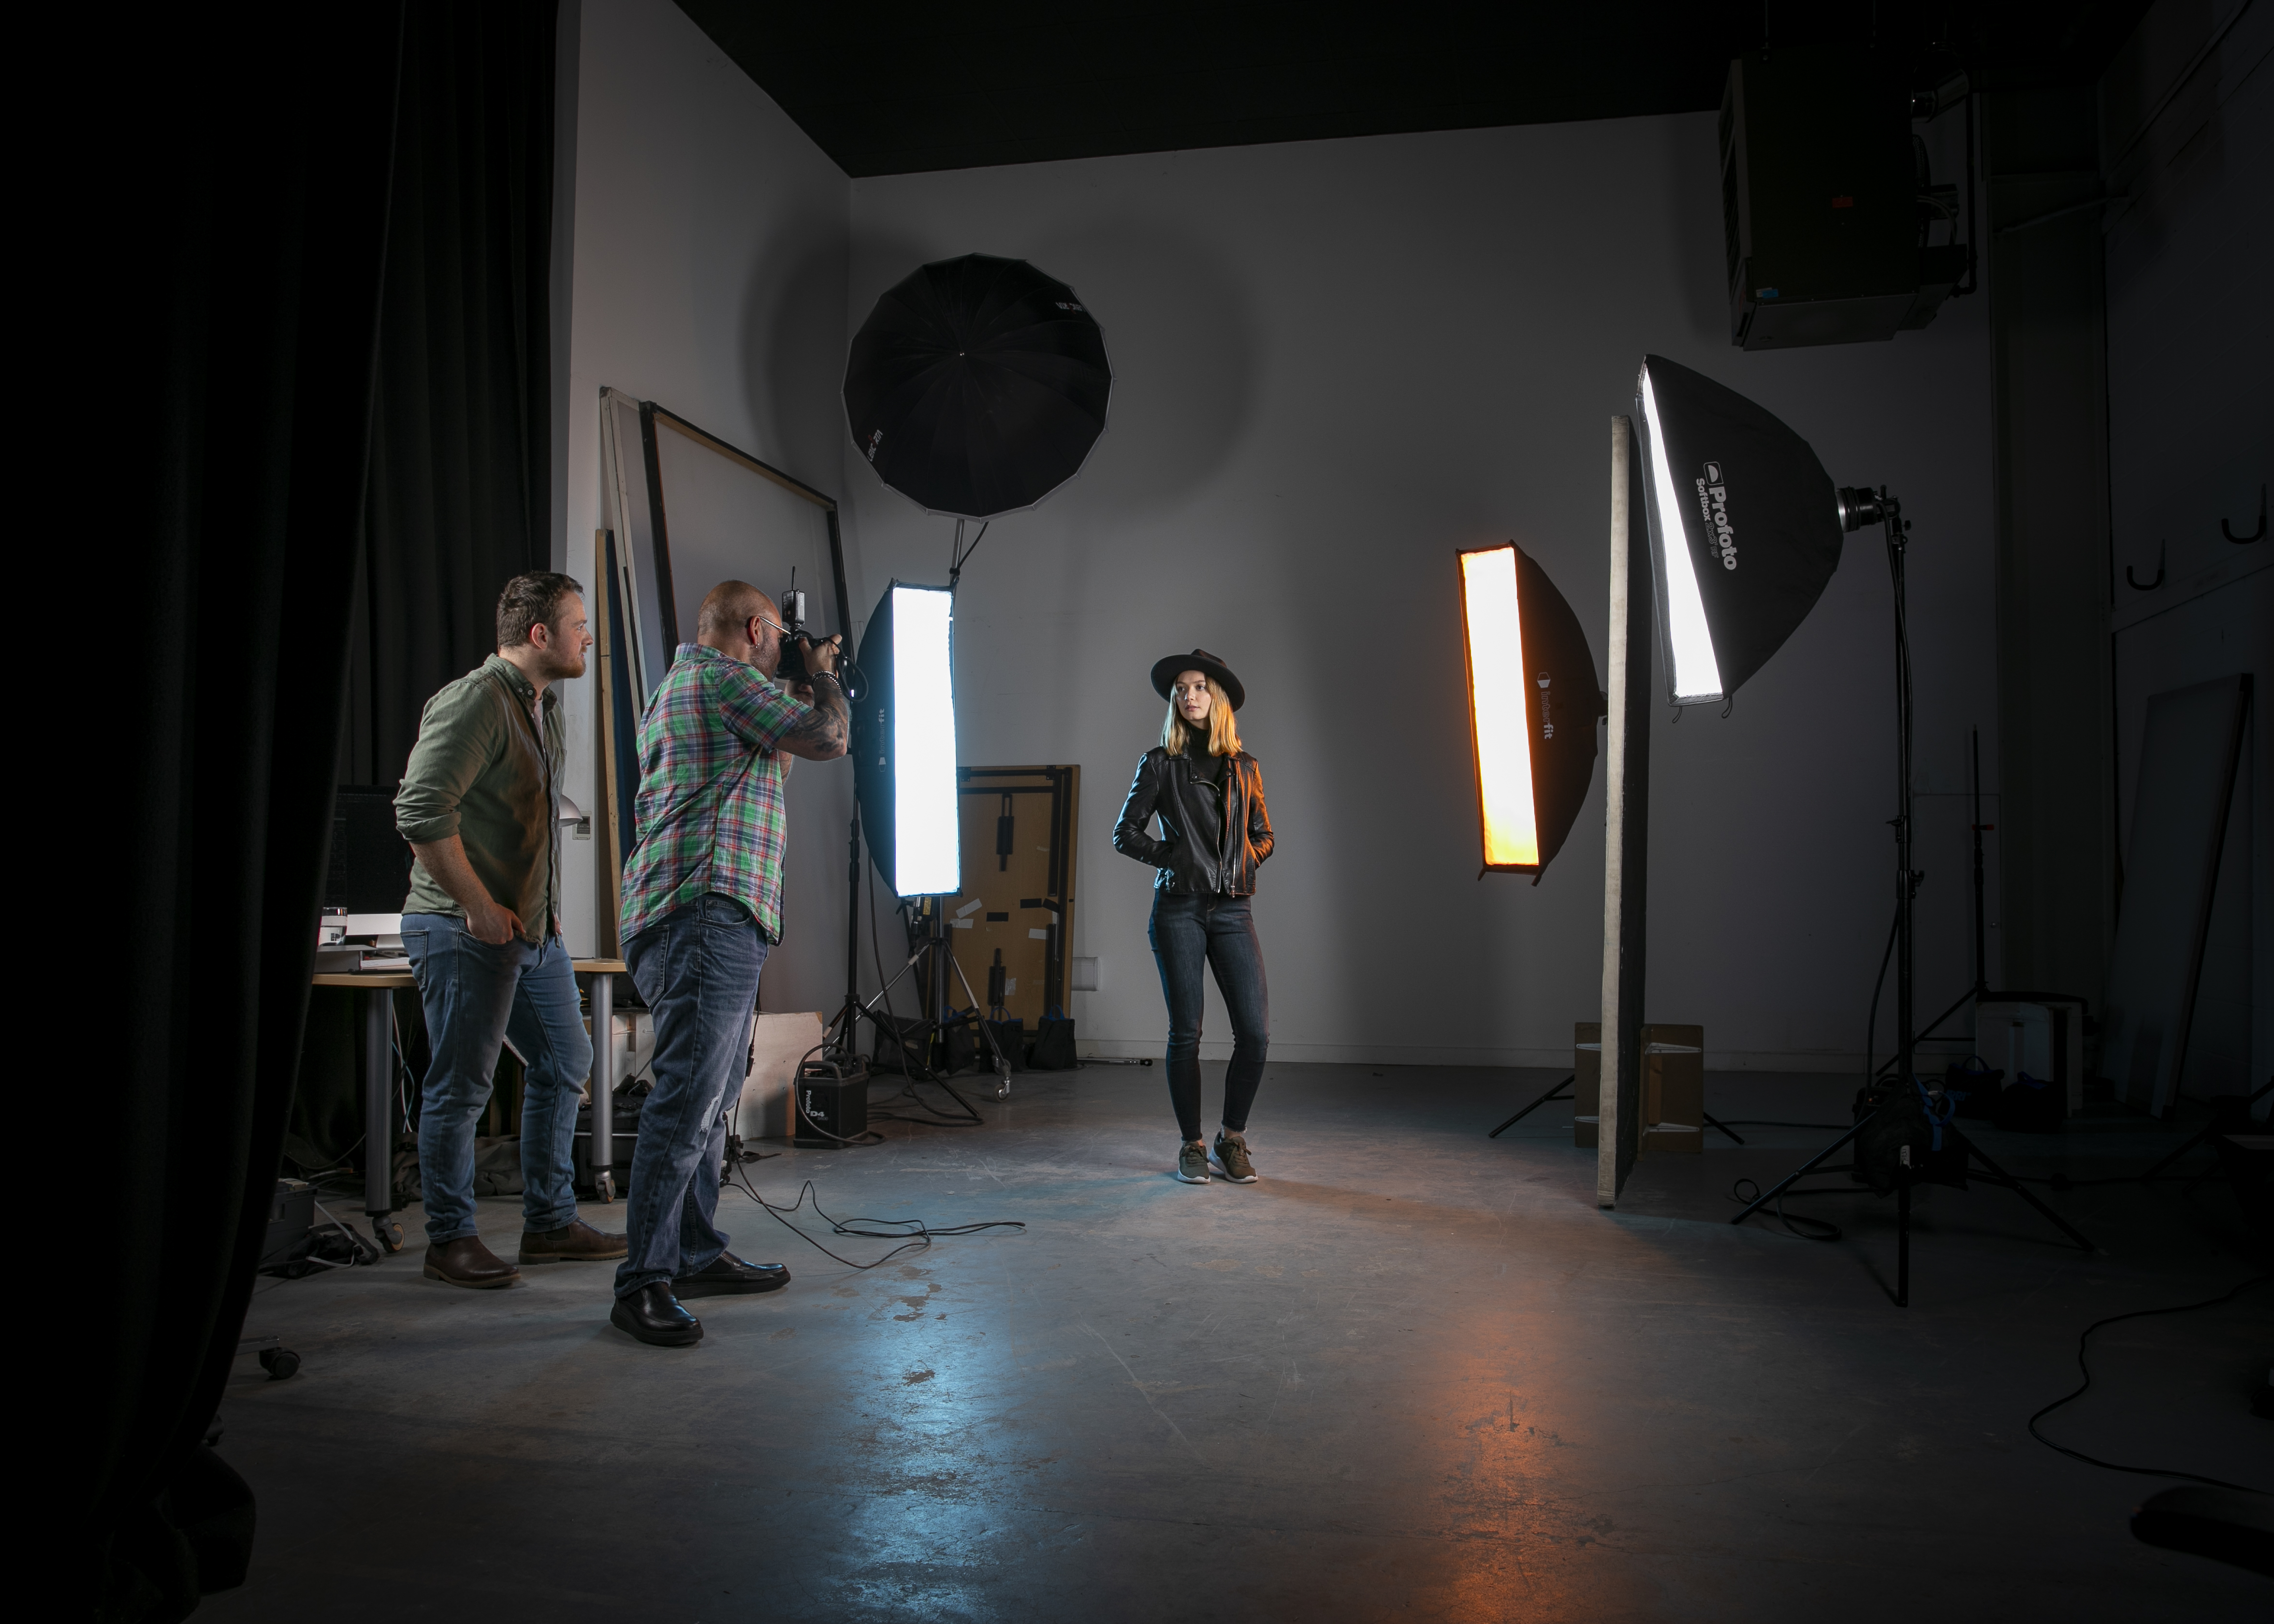
Phil favors the excellent quality, reliability and robustness of the Profoto D4 studio flash heads. “As well as being powerful, they also enable you to reduce the power to very low settings for wider aperture shots, and with the mains power packs, recycle time is super quick as well for slicker shooting.
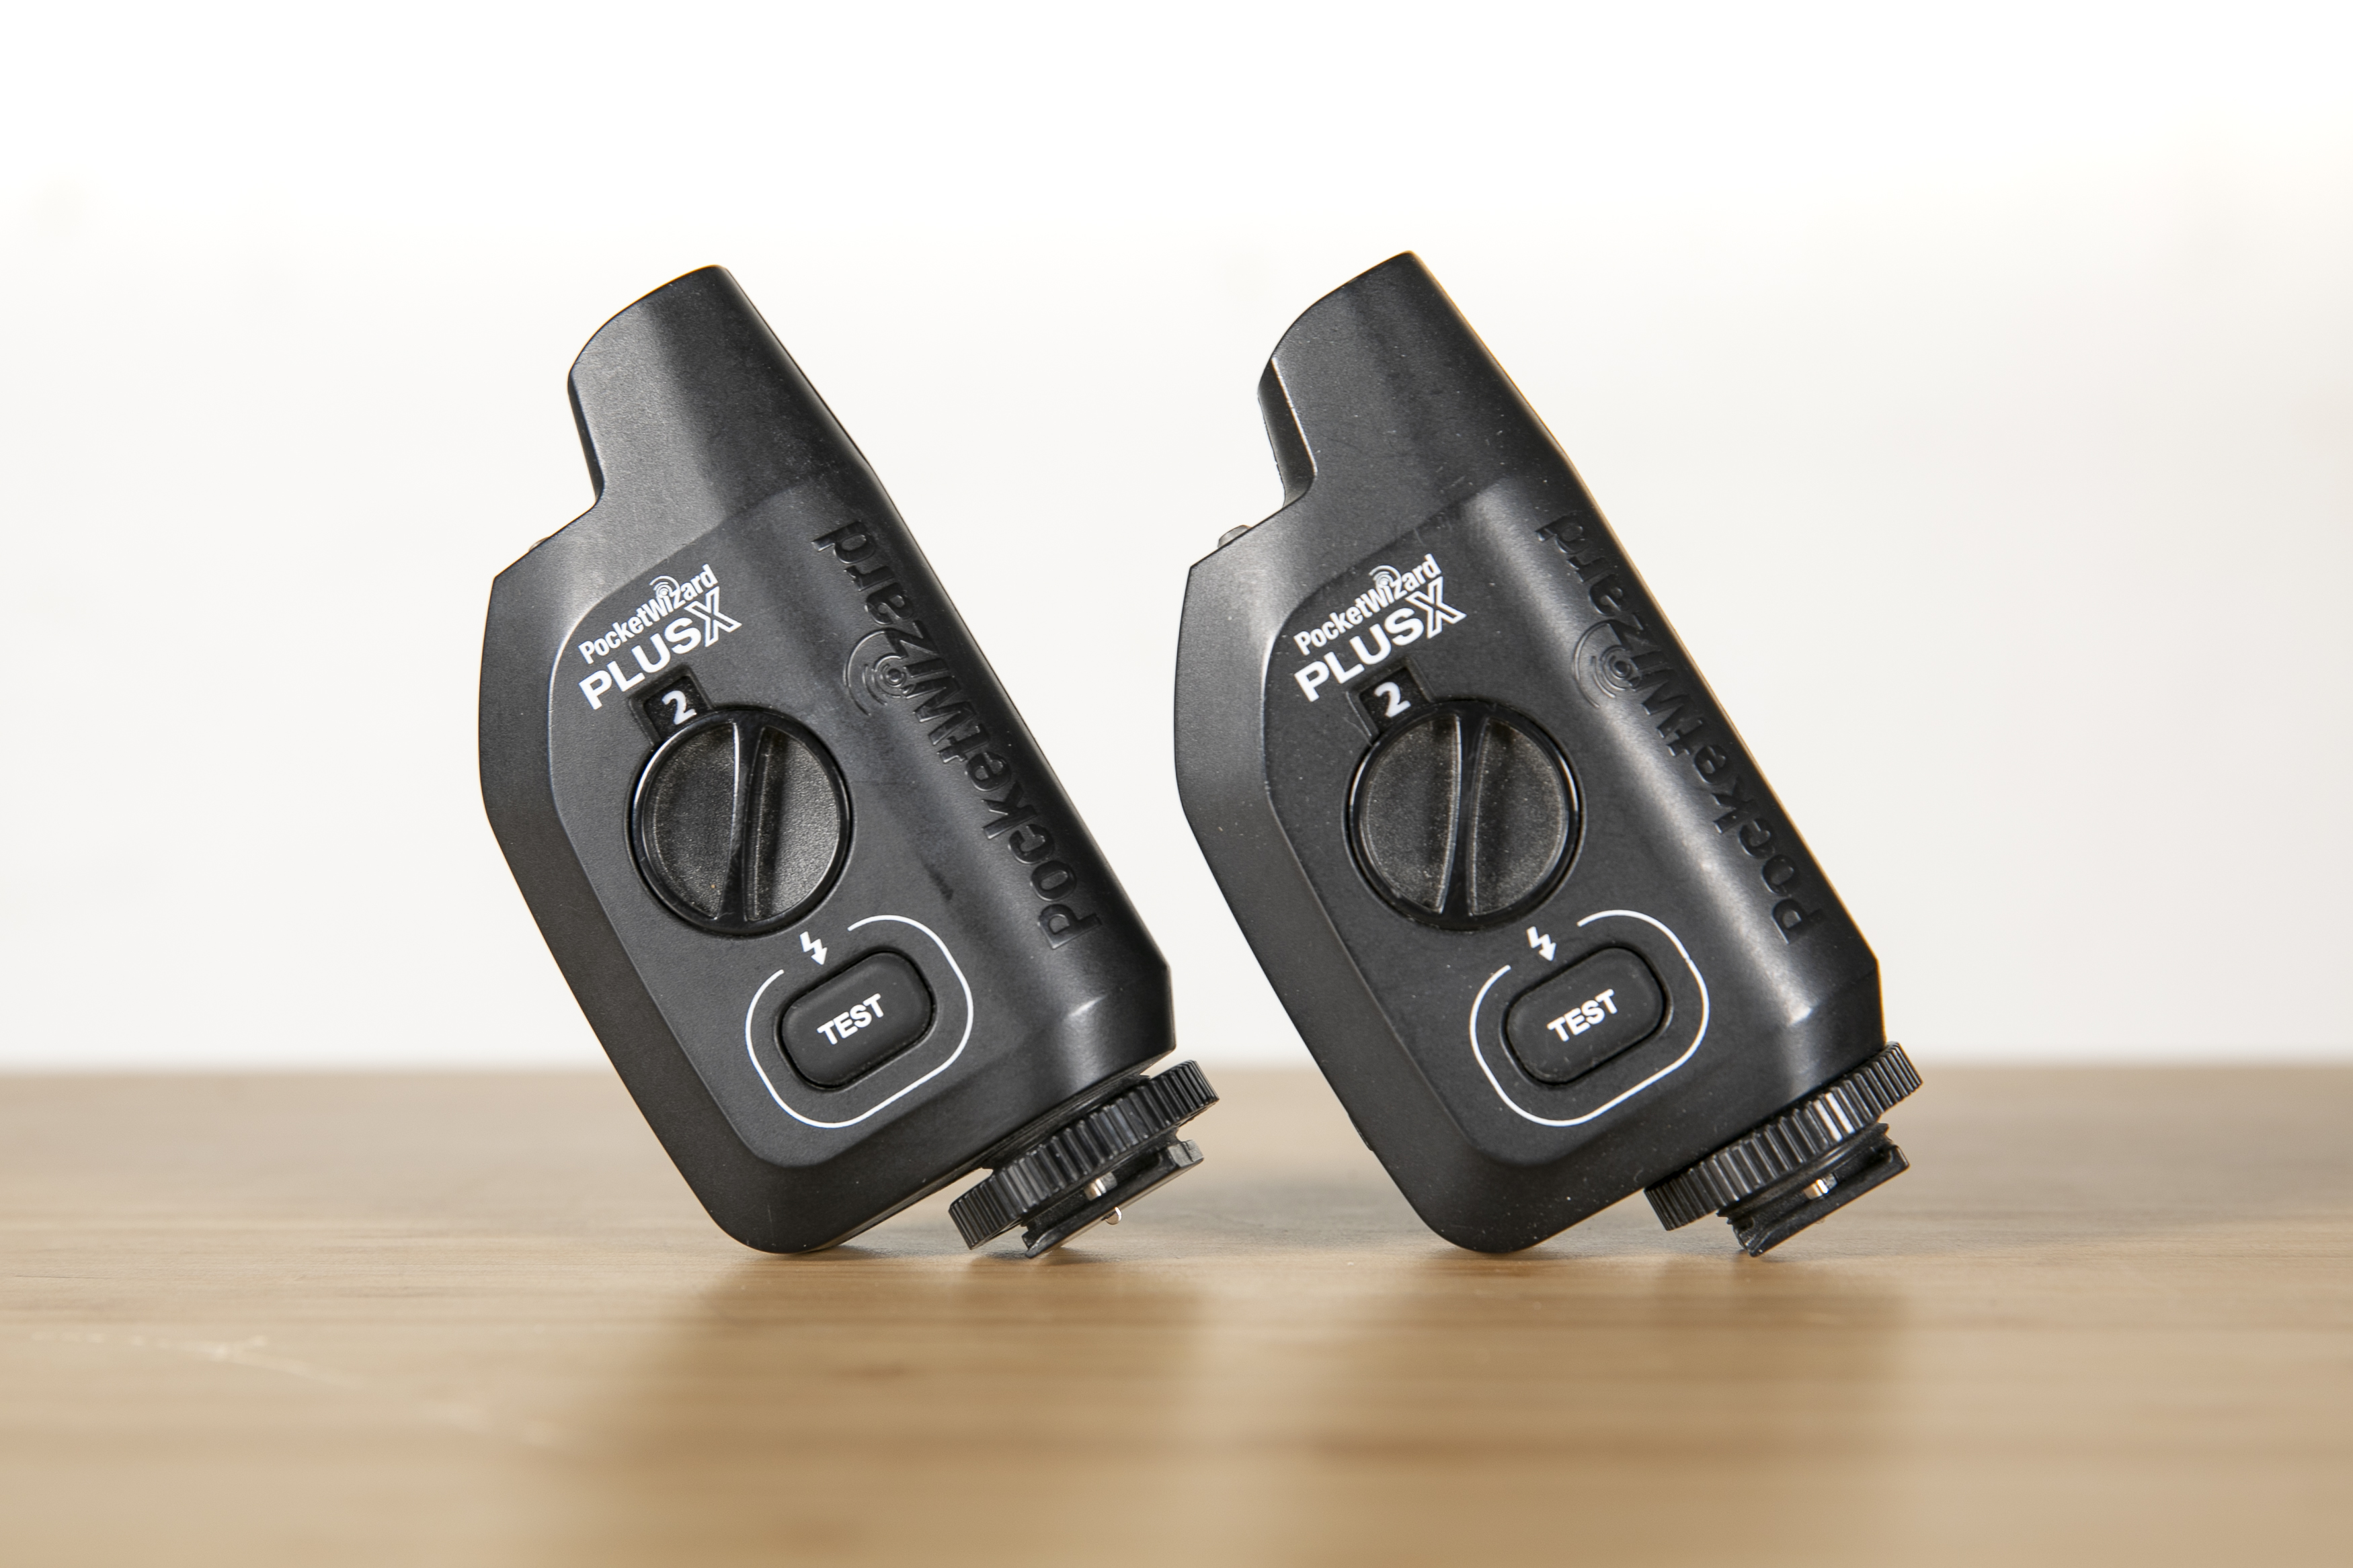
"I use the PocketWizard Plus X triggers for remotely firing the flash heads, but if I’m shooting on location I use my affordable battery-powered Godox lighting heads and triggers."
• These are the best flash triggers for your camera
03 Shoot tethered
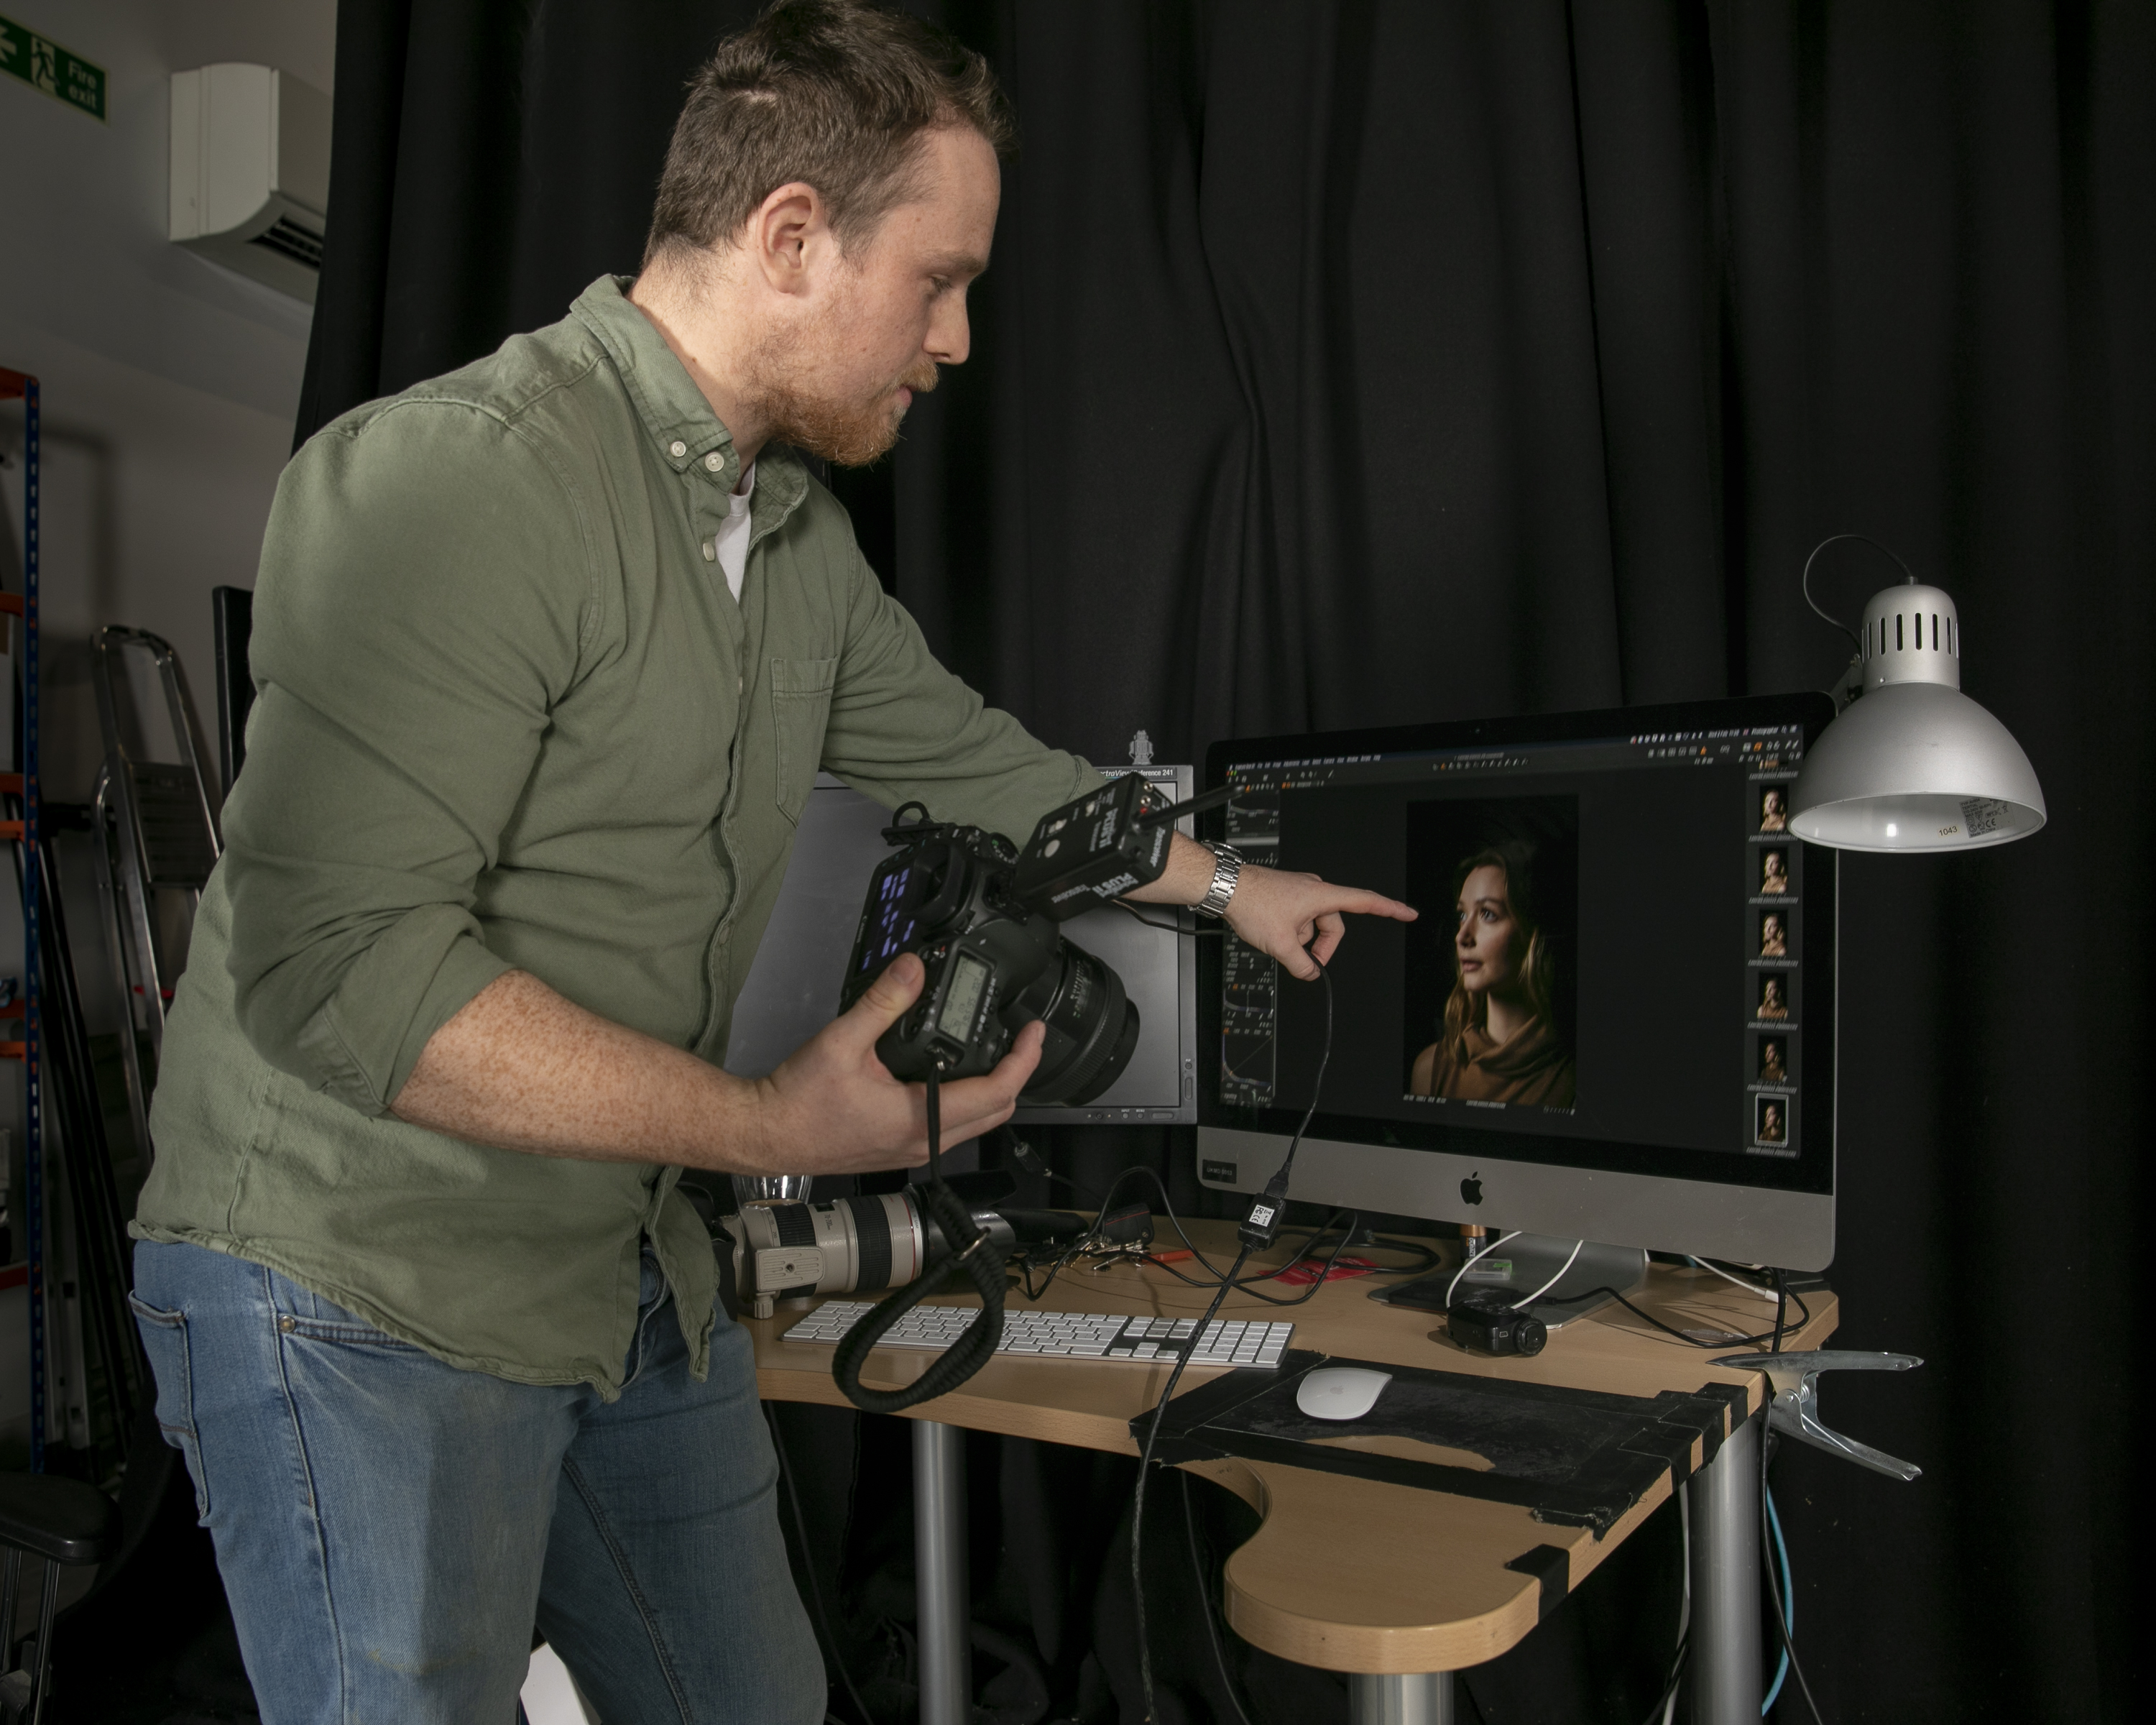
“Whenever I’m shooting in the studio I’ll always shoot tethered with a cable from my Canon camera into the computer. It’s so much easier to see your shots on the big screen, you can see the shadows are falling and if there’s any blown highlights quickly, and it makes it so much faster to just move or adjust your lights, or tweak your camera settings.
“Plus the model can see how she is looking on the screen without needing to move from her spot, and so it’s easier to offer her direction to move her head, or hands, or turn her shoulders for a better pose.”
04 Canon full-frame studio workhorse
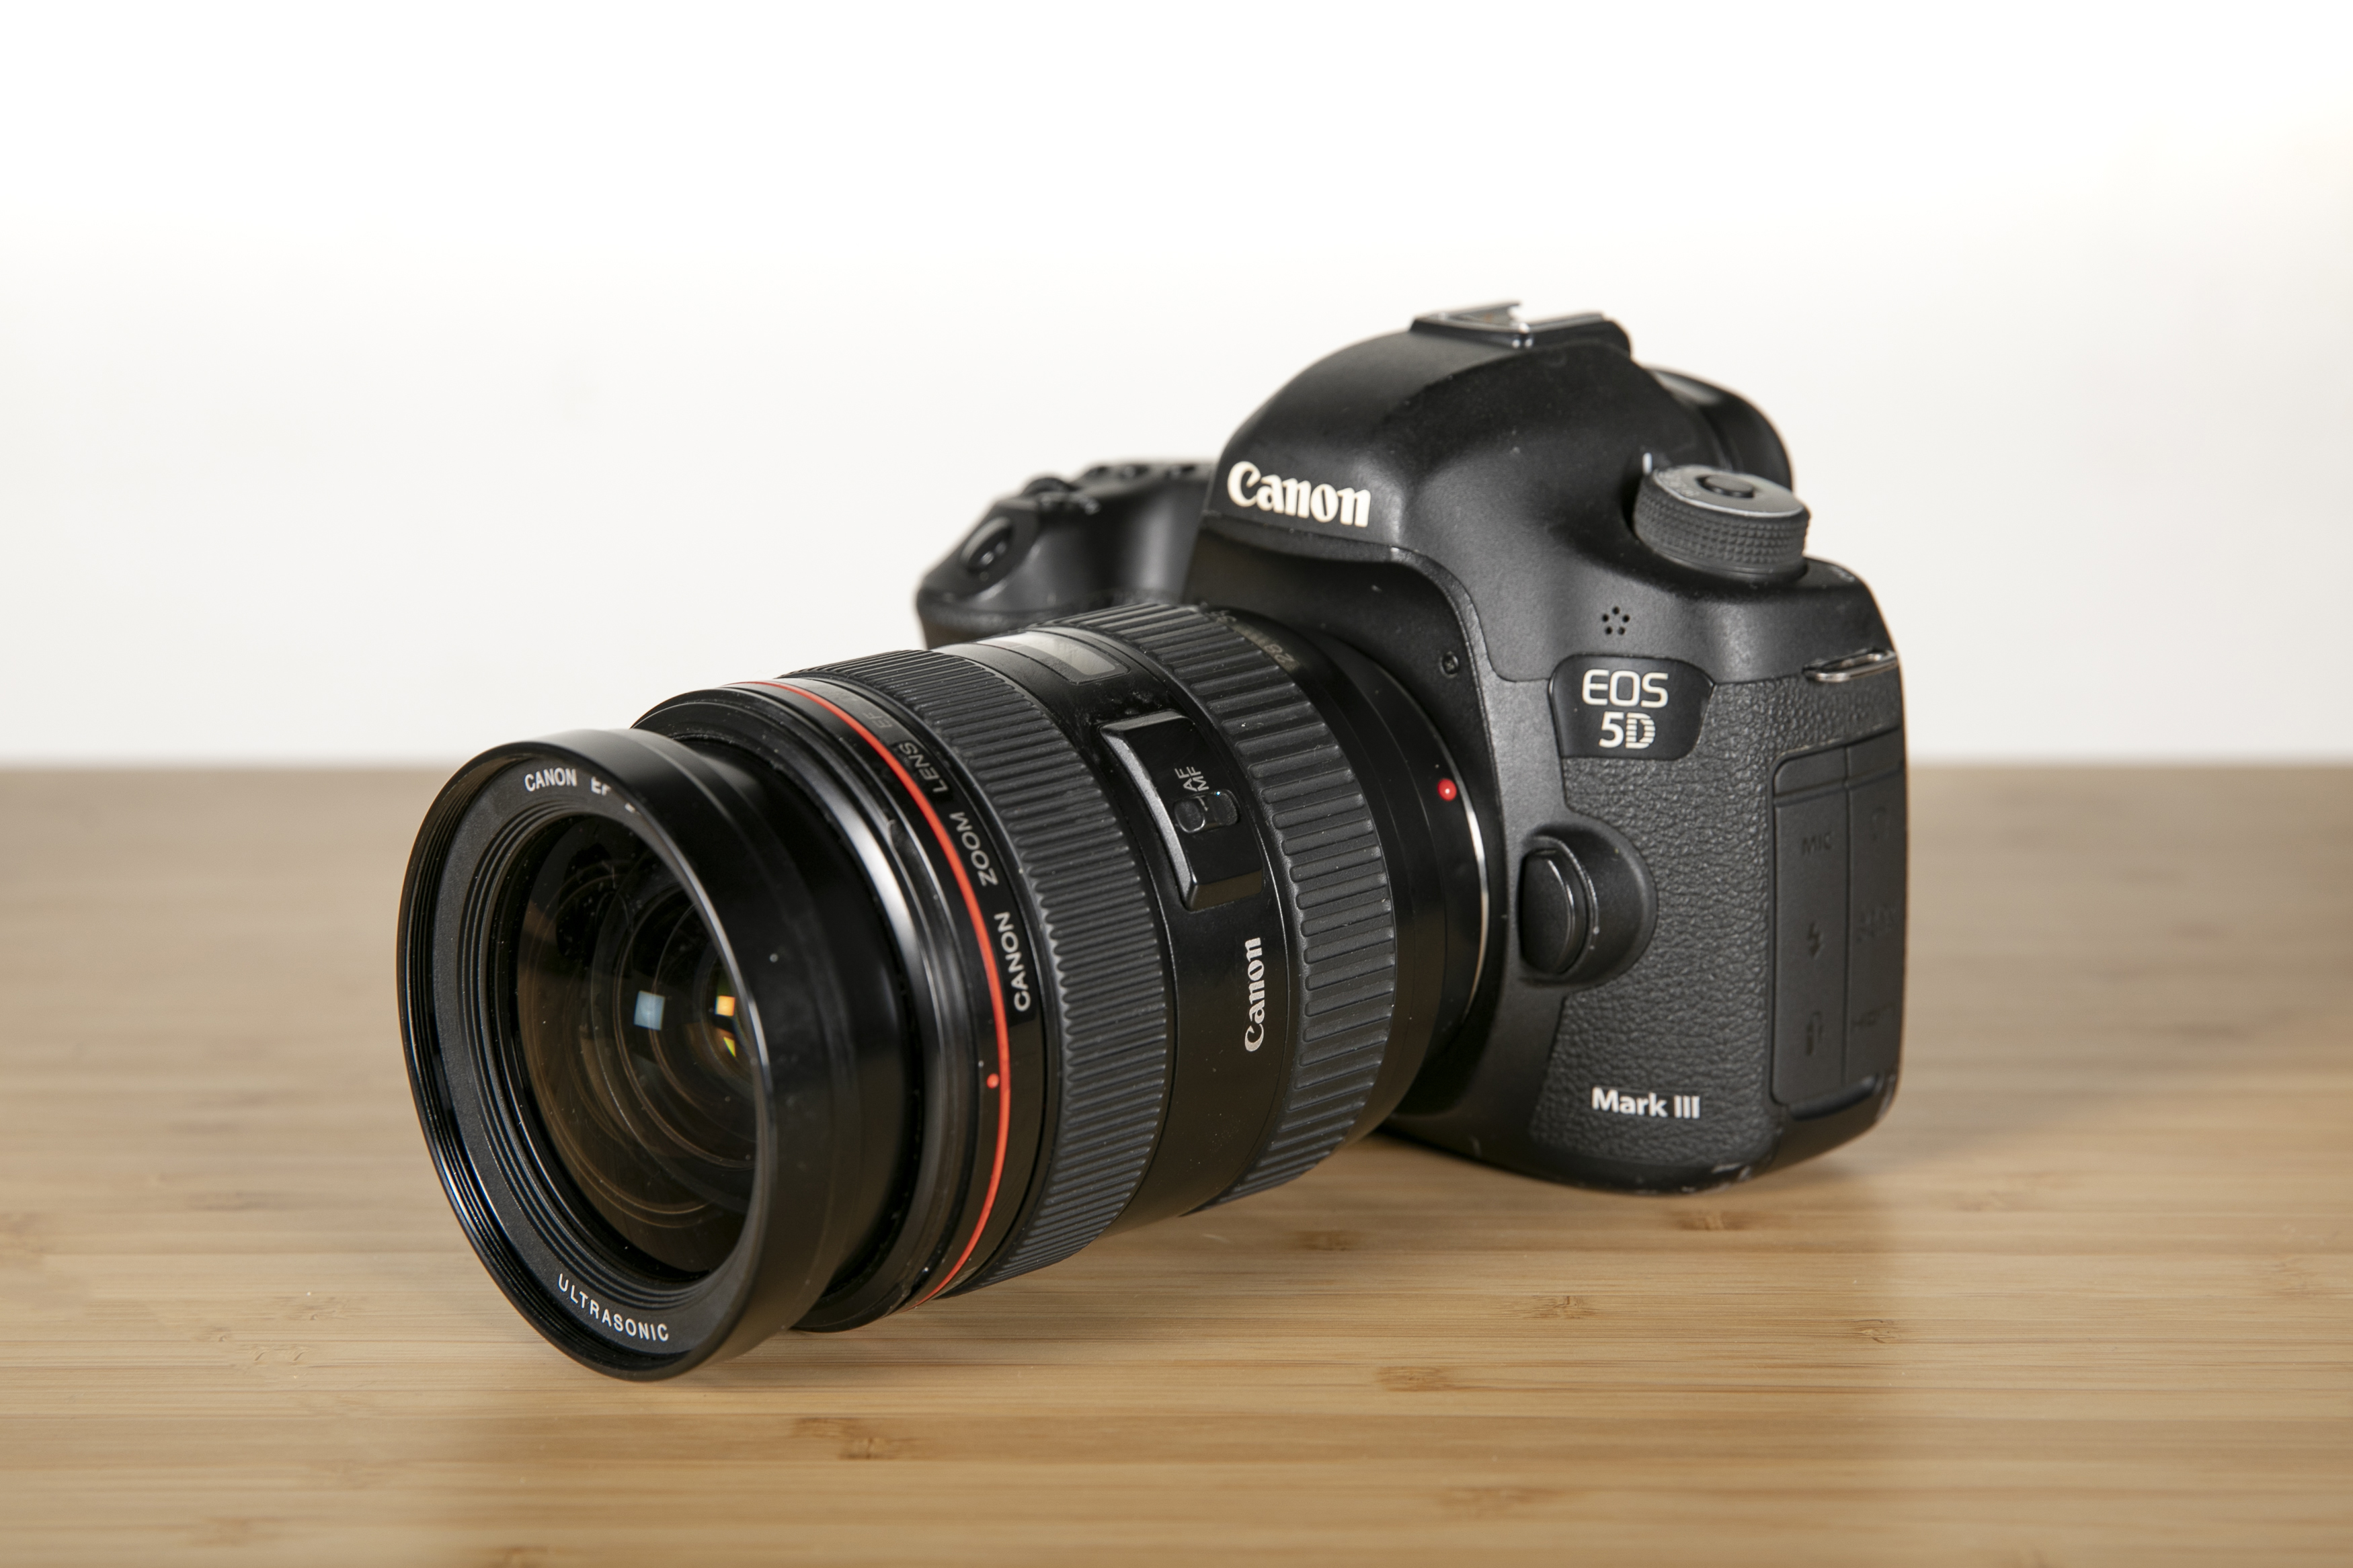
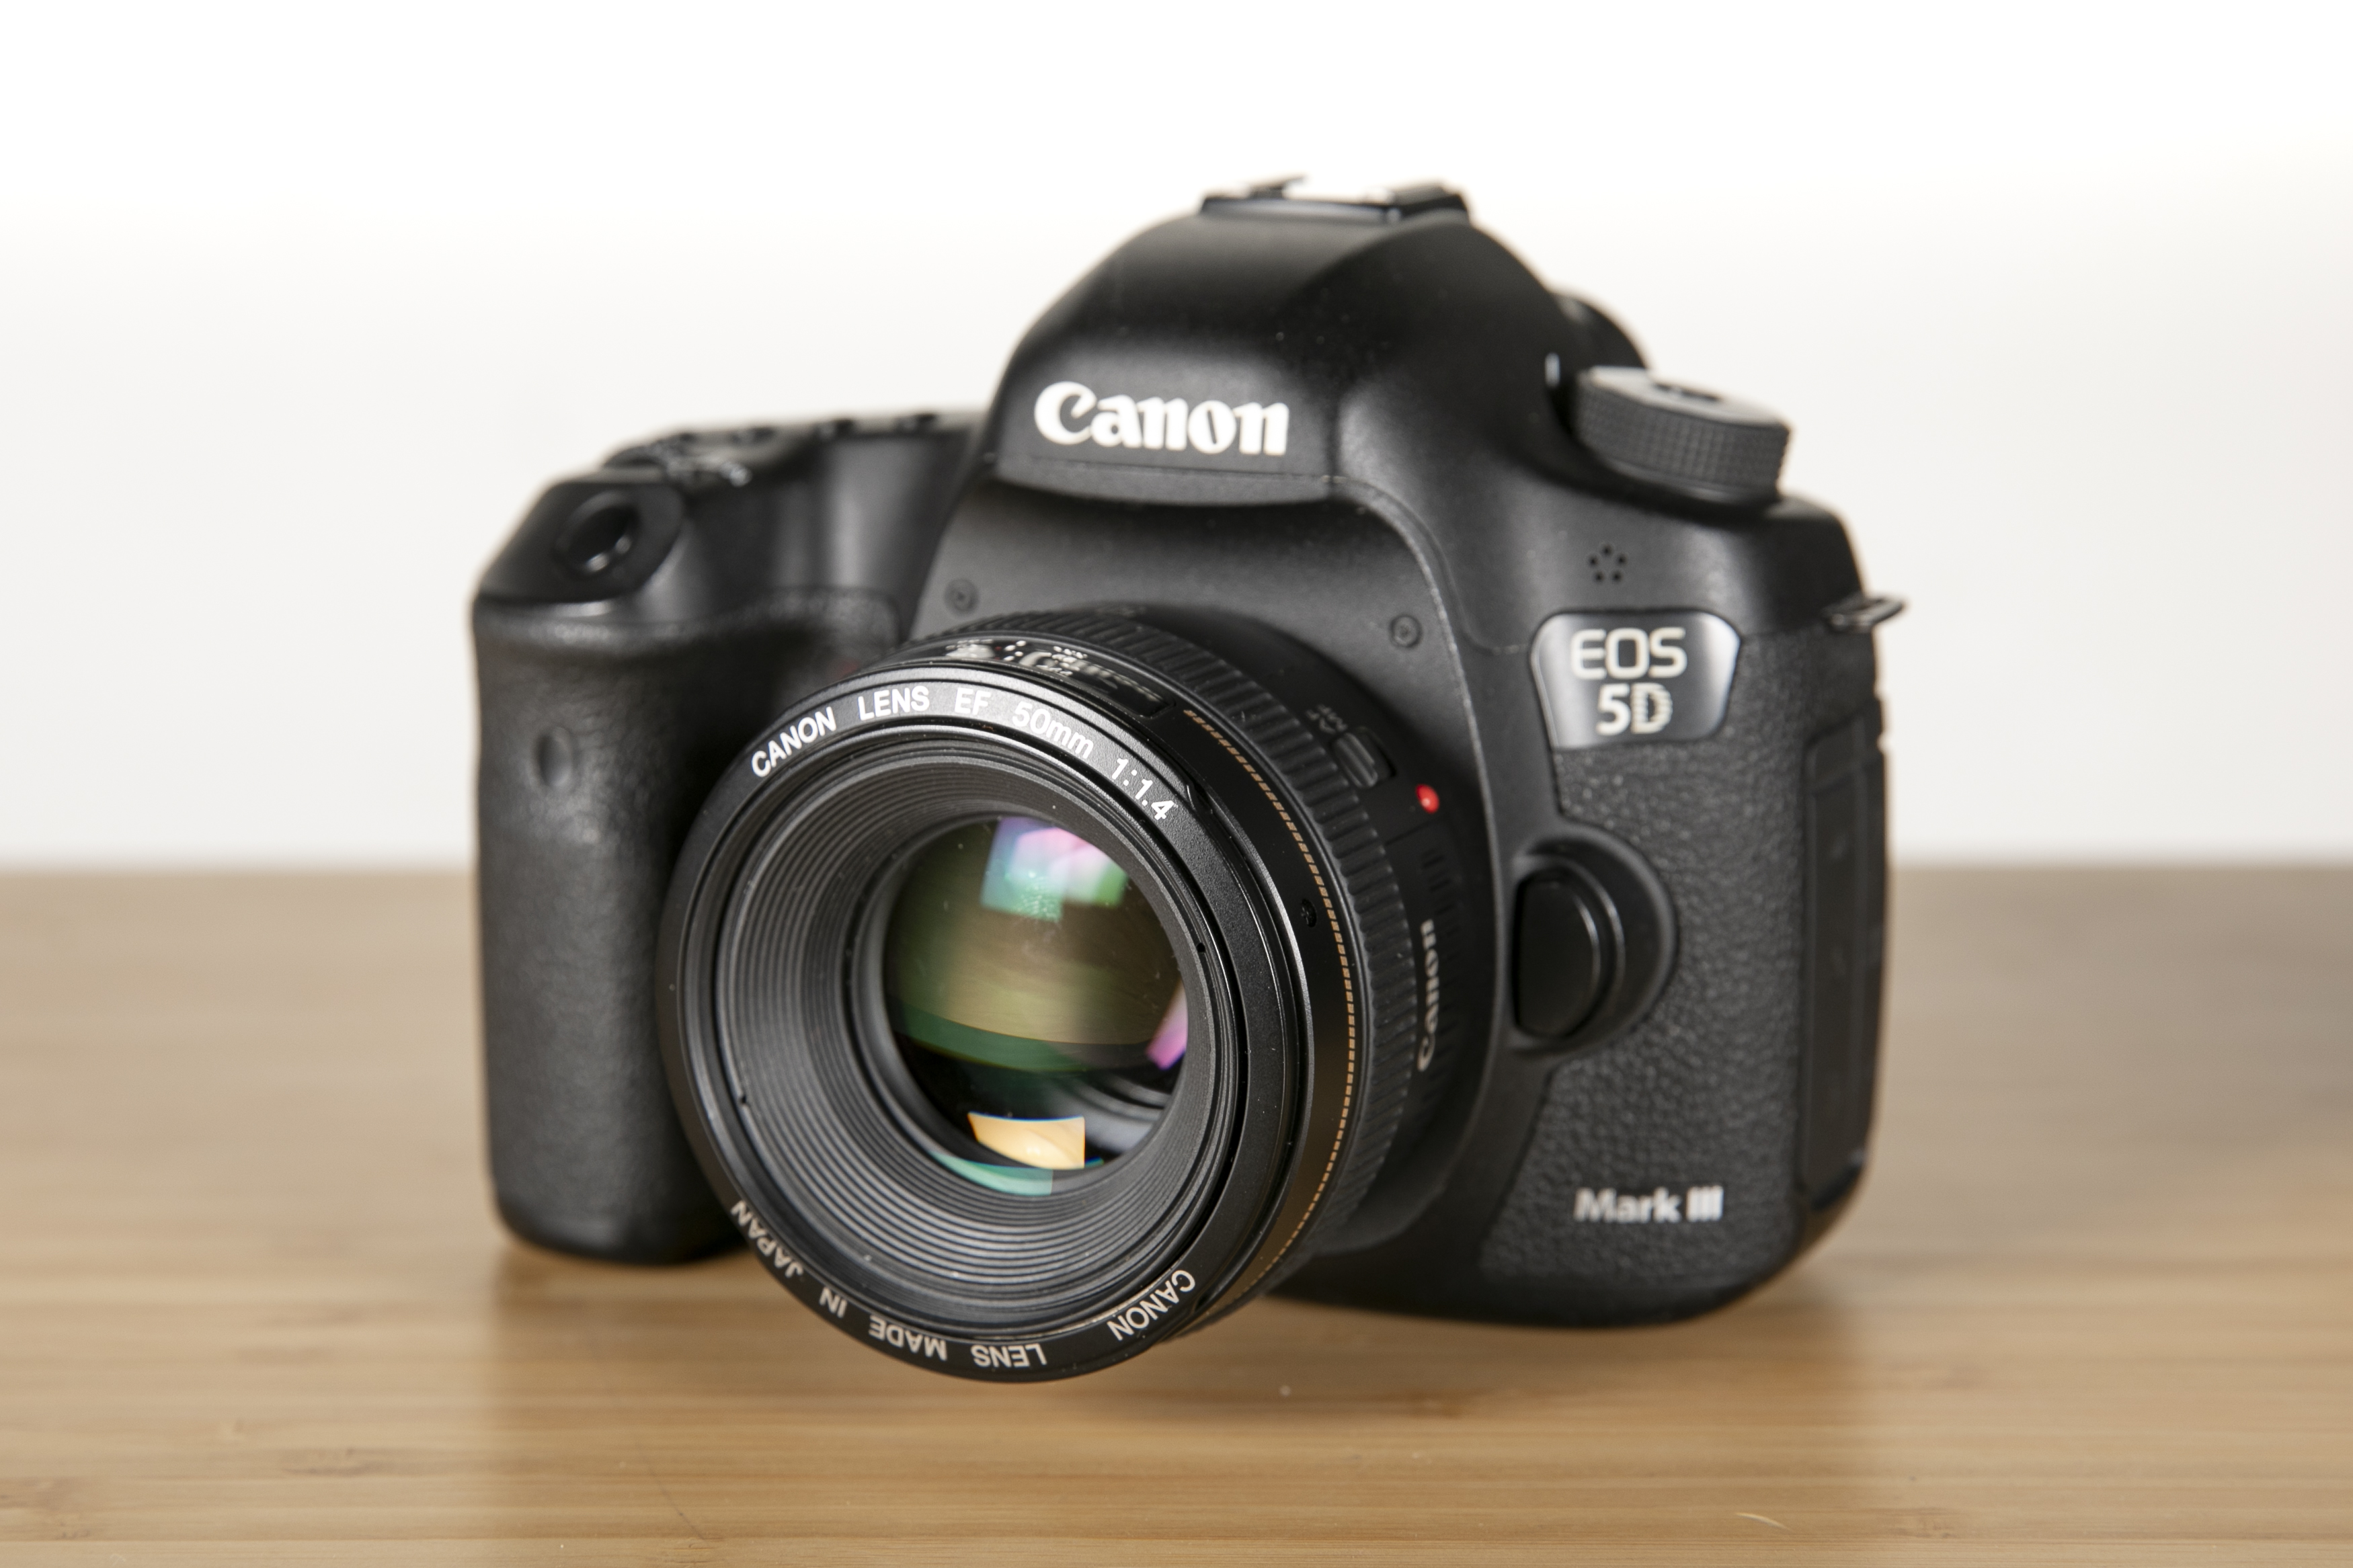
“I still love the image quality of my old Canon EOS 5D Mark III bodies. Both are still going strong, and I’m not still using them just because I’m a tight Yorkshireman and don’t want to upgrade!
“Their full-frame sensors still deliver great tones and in the studio I’m not worried about needing to shoot at higher ISOs or needing enormous 50MP images, or AI-based AF for action, as I mostly shoot for magazine editorial needs.”
05 Lighting modifiers
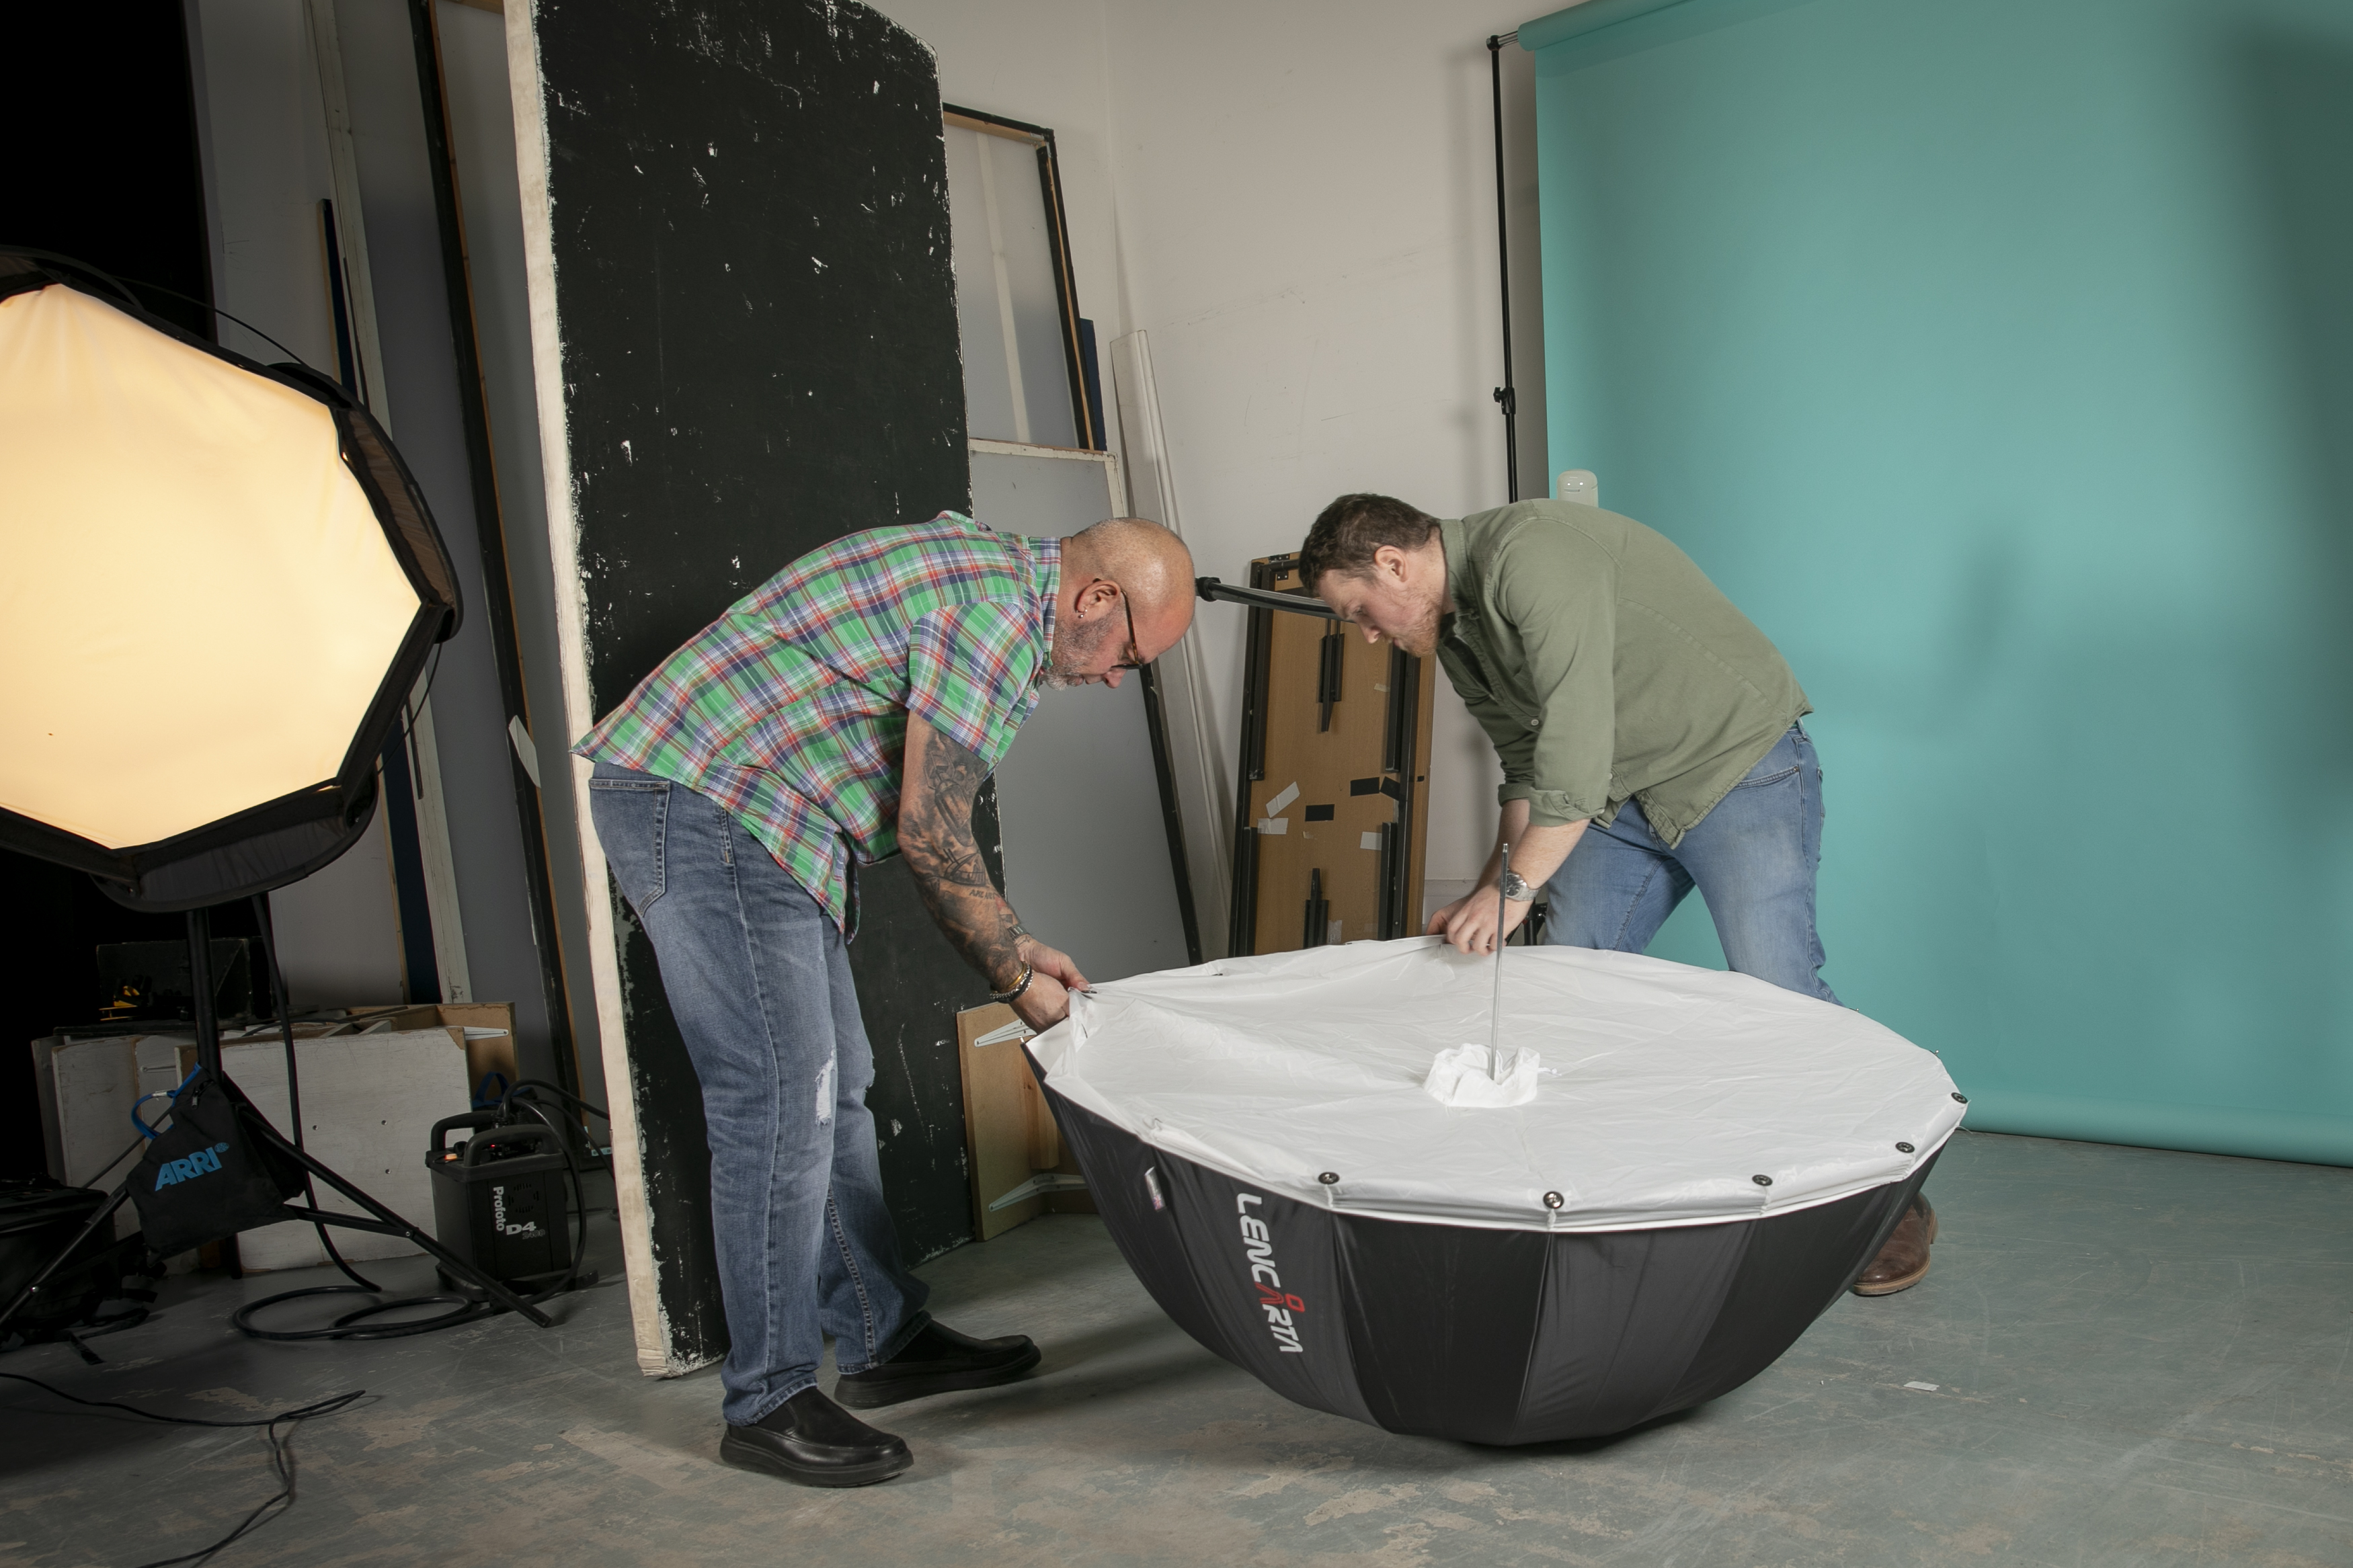
“To get the best from your lights, I suggest using softboxes to create lovely softer, more flattering and directional lighting. The larger the light source, so the bigger the softbox, the softer the light – and soft light is kinder for people photos!
“I’ll use a variety of softboxes from rectangle, square, strips and octoboxes. Umbrellas are cheaper, fold down quickly and are useful if you’re constantly packing and unpacking kit from house to studio, but they tend to spill light more.”
06 Using a reflector
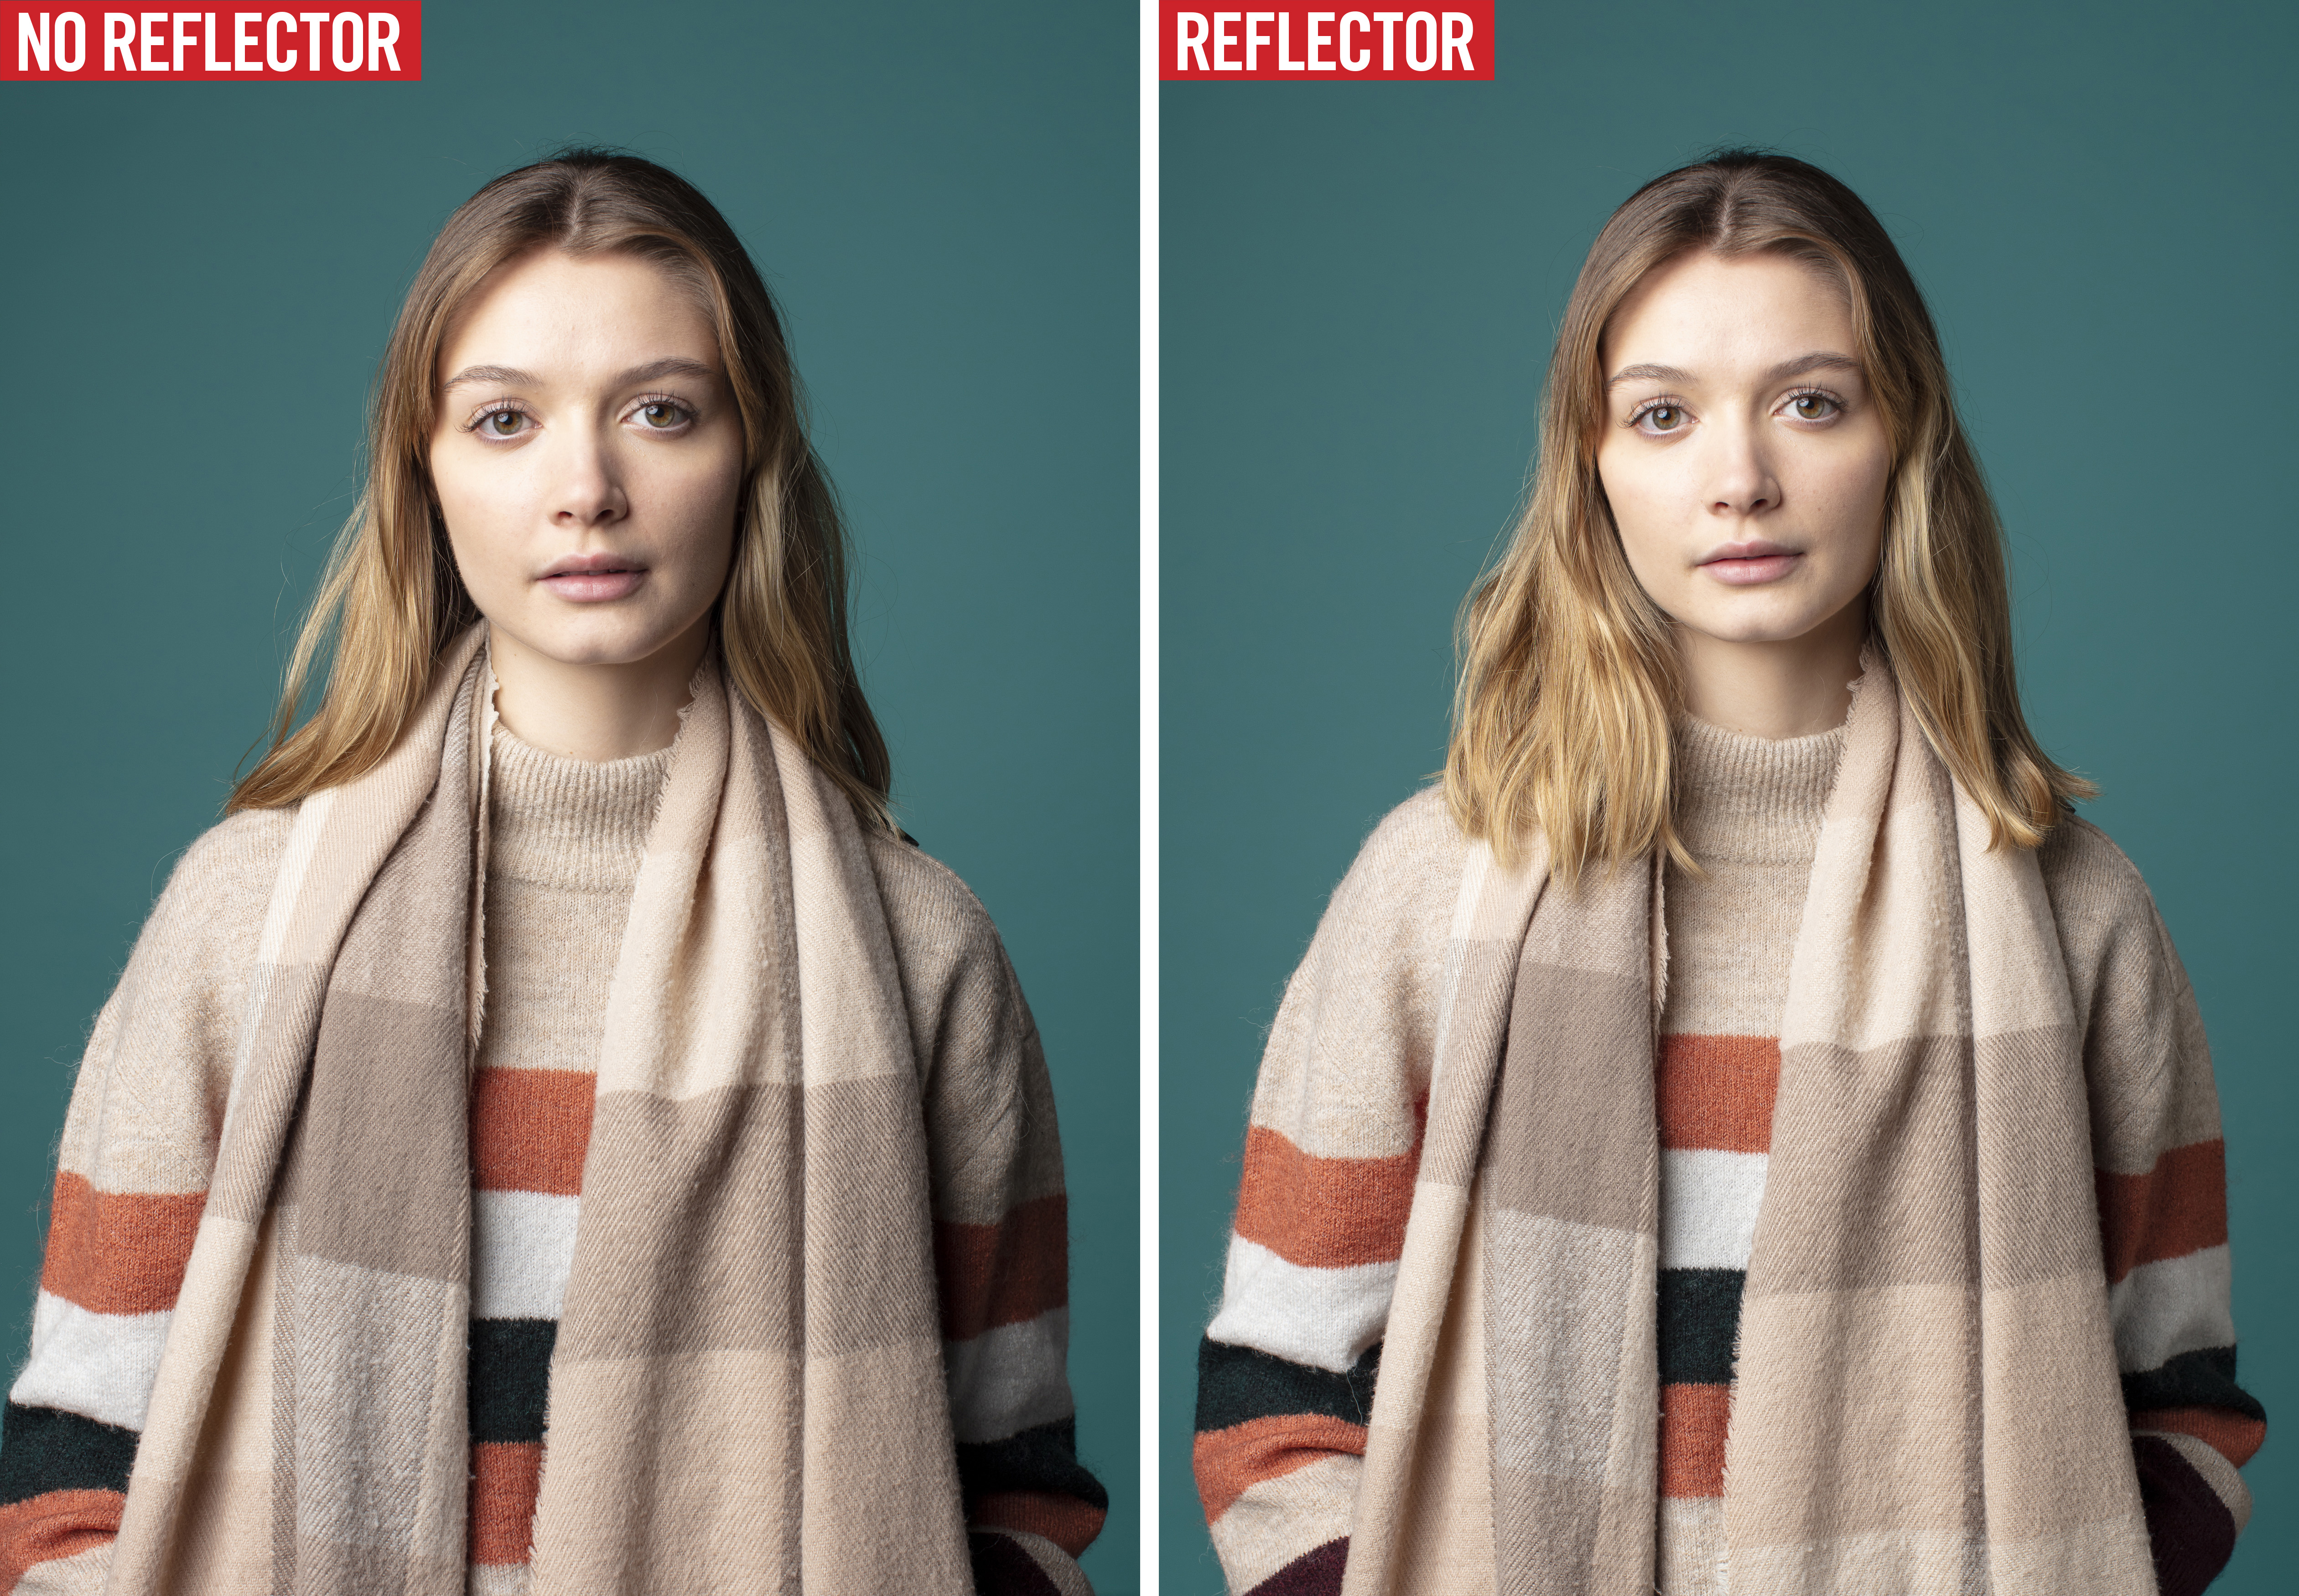
Phil was keen to show Michael that using a reflector, on the other side of a one-light setup, is a quick and simple way to fill in the shadows for a brighter, less shadowy and less moody look. Our main light was big enough that Tyla’s face was well lit, so using a large polyboard reflector here only shows a subtle difference between these two portraits and the shadows on her left.
07 White balance settings
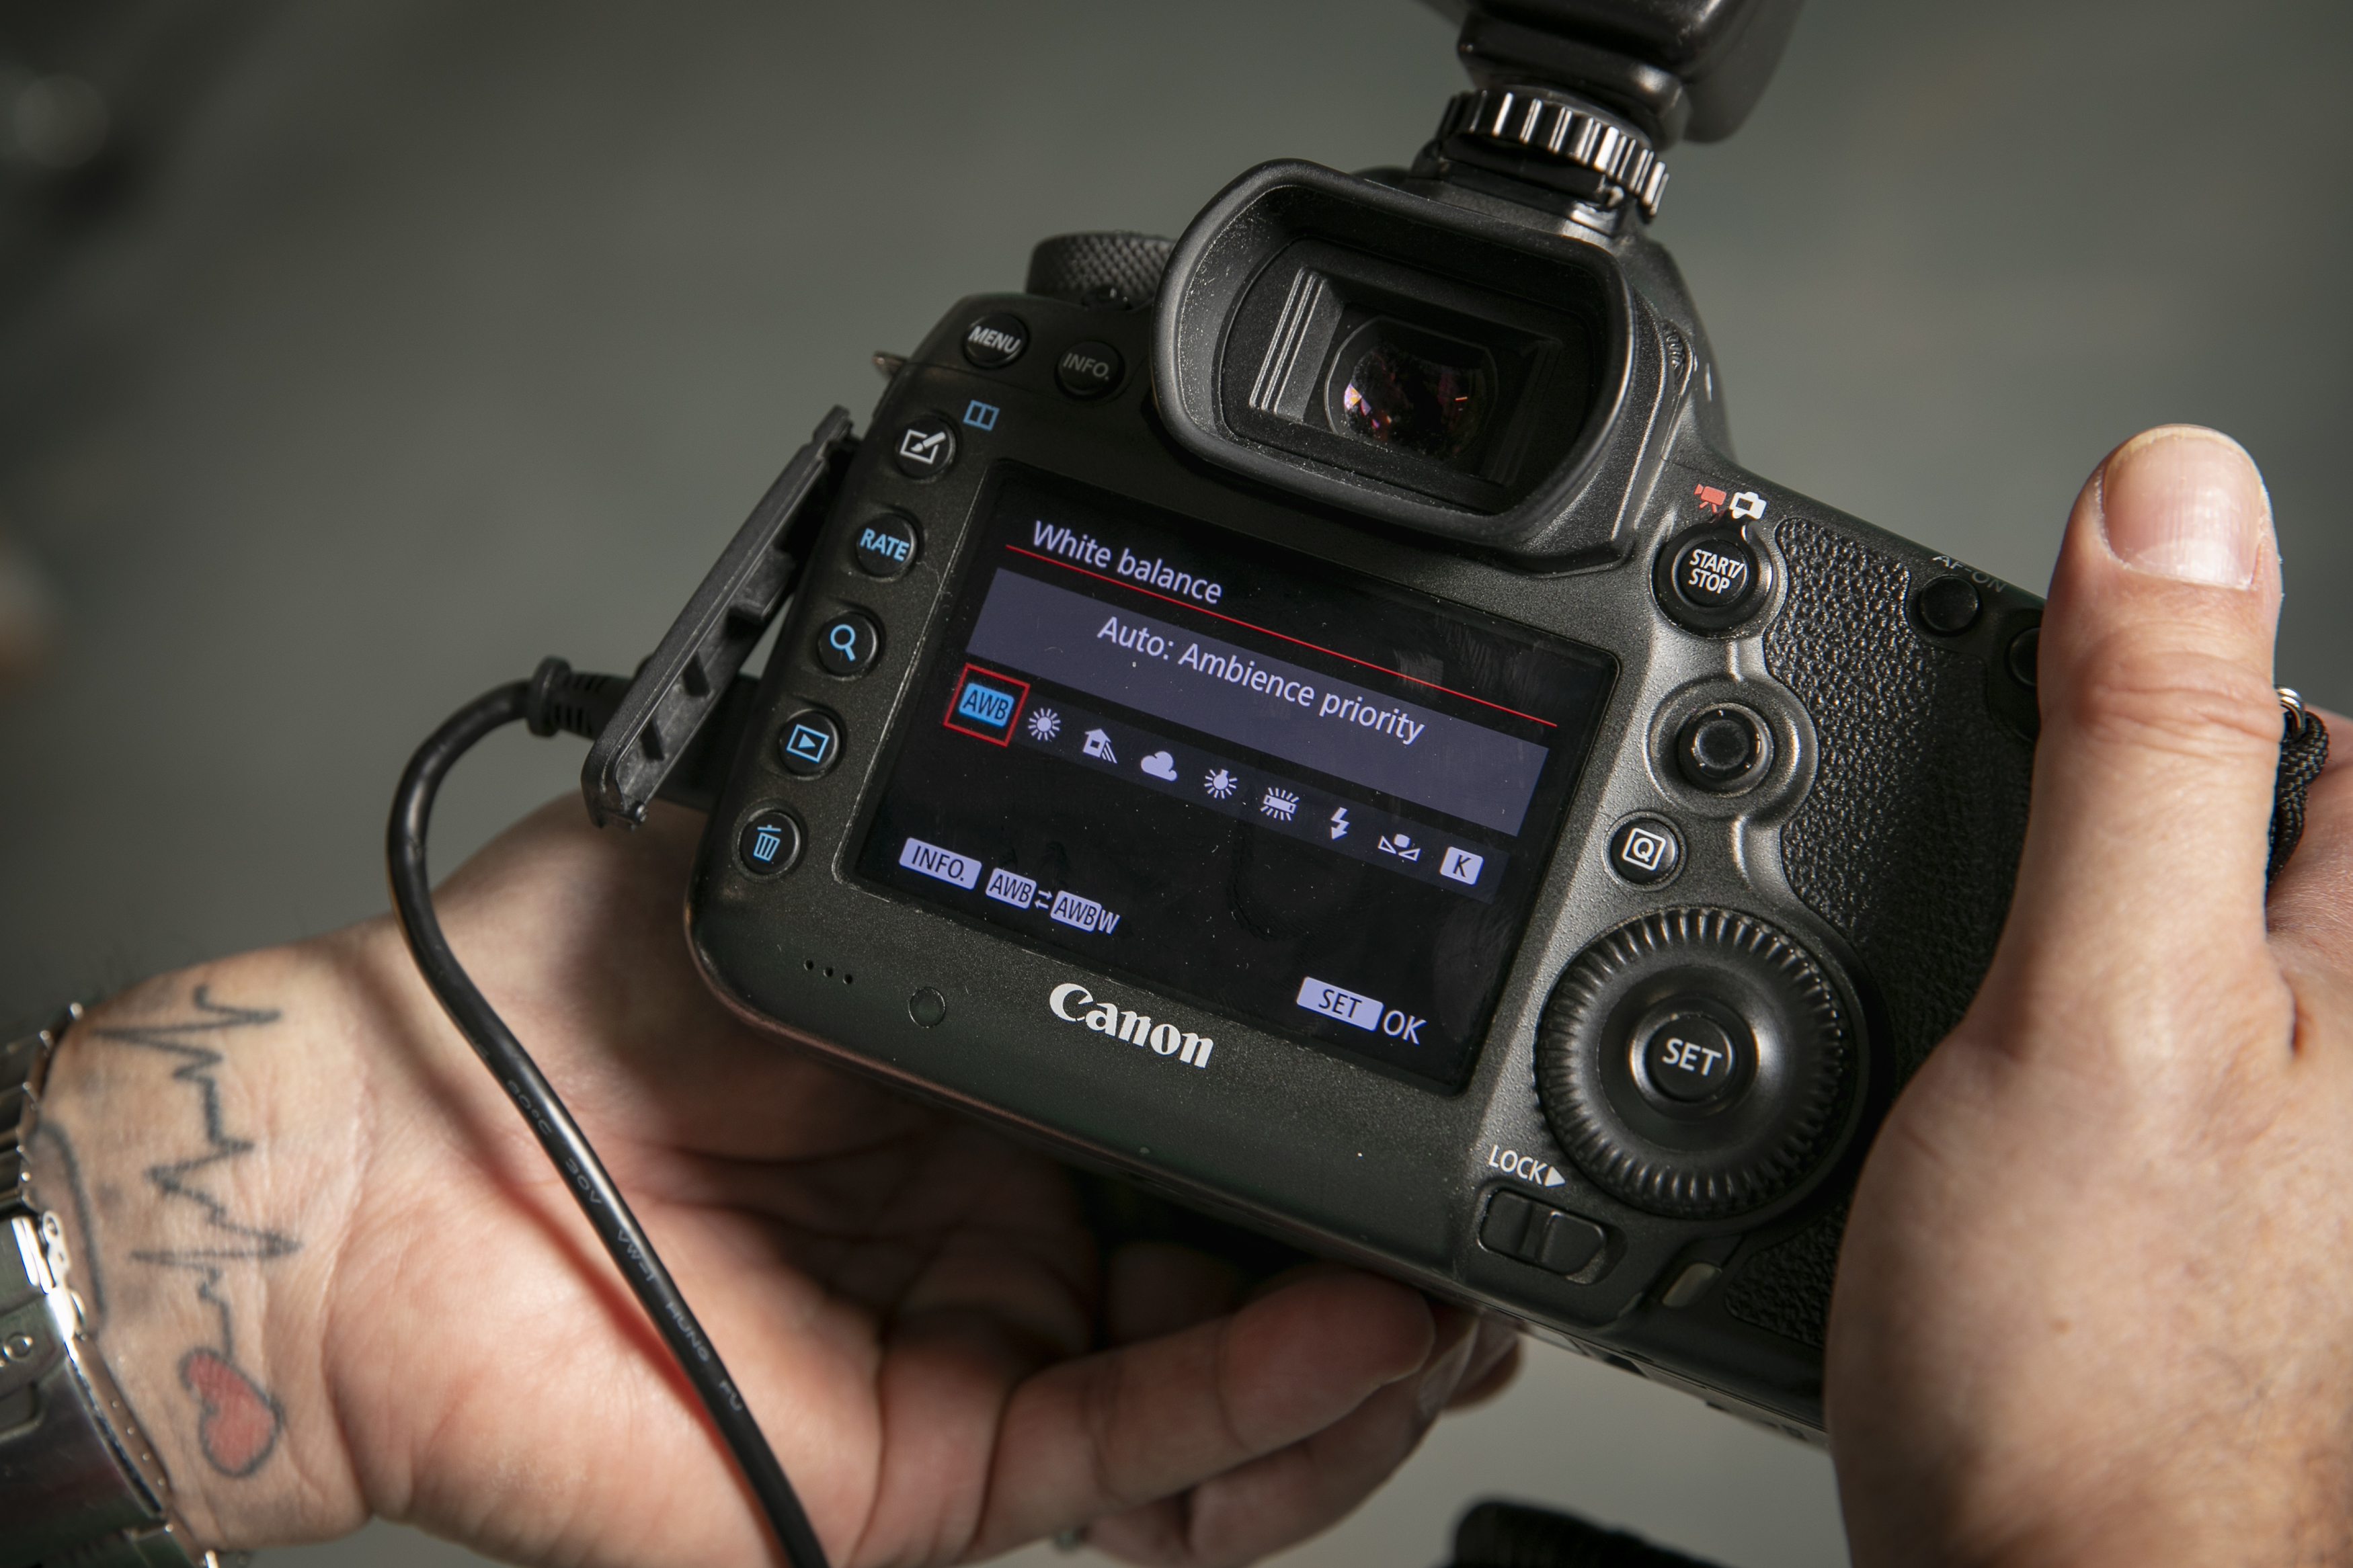
“To keep things simple for Micheal, I got him to keep his auto white balance (AWB) setting on his camera. Most of the time, and when using quality studio lights, the AWB will capture accurate color temperate images.”
When using warm or cool gels, however, the camera can get confused in AWB, so he sets it to the neutral Flash WB. Either way, you can tweak color temperature in your preferred Raw editing software. If you want to set your WB perfectly like the pros in camera, however, you could use a grey card.
08 Budget prime lens
“The benefits of using lights is that you’re controlling the exposures, and are often using lenses at their optimum apertures. I love using my classic, compact and affordable Canon EF 50mm f/1.4 USM lens. I don’t need to shoot fully wide open in the studio, and shooting around f/2.5 on this lens is sharp and still has a nice shallow depth of field.”
You should avoid using a wide-angle lens close-up for portraits (16mm on full-frame, or 10mm on APS-C cameras, for example) as this focal length distorts things – and can make faces look fat!
09 Use colored gels
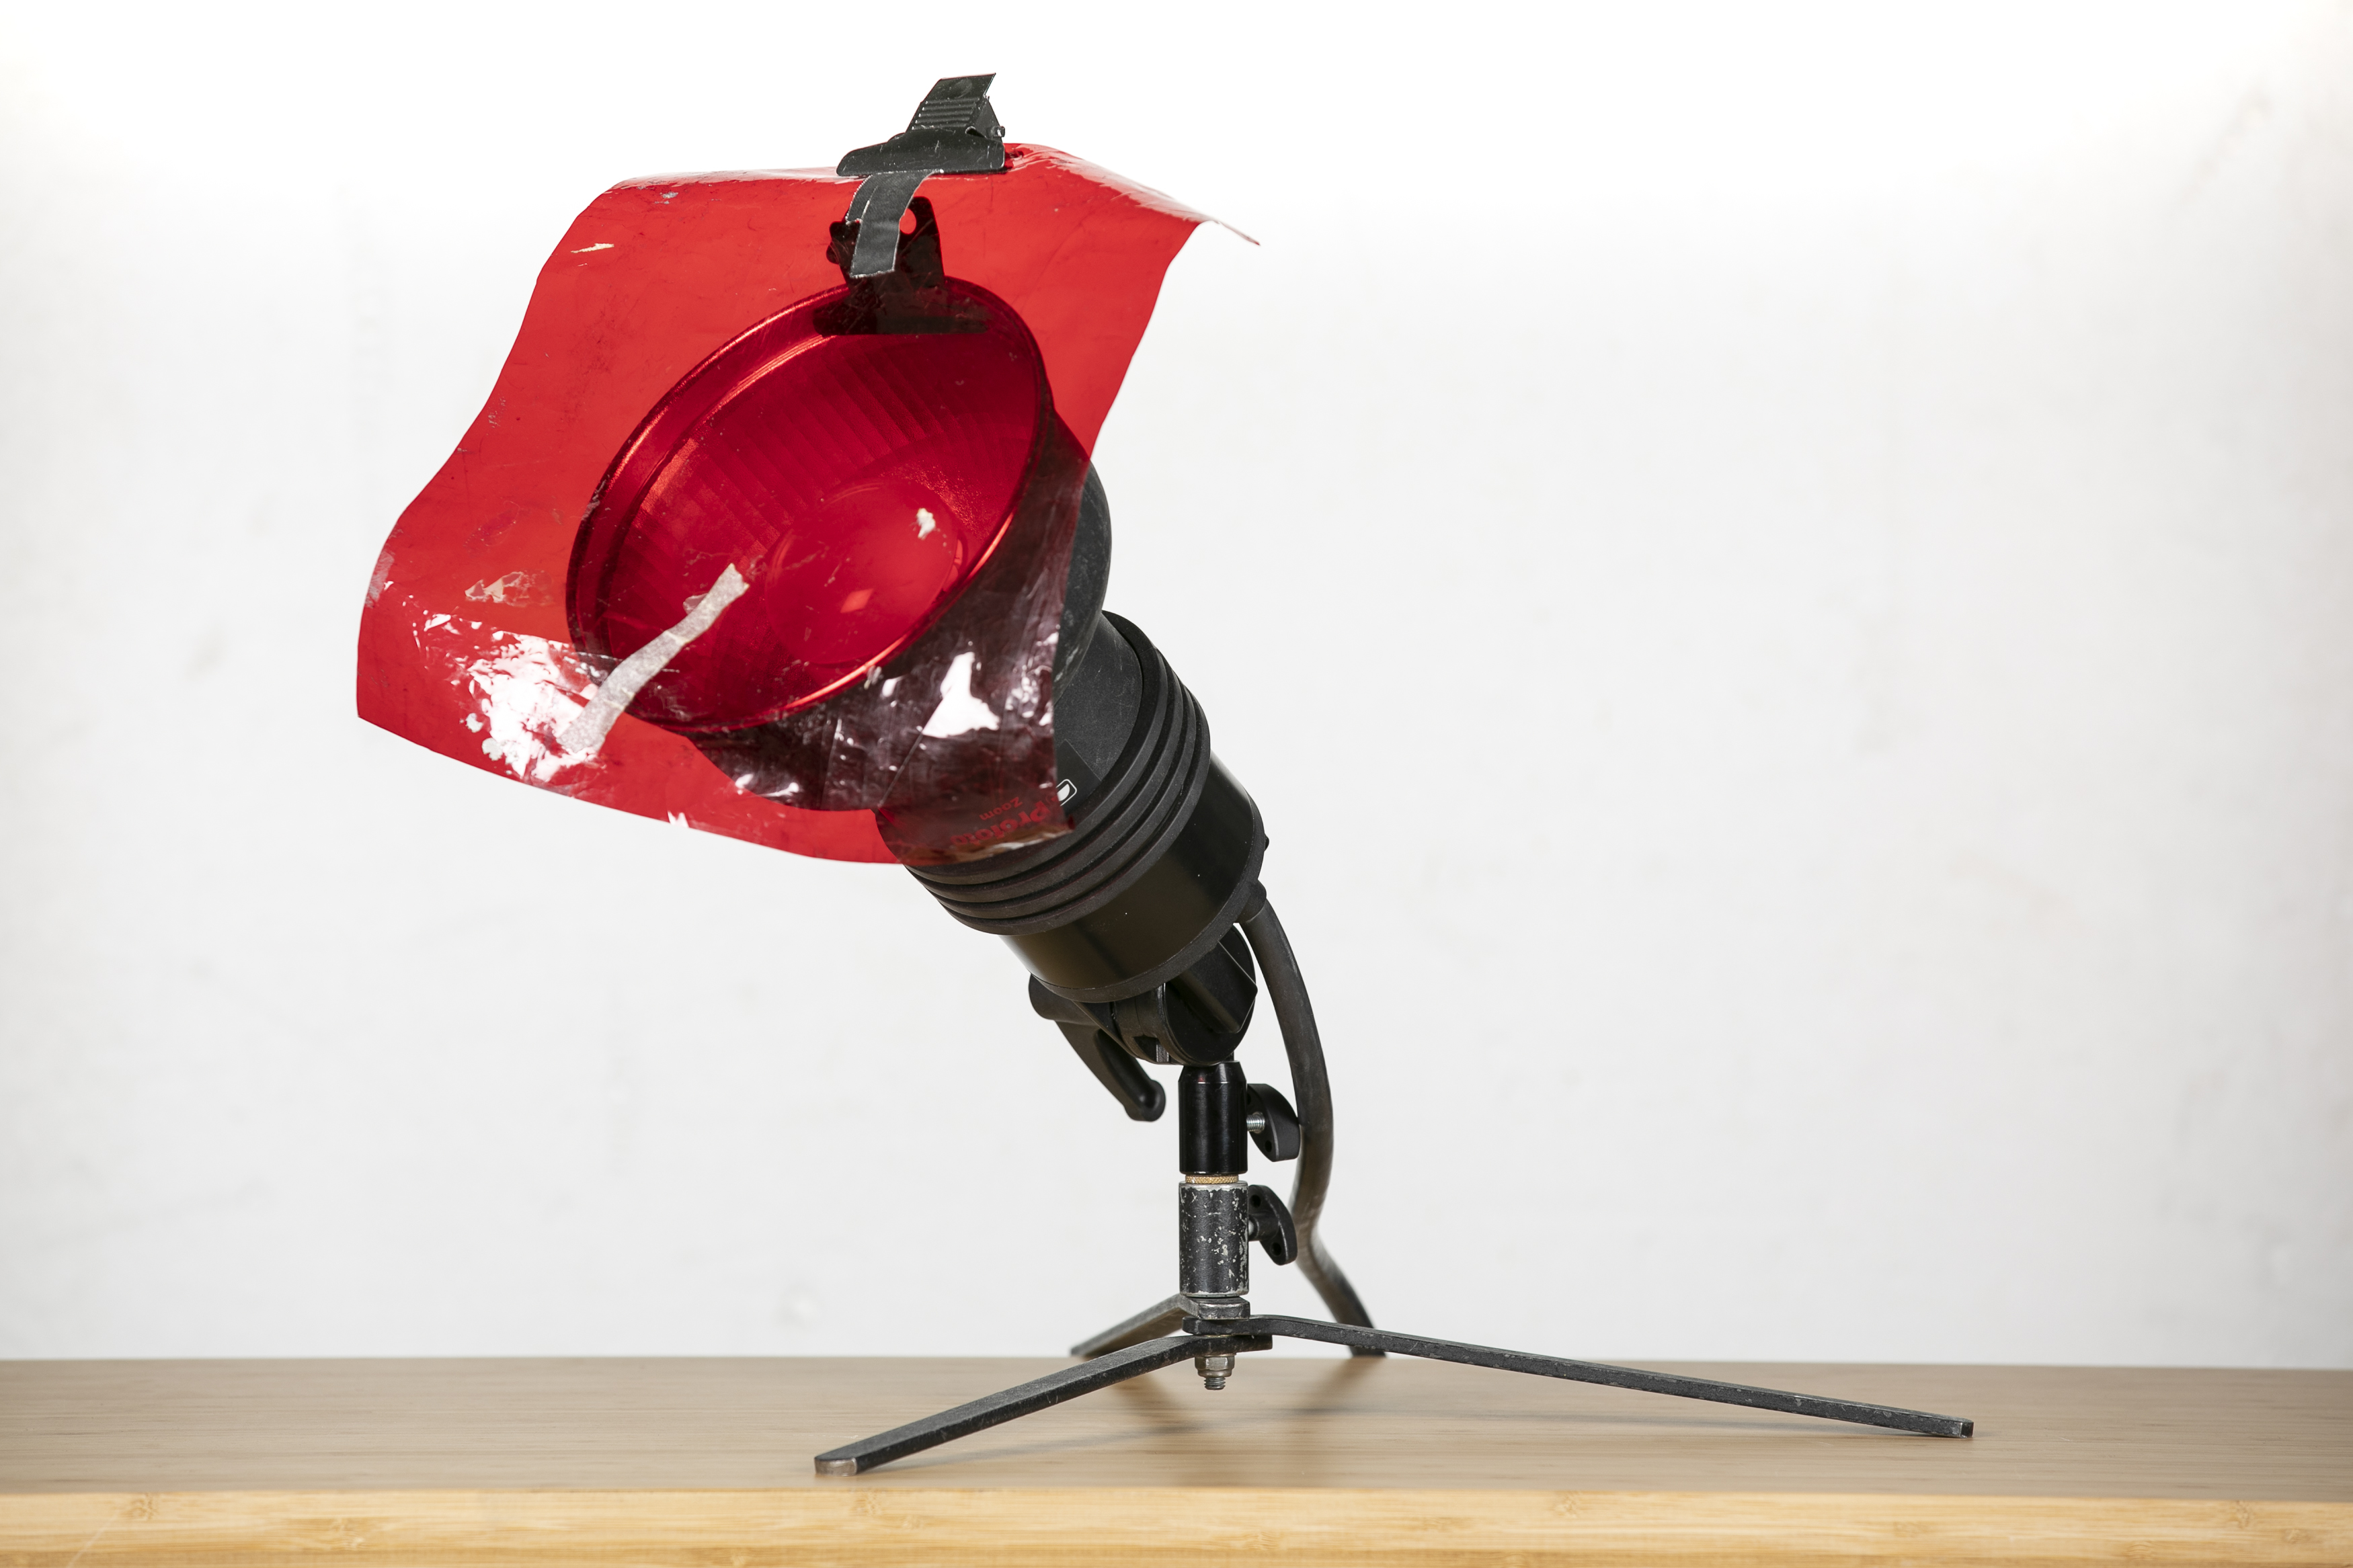
Adding gels (which are effectively thin, translucent colored plastic) is a really cheap yet really effective way of transforming your lights and portraits. “You can buy proper gel holders and pre-cut gels, but we just used big sheets and taped them in front of the lighting heads, inside any diffusers.
Using gels is also a quick way to turn your white background into any color without buying lots of new colored paper rolls,” says Phil.
10 Modeling lights
"An often overlooked benefit of using studio lights is that you can exploit the modeling light function to enable you to see how each light is falling on your subject. Also, shooting in a dark studio – with the main lights off to avoid any unwanted fluorescent light – the modeling lights will help your AF lock on before firing the flash and taking the shots."
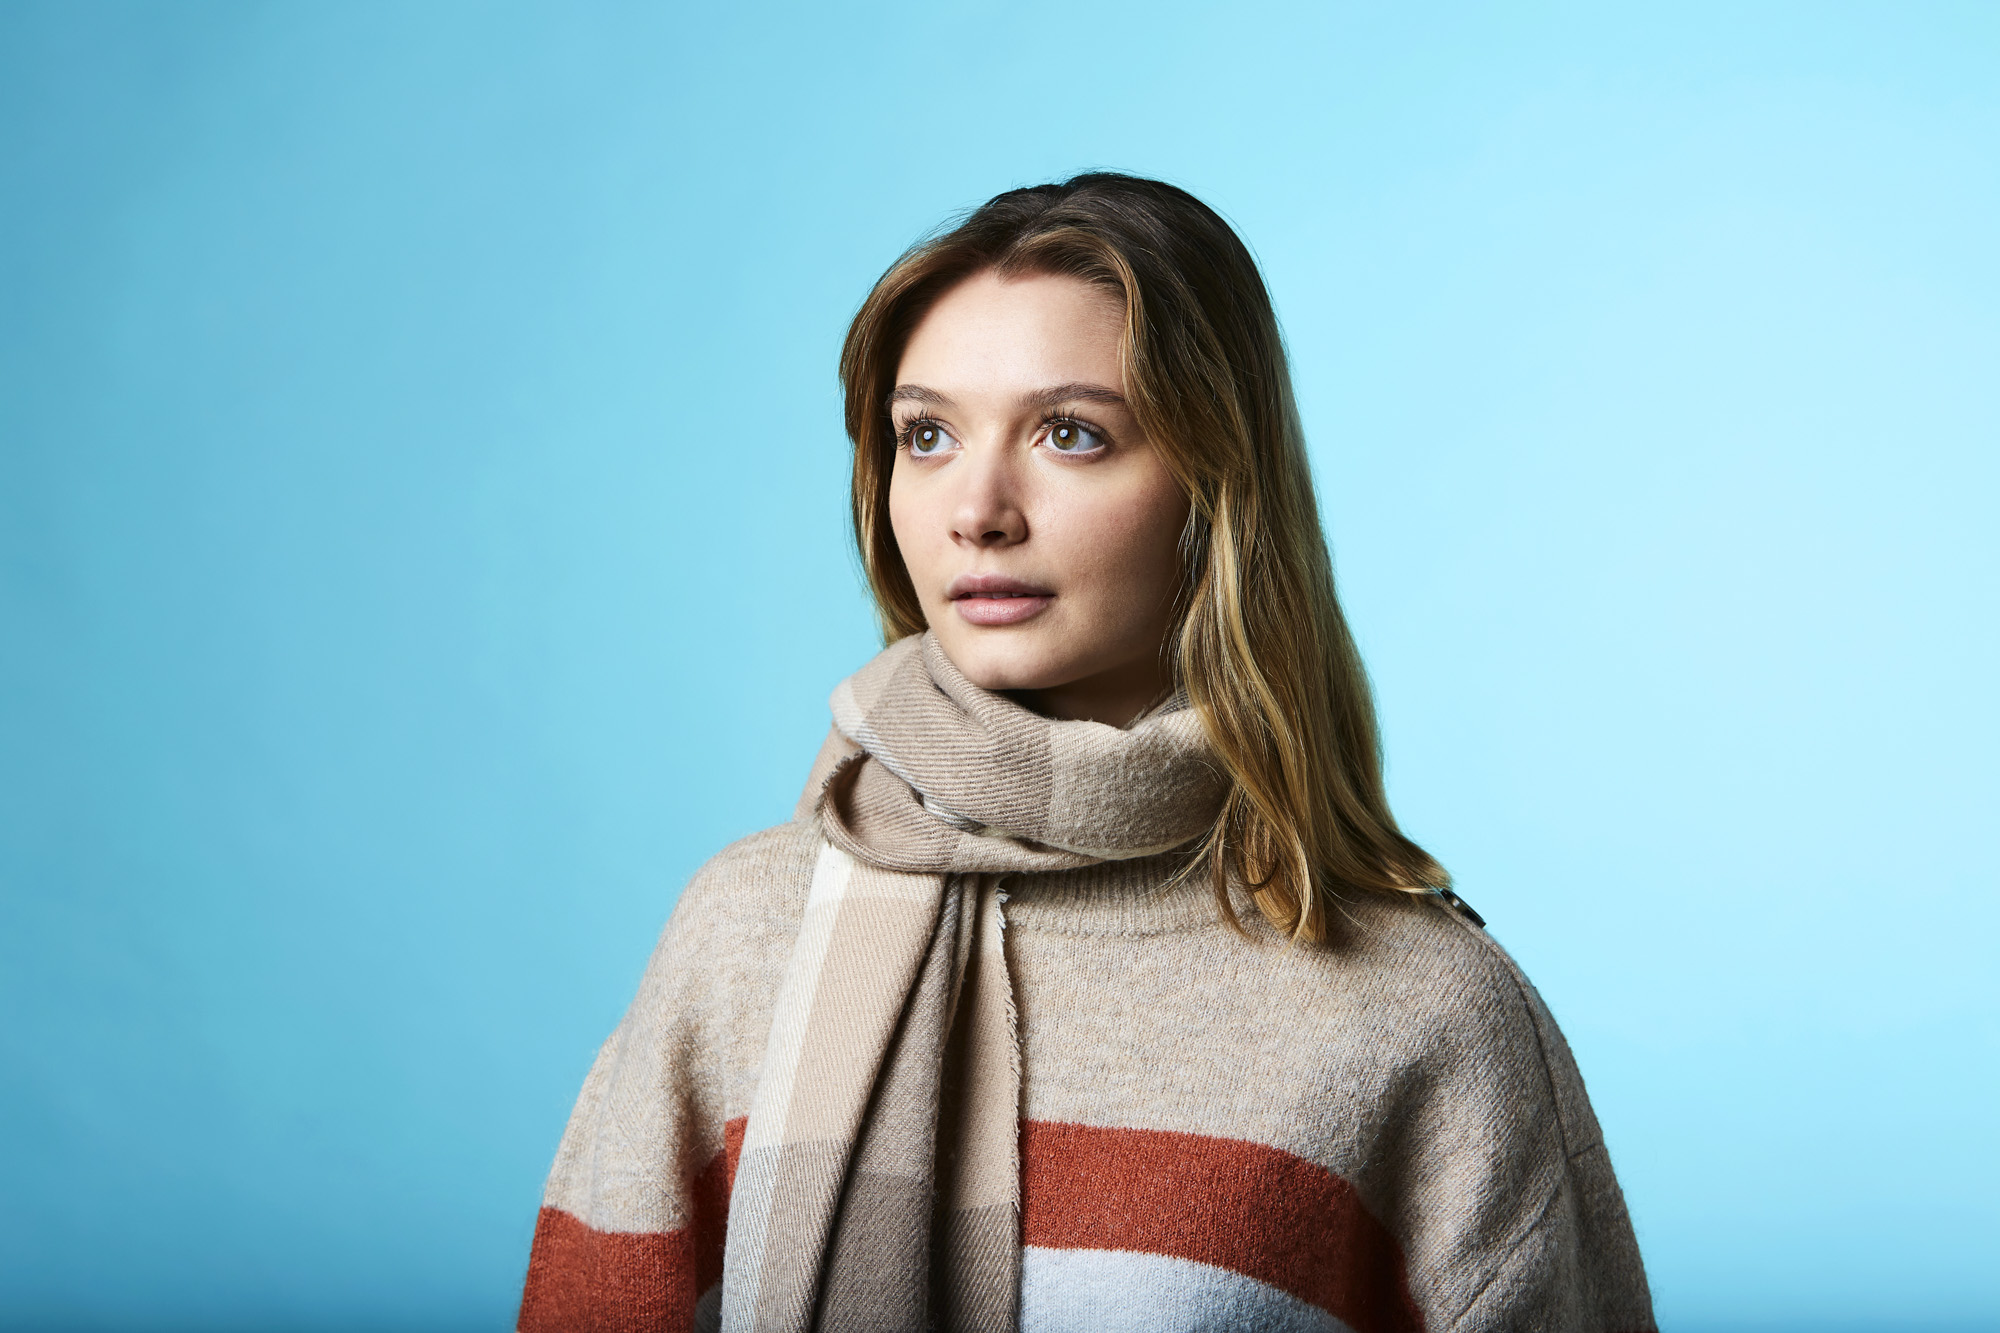
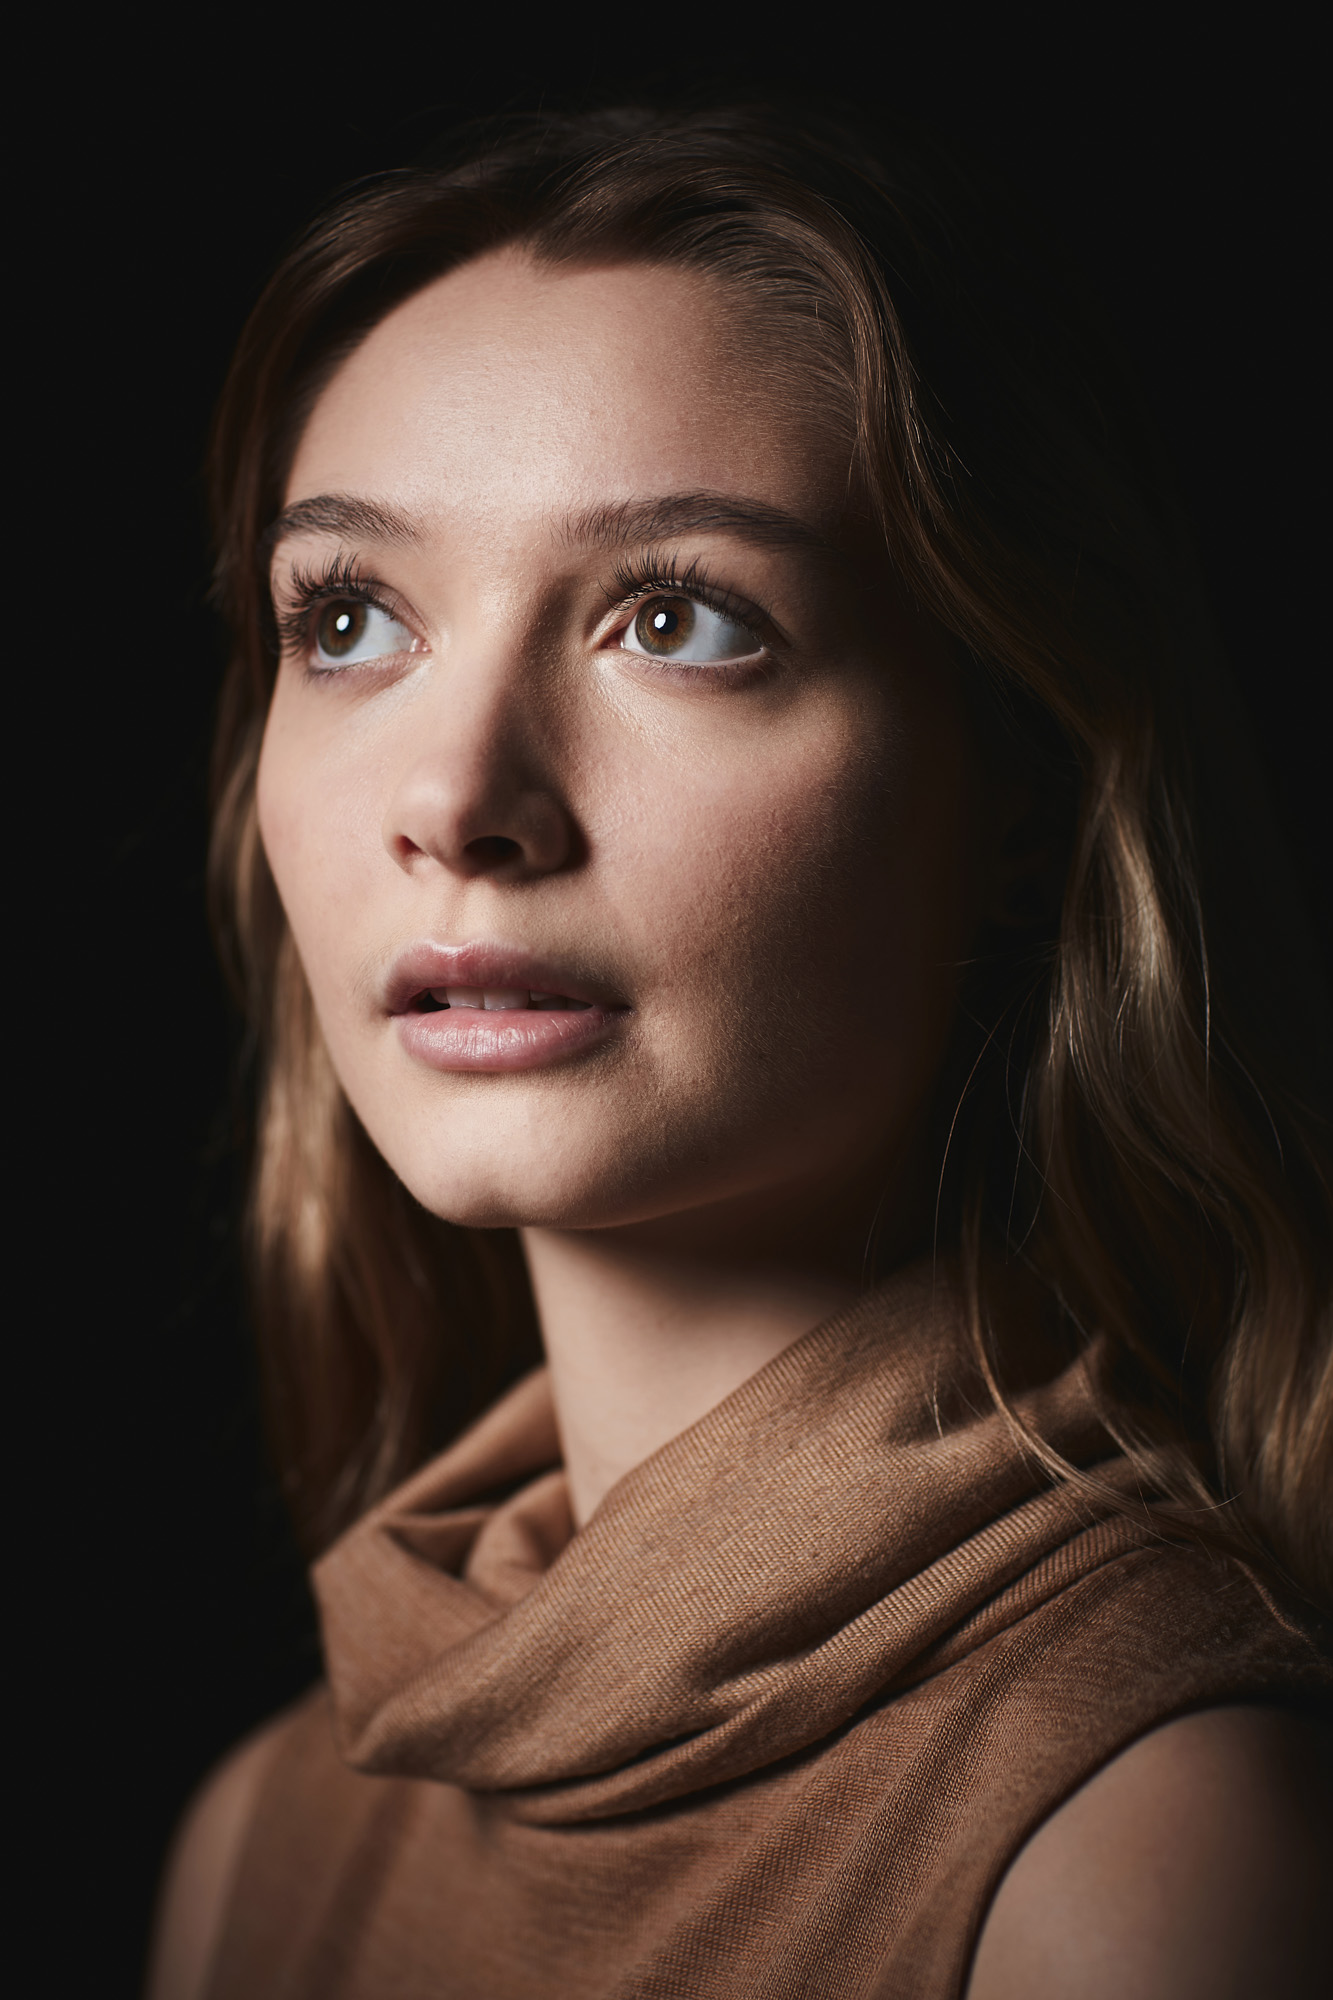
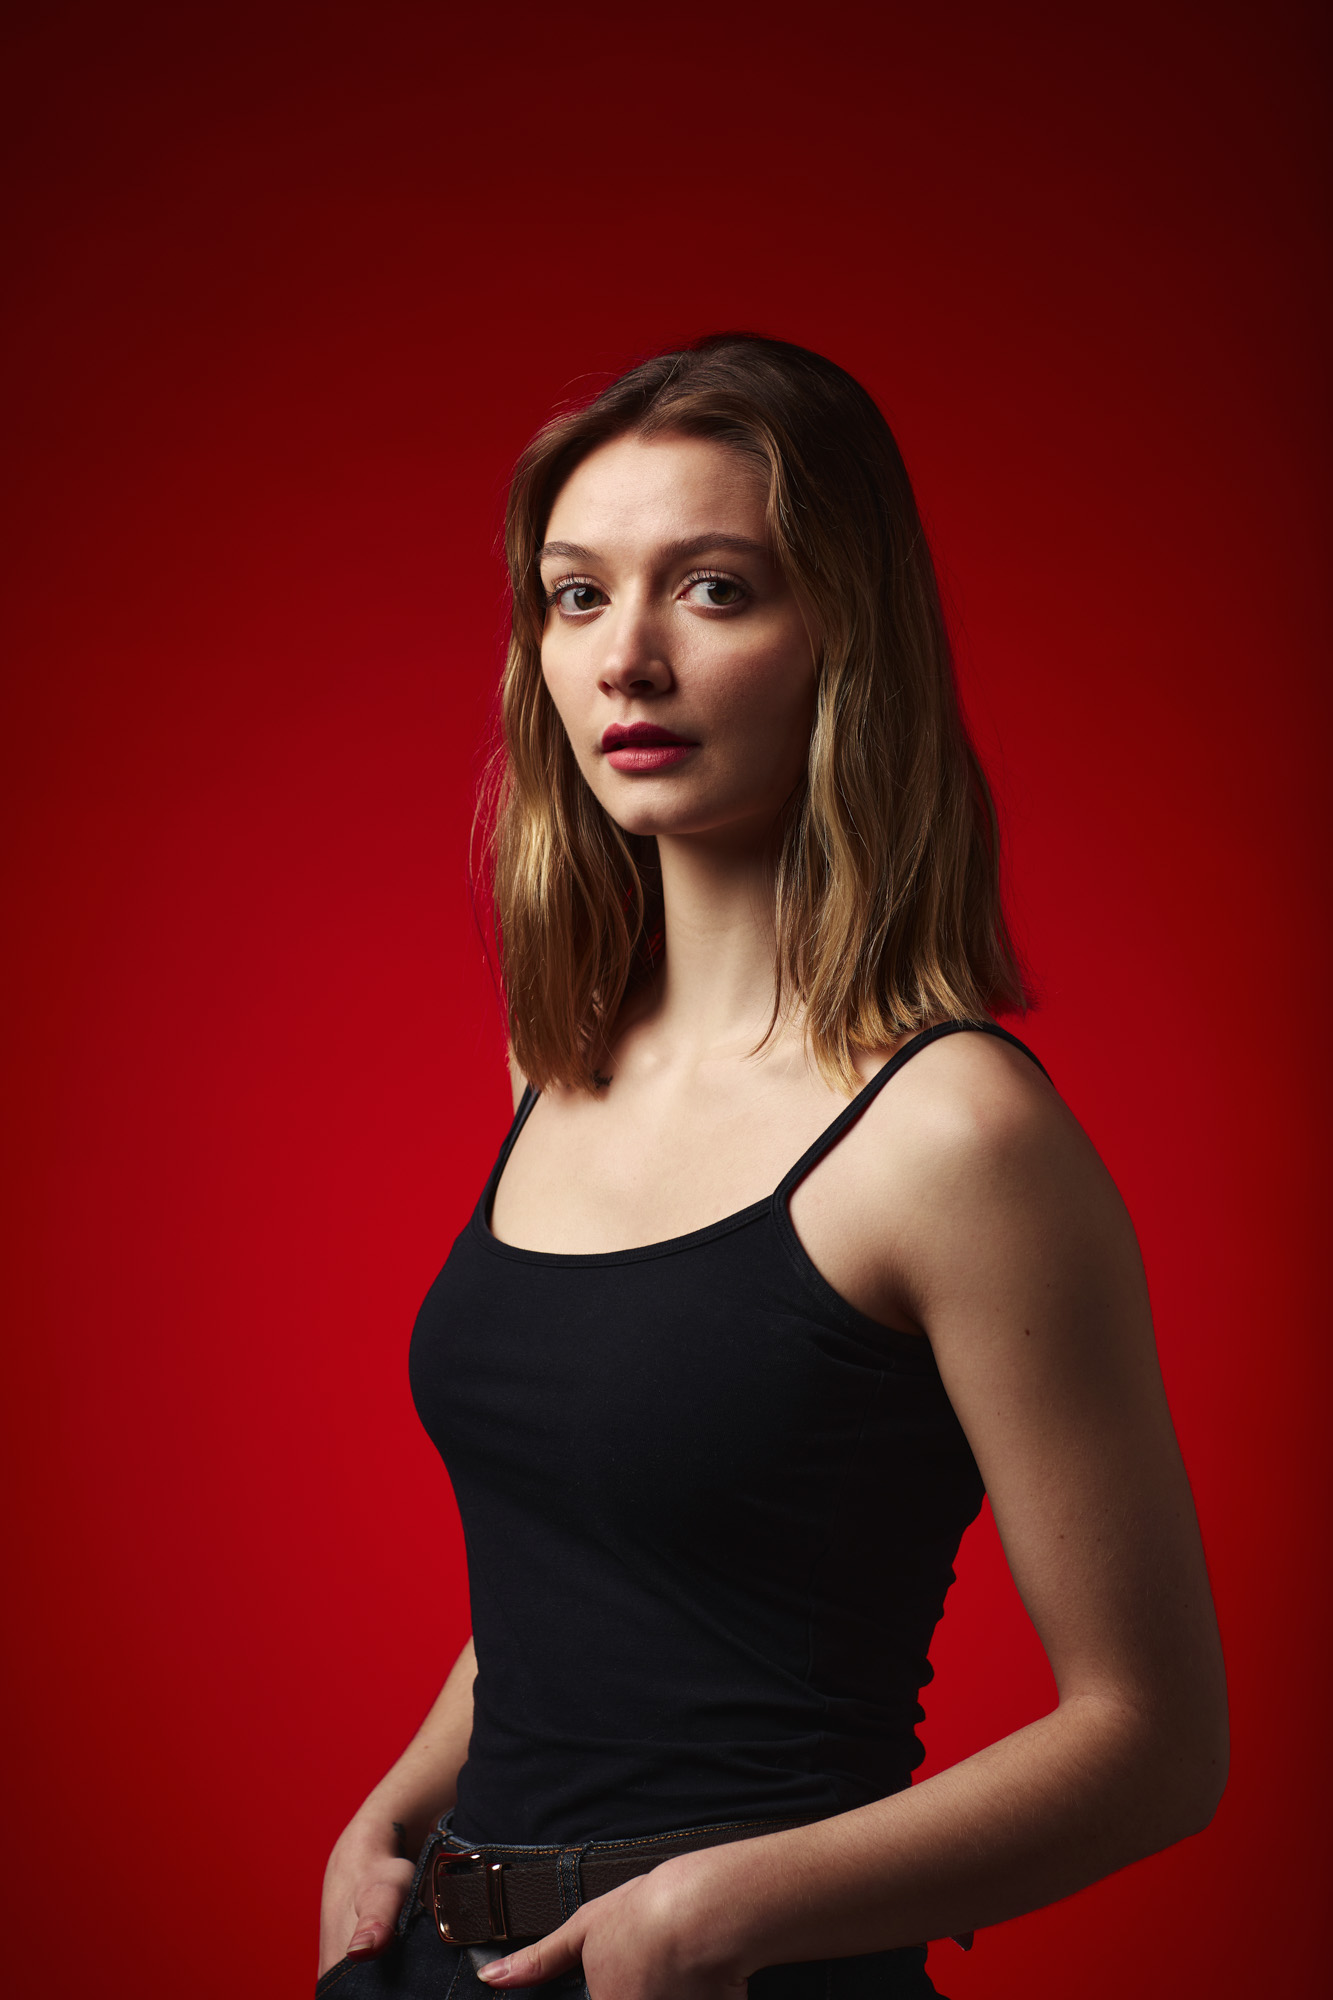
PhotoPlus: The Canon Magazine is the world's only monthly newsstand title that's 100% devoted to Canon, so you can be sure the magazine is completely relevant to your system. Every issue comes with downloadable video tutorials too.
Read more:
Best lens for portraits
Best camera for portraits
Photography tips
Canon EOS R5 review

In addition to being a freelance photographer and filmmaker, Dan is a bona fide expert on all things Canon and Adobe. Not only is he an Adobe-certified Photoshop guru, he's spent over 10 years writing for specialist magazines including stints as the Deputy Editor for PhotoPlus: The Canon Magazine, Technical Editor for Practical Photography and Photoshop Editor on Digital Photo.
