I boarded the SS Great Britain to take on the challenge of photographing a steamship above and below deck
I went aboard the SS Great Britain in Bristol to discover what to see and photograph when visiting a ship representing the early years of luxury passenger travel at sea
The first steam-powered ships took to the water in the latter years of the 18th century, using paddles for propulsion and often still being fitted with sails. It was Richard Wright’s Experiment, a converted French lugger, that made the first trip on the open seas though, chugging from Leeds to Yarmouth in 1813.
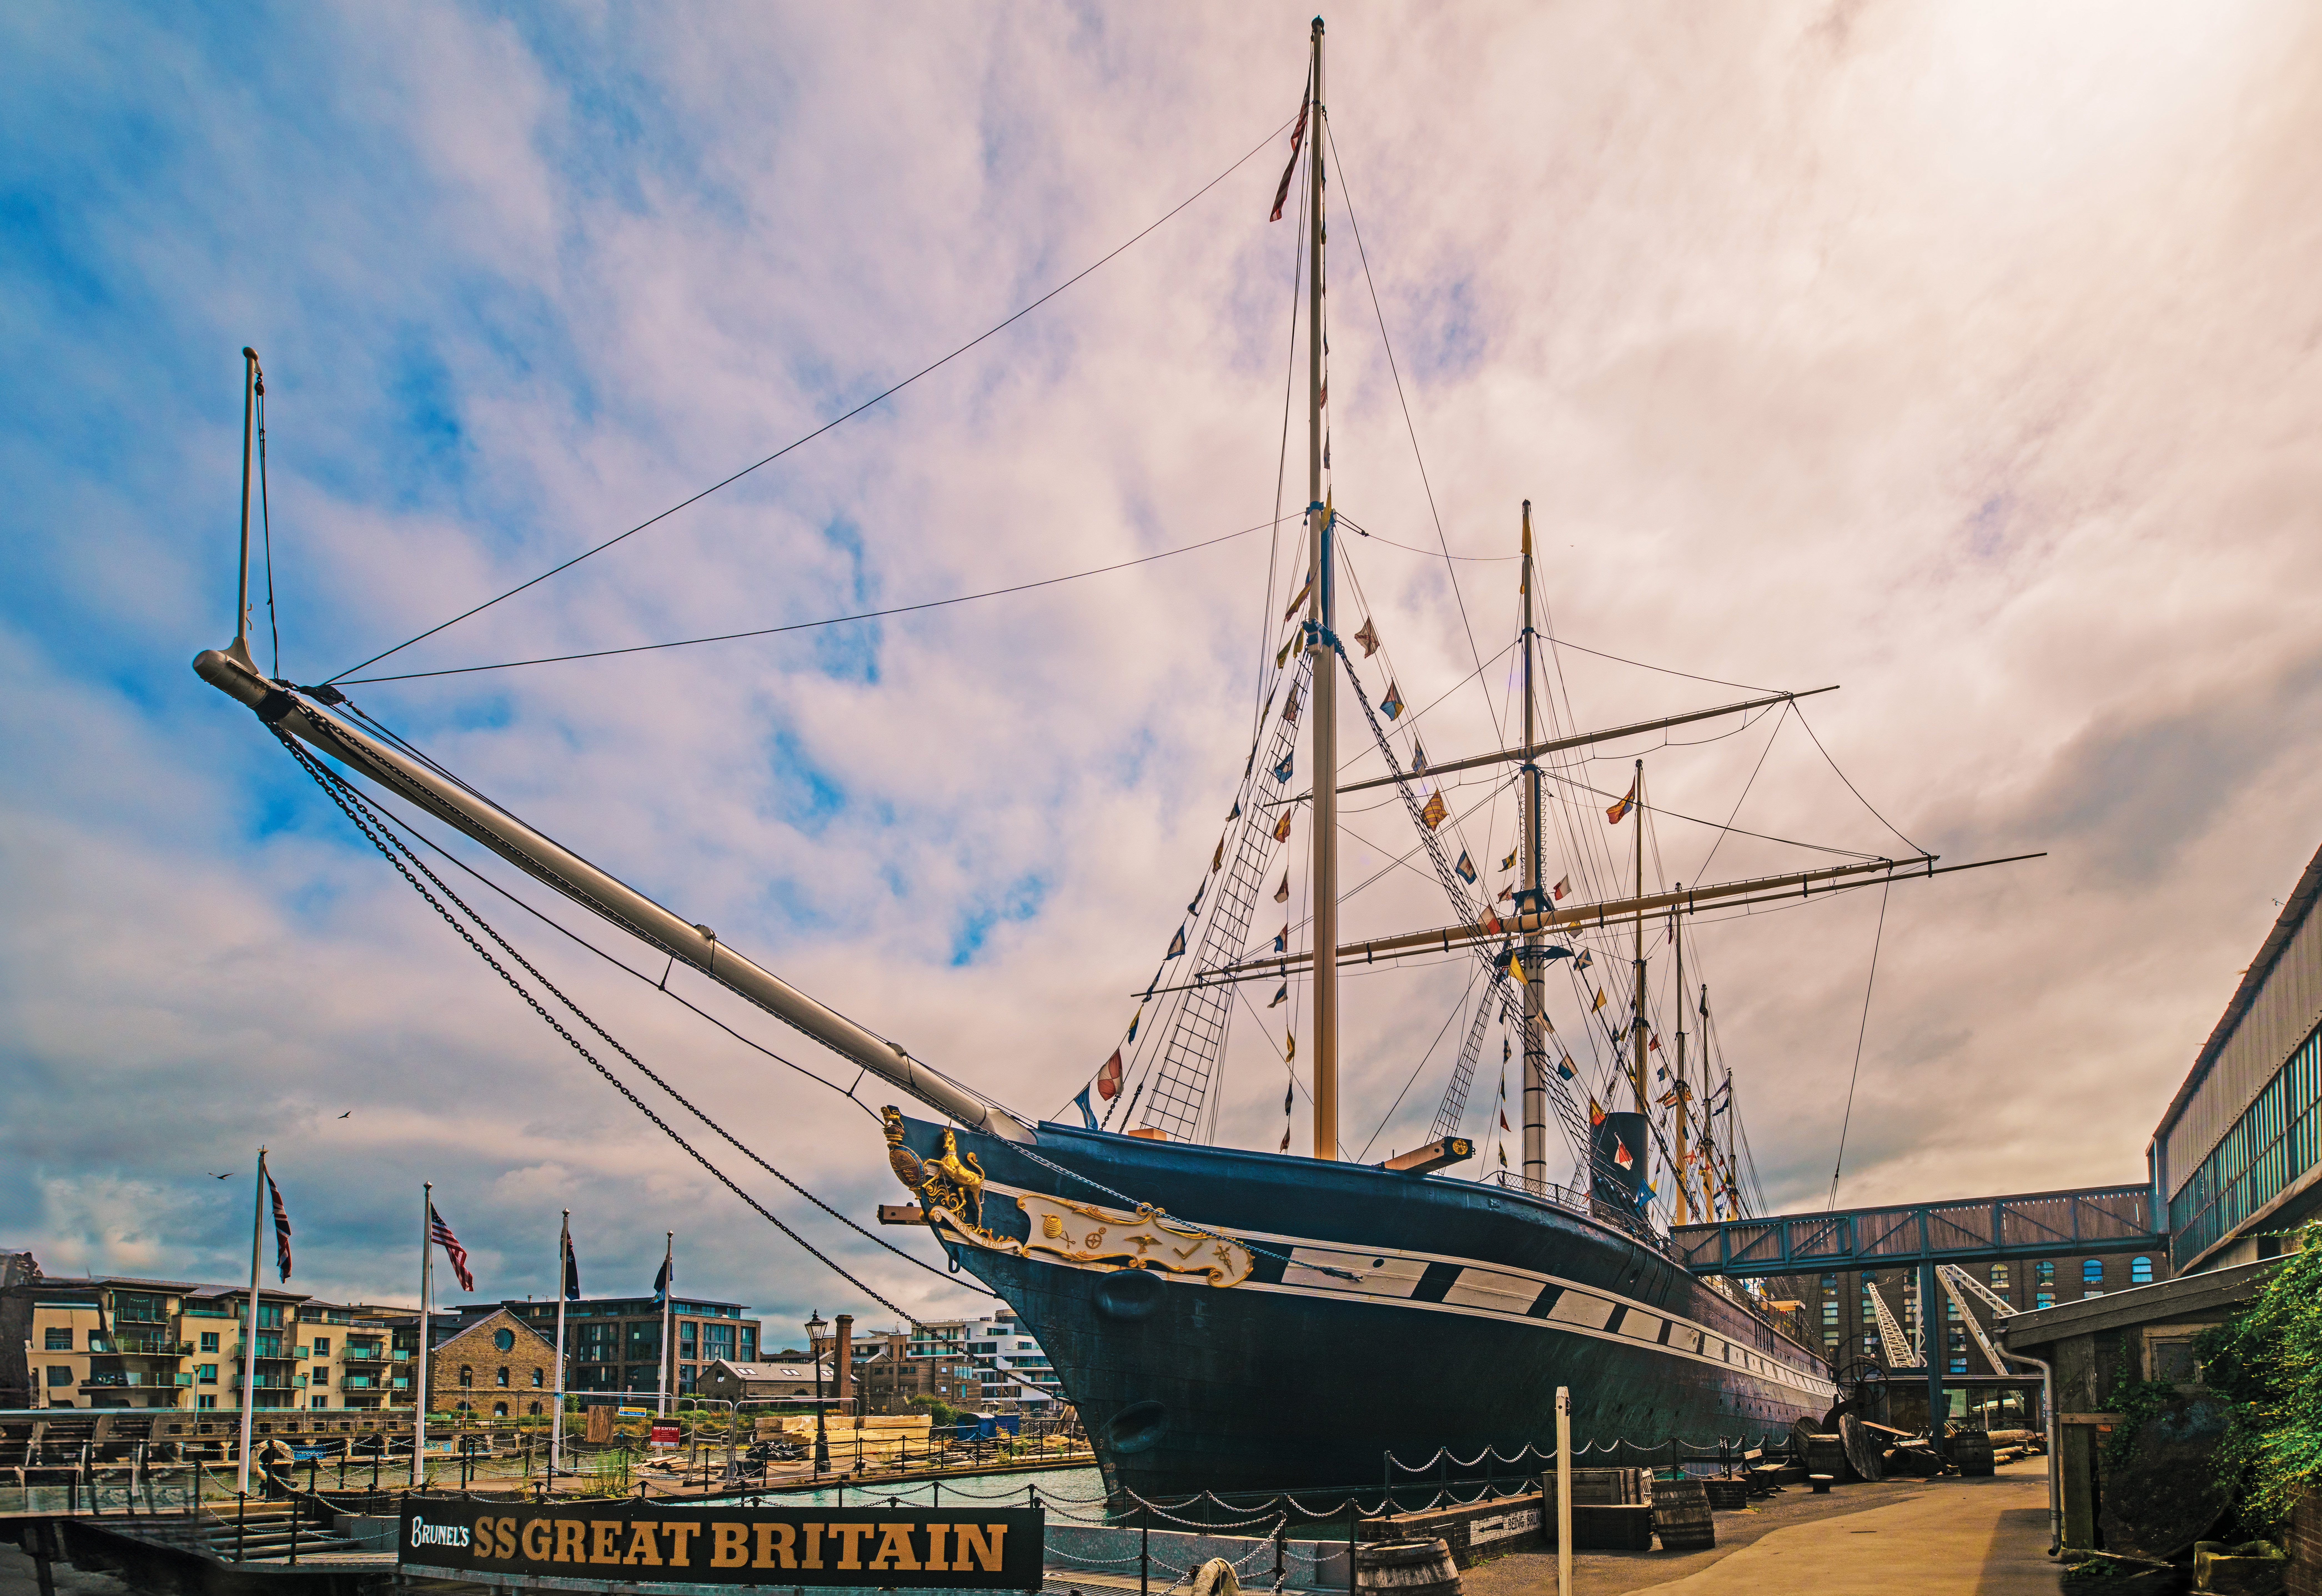
However, the golden age of steamships was the Victorian era (approx 1820-1914), with one of the most famous being the SS Great Britain, designed by Isambard Kingdom Brunel and launched in 1843. Fitted with screws for propulsion, cabins, kitchens, promenade deck and a sumptuous dining saloon, it was the first great luxury liner and sailed between Bristol and New York. She was also the first iron-hulled steamer to cross the Atlantic, in 1845, fielded a crew of 120 and could carry up to 360 passengers.
Capturing exteriors
A heritage ship like the SS Great Britain is more than likely permanently moored or in dry dock as it will never sail again. Even if the ship is still seaworthy, as a floating museum you are again, more likely to find it tied up, rather than actually sailing. Photographing a ship at sea is essentially an action shot, here it’s more a case of exploiting the angles and space as a static landscape.
If you are at the dock with the ship, the tricky part is getting far enough away to include all of it in the shot, as buildings and dockyard equipment may be in the way. Clearly, a wide angle lens is required here, so head for the prow of the ship and frame it so you can get everything in. For ships with masts, the problem is even more acute because now you have a large vertical element to incorporate as well. Sometimes it’s simply not possible to get everything in, in which case a portrait-orientation shot, including the prow, figurehead and first mast, is your best bet.
The one thing to be aware of is the position of the sun (if you get any that is) as you want it to be on the side of the ship that you are shooting, not on the far side as this will make it either too dark or offer a tricky exposure. Focus on the prow and use an f/8 or f/11 aperture for the best combination of sharpness and depth of field.
Whilst up top the main attractions are the patterns of wooden planks leading down the ship and the views from either end. Here use a wide angle lens and focus around 3m into the scene, unless you are excluding what is right in front of you, in which case focus a bit further into the scene. Then you can either opt for f/5.6, f/8 or f/11 for maximum sharpness. For ships with masts or tall steam funnels, switching to portrait orientation is usually a good idea.
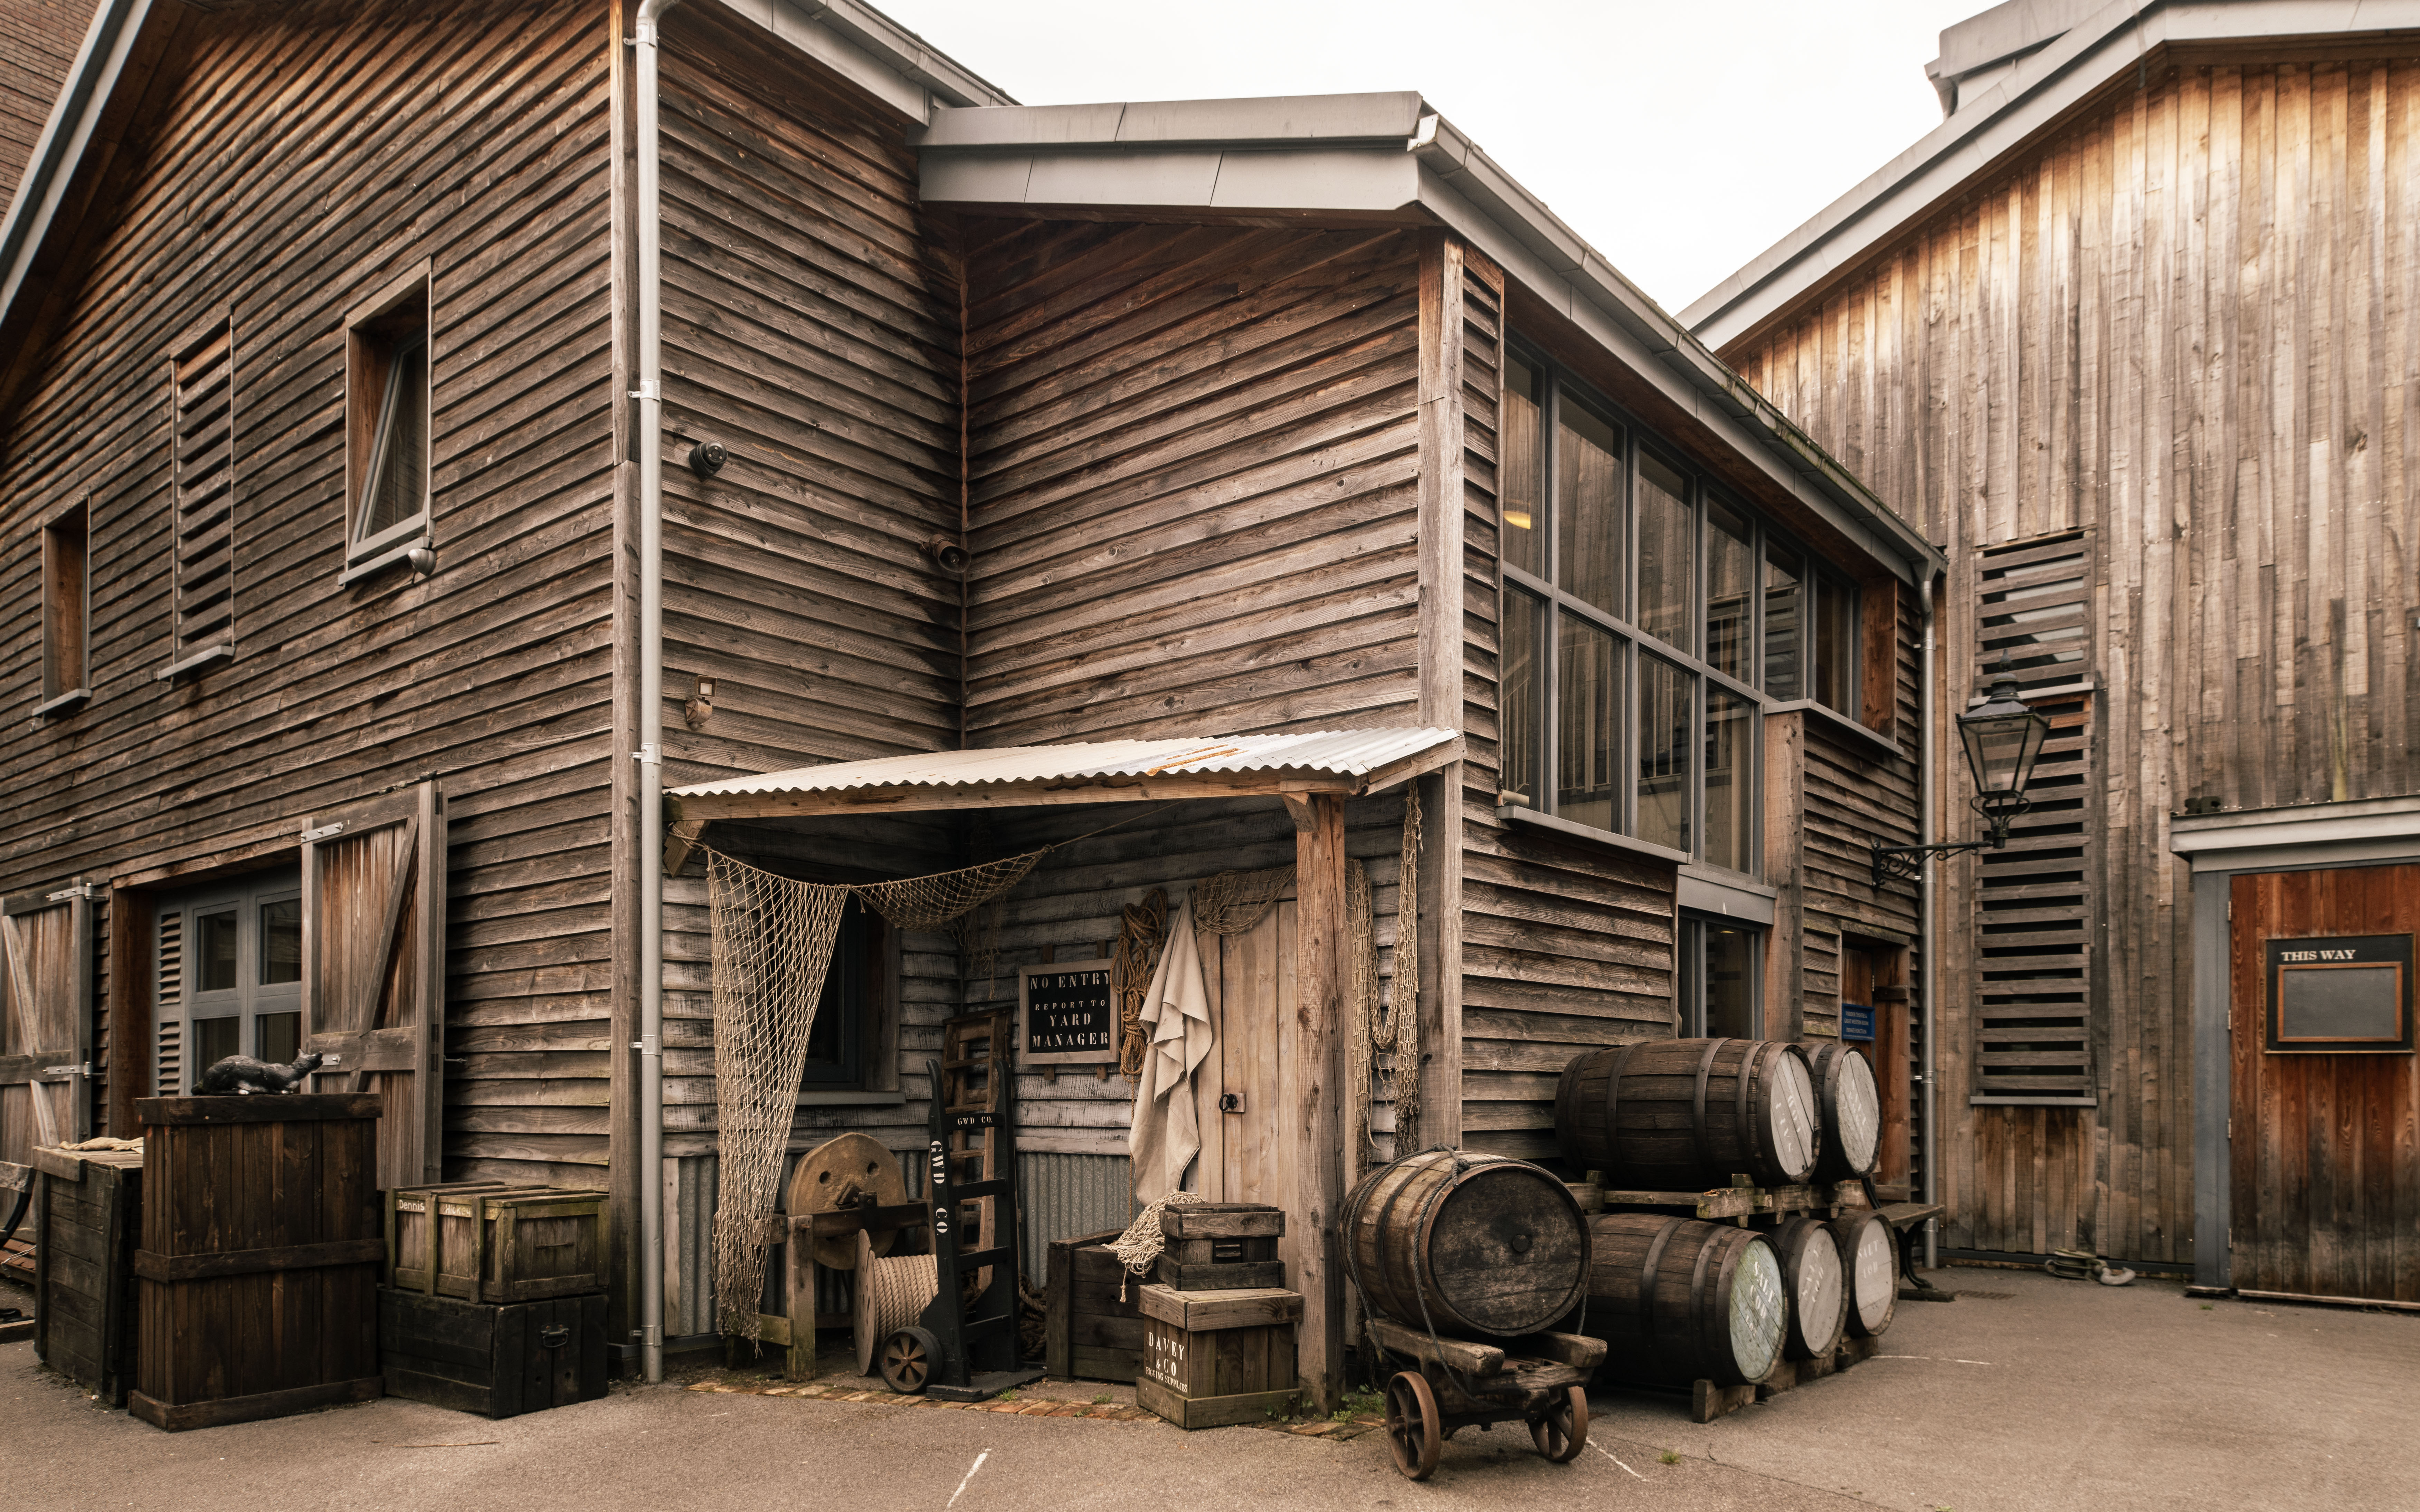
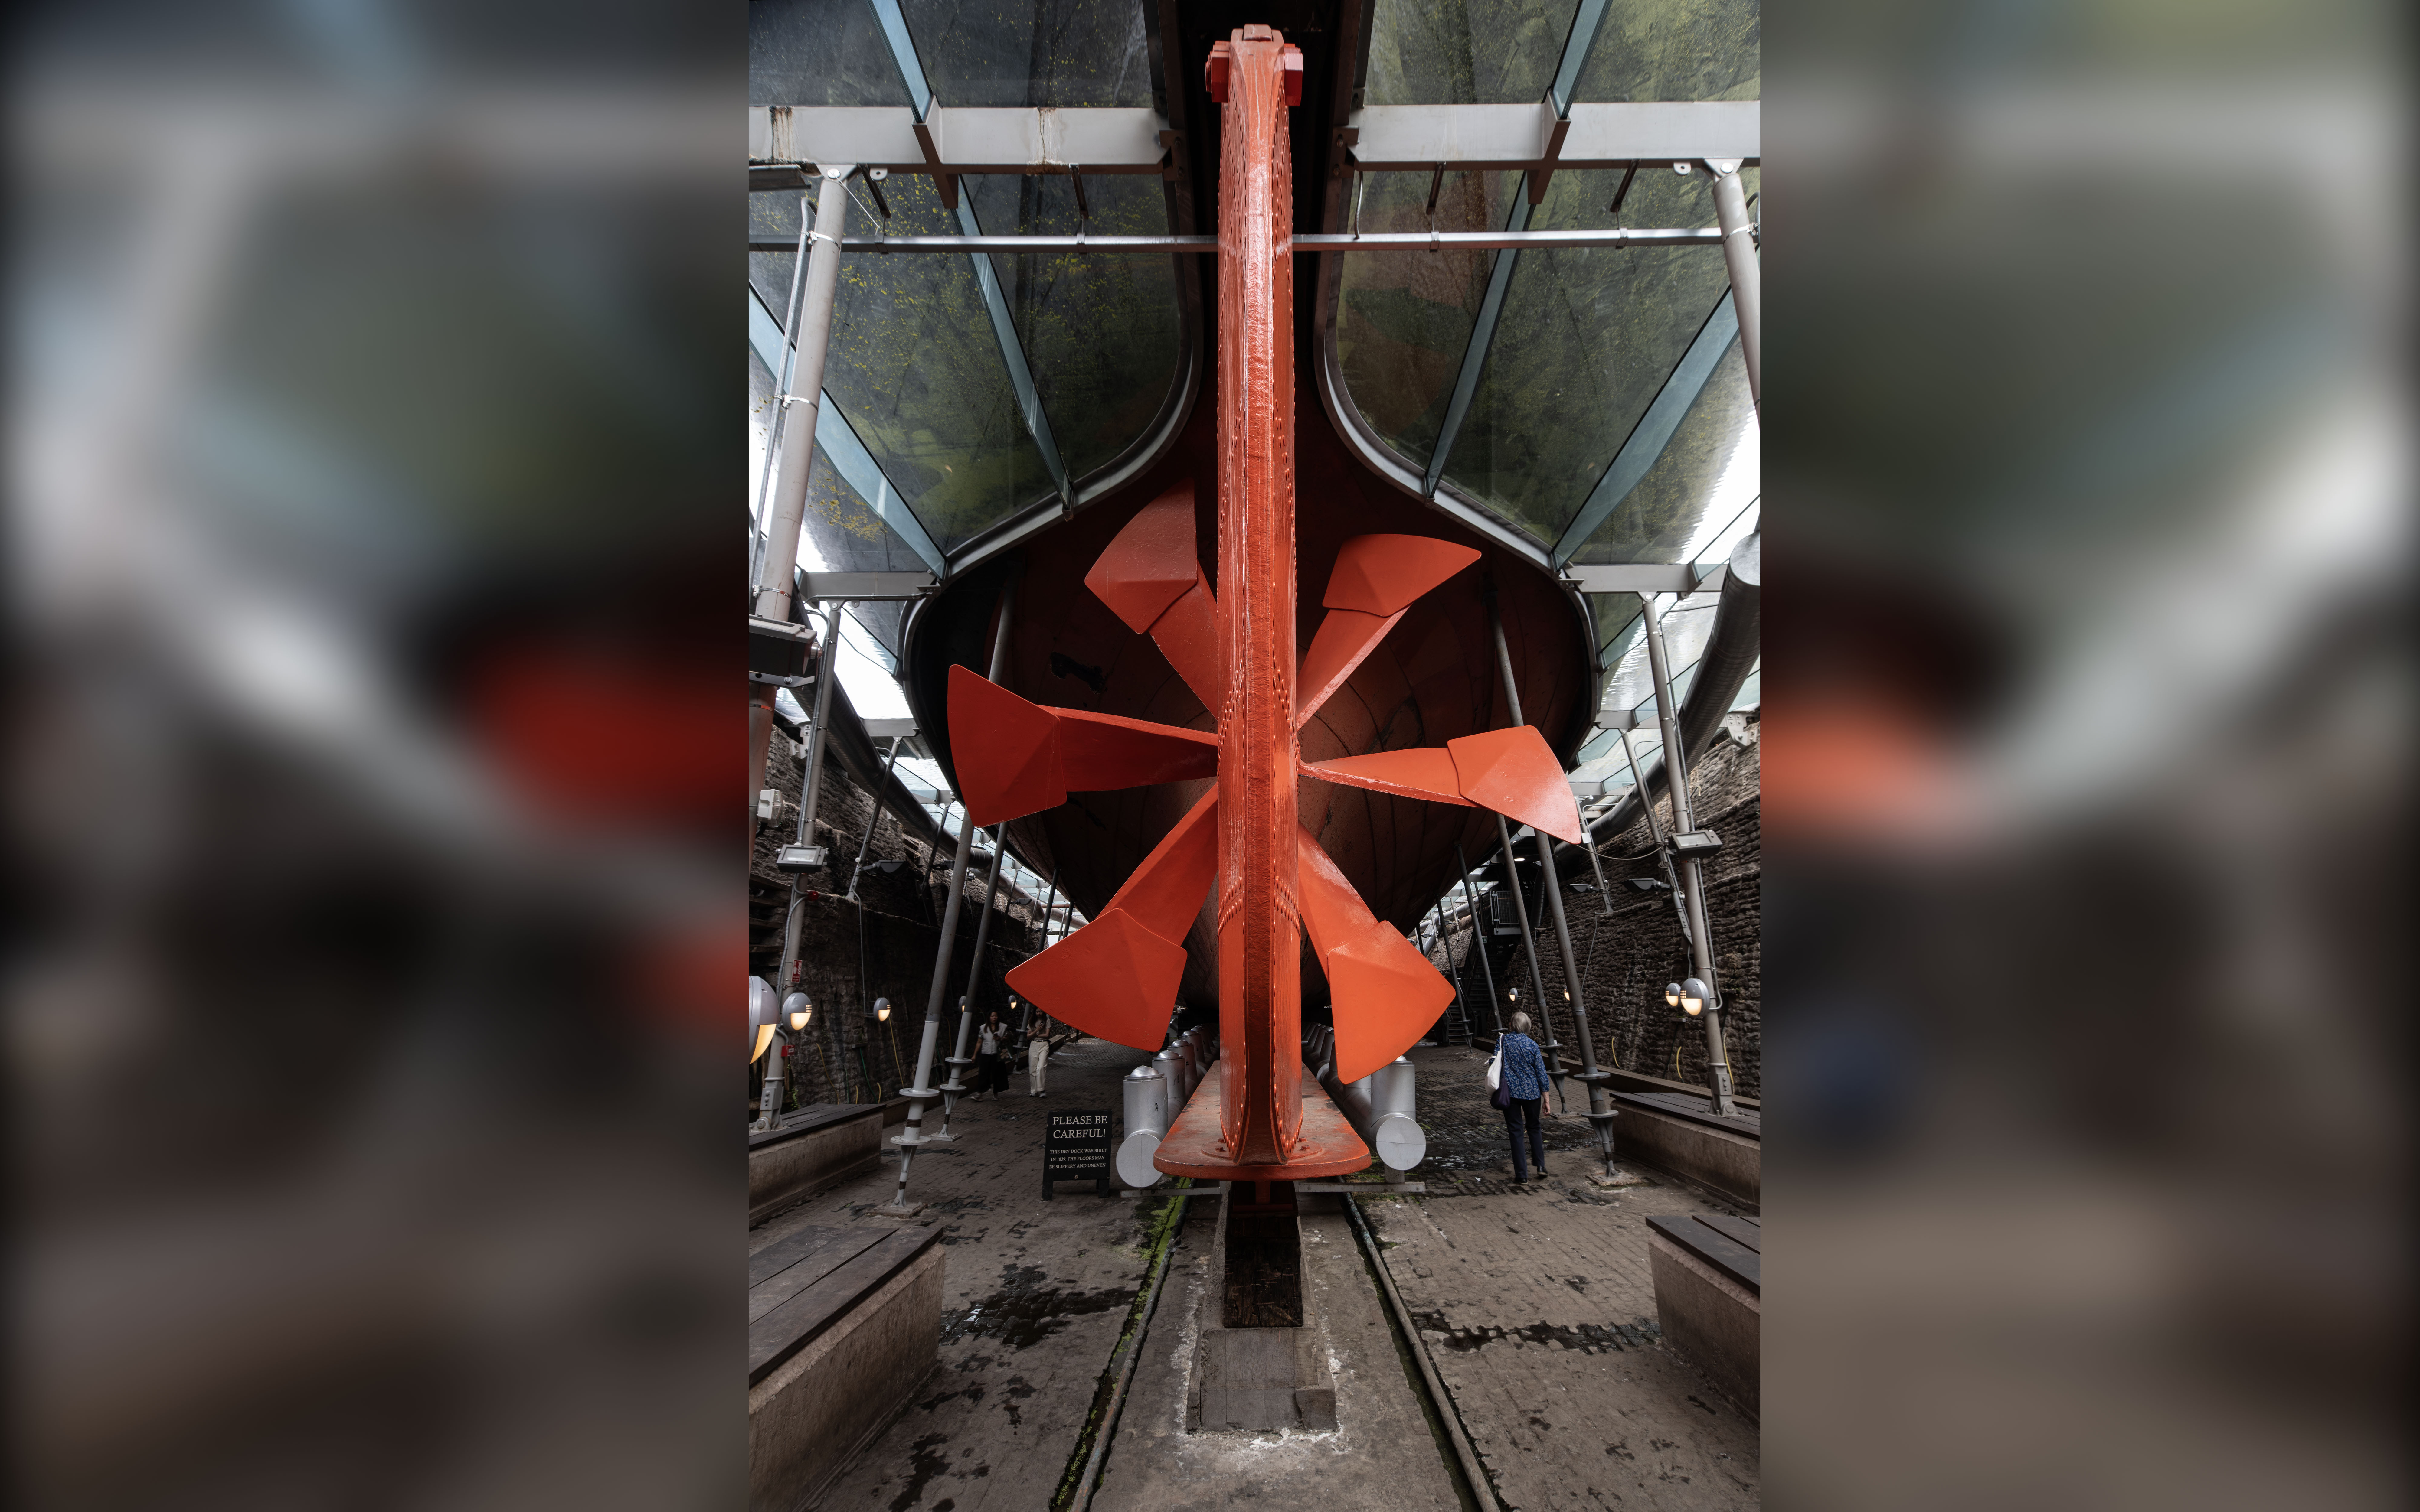
If the ship is in dry dock there can be the opportunity to get below the waterline, in which case head for the rear to photograph the propeller and rudder. While at the dockside, especially for heritage harbours, there are often other elements of interest such as gears and pulleys, cranes, stacks of barrels and coal, or re-enactments of 19th century life. Capture these before you board the ship.
The best camera deals, reviews, product advice, and unmissable photography news, direct to your inbox!
Life below decks
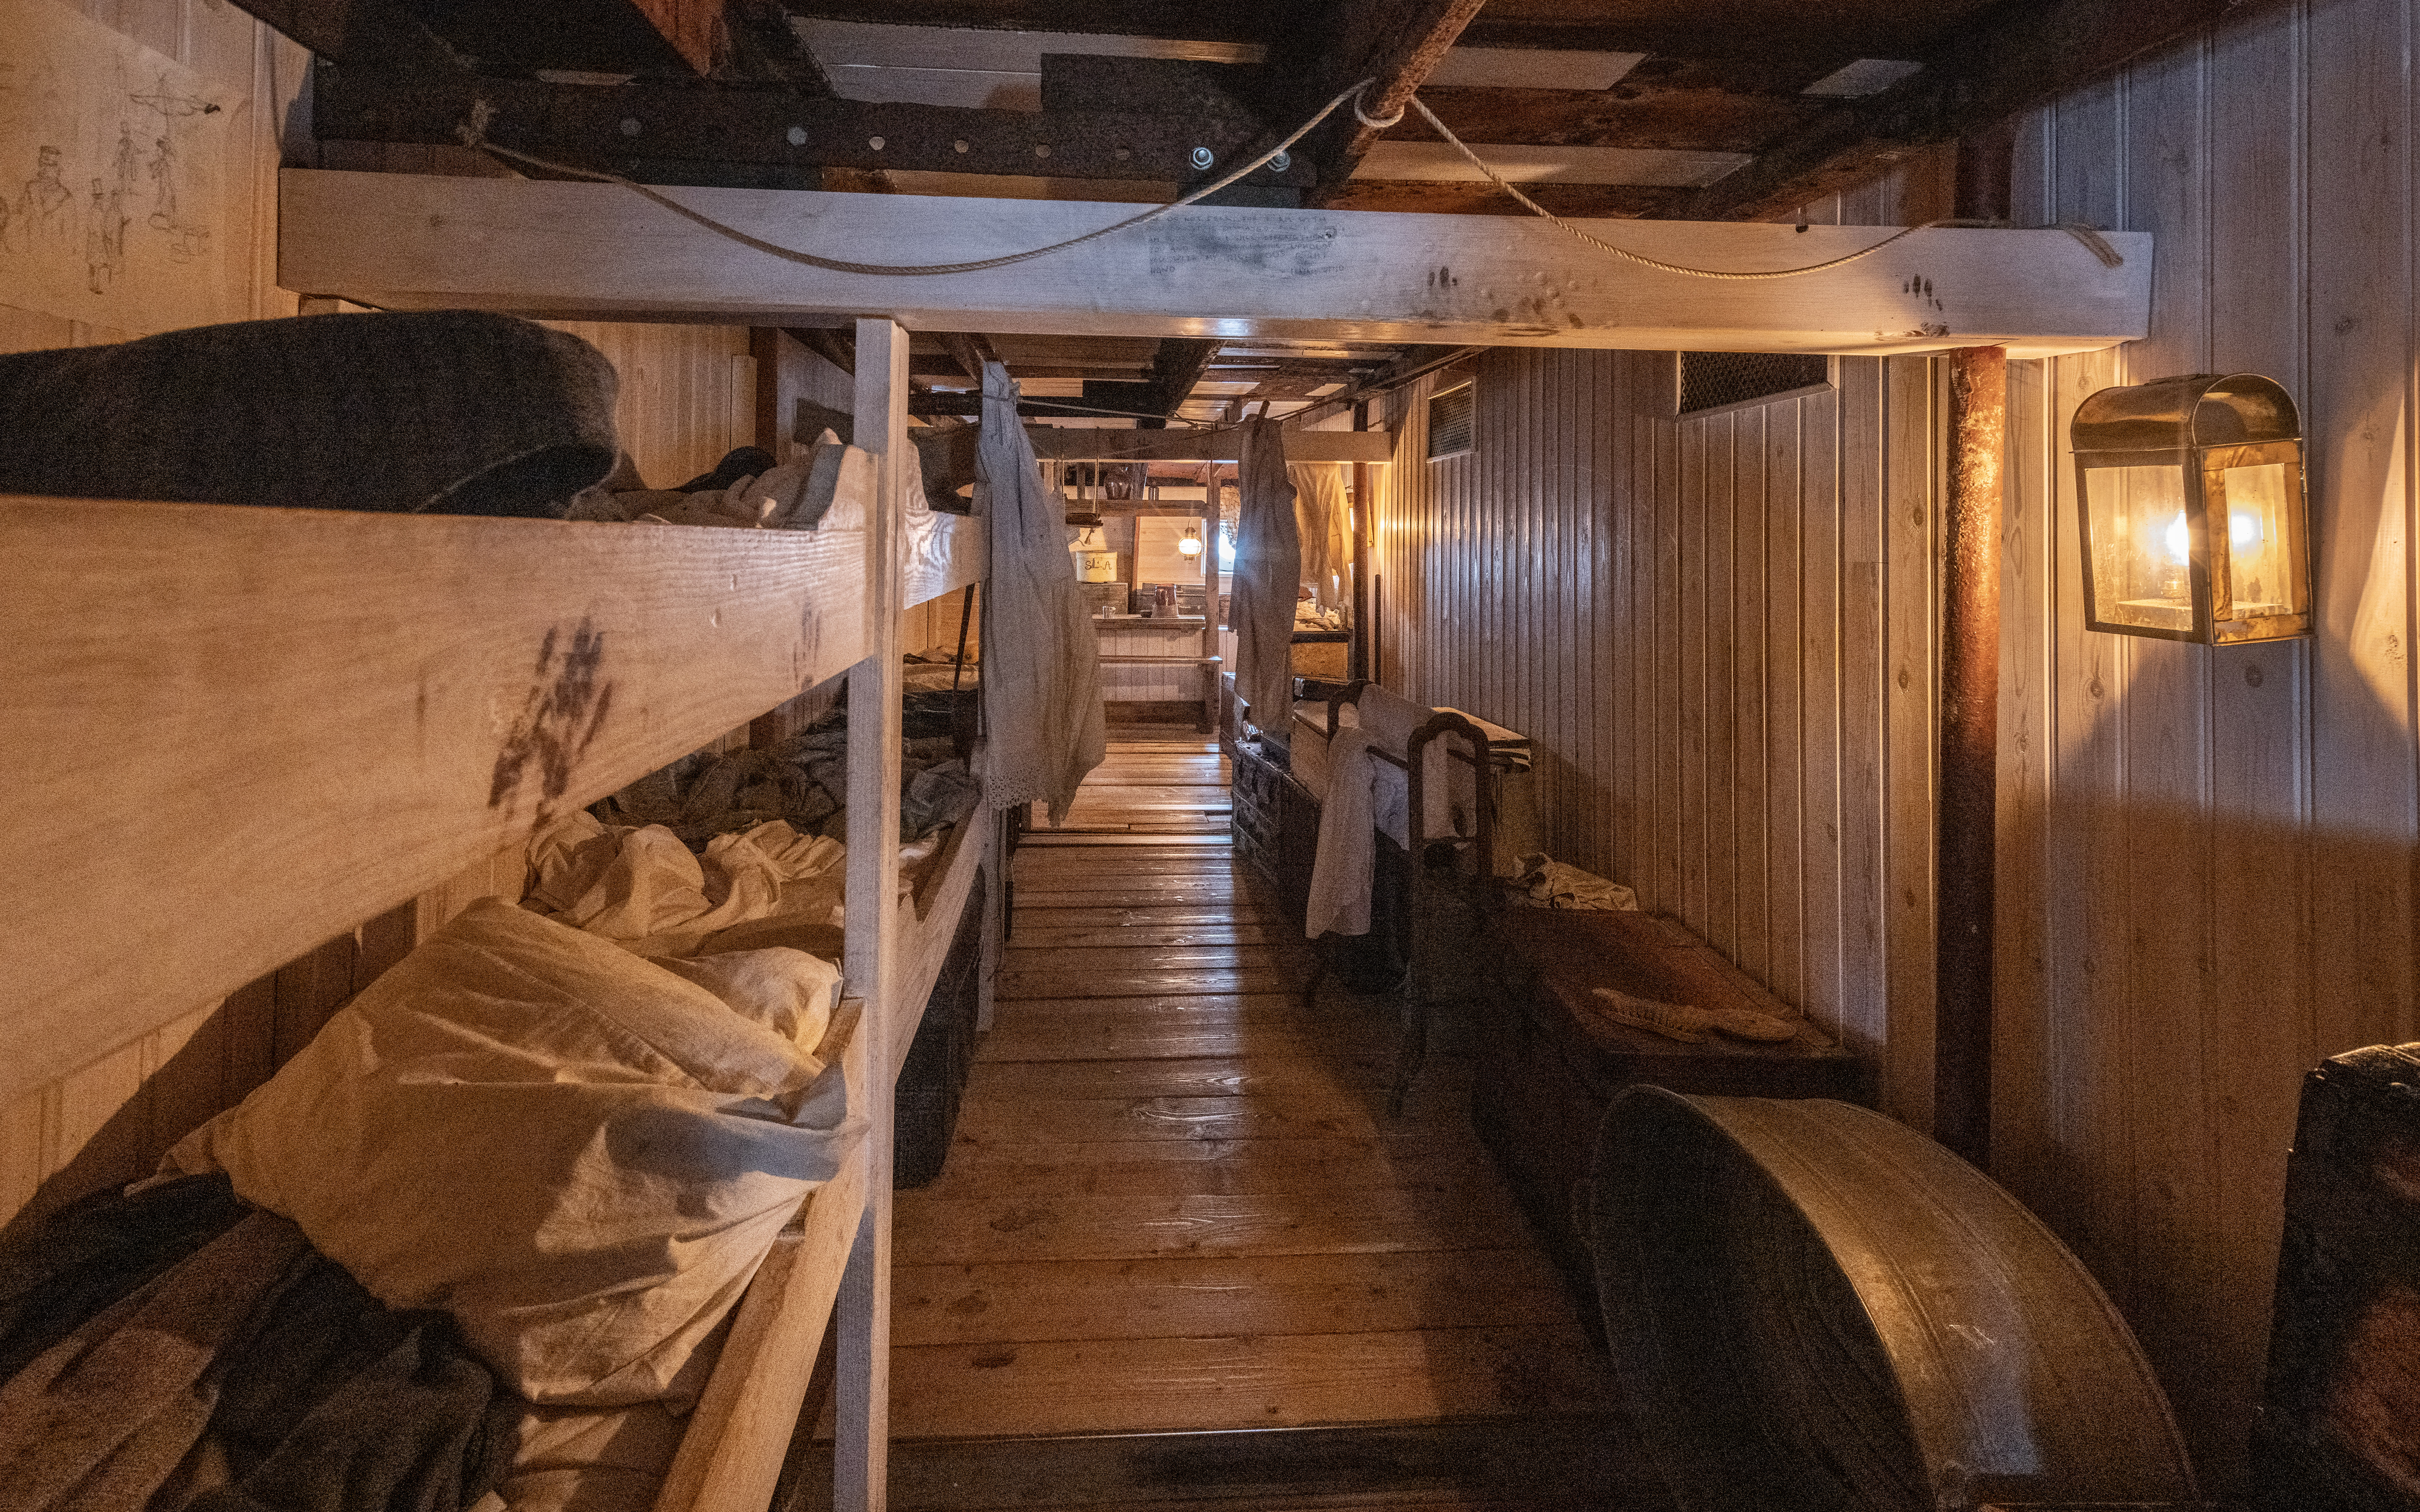
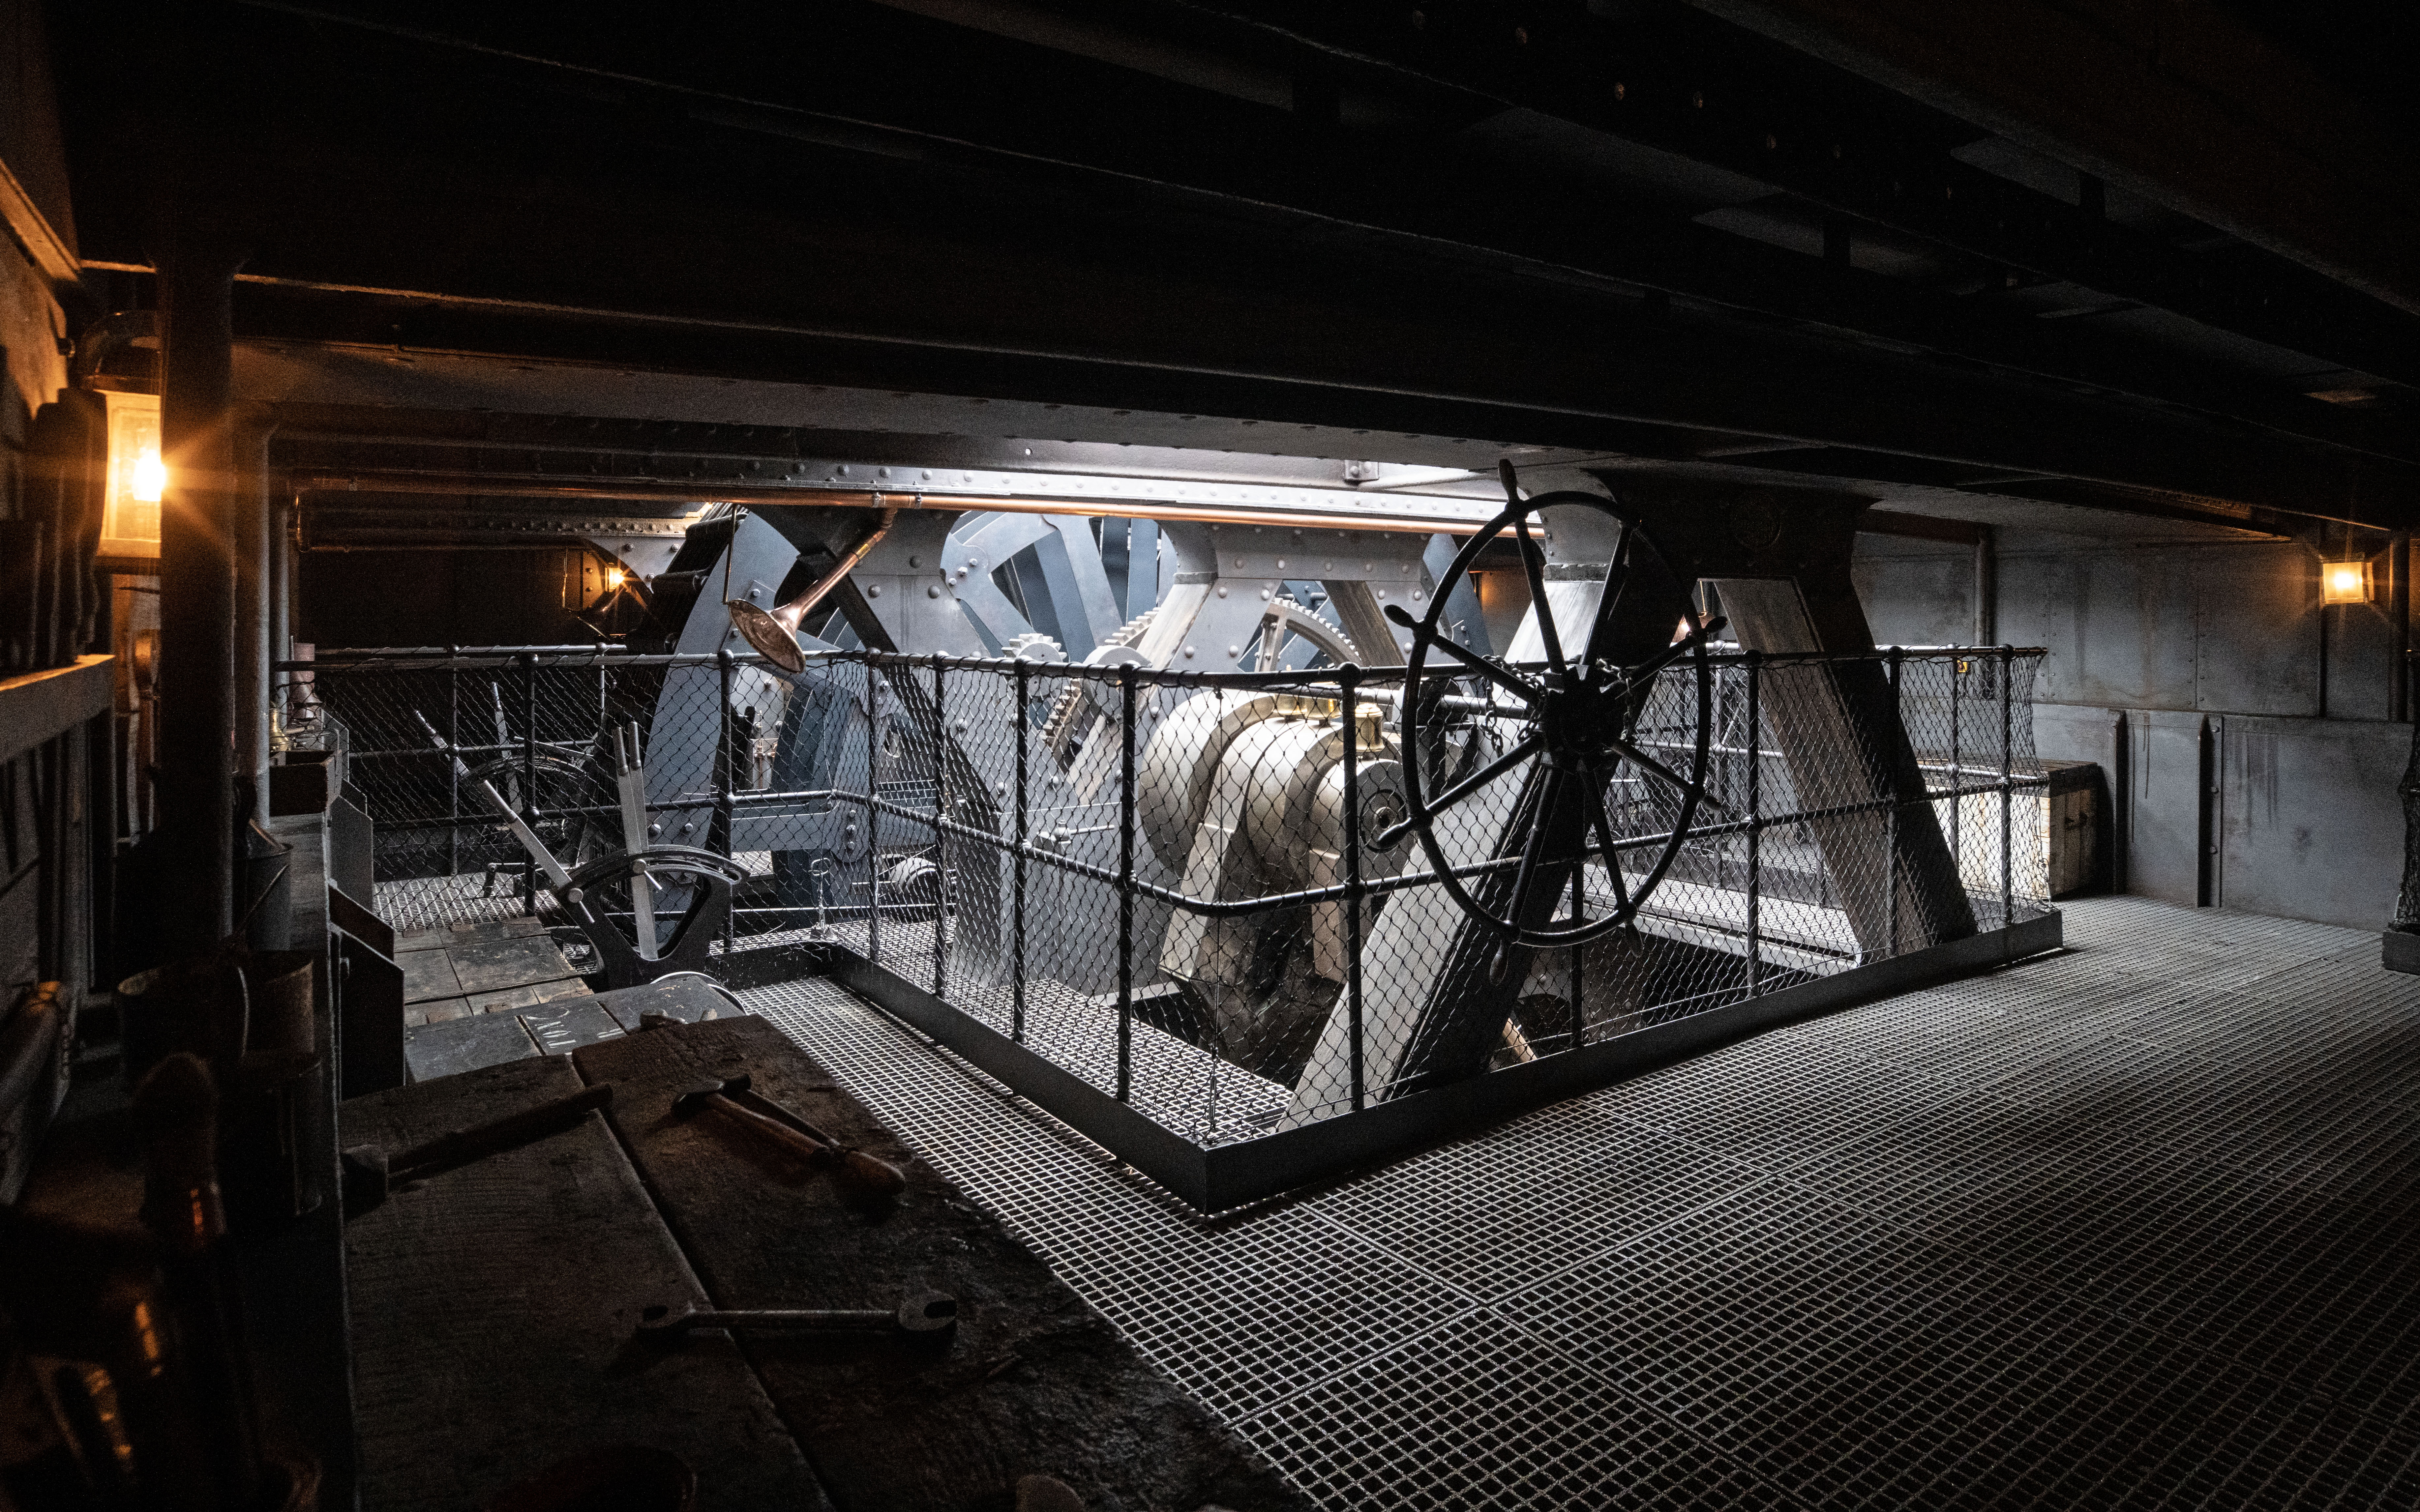
Capturing how the crew lived and the passengers travelled on a luxury steam-power liner ship like the SS Great Britain can be fascinating but technical challenges await. For a start, it’s going to be much darker, too dark to shoot with f/8 at ISO 100. If you don’t want to keep changing the ISO rating everytime you encounter a new scene it can be worthwhile setting it to Auto ISO and specifying a lower shutter speed limit. Now, with a wide angle lens and either in-camera image stabilisation or lens-based vibration reduction, you can hand-hold a camera at fairly low speeds. How low you can go is your call, but if you set the lower shutter speed to 1/50 sec, then that will offer a good balance between a stable enough shot and the Auto ISO going too high.
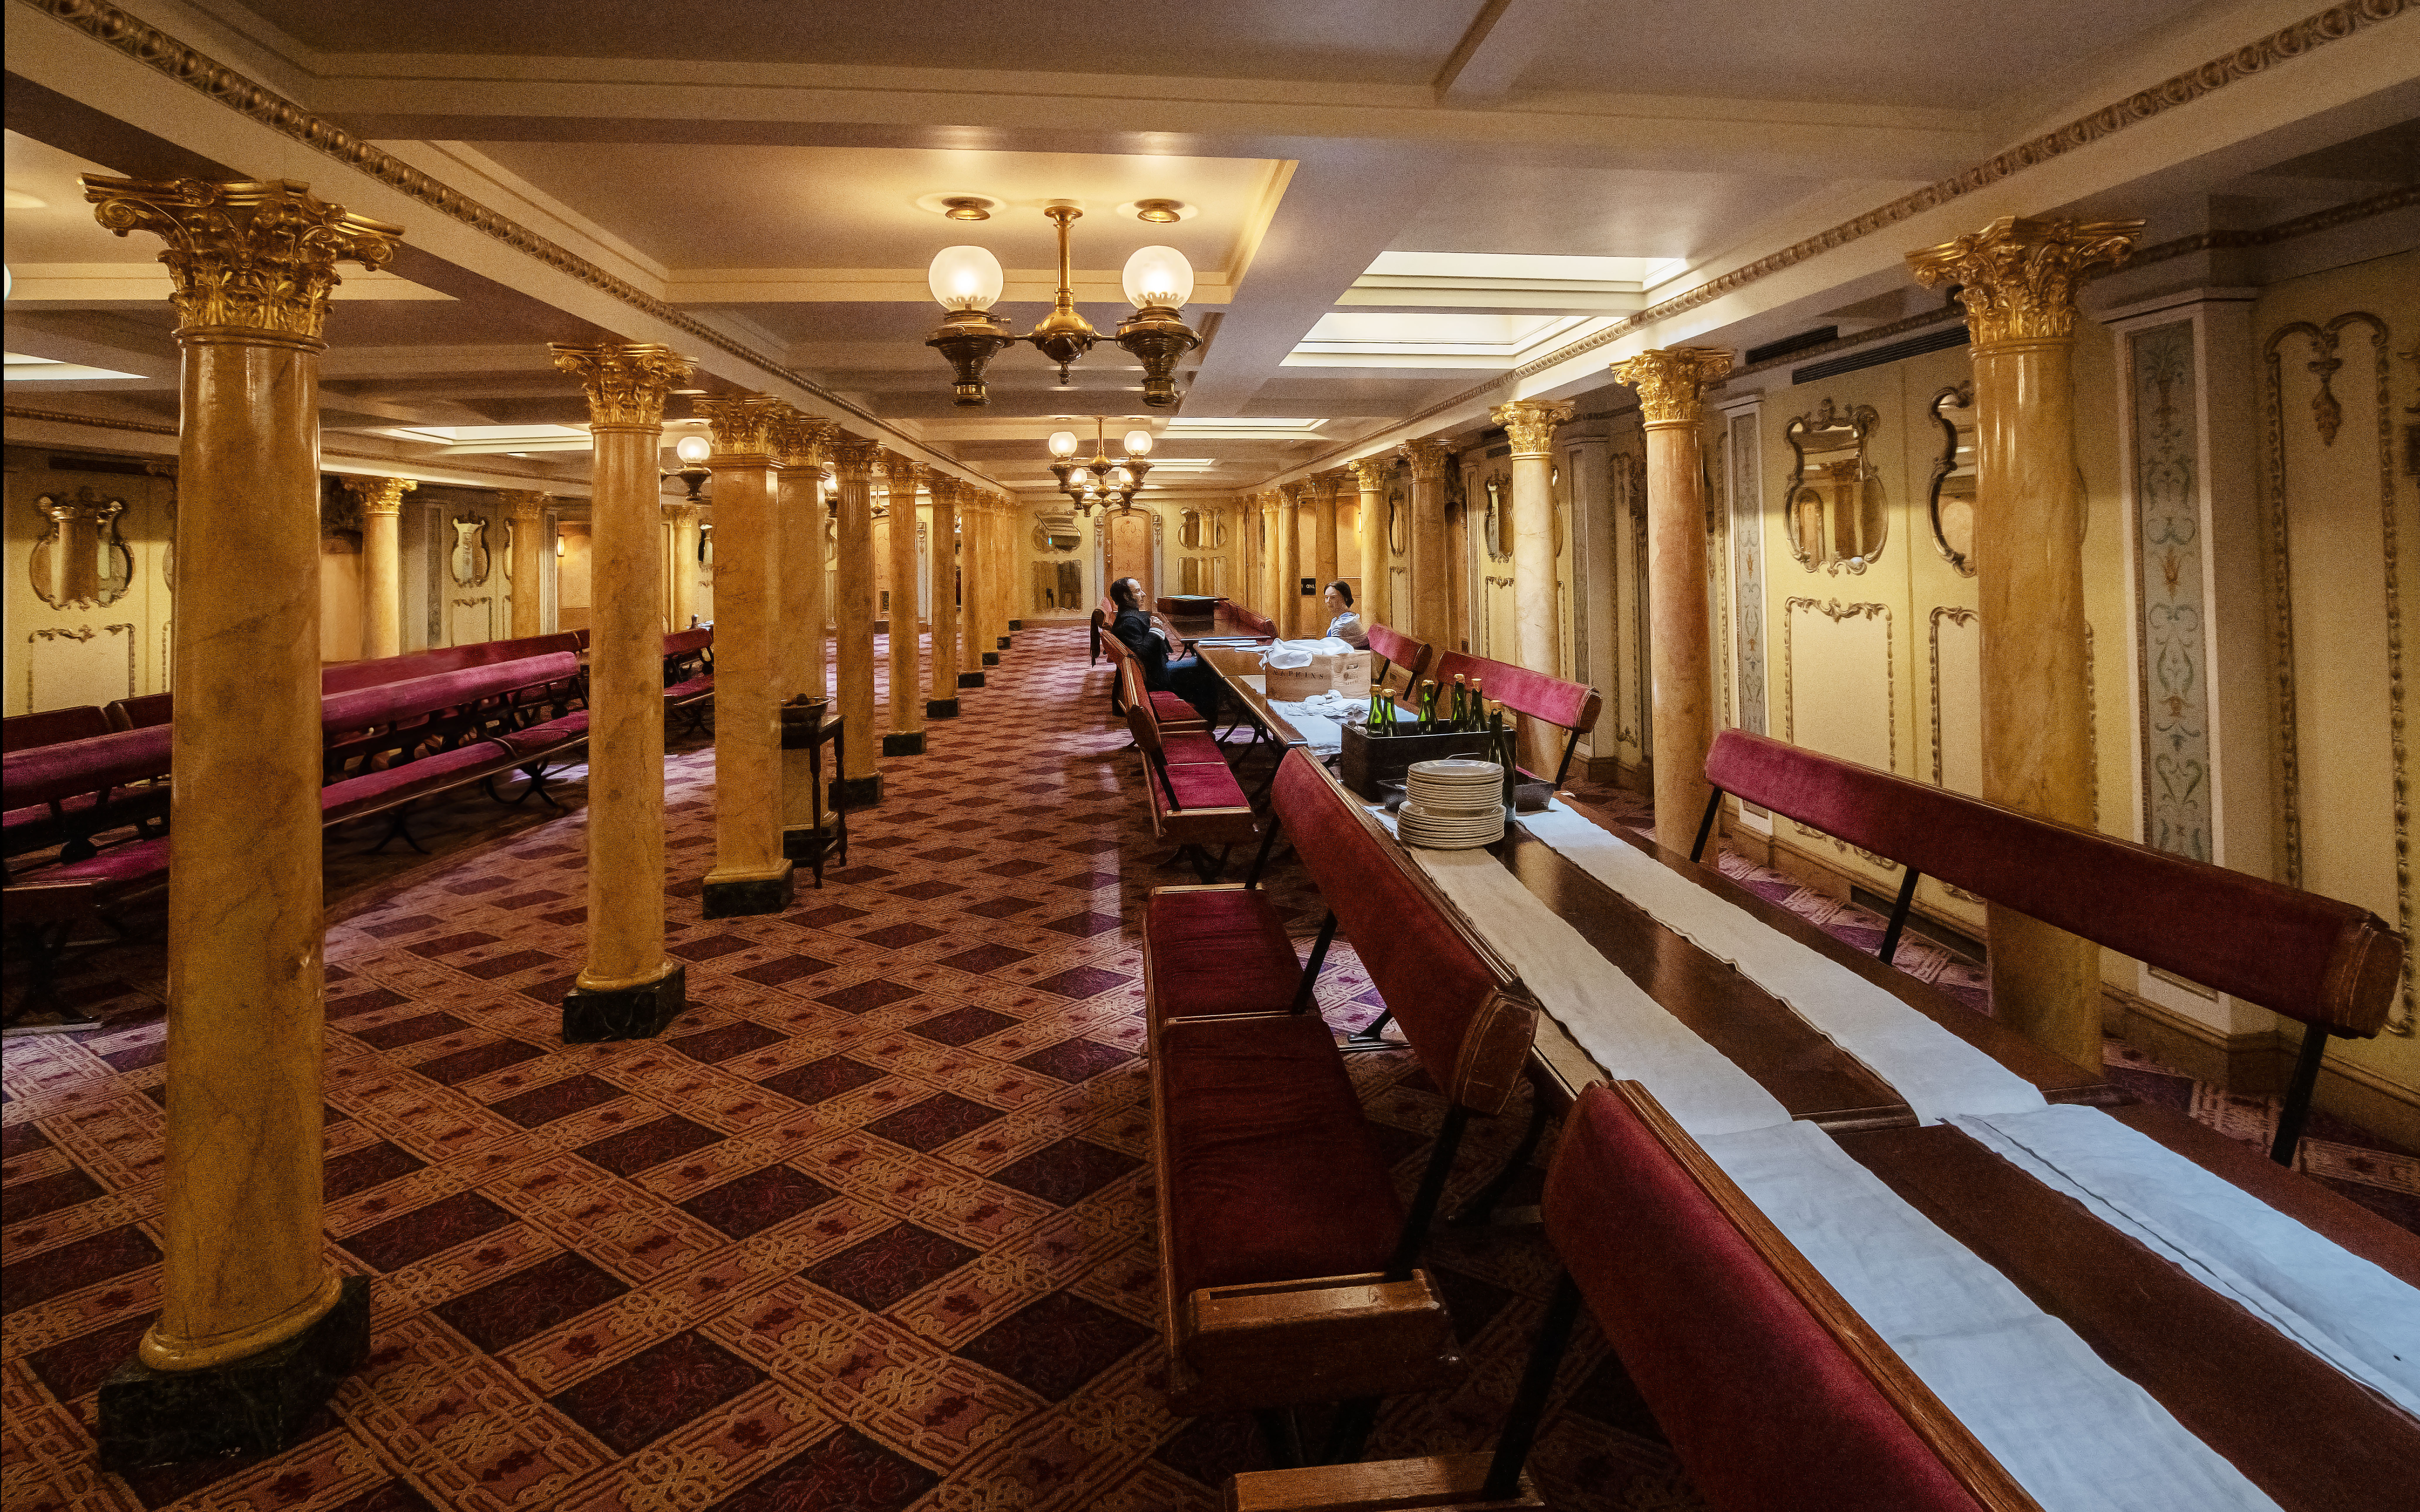
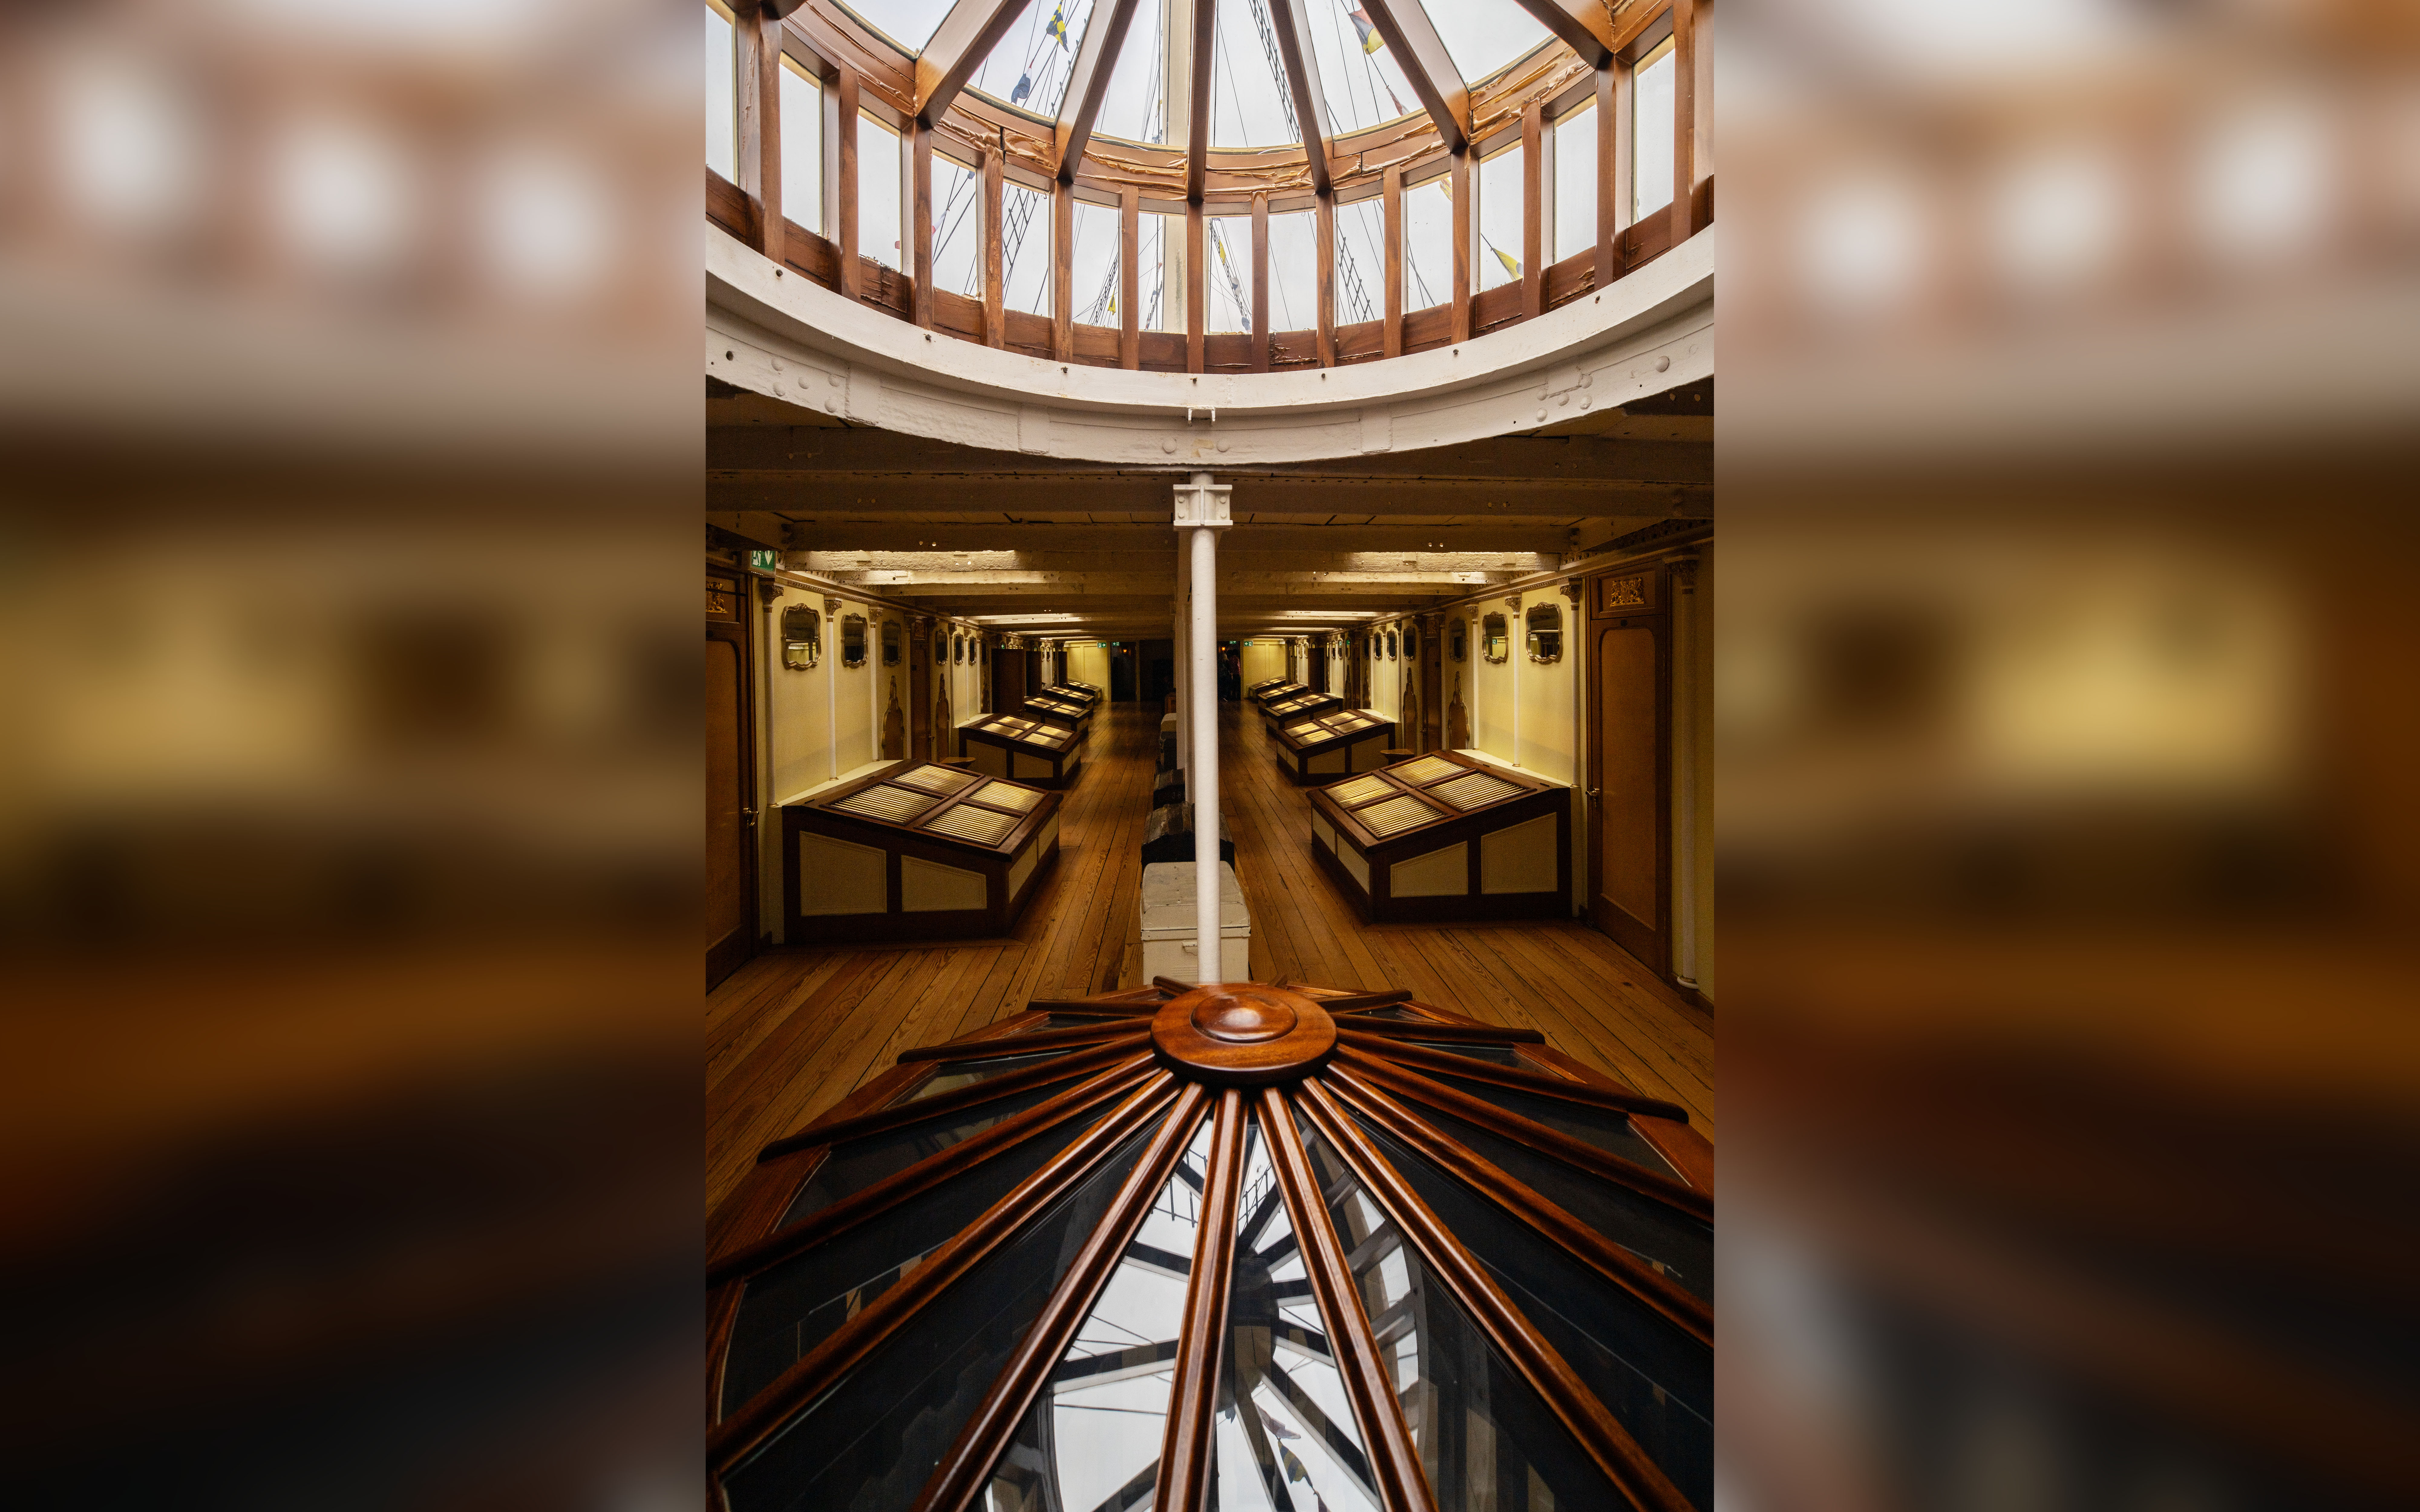
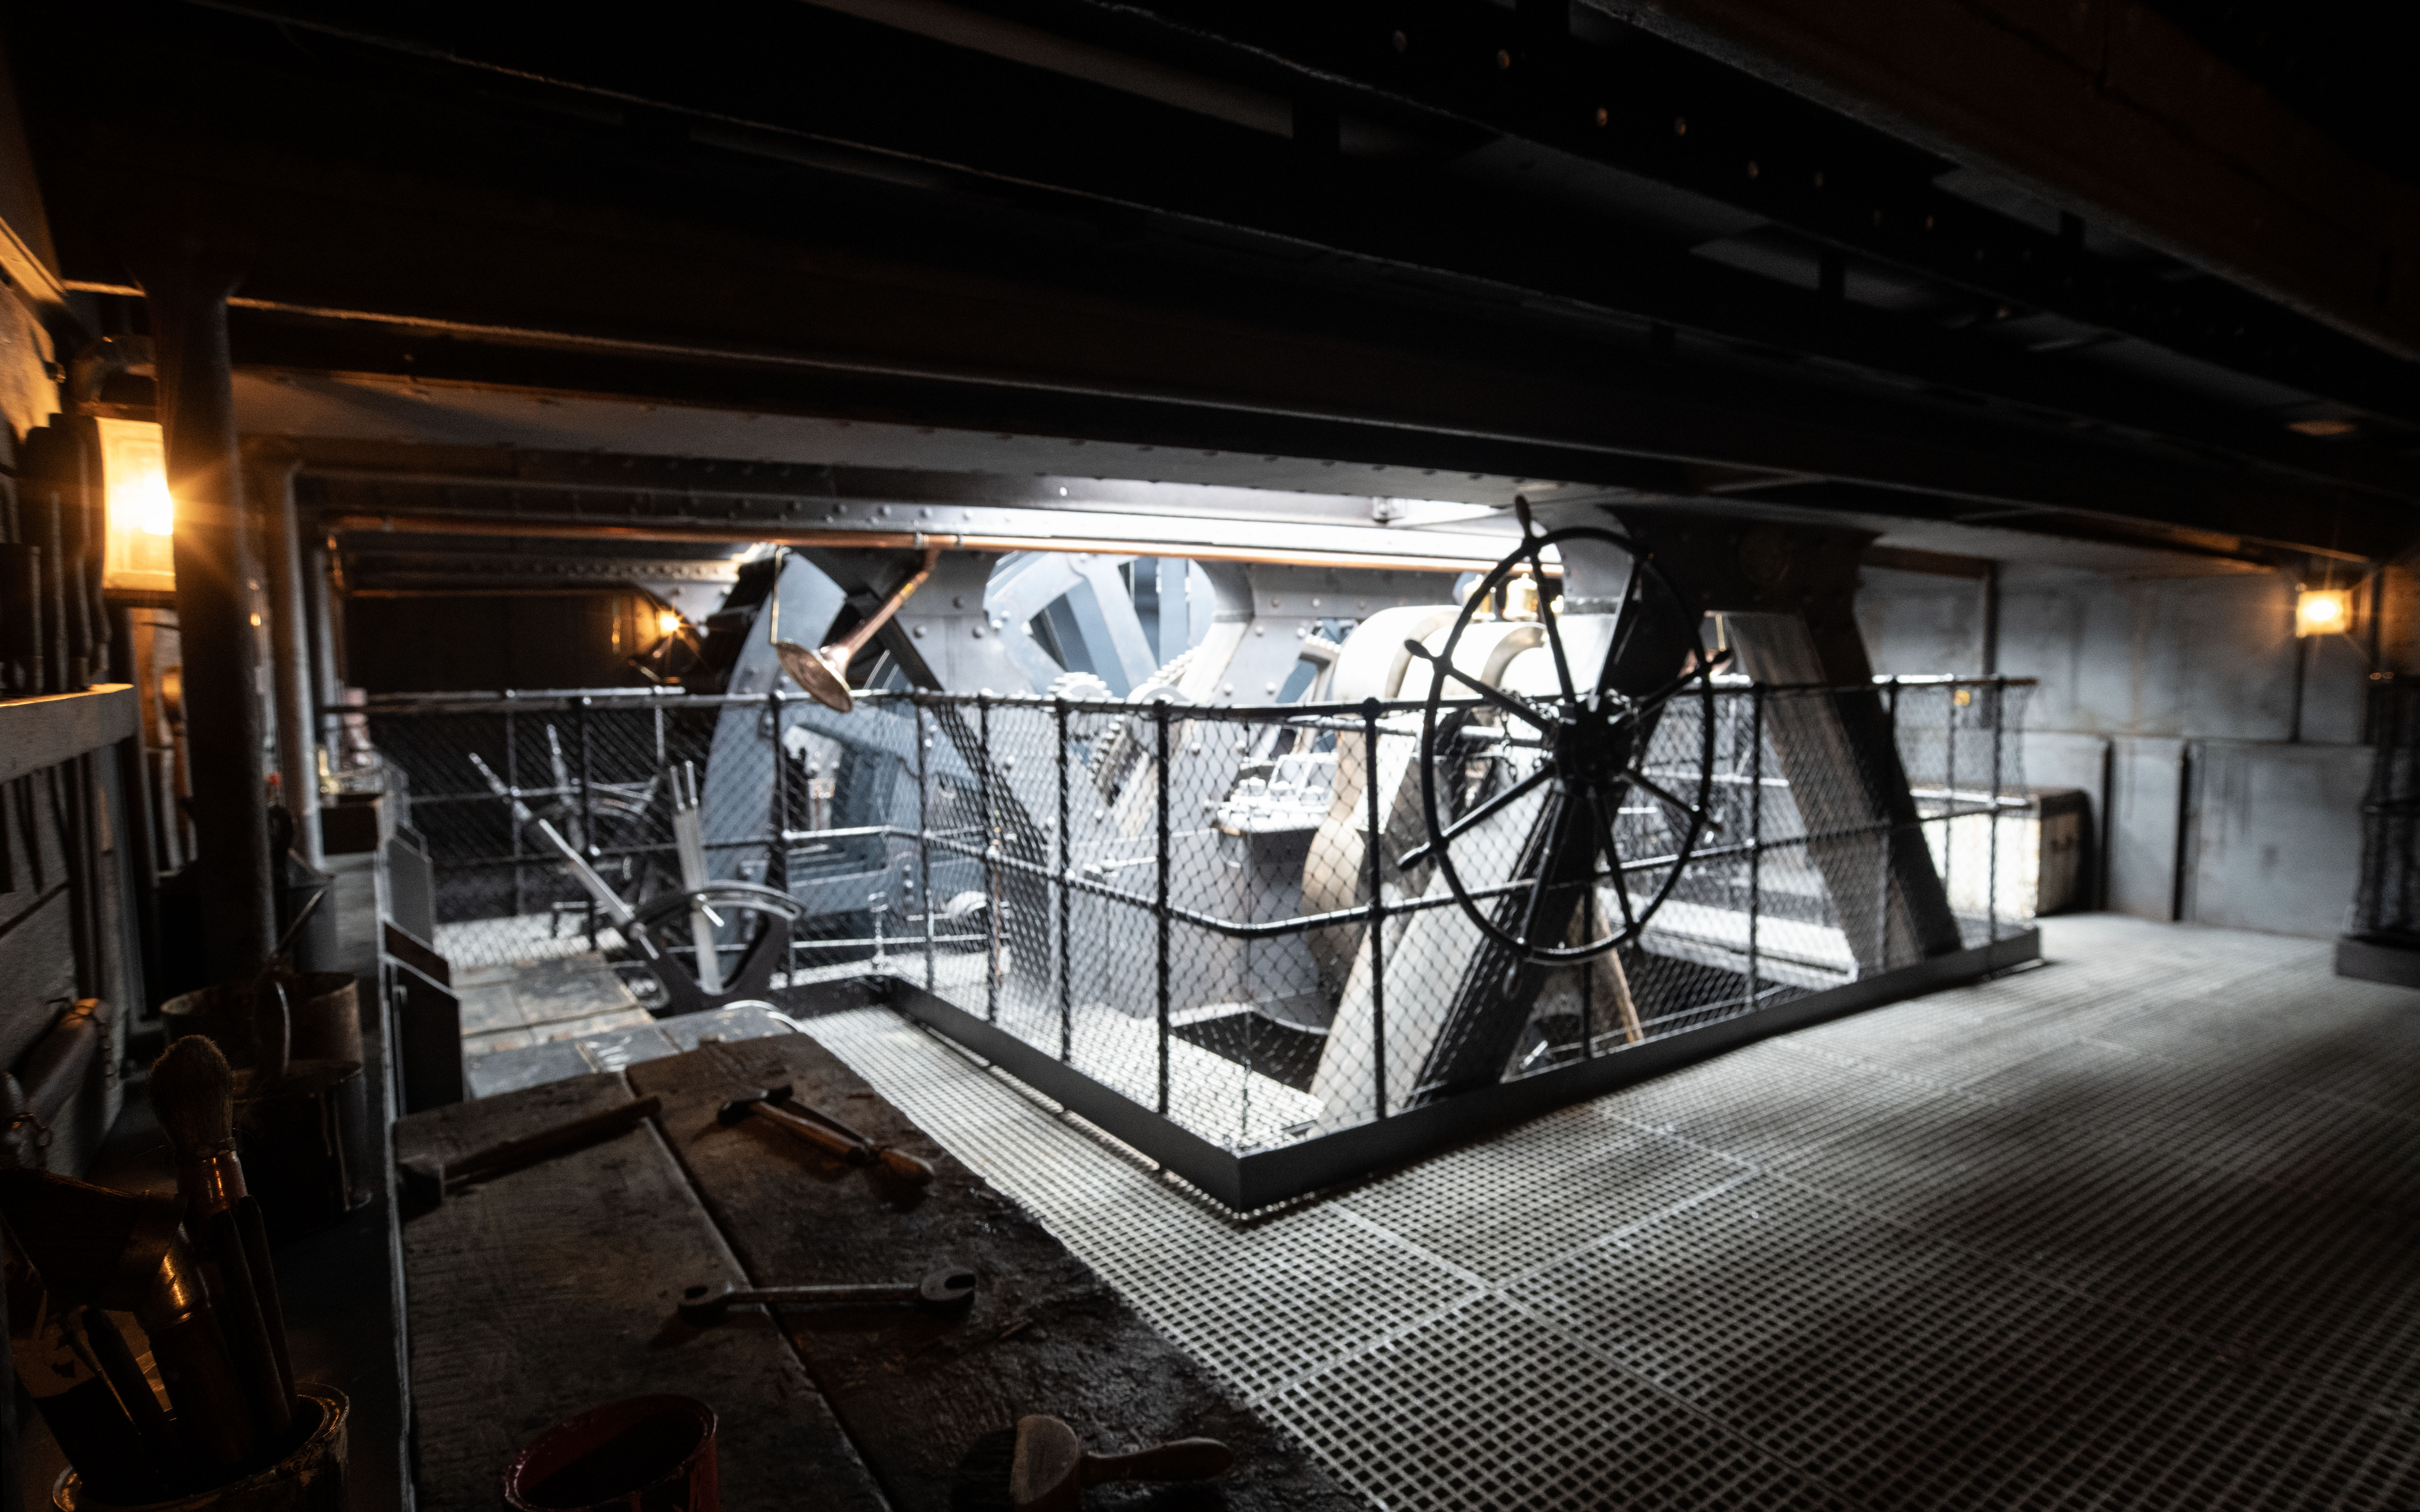
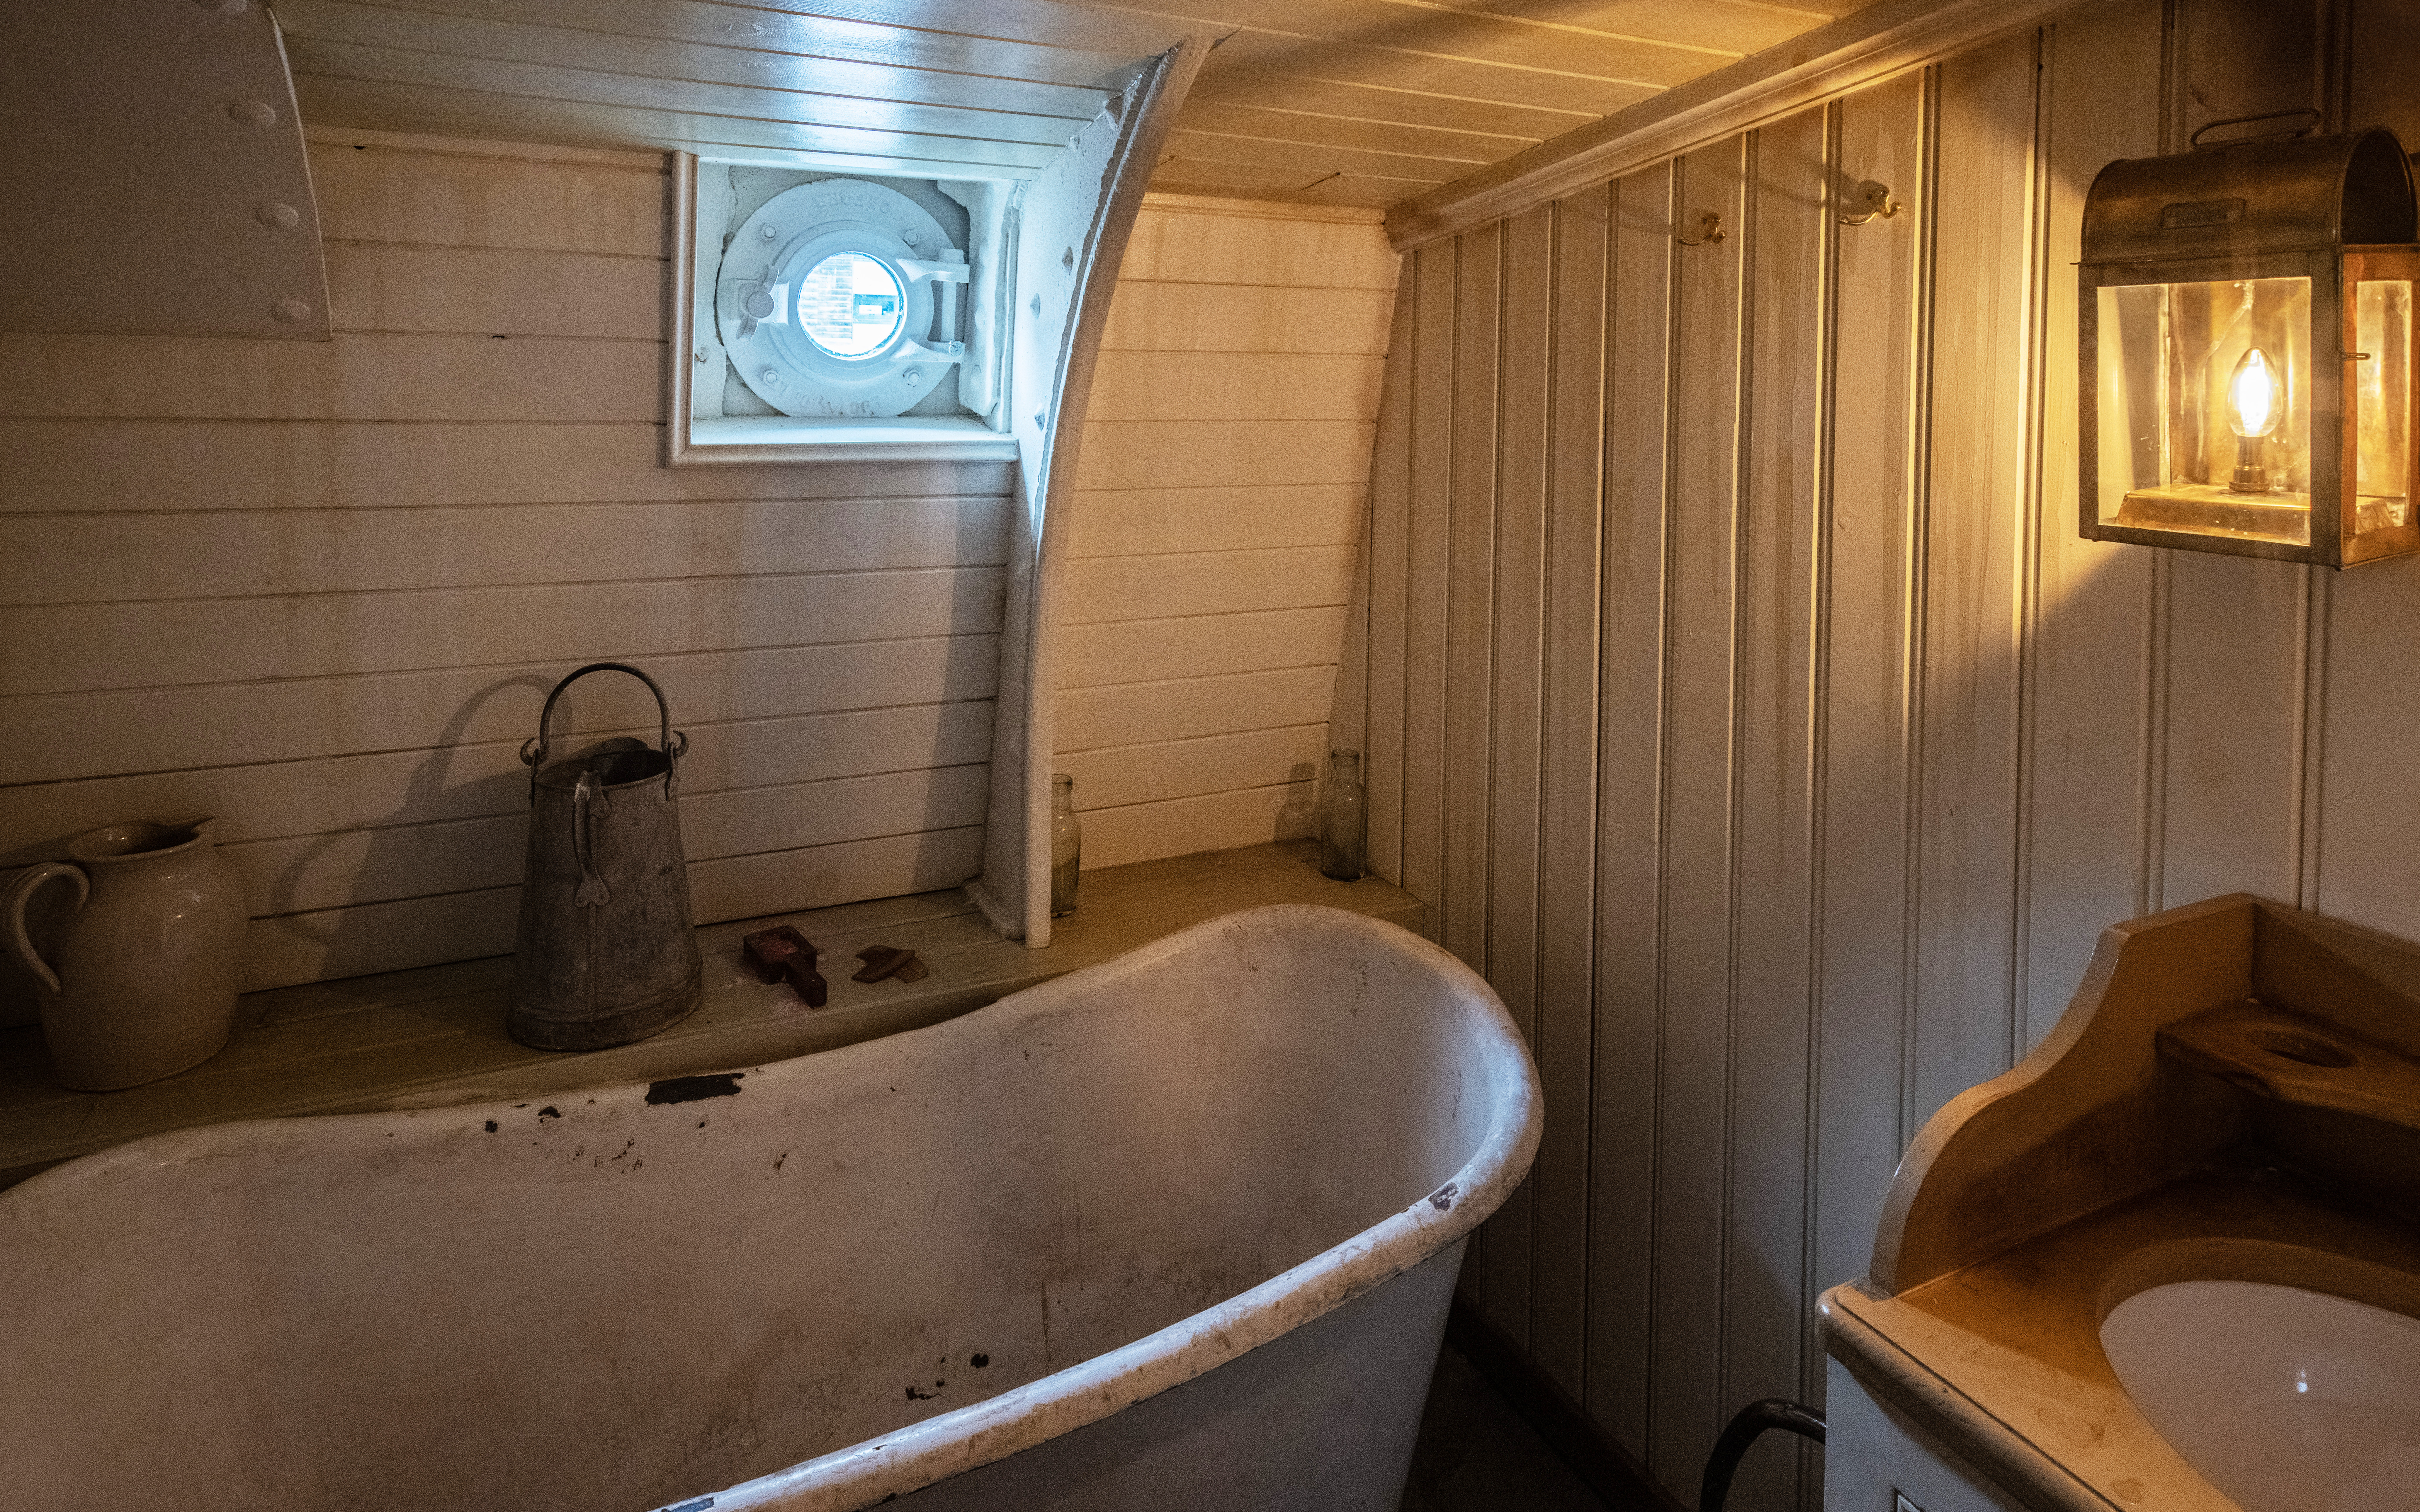
Things to look for include cabins for the passengers and control rooms and kitchens or storage areas for the crew. The steam-powered engine machinery may also be visible. For cramped areas the options for composition can be limited, but for locations such as promenade decks or dining saloons where there is more space, avoiding having vertical columns right at the front of the shot as they will probably distort. Use flooring patterns to lead the eye through the scene and consider using symmetrical compositions for architectural features. Which shooting mode to use is your choice but personally I’d go with aperture priority at f/5.6 or f/8 with Auto ISO.
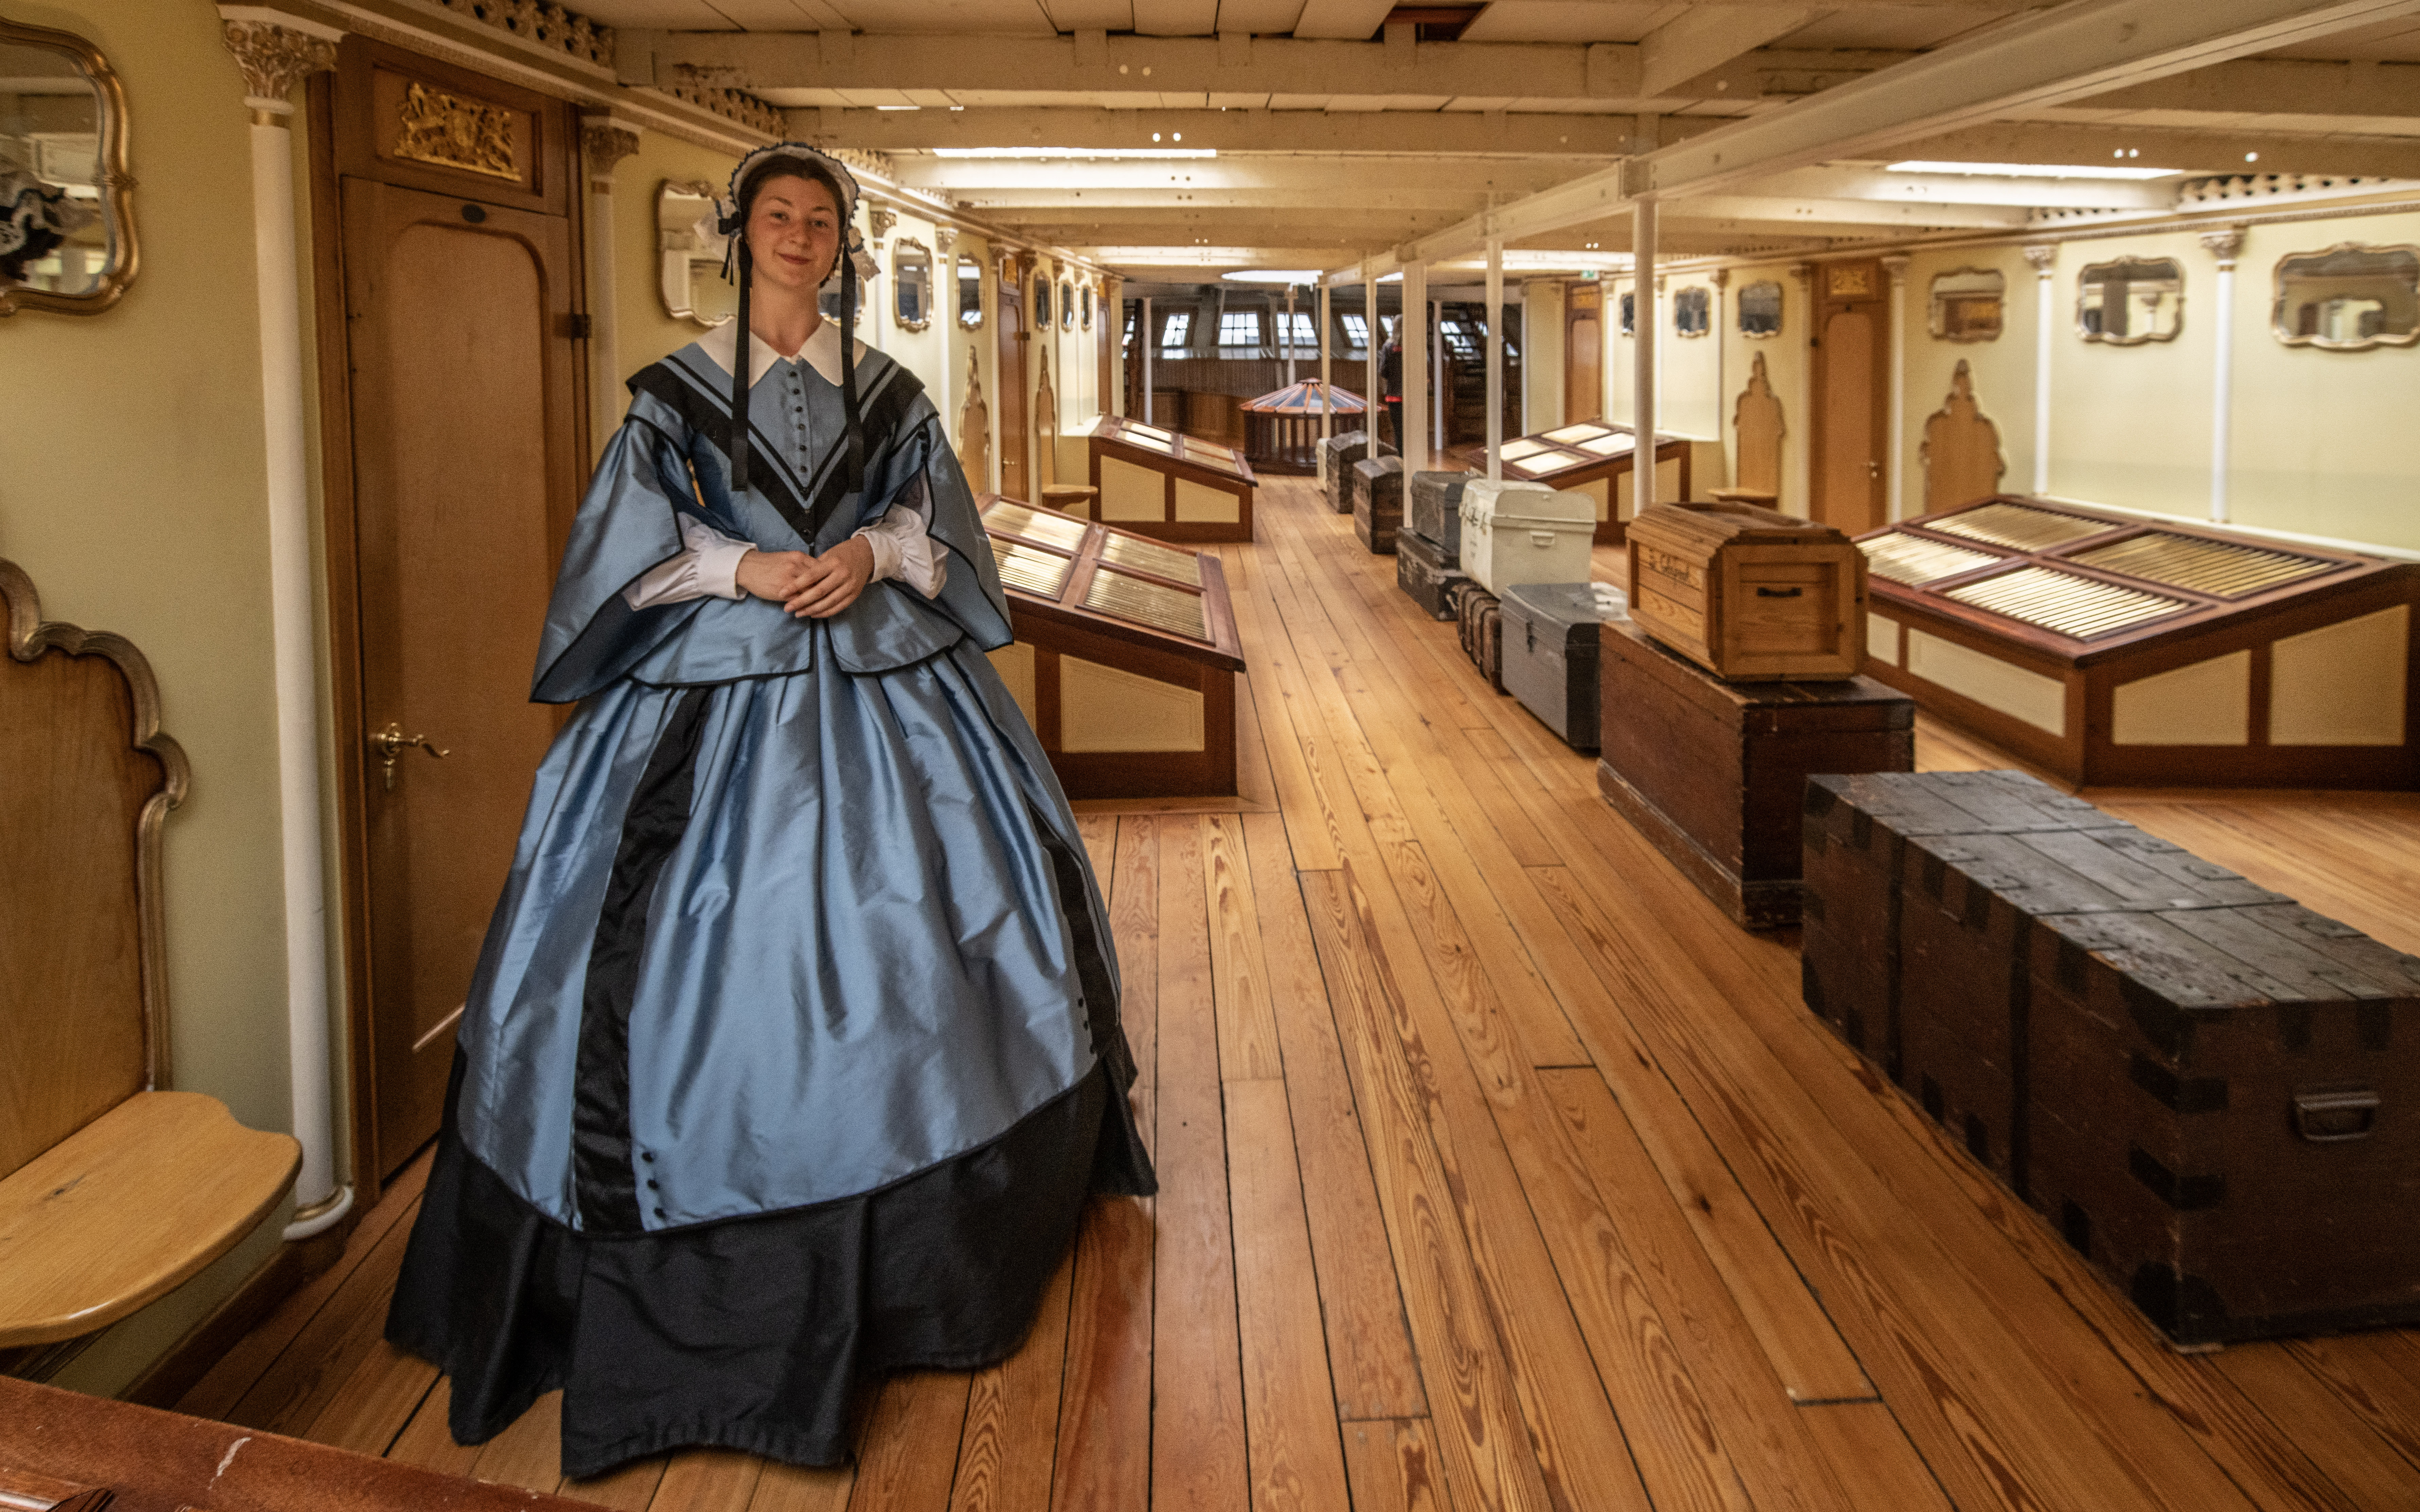
Finally, as these are heritage vessels, it’s not uncommon to find re-enactors dressed up to represent people of the day. Do you have room in your kitbag for a little 50mm portrait lens? If so, now’s the time to swap it in, go wide with your aperture to blur the background, or narrow it down to include the setting.
Metering matters
Scenes below decks will invariably offer a combination of deep shadows, tungsten lamps and natural light from portholes. Zone or evaluative metering, which works well outdoors, is not a good option here, resulting in slower shutter speeds and overexposed highlights. Centre-weighted metering is a better choice, but check the results and if necessary, meter off the brighter elements, lock the exposure reading and recompose for the actual shot. However, if your camera has this, then the best metering option of all is highlight-weighted metering. This actively looks for the light sources and creates an exposure for those, giving you pleasing shadows in other areas. If the overall result is too dark, then ensure you’re shooting RAW and brighten the shadows or mid-tones in post production.
When visiting historic attractions you might not want to lug around your main kit so why not take a travel camera with you or upgrade your phone so it packs one of the best built-in cameras?

Wendy was the Editor of Digital Photo User for nearly five years, charting the rise of digital cameras and photography from expensive fad to mass market technology. She is a member of the Royal Photographic Society (LRPS) and while originally a Canon film user in the '80s and '90s, went over to the dark side and Nikon with the digital revolution. A second stint in the photography market was at ePHOTOzine, the online photography magazine, and now she's back again as Technique Editor of Digital Camera magazine, the UK's best-selling photography title. She is the author of 13 photography/CGI/Photoshop books, across a range of genres.
You must confirm your public display name before commenting
Please logout and then login again, you will then be prompted to enter your display name.
