The Photography Show Top Tips: printing advice from the Fotospeed experts
Insider advice and pro photography tips from the exhibitors at The Photography Show
The best camera deals, reviews, product advice, and unmissable photography news, direct to your inbox!
You are now subscribed
Your newsletter sign-up was successful
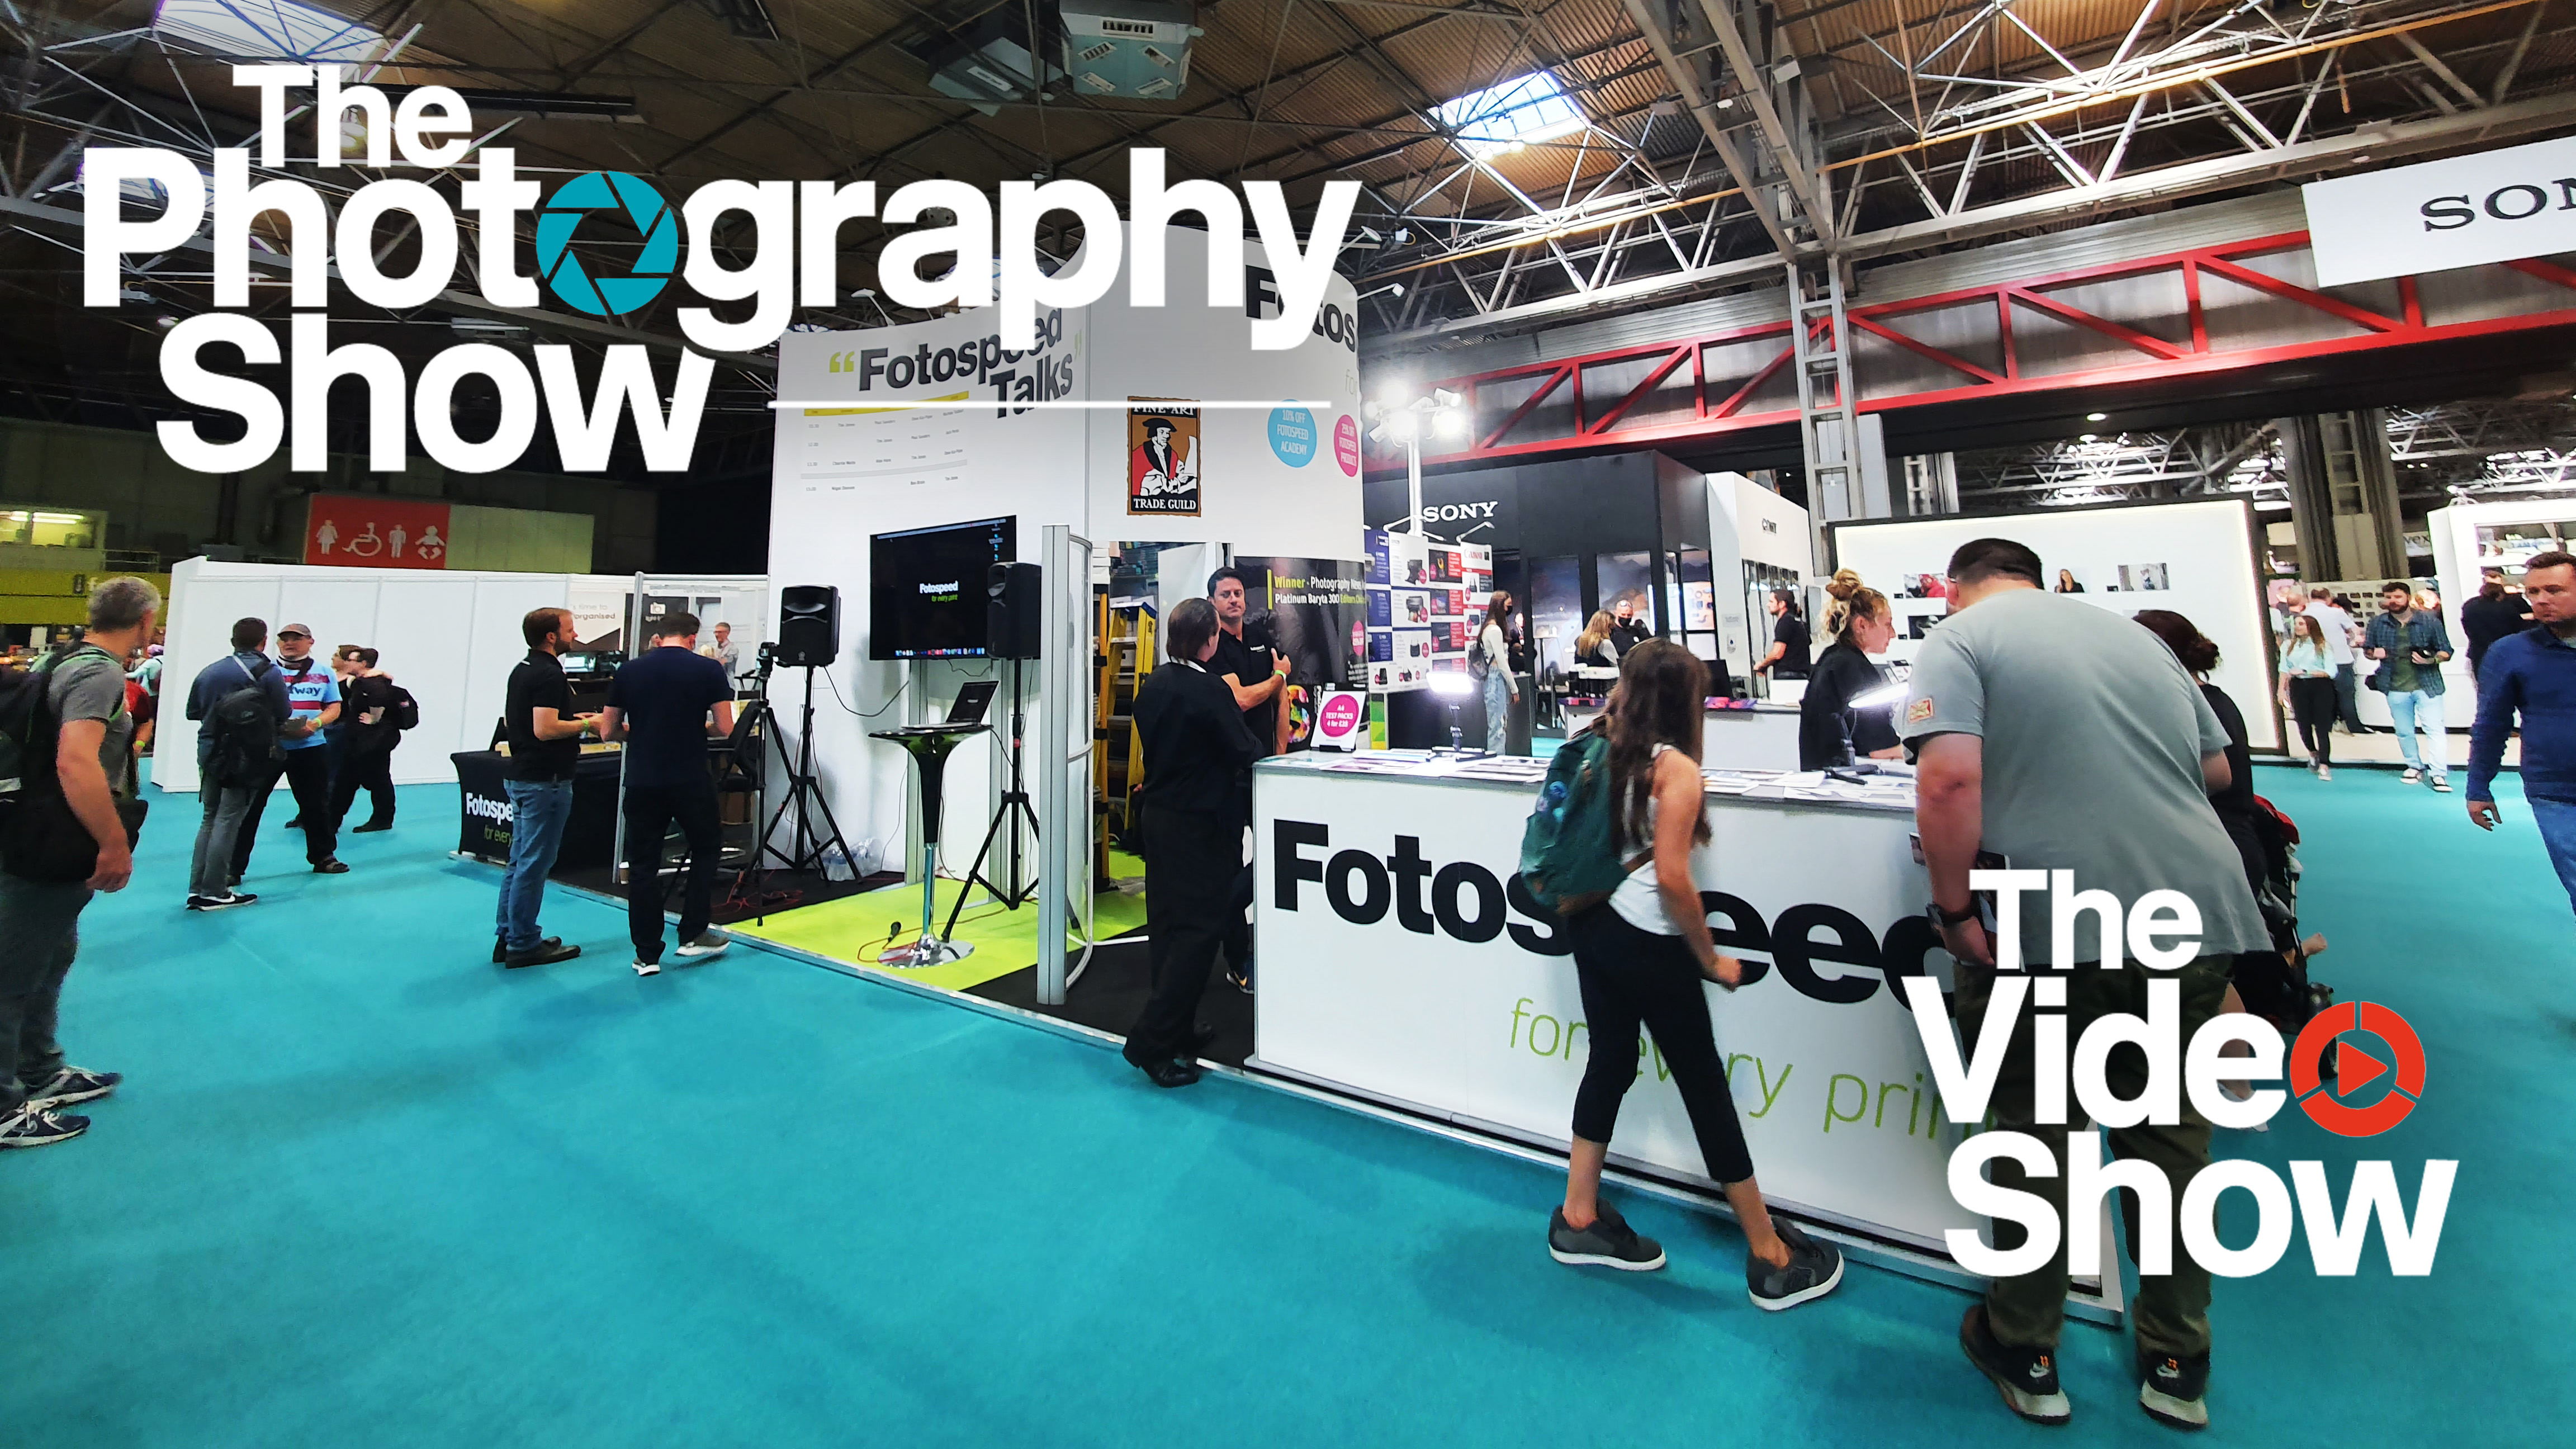
The Photography Show and Video Show 2021 are in full swing and we're having a blast exploring the talks, demos and kit previews on the show floor. One of the great things about TPS is the chance to chat to both pro shooters and brand experts, to gain insider tips and advice for how to improve your photography and get the most from your kit.
We jumped at the opportunity to sit down with Vince Cater from Fotospeed, to have a chat about how all of us can instantly improve our printing success and produce more impactful, consistent results from our printers. While many photographers (ourselves included) have reduced the number of prints we make, citing cost and convenience, Vince explains some key ways photographers of any experience level can sustainably make physical prints.
1- Understand printer pros and cons
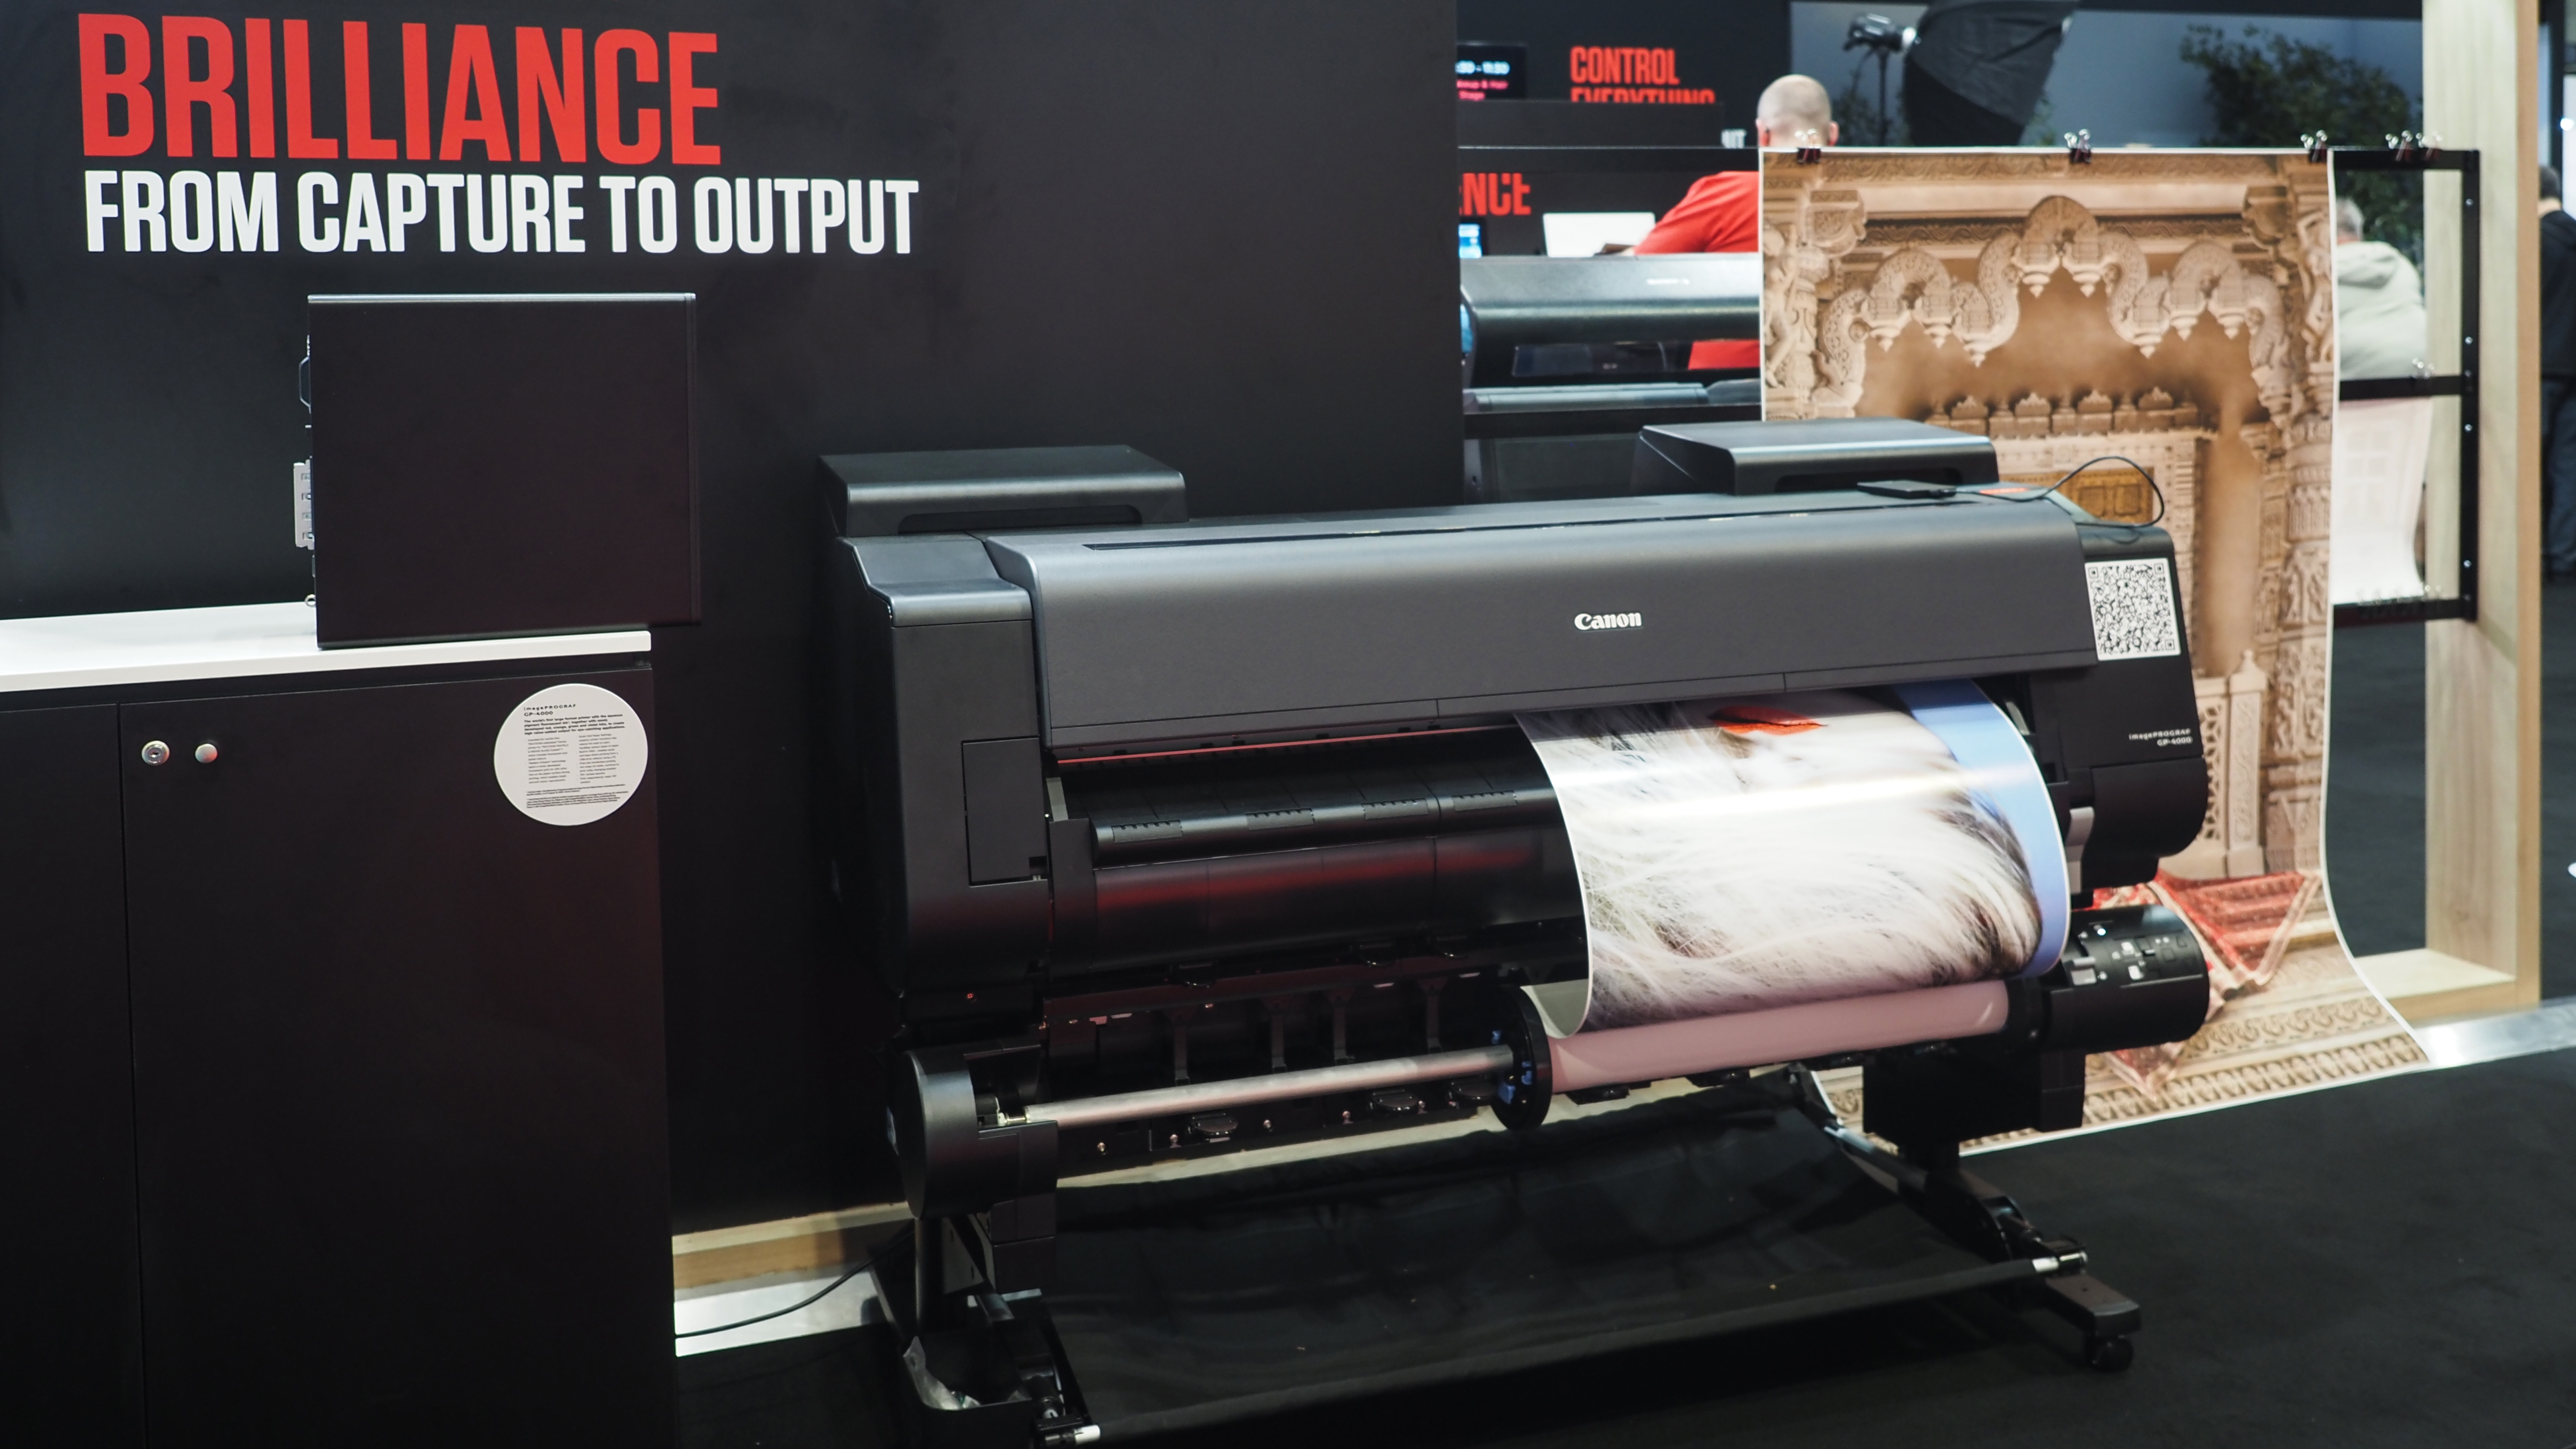
Not all printers work in the same way and they don't all produce the same quality. This may seem obvious, but it is important to understand the reasons behind these differences. A lot of the variance comes from the types of inks used by the printer and the number.
"Generally it is best to avoid All-in-One printers for pro grade prints" suggests Vince. "Higher-end printers feature 6 inks, which offer a greater color range. These include dedicated blacks".
If you are an enthusiast photographer, with a limited budget, buying a printer with 6 inks offers a good balance of overall photo quality with affordability, while larger models have 10 or ever 12 tanks, which can prove to be a prohibitive investment over time.
2- Choose paper features
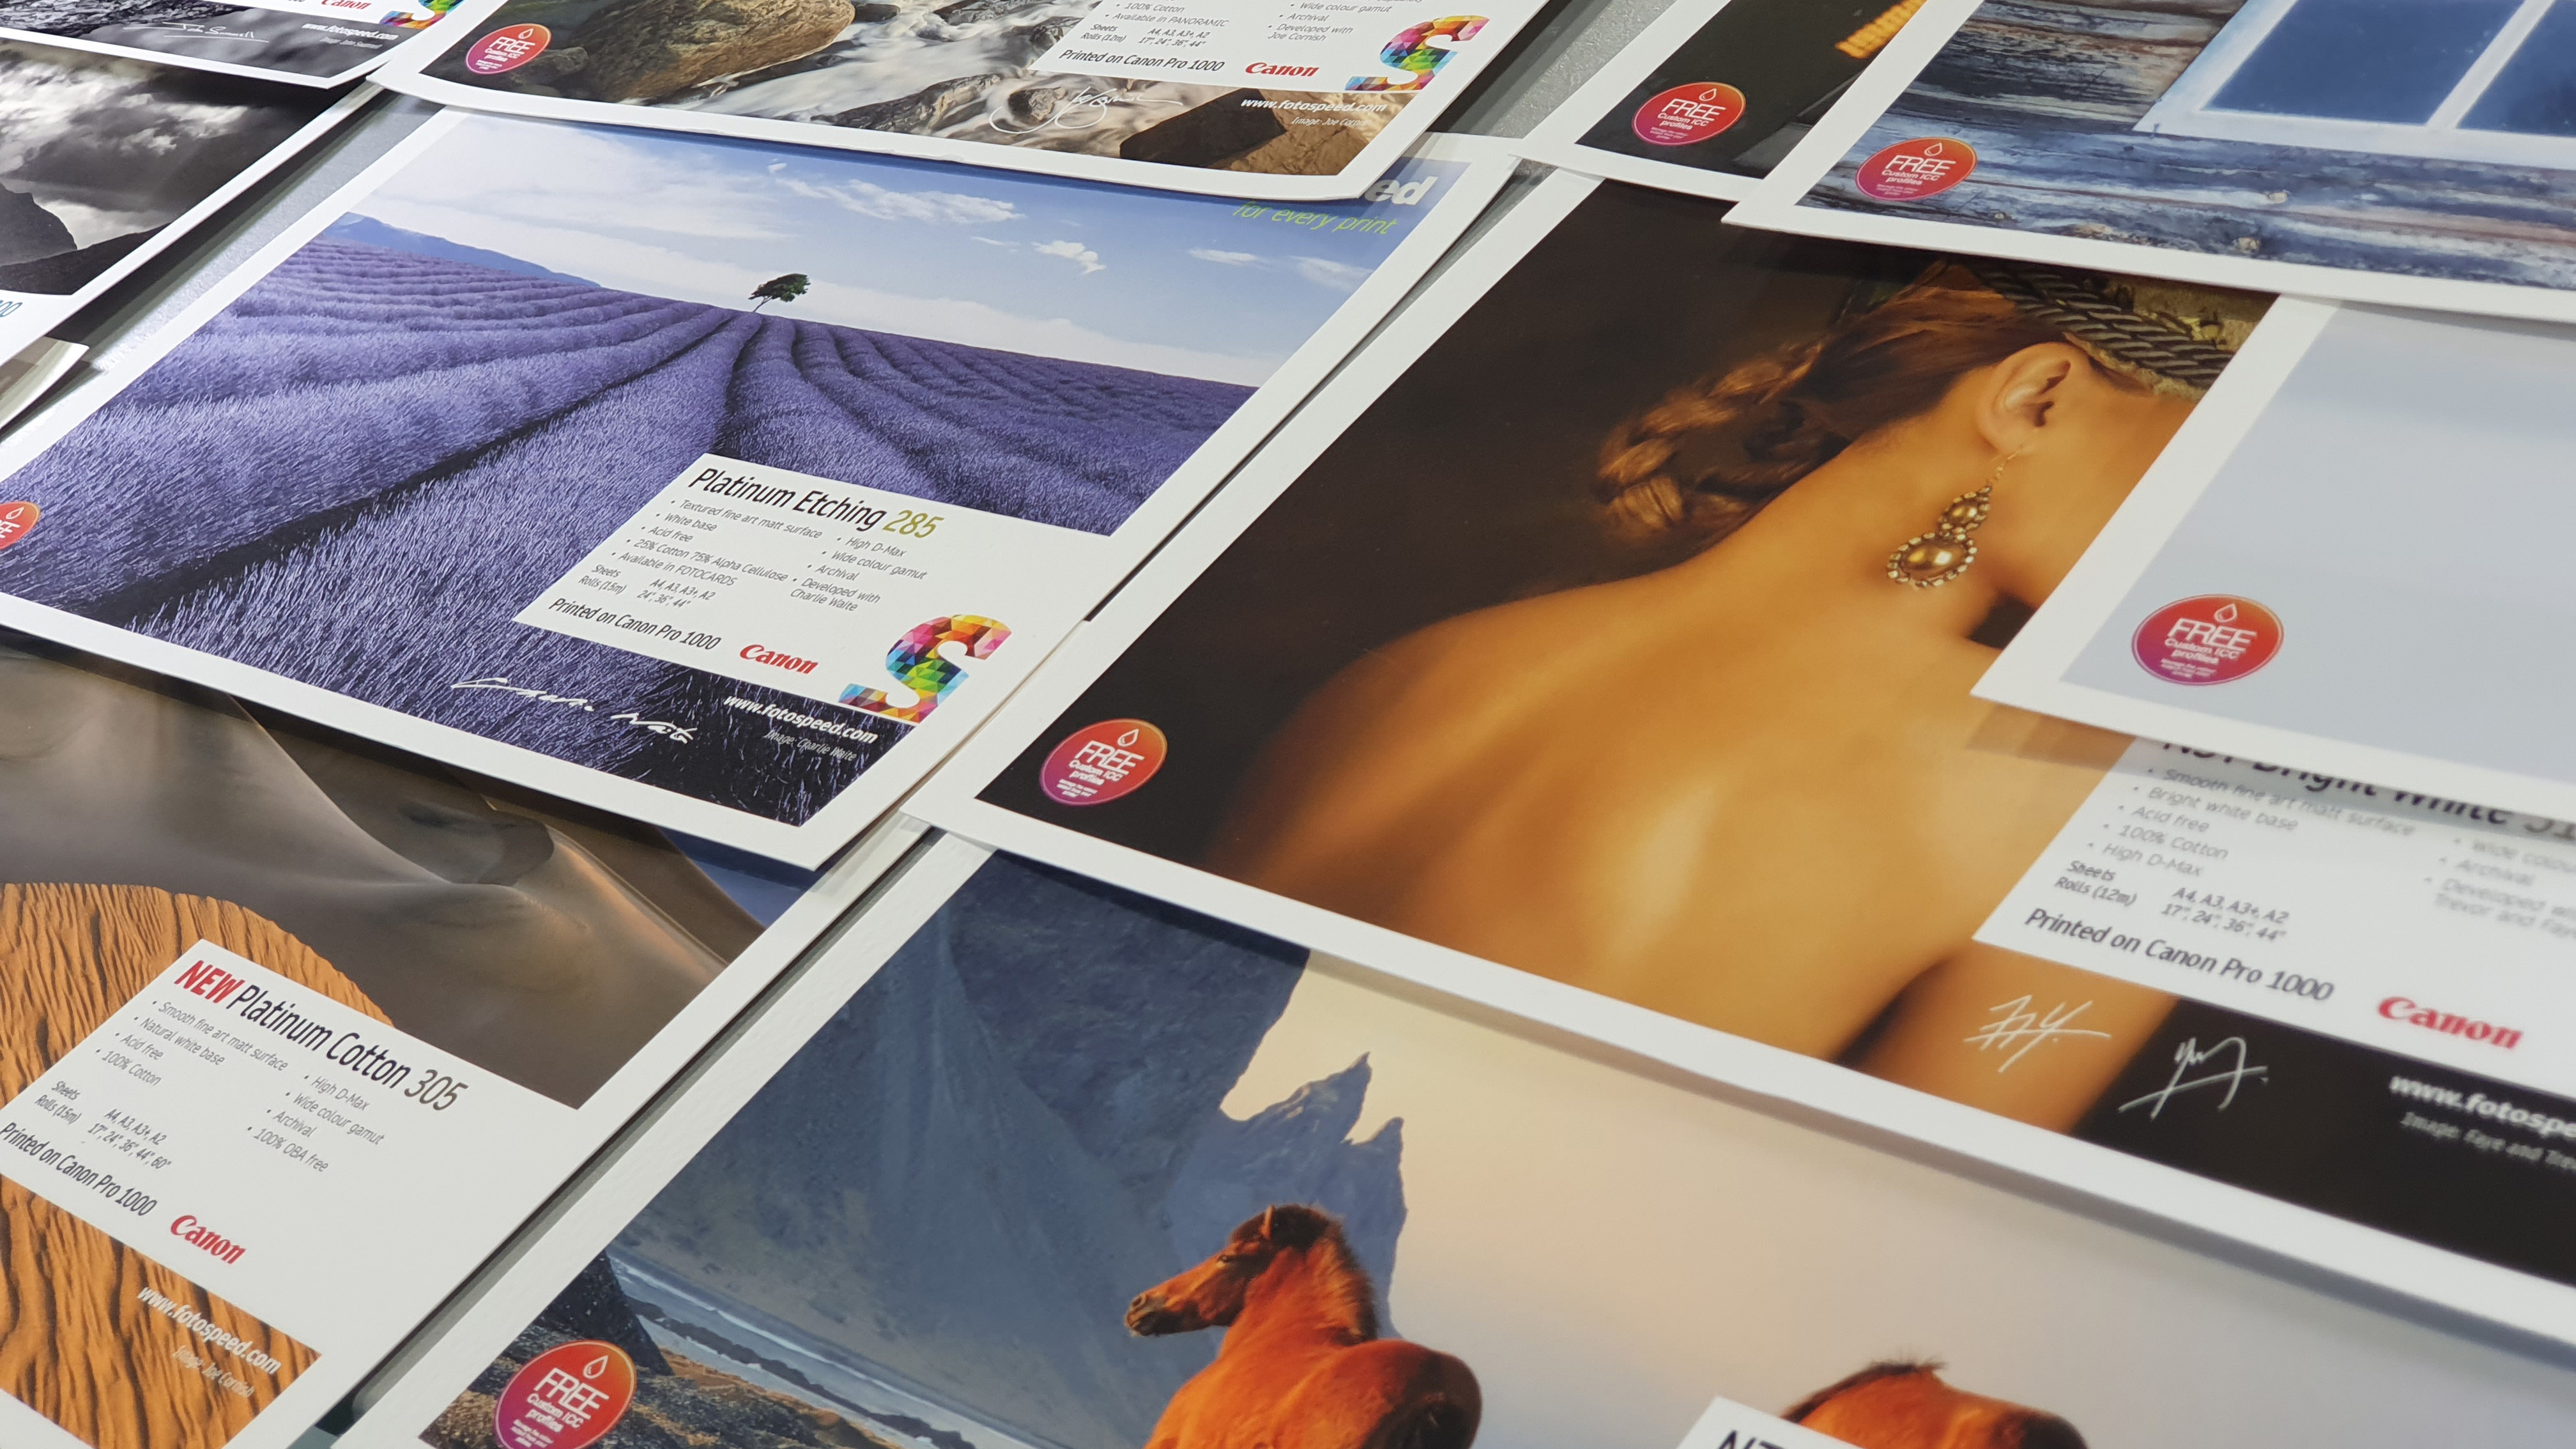
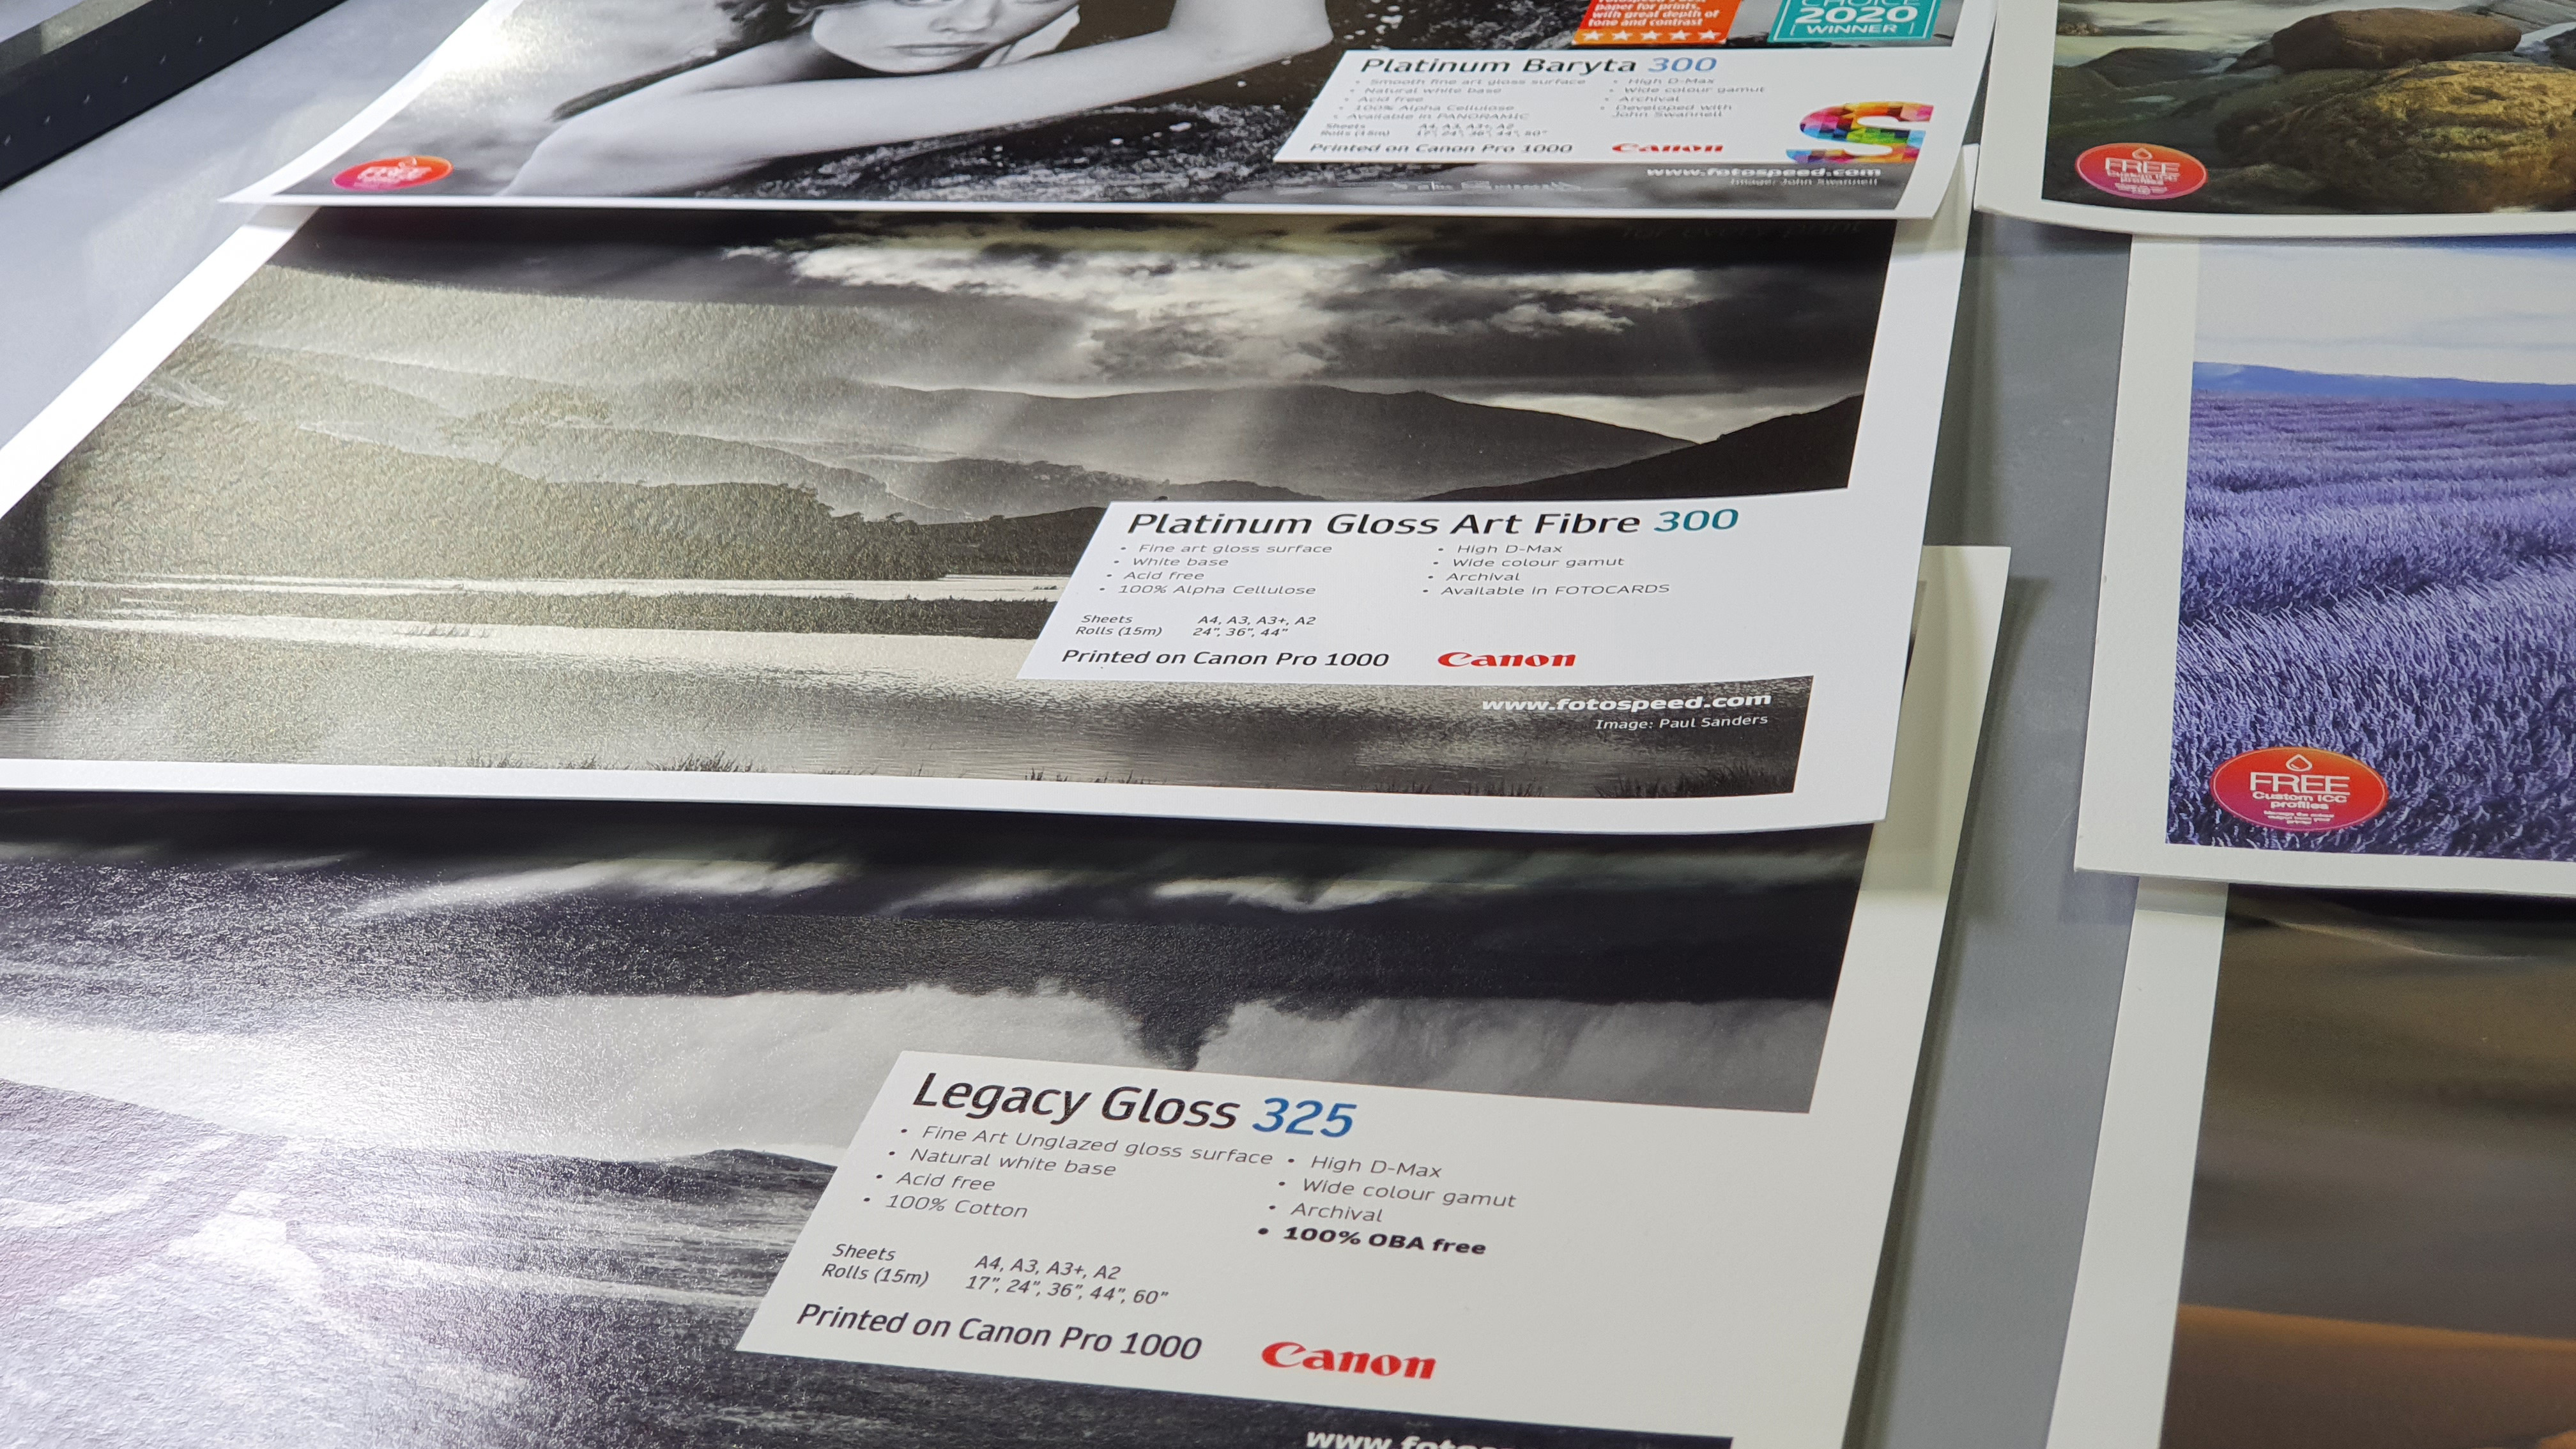
The next point of confusion for many photographers, new to high-level printing, is paper choice. There can be an overwhelming and somewhat daunting array of types and styles and knowing which papers will be best paired with your printer and photo interests takes some investigation.
"It's always a good idea to buy test packs" says Vince. "Bring together a few sample images, and a try printing them on various finishes. Pick some key types, such as 1 lustre, a fine art glossy etc. and try out your images on each to see what your preference is. Don't overcomplicate things - narrow down your choices to just a couple of types which suit you and your images."
The best camera deals, reviews, product advice, and unmissable photography news, direct to your inbox!
3- Don't neglect profiles!
Vince highlights the importance of downloading and applying the correct paper profiles for different media and printer combinations. This is a critical step in ensuring accurate and consistent colour in prints. Just as is the case with Fotospeed, paper profiles can be downloaded from manufacturer websites, imported into software, such as Photoshop, and applied to images prior to printing. This means if you spend hours correcting and perfecting your colour at the computer you will truly see the benefits in your final images.
4-Run a nozzle check
"Printing without running a nozzle check first can mean faded results" point out Vince. "Running a check first can cut back wasted paper and makes the process less expensive". While it may be necessary to run checks before every print, whenever you have left more than a few days between print runs, this is a critical step. Wasted paper means unnecessary cost to you, while reducing this is also better for the environment.
5- The right paper for the job
While finding a range of papers you like is a great way to experiment with styles and looks, you have to be careful you don't choose the wrong medium for the type of images you are trying to print. Of course a lot of this choice is subjective and down to personal preference, but generally fine art subjects don't suit the glossy treatment, while high-key lifestyle portraiture might not benefit from high-texture. When running your test prints, with sample packs, target certain types for the main genres you find yourself working in.
"Textured paper also hides imperfections!" Vince remarks - a sly insider tip which is duly noted the next time one of our shots is slightly softer then we'd have liked or when there is a little too much noise in the shadows.
Read more
Try the Canon EOS R3 at The Photography Show!
See Canon's incredible imagePROGRAF PRO printers in action at The Photography Show
Upgrade your portrait photography with TriFlection at The Photography Show
As the Editor for Digital Photographer magazine, Peter is a specialist in camera tutorials and creative projects to help you get the most out of your camera, lens, tripod, filters, gimbal, lighting and other imaging equipment.
After cutting his teeth working in retail for camera specialists like Jessops, he has spent 11 years as a photography journalist and freelance writer – and he is a Getty Images-registered photographer, to boot.
No matter what you want to shoot, Peter can help you sharpen your skills and elevate your ability, whether it’s taking portraits, capturing landscapes, shooting architecture, creating macro and still life, photographing action… he can help you learn and improve.
