Digital Camera World Verdict
The Saramonic Air provides an affordable way to add professional sounding audio recordings to your videos from a distance (as long as you don’t turn your back on the camera and let the mic lose line of sight with the receiver). It’s reasonably priced and highly compact, so you can pop it in a pocket! Its noise reduction feature is useable but rather subtle, (though this is better than the electronic noise-reduction warbling that some other mic kits can add to your recordings). In summary the Saramonic Air is compact, captures great quality audio and I can see myself using it to record audio for my forthcoming Digital Camera World LED and gimbal reviews).
Pros
- +
Compact and stylish
- +
Good wind shield design
- +
Pro quality audio
- +
Subtle built-in noise cancelation
Cons
- -
Drop out with loss of line of sight
- -
Can’t trigger noise cancellation from mic
Why you can trust Digital Camera World
There’s a wide range of wireless mic kits on the market, so there’s something to meet the needs of video professionals and social media content creators alike. Wireless mic kits also vary in price and specification, so check out our best wireless microphone buying guide for a round-up of a range of options.
The Saramonic Air is a typical wireless mic kit in that it ships with two transmitters that you can clip onto an interviewer and interviewee. The receiver connects to your smartphone or camera via USB-C or 3.5mm TRS cable. This enables you to walk and talk from a distance while your voice is transmitted wirelessly to the receiver and recorded onto your camera.
My previous encounter with a Saramonic mic was with the Blink500 ProX B2R in August 2024. Thanks to its price and specifications (such as onboard recording), the Saramonic Blink500 ProX B2R had a more professional target audience than the newer (and more affordable) Saramonic Air (which lacks an onboard recording feature).
The Saramonic Air has more in common with March 2024’s Saramonic Blink 500 B2+, though advances in technology enable the Saramonic Air to capture better quality audio than the older Blink 500 B2+.
So is it worth buying the new Saramonic Air, or should you snap up an older (cheaper) model? Let’s find out…
Saramonic Air: Specifications
Transmission Type | 2.4 GHz digital frequency |
Transmission Range | Up to 300m (without obstacles) |
Polar Pattern | Omnidirectional |
Frequency Response | 20 Hz to 20 kHz |
Sensitivity | -32 dB |
Sampling Rate | 48 kHz |
Bit Rate | 24-bit |
Signal-to-noise Ratio | >=85 dB |
Max SPL | 120 dB |
Battery Life | 10 hours |
Weight | 11 g |
Audio Output | Lightning / USB-C / 3.5 mm TRS output; 3.5mm monitor port |
Battery Life | Screen On: 6.5 hours; Screen Off: 9.5 hours |
Dimensions (L x W x H) | 53 x 25 x 15.5 mm |
Weight | 22 g |
Saramonic Air: Price
The Saramonic Air is priced at $139 without a lavalier mic and at $159 with two lavalier mics at launch, so if you don’t need the more discrete-looking lavalier mic solution, then you can save some cash and just clip the mini plastic transmitter mics to your subjects.
The Saramonic Air ships with a USB-C adaptor so you can plug the receiver into a range of smartphones. There’s also a supplied 3.5mm TRS to TRRS cable to connect it to a camera. However, if you use an older iPhone, then beware, as only the American release of the Saramonic Air ships with a Lightning adapter as well as a USB-C adapter.
The best camera deals, reviews, product advice, and unmissable photography news, direct to your inbox!
The version of the Saramonic Air with the Lightning and USB-C adaptors is priced at the slightly more expensive $149 without a lavalier mic and at $169 with two lavalier mics.
The price is a reasonable one for a mic with the Saramonic Air’s specifications, as it does capture excellent-quality audio. However, it’s well worth paying an extra $20 for the two lavalier clip mics as they do look more discreet and capture a slightly smoother and more intimate sound quality than the ‘naked’ plastic transmitters do.
Saramonic Air: Design & Handling
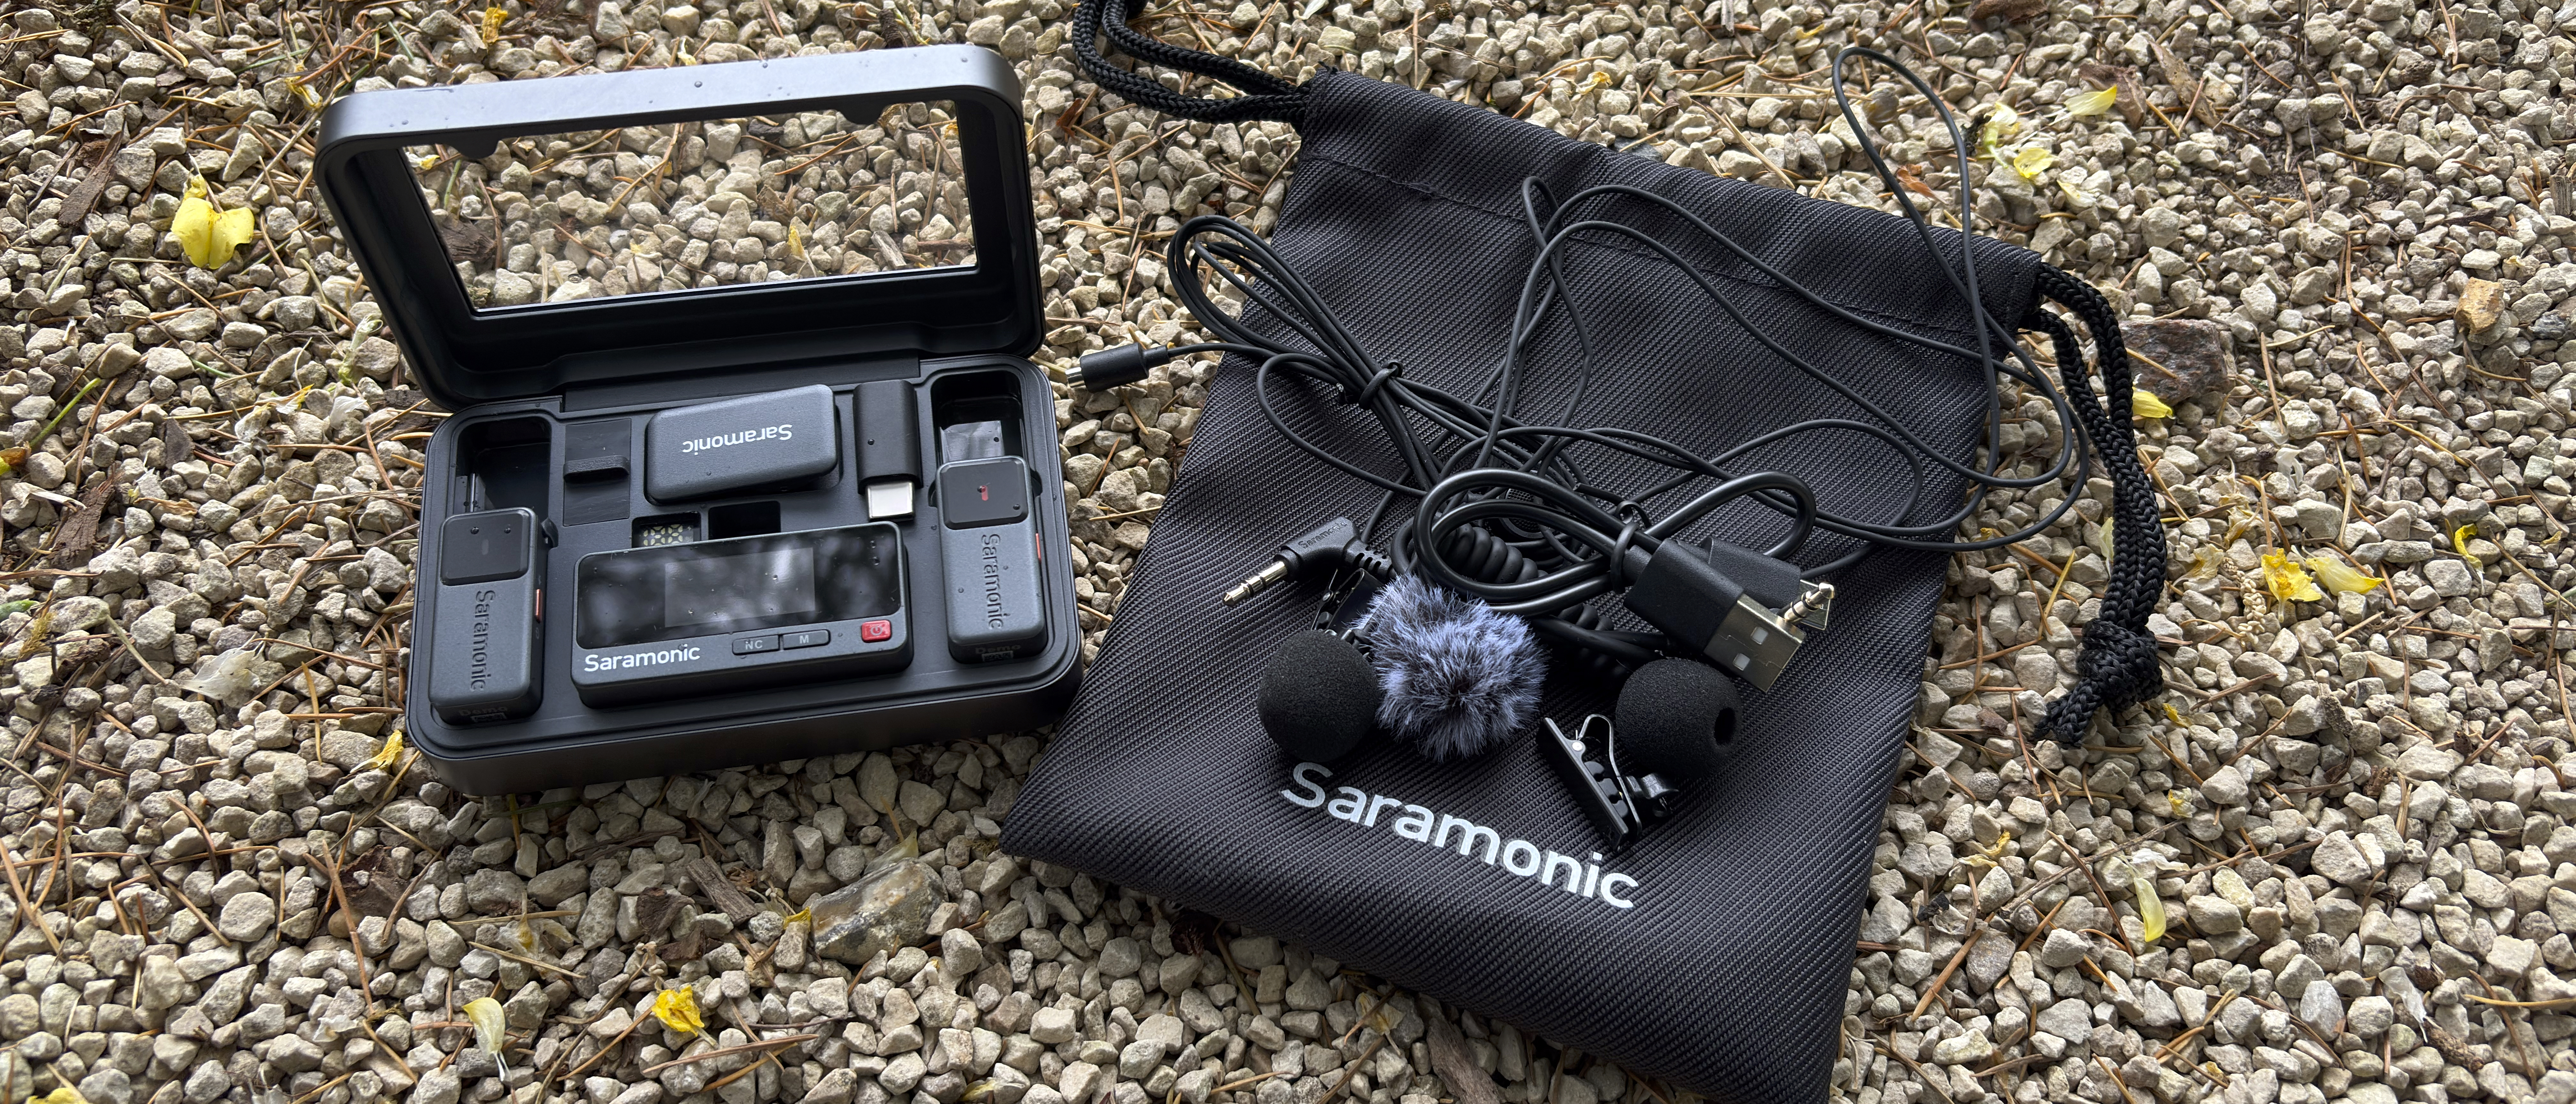
Like most wireless mic kits, the Saramonic Air consists of two small plastic brick-shaped transmitters that clip (or attach via supplied magnets) to the presenter, and a receiver that is connected via a USB-C adaptor to a smartphone (or to a camera via a 3.5mm jack cable). Both transmitters and receiver sit inside a carry case that also doubles up as a charging station. This ensures that all the units are equally charged on a shoot, so the interviewer’s mic won’t run out of juice when chatting to an interviewee. You can also charge up the case’s contents by attaching a single USB-C cable to it. The receiver can also be attached to a little adaptor so that you can slide it into the hot-shoe mount of a DSLR or mirrorless camera.
Saramonic’s press release says that the Saramonic Air kit is “built with retro-futuristic style”. I’m in my 60s now, so to me, retro means something from the 70s or 80s. The Saramonic Air’s receiver, with its black curved edges, TFT colour display and little red power button, reminds me of 1990s tech, but I guess the Nineties is ‘retro’ to our Generation Z readers! Talking of design, the case does stand out from the wireless mic crowd due to a curved black metal body with a glass panel on the lid that displays its contents. This transparent section is handy as you can see the charging status of both transmitters and the receiver without opening the lid. This is both an aesthetic and a practical design!
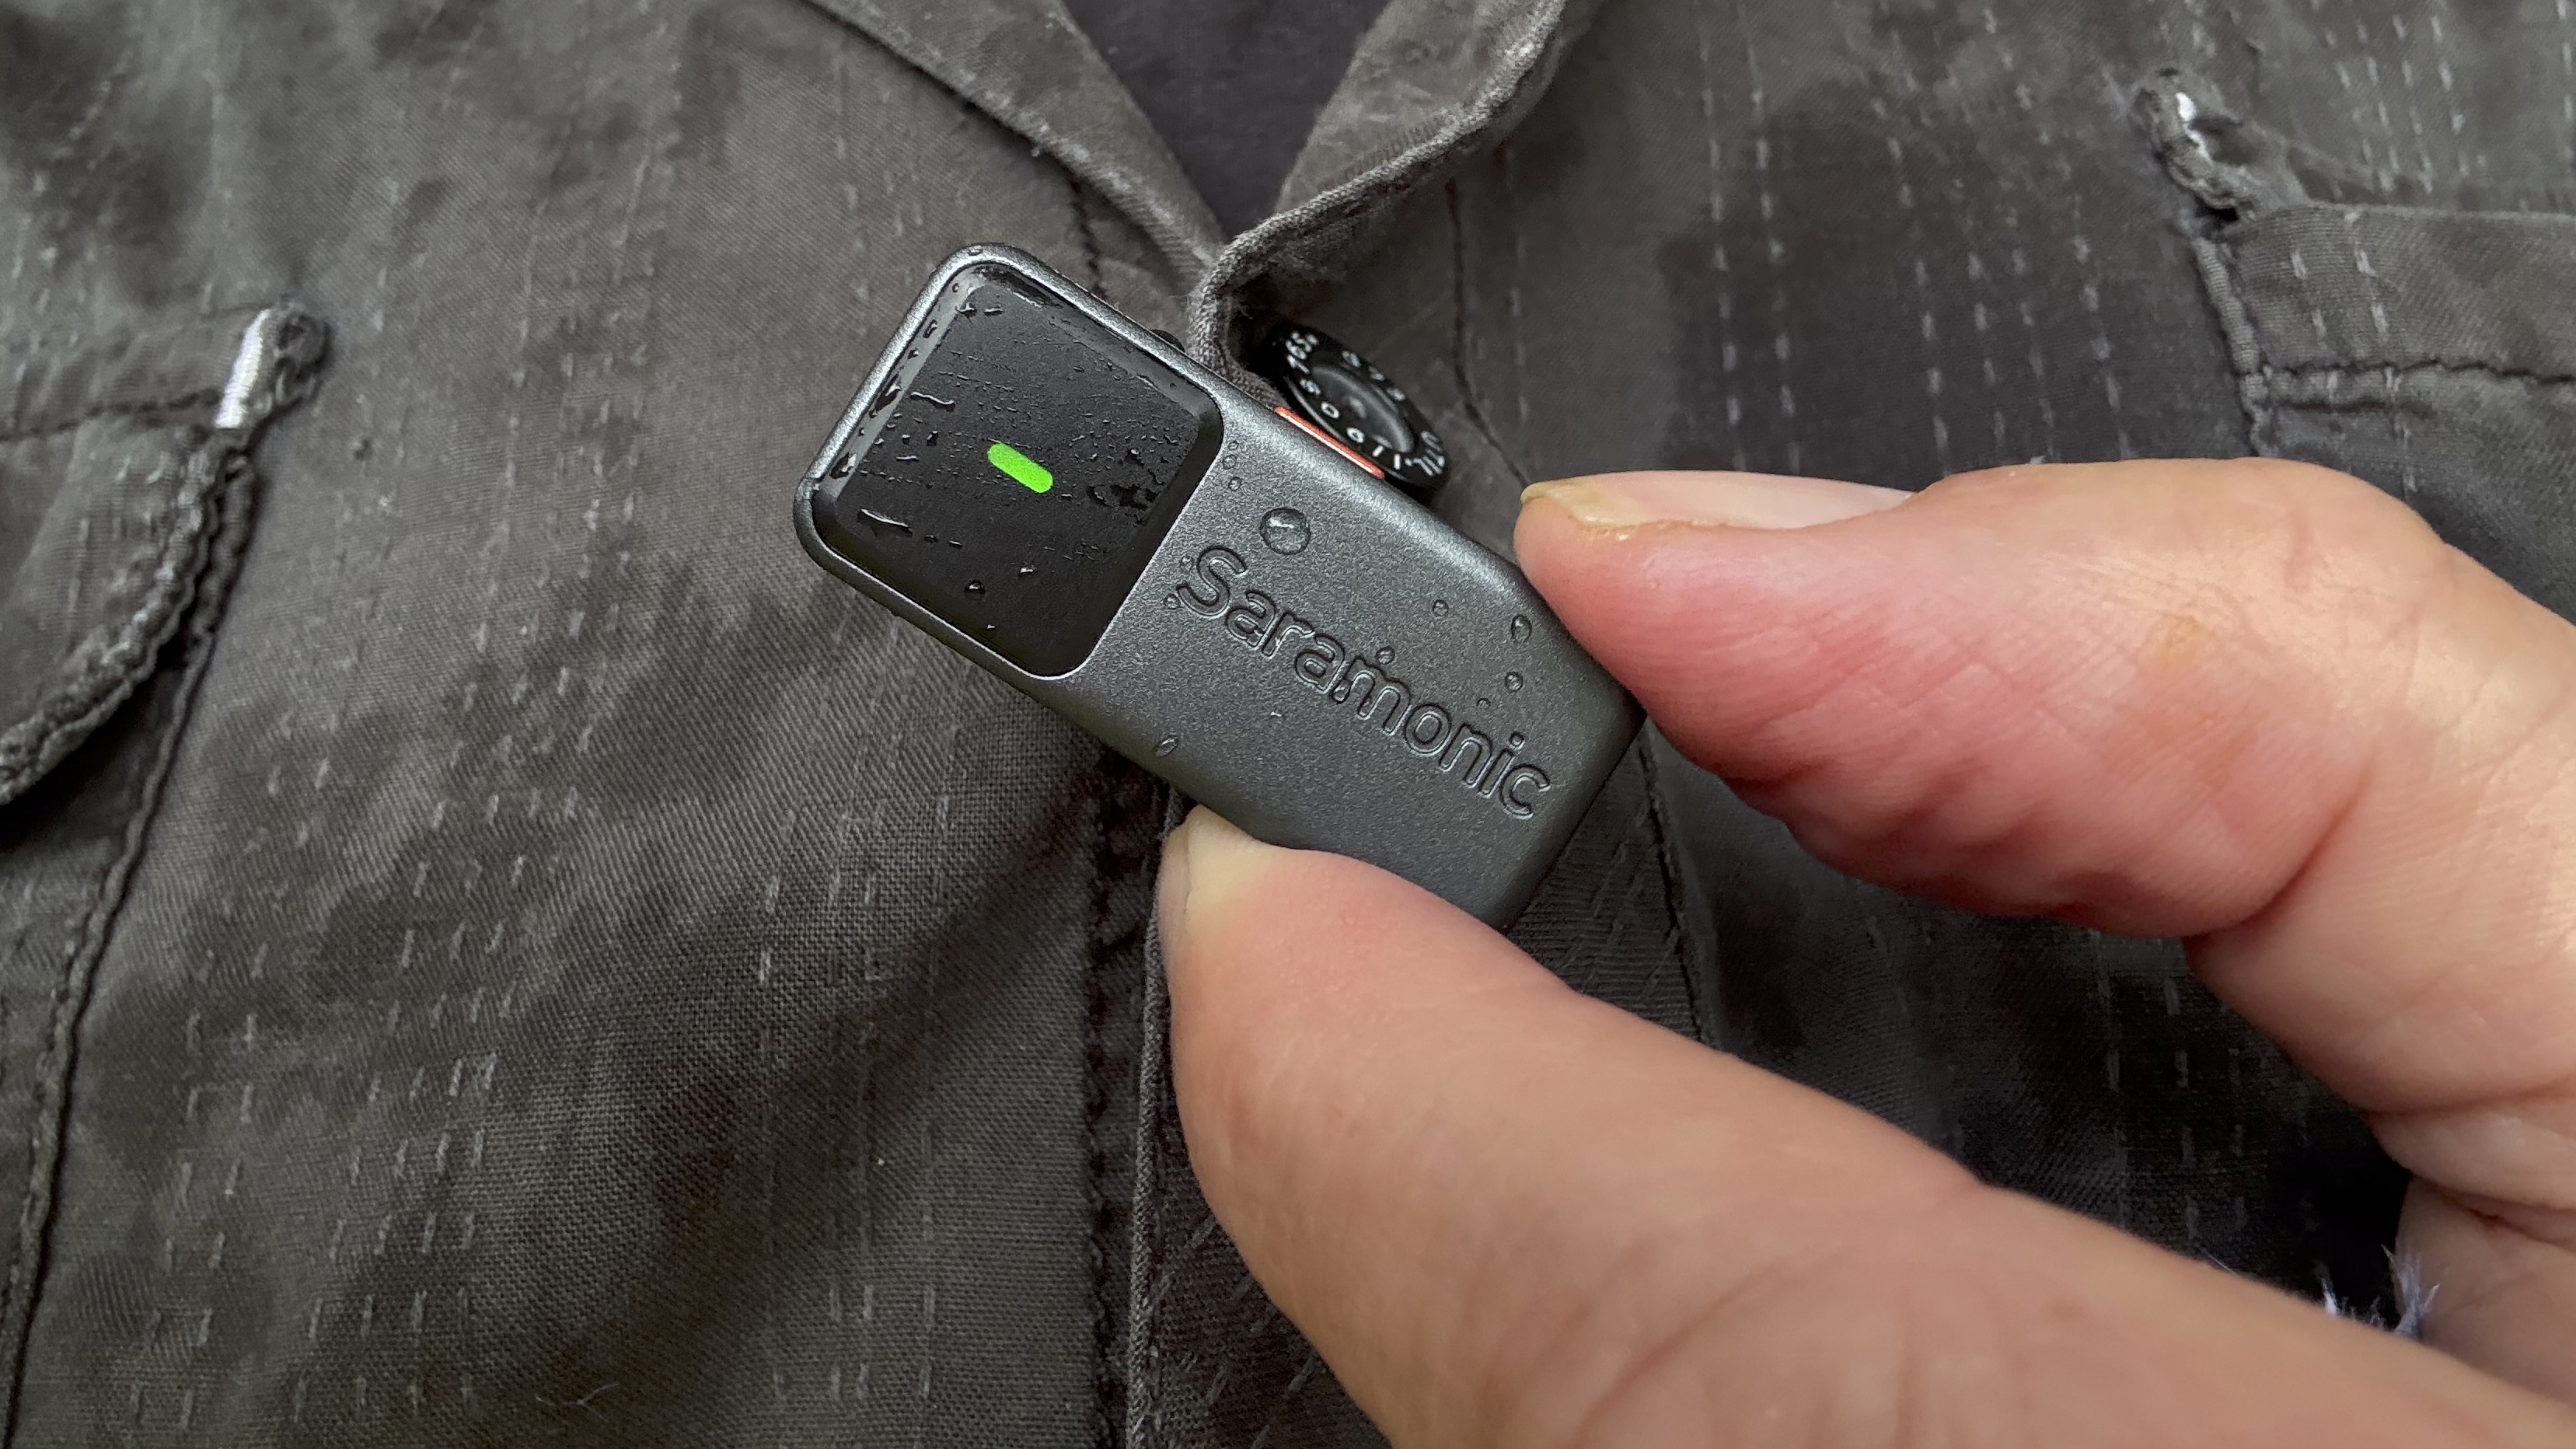
The Saramonic Air kit also ships with two lavalier cable mics that you can clip onto a subject’s lapel for a more subtle and discrete look. Lavalier mics suit the needs of documentary or drama makers who don’t want to see a chunky plastic transmitter clipped to their actors.
The carry/charging case and its contents are nice and compact and will fit easily into a pocket. If you also want to carry supplied extras such as wind shields, clips, and lavalier mics, then you can slip these and the mic case into the supplied branded drawstring bag and pop it into your camera bag.
Saramonic Air: Performance
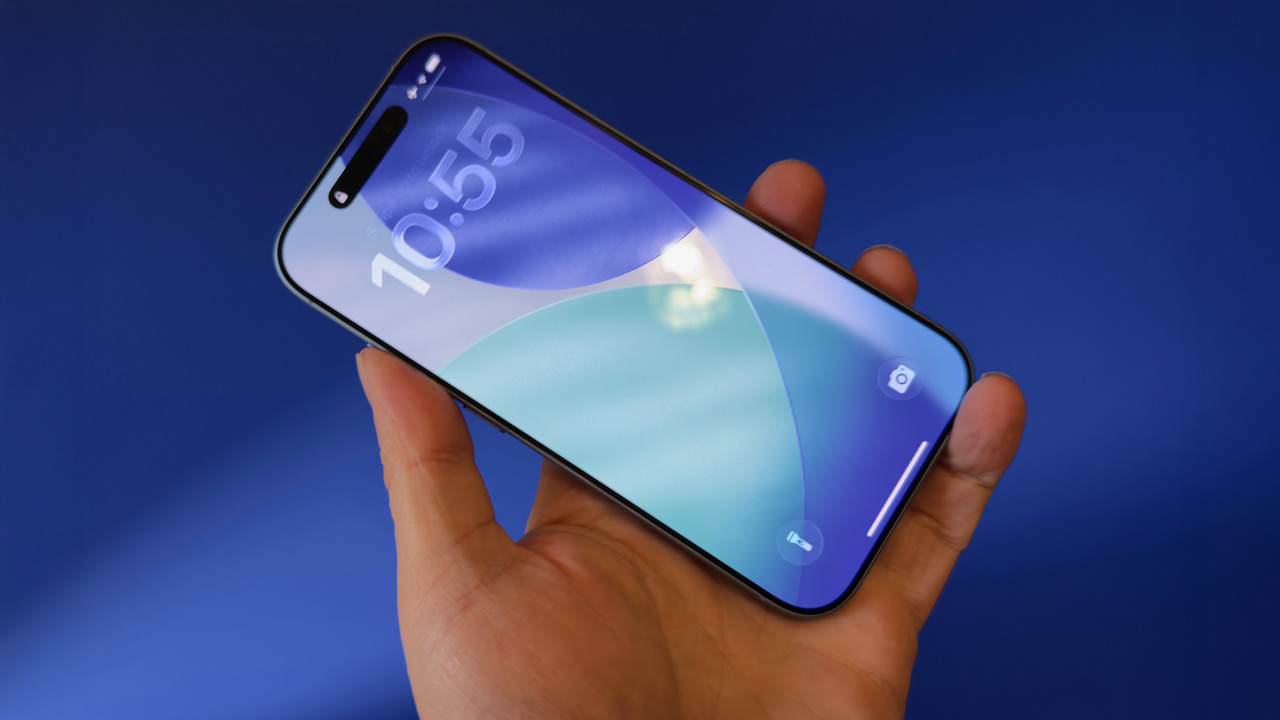
I’ve been shooting corporate videos for decades, so I've enjoyed seeing video kit evolve from chunky 1980s U-Matic format cameras that required you to lug a separate video recorder over your shoulder, to lighter Mini-DV camcorders in the 90s, to DSLRs in the noughties. I now shoot video primarily on an iPhone 16 Pro (and that includes my video reviews for Digital Camera World), so I was pleased to see that the Saramonic Air packaging featured the Made for iPhone/iPad logo on it. This meant that I could clip the supplied USB-C adaptor onto the Saramonic Air’s receiver and plug it straight into my iPhone. I was then able to clip one of the mics onto my shirt and record great-quality sound and video in my iPhone’s native Camera app. This ‘plug and play’ design is wonderful (and it should work just as well with Android phones, too).
When using older iPhones with a Lightning port, my iPhone sometimes failed to recognise that a mic was attached, leading to lots of frustration and fiddling with menu settings as the iPhone mistakenly identified the mic as a pair of headphones. This is thankfully no longer the case, thanks to ‘Made for iPhone’ brands like the Saramonic Air.
To test the Saramonic Air, I took it to the gardens of a stately home. It was raining, but I found a long tunnel of plants and flowers in which I could perform a distance test. The Saramonic Air is a dual-channel 2.4 GHz wireless microphone system, so the sound of my voice sounded impressively clear, clean, and rich with a nice mix of bass and treble. At 25 feet from my iPhone 16 Pro (and the USB-C attached receiver), my voice still sounded the same even if I turned away from the camera. However, at around 30 metres, the signal started to drop out when the mic lost line of sight with the receiver. This is not unusual for a wireless mic, and the signal returned as soon as I faced the camera. Even from a distance of approximately 50 metres, the audio sounded as good as it did when I was 1 metre away from the camera.
I then plugged a supplied lavalier clip mic into a transmitter to see/hear if there was any difference in sound quality. The 9.7 mm lavalier mics shipped with the Saramonic Air have a 6mm diaphragm that is 1.5x larger than standard lav mics. The sound quality from the lavalier mic was superior to the audio captured by the transmitter’s built-in mic, boasting a deep bass and crisp highs. This could be partly due to the fact that high held the lavalier mic closer to my mouth than the clip-on transmitter. The lavalier mic has a front-facing pick-up field which minimises plosives (or pops). Indeed, when I held it close to my mouth and said ‘perfect’ and ‘professional’, there were no popping sounds! Check out this review’s supping video to hear the quality of the Saramonic Air’s built-in and lavalier mics for yourself.
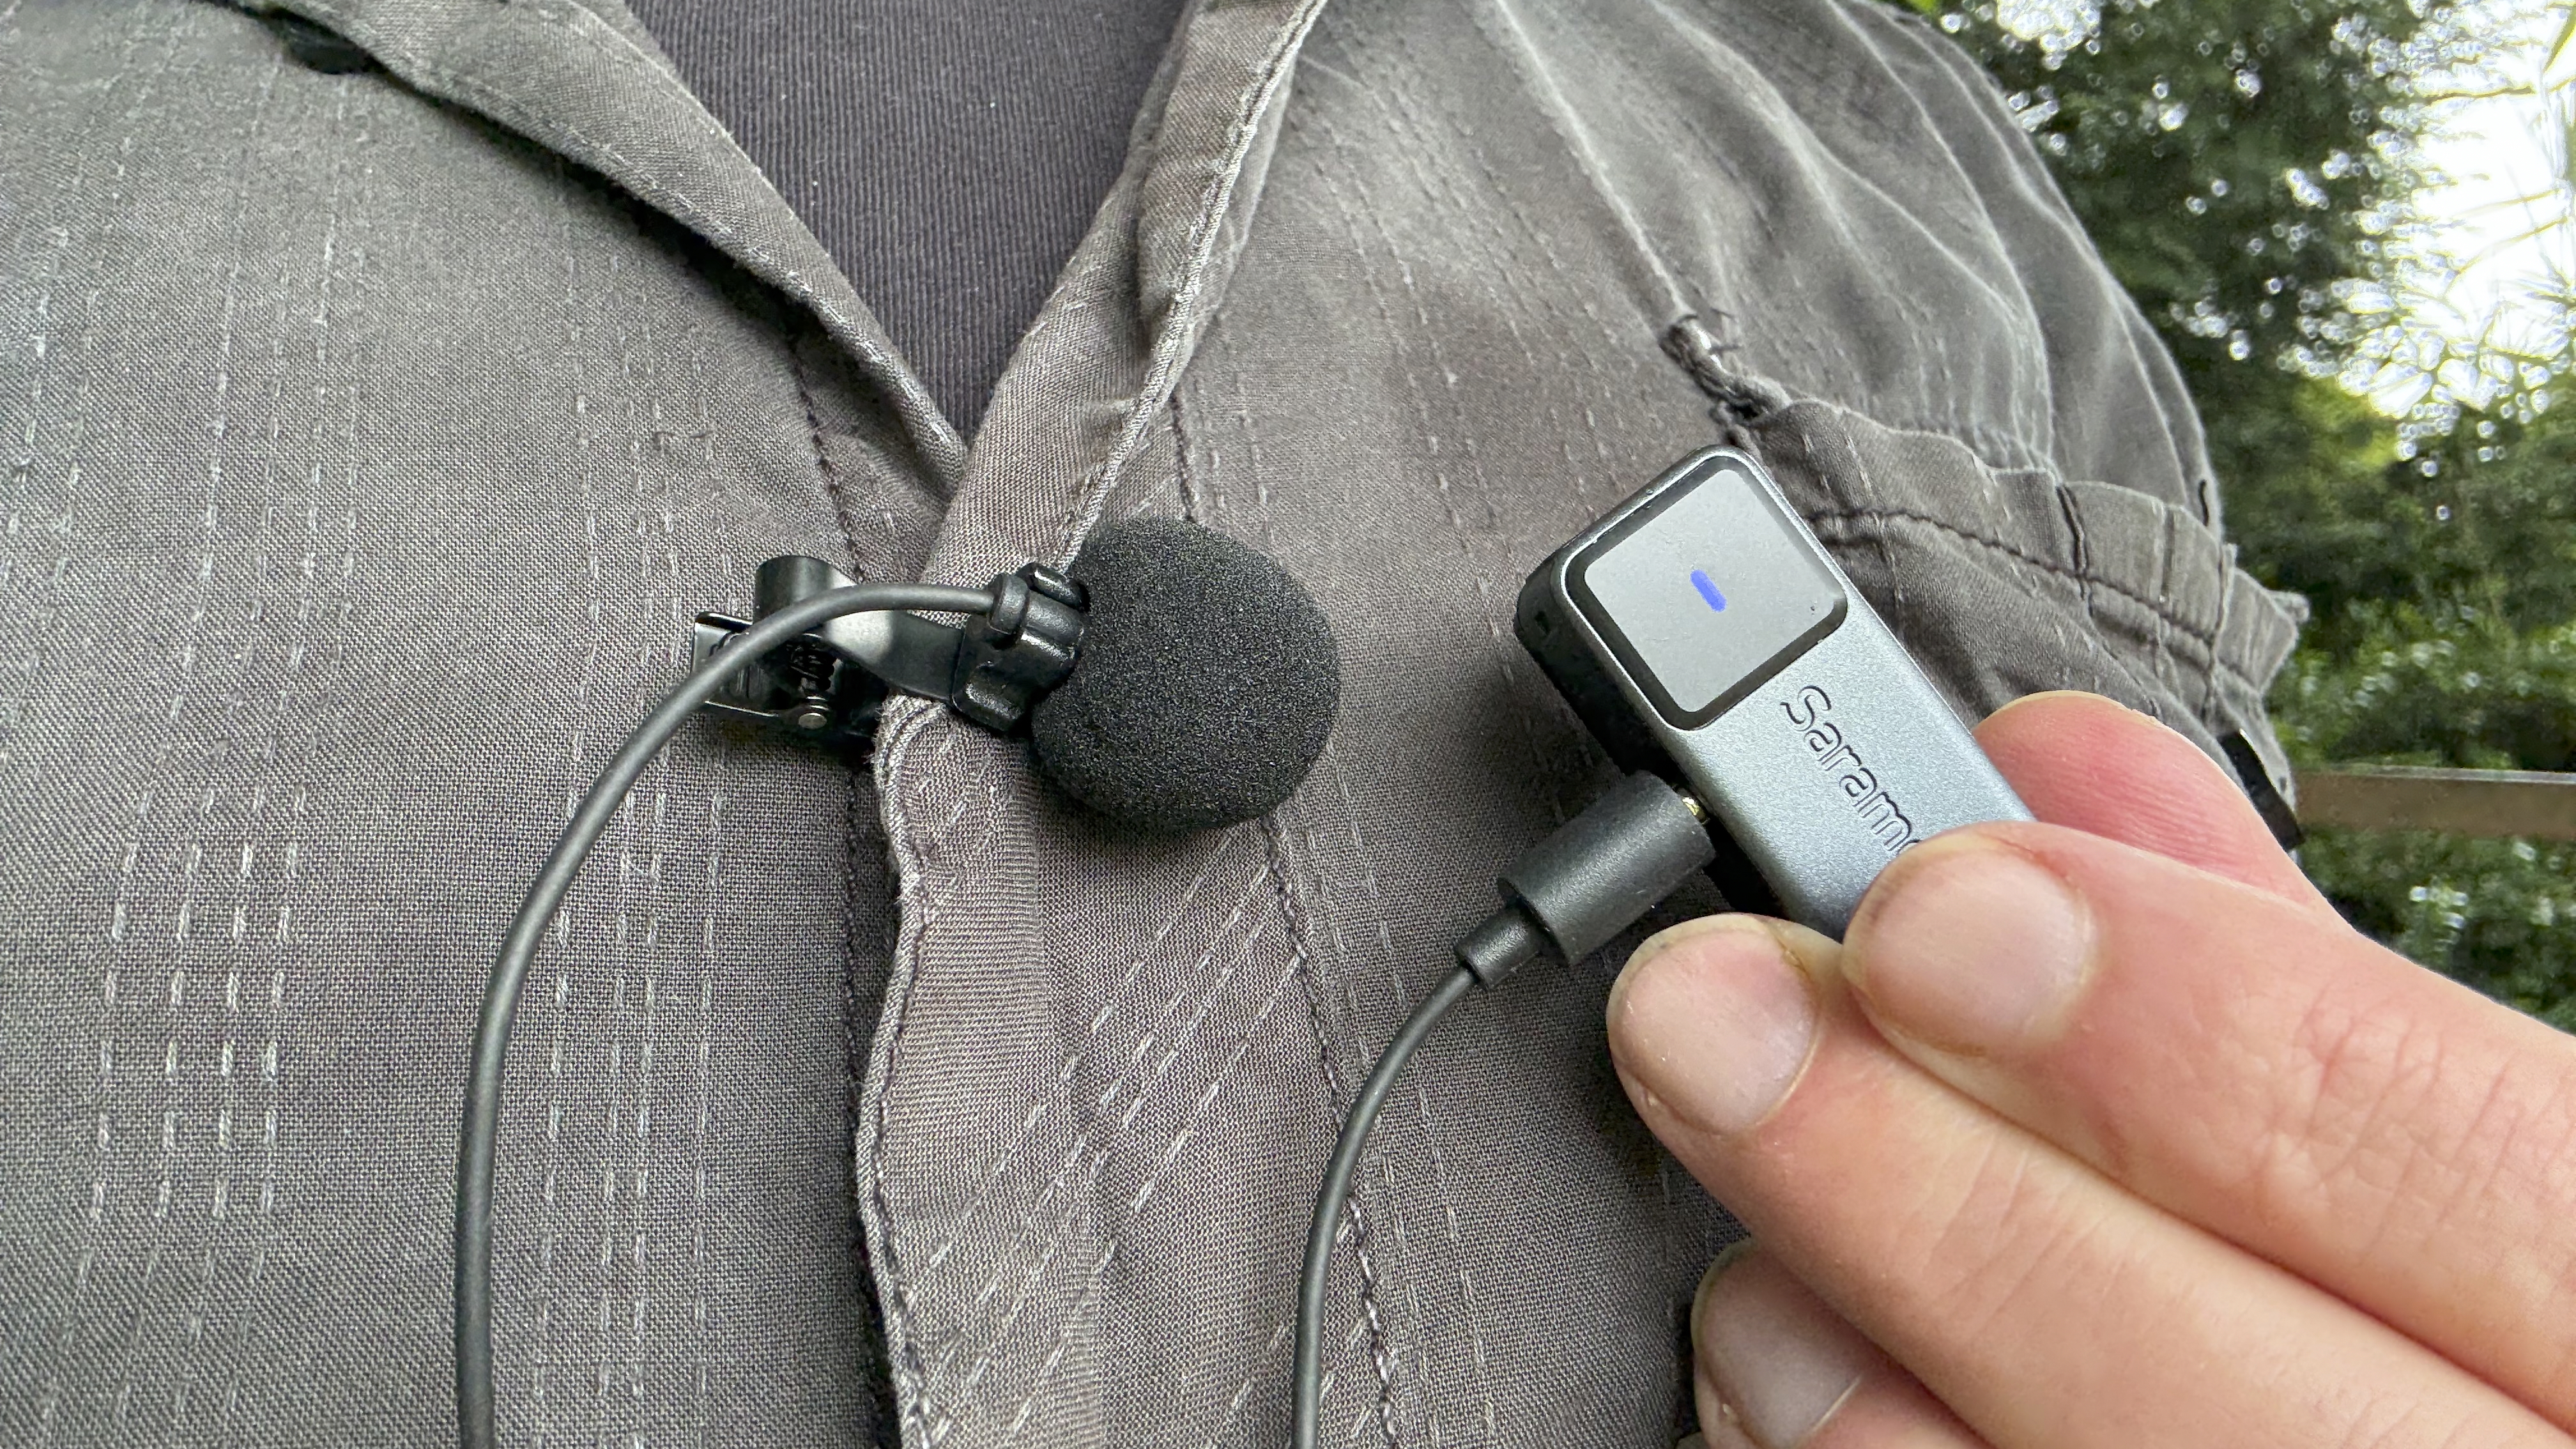
To fully test the quality of the Saramonic Air’s lavalier mic, I used it to record an interview with cinematographer Andrew Rodger about the lenses he used in a recent shoot for the movie ‘Sessions’. By clipping a lavalier mic onto Andrew, I felt more ‘professional’ than I would have if I magnetically attached Saramonic Air’s plastic brick-shaped transmitter mic to his t-shirt. The traditional lavalier gave me more cinematic ‘street-cred’ than using a transmitter with its built-in mic. The quality of the audio captured by the lavalier mic was excellent, and it matched the production values of the teal and orange lights that I used to light Andrew’s face (courtesy of two Viltrox K90 tube lights - https://www.digitalcameraworld.com/cameras/viltrox-k90-review. I include an extract from Andrew’s interview in this review’s supporting video so you can hear the quality of the lavalier mics for yourself. On a slightly negative note, there was a little (but negligible) rustling caused by the lavalier mic’s foam wind shield rubbing against Andrew’s t-shirt, so in the future I’ll remove the wind shield when shooting indoors.
Sometimes, latency can be an issue with wireless mics (where the subject’s voice is a few frames out from the recorded audio). Fortunately, the latency in my Saramonic Air recordings was negligible, so I didn’t have to spend time offsetting the audio channel in editing software by a few frames until sound and lips were back in sync.
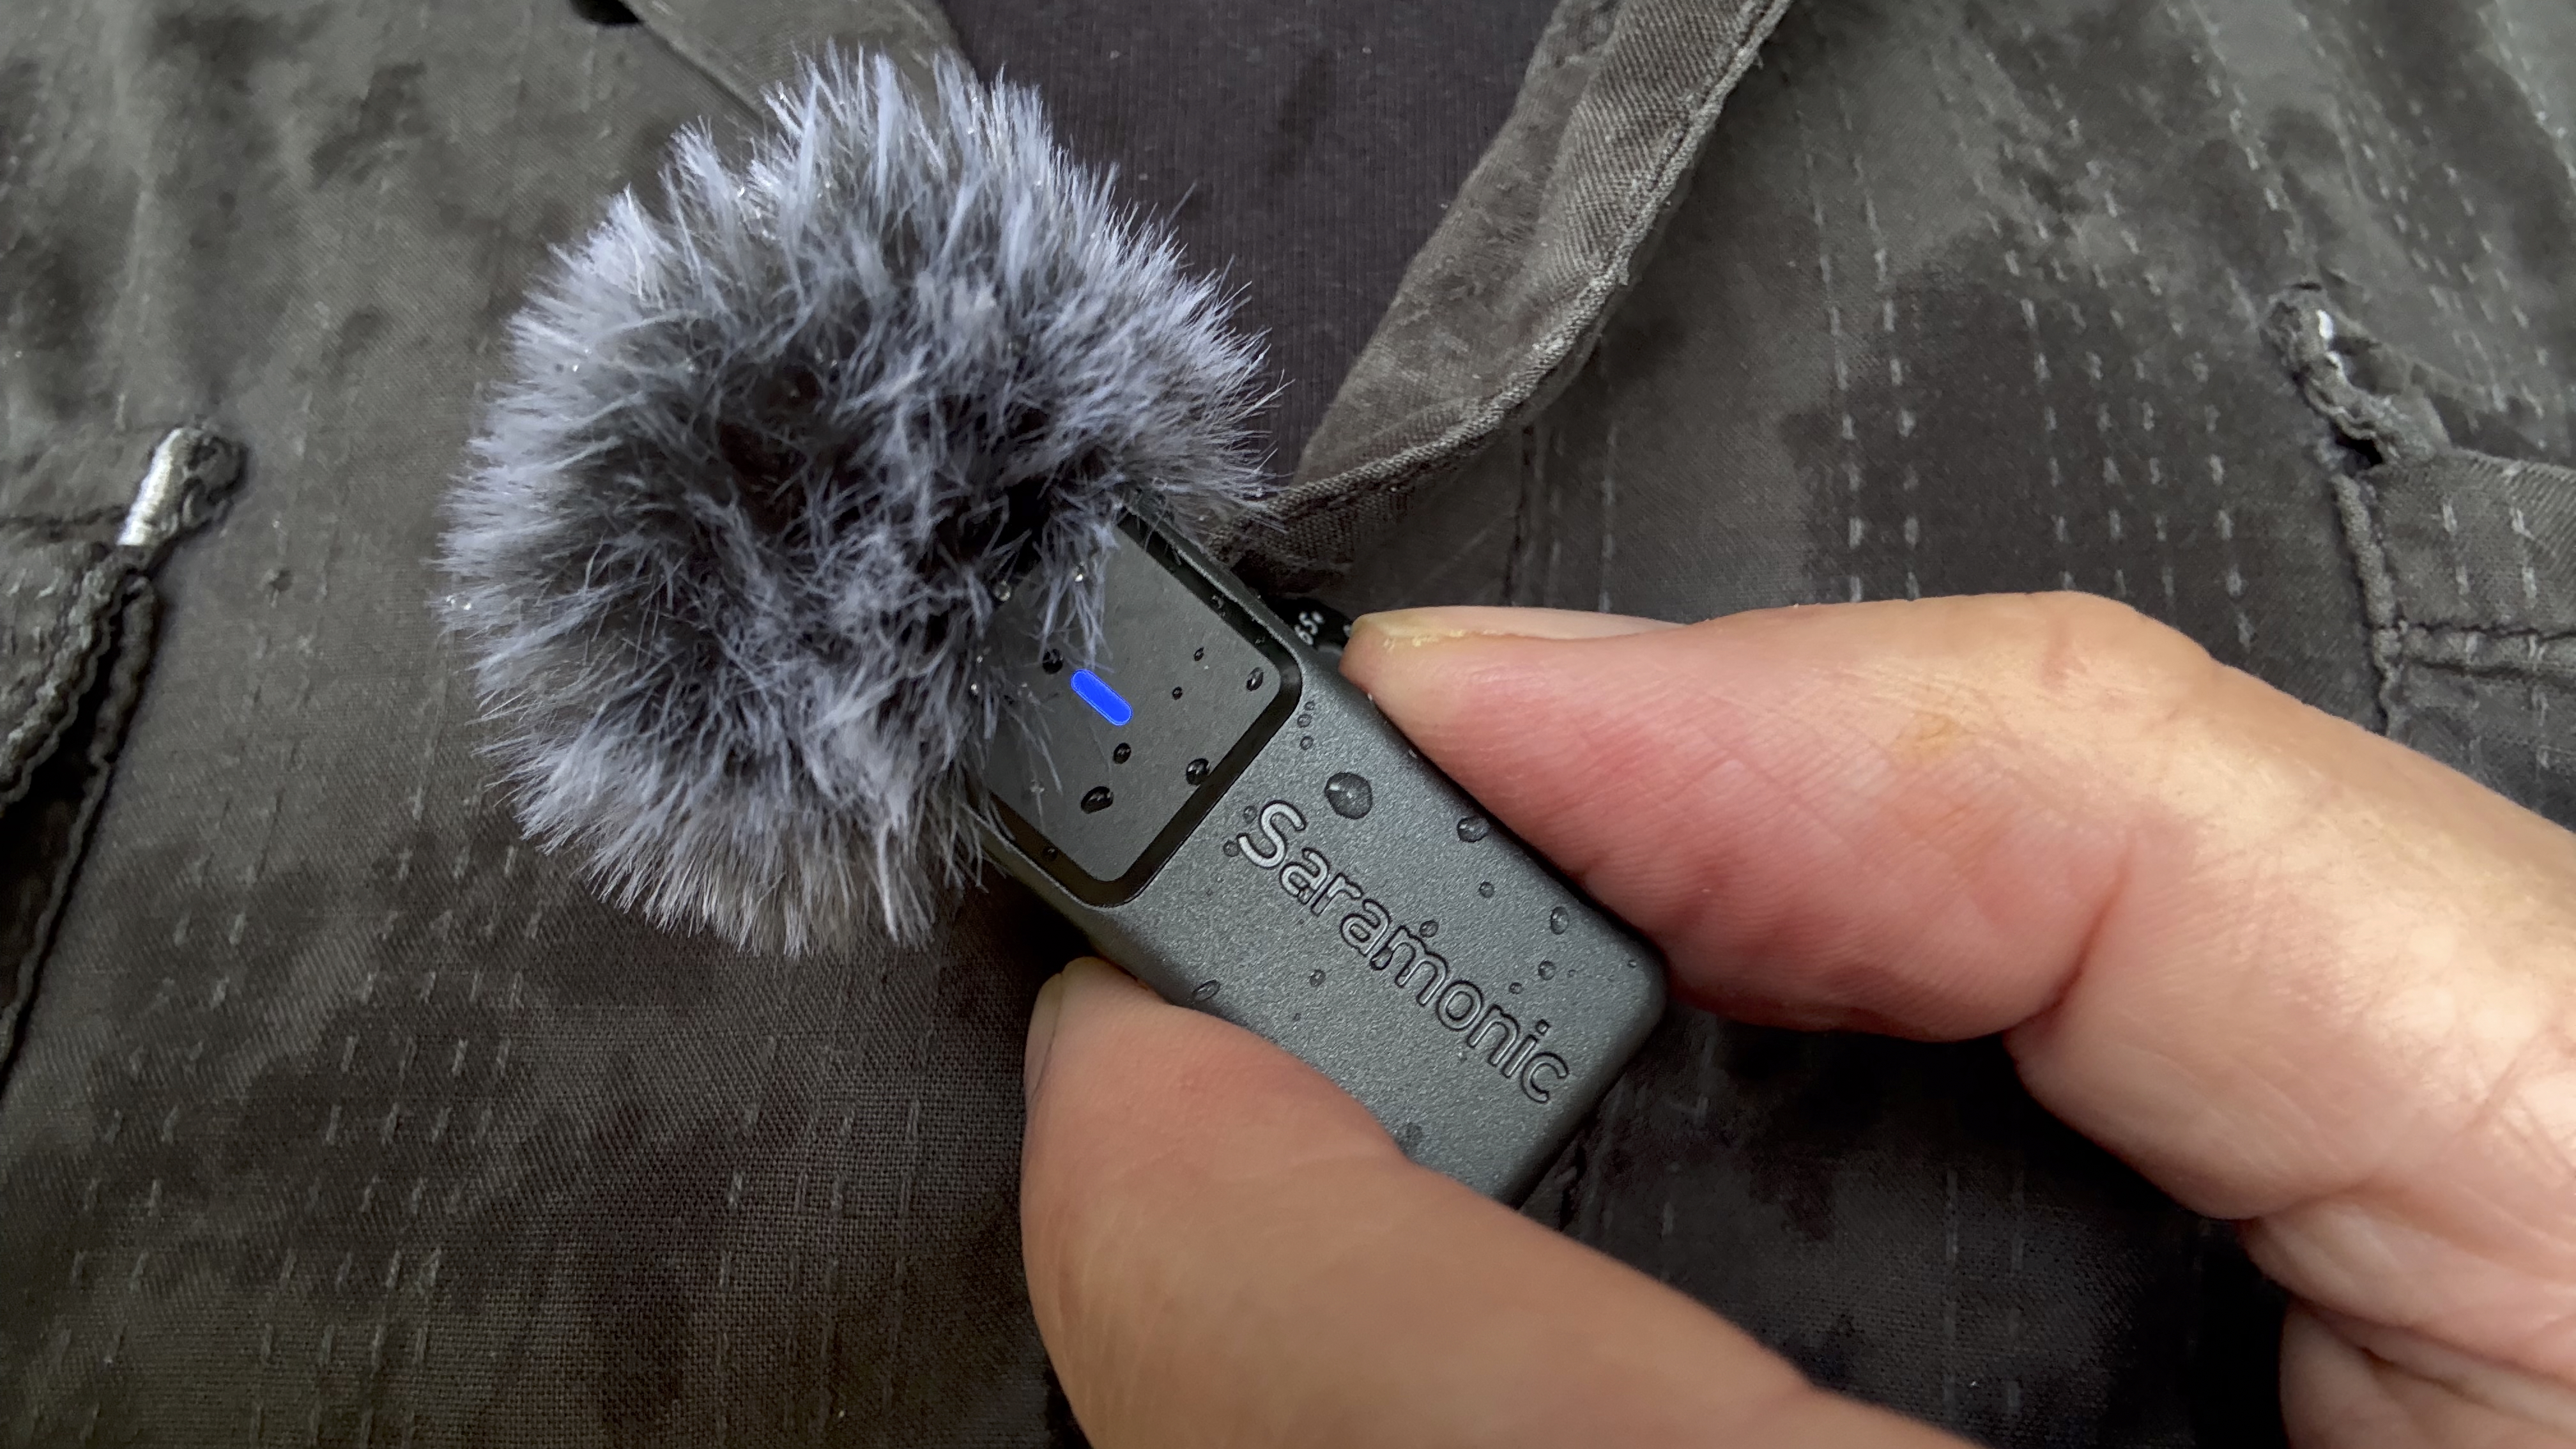
Wireless mics can suffer from wind noise. This is usually effectively reduced by a windshield, and the Saramonic Air provides two ‘dead cat’ style wind shields for its transmitter mics. These wind shields clip onto the mics easily and stay firmly secured. These well-designed windshields are a very welcome feature. I’d recently tested the Boyalink 3 and spent ages trying to squeeze that kit’s slippery circular mic into its too-tight windshield.
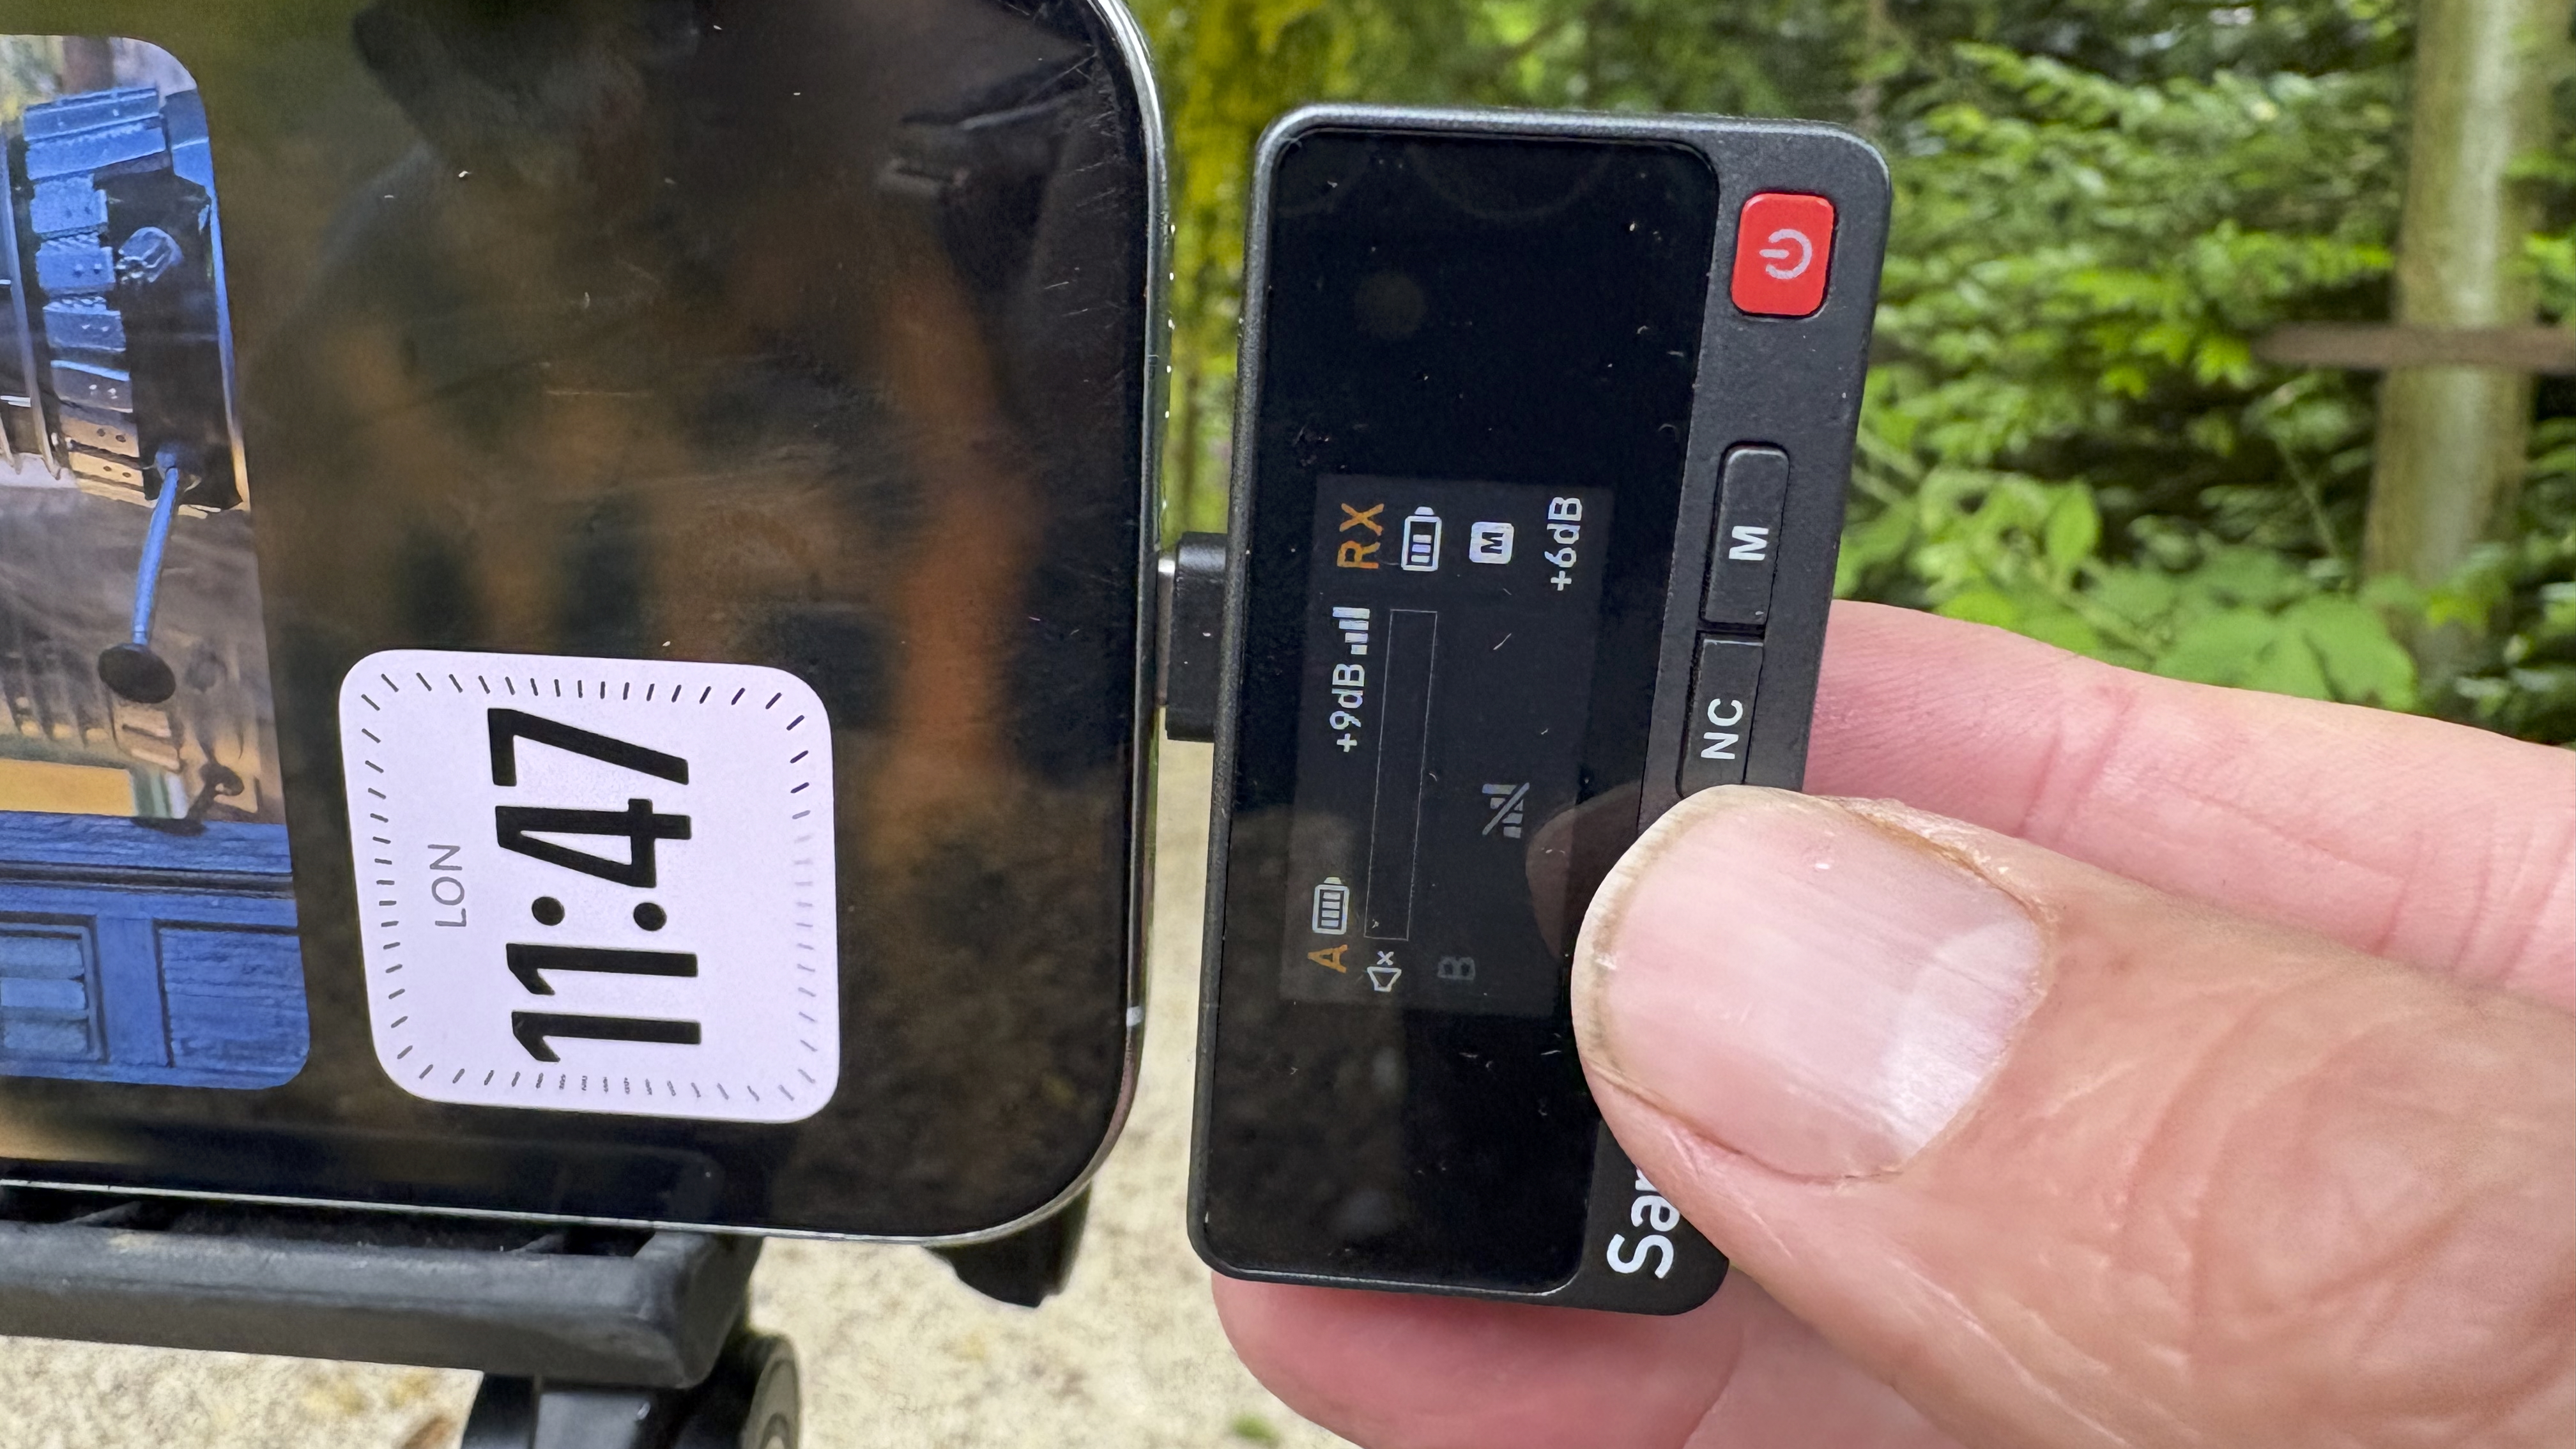
The Saramonic Air also features AI-powered noise-cancelling technology to remove unwanted and distracting background noise from your recordings. I tend to be a bit skeptical about most wireless mics’ built-in noise reduction features, as they tend to make my voice sound electronically distorted and thin. The Saramonic Air’s transmitters offer two levels of noise cancellation. You can trigger these settings by pressing the NC button on the receiver. A little icon appears in the receiver’s 1.05″ full-color TFT display to indicate which level of noise cancellation has been chosen.
I tested the transmitter’s built-in noise cancellation feature in my garden to reduce the background cries of nesting birds. The first level of built-in noise cancellation dipped the birds a little without distorting my voice. The second level of noise cancellation was too subtle to make much difference in comparison to level 1. Circling back to the TFT display, I could view it clearly on a rainy day, but when the sun came out, I snuggled to see if noise cancellation was active, even after boosting the brightness to 100%. Another niggle was the inability to turn on noise reduction from the mic itself. It could only be activated by tapping the NC button on the receiver. You can, however, mute the transmitter mic without returning to the receiver by pressing the red button on its side.
If you record via the free Saramonic App, you can apply five levels of noise cancellation to your voice. These settings dipped the volume of background birds more effectively, but they also caused my voice to occasionally dip in level, which rendered them useless. The app’s higher levels of noise cancellation made my voice sound very muffled, so I recommend sticking to the more subtle two-level noise reduction feature built into the mics and receiver. The app does have some more useful features, such as the option to turn on a low-cut filter to reduce wind rumble and mic handling noise. When recording video via the Saramonic app, you can also toggle on a Vocal Booster (though I must admit I didn’t test this particular app-assisted feature).
Saramonic Air: Verdict
The Saramonic Air is marketed as a professional mic, and the audio quality that it transmits does indeed sound great. It has a built-in limiter to help avoid distortion, and you can record a lower level (-6dB) safety track to help minimise clipped audio. However, for a truly professional pedigree, you will want a mic that uses onboard recording so that you can fill in any holes caused by signal dropout, and the transmitters in the Saramonic Air kit don’t possess this essential pro feature.
Saying that, signal drop-out only occurred when I faced away from the camera from around 25 meters away. When facing the camera at around 35 metres, the dual-channel 2.4 GHz signal sounded clean and clear, with my transmitted voice quality boasting a range between crisp highs and a strong bass. So if you need to wirelessly capture professional sound recordings at a mid-level price, then the Saramonic Air will suit your needs (and you can use the receiver’s built-in headphone socket to keep an ear out for problems such as drop or the rumble of passing aircraft).
I’d say that the weakest aspect of the Saramonic Air is its subtle noise cancellation feature, but at least it doesn’t make your voice sound electronically distorted like many other kits do. To be honest, I’d do my noise cancelling in a post-production non-linear editing app such as Premiere Pro or Final Cut Pro, as you’ll get more effective results, so I’m not too concerned about using noise reduction during a shoot.
Features ★★★★☆ | 2 level AI-assisted noise cancellation, 24-bit rate and a 48KHz sampling rate ensures professional sounding audio recordings |
Design ★★★★★ | A fusion of retro/futuristic black metal curves with a transparent panel on the case gives this compact mic kit an eye-catching look |
Performance ★★★★☆ | Sound quality is excellent providing you don’t lose line of sight between transmitter and recorder and the lavalier mics capture an extra level of quality. |
Value ★★★★☆ | Given the professional audio quality that it captures the Saramonic Air is reasonably priced. |
Alternatives
George has been freelancing as a photo fixing and creative tutorial writer since 2002, working for award winning titles such as Digital Camera, PhotoPlus, N-Photo and Practical Photoshop. He's expert in communicating the ins and outs of Photoshop and Lightroom, as well as producing video production tutorials on Final Cut Pro and iMovie for magazines such as iCreate and Mac Format. He also produces regular and exclusive Photoshop CC tutorials for his YouTube channel.
You must confirm your public display name before commenting
Please logout and then login again, you will then be prompted to enter your display name.
