We’re used to seeing wildlife through the barrel of a telephoto lens. So why not take a different approach and try capturing animals with a wide-angle lens?
The altered field of view you get with wide-angle lens will give your photos an entirely different feel, as well as showing off more of the animal’s surroundings. By contrast, the narrow angle of a long zoom results in blurred backgrounds and appears to compresses the perspective.
So, with a wide-angle lens you can simultaneously create greater intimacy with the subject and make wildlife photos that are unlike anyone else’s. It’s also a fun challenge, both for your camera skills and patience.
Get your camera up close to wildlife and trigger the shutter remotely
Time needed: Two hours
Skill level: Intermediate
Kit needed: Tripod, wireless shutter release
Whether you’re shooting exotic animals around the world or ducks at the local pond, the technique for this remains the same. The main problem we have to overcome here is that the animal needs to be rather close to the lens.
At focal lengths of 16-24mm, subjects will look tiny in the frame, even at just a metre away, particularly the smaller critters. So we need to be able to entice the animals up to the camera – ideally at nose-to-lens proximity.
Unless they’re comfortable around humans, this means we need to hide away and fire the shutter remotely with a wireless release. If you’re fortunate enough to get an interested creature, there’s an extra element of luck involved in getting an in-focus, well-composed photo. So it’s certainly a challenge – but that only makes it more rewarding when a shot comes off.
Step-by-step guide
1. Get set up
The best camera deals, reviews, product advice, and unmissable photography news, direct to your inbox!
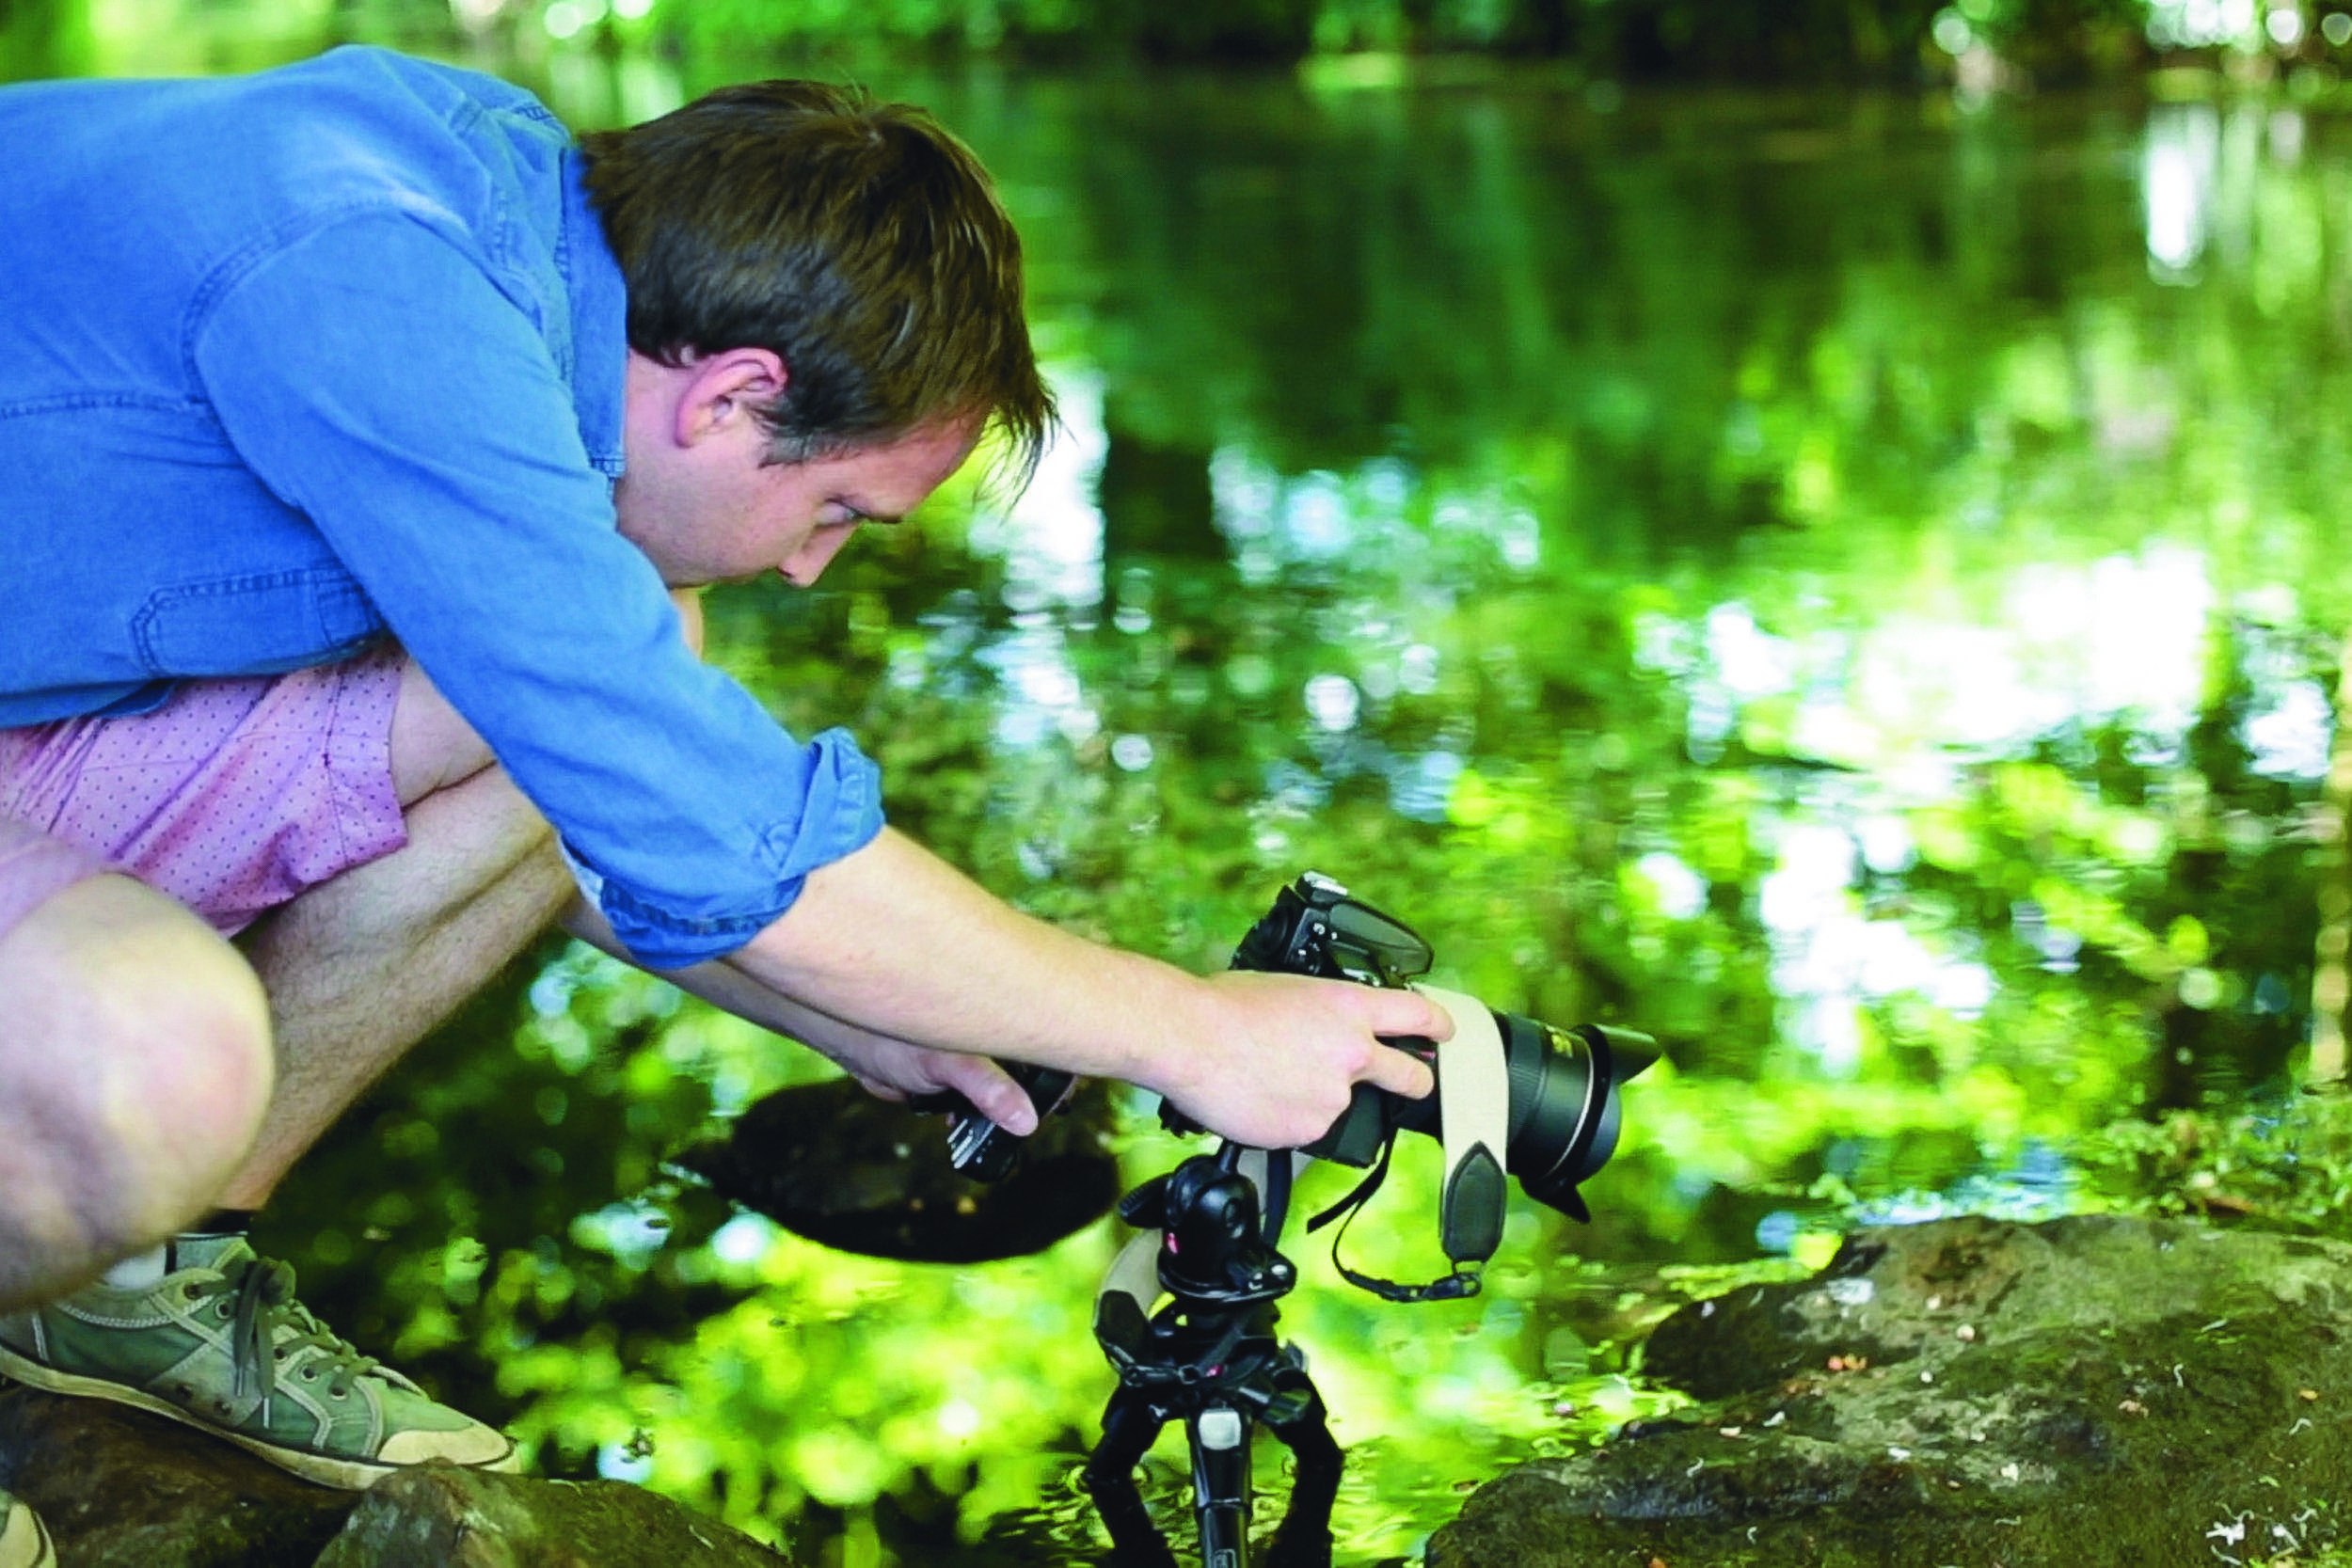
Find a location frequented by animals – birds or squirrels are a good place to start. Use a lens with a focal length of around 16-28mm. Compose your shot with your camera close to ground level. If your tripod doesn’t allow for this, prop the camera up on a rock or clump of grass.
2. Adjust your exposure
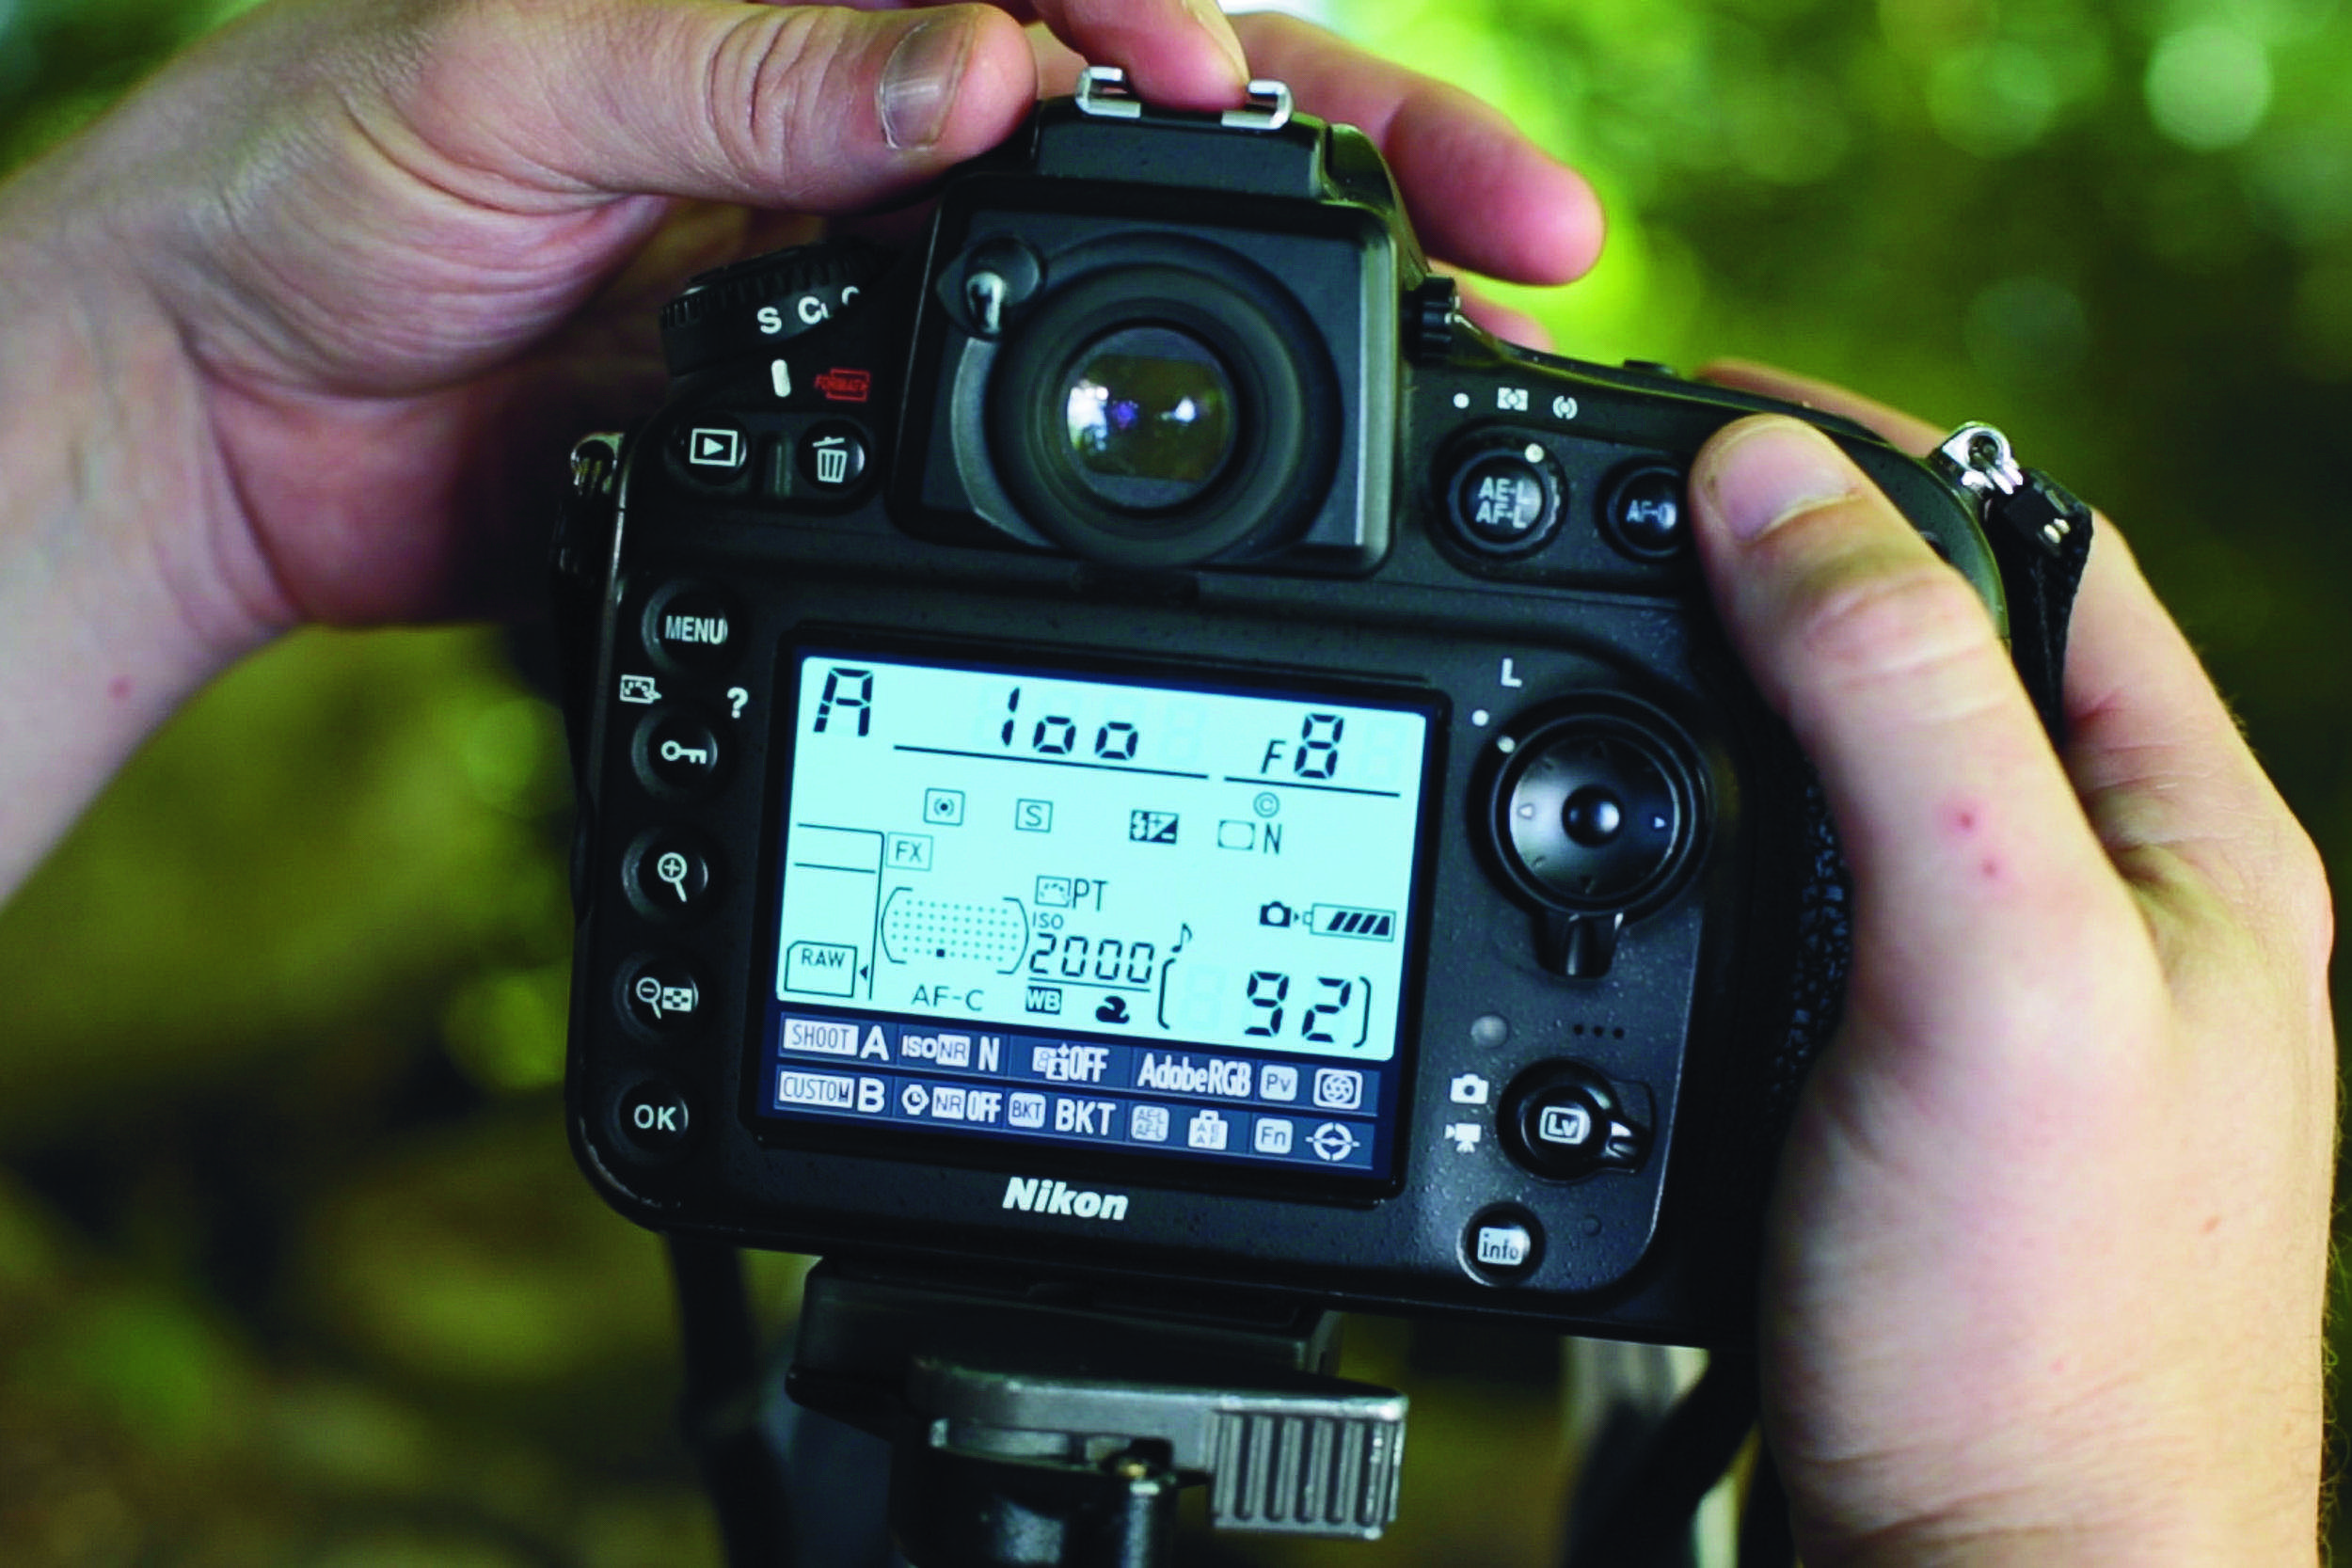
Aperture Priority mode is best for this as we can set an aperture of around f/8, which should give enough depth of field to work with. As for ISO, we need it to be high enough to allow for a shutter speed that will freeze the action – at least 1/100 sec. Here we’re at ISO 2000.
3. Attach your trigger
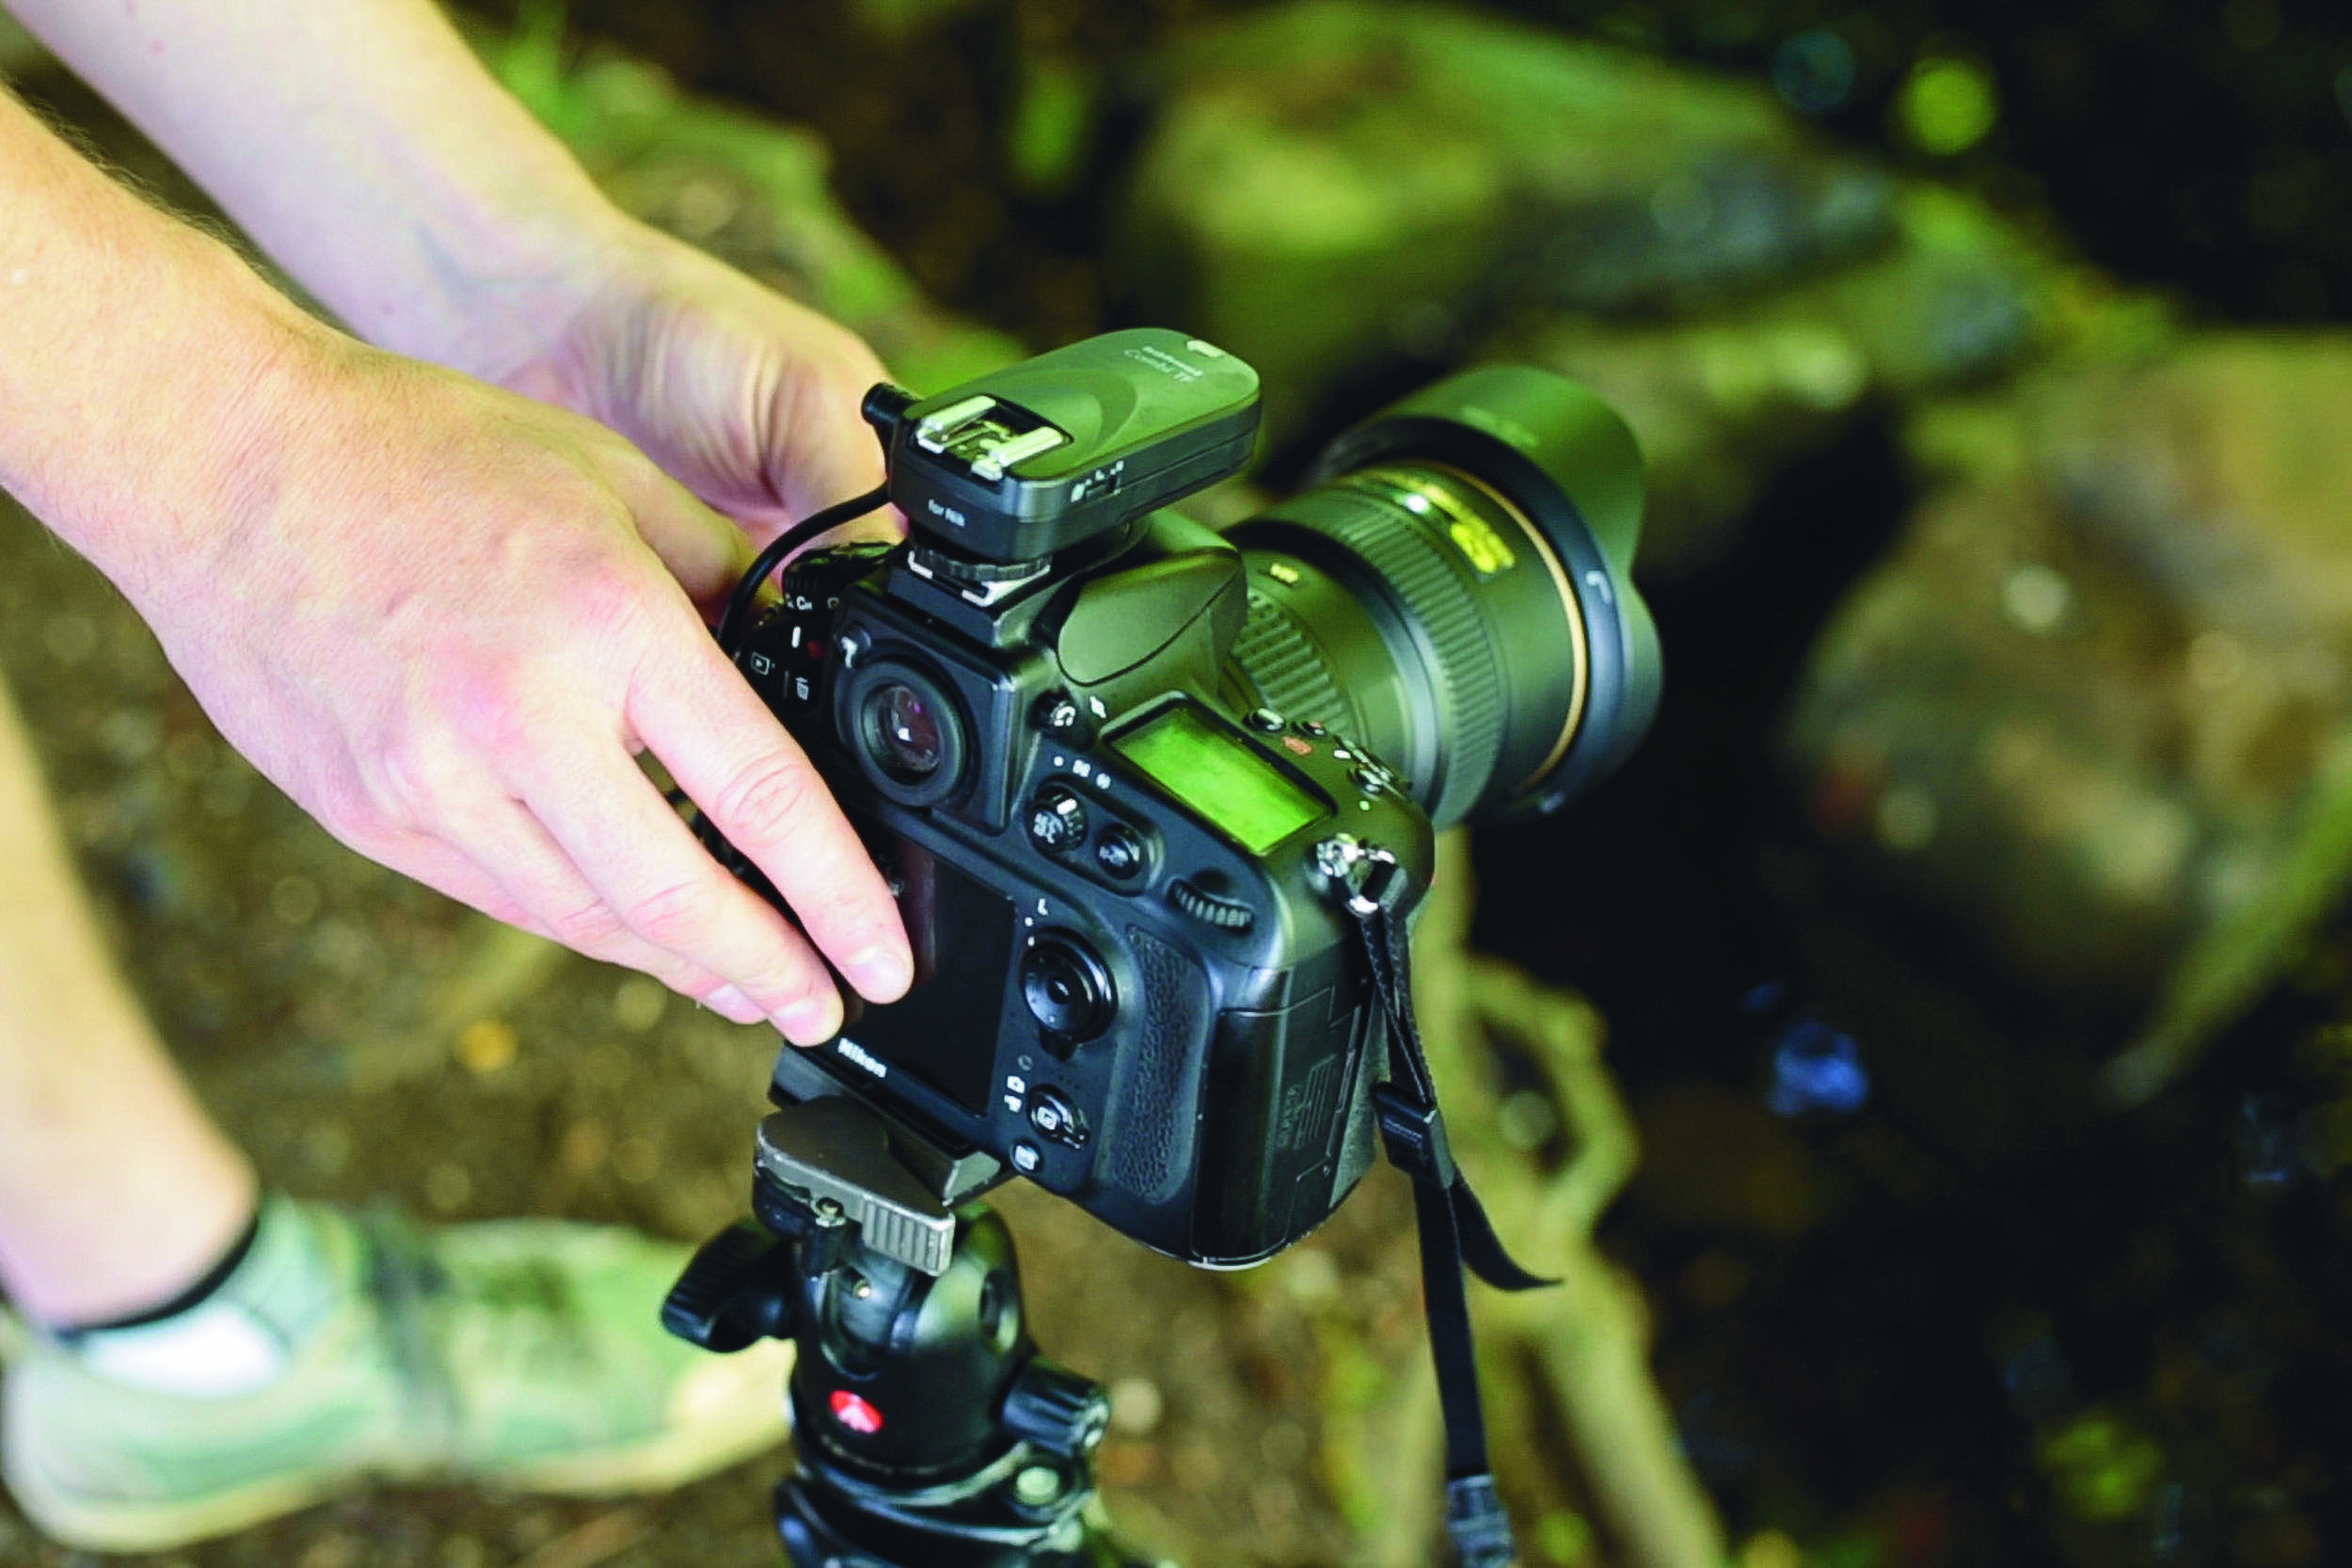
The best way to trigger the camera remotely is with a wireless release (we used Hähnel Captur triggers). Alternatively, your camera may have a wireless remote feature built-in. Set the camera to Continuous High Speed drive for a rapid-fire succession of shots.
4. Place the food
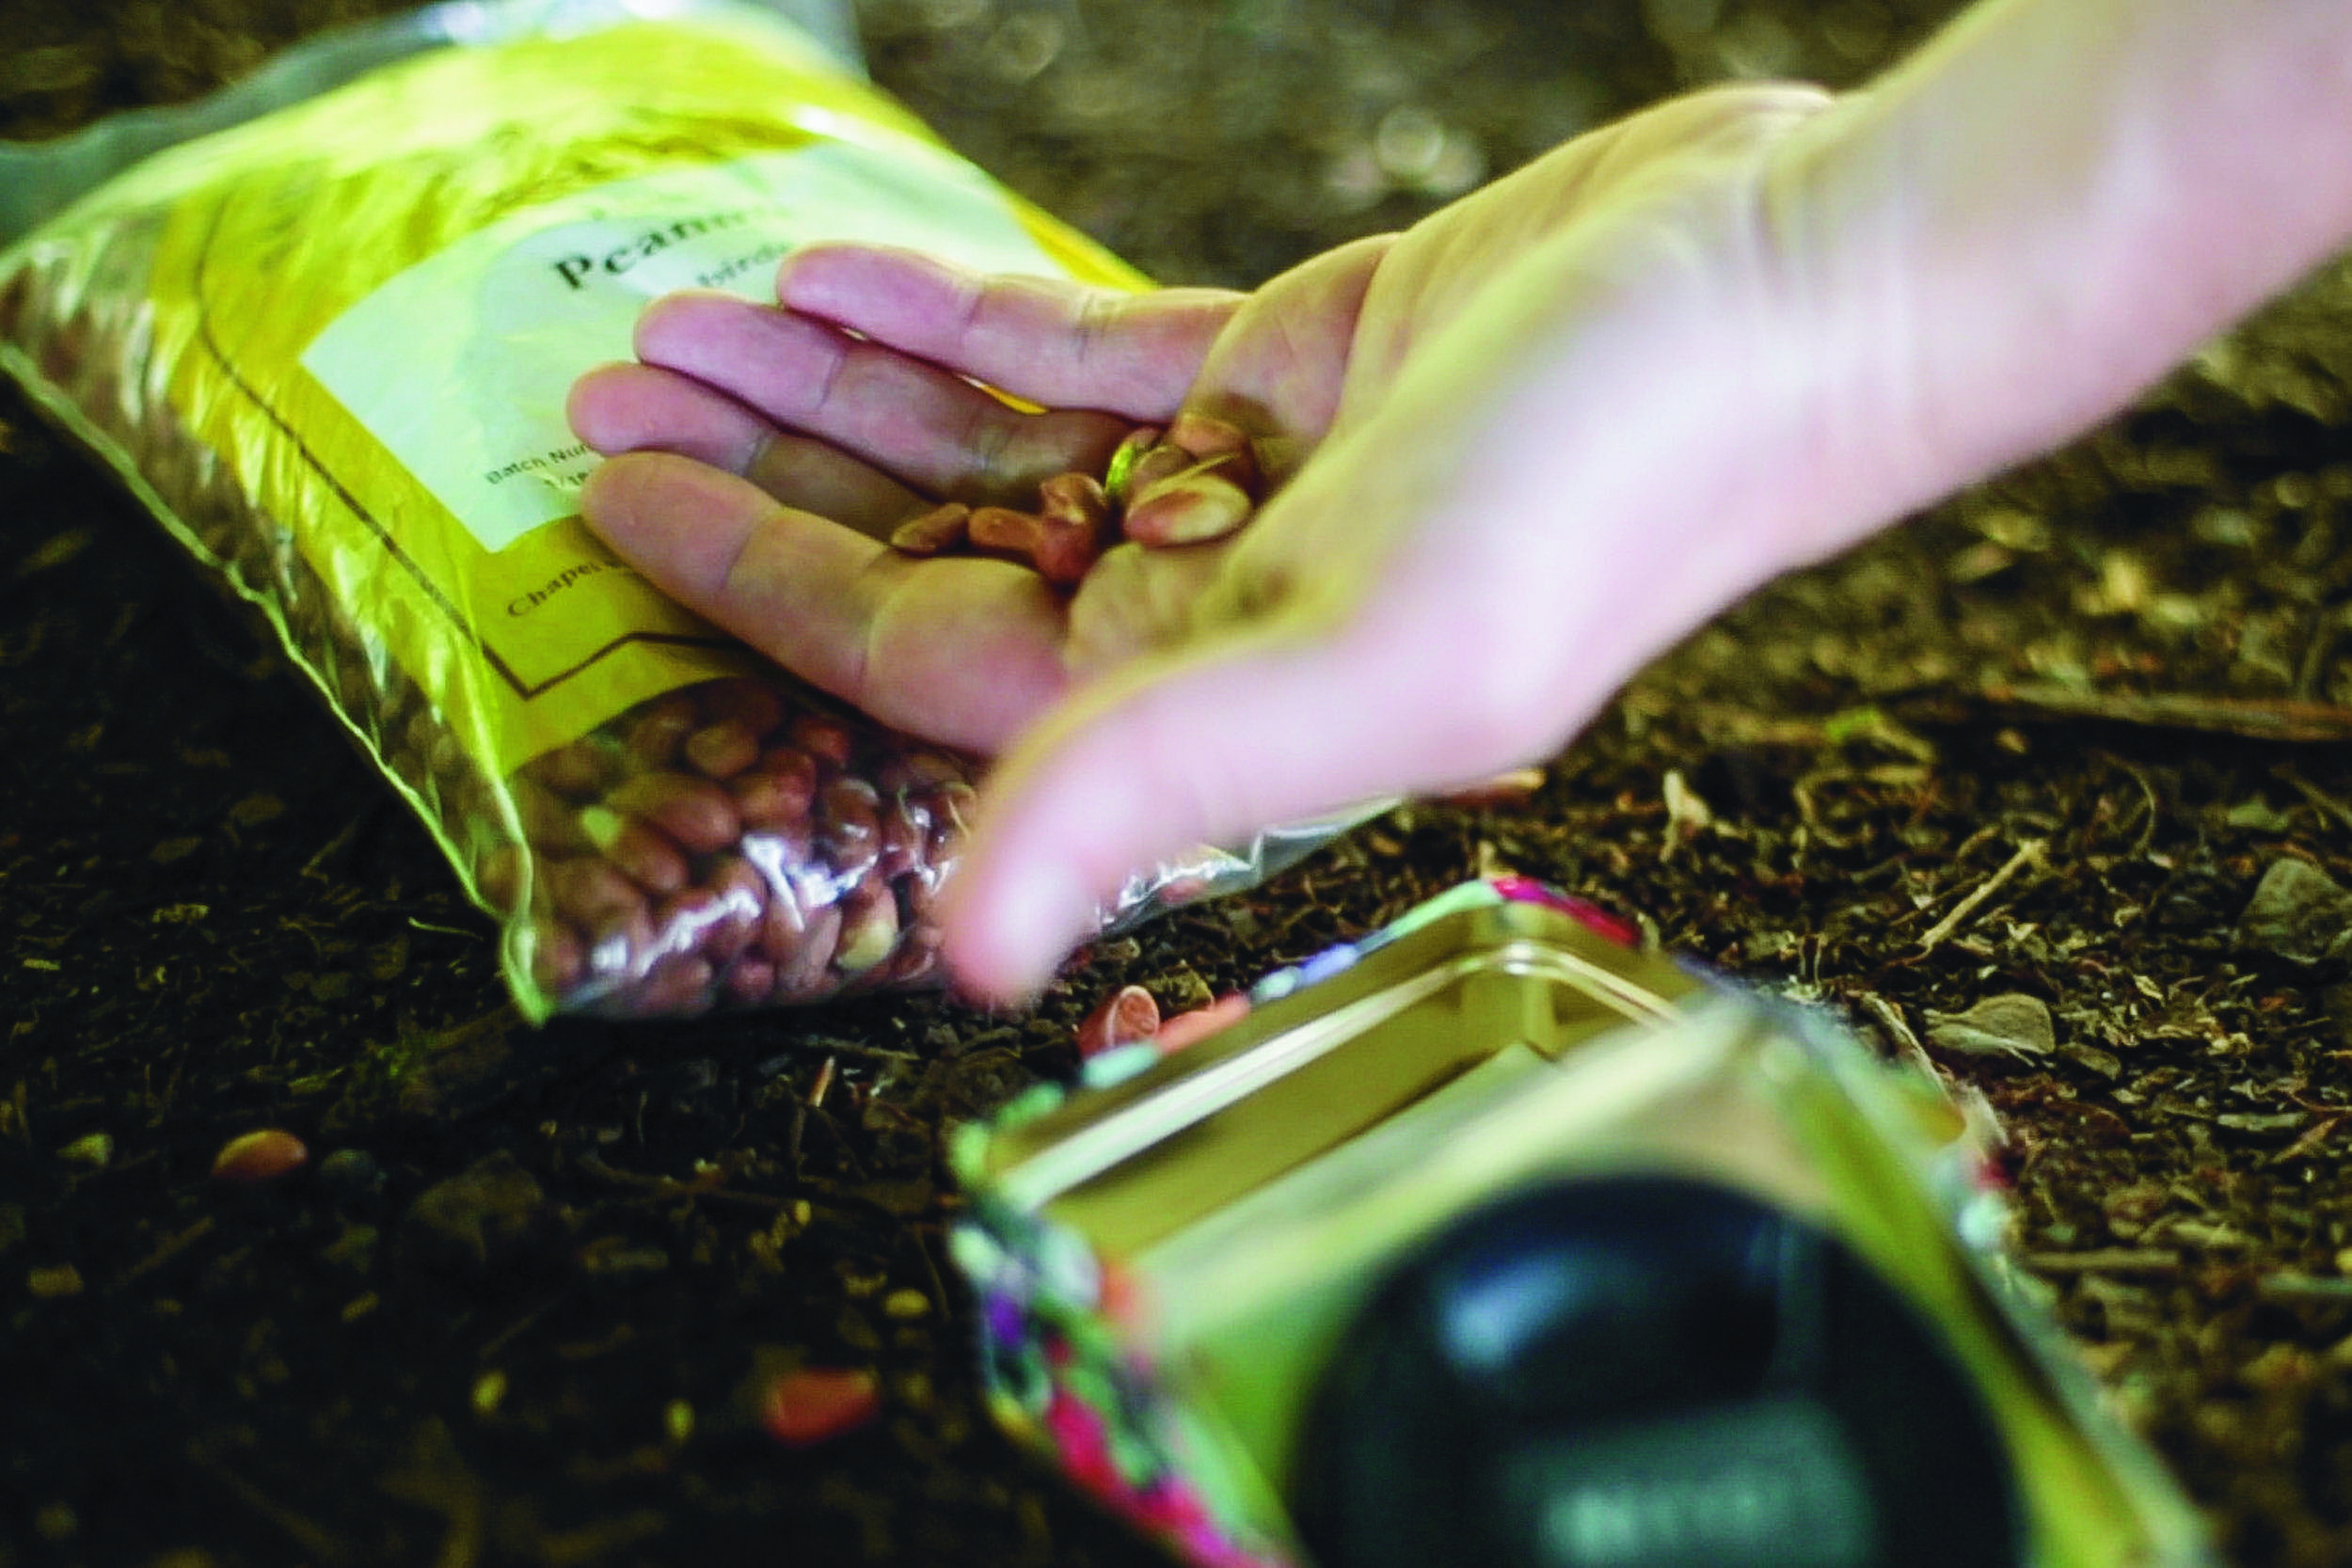
To entice animals into the right position we need food – and be sure to use healthy food that’s been approved for your subject. Observe where the animals like to sit or perch, then scatter food around the area and place a pile in the spot where they’re likely to appear.
5. Guess the focus point
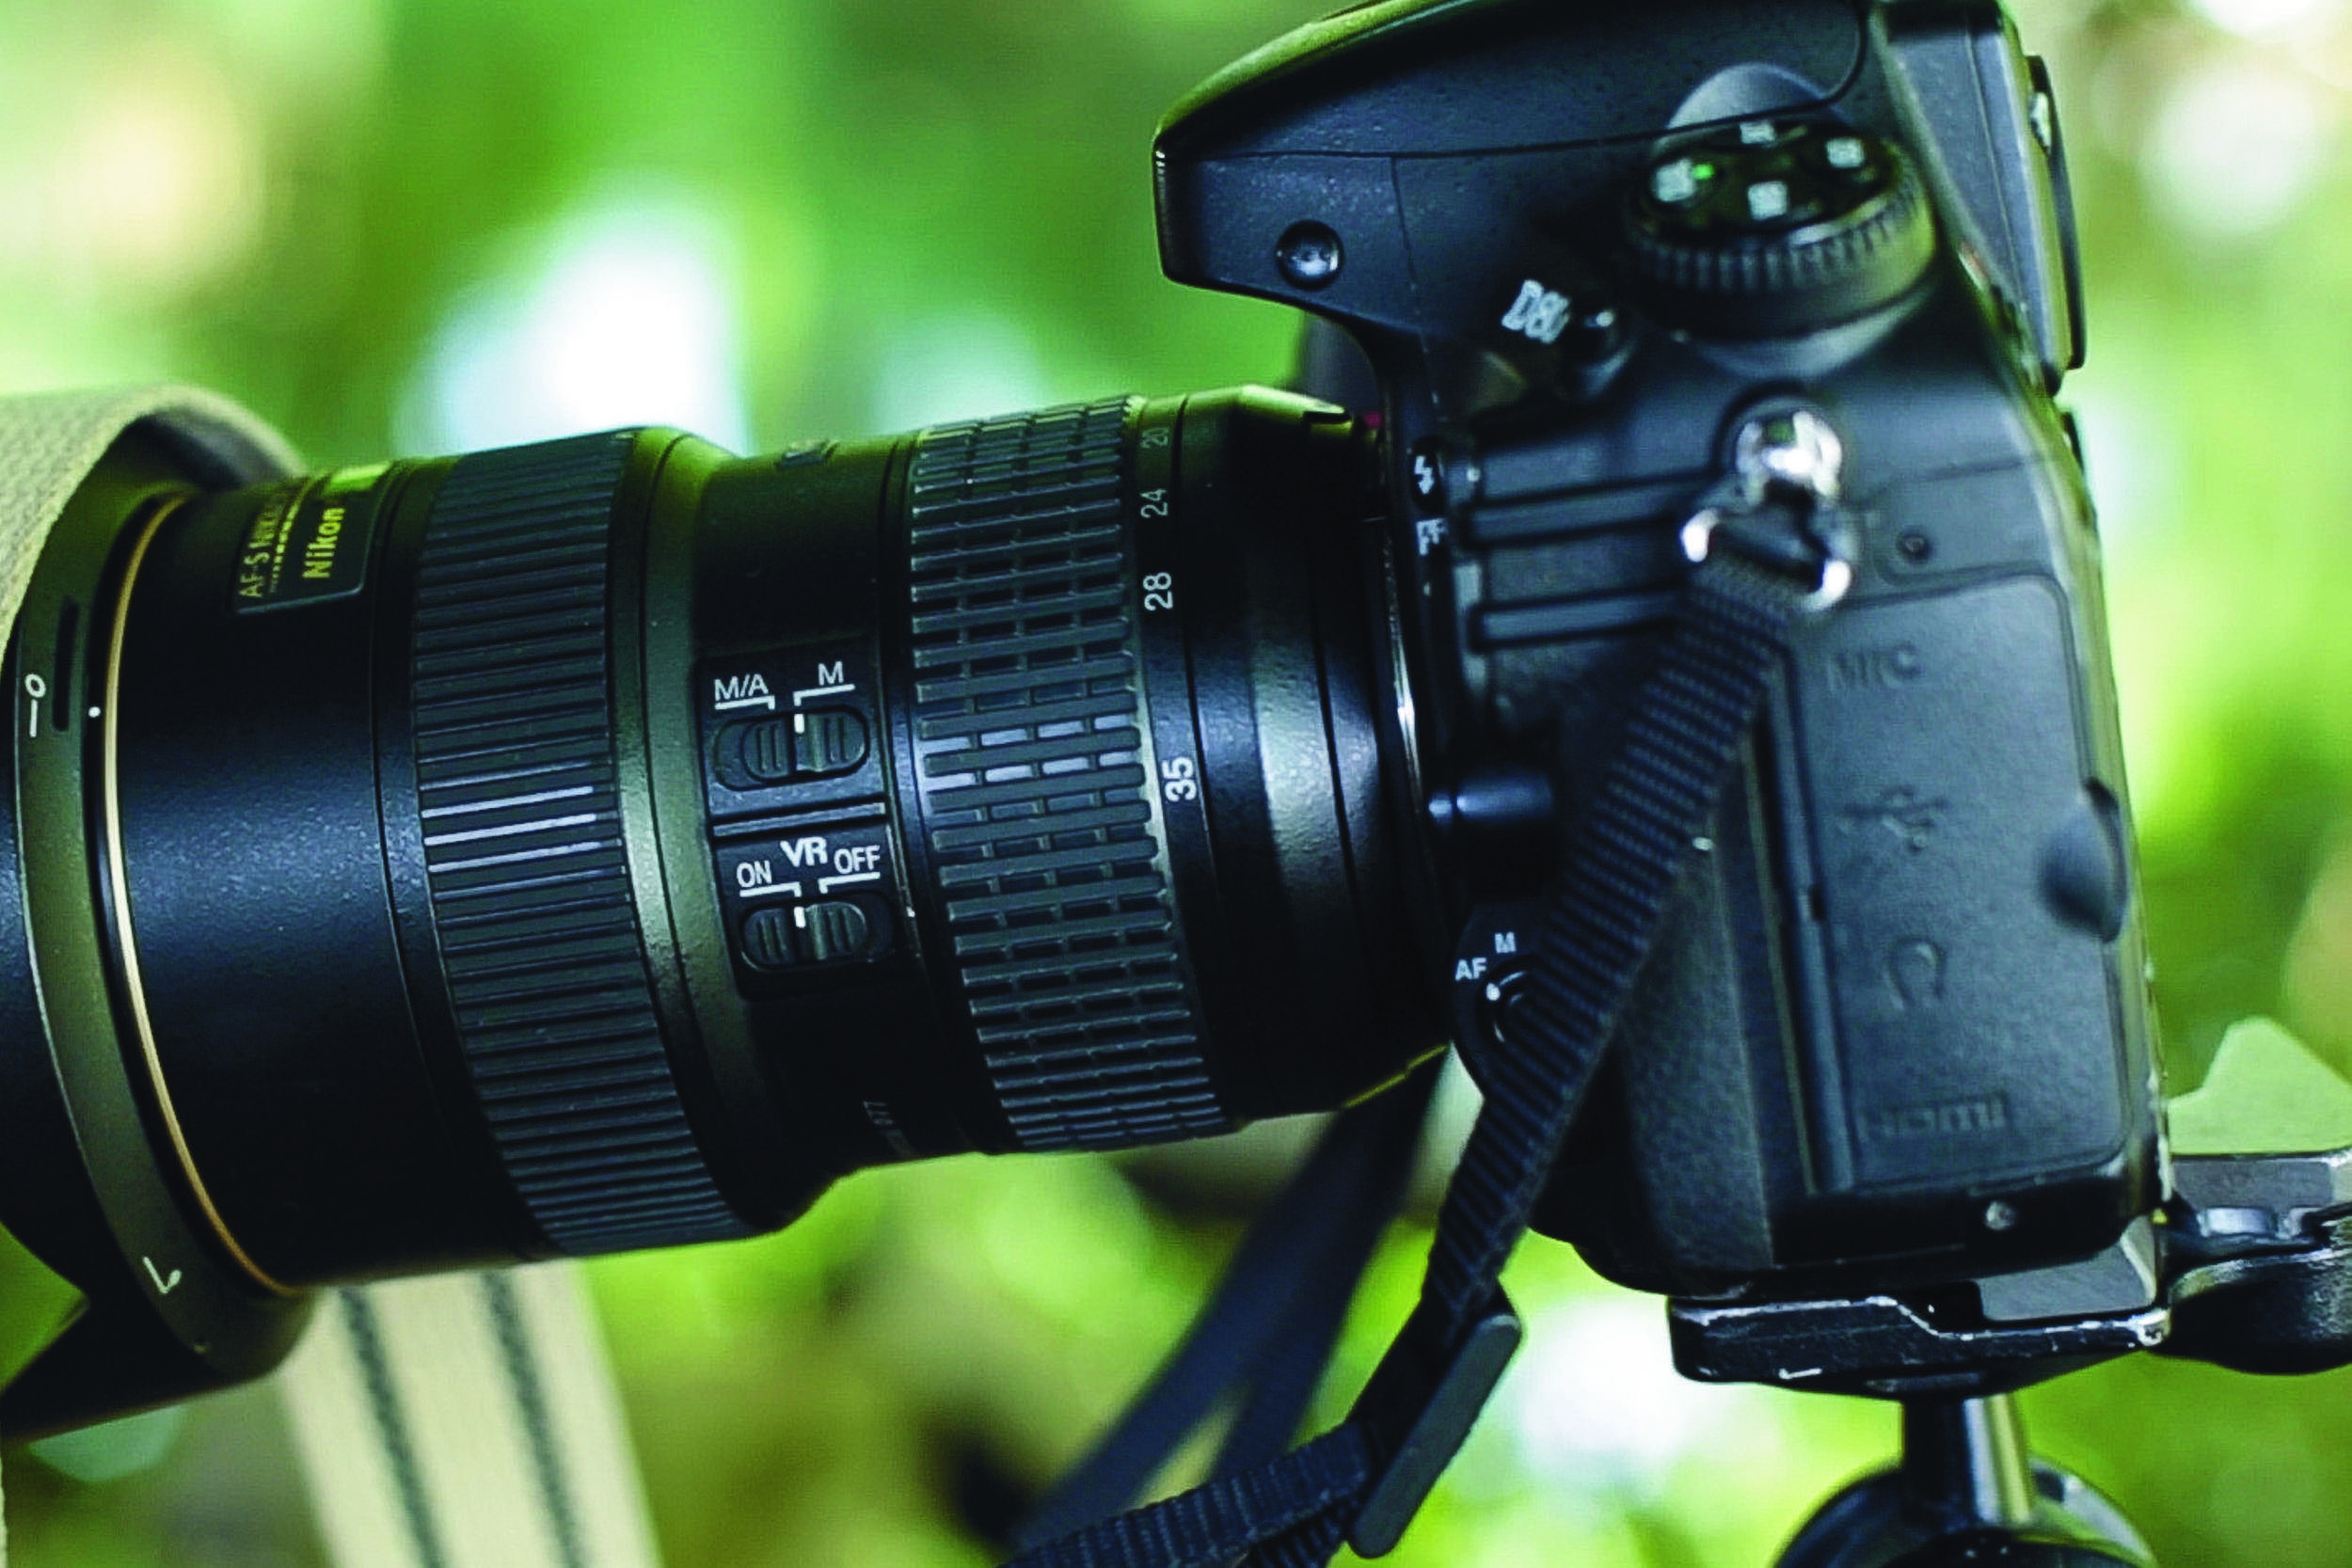
Autofocus won’t work here, and it may scare the animal away. Instead we need to guess at the focus point using manual focus, then rely on the exposure for enough depth of field to cover the area. Focus on the spot where the animal will most likely be, such as the pile of food.
6. Keep your finger crossed
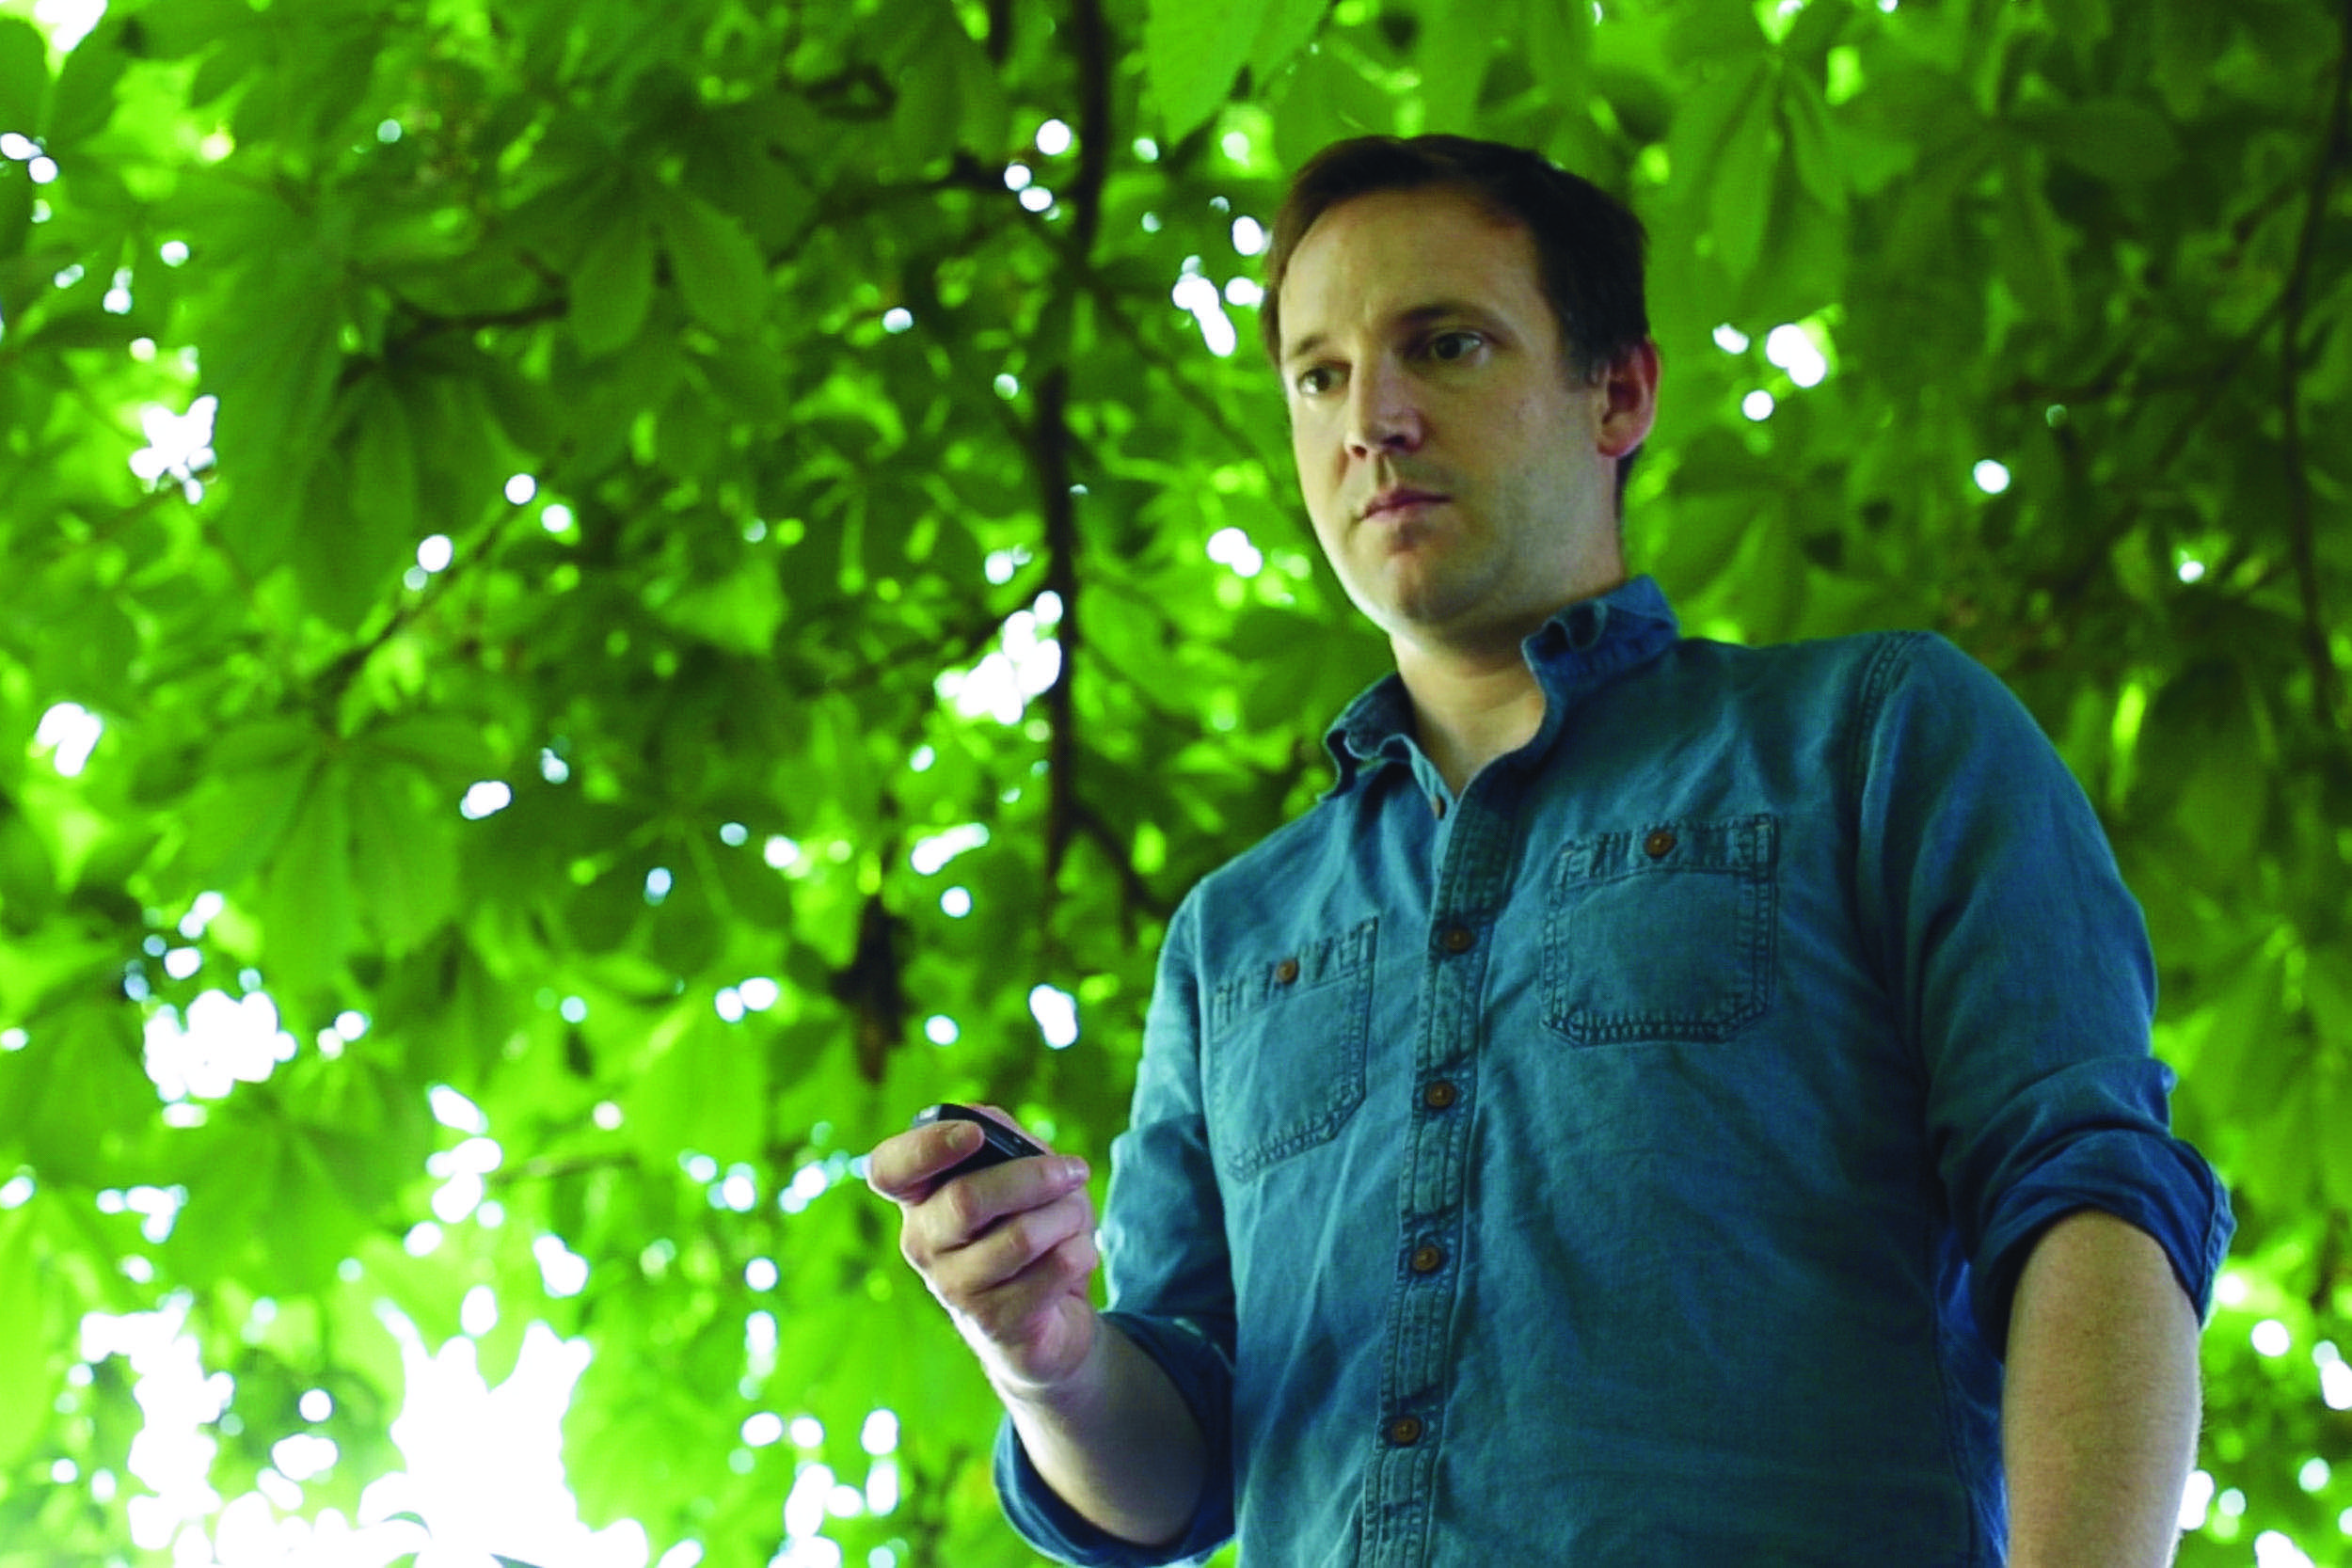
Move away, downwind of the camera, and wait. Animals are more likely to approach if they’re used to the camera, so it might take a while until they’re comfortable enough to approach. It’s tempting to shoot as soon as they come near, but wait until they’re settled, then fire off a burst.
Quick tip: Shutter sounds
Animals will usually be wary of the camera, and often it’ll take a few hours – or even a succession of days – for them to get used to it. What’s more, the sound of the shutter might scare them off. It helps if they can get used to the sound, so fire it a few times when they’re nearby. Hopefully they’ll feel more comfortable hearing the sound when they come up close to the camera. Alternatively, you can dull the sound of the shutter by turning on Live View, but it’ll slow down your shooting rate.
Read more: How to get better bird shots every time
PhotoPlus: The Canon Magazine is the world’s only 100% Canon-focused title on the newsstand. Launched in 2007, for 14 years it has delivered news, reviews, buying guides, features, inspirational projects and tutorials on cameras, lenses, tripods, gimbals, filters, lighting and all manner of photography equipment.
Aimed squarely at enthusiast photographers who use the Canon DSLR or mirrorless camera systems, all content is tailored to Canon users – so everything from techniques to product tests are tailored to those using the EOS camera system.
Editor Peter Travers brings 14 years of experience as both a journalist and professional photographer, with Technique Editor Dan Mold shoring up the magazine with his 6 years of expertise.

