
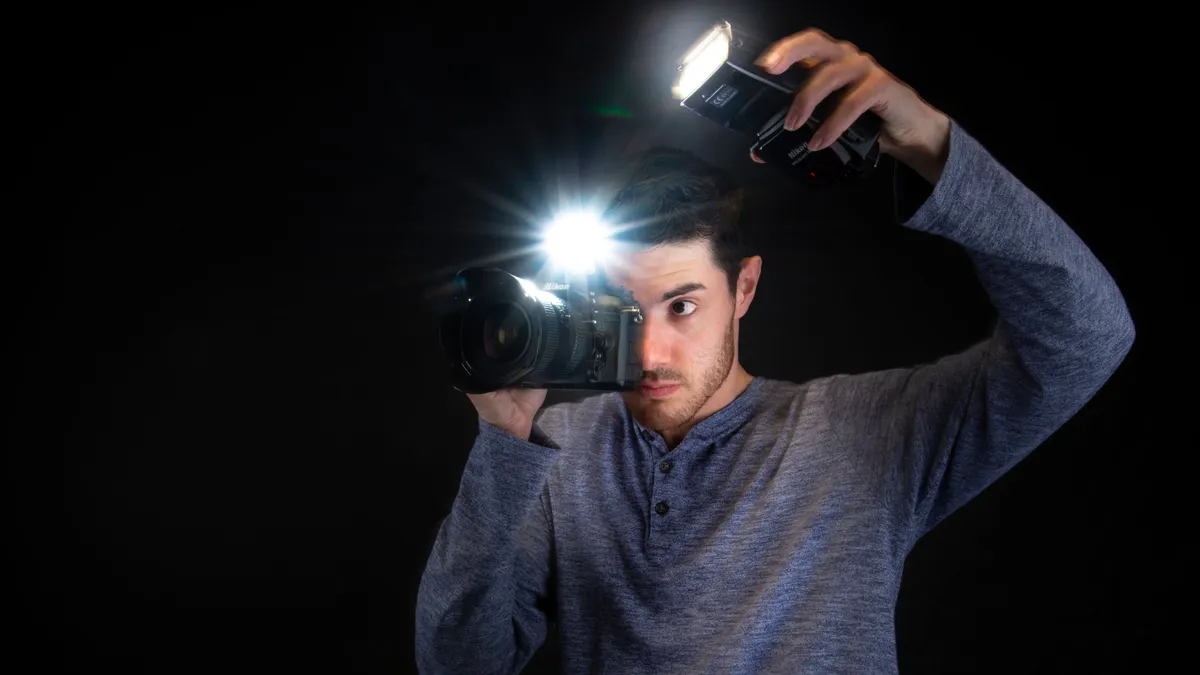
If you're a portrait or wedding photographer you're going to want to learn this professional flash trick. It's part speed light control and part shutter speed wizardry, and it requires a good understanding of the way your camera makes an image when using flash.
It's a great way to introduce an amazing, attractive light gradient in your images, all without the help of software. The good news: all you need is a single off camera flashgun – no need to buy any fancy light modifiers or studio strobes!
• Read more: Best flashguns
When your camera shutter fires, it moves up and out of the way of the sensor, exposing the chip to light and allowing a digital image to be made. As you might expect, the higher the shutter speed value, the faster this cycle completes; and the lower the number, the longer the sensor is exposed. While your camera has a range of shutter speeds, from around 30 secs to perhaps 1/8000 sec, you will often find that you can't use all these speeds when using flash.
The maximum synchronization speed is commonly 1/200 sec, although on some cameras it can be 1/250 sec or even 1/320 sec. If you try to use a shutter speed higher than this, one of two things will happen. On some models the shutter simply won't fire if the flash is turned on, or alternatively the flash just won't fire. In other instances, when the max sync speed is exceeded, a black line will appear along one edge of the frame, creating an unequal exposure.
The higher the shutter speed, the more of the frame is obscured and the darker the gradient. This is because the shutter is physically manifesting in the shot, due to the flash only being 'active' for a proportion of the total exposure. Put another way, your camera cannot ensure the shutter is completely open at the instant the flash fires, so it is partially closed when this burst happens. This means the flash light is not captured across the whole frame, creating an irregularity.
In most cases this is considered a bad thing – an unwanted phenomenon to be worked around by keeping the shutter speed below the max sync. However, there are creative applications. By carefully balancing the flash with the ambient light, so that the differential is not overly pronounced, it is possible to introduce an attractive fall-off effect. This technique, often called "cheating the sync" and popular with wedding photographers and environmental portrait shooters, adds weight to the bottom of the frame and helps focus attention on the subject's face.
There are two things to be aware of beforehand. Firstly, switching to manual exposure and flash modes is critical, to prevent the camera from defaulting to the max sync value. Secondly, while it's unlikely to be a problem with any recent camera, it is worth checking the direction in which the shutter travels in your model. If it is a horizontal plane shutter, which can be found is some older cameras, this isn't going to work: the gradient will be located in the wrong part of the frame.
1. Setup wireless system

Although your camera and flash may be able to communicate wirelessly, sometimes using a third party trigger is necessary to allow the maximum flash sync speed to be exceeded. Alternatively use a compatible third party flashgun. Opt for radio triggers for maximum reliability.
2. Adjust light output

Calculate the ideal balance of ambient and artificial light for a perfect exposure. Turn the flash power down if it is too bright and blowing highlights on your subject. A setting of ⅛ power is a reliable starting point and increase or decrease as required.
3. Select exposure

Choose an f-stop which enables you to increase the shutter speed above the maximum flash sync – usually around 1/200 sec. Begin with f/8 and adjust this as necessary, stopping down if your speed becomes too high. Increase the ISO instead if you require shallow depth of field.
4. Increase shutter speed

You can do this in manual but switching to shutter priority mode will enable you to focus on exposure duration, while the camera controls the aperture. If the maximum sync speed on your camera is 1/200 sec try using 1/250 sec or 1/320 sec to start with.
5. Take a test shot
Shoot an image and observe the effect of darkening at the bottom of the frame, caused by the flash failing to illuminate the entire shot evenly. The aim should be to introduce a subtle effect, so adjust exposure and flash output accordingly.
6. Push to the extremes

If the uneven lighting is not clearly visible, try pushing the shutter speed higher to find the maximum setting possible before the transition from light to dark becomes too sudden. Adjust the light position and height to vary the effect.

Read more:
• Elinchrom One review
• The best flash triggers: wireless control for off-camera flashguns
• Best Nikon flashguns in 2022

