Portrait photography: How to use different flash lighting modifiers
Portrait pro Natasha J Bella shows you how to use different lighting modifiers with your home studio flash
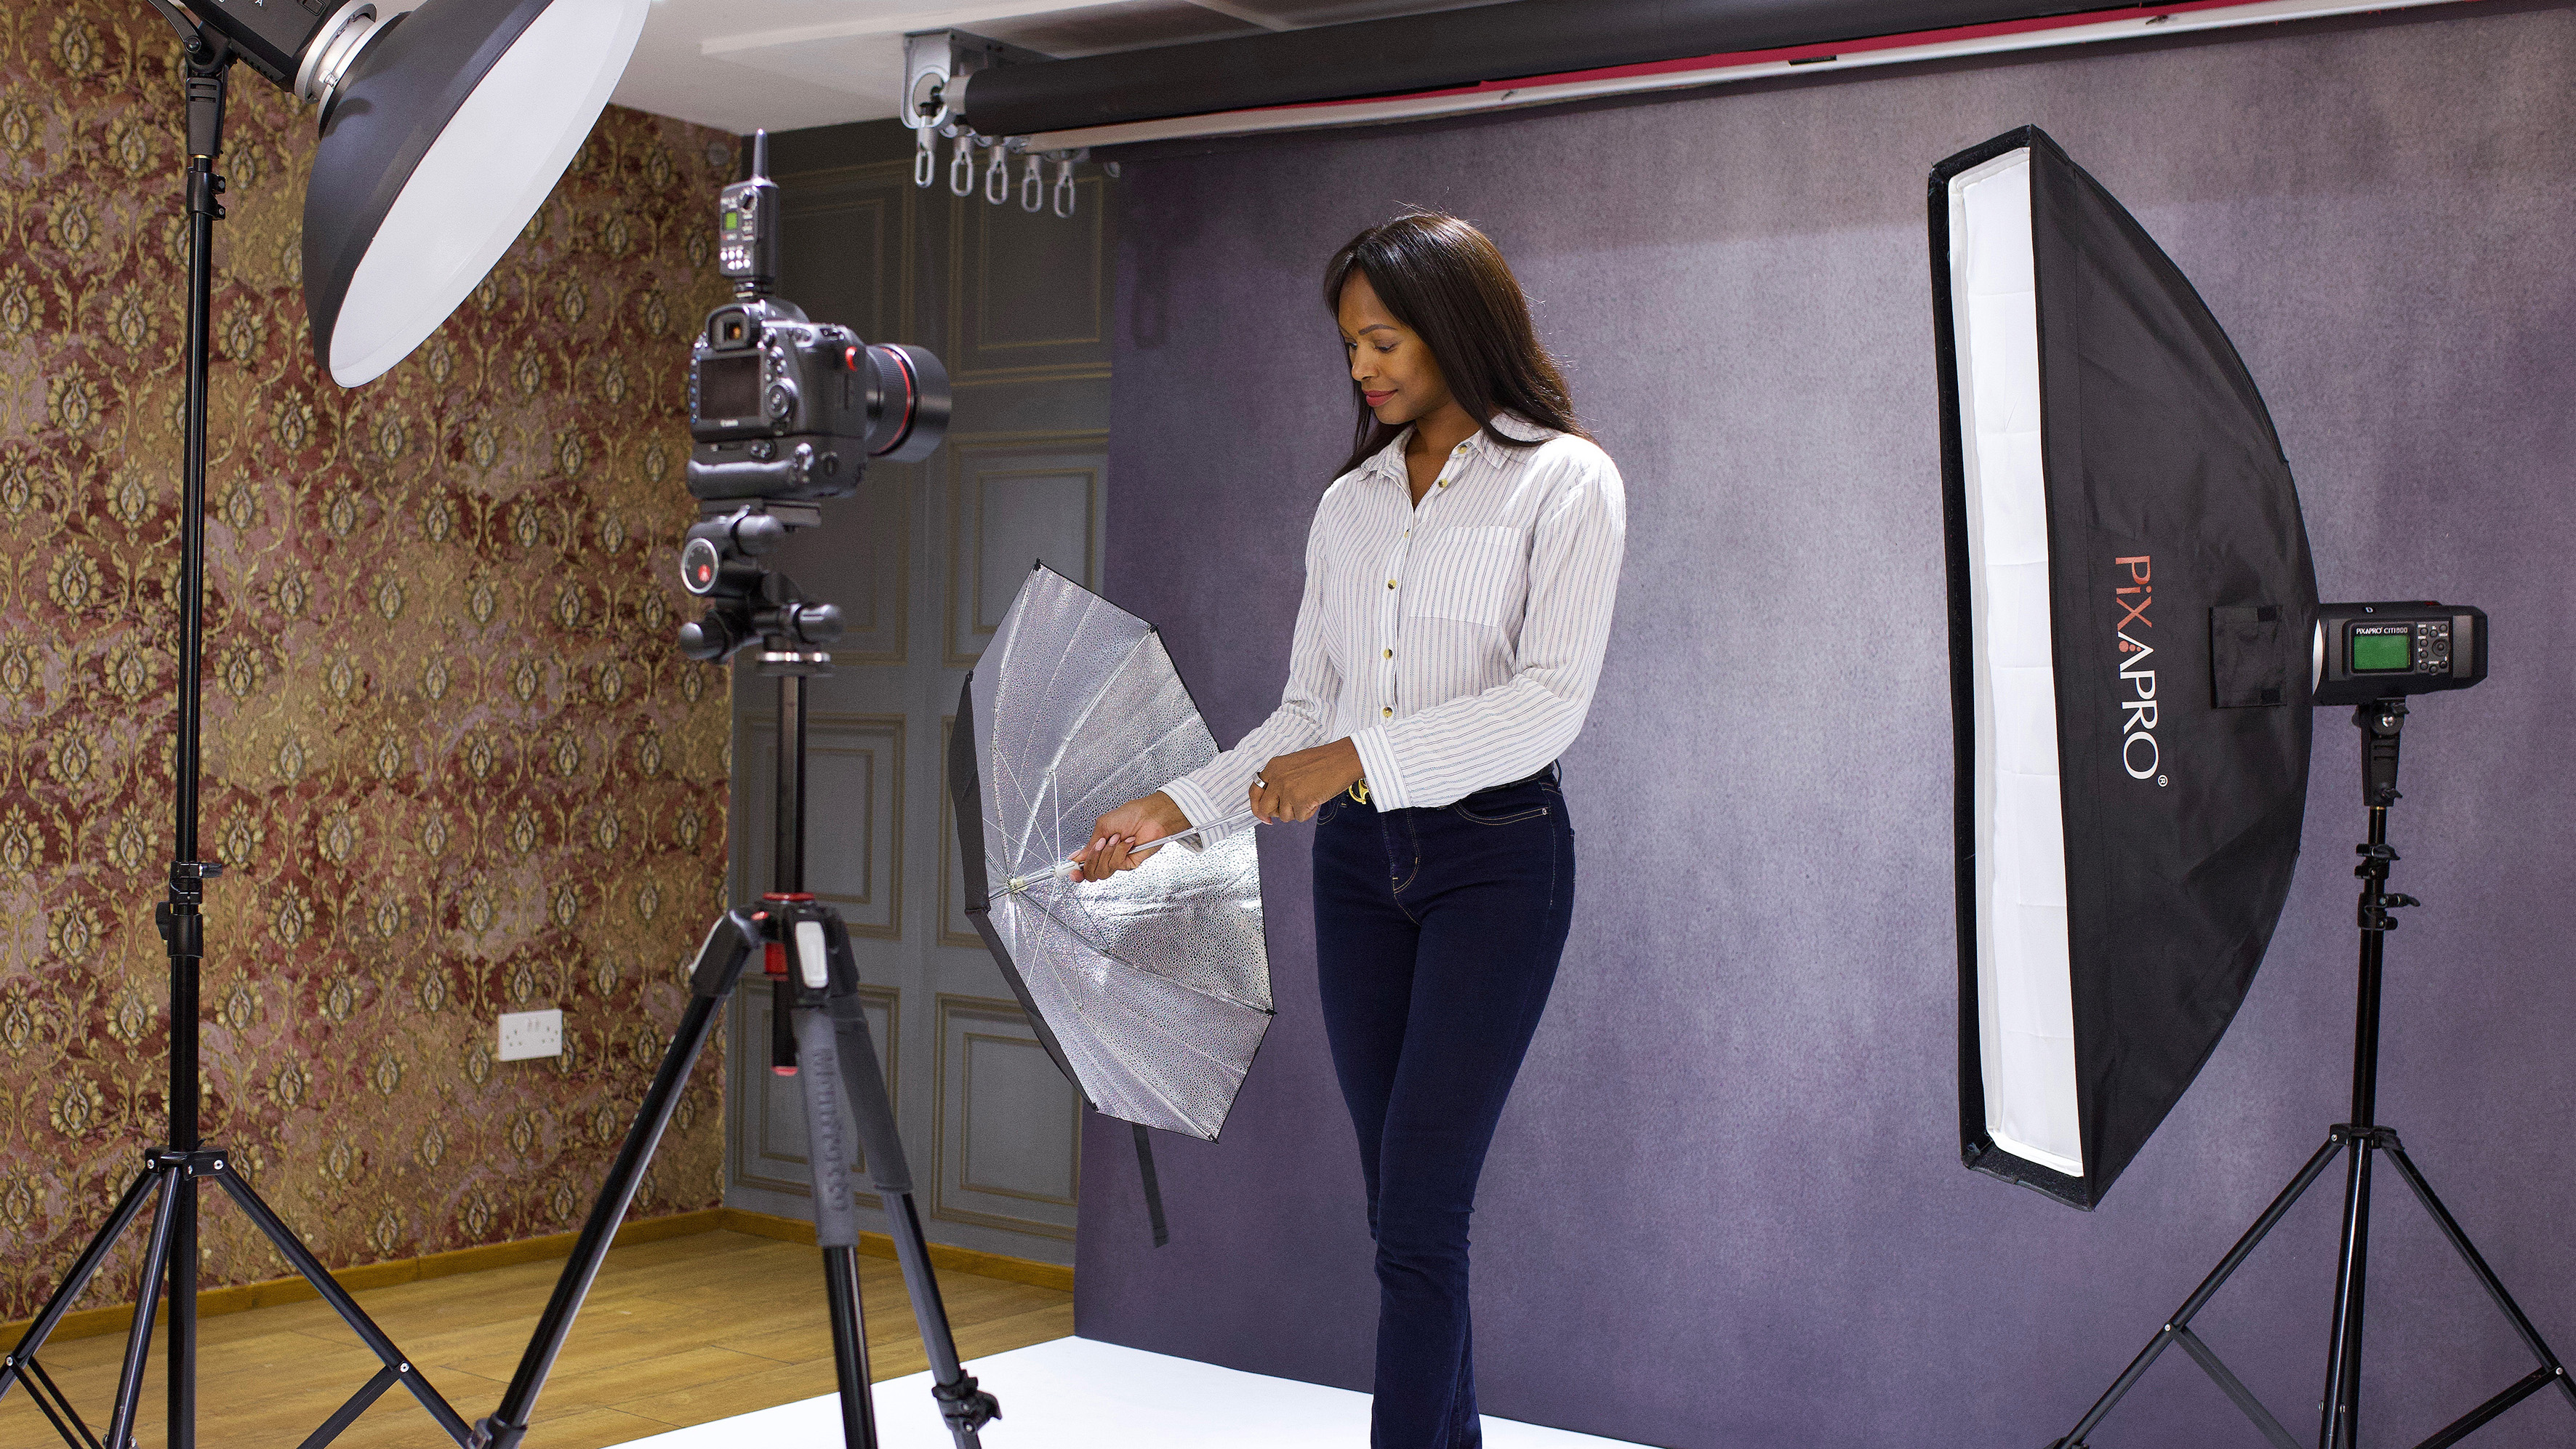
Lighting is everything. It determines the tone and ambiance of every photo you capture. For portraits, manipulating your flashgun or strobe with a range of lighting modifiers gives you the extra control to create the specific moods and effects you require.
A light modifier is a piece of equipment that can control the direction of light, its intensity, and its quality, too. They include reflectors, umbrellas, softboxes, snoots, scoops and beauty dishes, and are essential tools for studio photographers. The primary purpose of a lighting modifier is to control the flash that shines on your subject, and by using one, we can create different effects, from soft and flattering to hard and dramatic.
• These are the best flash diffusers, softboxes and modifiers
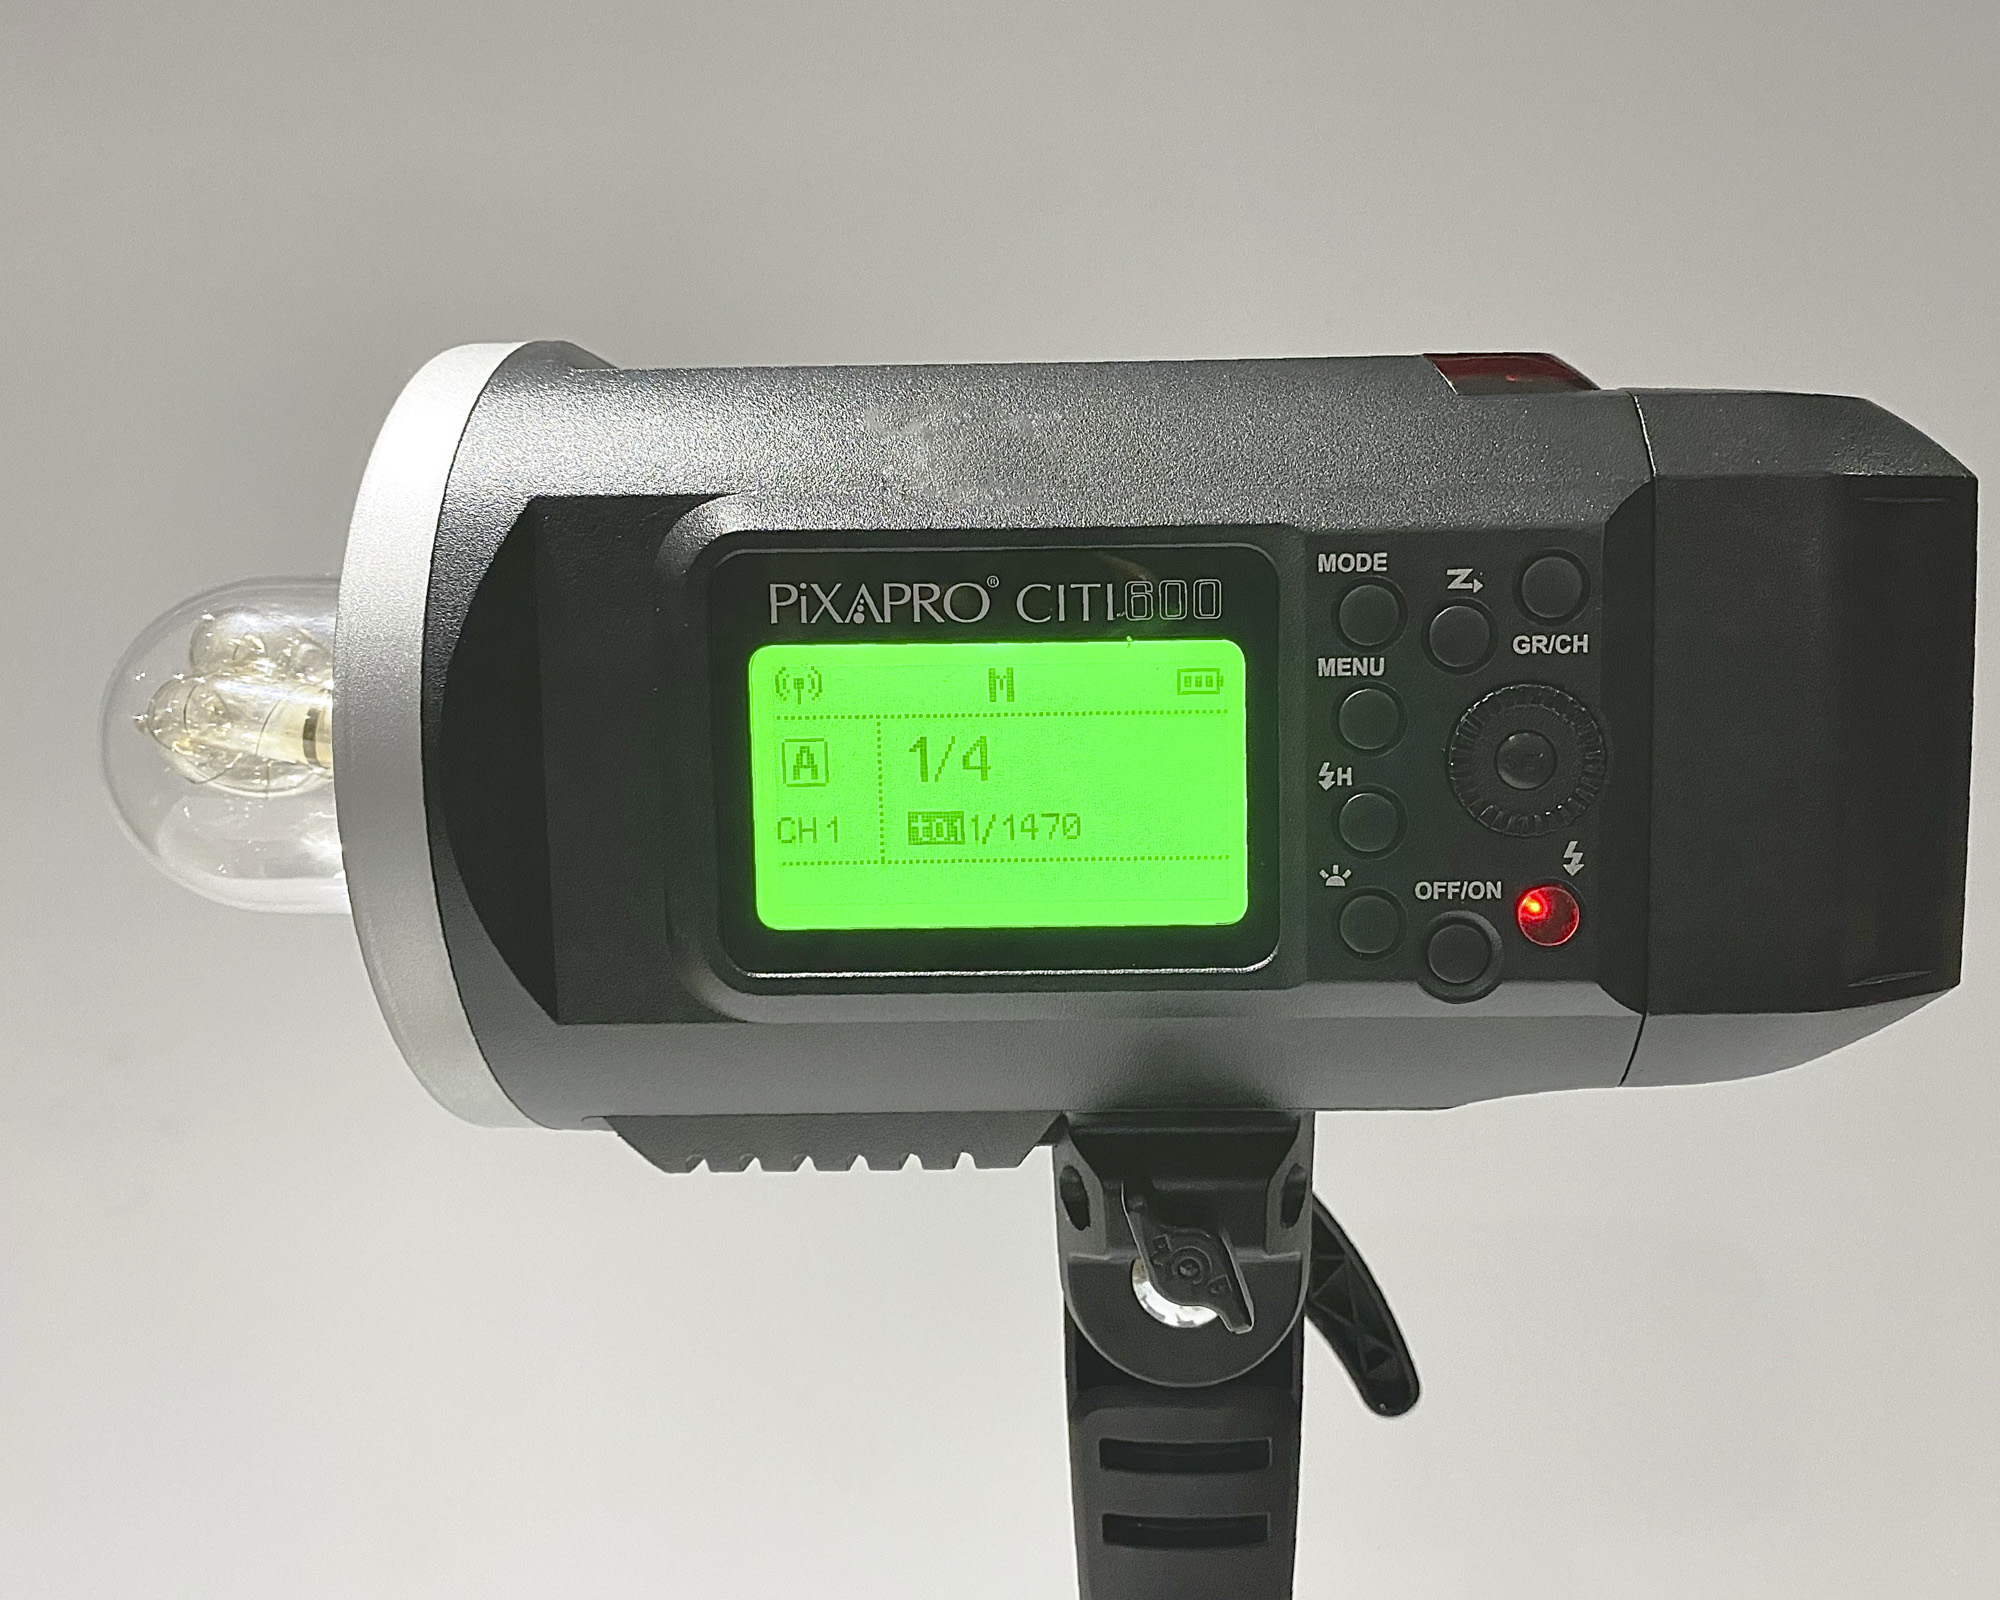
When buying lighting modifiers, be sure to check they are the correct fit for your flash head. For example, Pixapro Citi600 flash heads use the common Bowens S mount, so any accessories with the Bowens S mount work perfectly with it. Light modifiers can be used to produce soft light, hard light, specular light and diffused light. The type of modifier you choose is mainly dependent upon the mood you want to portray. Different lighting arrangements have other effects, as well.
The size of the light source, the distance between the light and the subject, and the intensity determine whether the light is hard or soft. In this guide, we help you understand these concepts and expand your capabilities with lighting in your home studio.
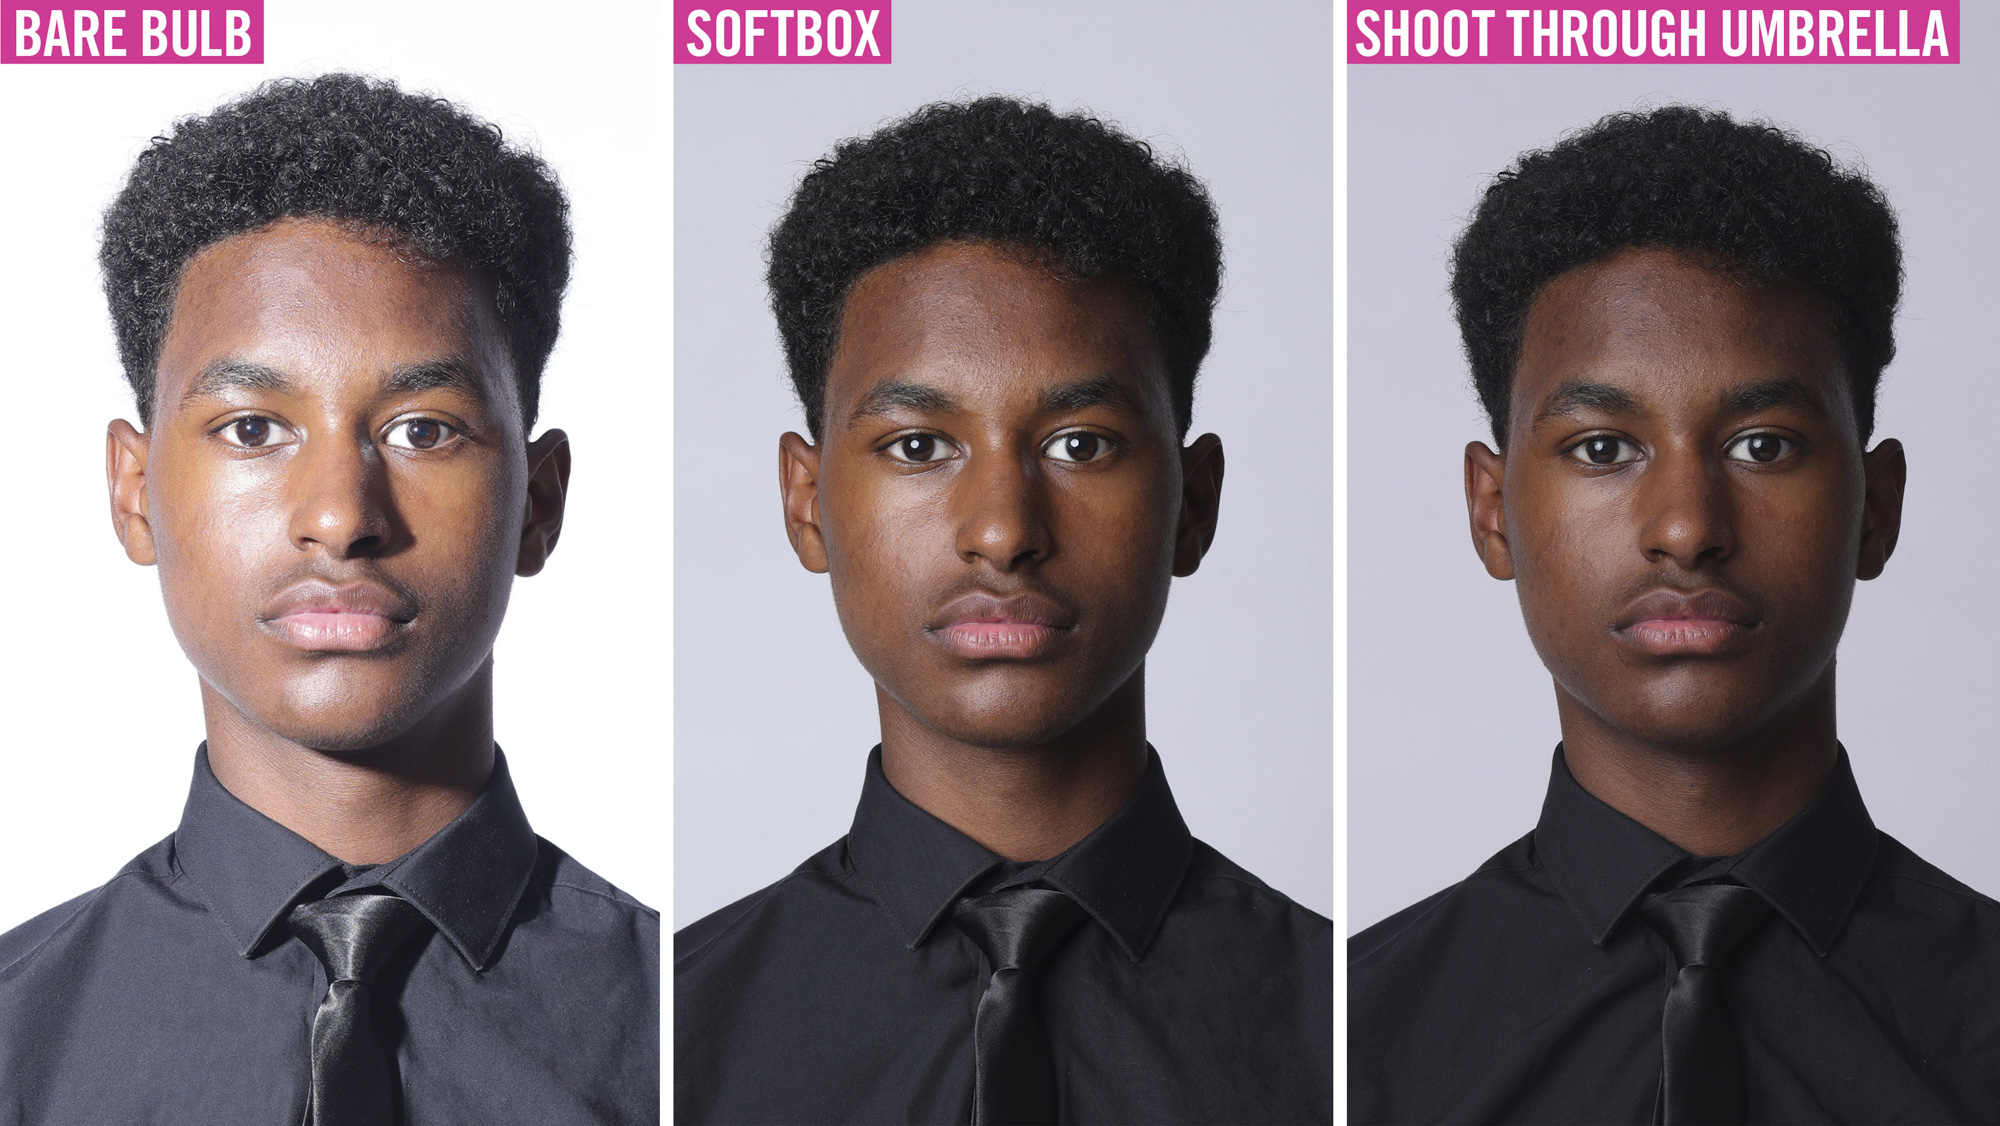
1. Bare bulb
This is where your flash head has no modifier attached at all and it creates very bright light and harsh shadows, like full-strength sun.
2. Shoot through umbrella
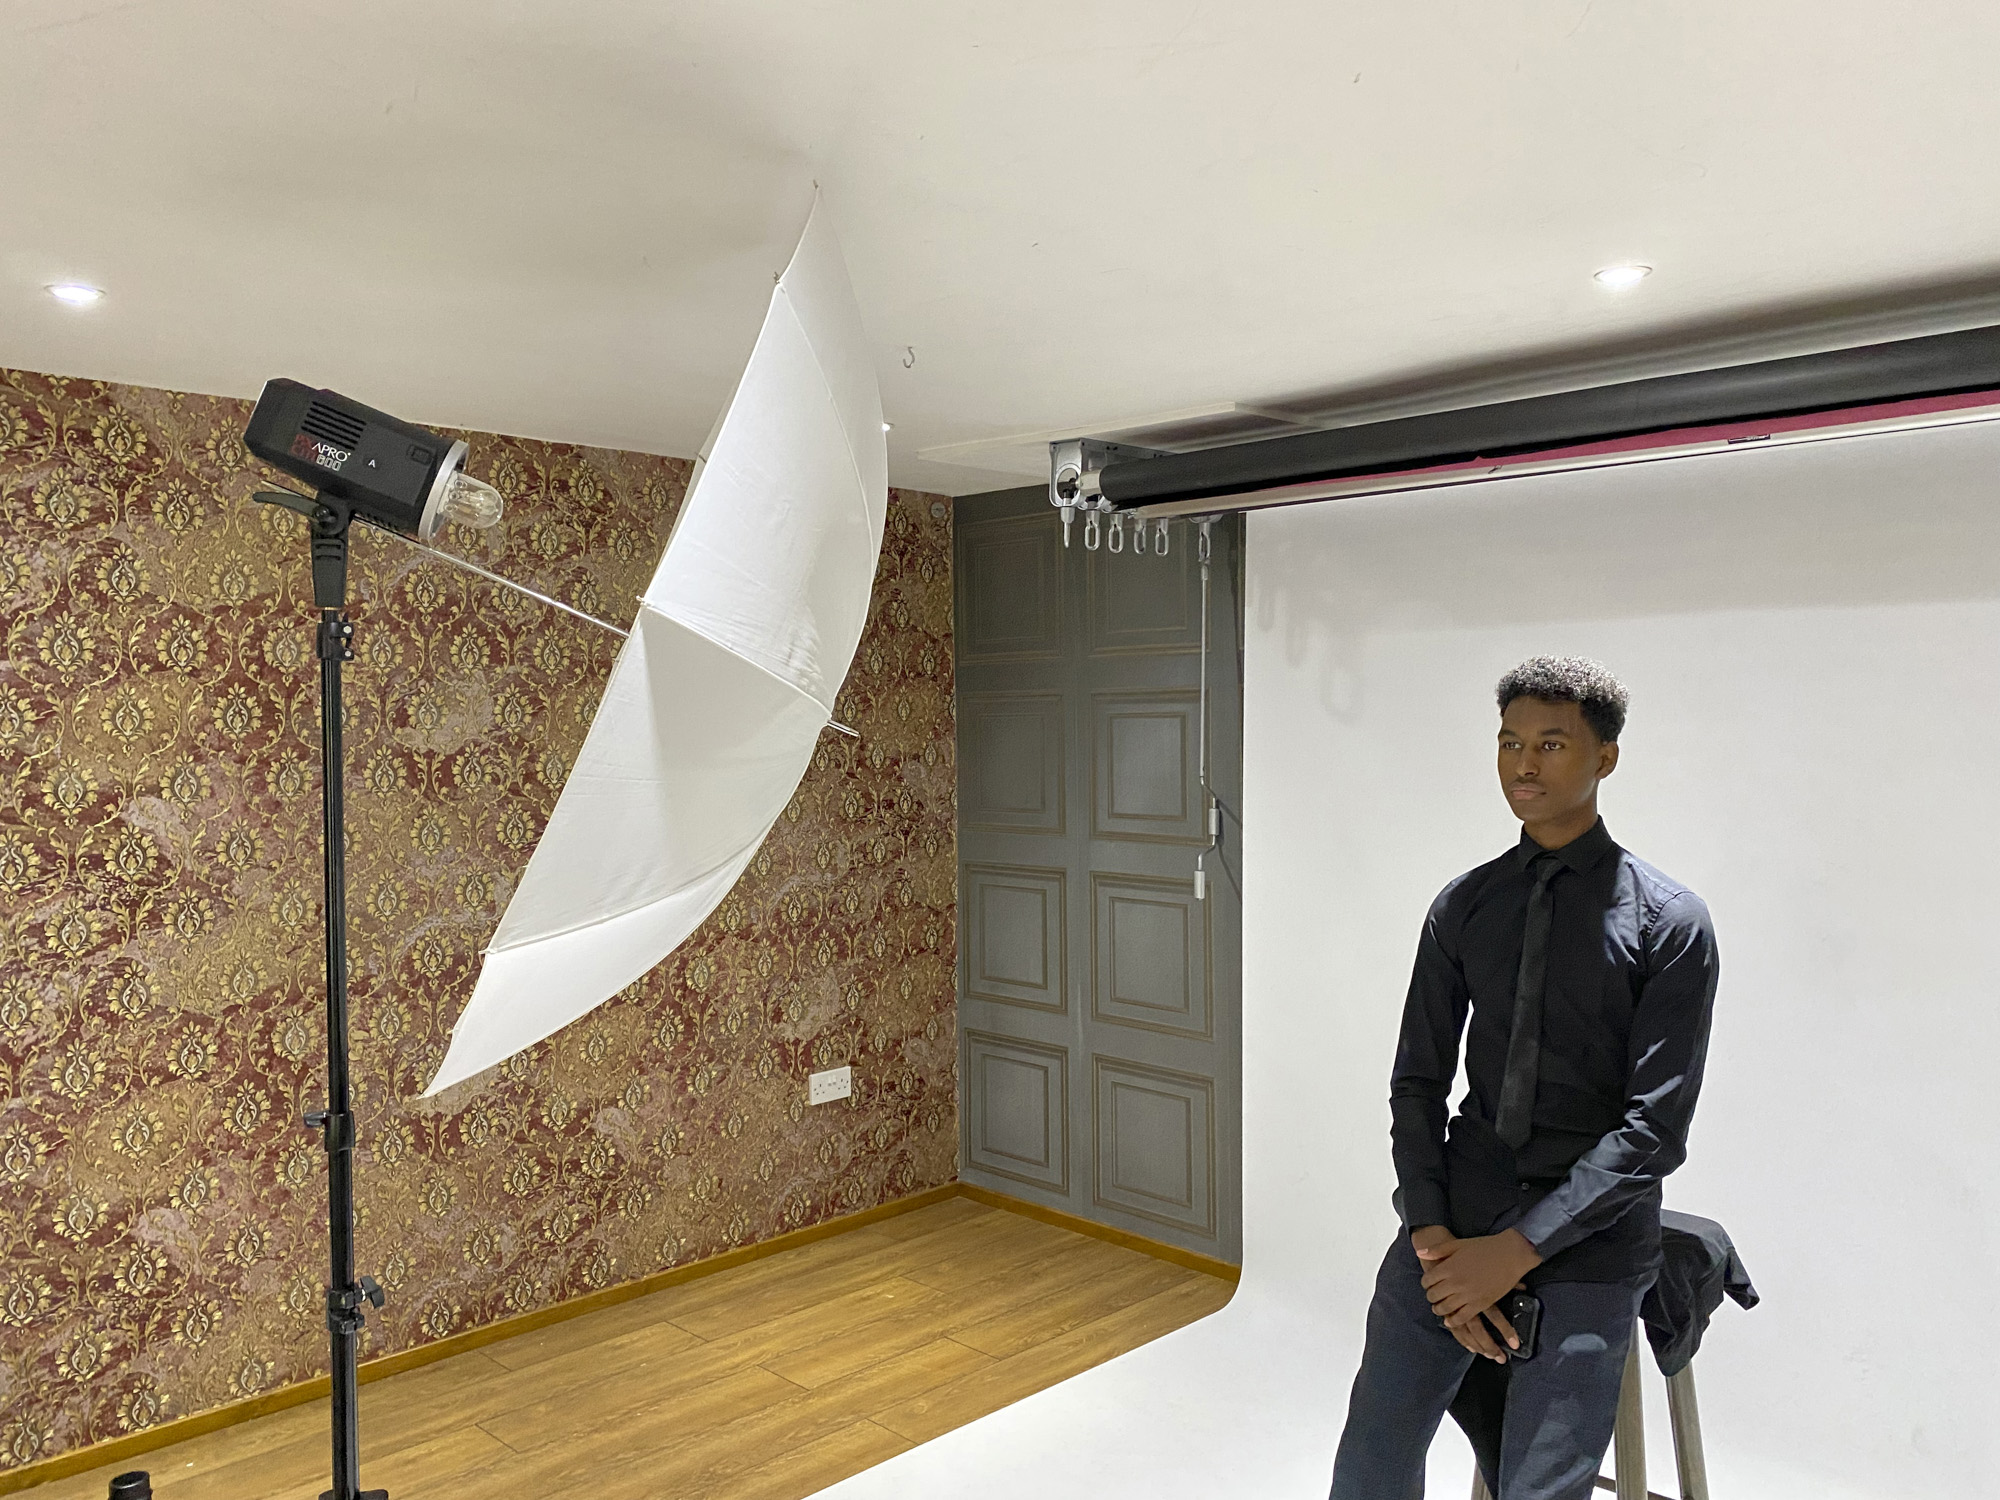
With a shoot-through umbrella, your flash is pointed towards your subject and the harsh light of the flash is softened by the semi-translucent brolly material.
The best camera deals, reviews, product advice, and unmissable photography news, direct to your inbox!
3. Silver-lined umbrella
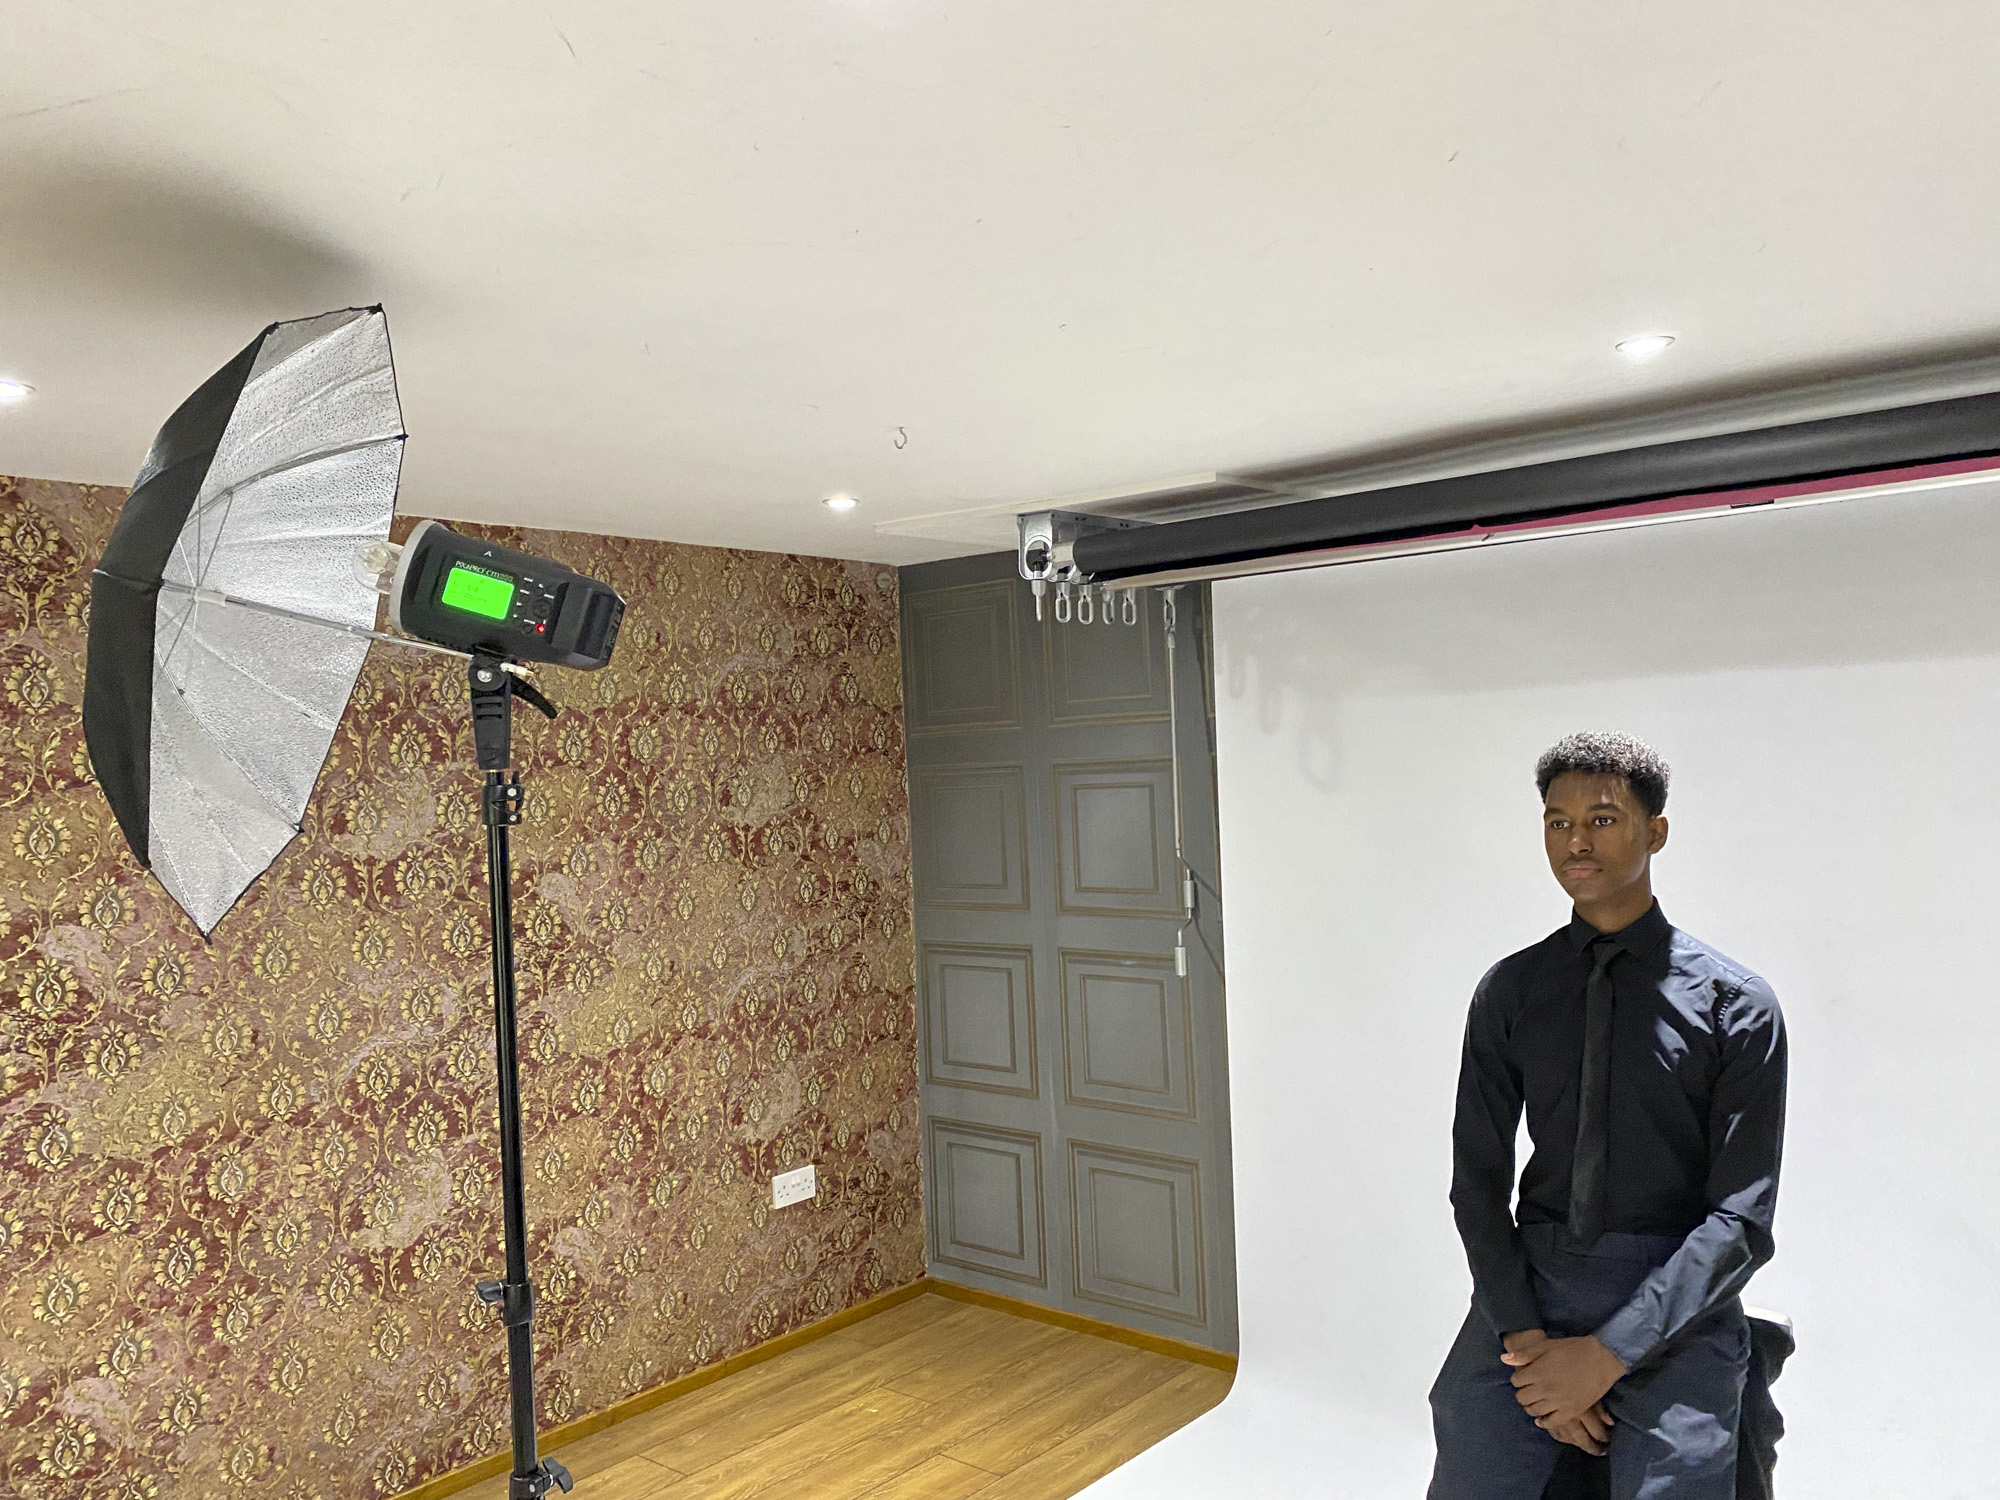
Turn your flash away from your subject and reflect the light back into the scene with the silver-lined side of your umbrella to diffuse the lighting.
4. Softbox and octabox
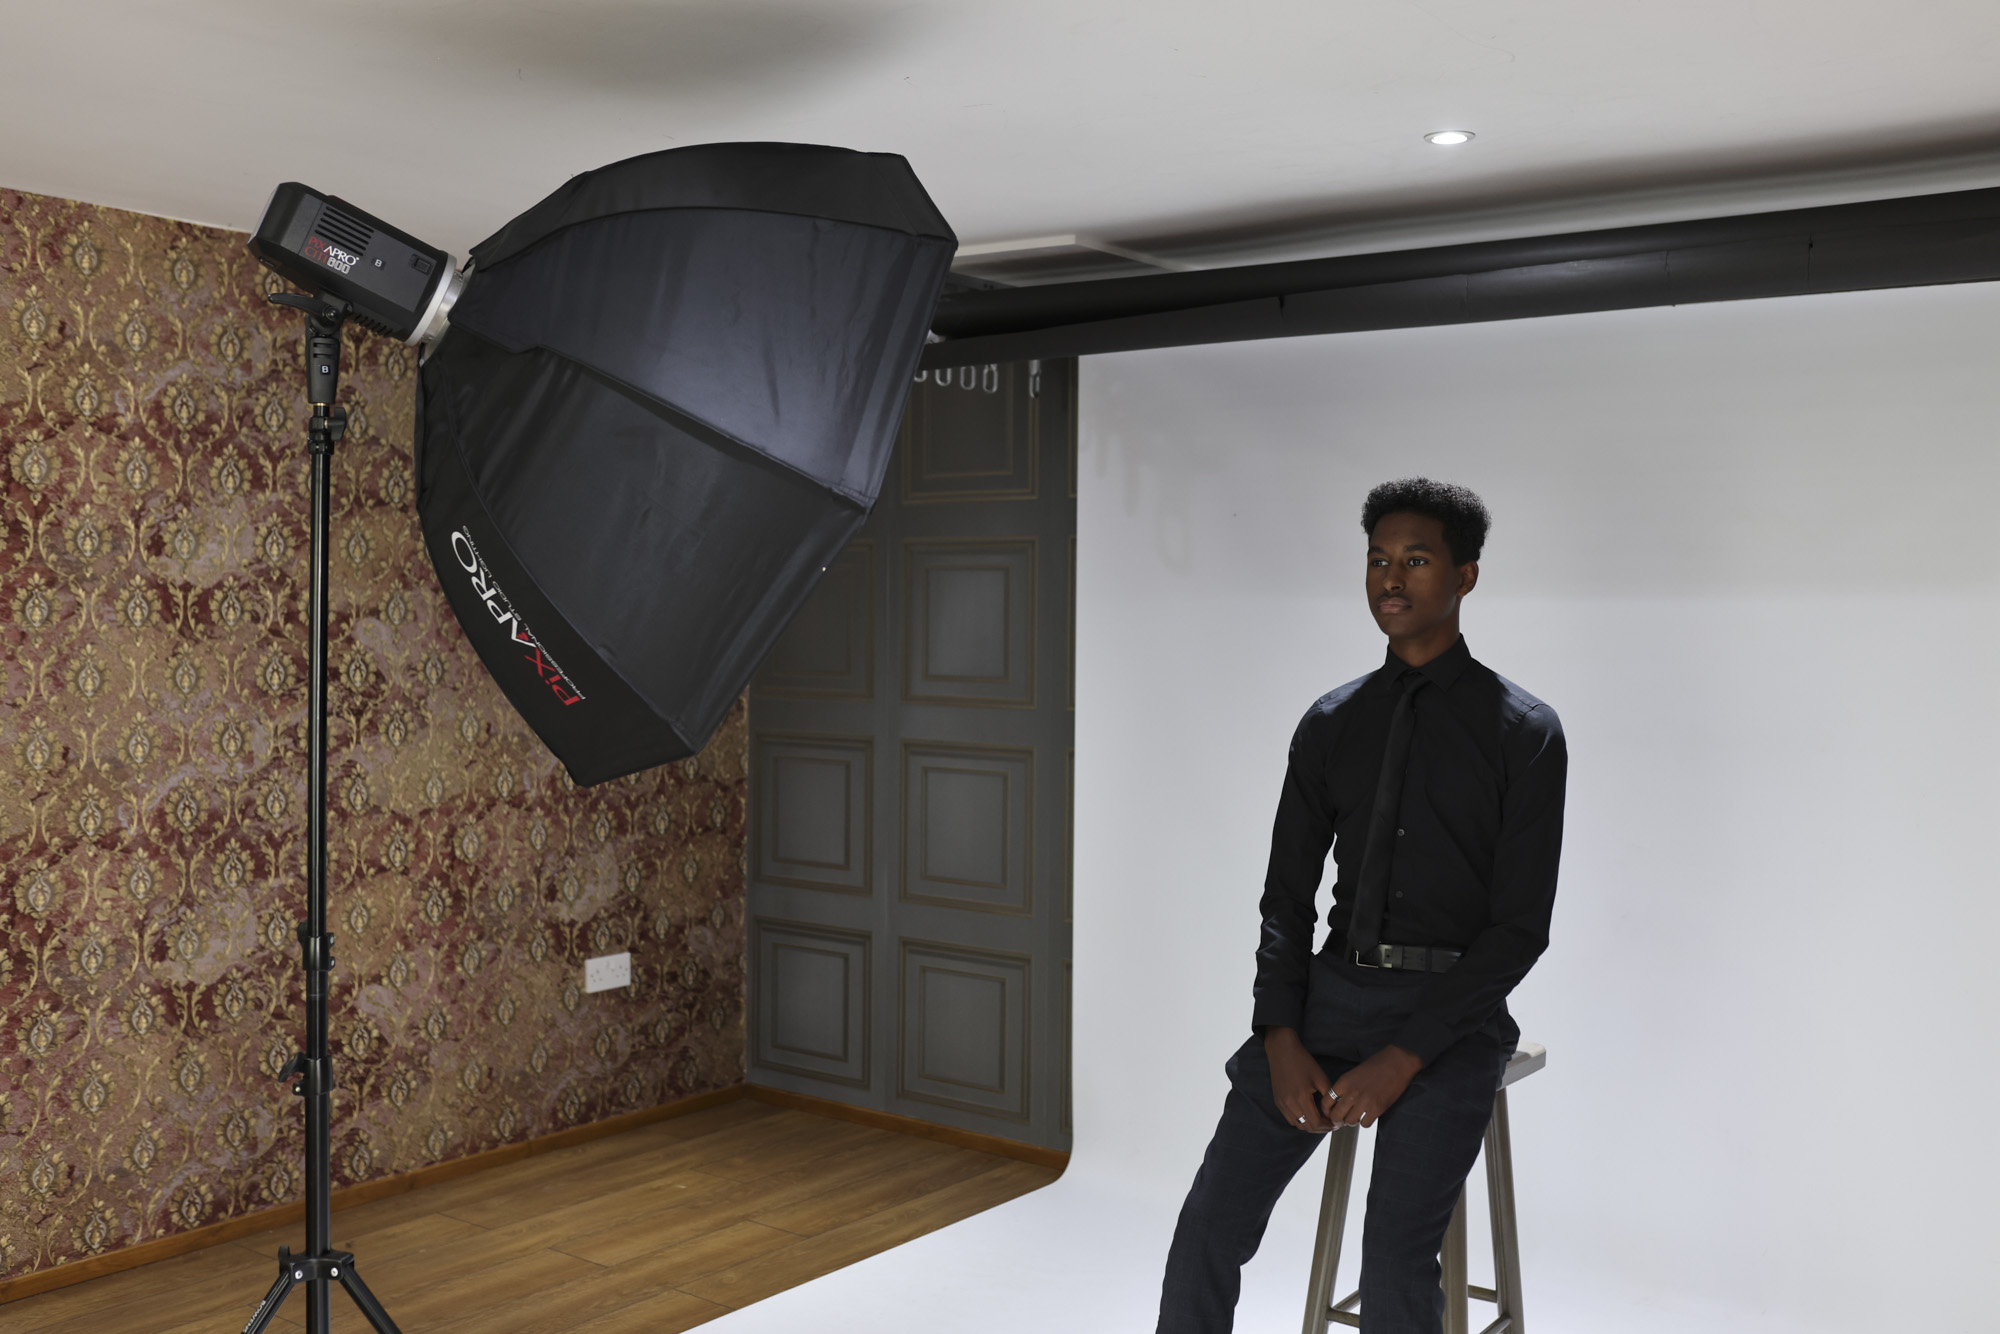
You can also diffuse your flash with a softbox or octabox, which soften the light in the same way that clouds soften the bright light from the sun.
Check out the Best softbox lighting kits
5. Snoot
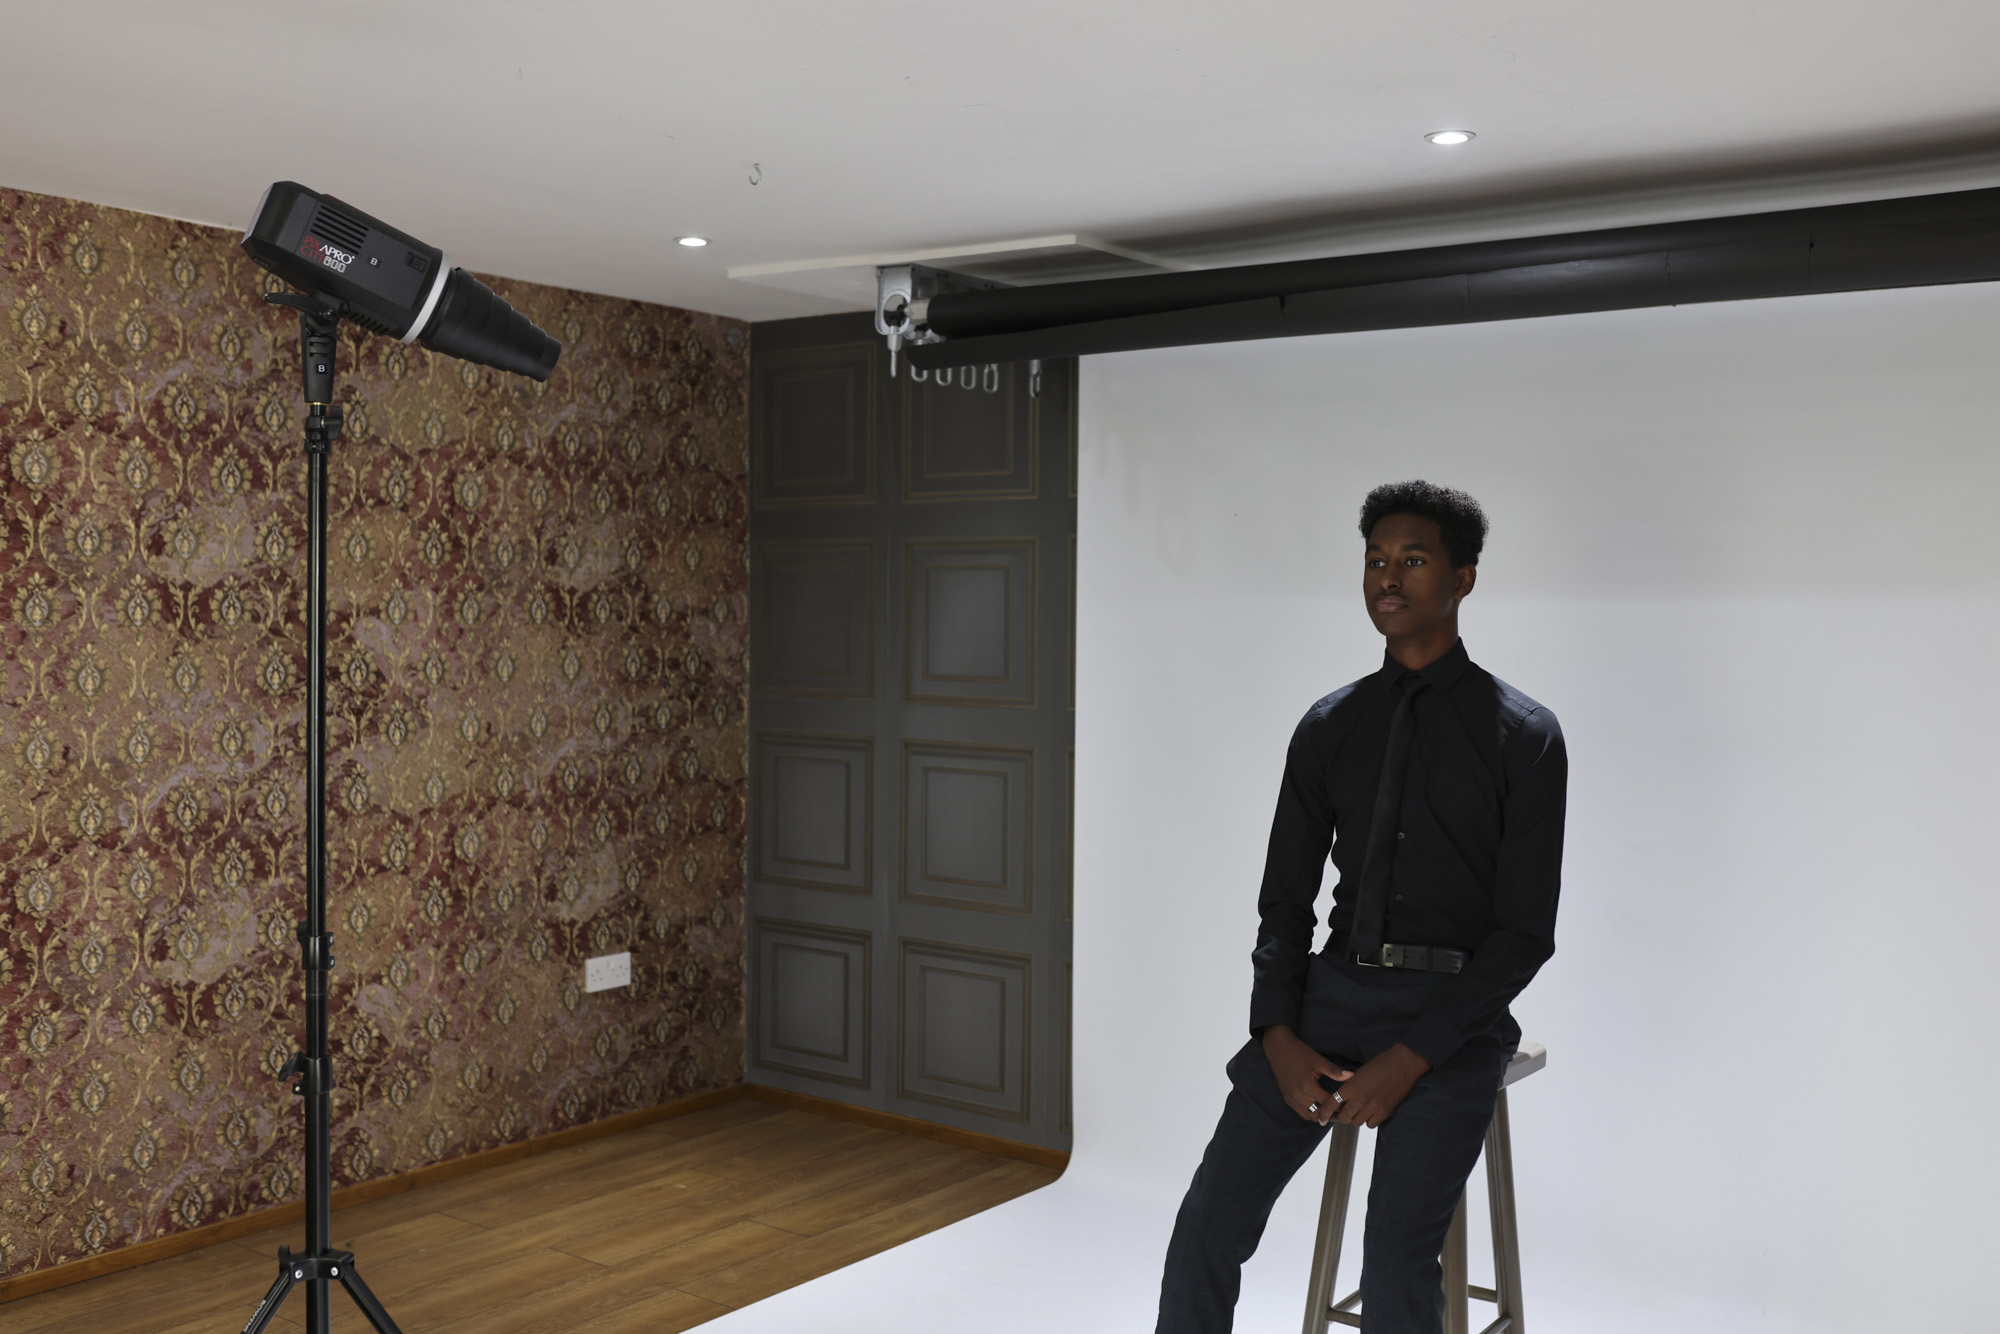
A snoot is a cone that attaches to your flash to aim the light to specific areas – great if you only want to light subjects from the side or behind, such as their hair.
6. Dome with honeycomb grid
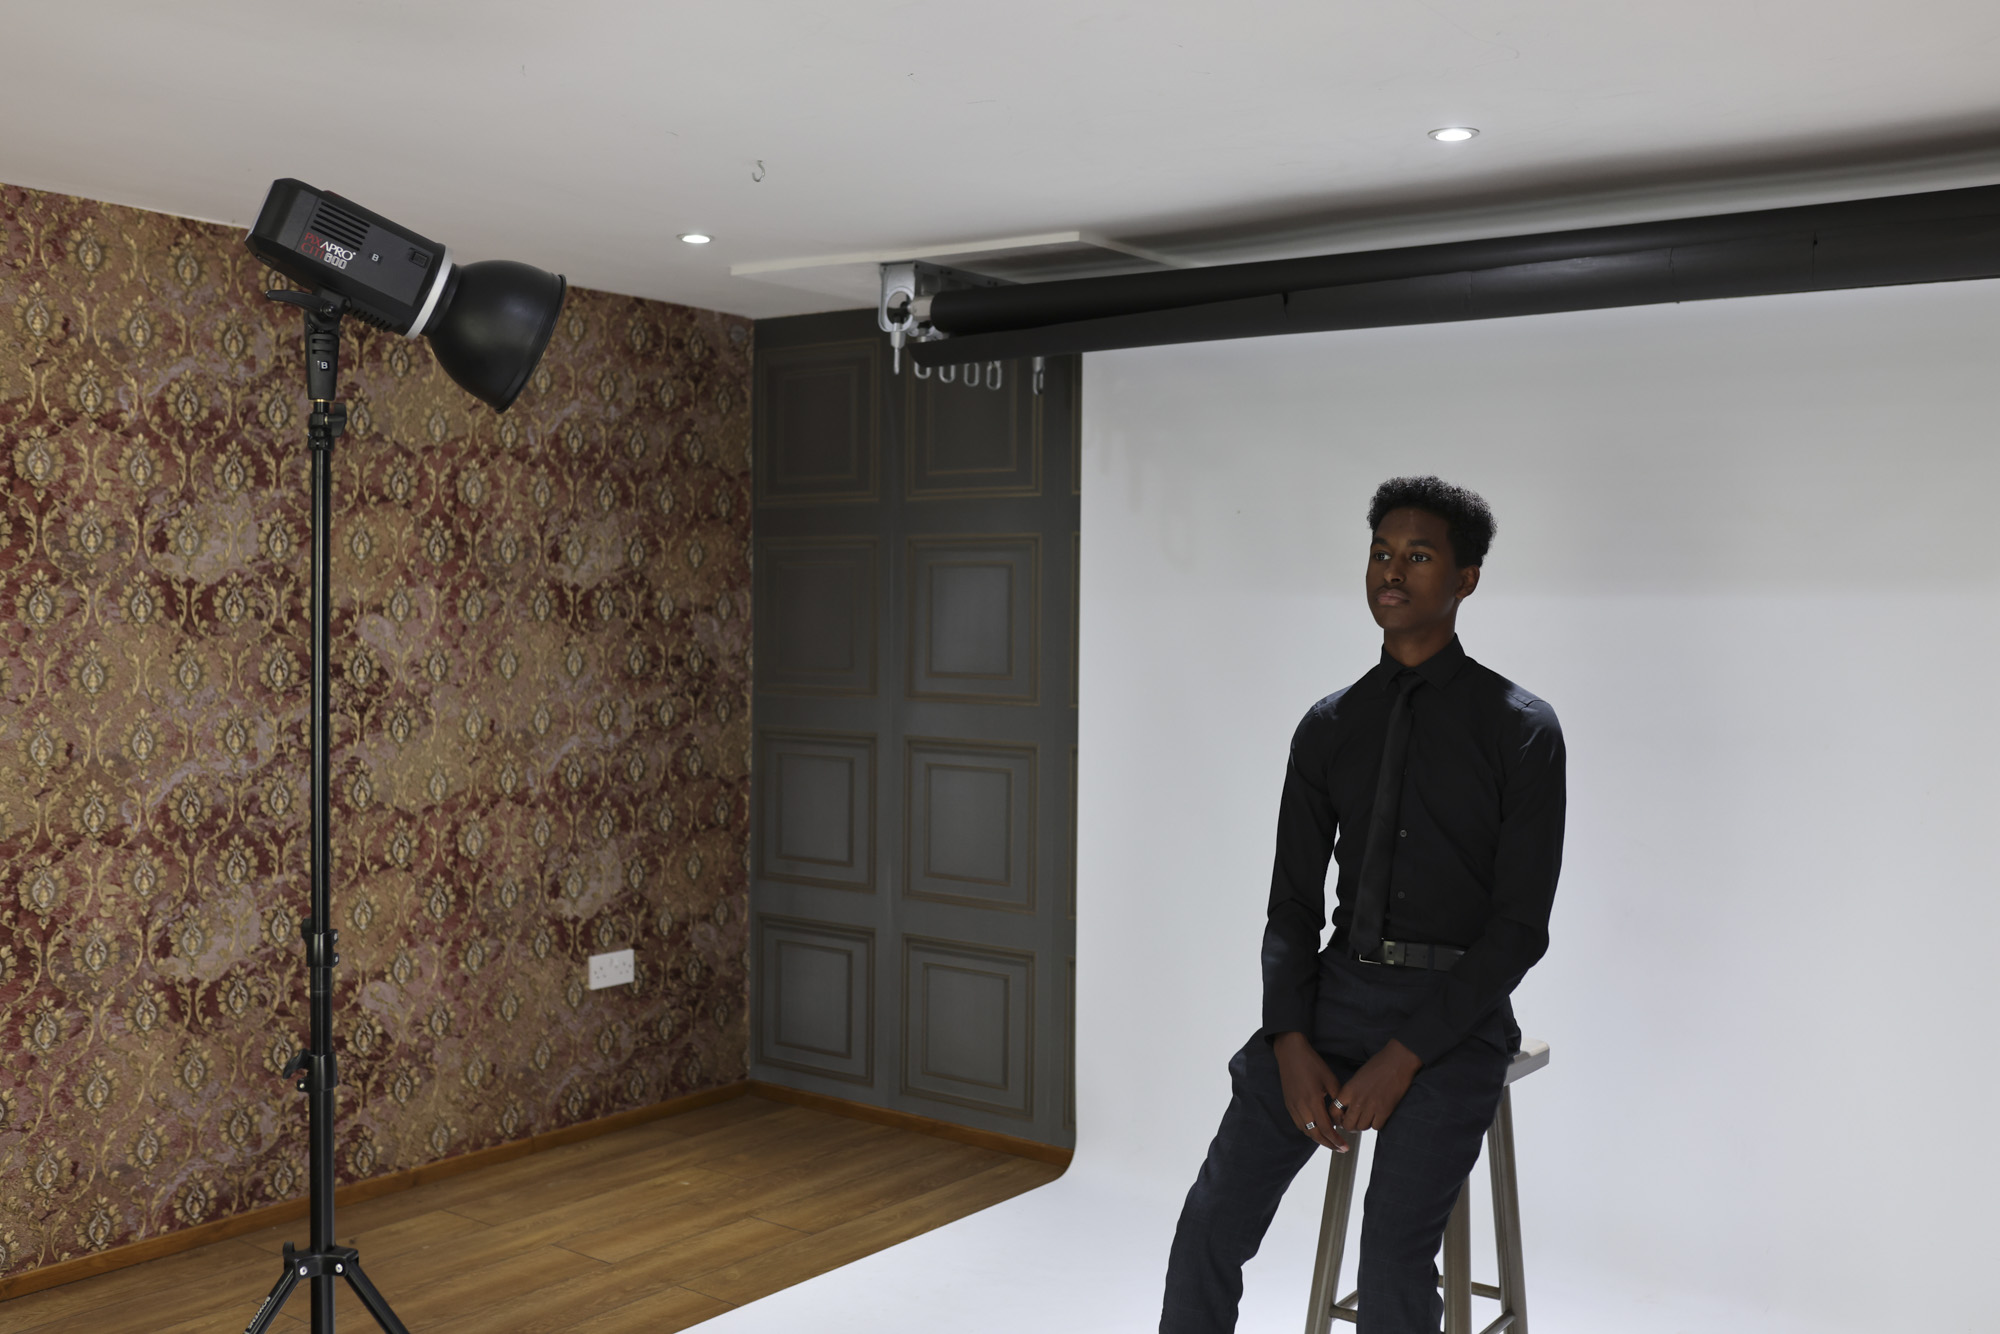
A dome is a wider, less-focused snoot, ideal for spotlighting areas such as a background. The light can become more directional by fitting a honeycomb grid.
7. Barn doors
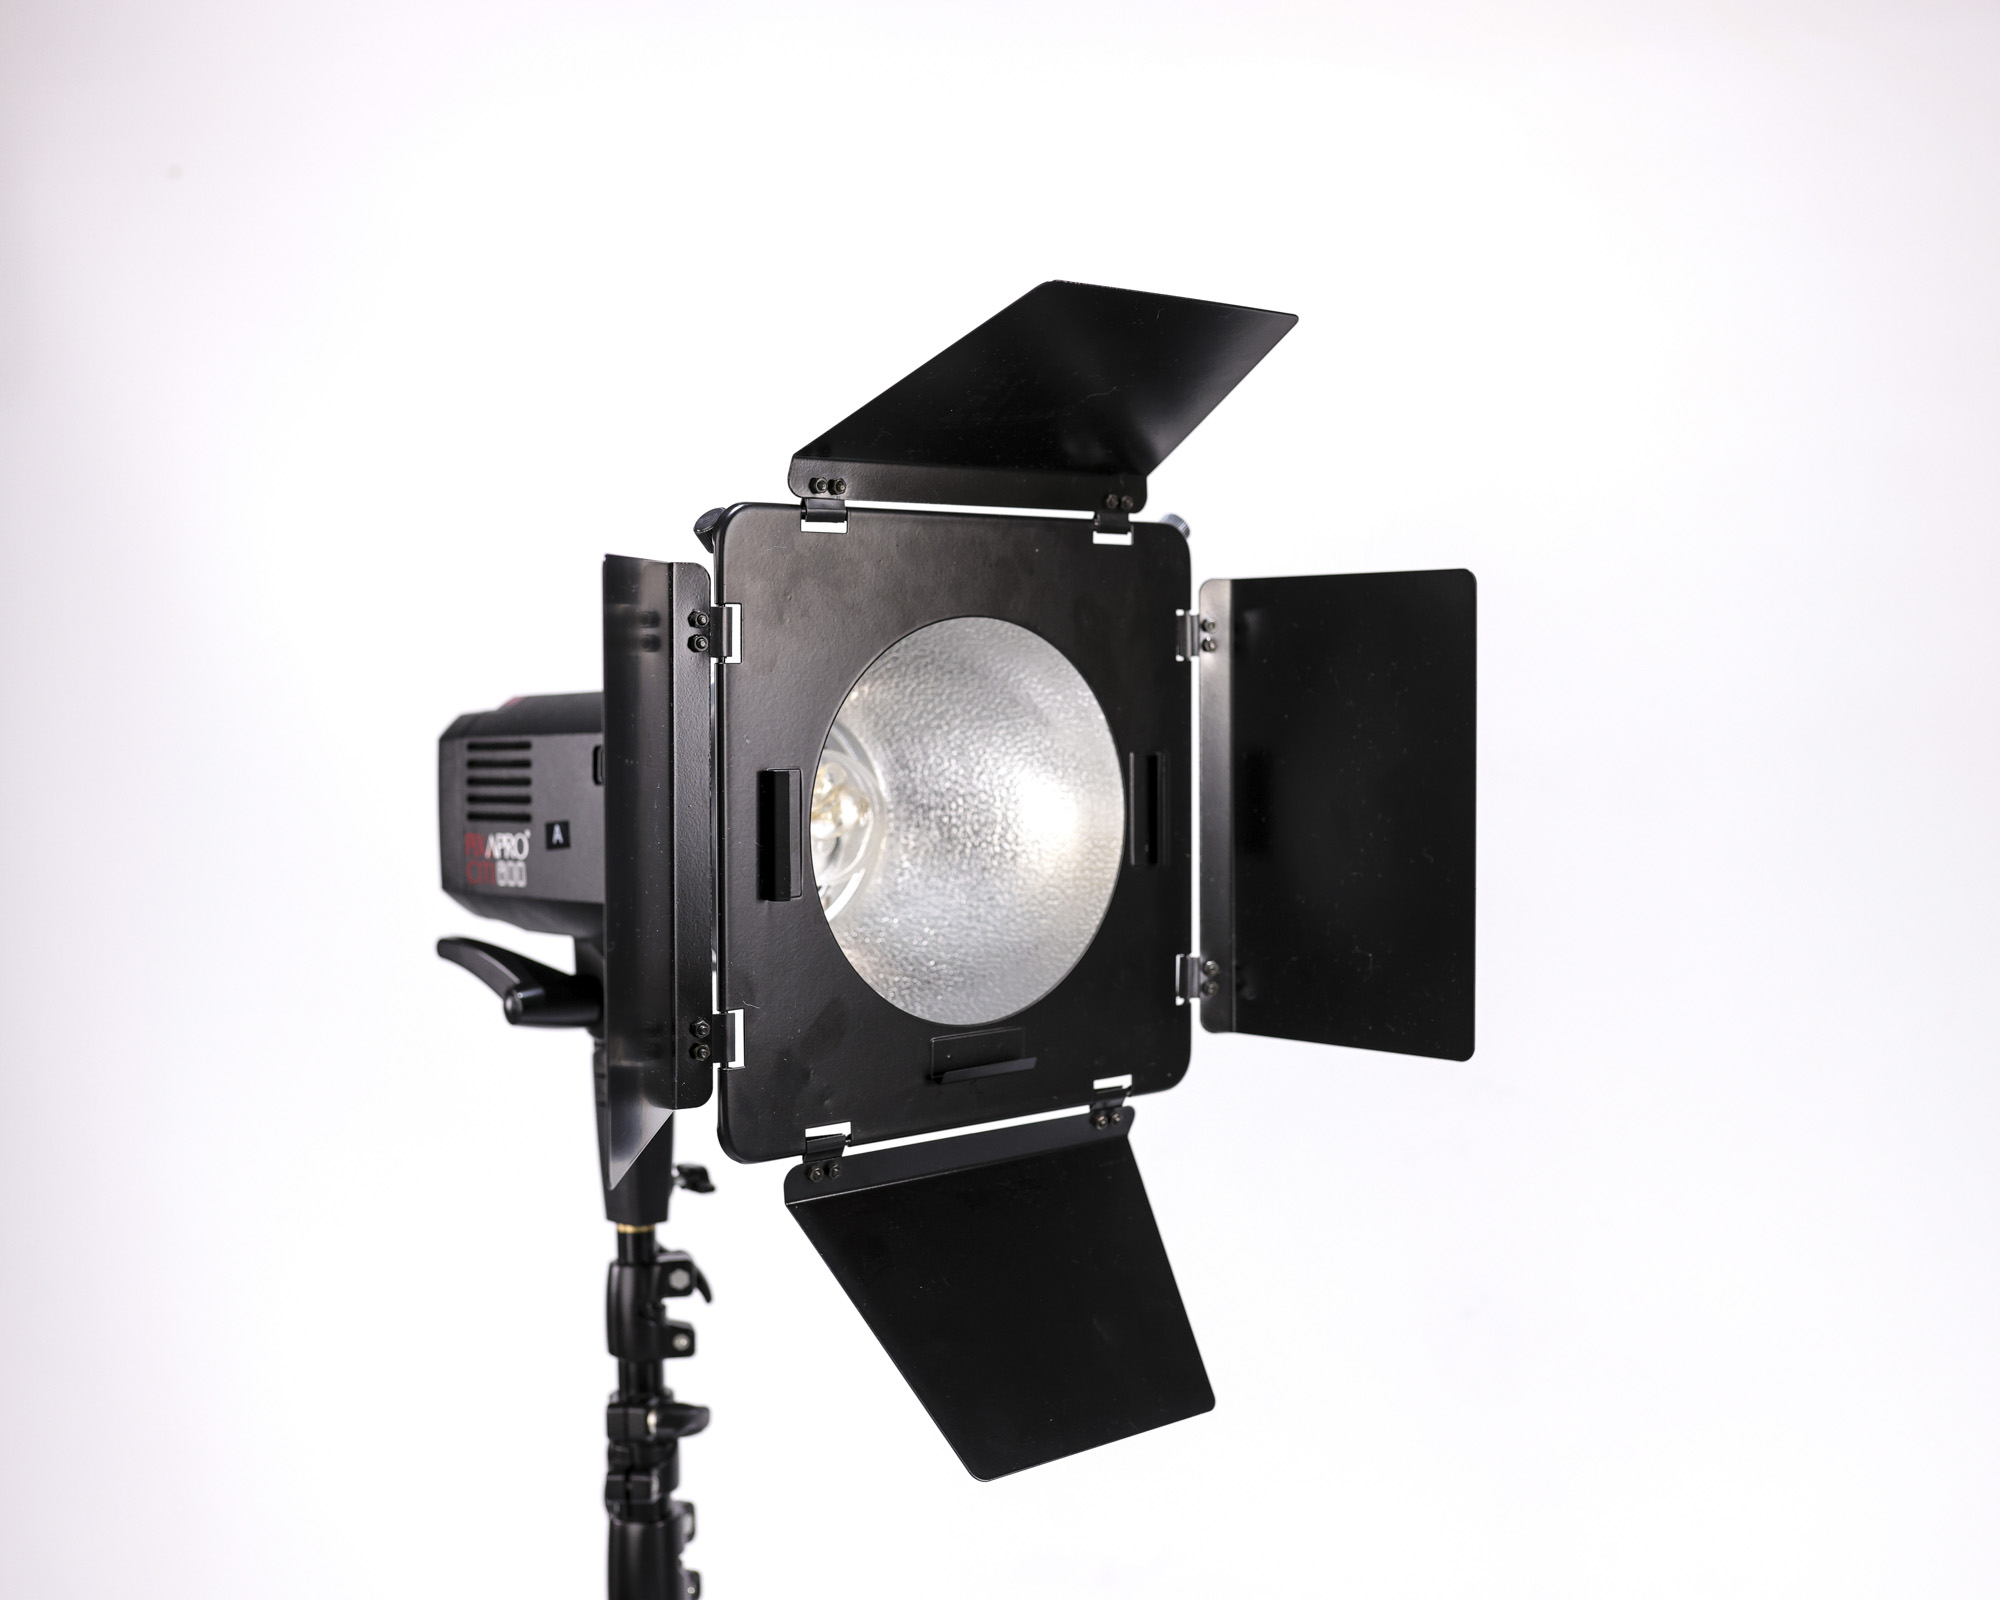
Barn doors fit on to your flash head with bare bulb or a scoop attached, and are so-called because a barn doors modifier has four ‘doors’ that you can manoeuvre and position to block the light from appearing where you don’t want it. This gives you a great level of control; for example, if you’d like to light your model from the side, you could use barn doors as a ‘flag’ to restrict the light, so it doesn’t spill on to the background that you want to keep dark.
PhotoPlus: The Canon Magazine is the world's only monthly newsstand title that's 100% devoted to Canon, so you can be sure the magazine is completely relevant to your system. Every issue comes with a disc of video tutorials too.
These are the best cameras for portraits and the best portrait photography tips. You might also like the best photo editing software and the best photo-editing laptops.
Natasha is a professional model and photography tutor, who teaches photography tuition and offers remote portrait shoots from her studio in Yorkshire.
