Photo ideas: Take a masterful, minimalist, mono seascape
Create ethereal long exposure seascapes with a minimal, monochrome finish
Watch video: Photo ideas – Take a masterful, minimalist, mono seascape
Photography projects at home
• More home photography ideas
Useful home photography kit
• Best tripods
• Best lighting kits
• Best reflectors
• Best macro lenses
Photographers often obsess about detail, sharpness and resolution. However, simplicity can be just as powerful. By paring down images to the bare elements we can create beautiful, minimalist artwork.
In this project we’ll show you how, from setting up and shooting long exposures, to stripping out the color for a gorgeous monochrome finish.
There are few things that highlight the engineered magic of photography more than a long exposure. When we stretch out our shutter speeds to several seconds, or even minutes, any motion in the scene is recorded as a beautiful silky blur.
This gives us the ability to present everyday scenes in a completely different way – and it can be hugely effective. It gives your photographs a surreal, calm quality that feels minimalist.
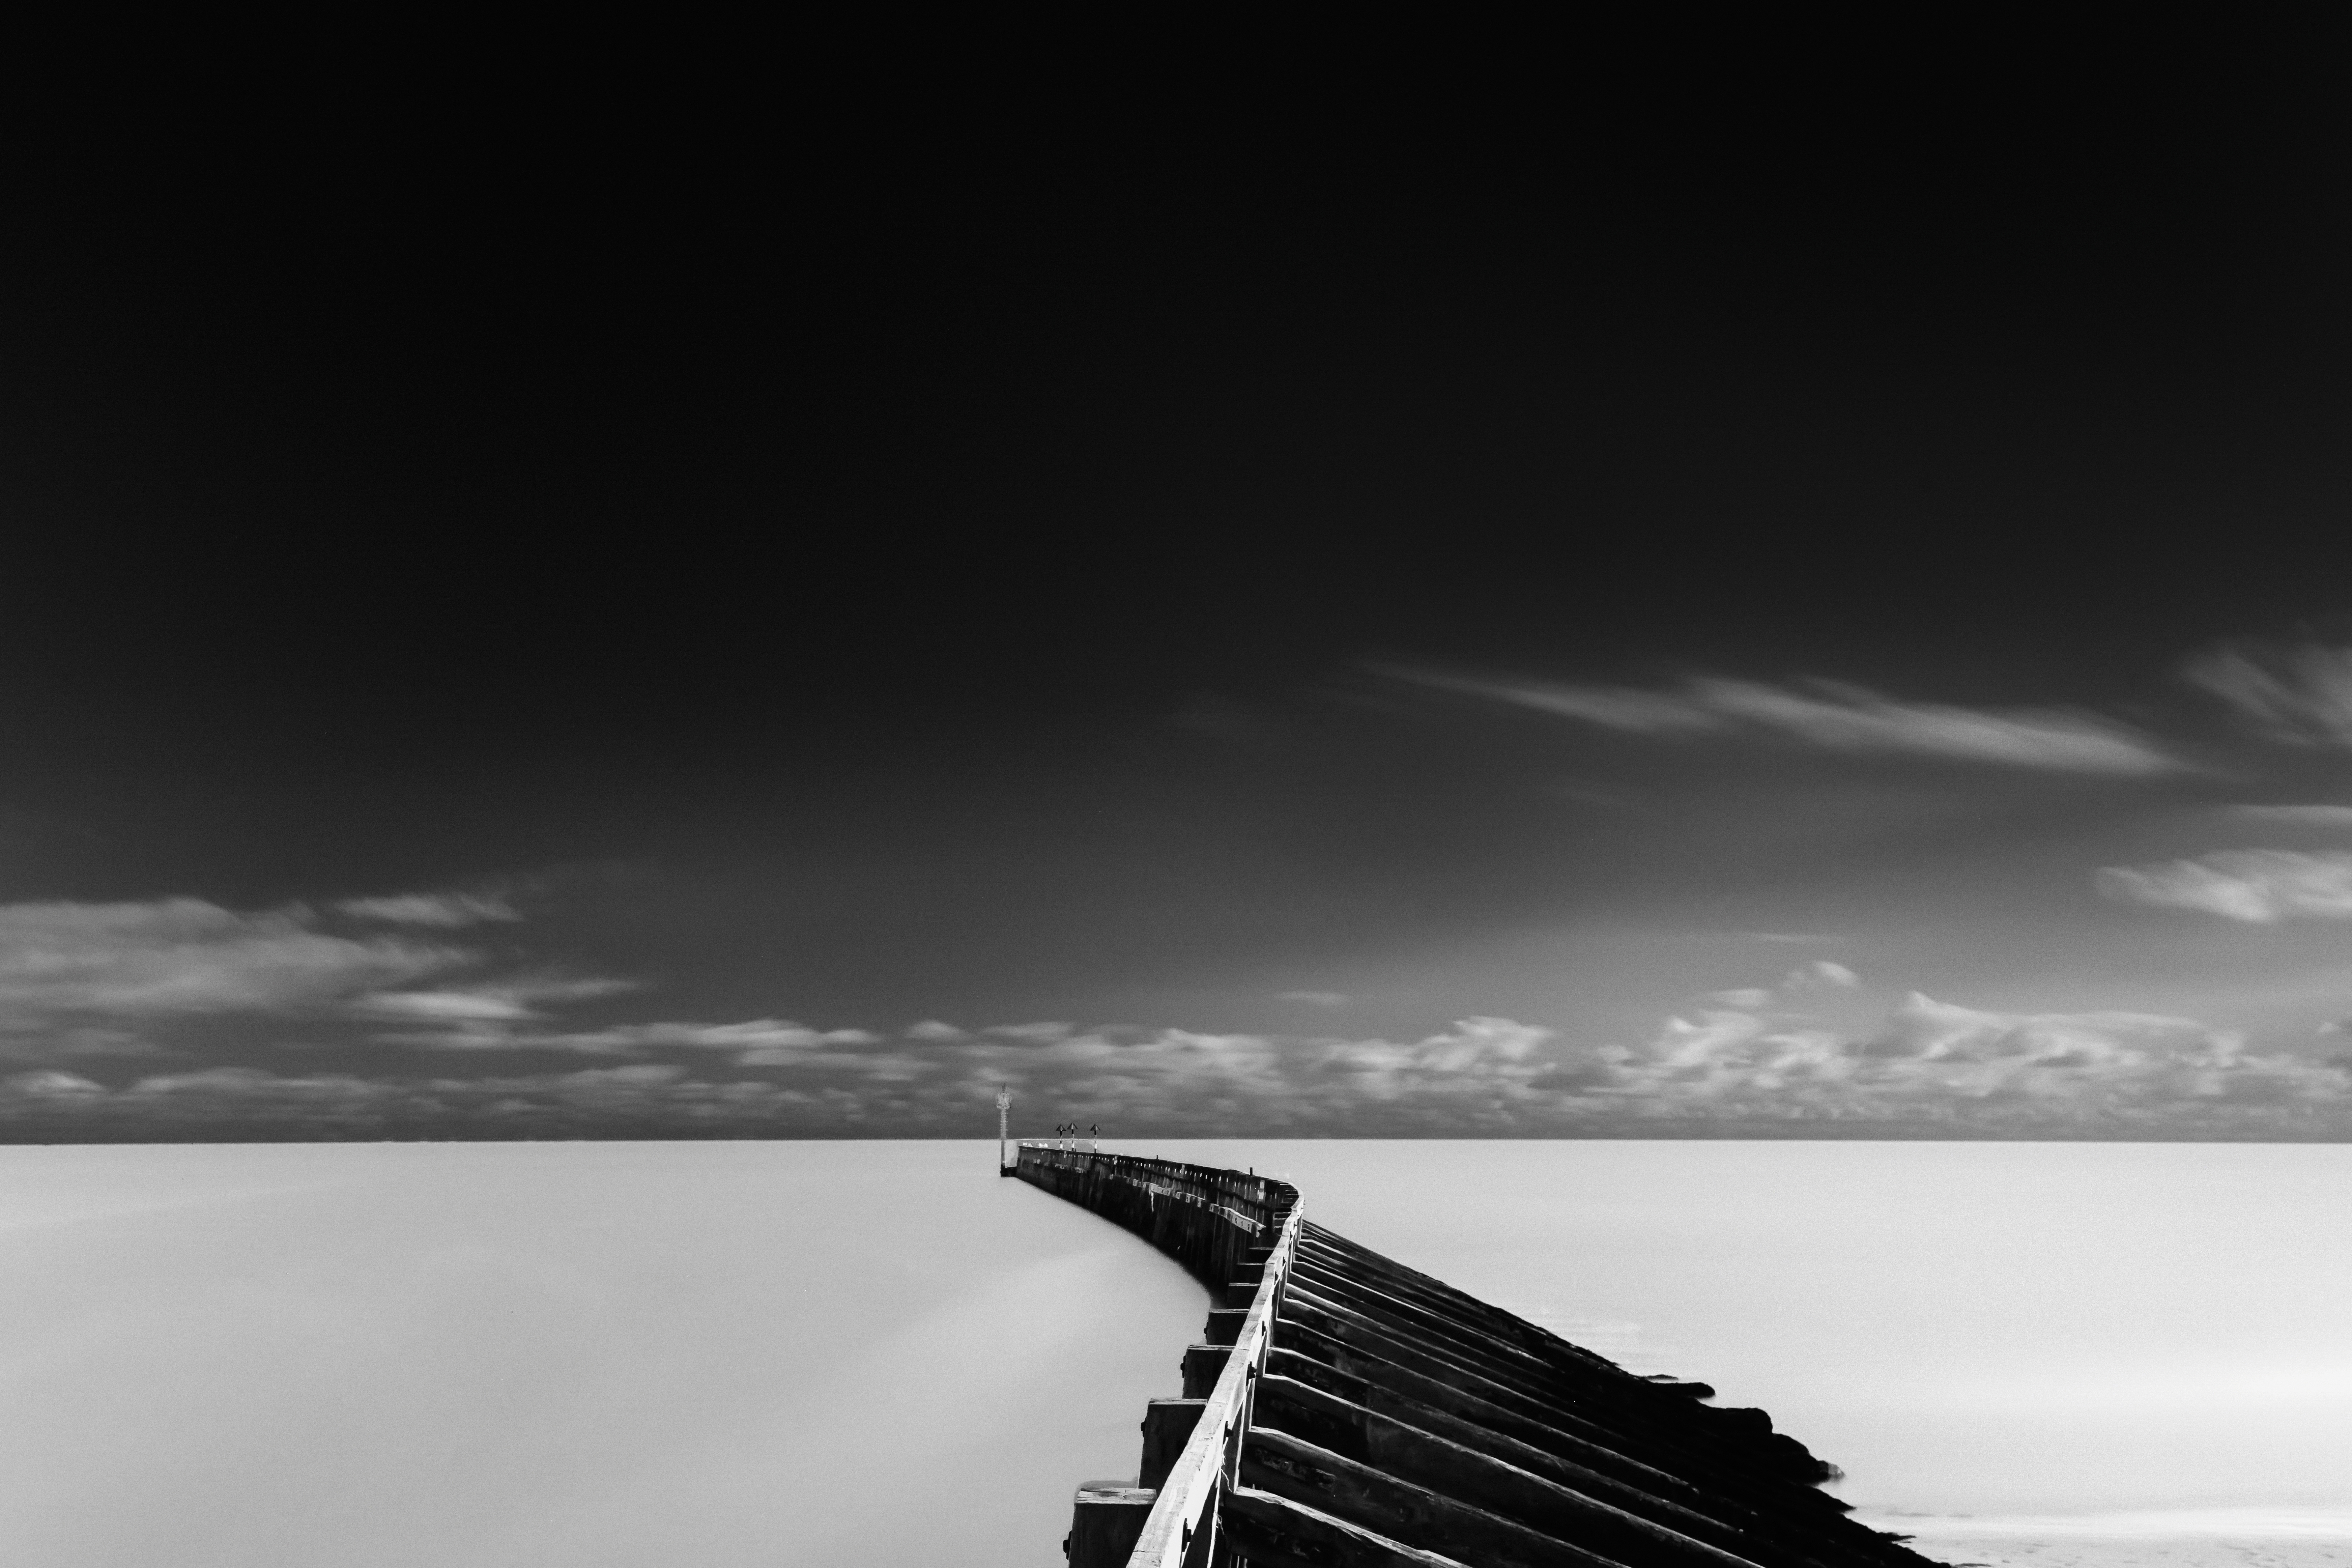
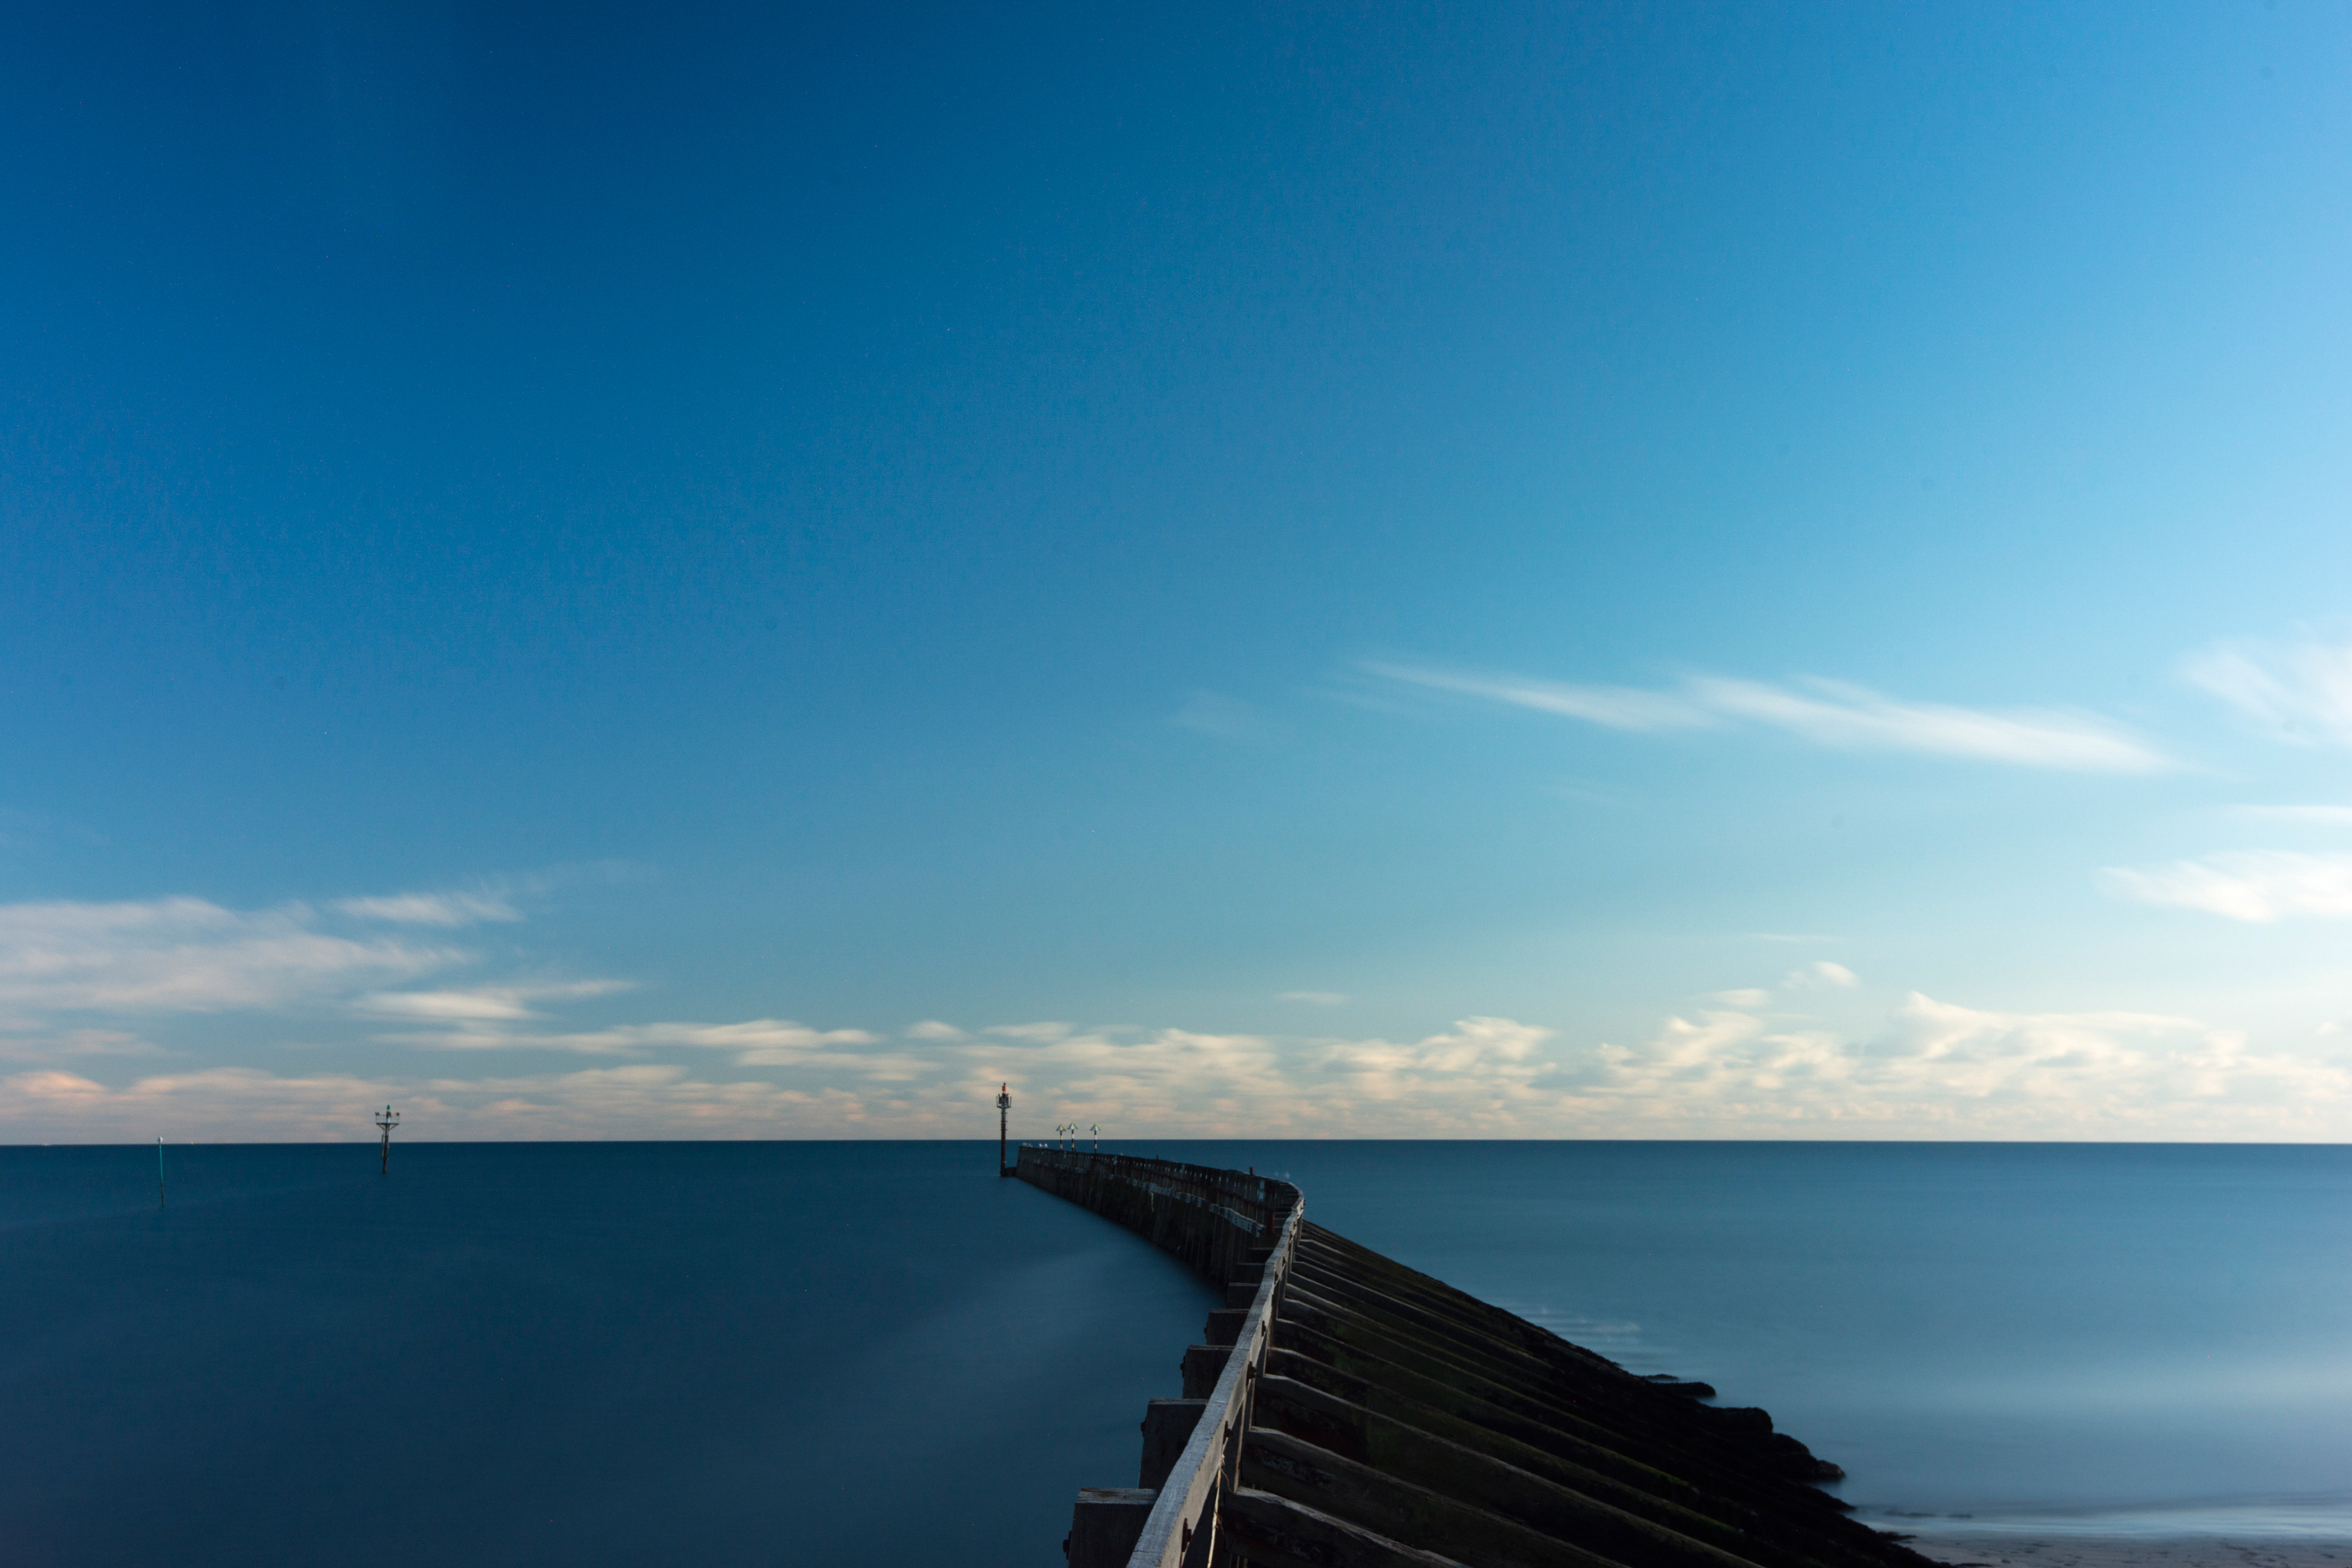
This is because, for certain scenes, the smoothing effect of motion blur is a great simplifier. Seas are a perfect example of this; photographed normally, choppy seas are full of detail – there are all the dips and ridges on the surface, foaming waves, spray and even floating debris.
However, when a longer shutter speed is used, all this is eradicated, transforming those distracting, busy details into a smooth, glossy surface.
The best camera deals, reviews, product advice, and unmissable photography news, direct to your inbox!
Extending your shutter speed to entire minutes during the day requires a strong, near-opaque neutral density (ND) filter to slow the flow of light into your camera, plus a tripod and a few simple camera skills. It takes meticulous attention to detail and you might only come away with one or two good shots, but that’s all you need…
• Best online photography courses
How to take a long exposure seascape
01 Think slow and steady
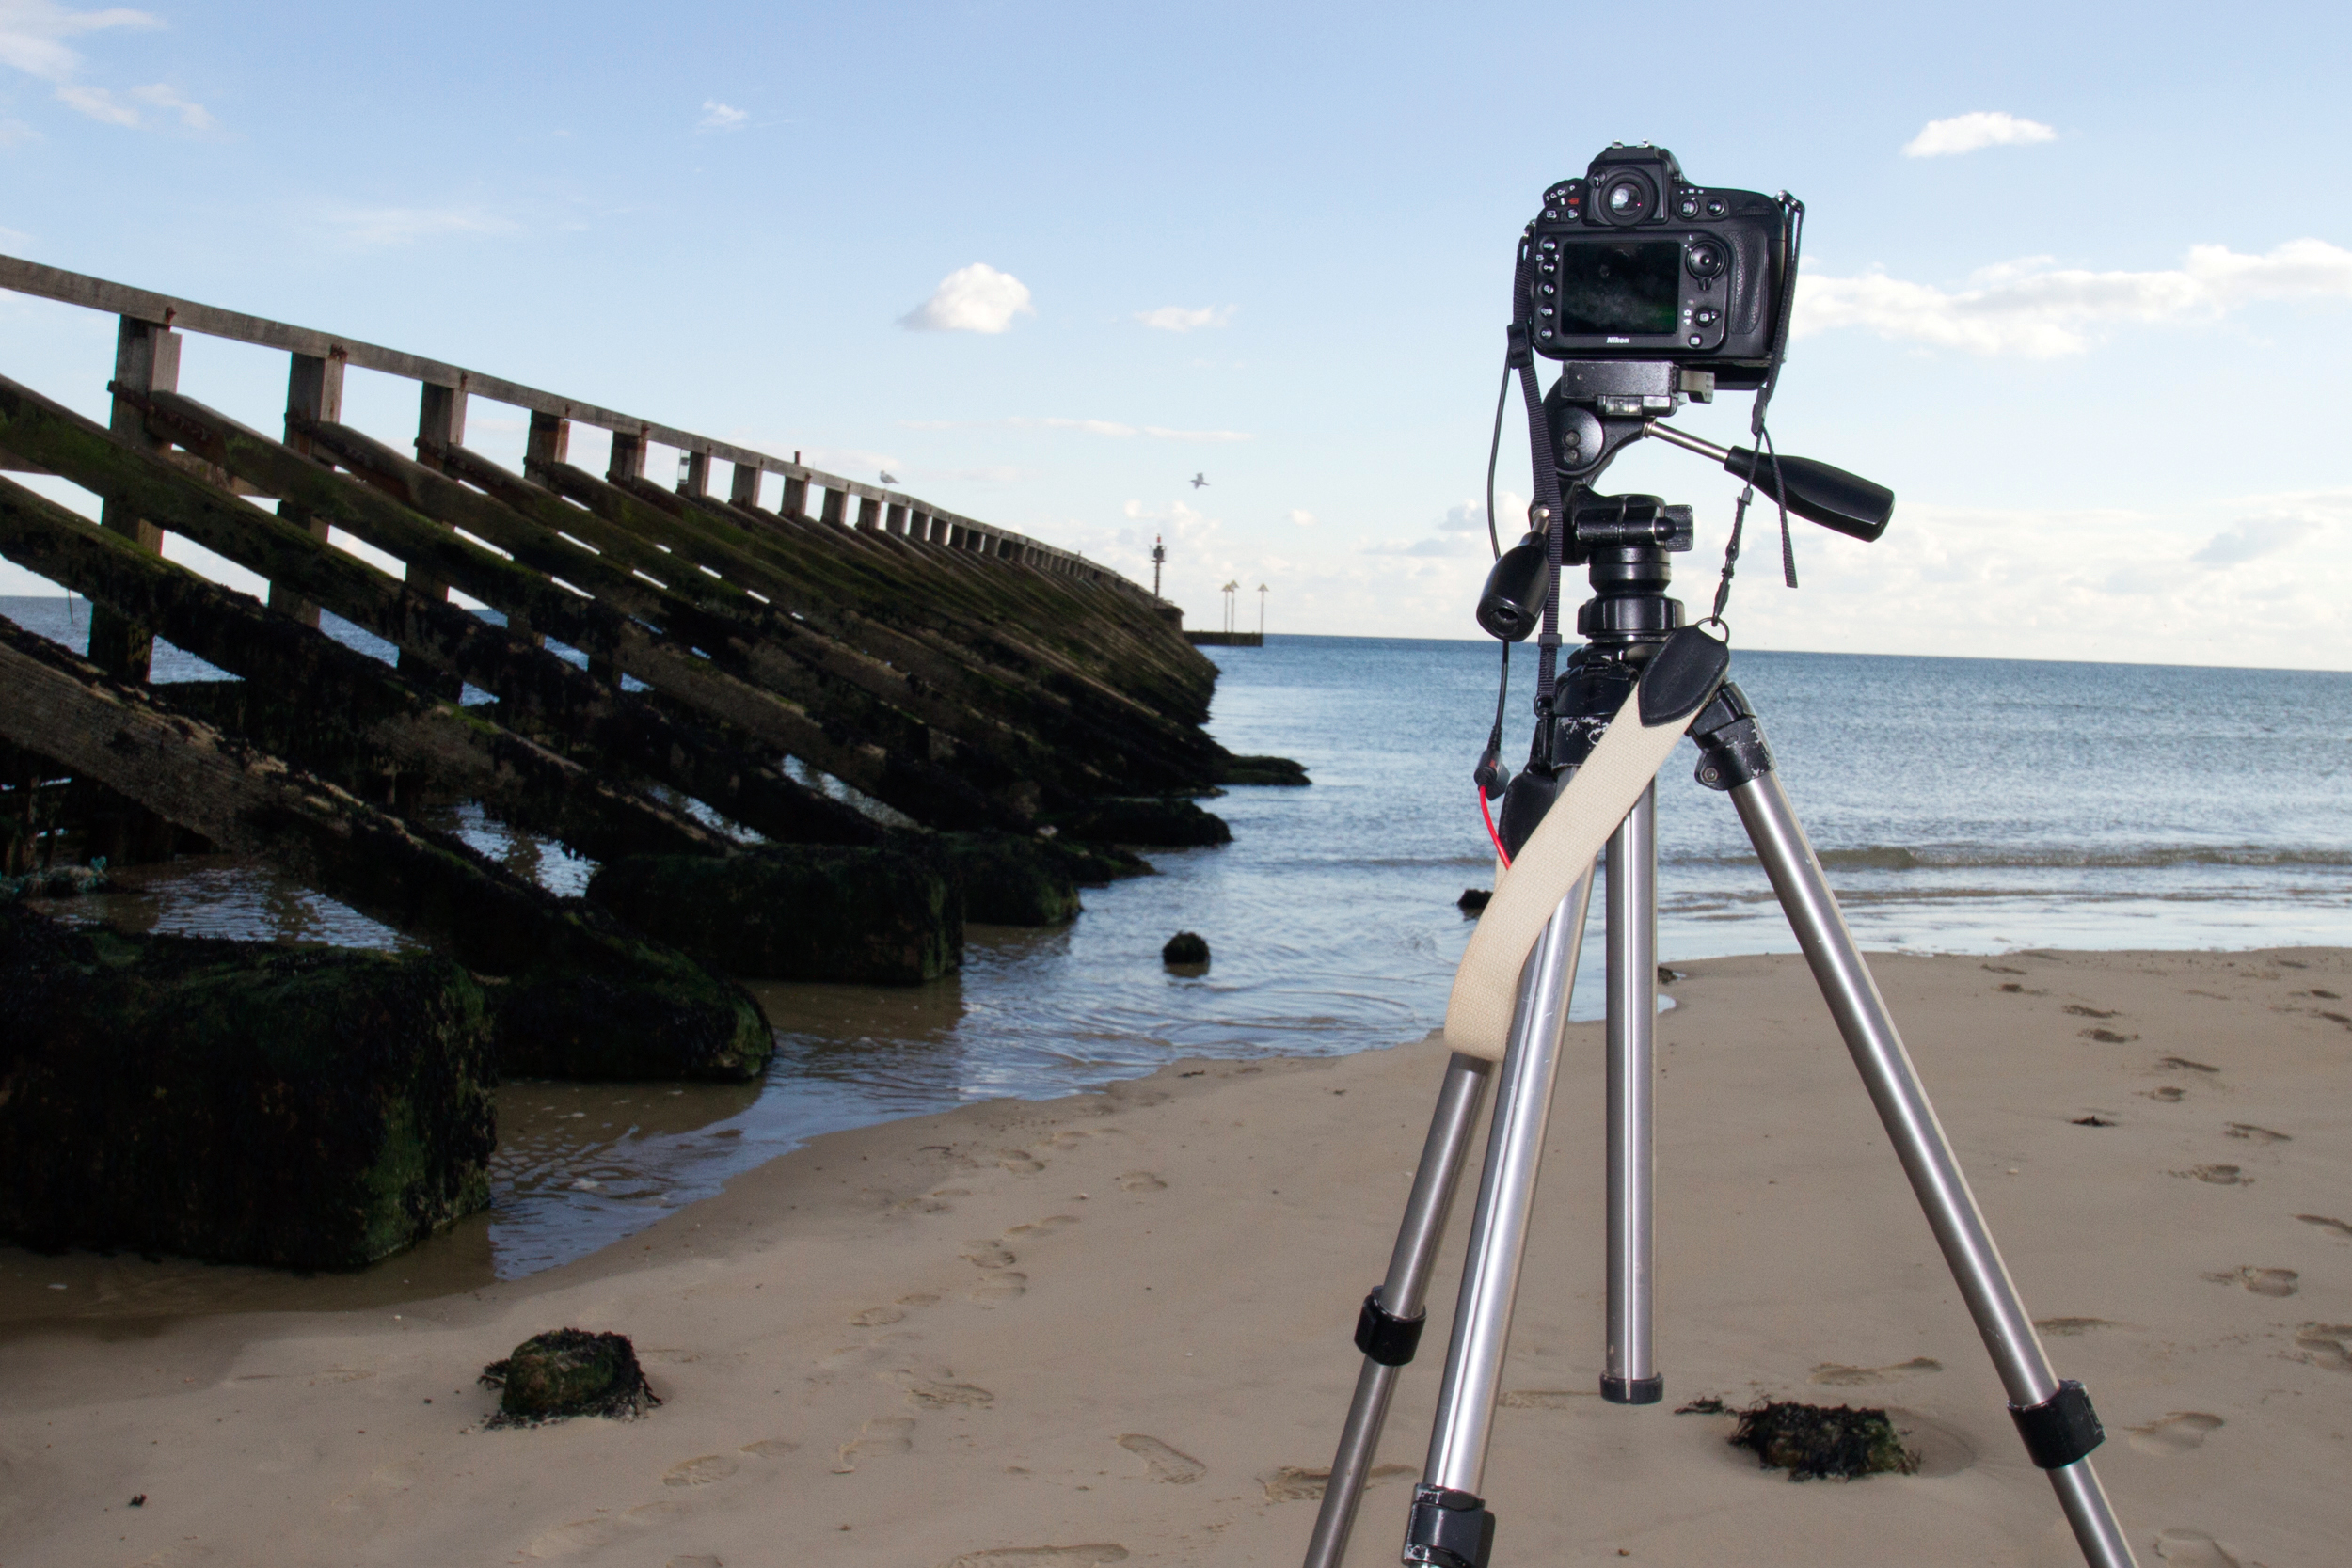
Set up on a tripod and focus before switching to manual focus to lock it. Before attaching the ND filter, take a test shot. Use Aperture Priority and ISO100 with an aperture of f/11 or more. If it looks good, take note of the shutter speed, which was 1/60 sec at f/11 in our test shot.
02 Attach the filter
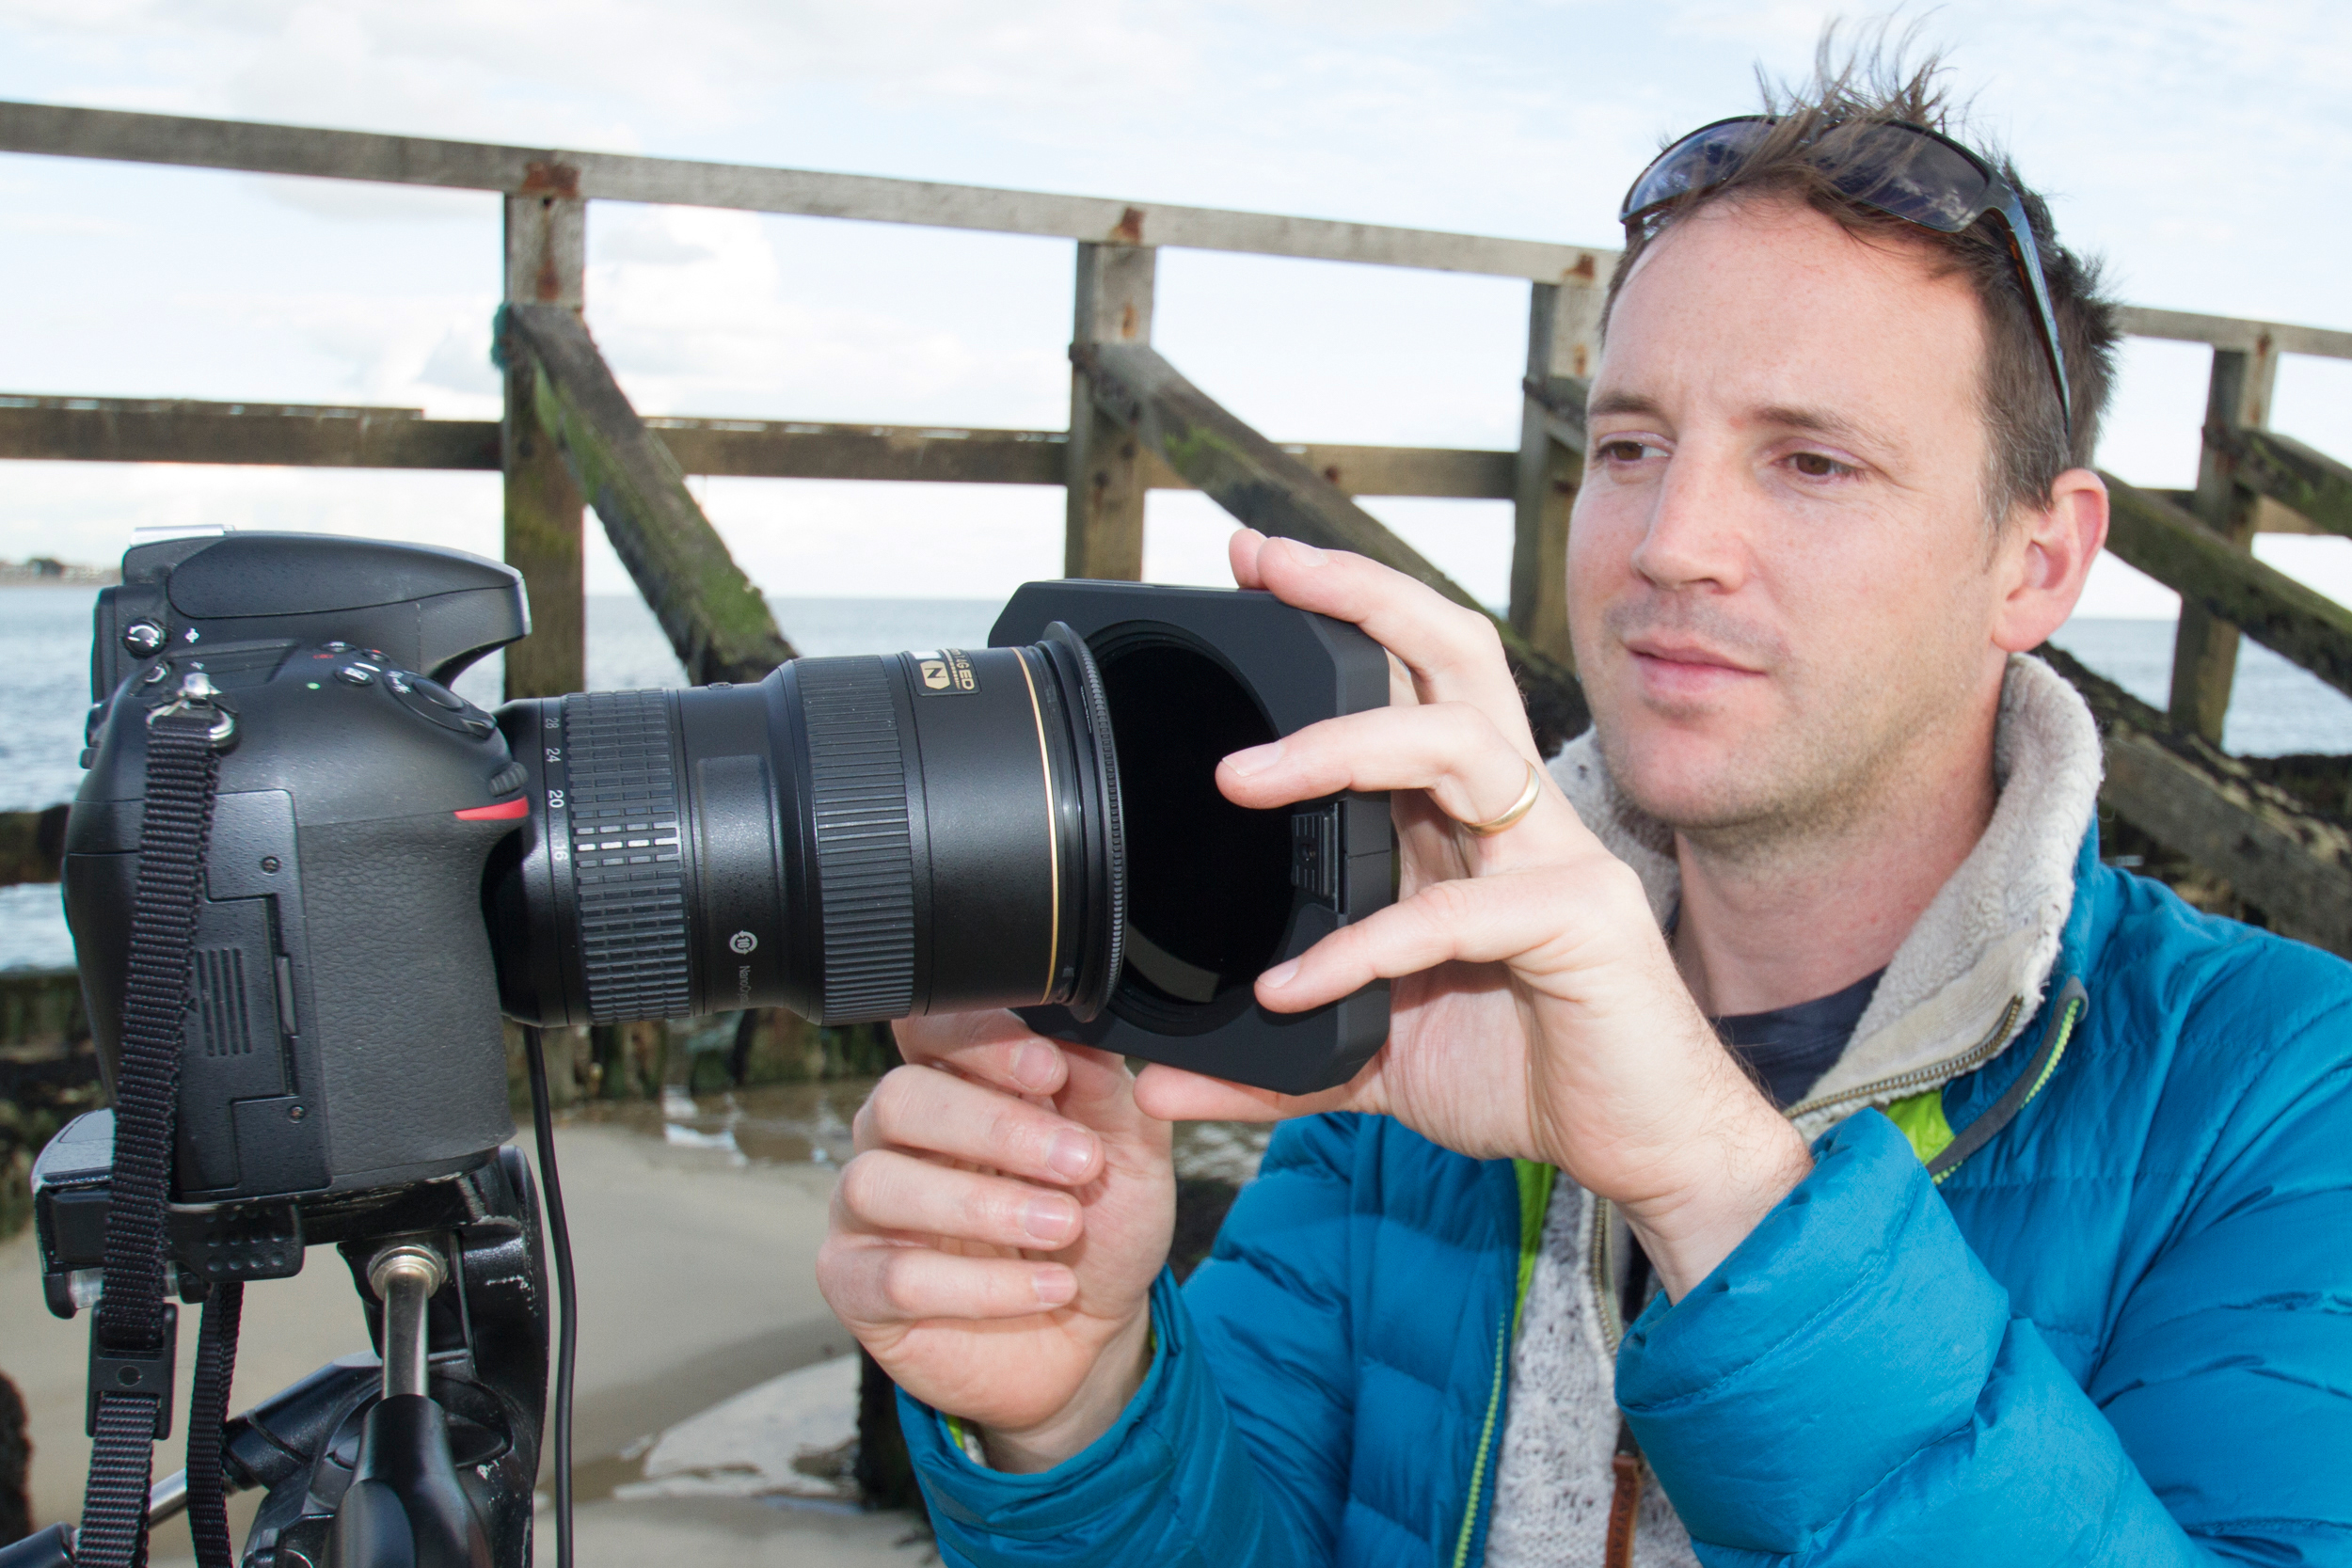
You won’t be able to see once the filter is on, so make any final composition tweaks and then attach your ND filter to the lens. We're using a 13-stop ND here. Next, block up the viewfinder with a cover or a piece of tape and turn off any stabilization.
03 Do the math
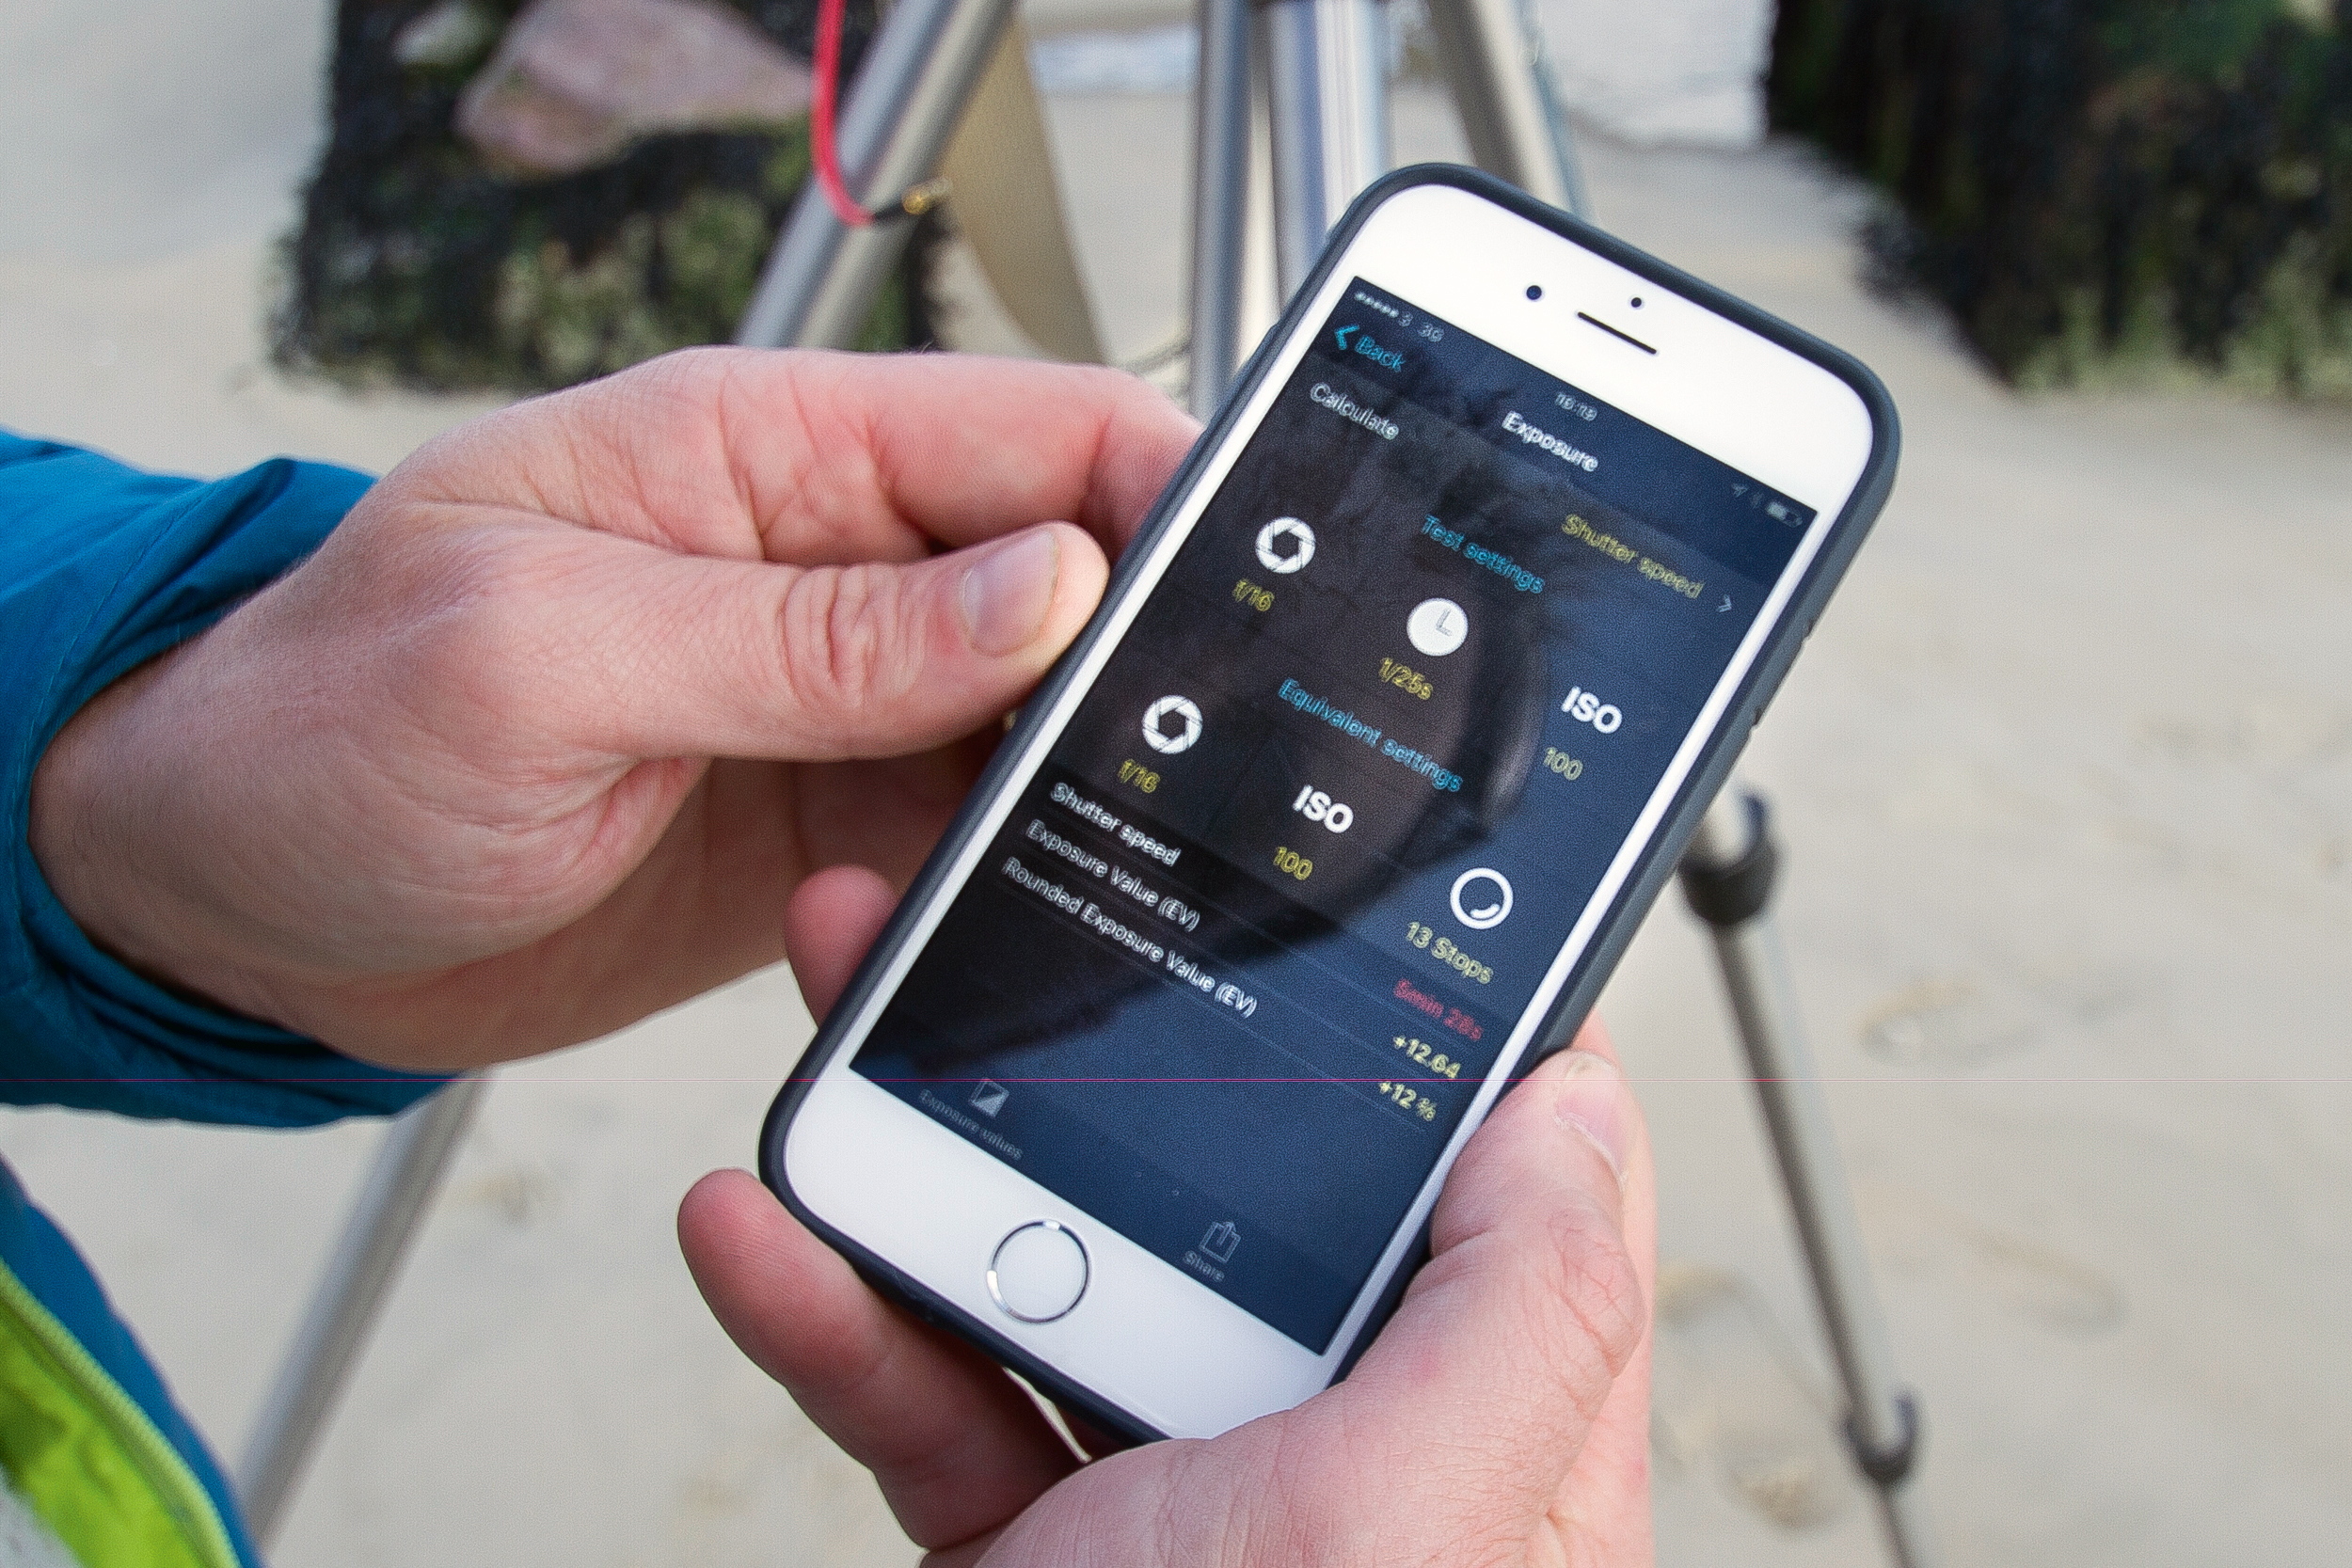
The shutter speed in our test shot here was 1/60 sec, so with the 13-stop ND filter attached we need to double this value 13 times, equalling 2 minutes 17 seconds. There are apps such as PhotoPills that have exposure calculators to work out the exposure time for you.
04 Time the exposure
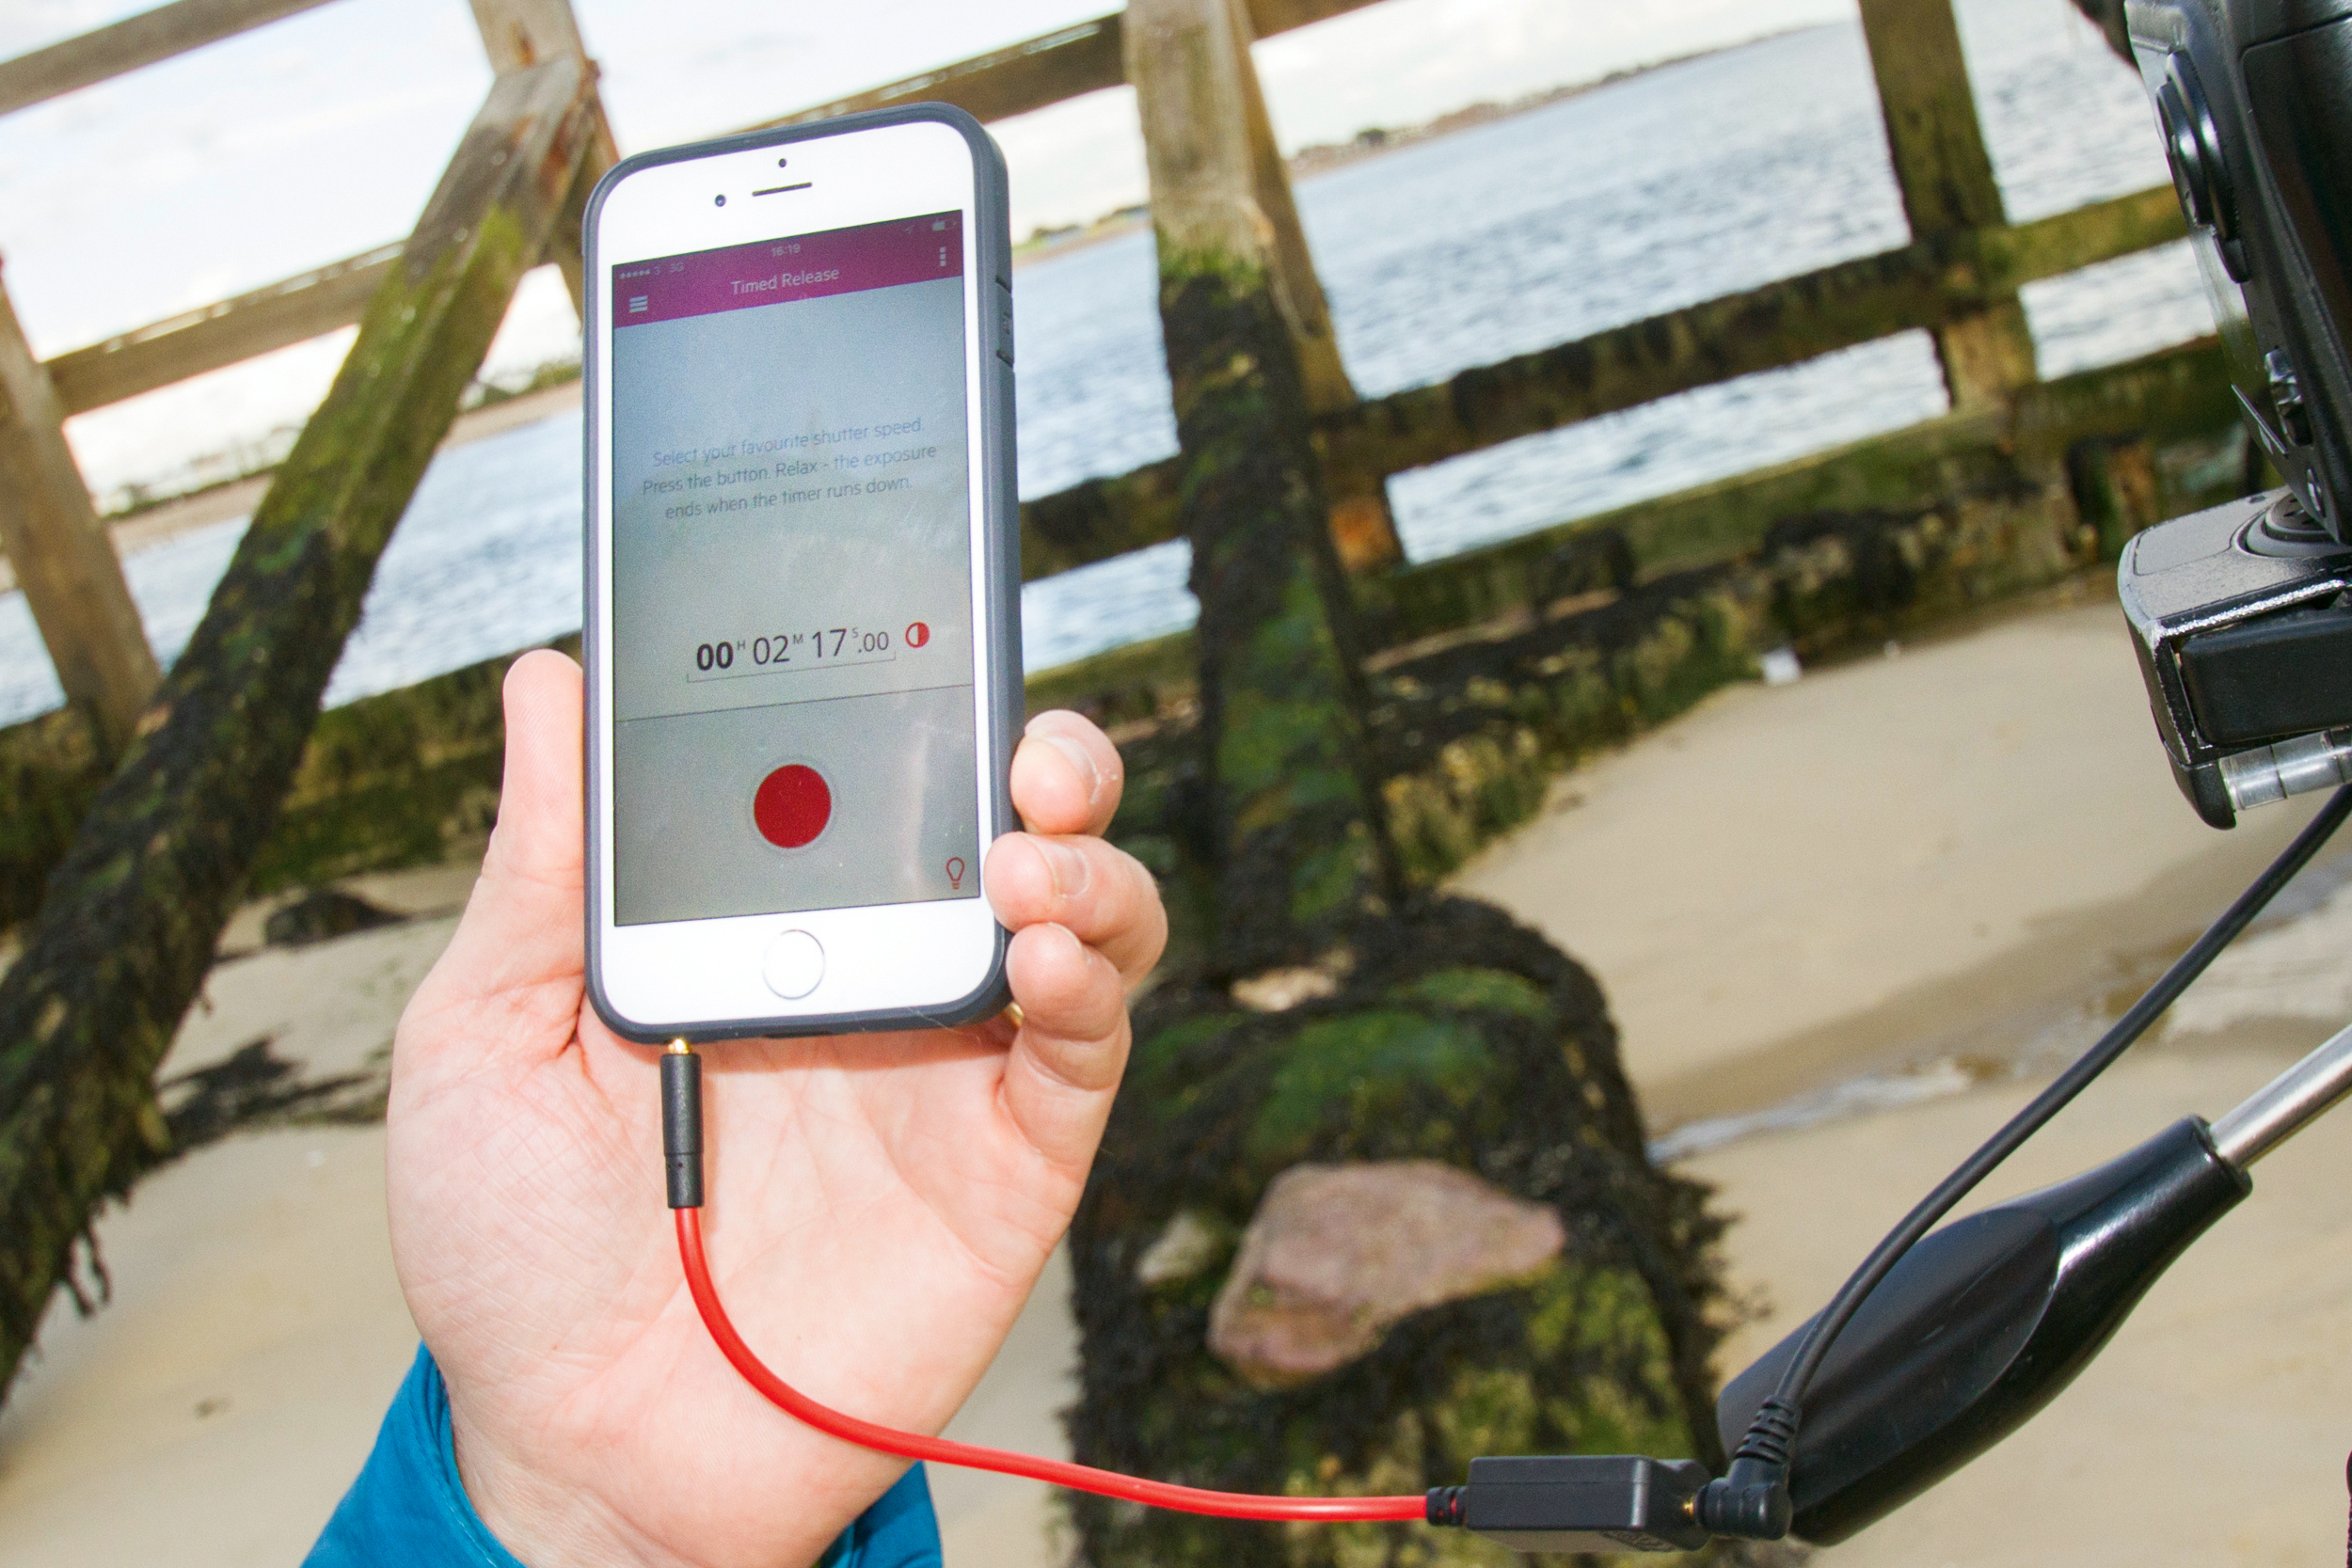
Switch to manual and lower the shutter speed to Bulb, and attach a remote release and lock open the shutter for the required time. Alternatively, if your camera has Wi-Fi, connect to the manufacturer's app on your phone or tablet (such as Canon Camera Connect or Olympus Image Share) to specify the exposure time.
05 Convert to mono
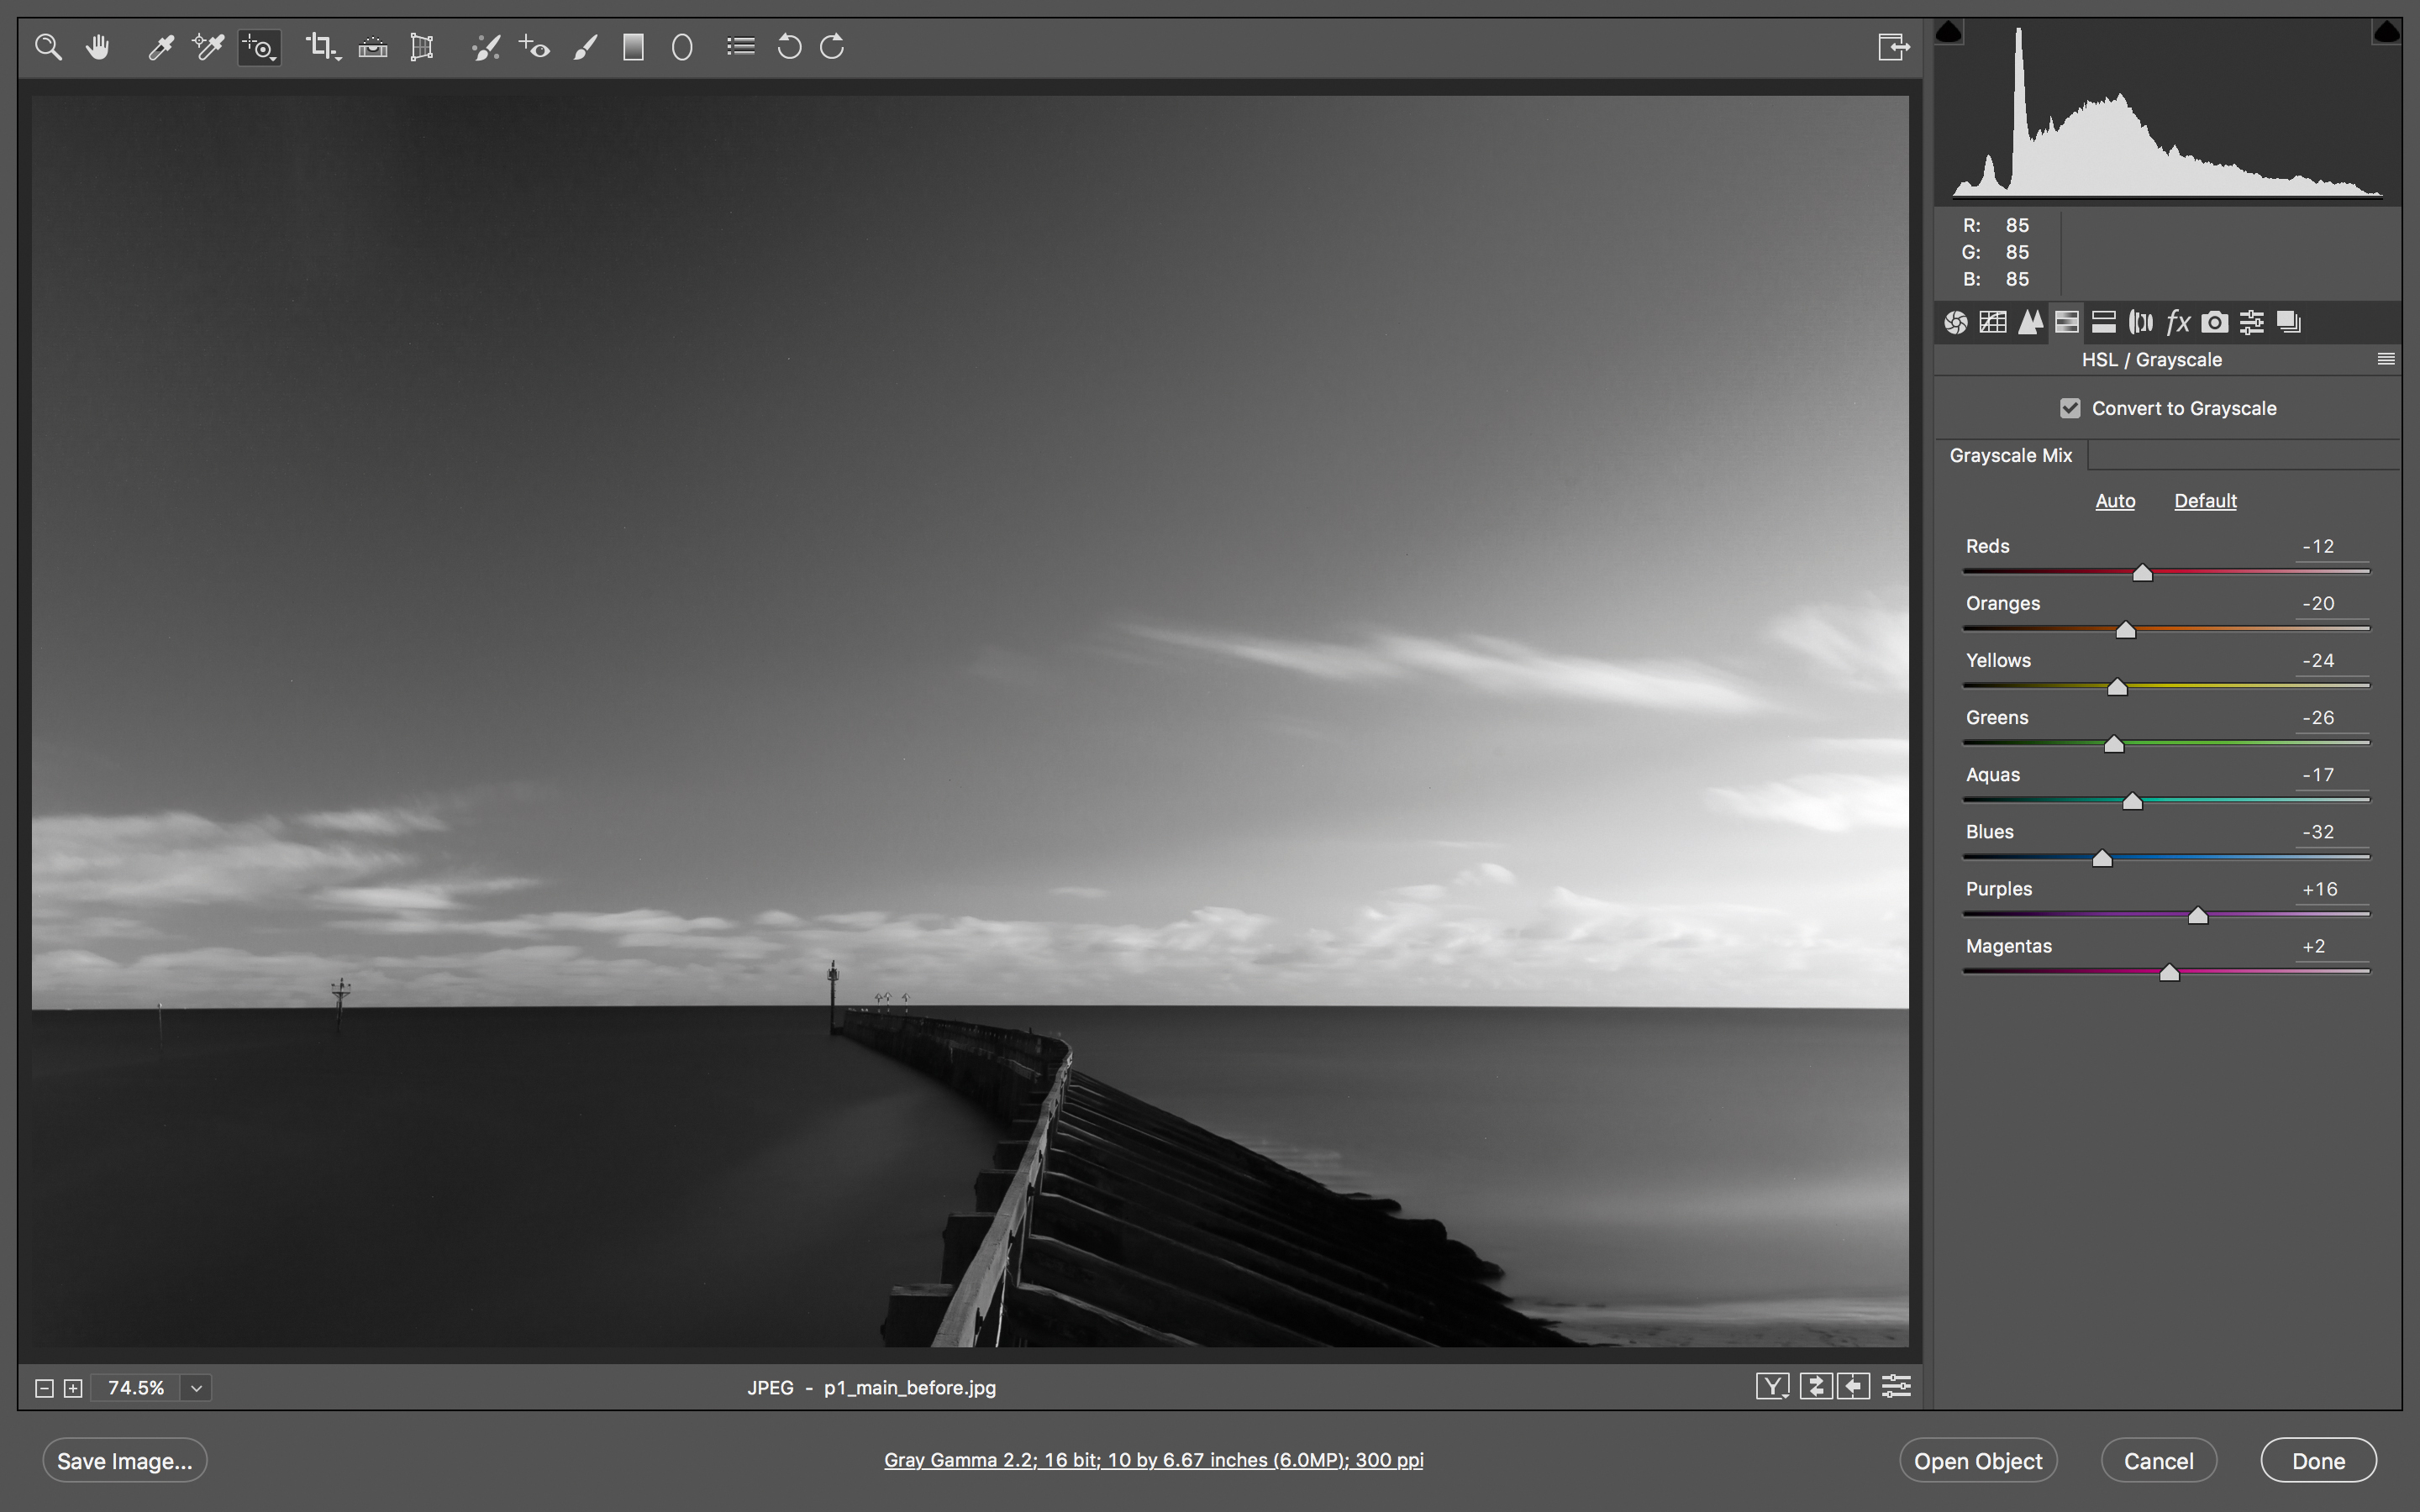
Long exposures often have more noise, so use a noise reduction tool such as Adobe Camera Raw’s Detail panel. Then convert the image to black-and-white and use Camera Raw’s HSL / Grayscale panel to control the brightness of color ranges – here we darkened the blues.
06 Lighten and darken
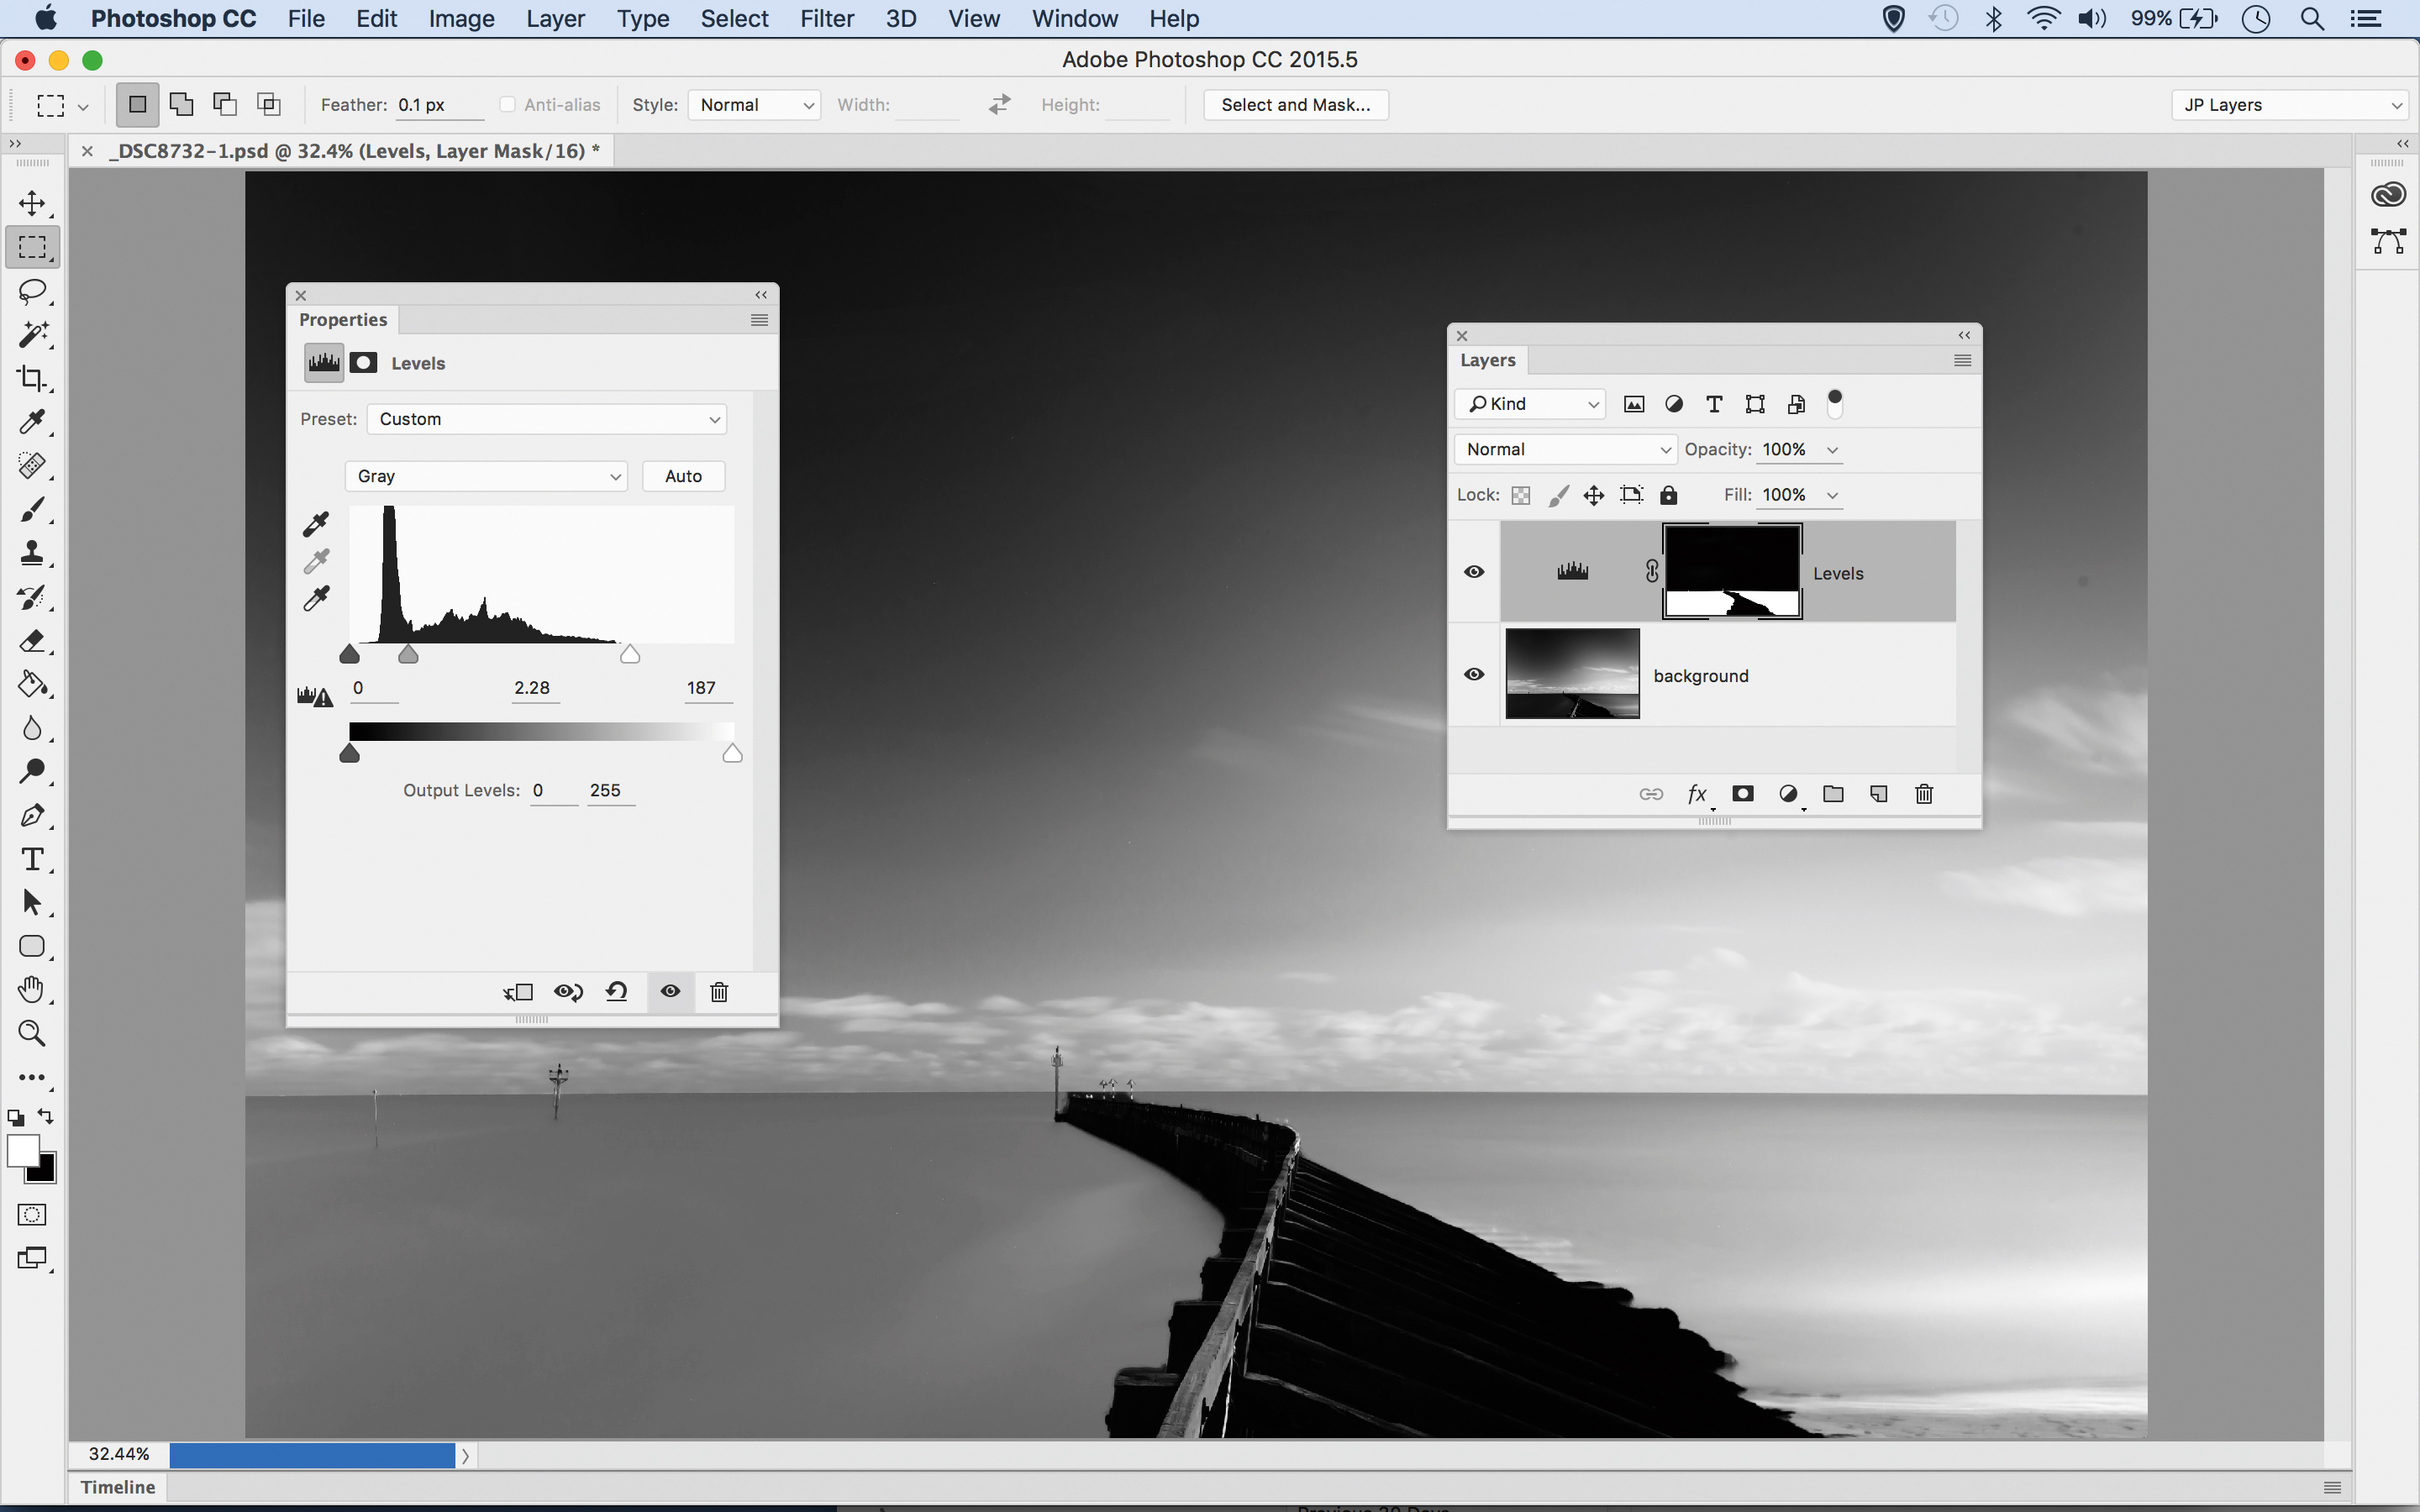
Brightening water and darkening skies often changes the mood of your image. In Photoshop, Shift-click over the sea with the Magic Wand to select it, then add a Levels Adjustment layer and use the sliders to lighten it. Repeat this method to adjust other areas of the image.
N-Photo: The Nikon Magazine is a monthly publication that's entirely dedicated to Nikon users. For the best news, reviews, projects and more, subscribe to N-Photo today!
Read more:
The best neutral density filters: ND filters for longer exposures
10 things you need to know about camera filters
The best tripod for photographers: get sharper shots in any conditions
The lead technique writer on Digital Camera Magazine, PhotoPlus: The Canon Magazine and N-Photo: The Nikon Magazine, James is a fantastic general practice photographer with an enviable array of skills across every genre of photography.
Whether it's flash photography techniques like stroboscopic portraits, astrophotography projects like photographing the Northern Lights, or turning sound into art by making paint dance on a set of speakers, James' tutorials and projects are as creative as they are enjoyable.
He's also a wizard at the dark arts of Photoshop, Lightroom and Affinity Photo, and is capable of some genuine black magic in the digital darkroom, making him one of the leading authorities on photo editing software and techniques.
