Home photography ideas: Pool portraits
Dive into underwater photography and take great swimming pool shots on a budget, in the back yard
The best camera deals, reviews, product advice, and unmissable photography news, direct to your inbox!
You are now subscribed
Your newsletter sign-up was successful
Watch video: Home photography ideas – Pool portraits
Photography projects at home
• Home photography ideas
Useful home photography kit
• Best tripods
• Best lighting kits
• Best reflectors
• Best macro lenses
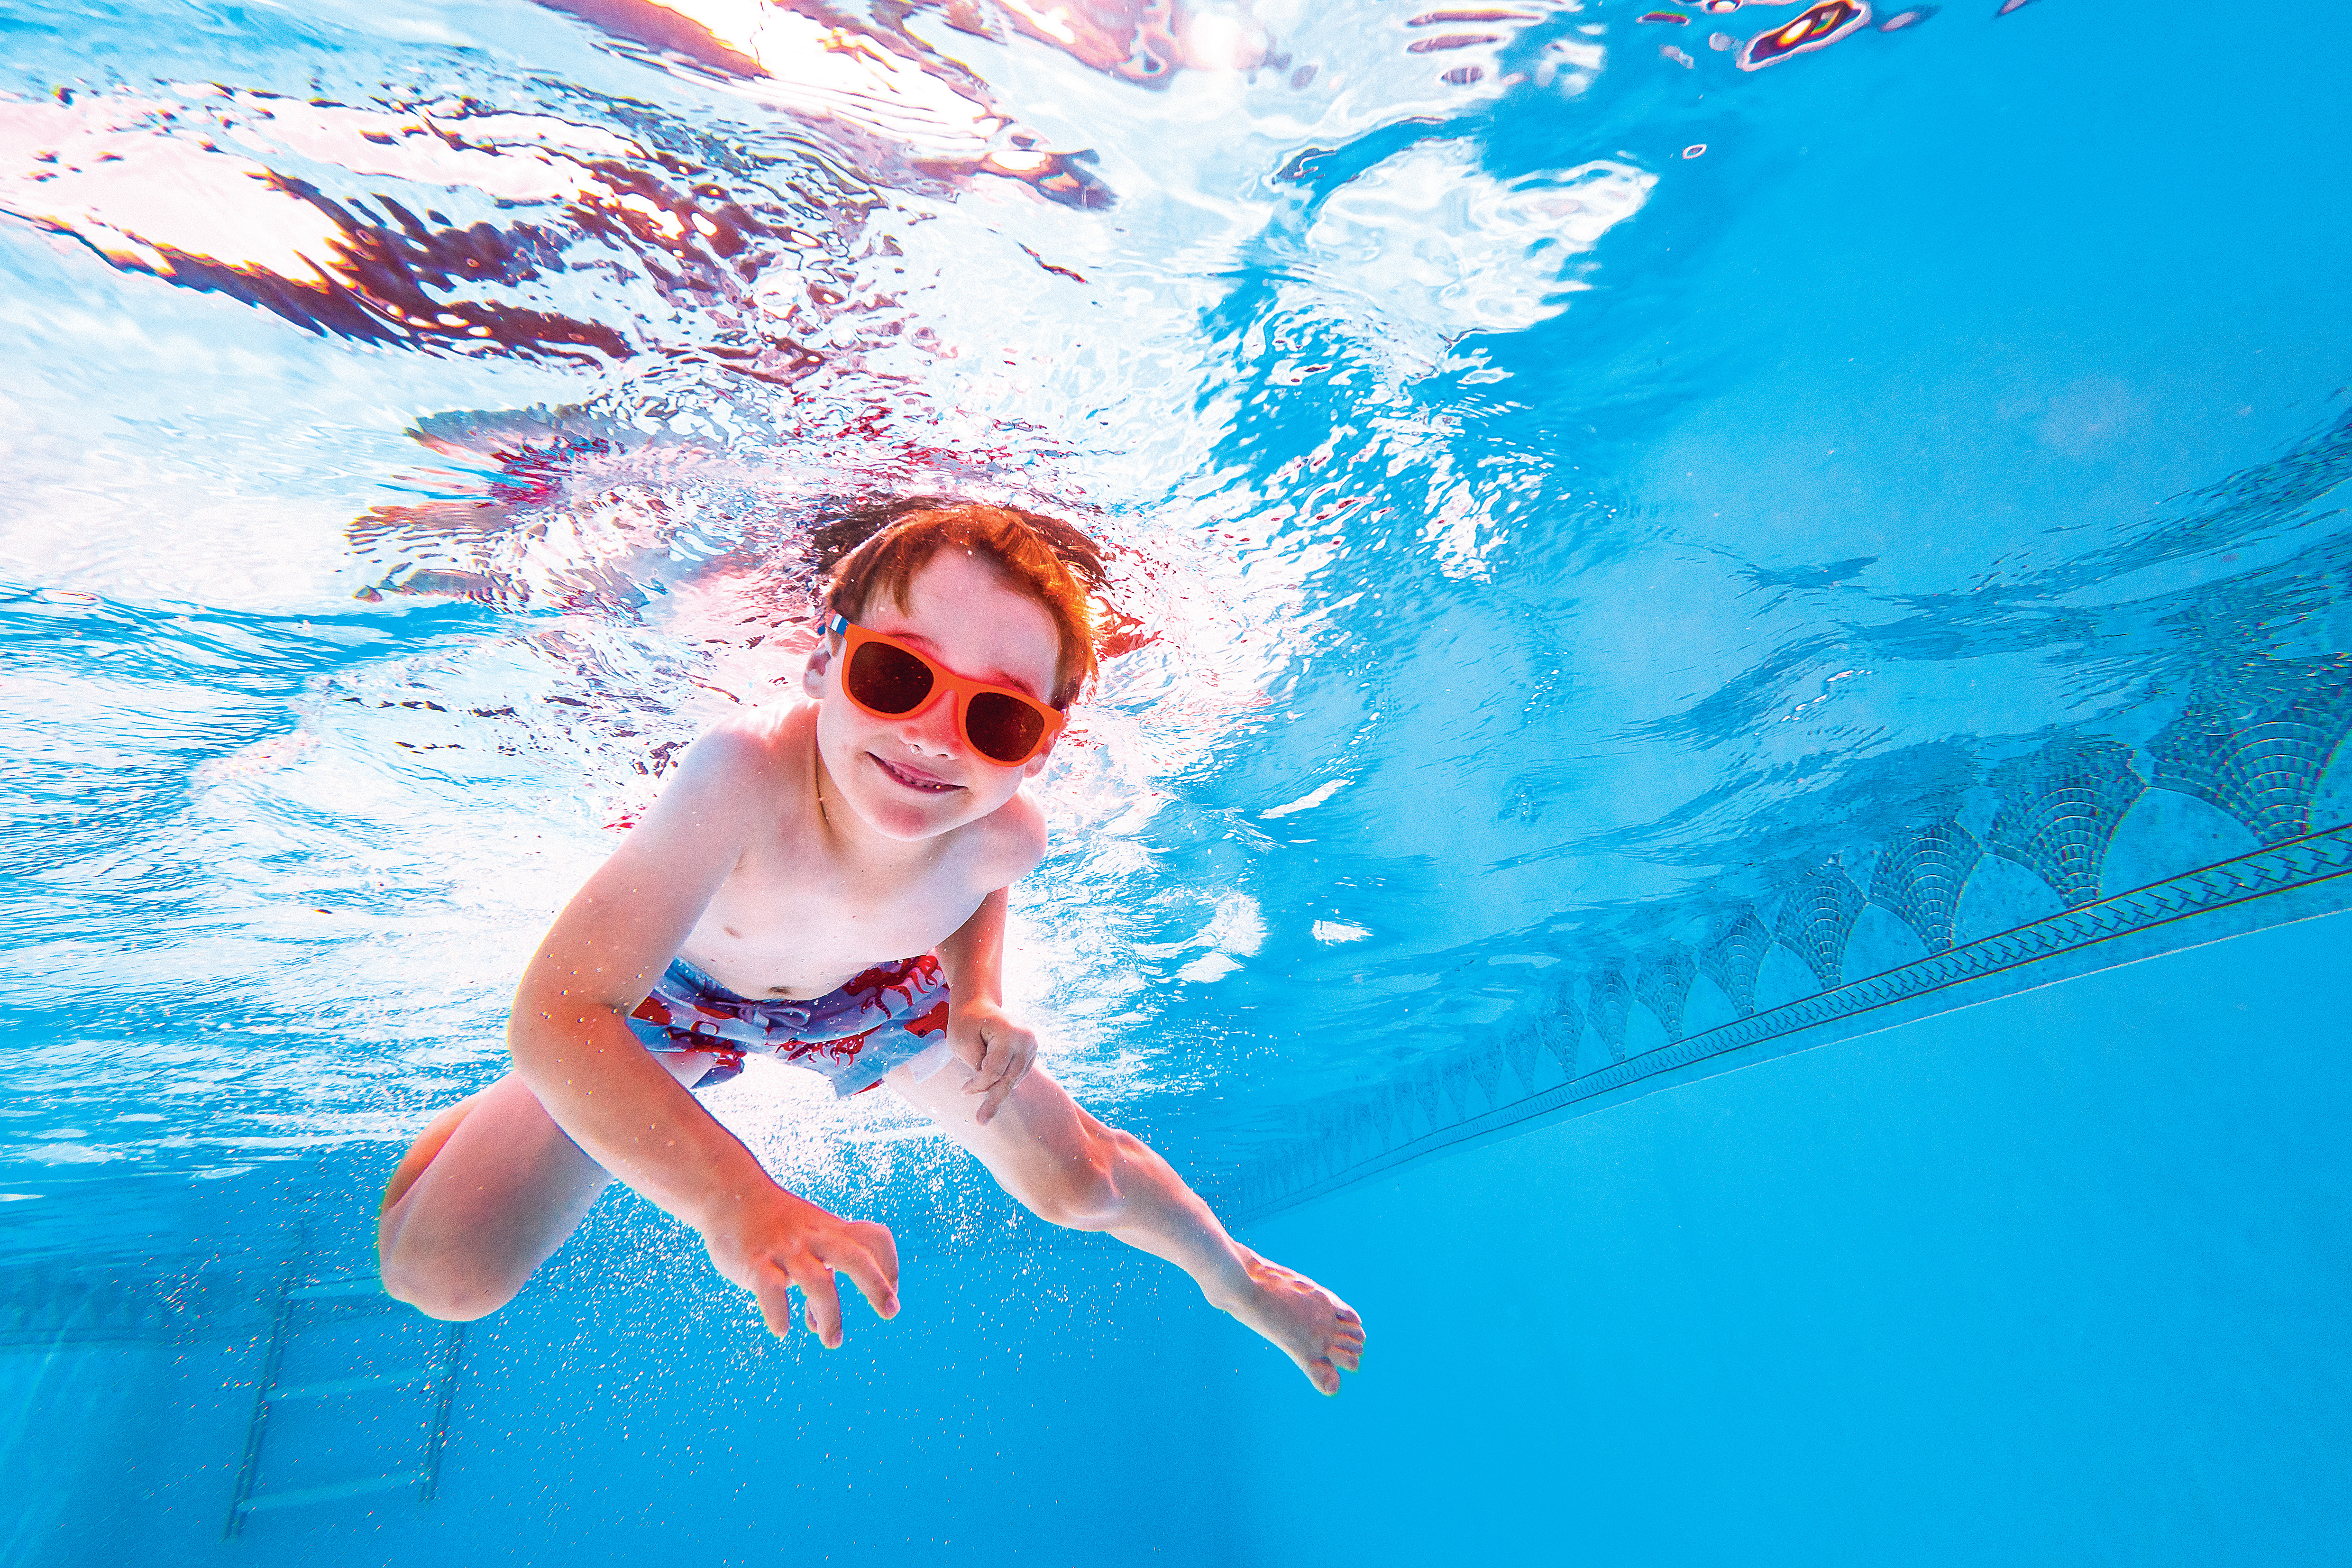
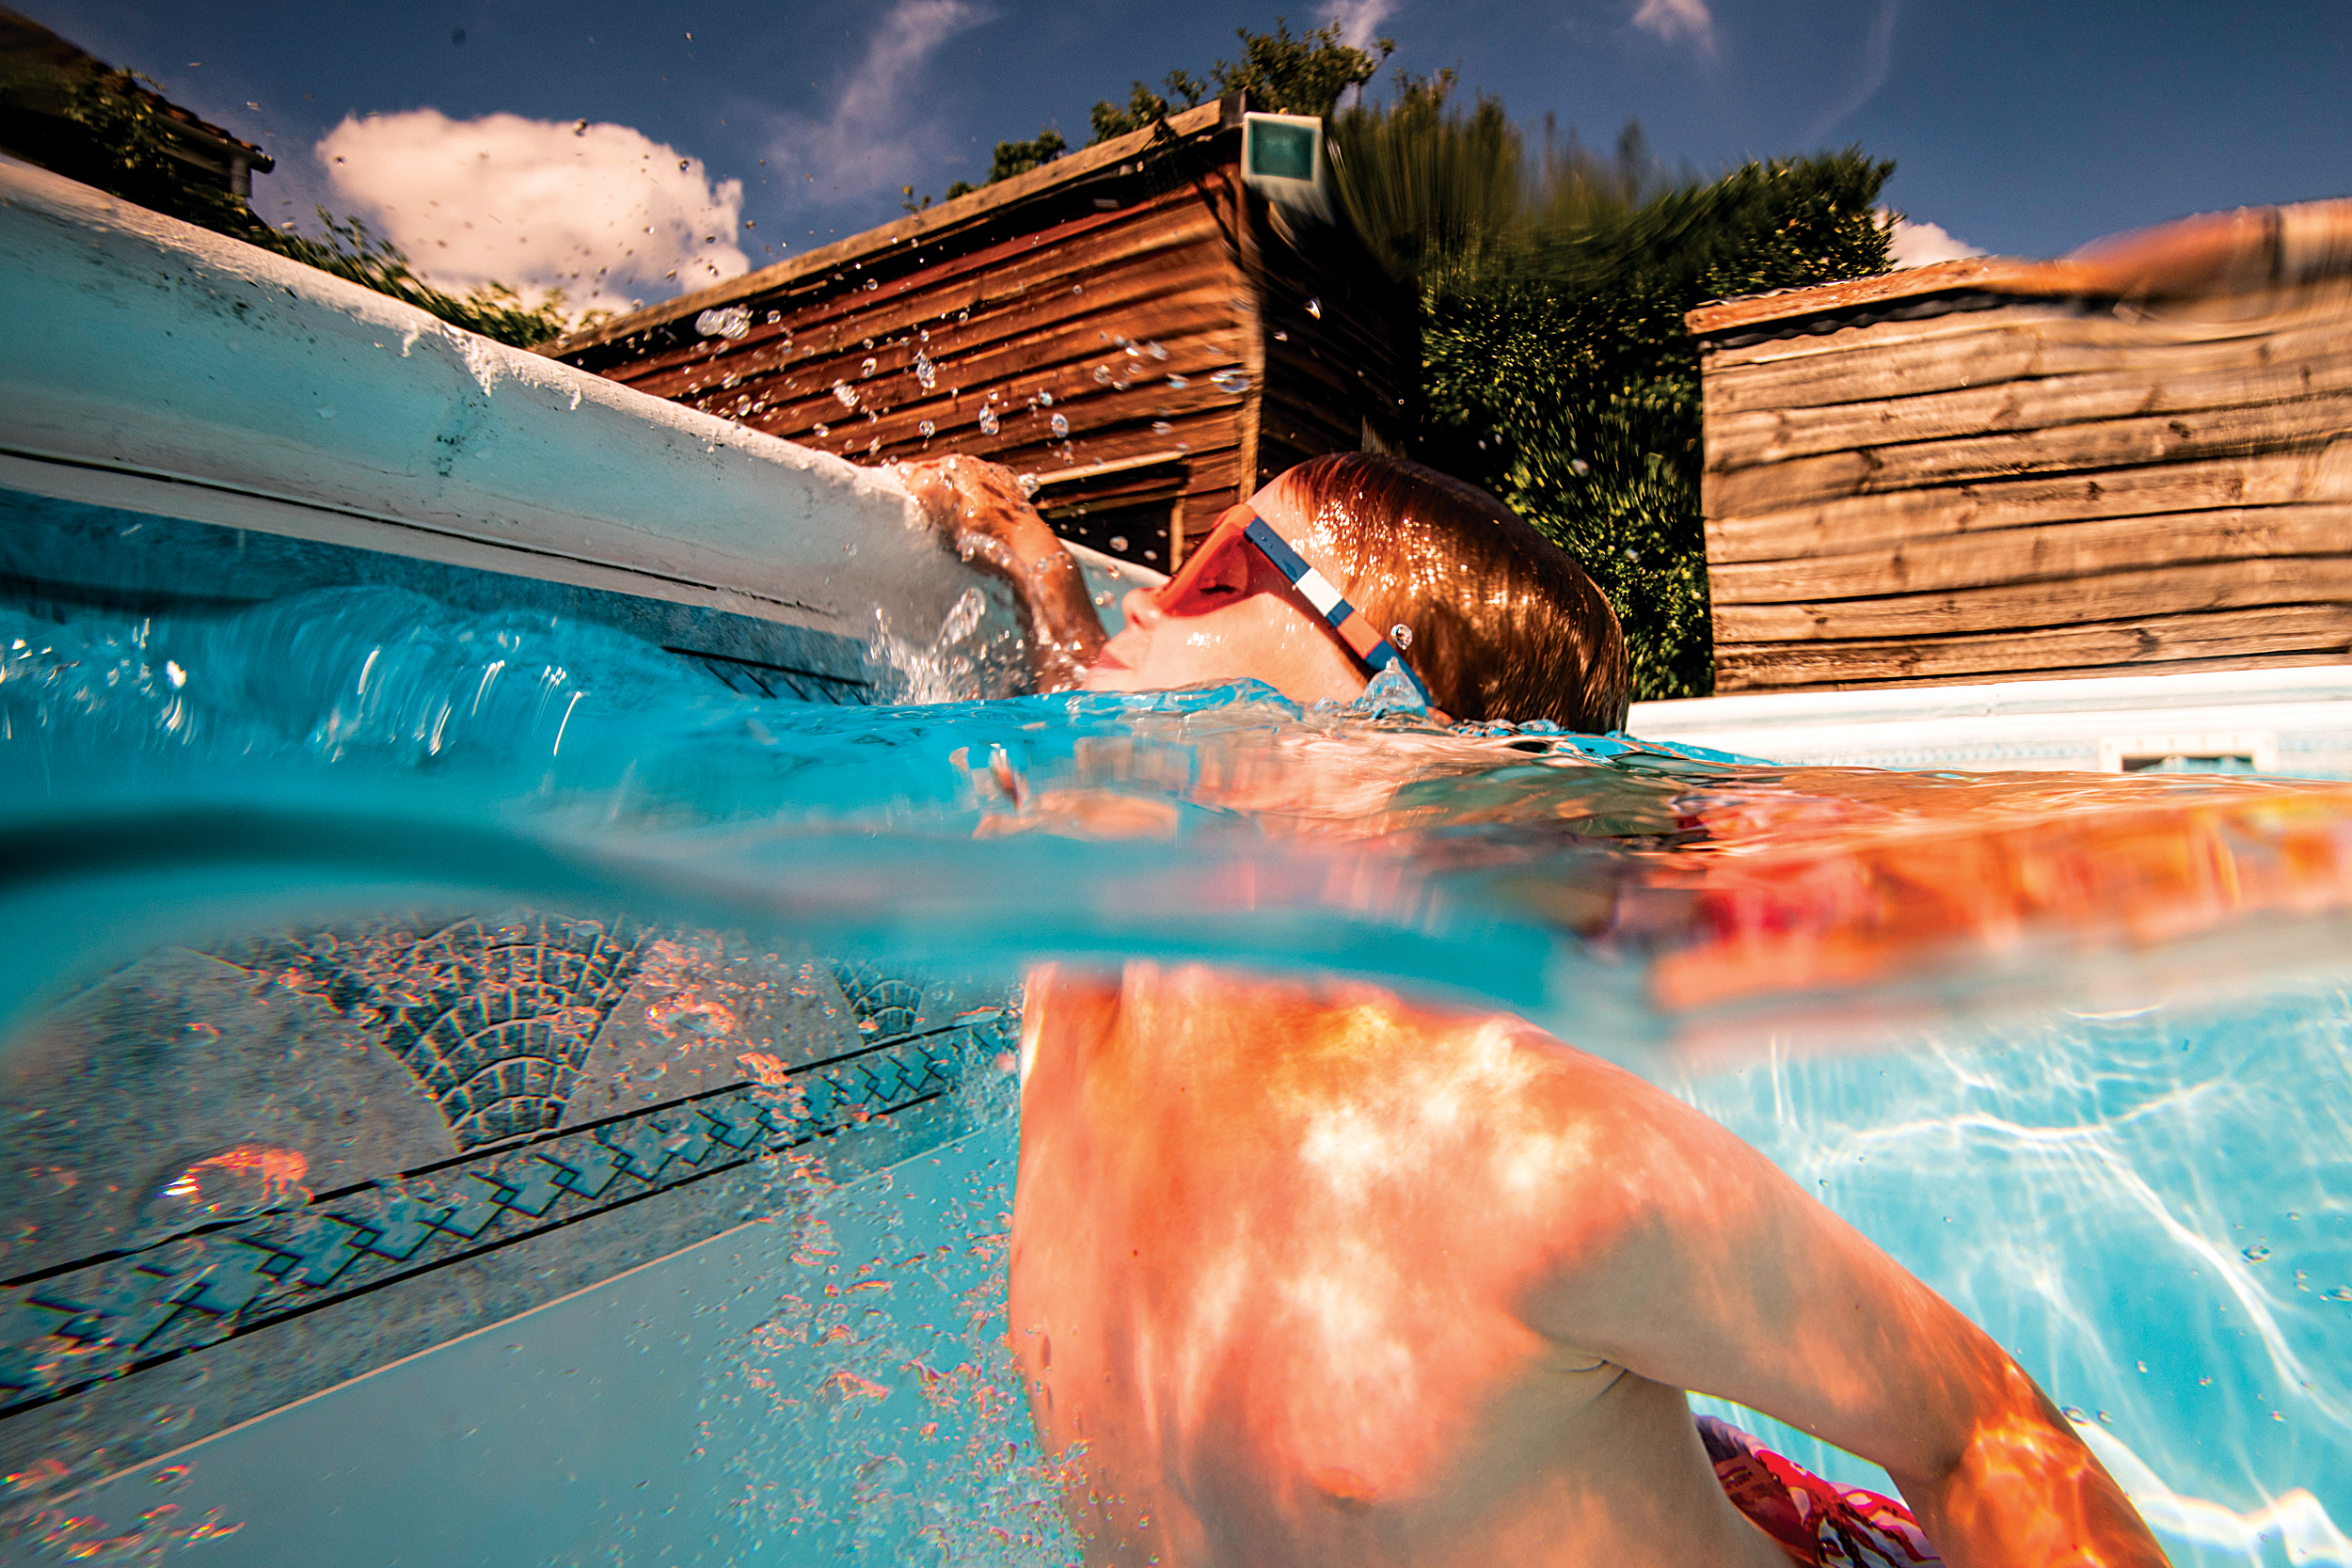
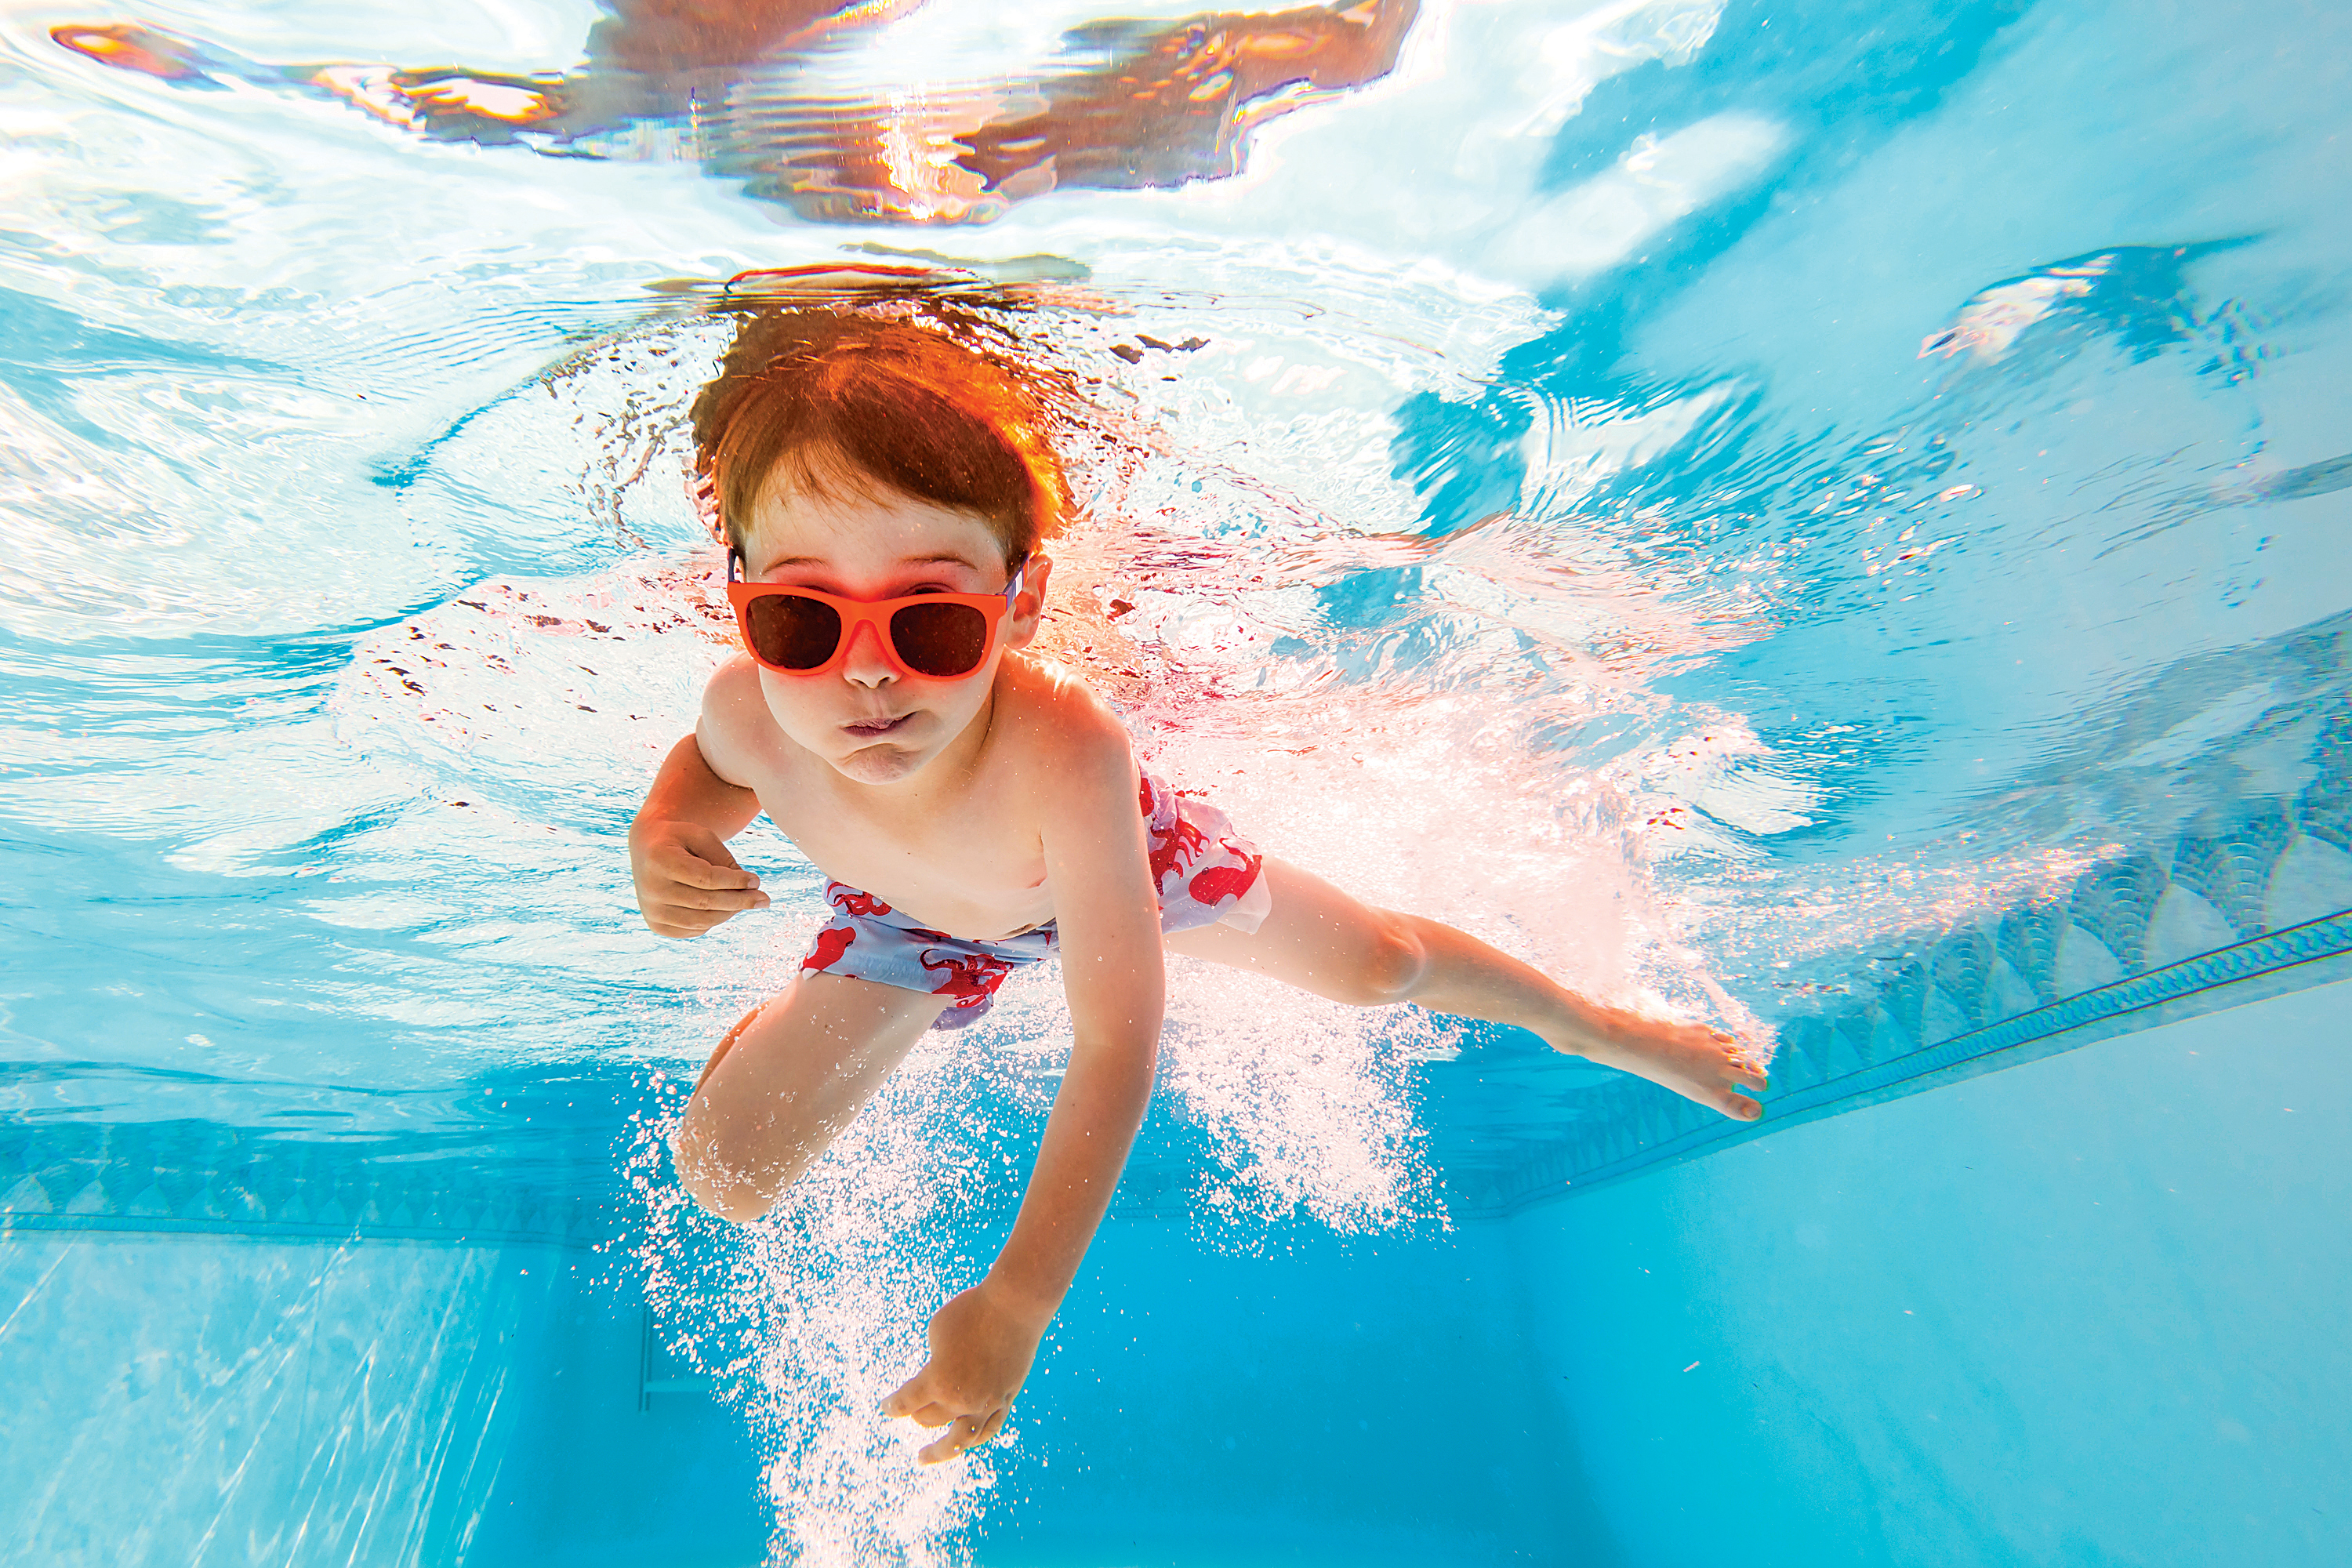
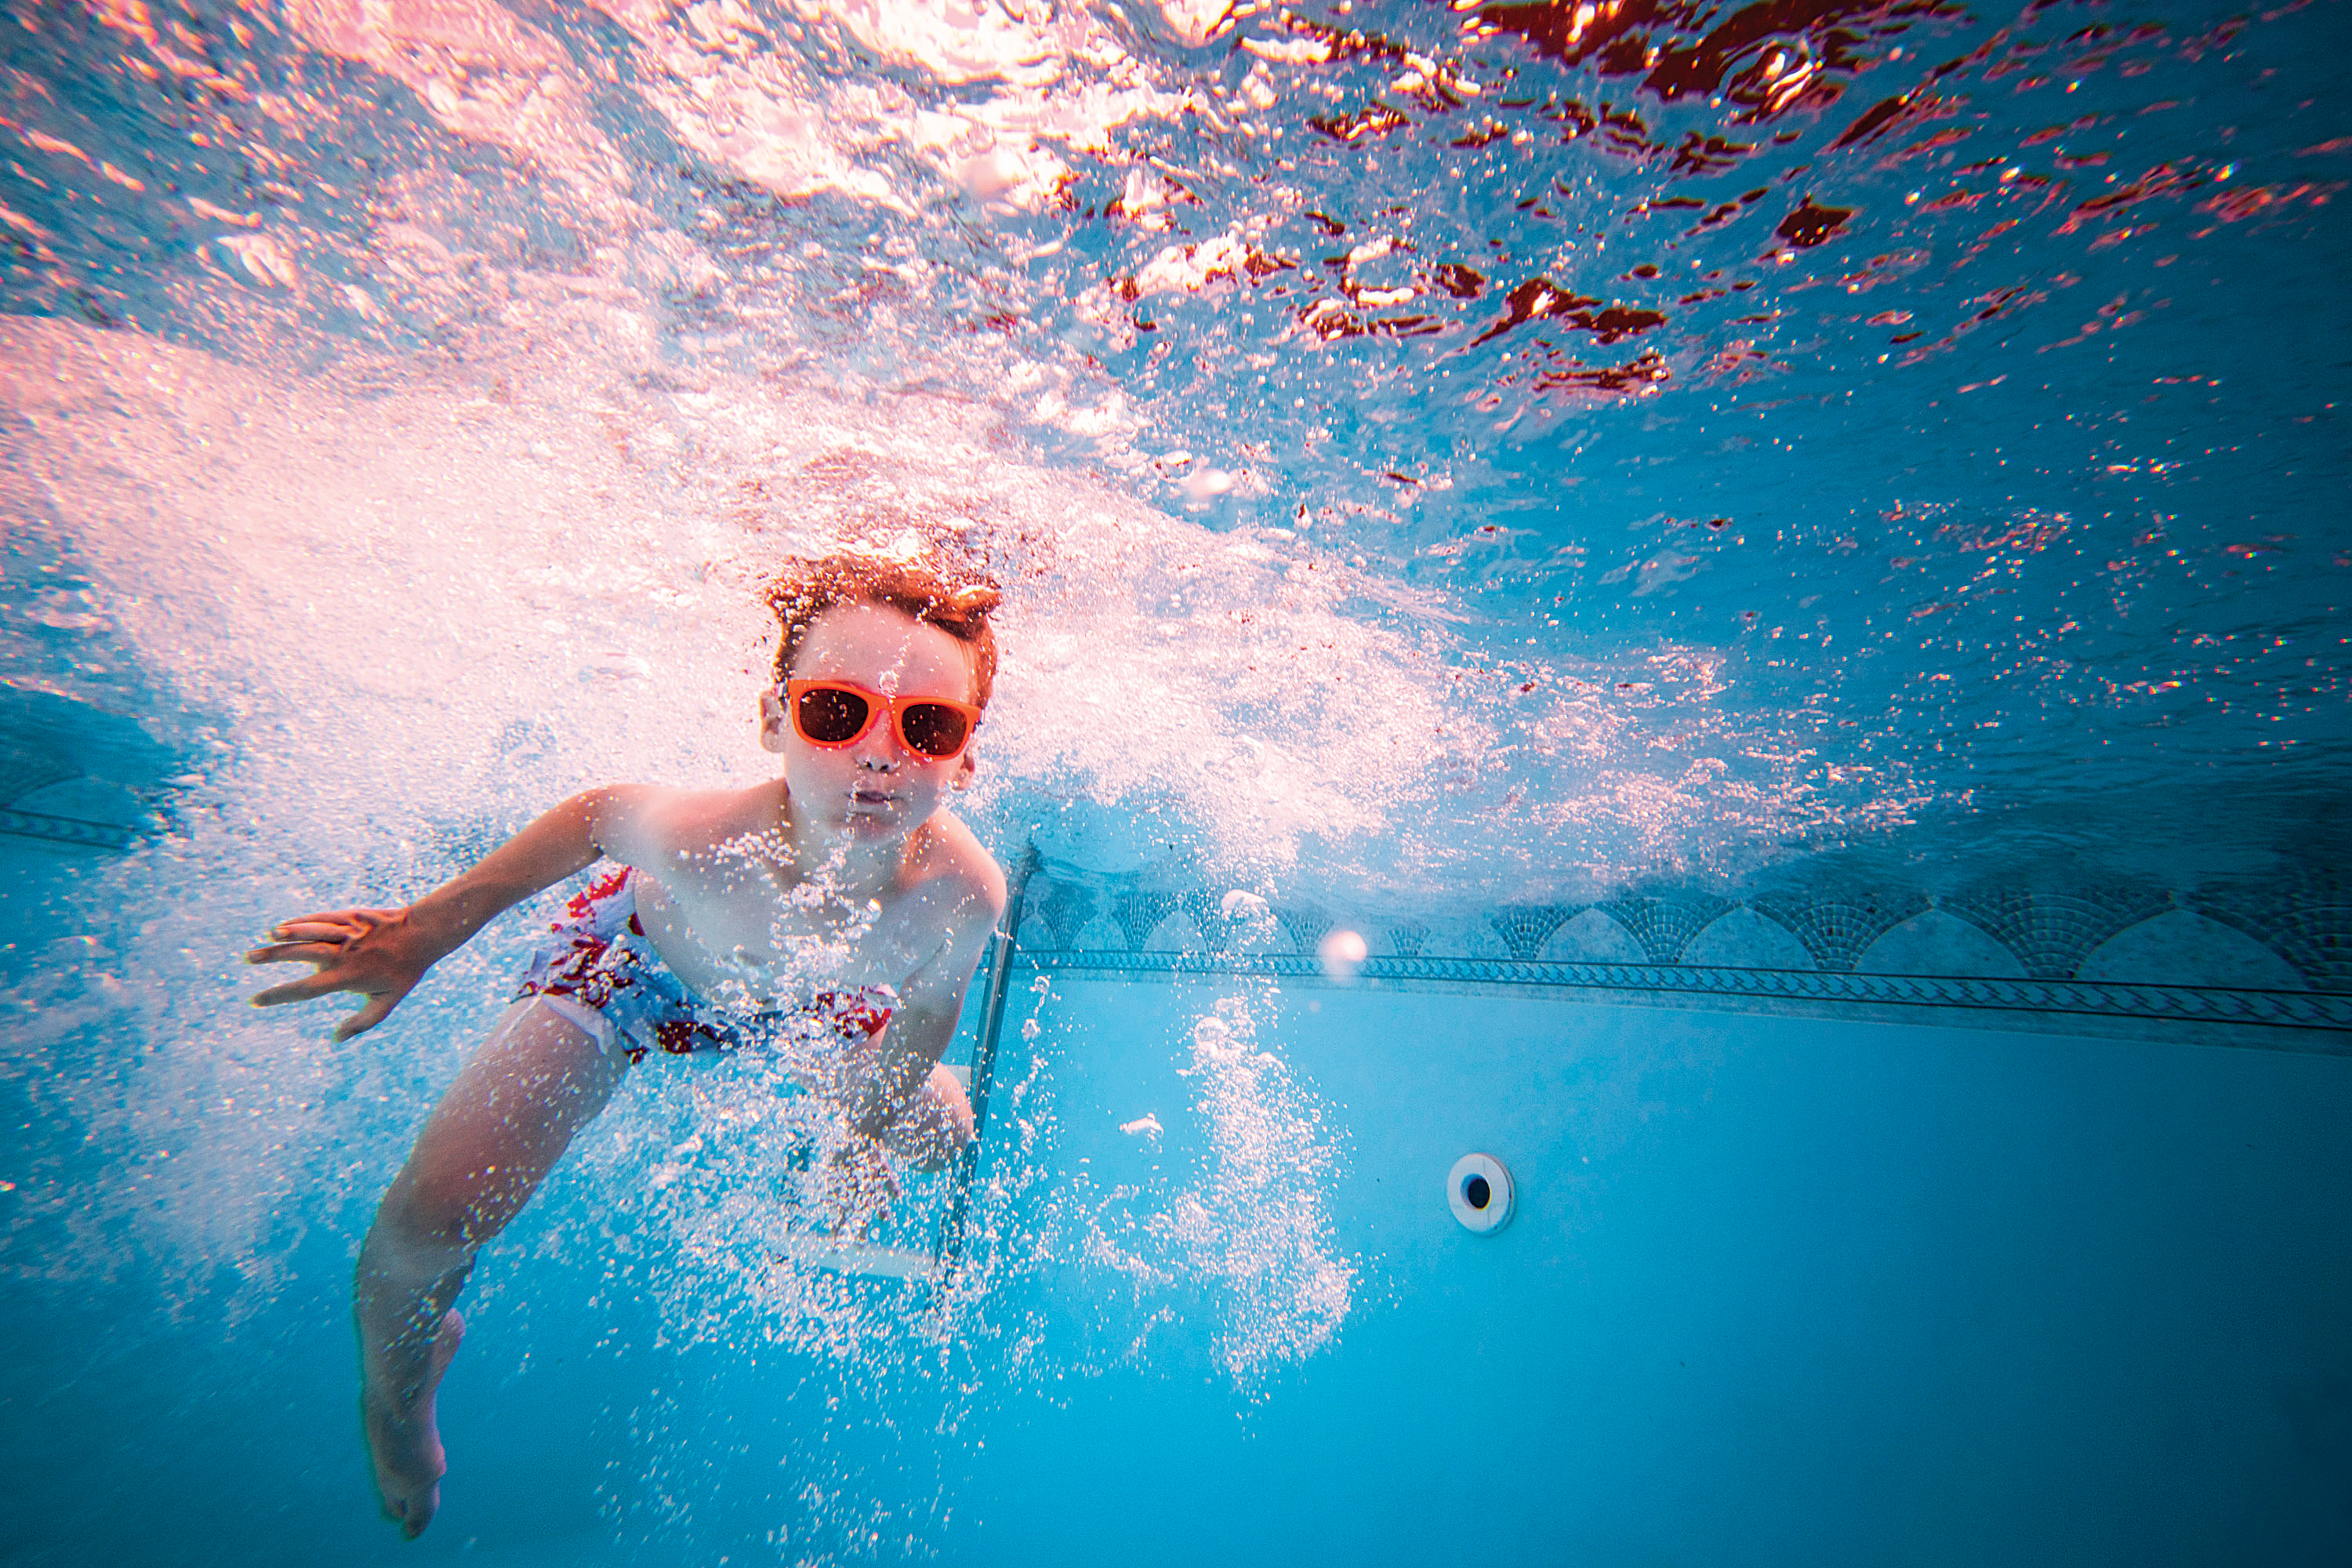
The best child portraits usually occur when the kids are doing something they enjoy, rather than just being told to pose. Most kids love being in the water, so the swimming pool is a great place to get out your camera!
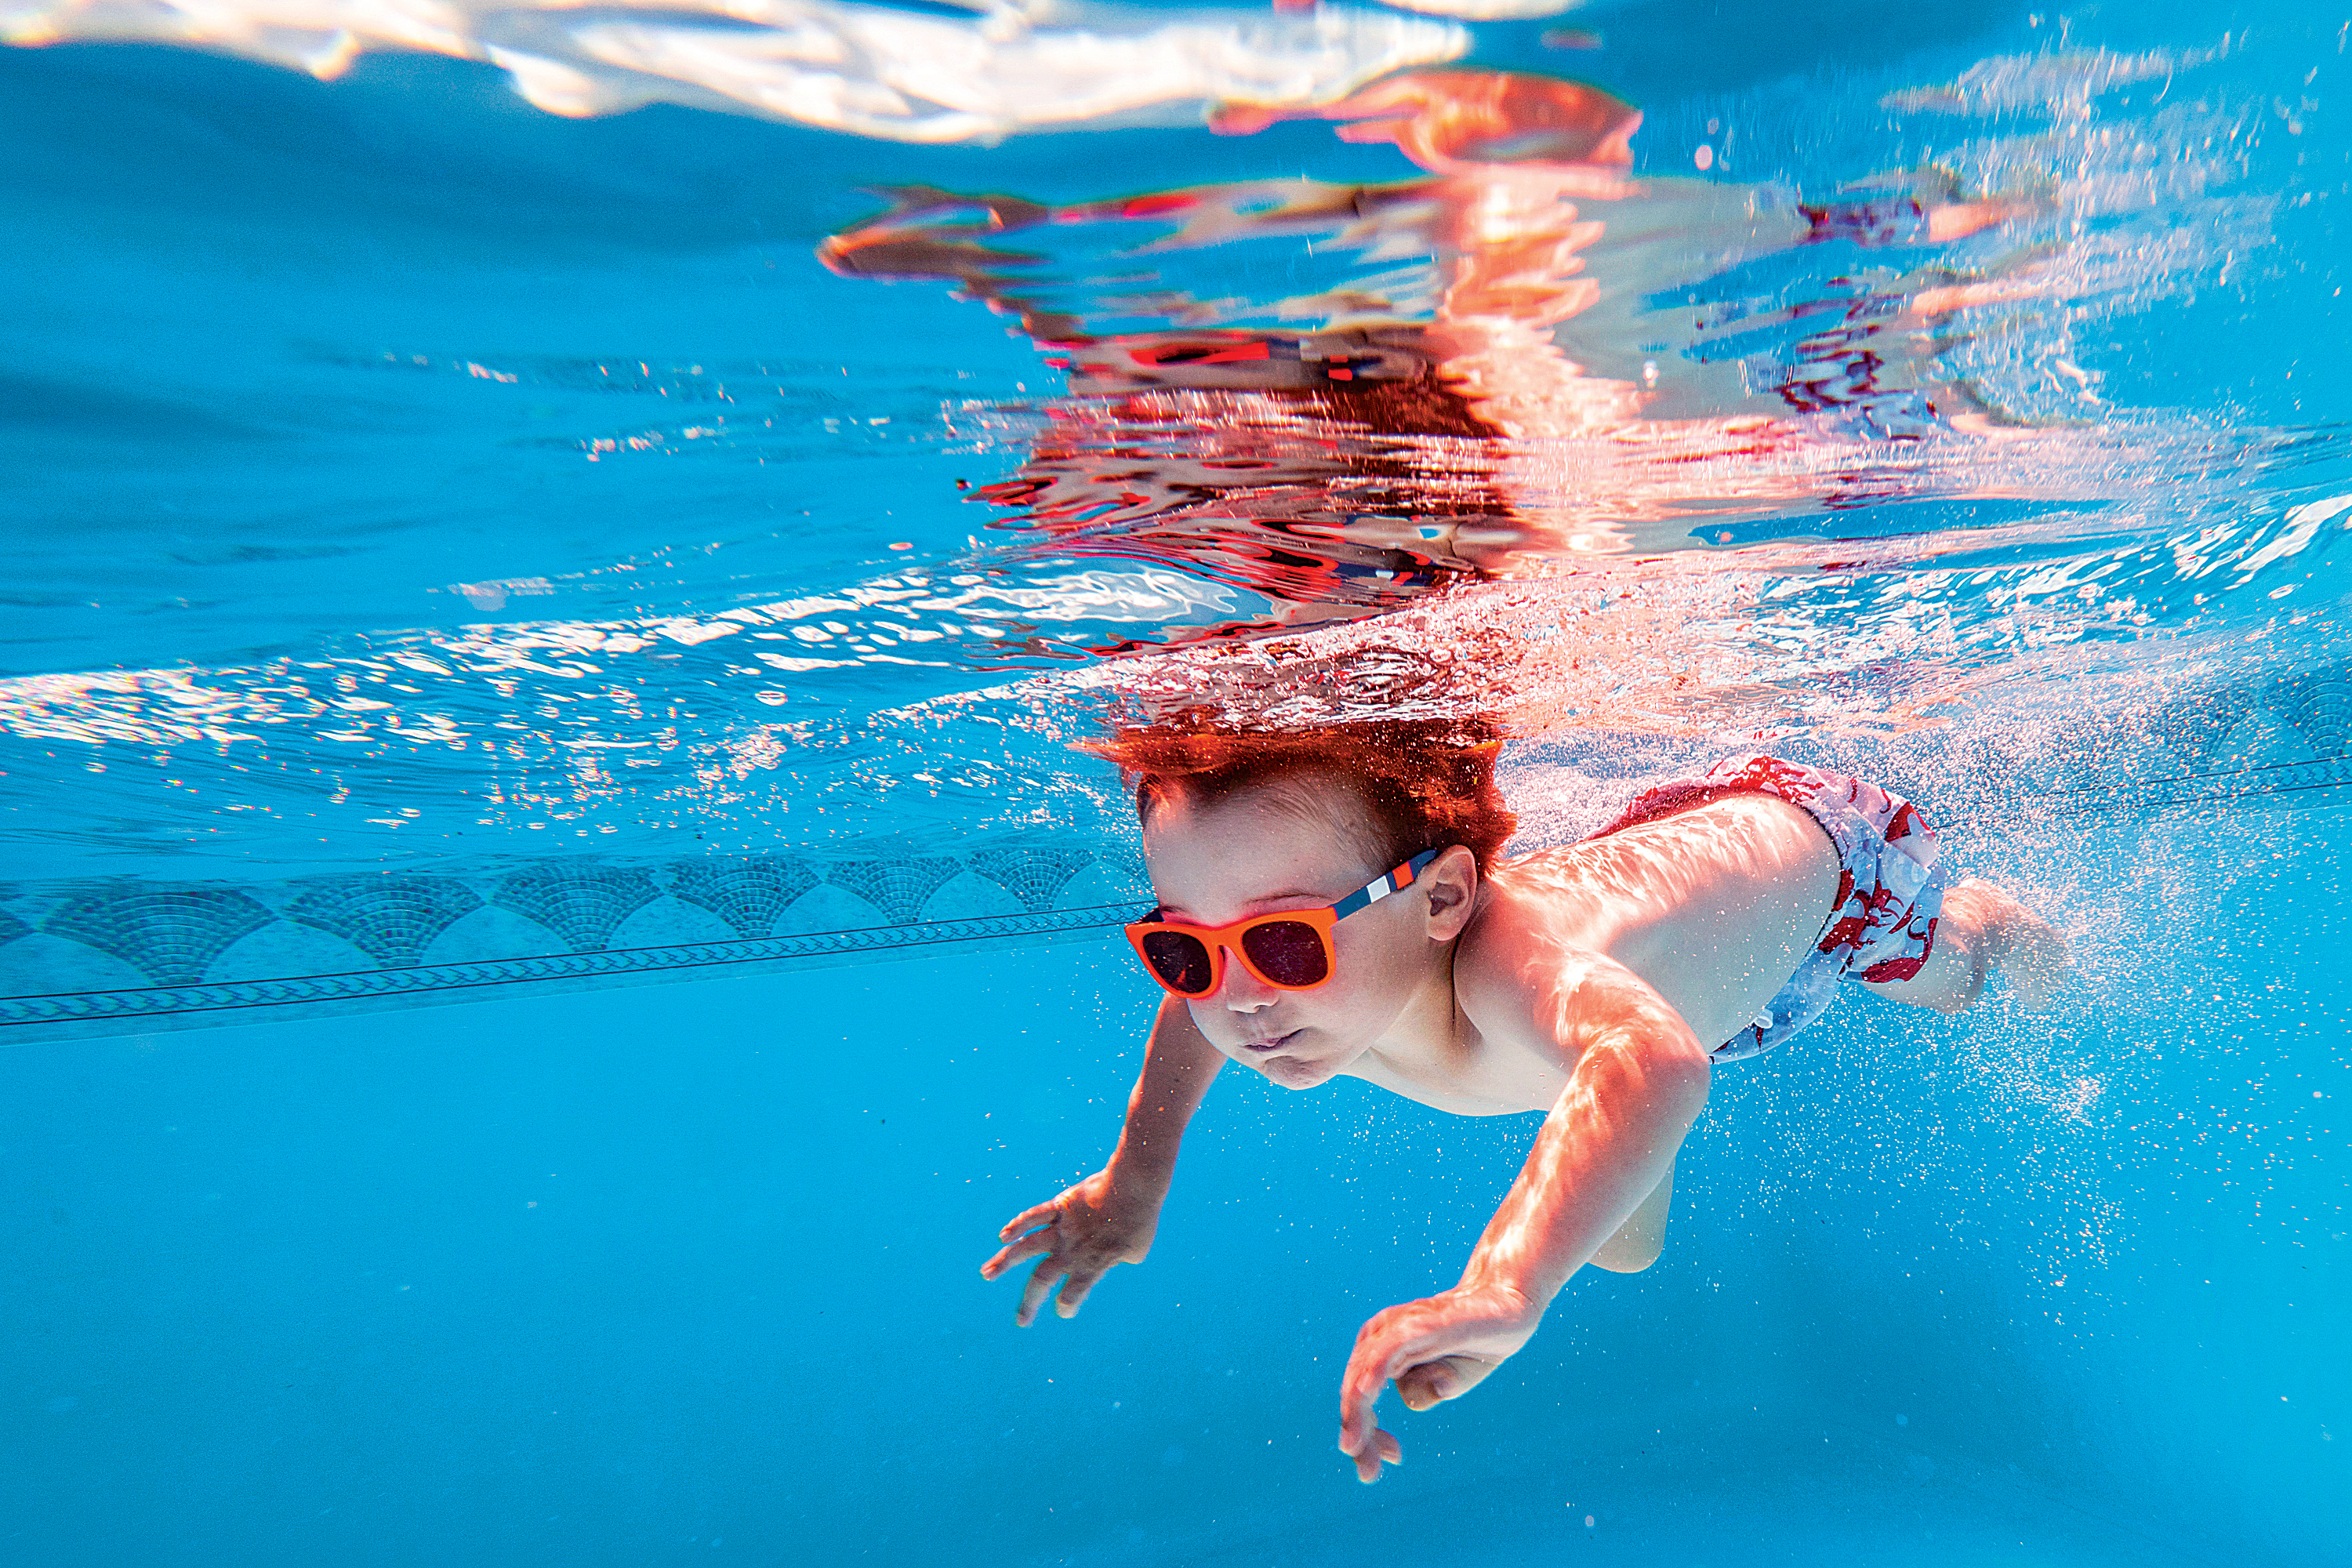
Underwater scenes can be wonderfully vibrant, with rich blue tones, shimmering bubbles and eye-catching reflections on the surface, and then there are the dynamic poses – all made possible by the water.
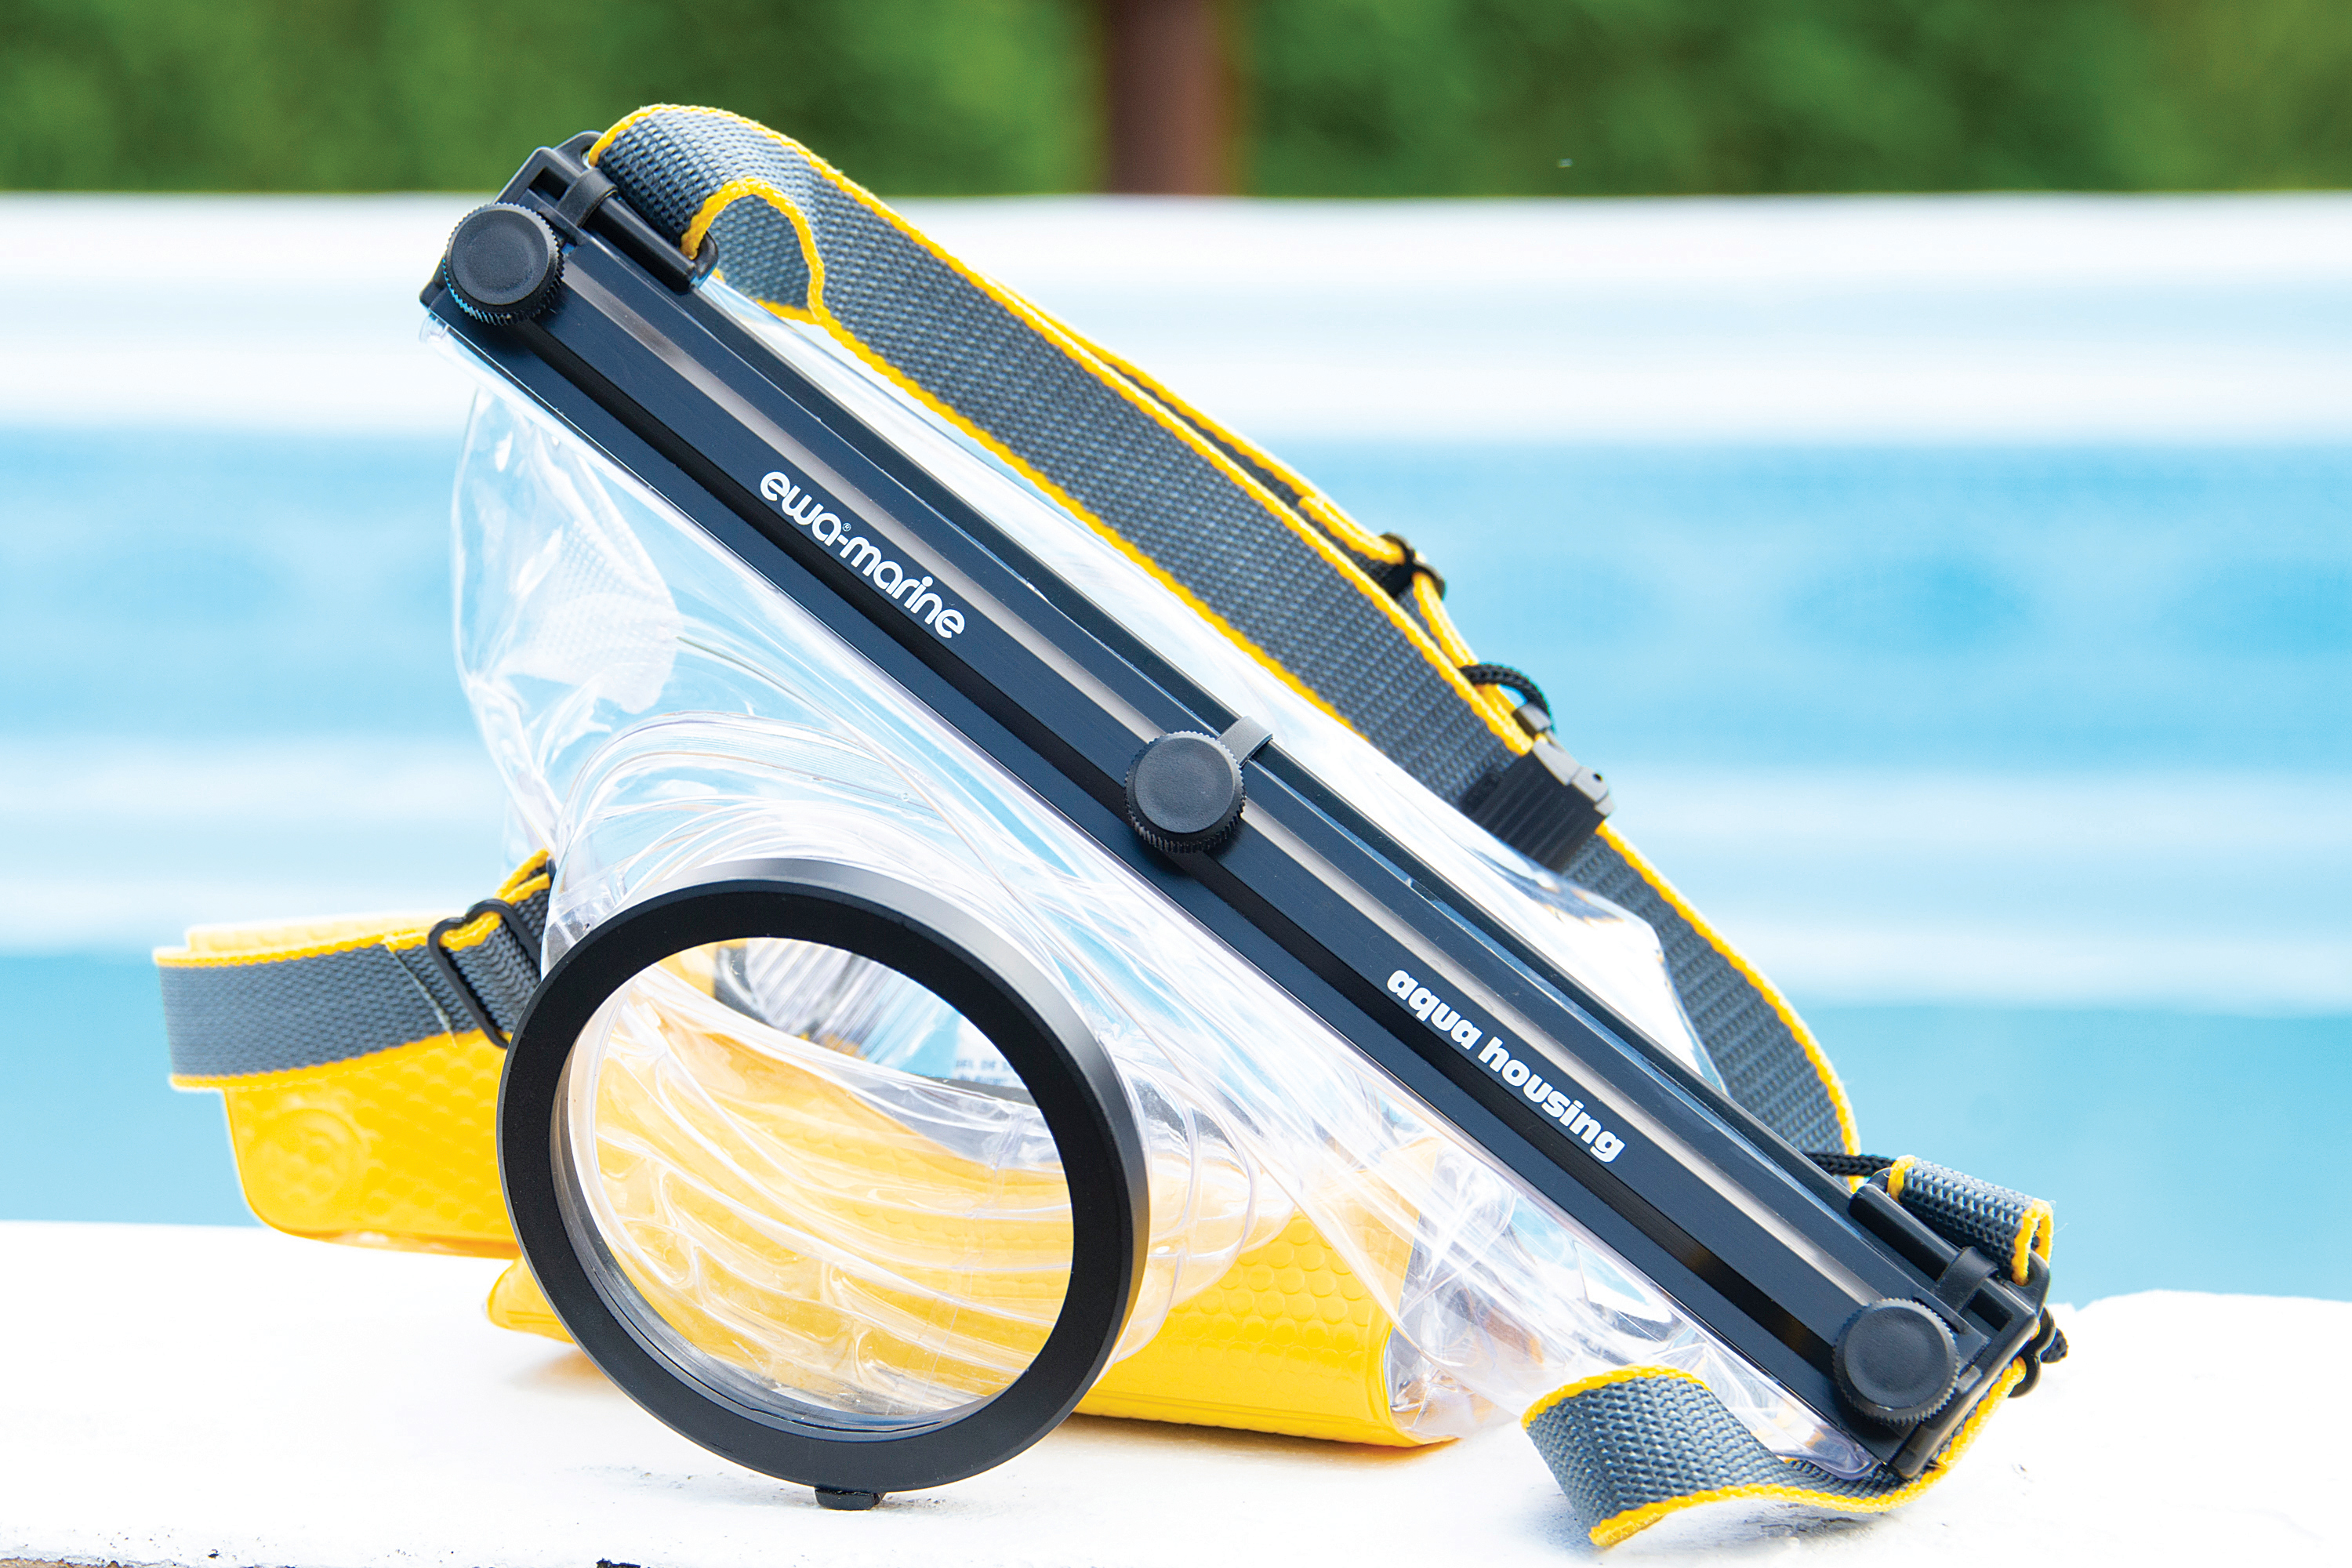
The pool, however, can obviously be a perilous place for cameras – so we need one of the best underwater housings for cameras you can afford. Many might think that underwater photography with a camera involves using expensive hard cases, but you can get great results with cheaper options – like a soft waterproof bag made by Ewa-Marine. The camera is sealed in the bag, and controlled through the material.
• Get more photoshoot ideas
There are lots of other options for underwater photography, from the best waterproof cameras to the best underwater drones, and even the best GoPros and action cameras.
However, with a pure DSLR or mirrorless camera we you can achiever better image quality, faster focusing and increased low light performance. You can also set up your camera to capture the action with the right exposure settings, focus options and focal length.
The best camera deals, reviews, product advice, and unmissable photography news, direct to your inbox!
So, with a few inexpensive items and some simple techniques we’ll show you how to capture vivid portraits of your kids underwater…
• Best online photography courses
Portraits in the pool
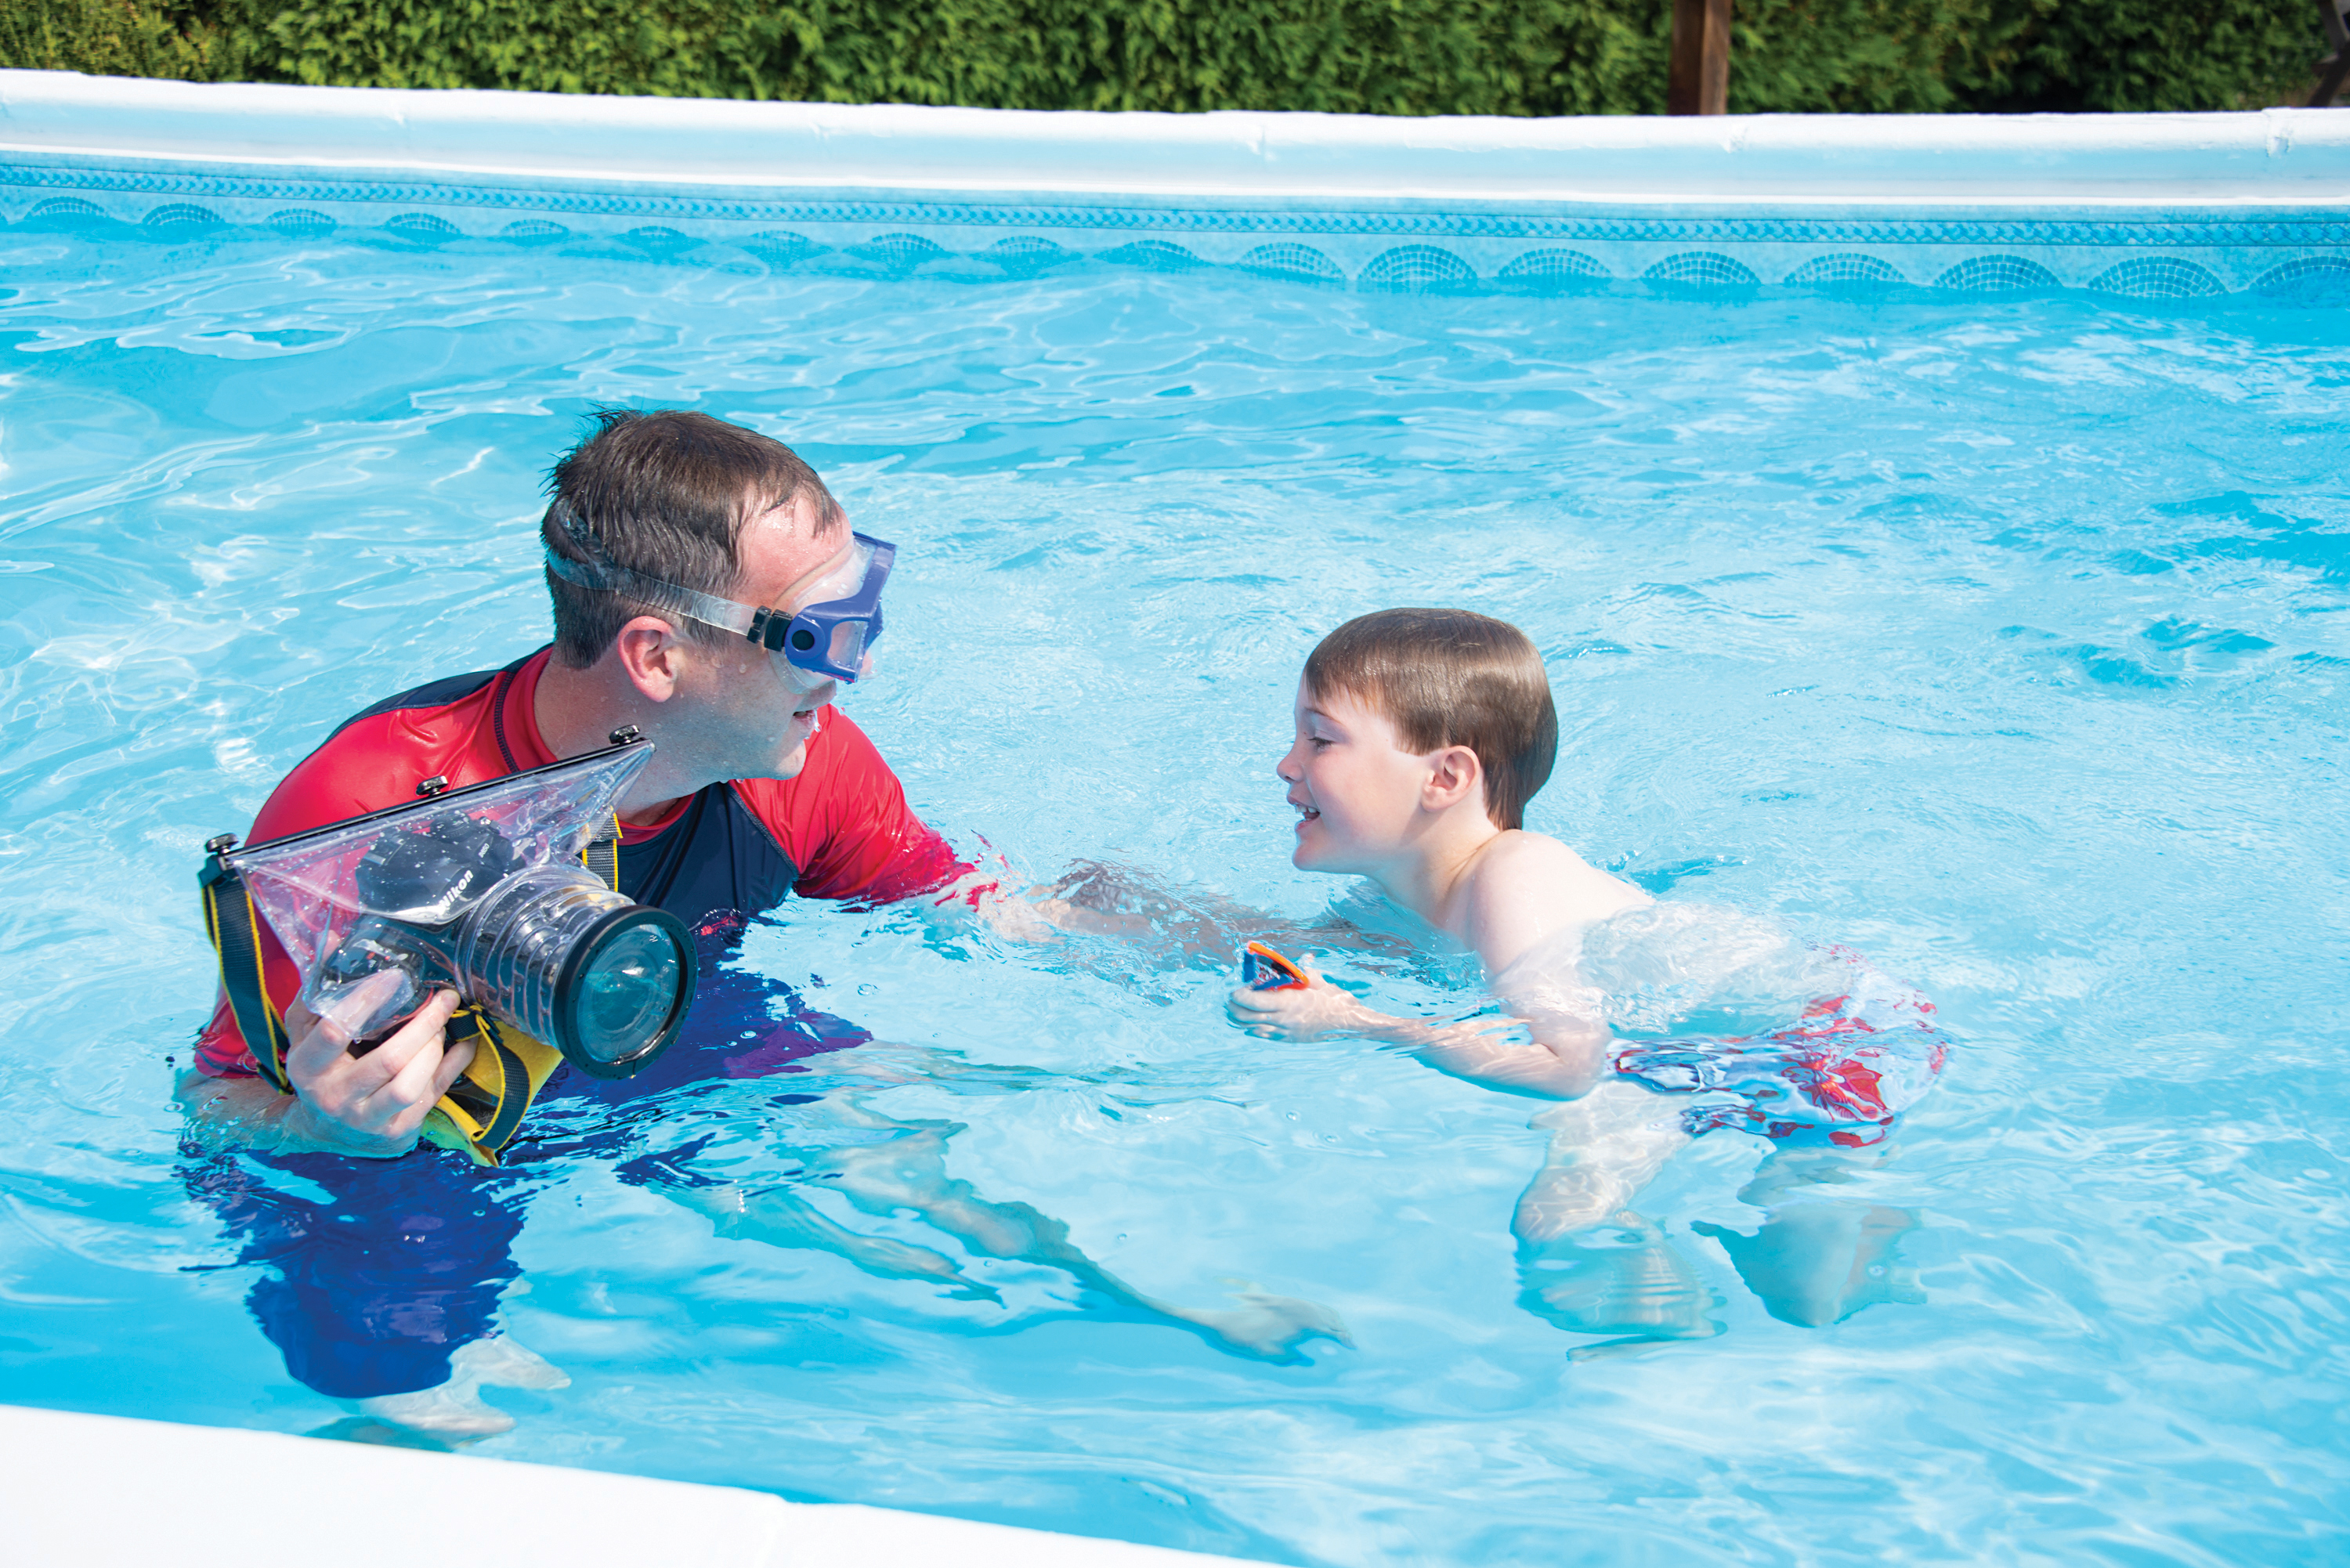
01 Outdoor pools
Outdoor pools are ideal, as on a sunny day the light bounces around the walls and floor for portrait lighting. It helps if the pool isn’t too deep, as this allows light to bounce off the floor and means we don’t have to tread water while shooting.
02 Underwater camera bag
We used an Ewa-Marine soft waterproof camera bag – the lens sits in a cylindrical section at the front and buttons and dials can be used through the material of the bag, although it can be clumsy. So it’s really best to get settings sorted before sealing in the camera.
03 Test the water
It’s a good idea to check that the housing is sound every time you use it. Before putting the camera in, try a little tissue paper, then seal up and submerge the bag. Give it a squeeze under the water and check for bubbles. If the tissue comes out dry, you’re good to go.
04 Use silica gel
Underwater casings can fog up, so try dropping in a silica gel pouch. This will hopefully suck up the moisture in the air and help prevent the lens front element from misting up while the bag is in the water. A foggy front element will ruin the fine detail in your shots!
05 Start shooting
When you’re ready to dunk the camera, give yourself and your subject a 3-2-1 countdown, take a dip and start shooting. Due to the magnifying effect of the water, you might need to move slightly further away from your subject than you think.
06 Watch for expressions
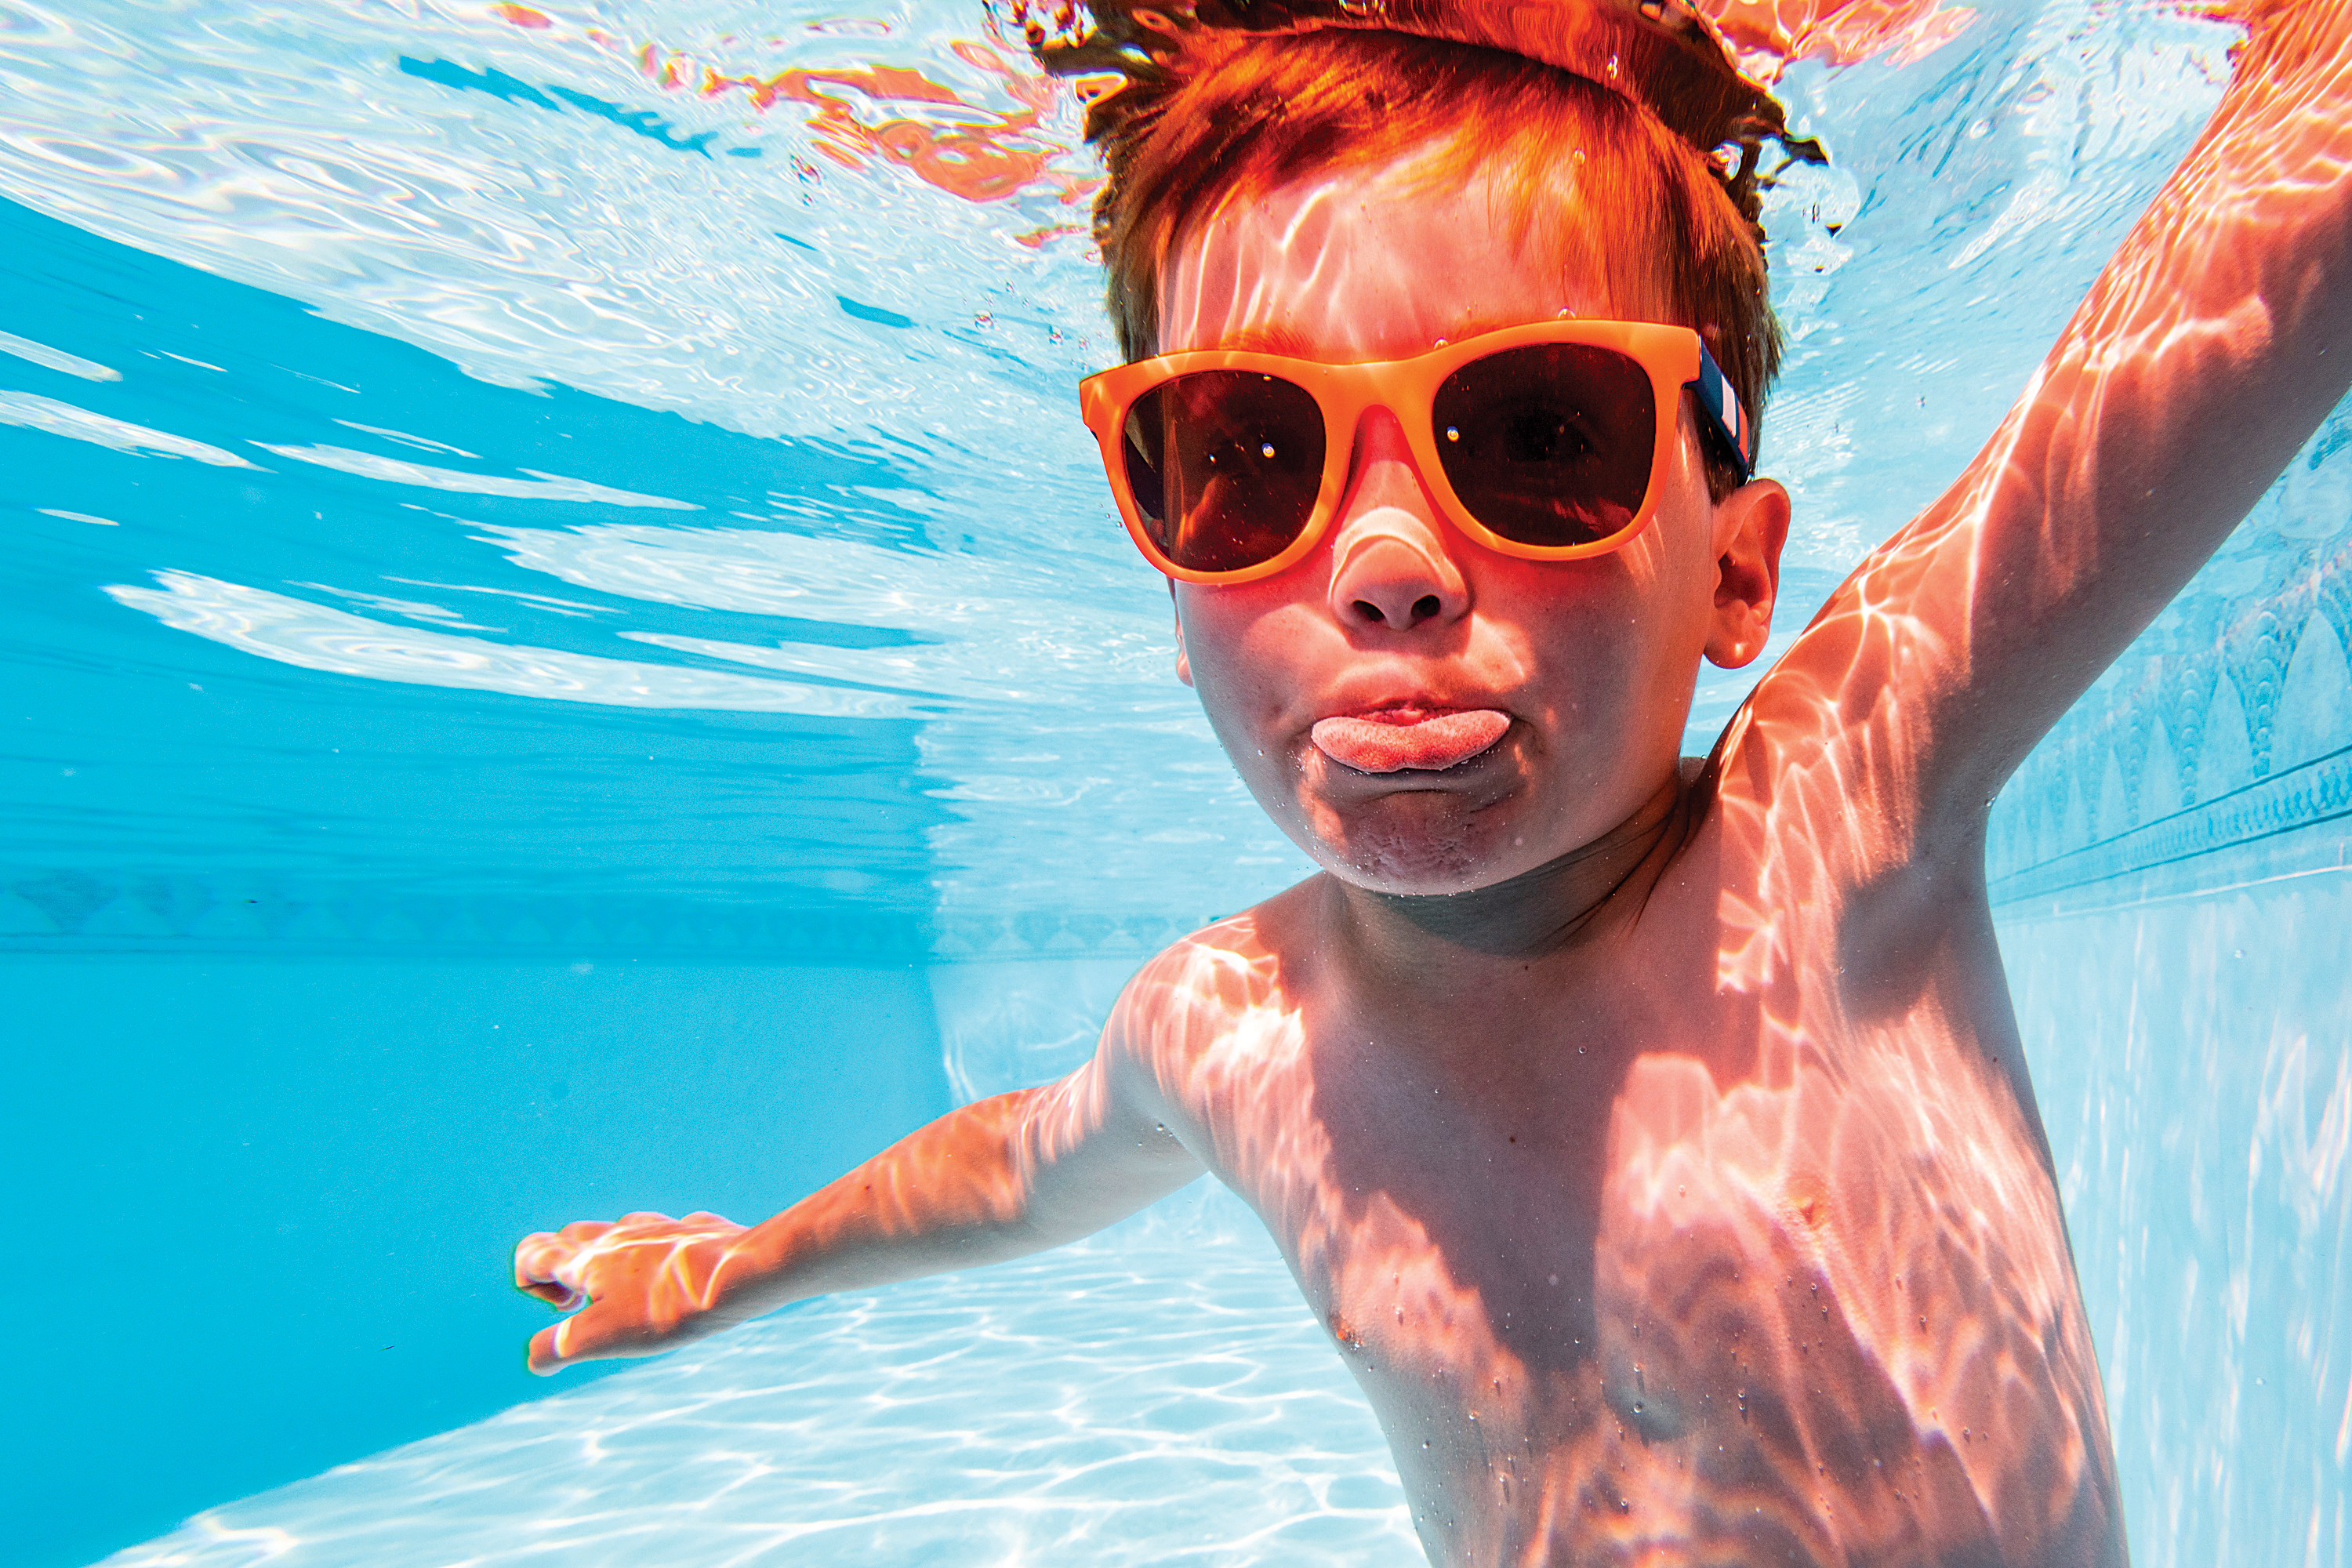
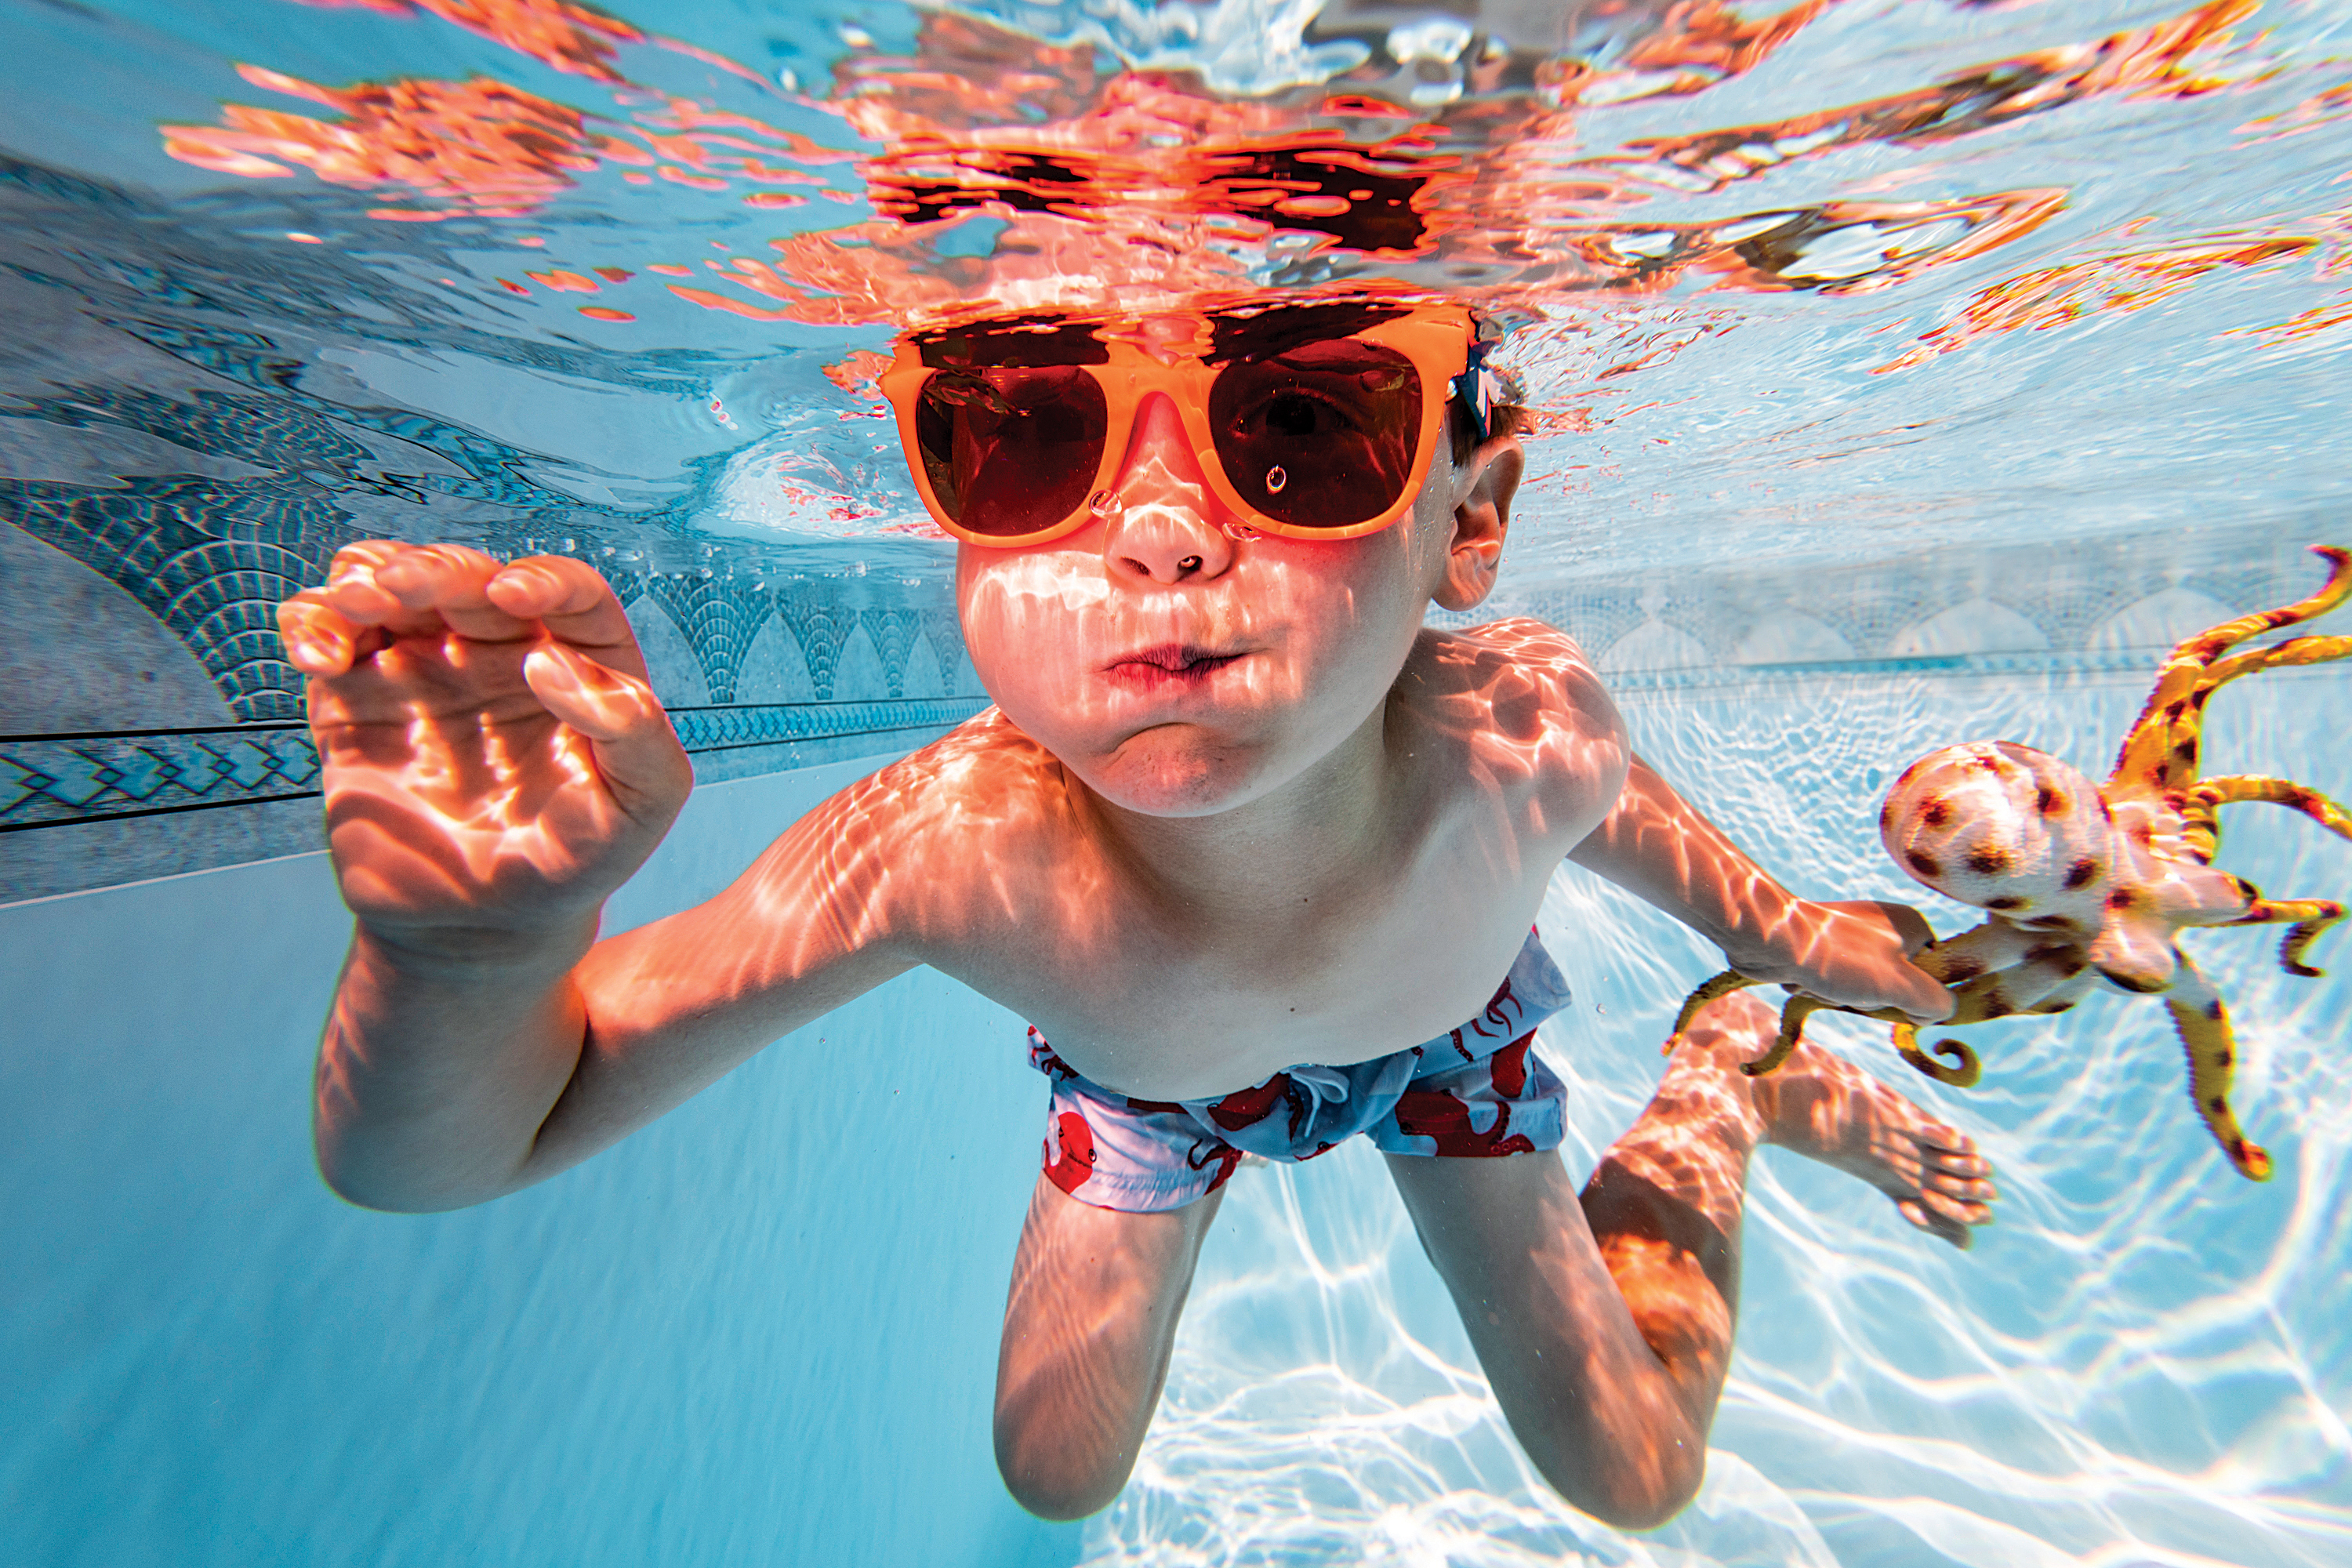
Closed eyes and uncomfortable expressions can ruin any portrait, so ask the subject to try to look happy or pull a funny face under the water. A few simple items like sunglasses or hats can add character to the portrait, as well as a splash of color.
Set up your camera
01 Try back-button focusing
Half-pressing the shutter button to engage autofocus can be rather tricky through the bag. So instead – if your camera allows it – try setting up back-button focusing. With this option enabled, focus is activated with the AF button on the rear of the camera body.
02 Set a wide focal length
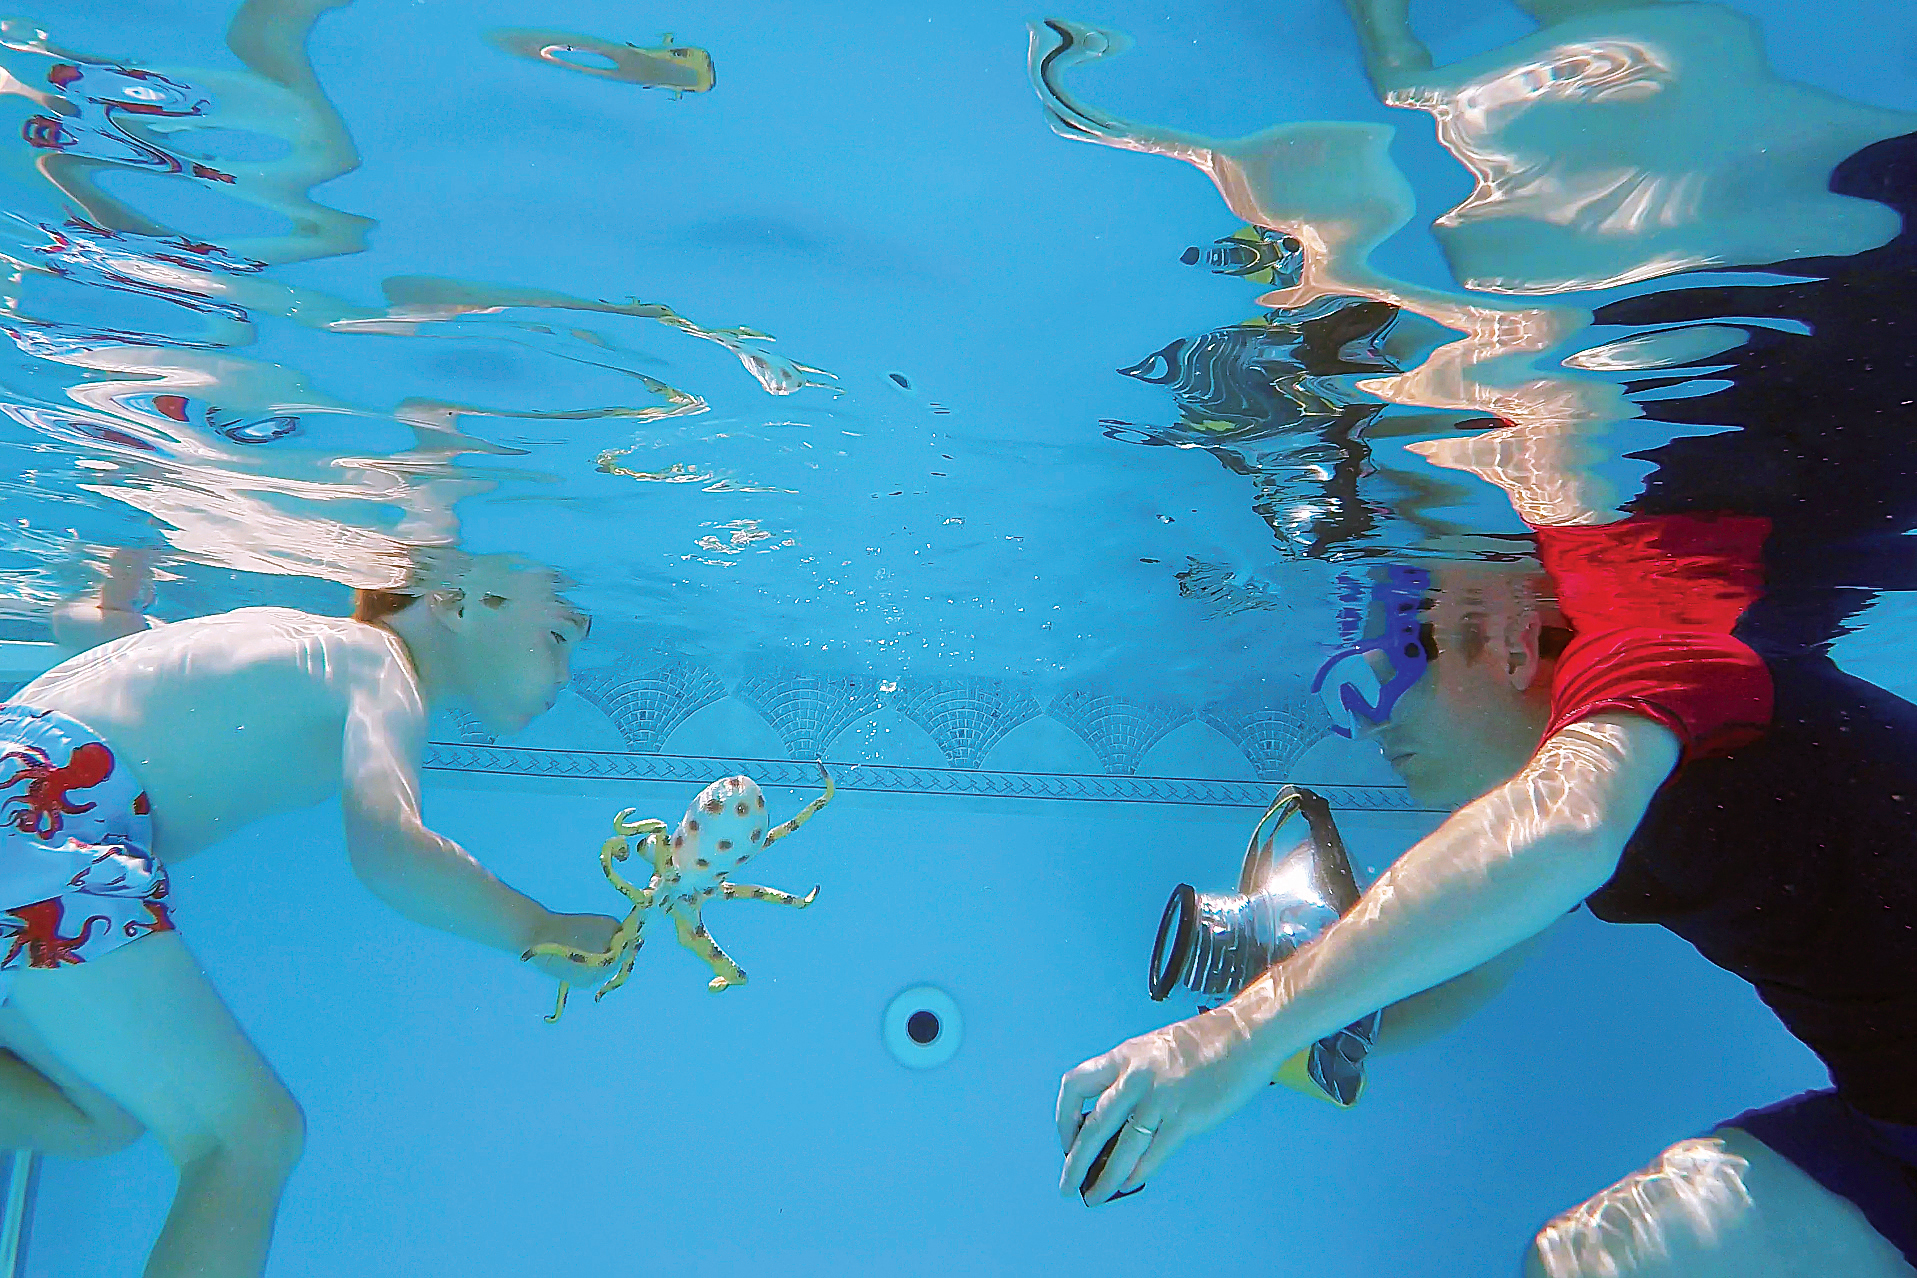
As you can see in the difference between body and head here, water has a magnifying effect. As such, it’s best to use a wide-angle lens, or the wide end of a standard zoom. Framing can be tricky underwater, so a wide field of view also gives you the option to crop later.
03 Use a narrow aperture
Focusing can be less than precise when shooting underwater – especially if your subject is moving towards you – so it’s best to use a narrow aperture as this will give you greater depth of field, meaning more of your subject and scene are in-focus.
04 Prevent motion blur
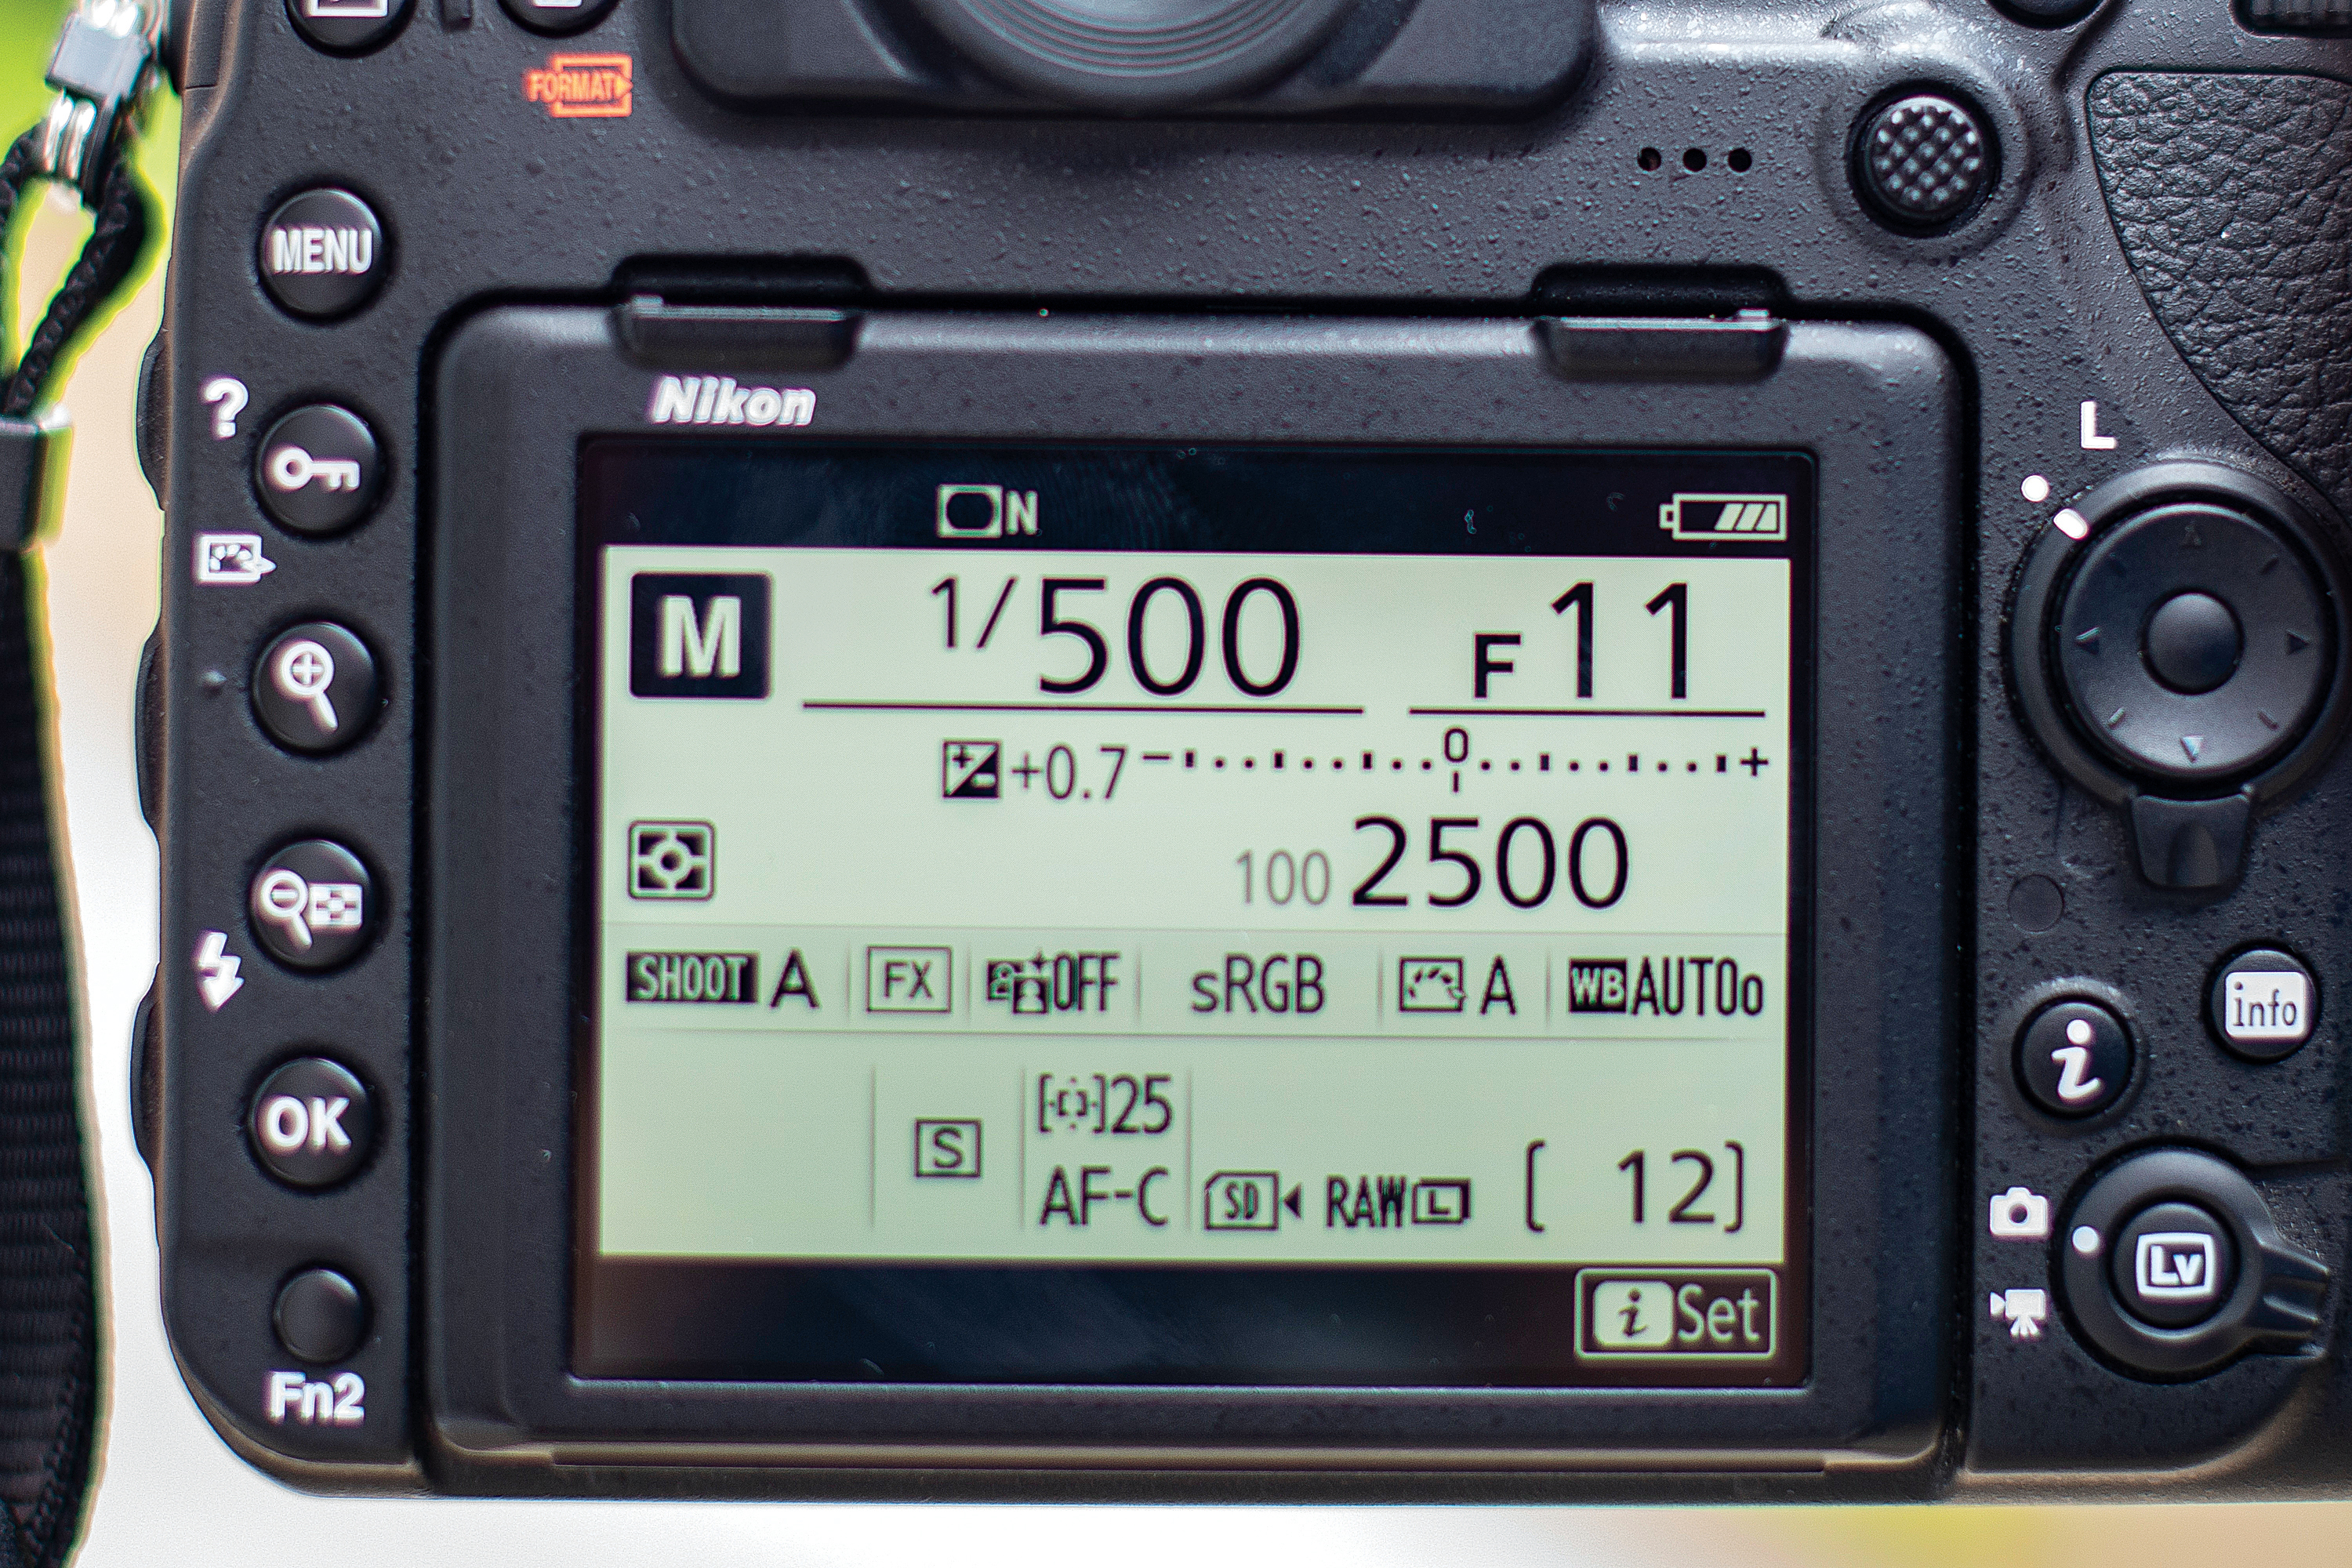
You’ll need a fast shutter speed to freeze the action, especially if you plan on capturing jumps and splashes. We used manual exposure mode with a 1/500 sec shutter speed in conjunction with an f/11 aperture and Auto ISO (so that the ISO adapts to suit the conditions).
3 tips for taking a dip
01 Props and toys
Whether shooting underwater or any kind of child portrait, props, toys or items that are special to the subject will help make the shoot more personal and add extra interest to the portrait. We brought a few underwater animal toys, like thes octopus.
02 Try a jump
Asking the kids to jump in from the side can result in a burst of bubbles. It can be tricky to focus on the exact spot where they’ll enter the water, so try pre-focusing on a spot that’s roughly the same distance away, then duck under the water and wait for the jump.
03 Look for reflections
At the right angle, the underside of the surface of the water can create beautiful abstract reflections of your subject. It’s best to get down low to capture the reflections, and use a wide focal length to include more of the surrounding pool.
Correct underwater colors
Fix blue color casts with simple skills in Camera Raw or Lightroom
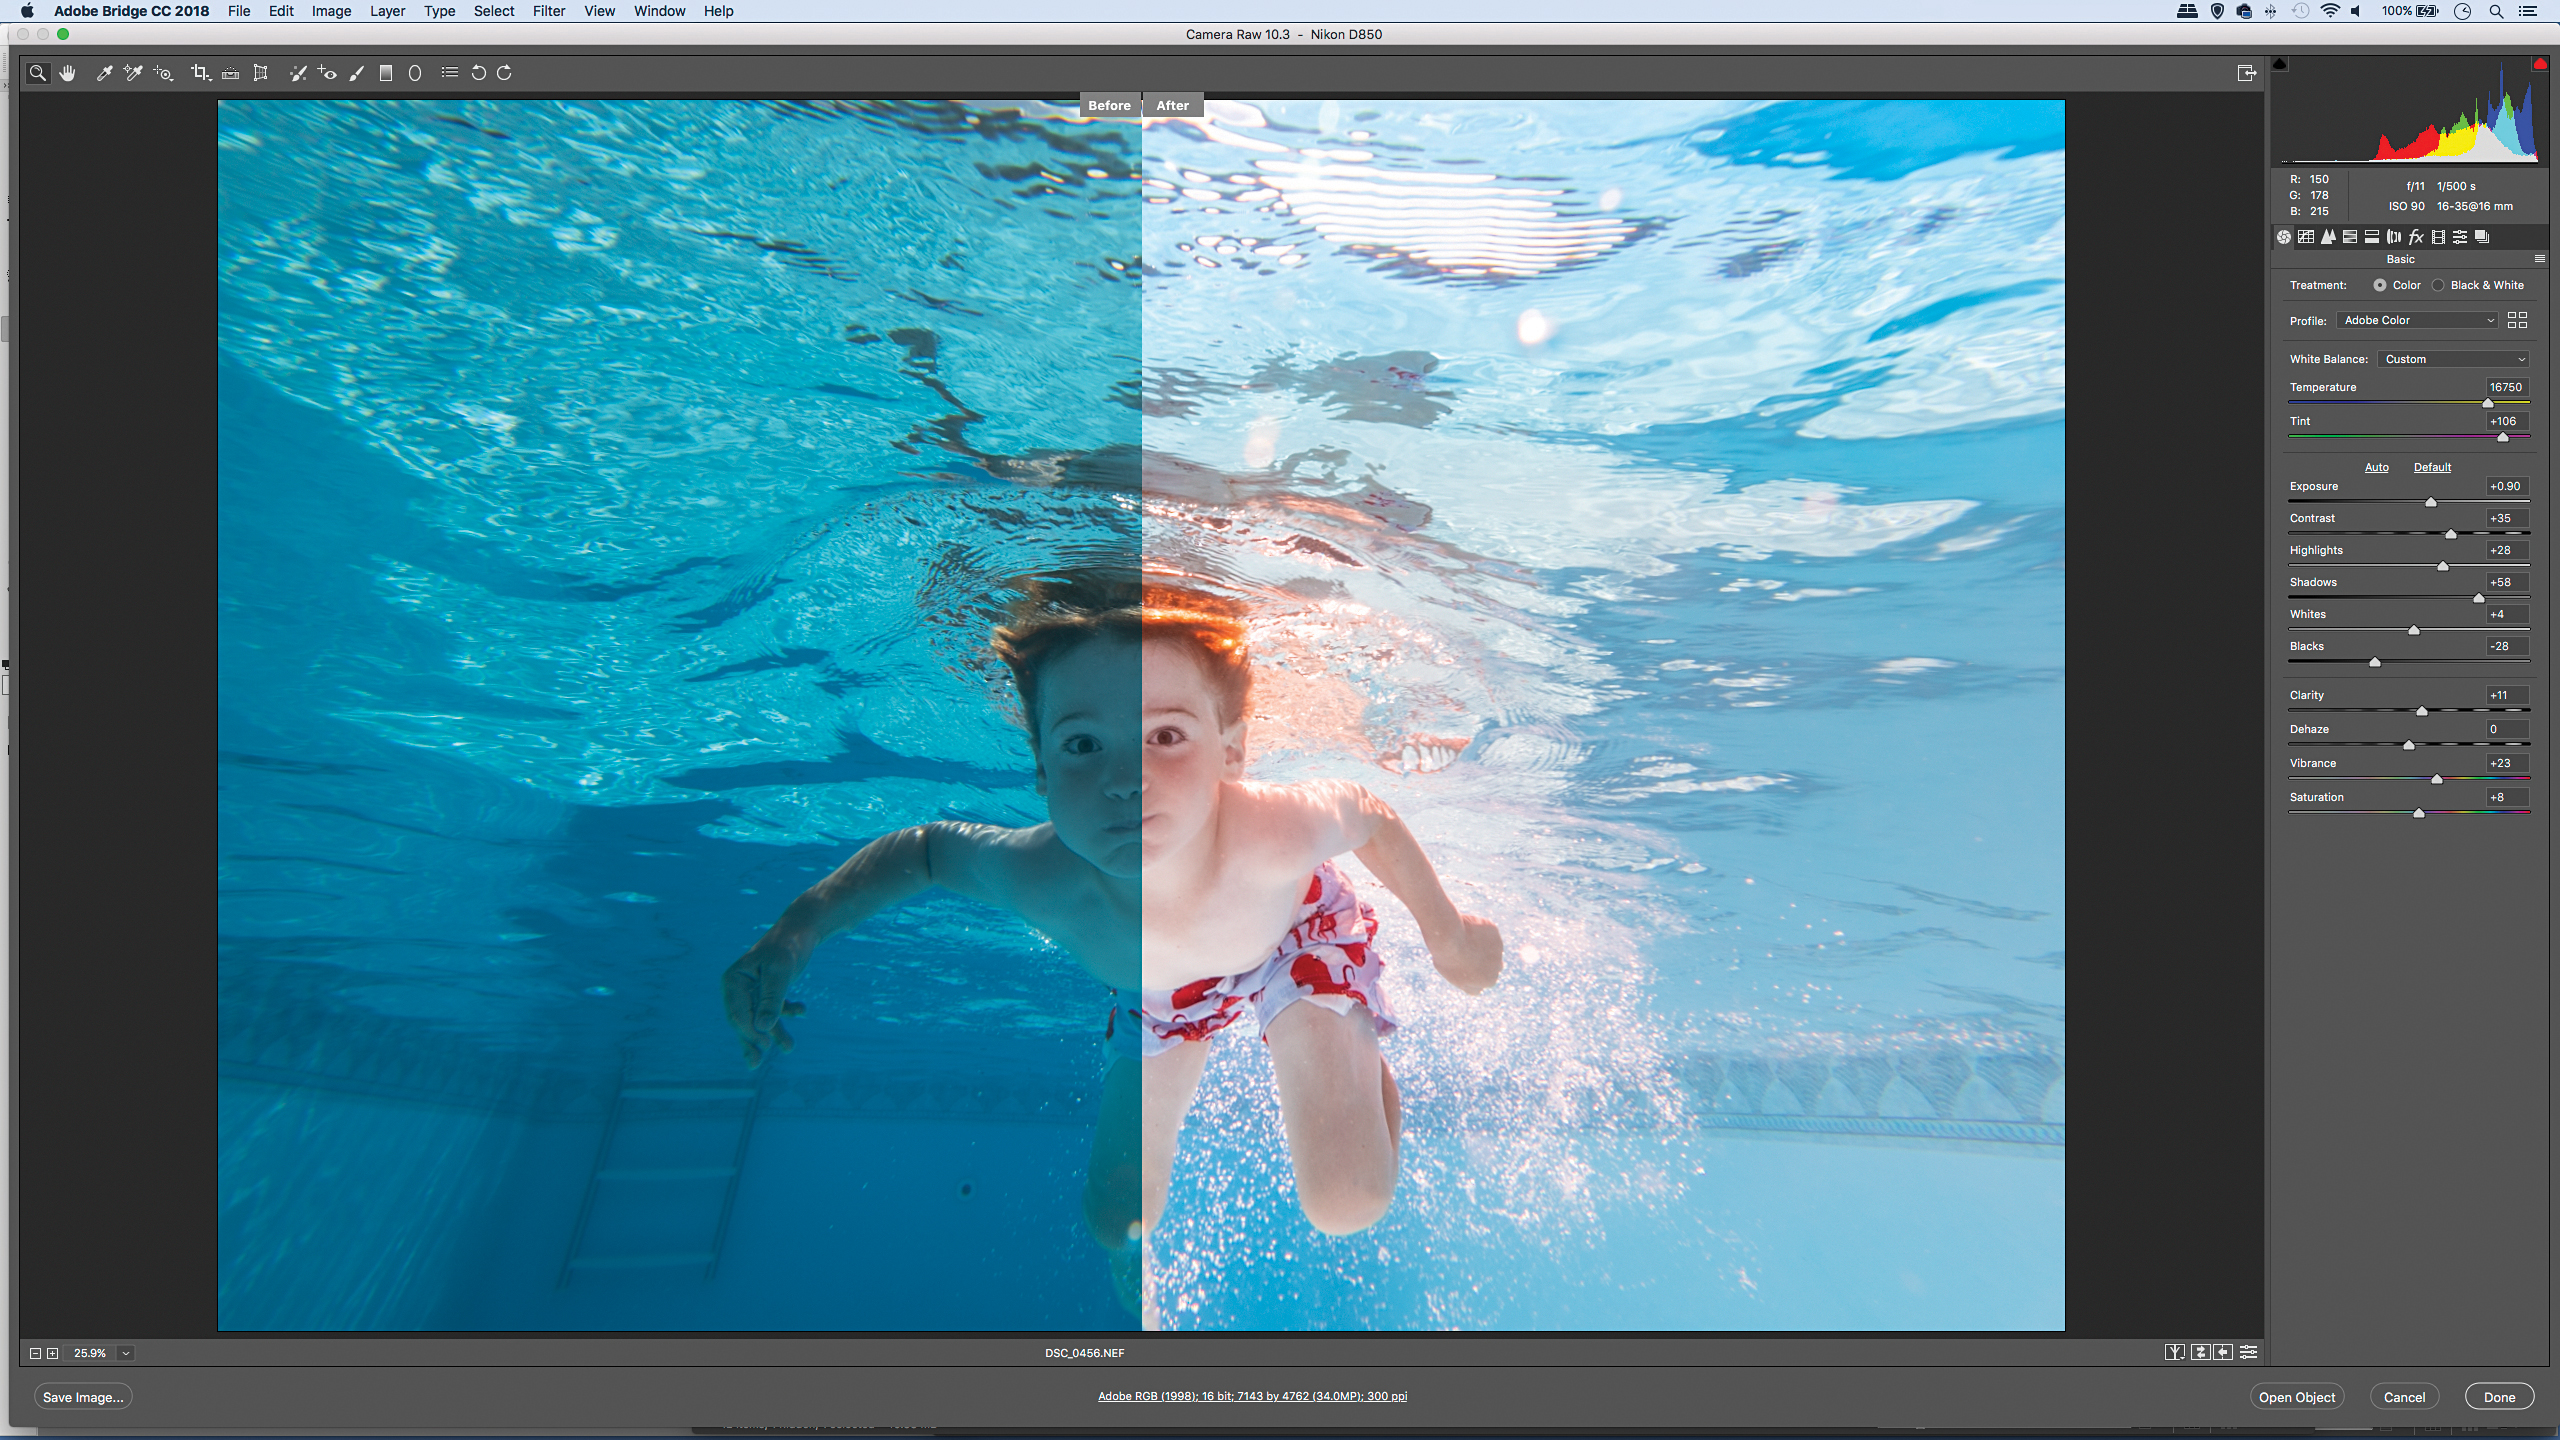
When shooting underwater, the white balance and colors can be difficult to perfect in-camera. By shooting Raw, though, we have the option to adjust the white balance later, with the exact same results as if we’d done so before taking the shot.
To correct the blue casts that often affect underwater photos, use Camera Raw (or Lightroom)’s white balance eyedropper tool and click on a point that should be neutral, like a white piece of clothing. Then go on to tweak the Temperature and Tint sliders until the colors look right.
If the sky is showing through the water, correcting the colors might skew those above the water. If it does, try painting with the Adjustment Brush tool loaded with negative temperature and tint.
N-Photo: The Nikon Magazine is a monthly publication that's entirely dedicated to Nikon users. For the best news, reviews, projects and more, subscribe to N-Photo today!
Read more:
The best waterproof camera: underwater cameras for fun and action
The best underwater drones and ROVs
The best underwater fishing camera: see what your fishy friends are up to!
The lead technique writer on Digital Camera Magazine, PhotoPlus: The Canon Magazine and N-Photo: The Nikon Magazine, James is a fantastic general practice photographer with an enviable array of skills across every genre of photography.
Whether it's flash photography techniques like stroboscopic portraits, astrophotography projects like photographing the Northern Lights, or turning sound into art by making paint dance on a set of speakers, James' tutorials and projects are as creative as they are enjoyable.
He's also a wizard at the dark arts of Photoshop, Lightroom and Affinity Photo, and is capable of some genuine black magic in the digital darkroom, making him one of the leading authorities on photo editing software and techniques.
