Flaming good photography – learn how to photograph fire!
It's getting hot in here! Use fire and off camera flash to light up your portrait photography game
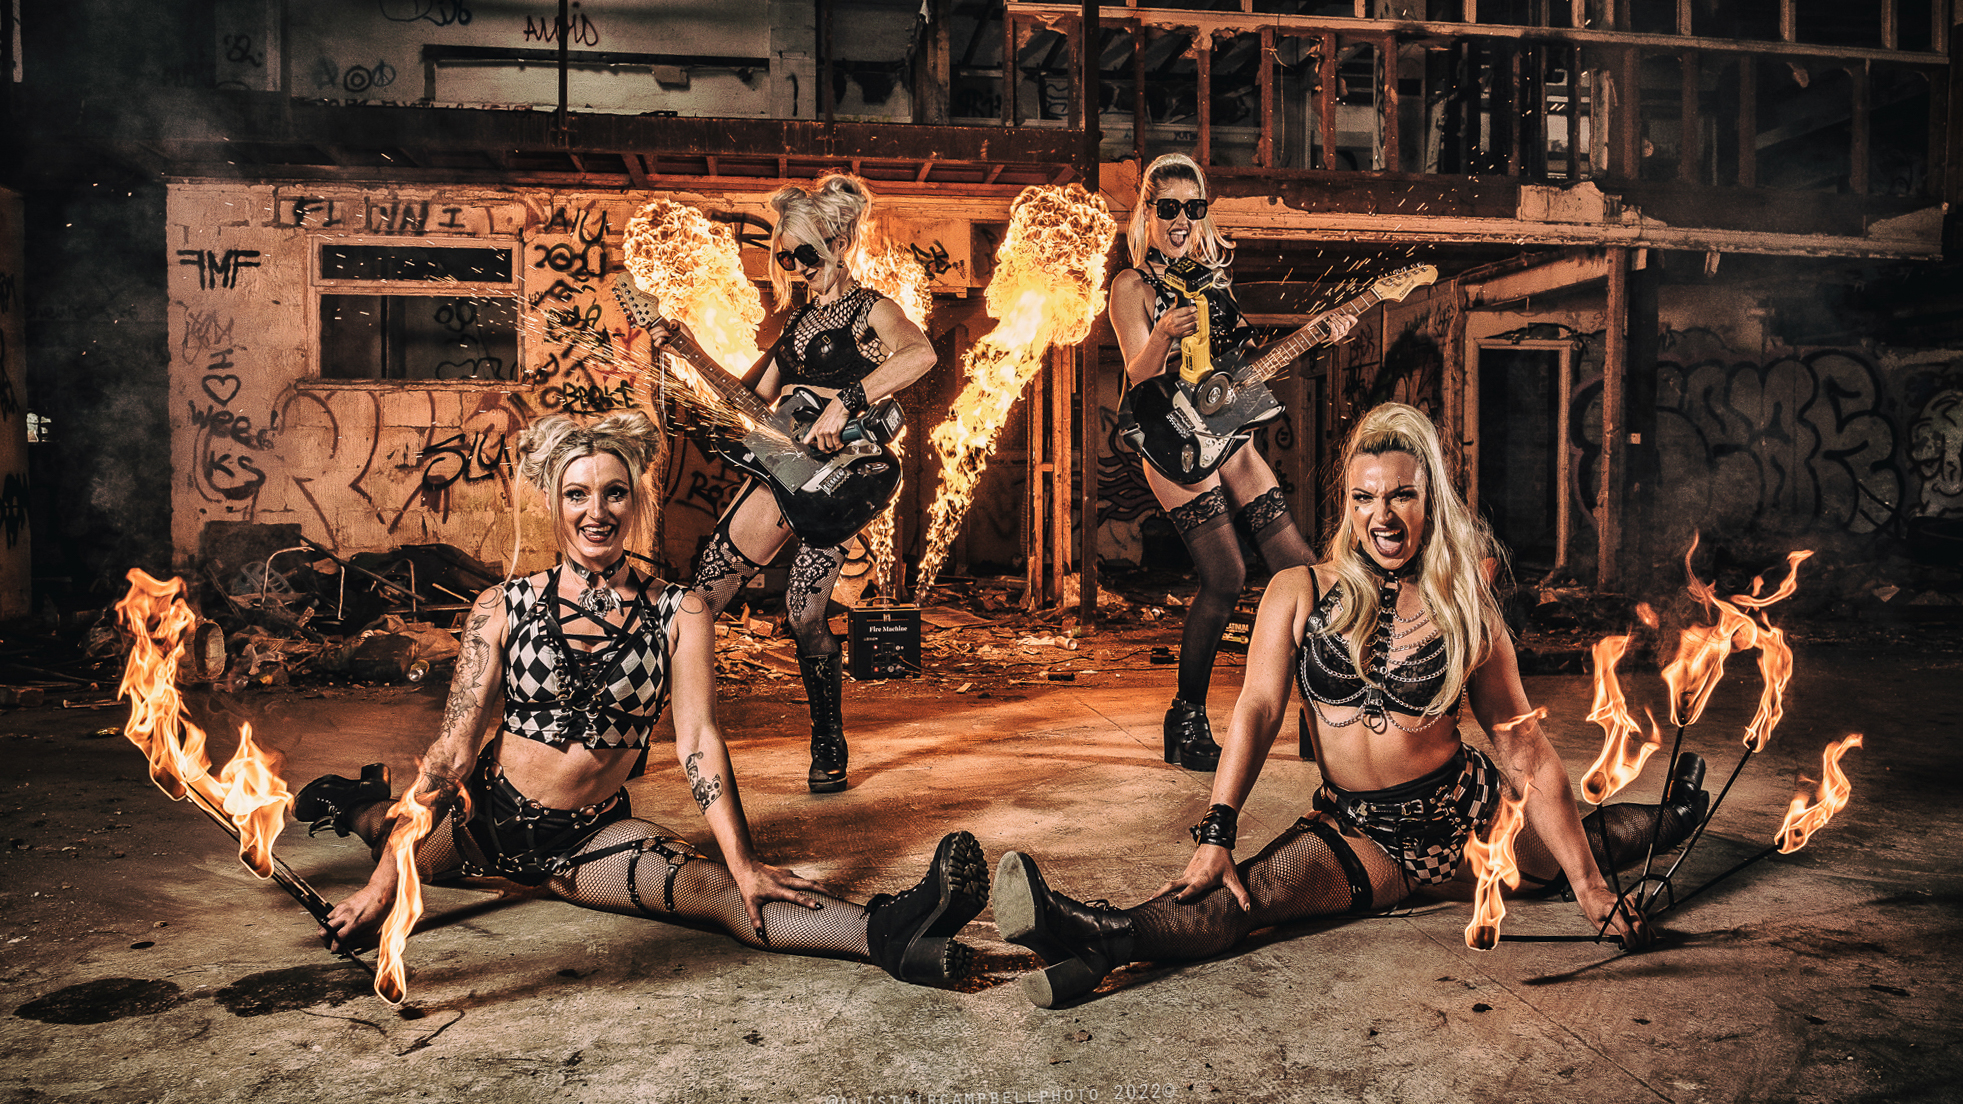
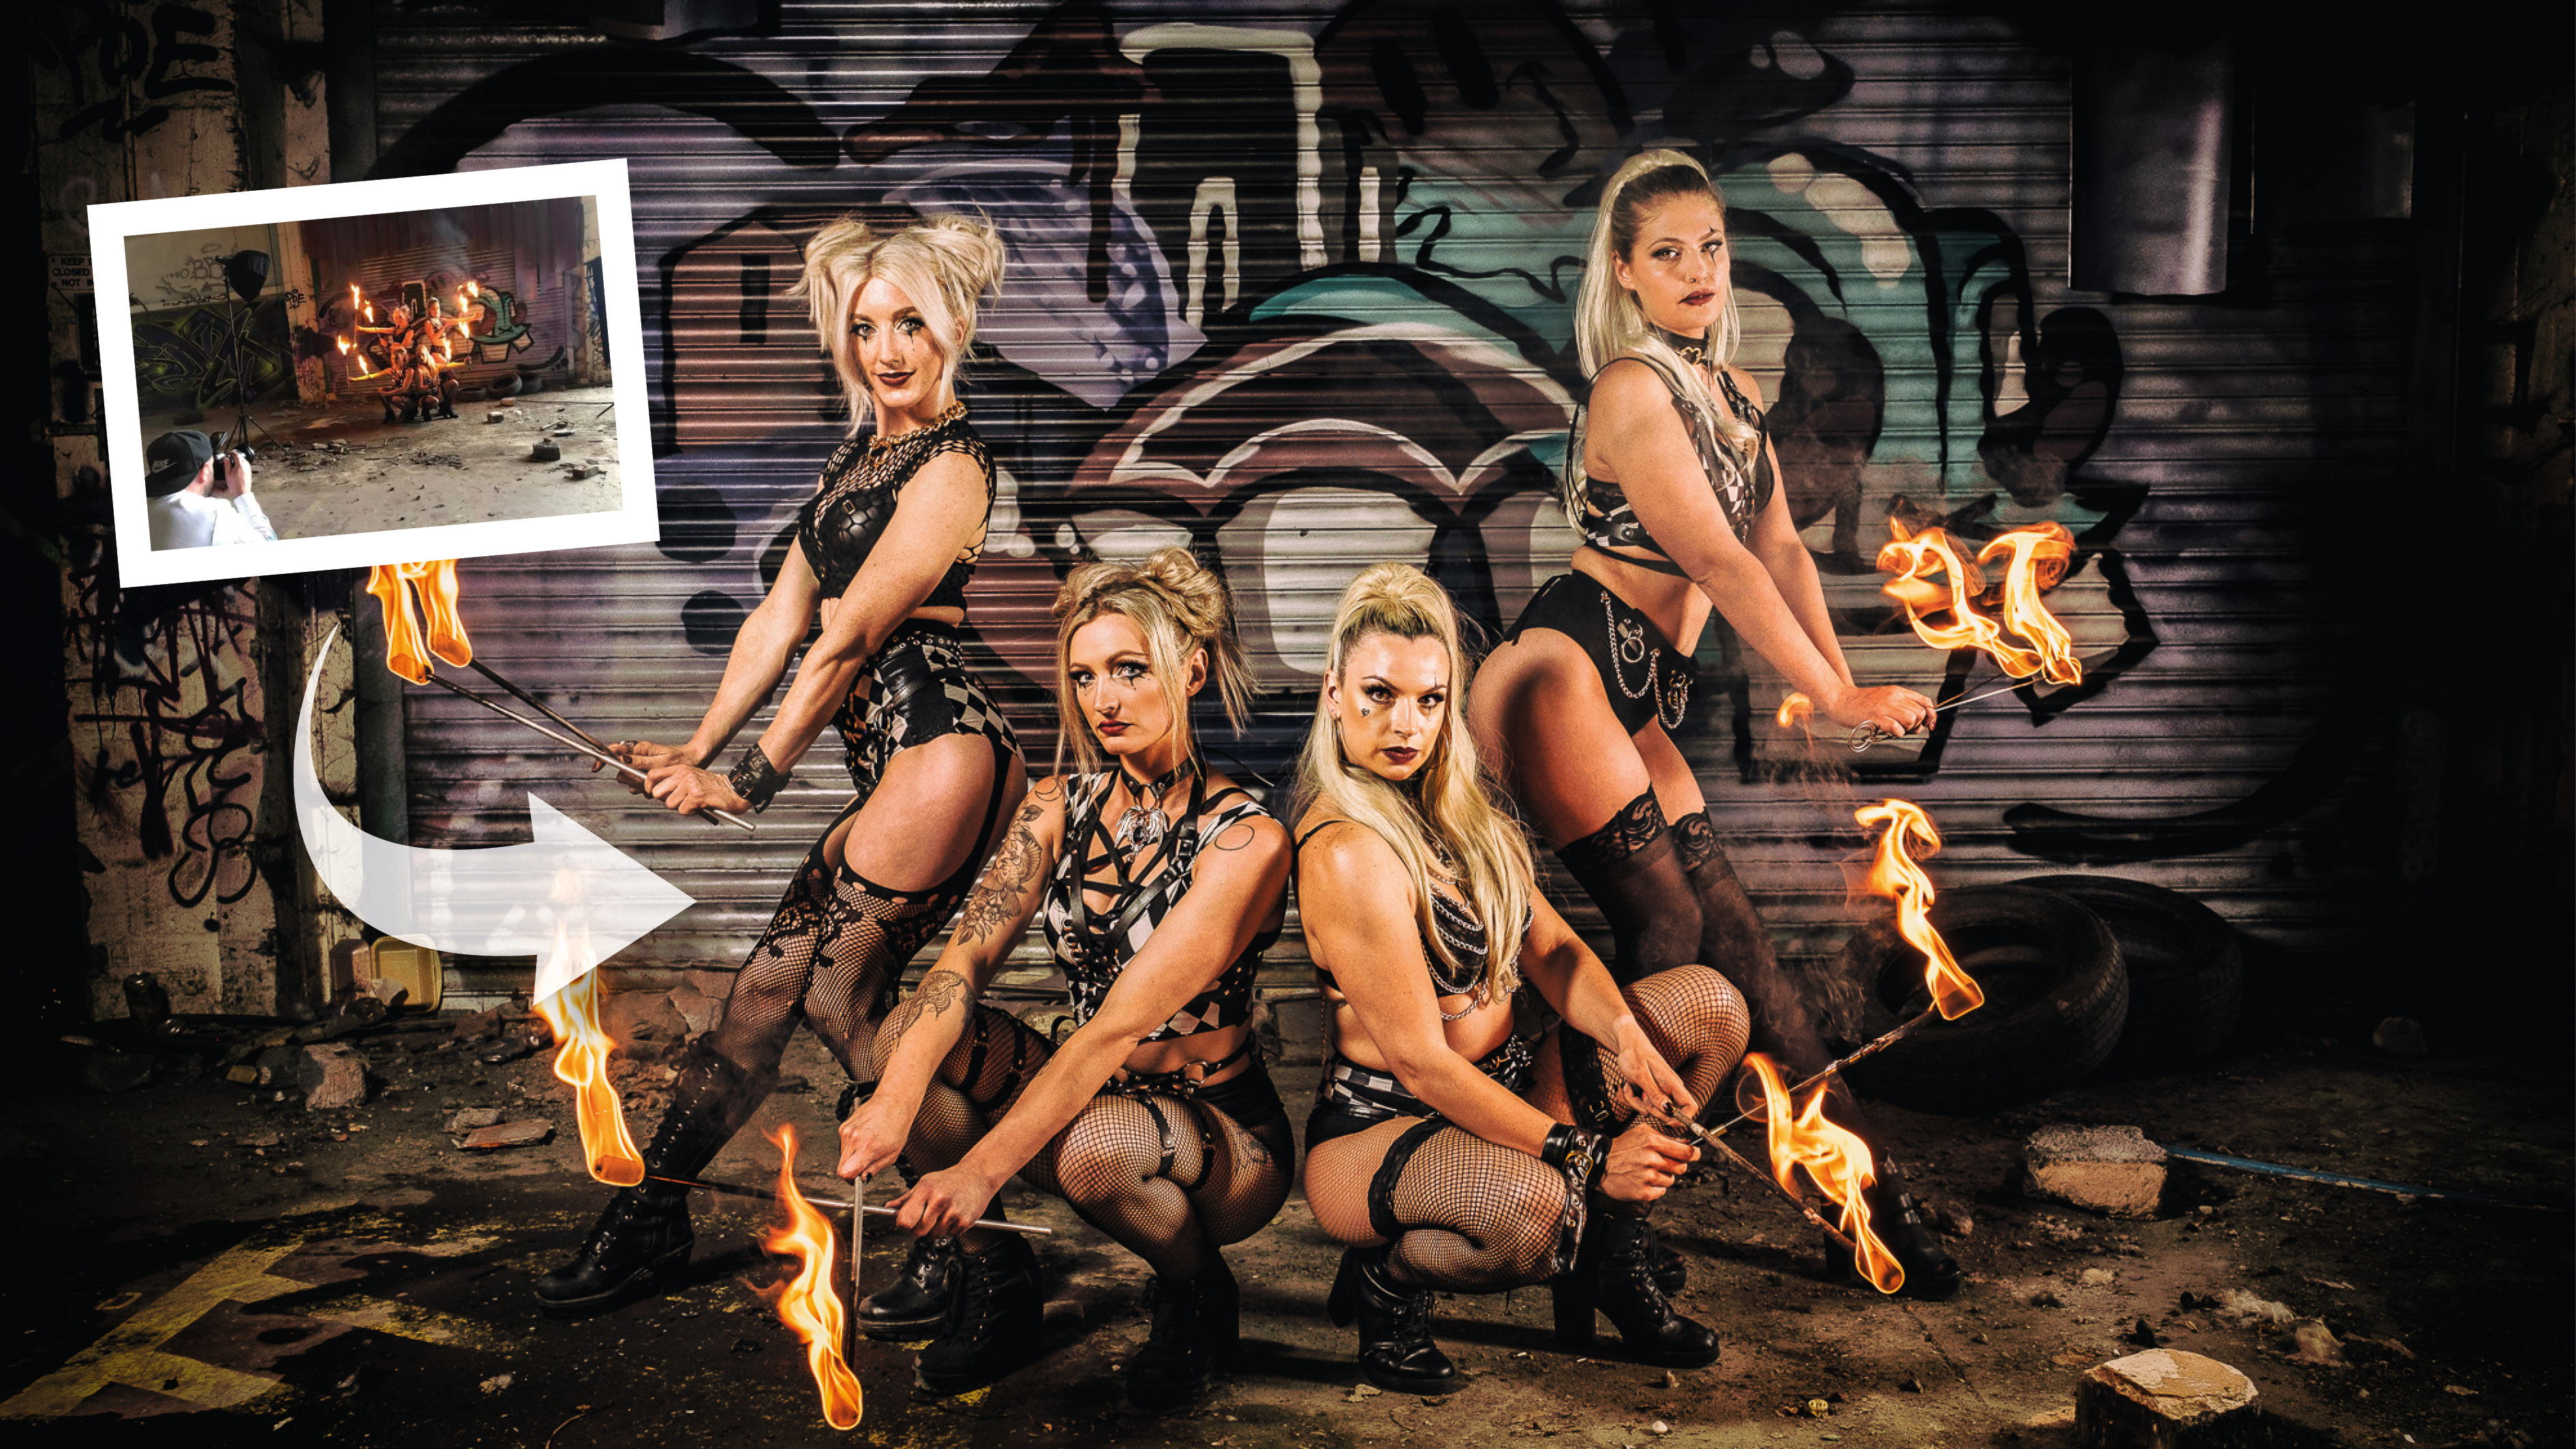
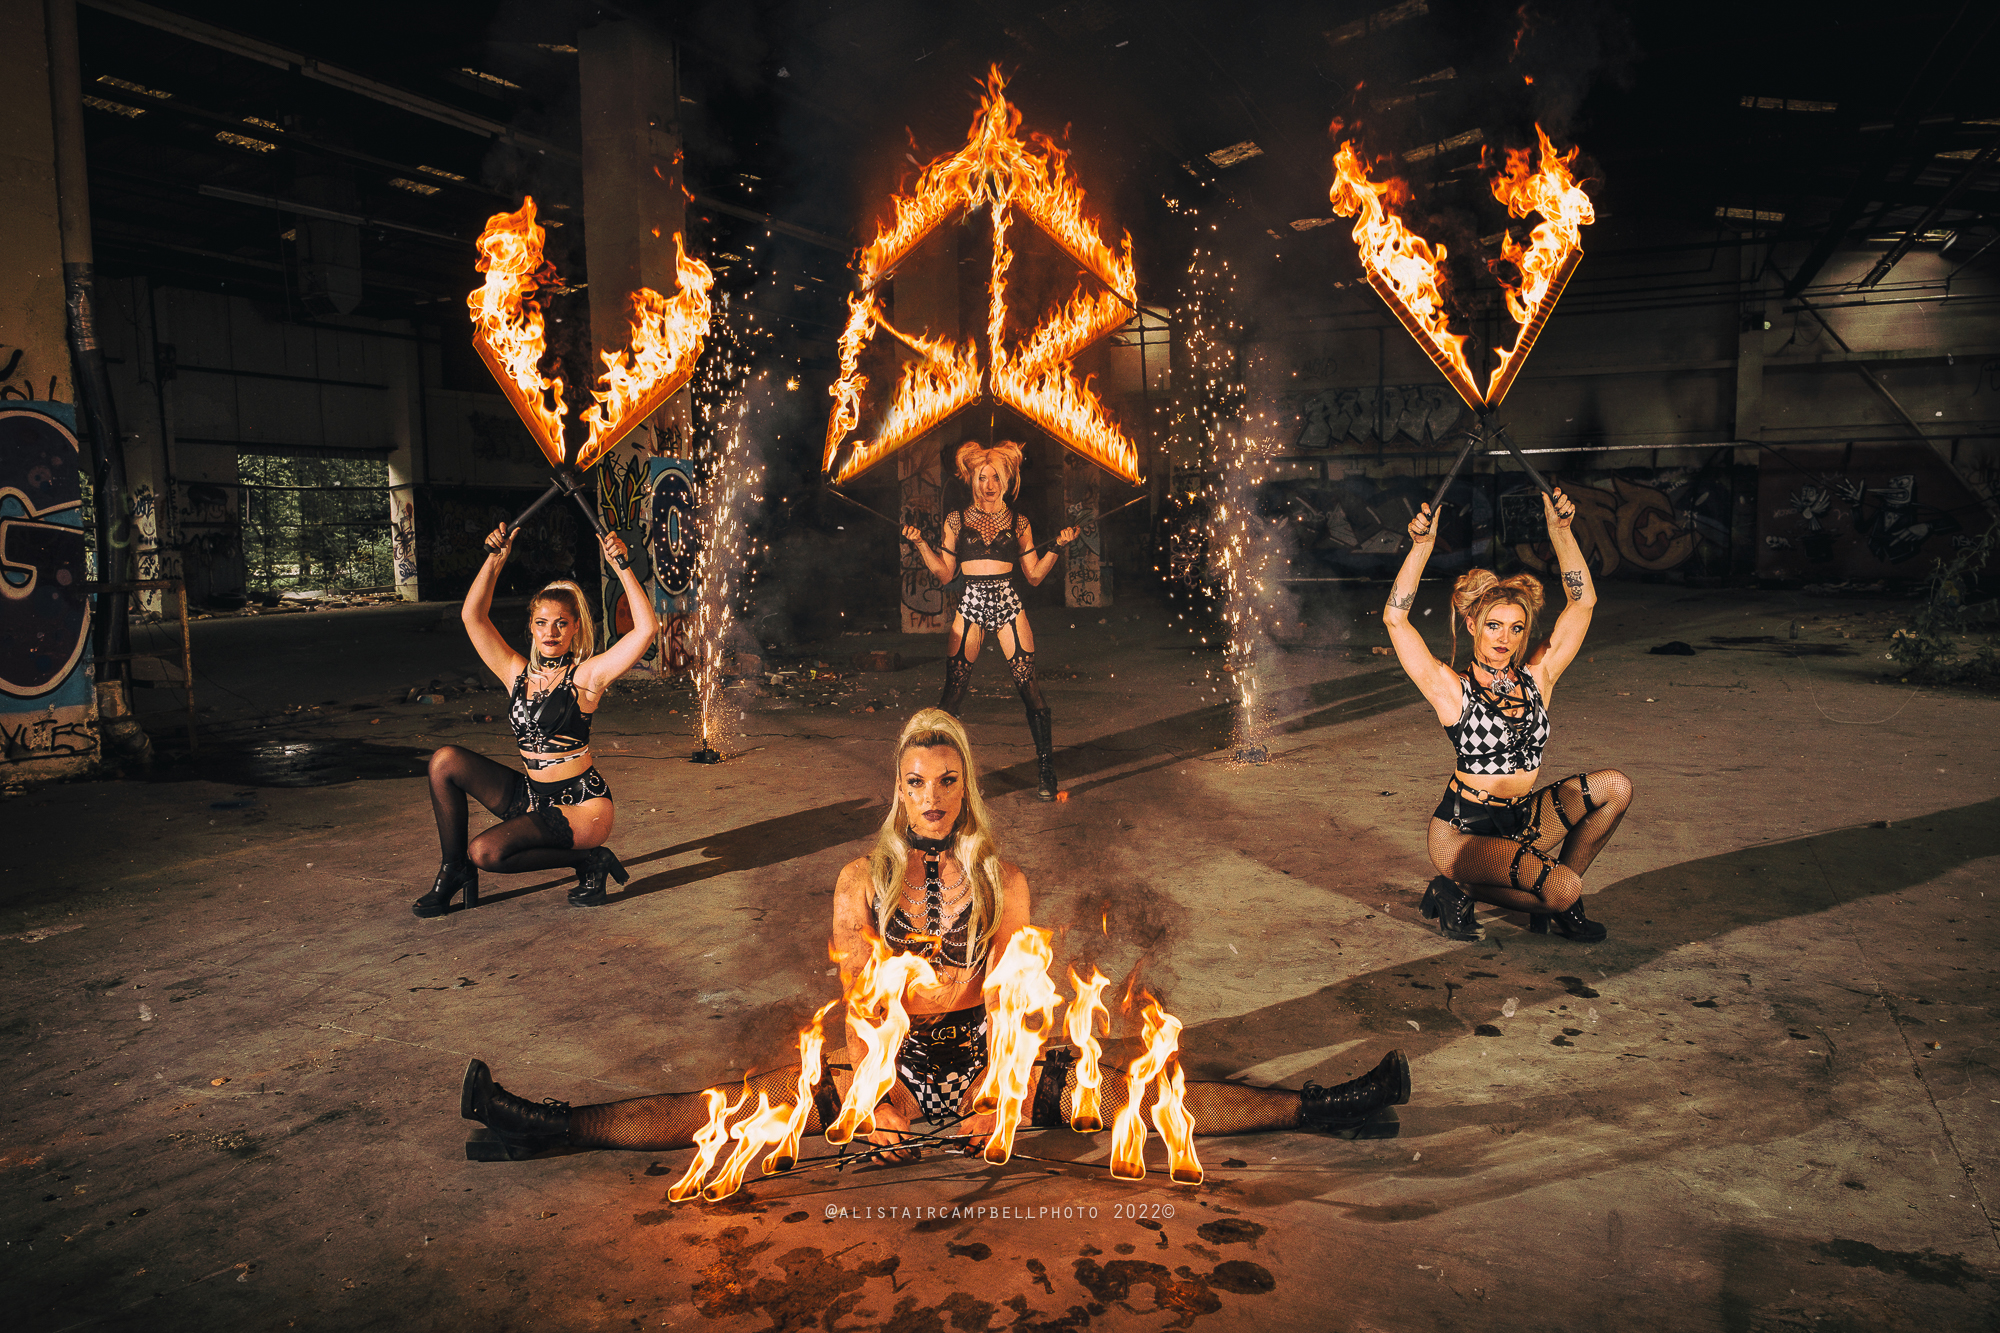
For many years I’ve photographed people for fashion purposes; more recently that has taken a side step into photographing performers, musicians and actors.
Portraits are a great way to hone your skills with directing others and using the best flashguns to achieve creative lighting, but throwing in an extra bit of flare can make an image really stand out among the crowd.
With the world slowly opening up once again, many events performers are keen for new photographs to publicize their work, and shooting with fire can add some truly eye-popping images to your photography portfolio.
It goes without saying (but we’ll say it anyway): make sure you are working in a safe and controlled environment with professional performers who are fire-trained and safety-savvy – especially if you are shooting with larger costumes, headpieces or props, as these can all be potential problems.
Pro performers will have all the safety equipment required in case of emergency – and will also have the best skills to prevent anything from happening in the first place. For this project, I’ll explain some helpful settings, tips and tricks for photographing fire.
See more of Alistair's fire shots on Instagram.
5 steps to photographing fire performers
01 Set up your lights
The best camera deals, reviews, product advice, and unmissable photography news, direct to your inbox!
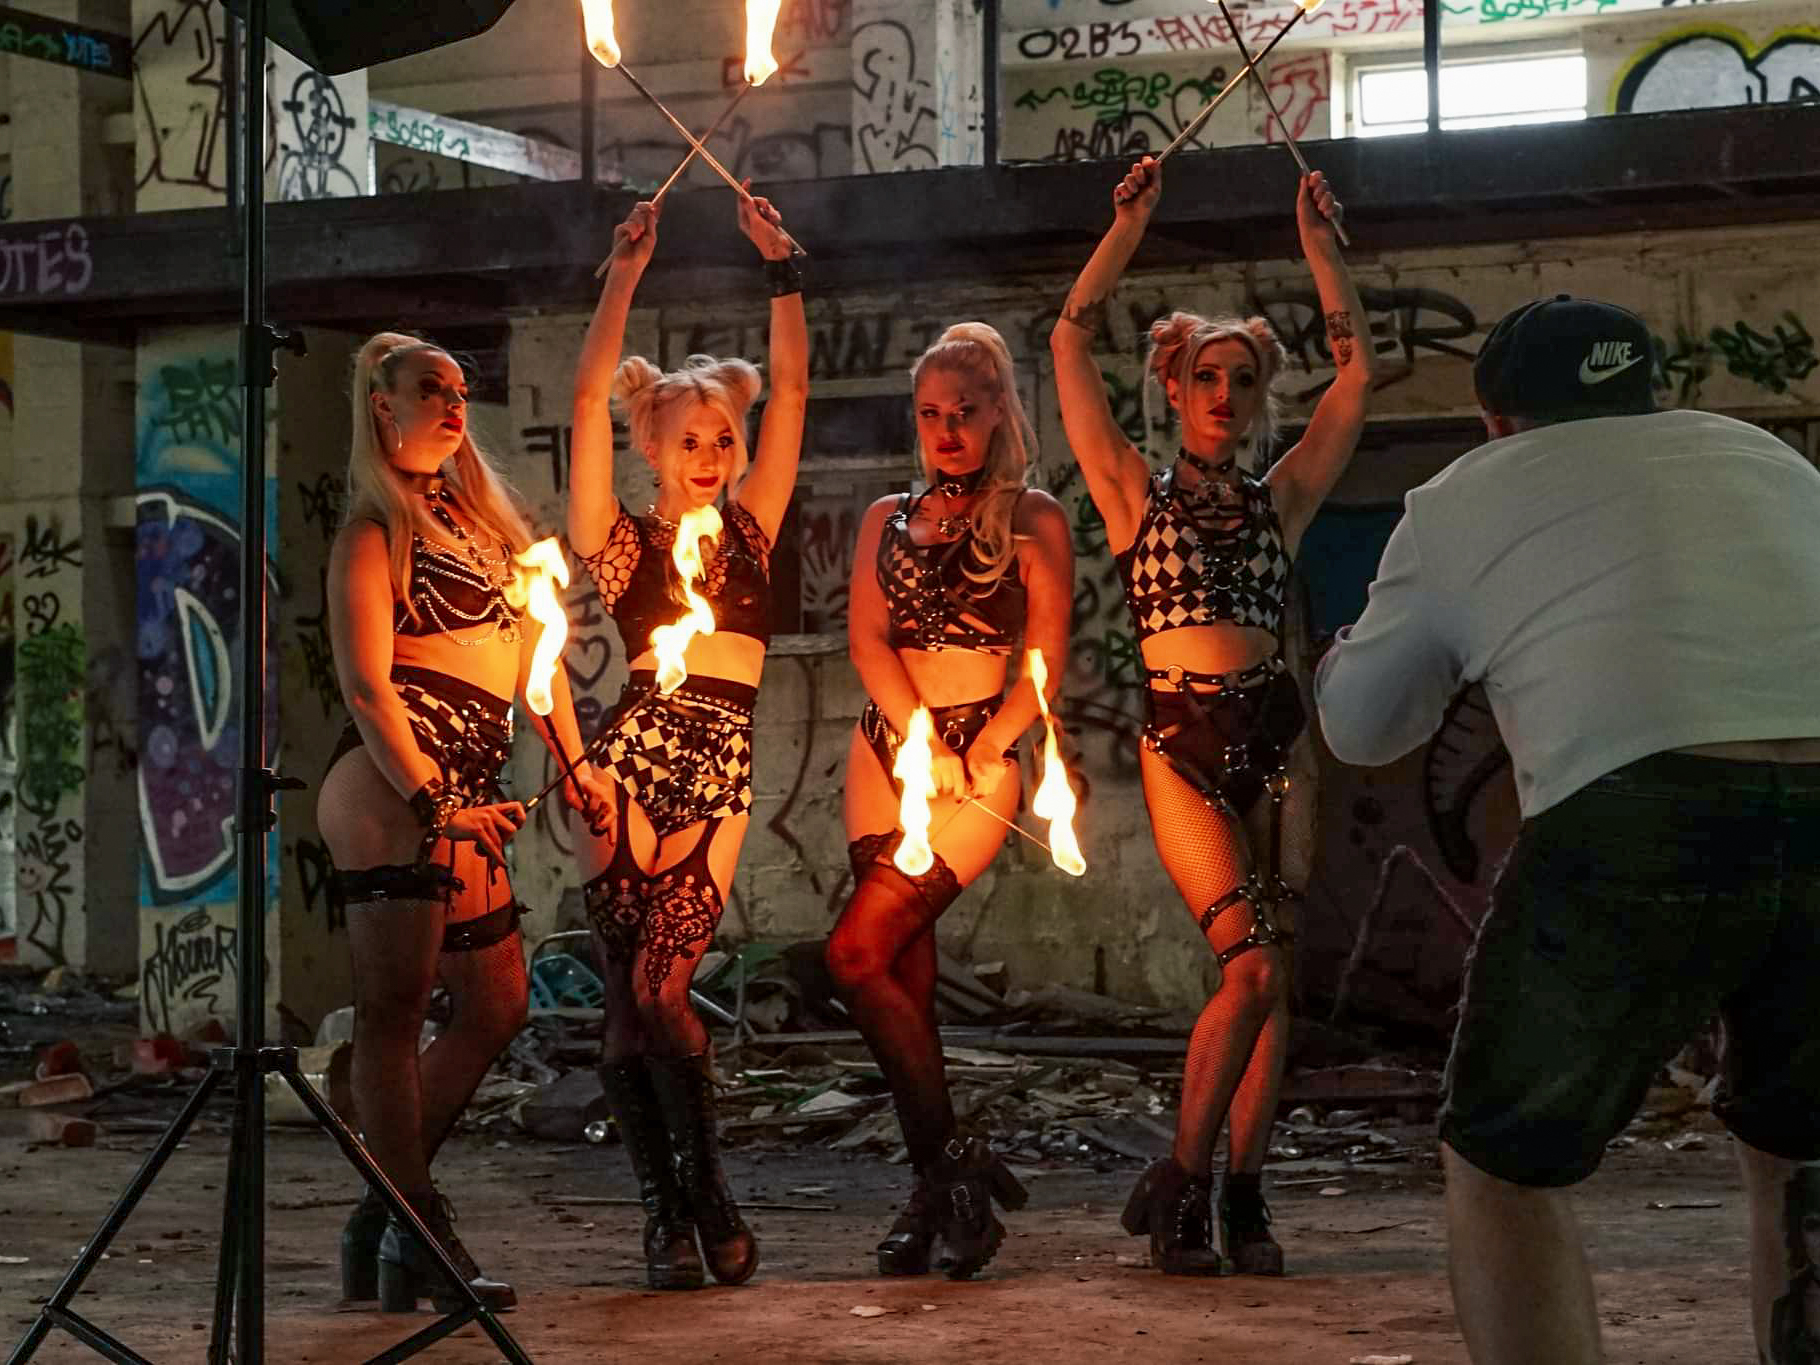
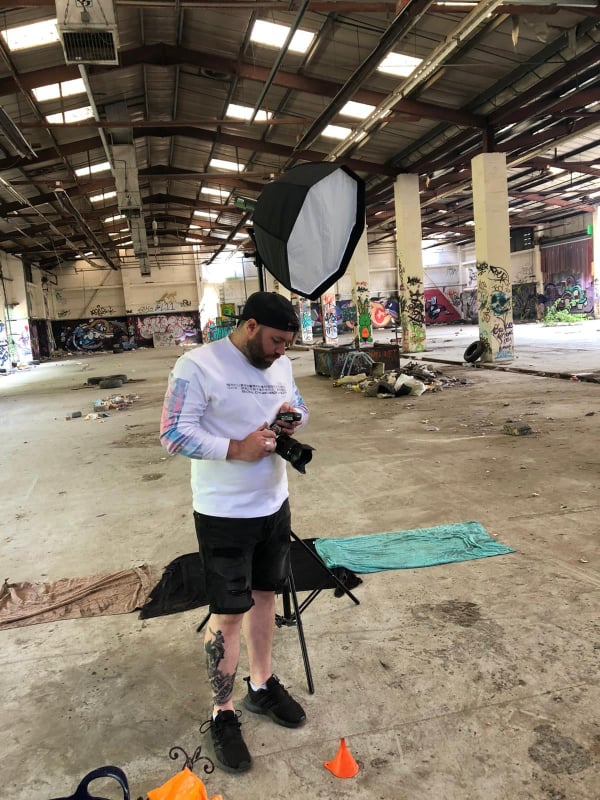
Here I set up a pair of Godox AD200 flashes: one with a small octagonal softbox as my main key light, and the other with a taller 120 x 180cm softbox, which gave me
a little fill light to lift some details in model Suzy’s dark dress. I typically only use one light, but for darker environments it’s good to prepare two lights. I removed the honeycomb attachment from my main light, but left it in place on the fill light for better directional control.
• Make sure to use the best flash triggers
02 Choose your aperture
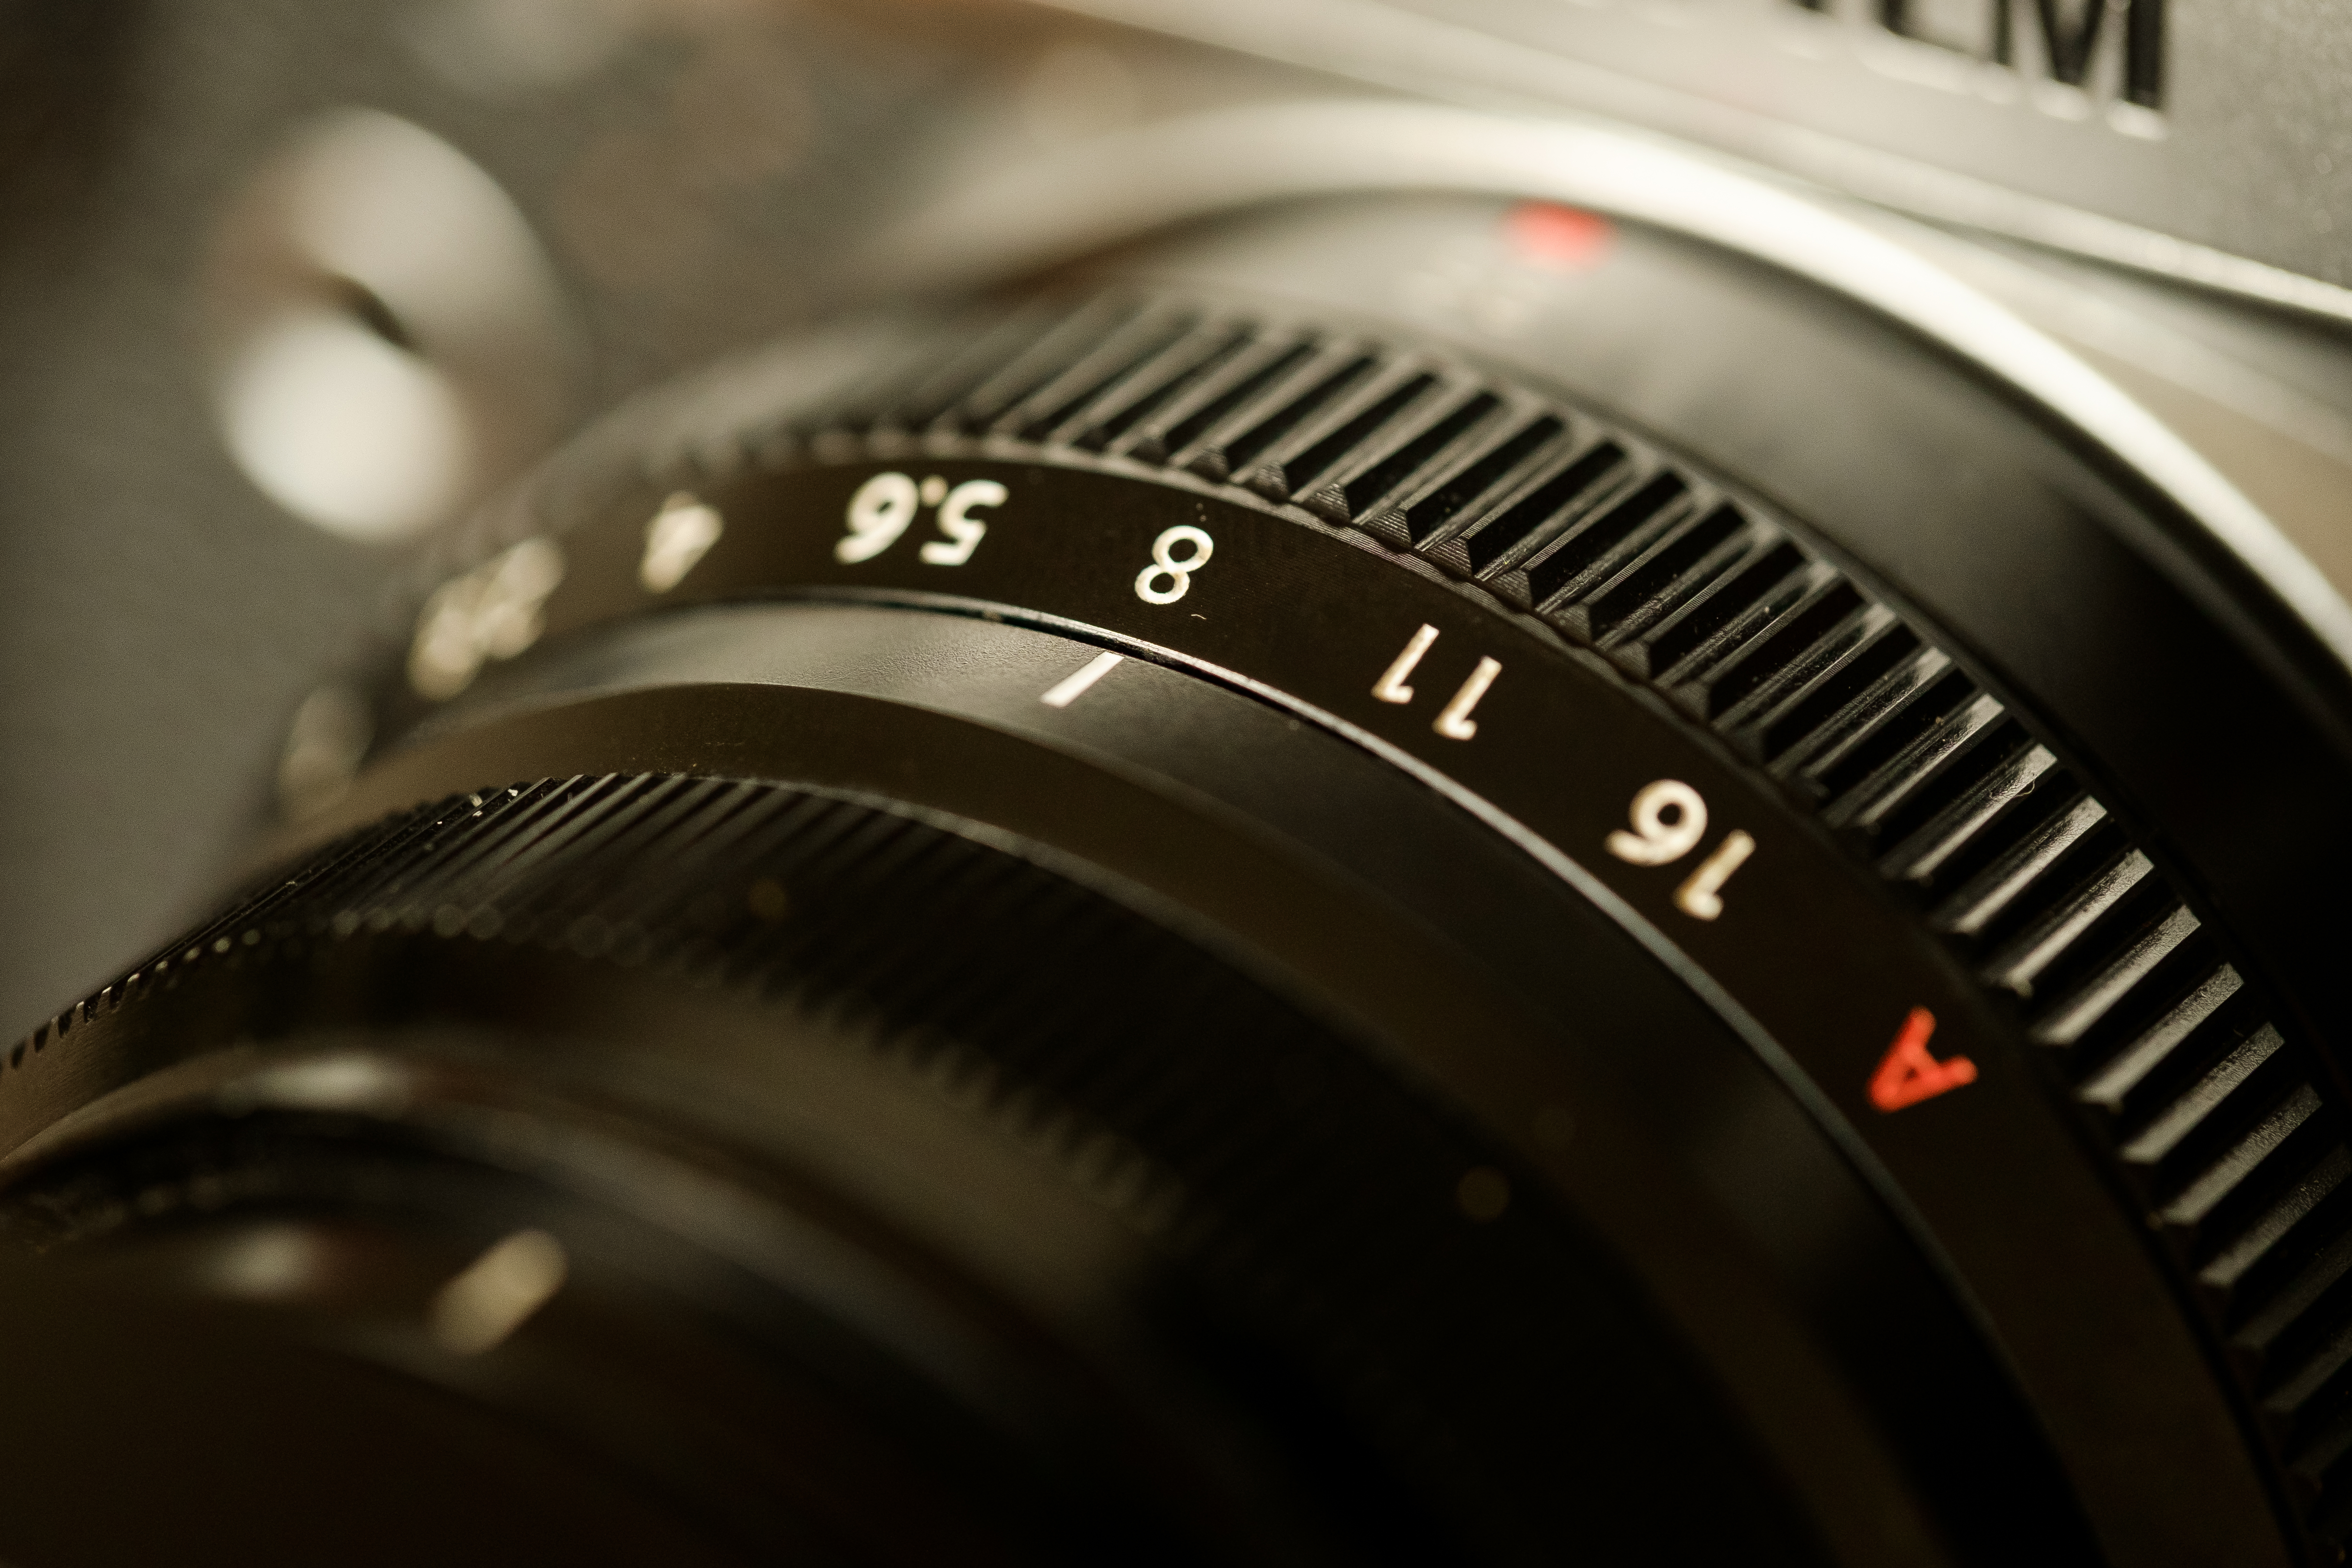
Around f/8 is usually a sweet spot for shooting off-camera flash, though sometimes I'll want a slightly shallower depth of field so will opt for perhaps f/4 or f/2.8 instead. I was shooting quite close to the backdrop at times for edgy environment framing purposes, so didn't want it too blurry. I find that also when shooting with more than two people shooting shallow will throw some of them out of focus; this can work well creatively but often with groups ideally you want most of them in focus so stop down to achieve this.
• Check out the best lenses for portraits
03 Select the shutter speed
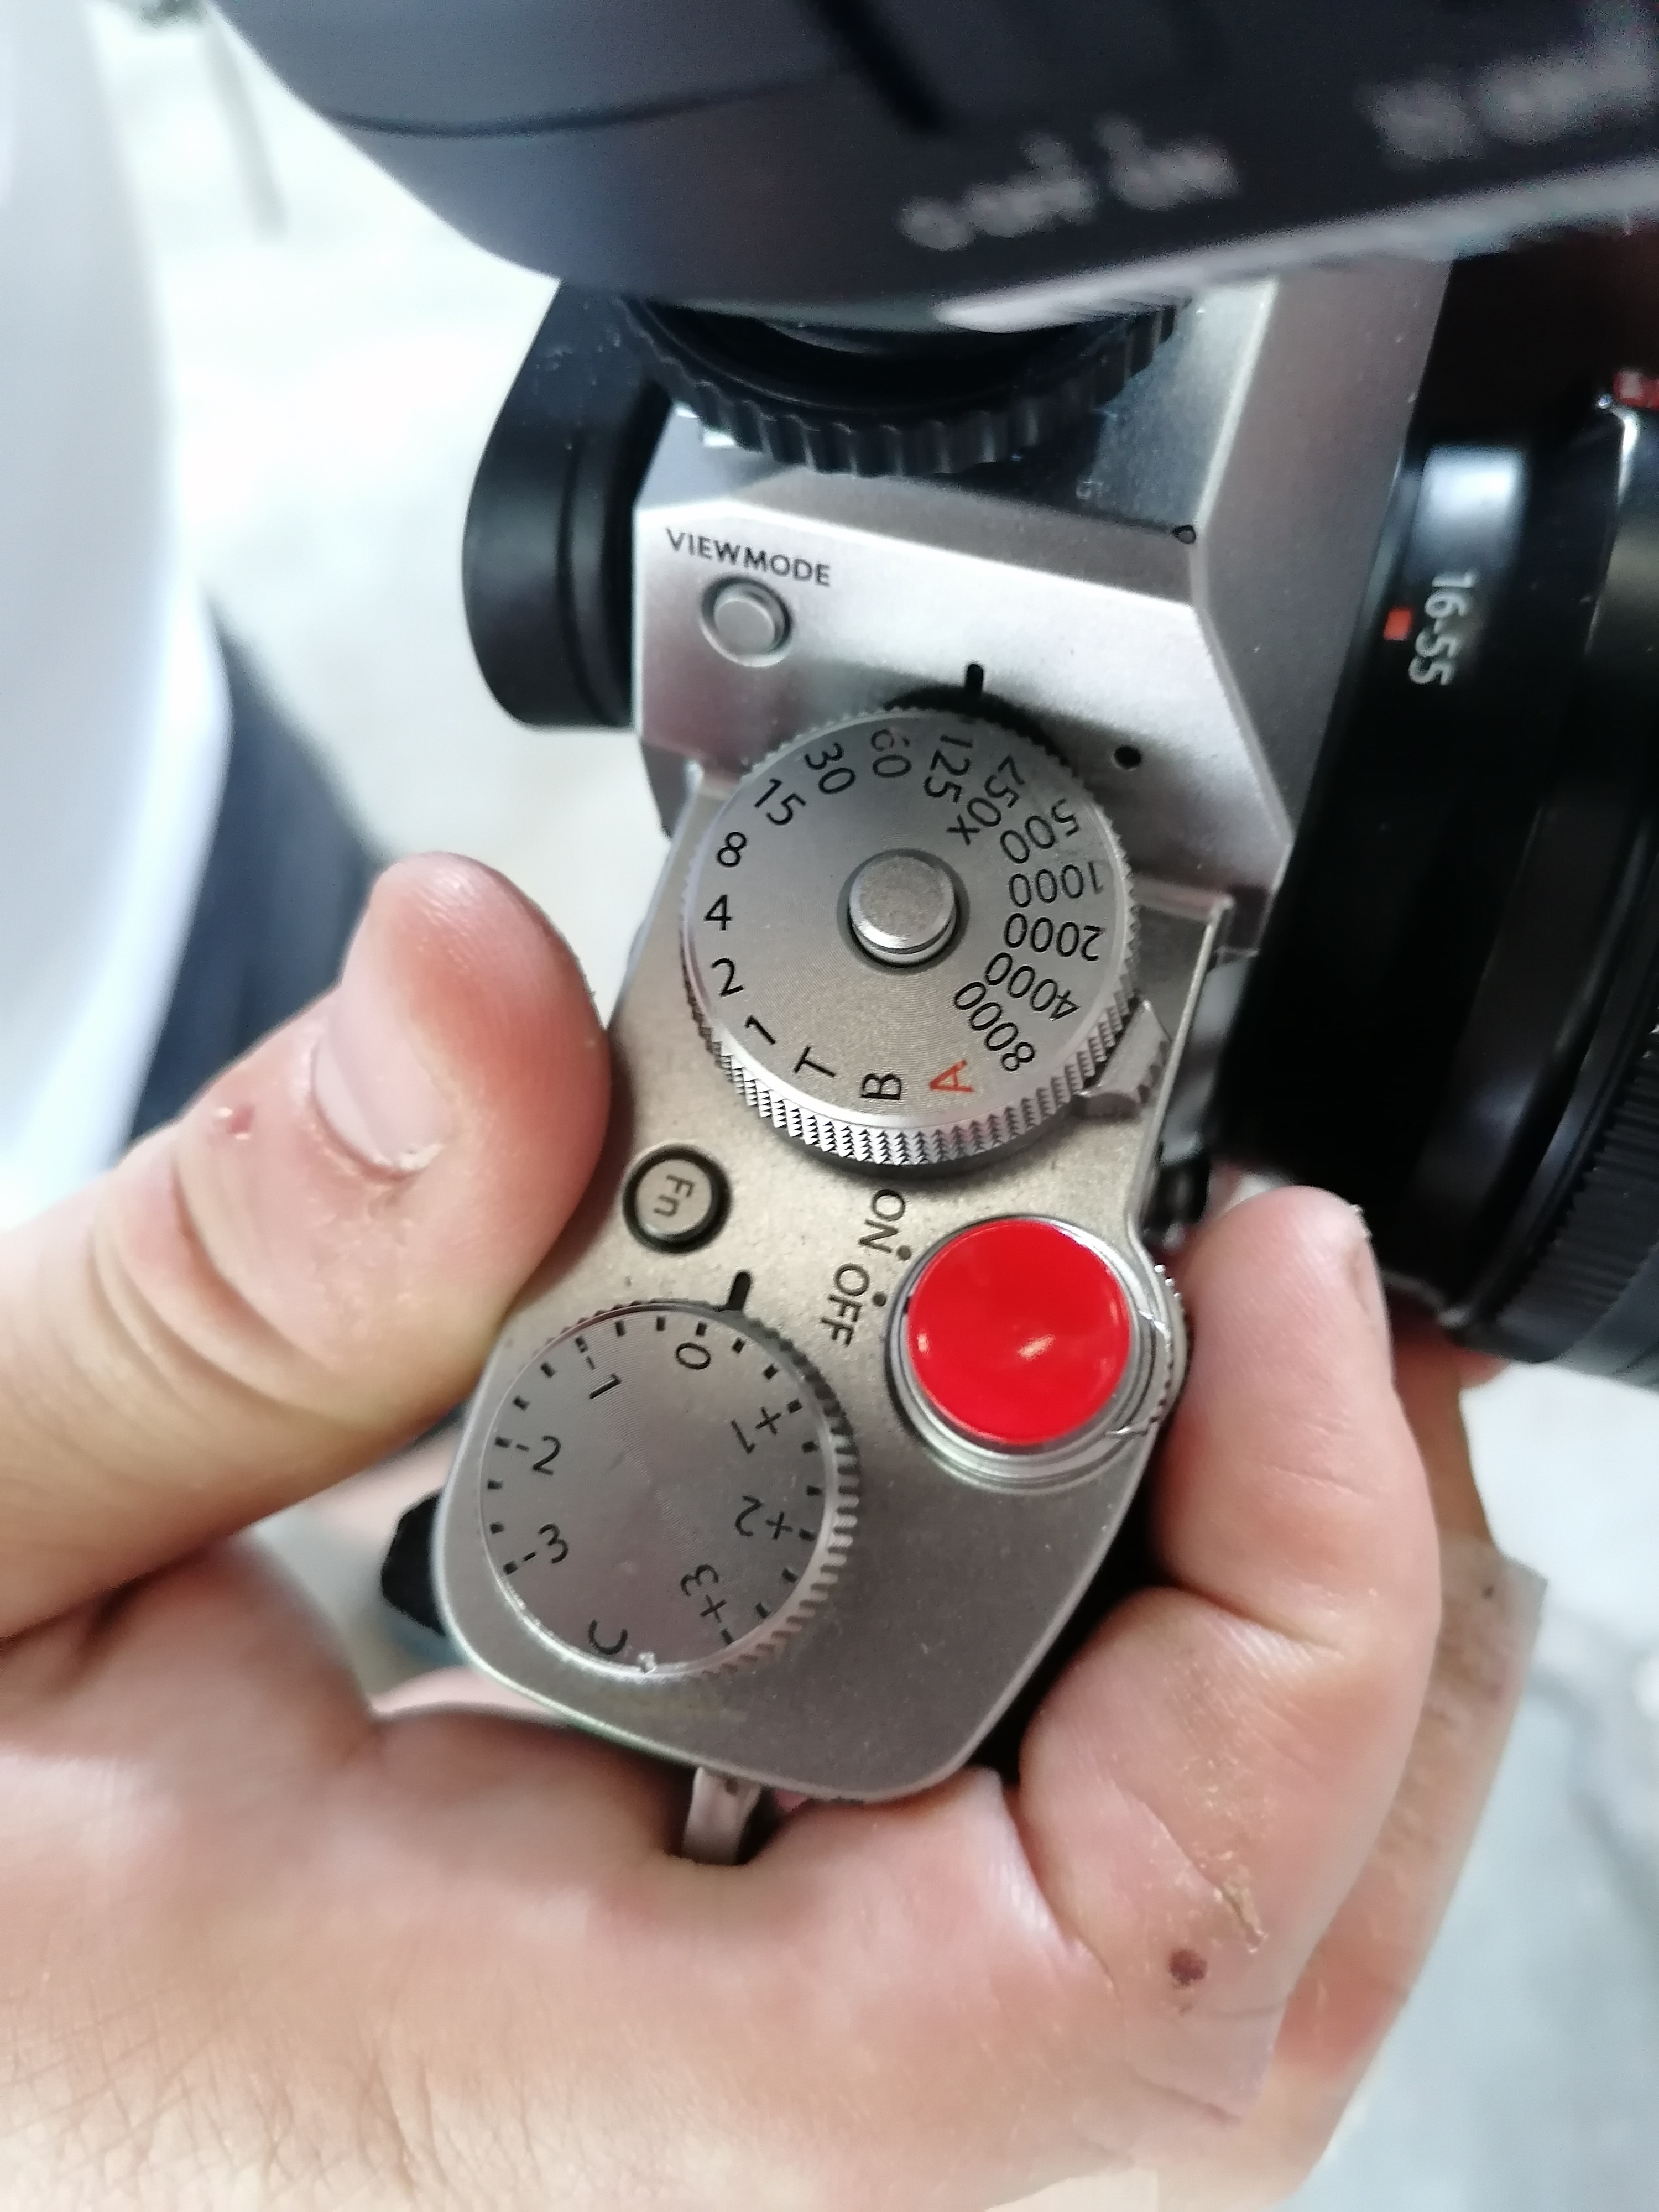
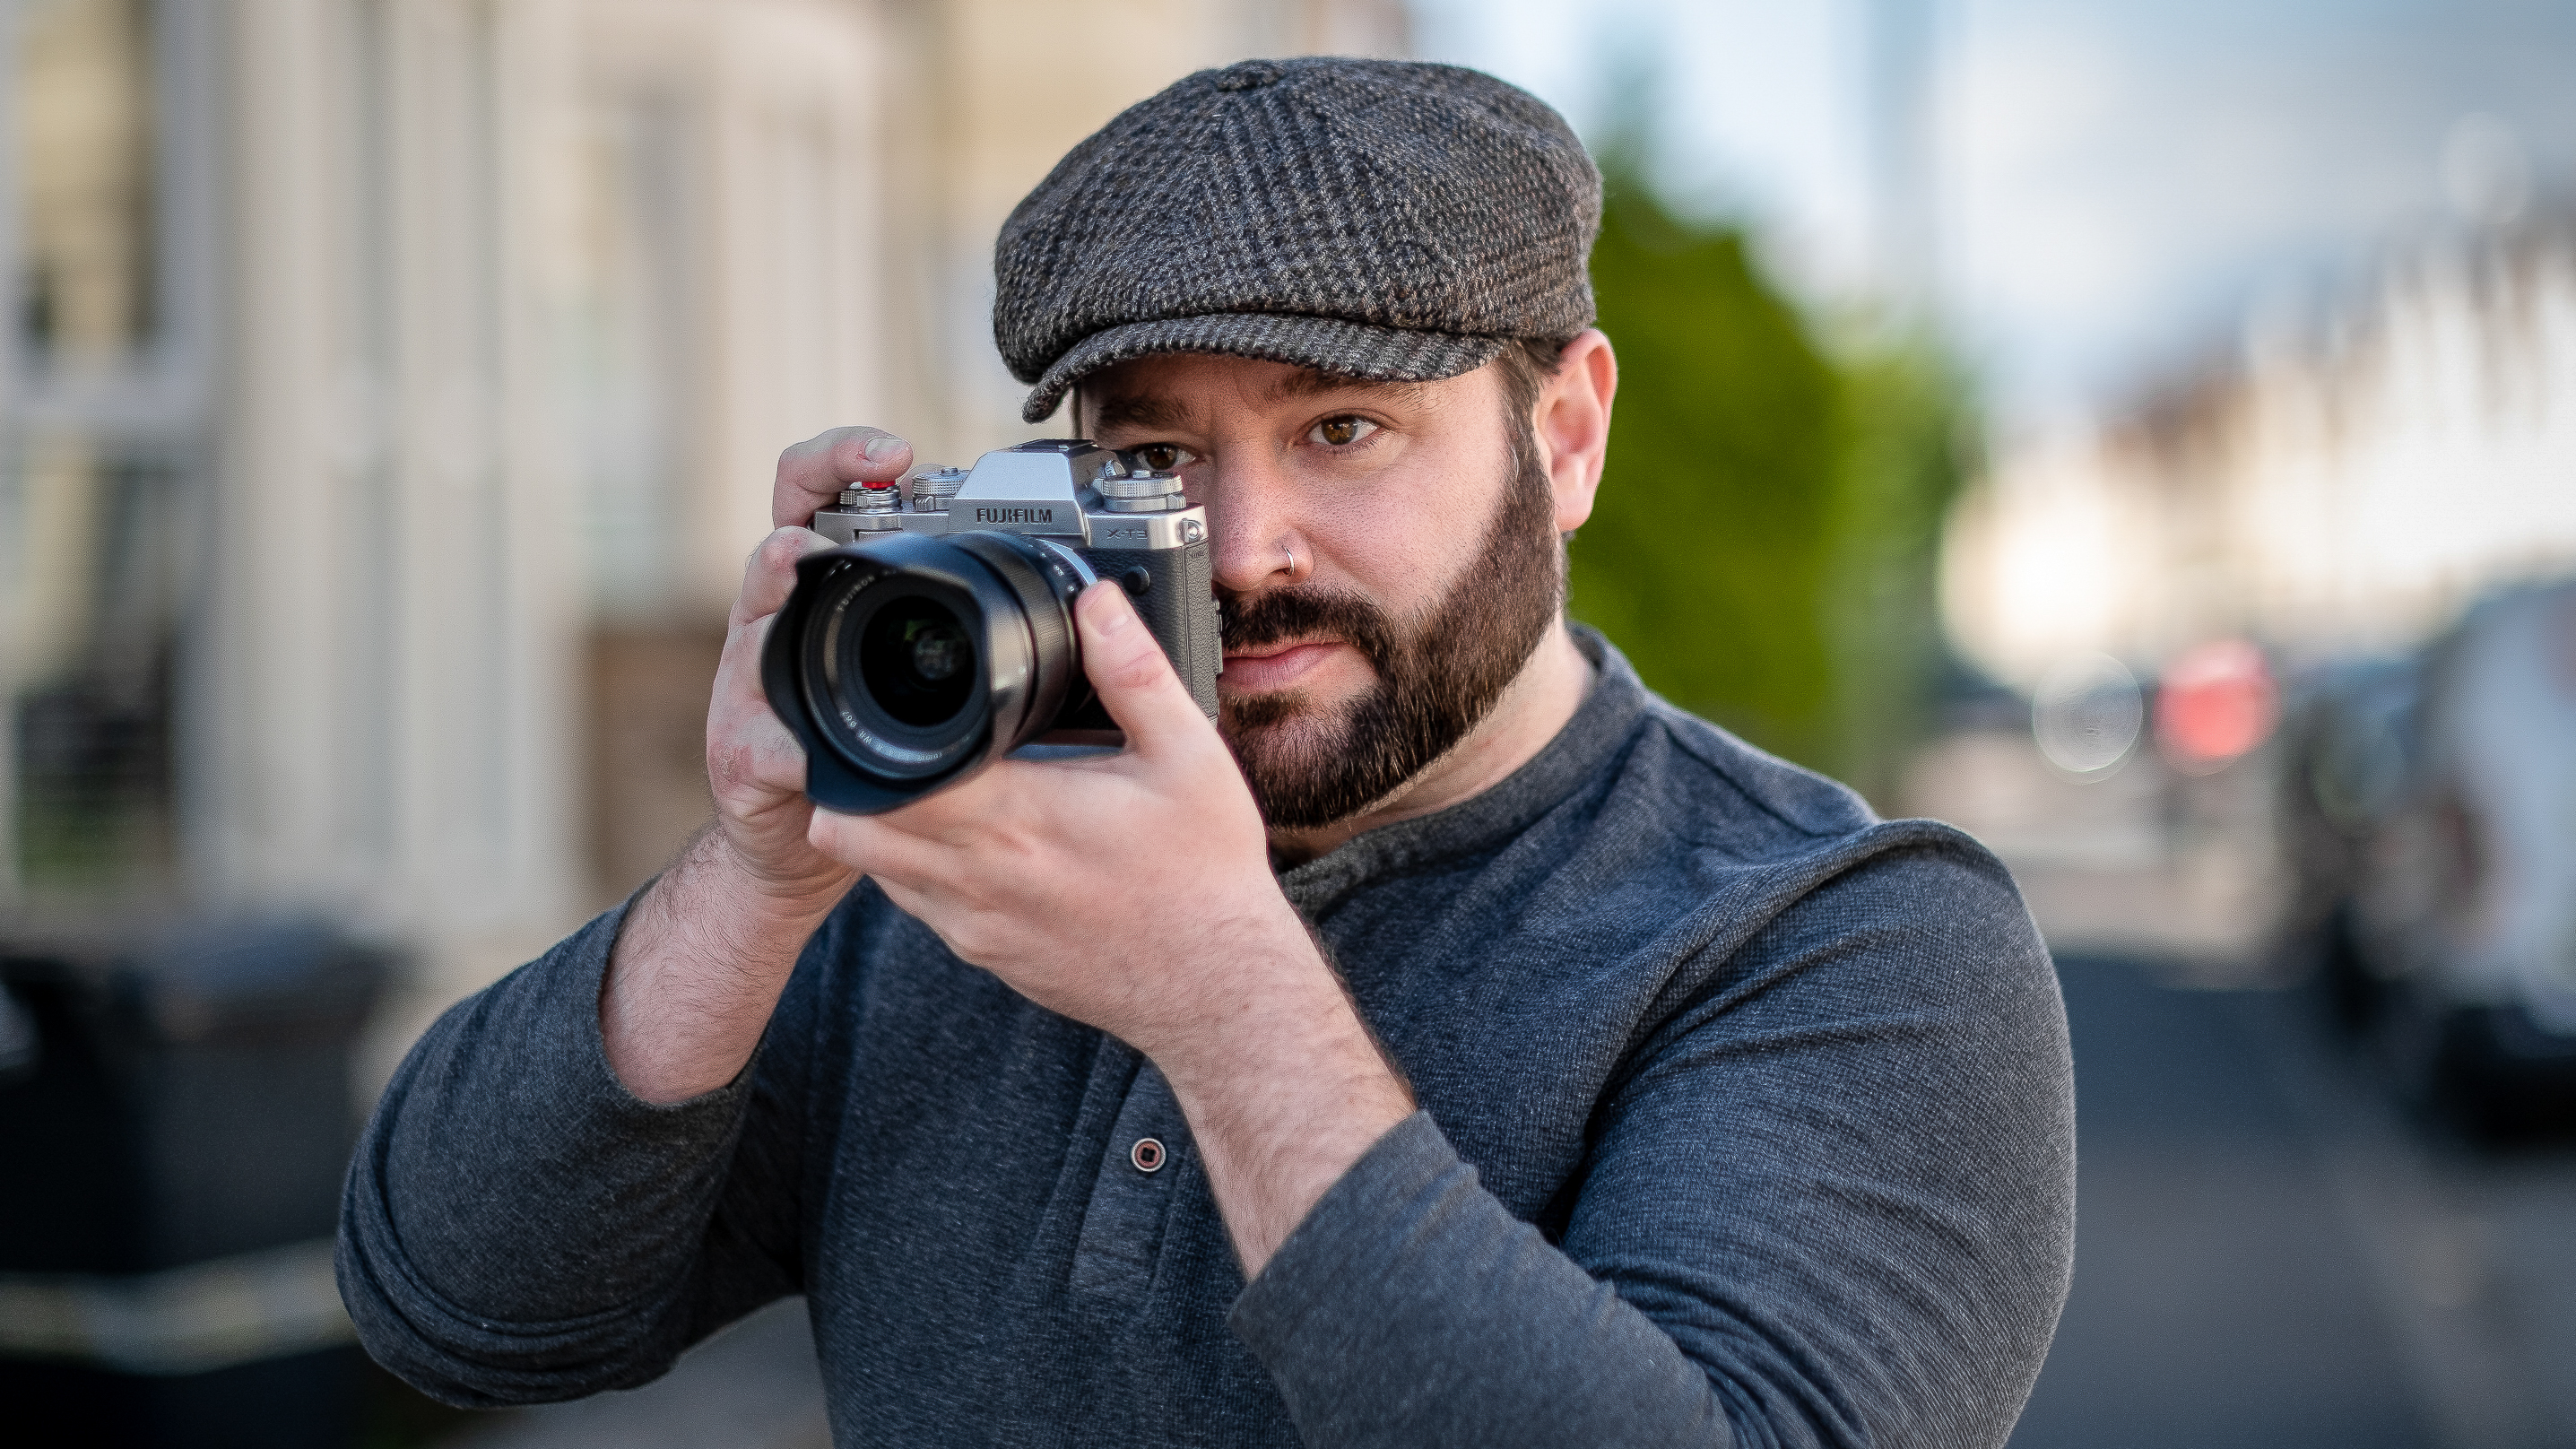
Again I’ve taken a slightly different approach to my normal settings for this shoot. My Fujifilm X-T3 syncs nicely to the flash at 1/250 sec, but I wanted to allow a little more ambient light to expose my background, so I went for a slower shutter speed of 1/125 sec. This was still fast enough to freeze the flickering of the flames that Suzy would be holding while I took the shot.
04 Dial in the flash power
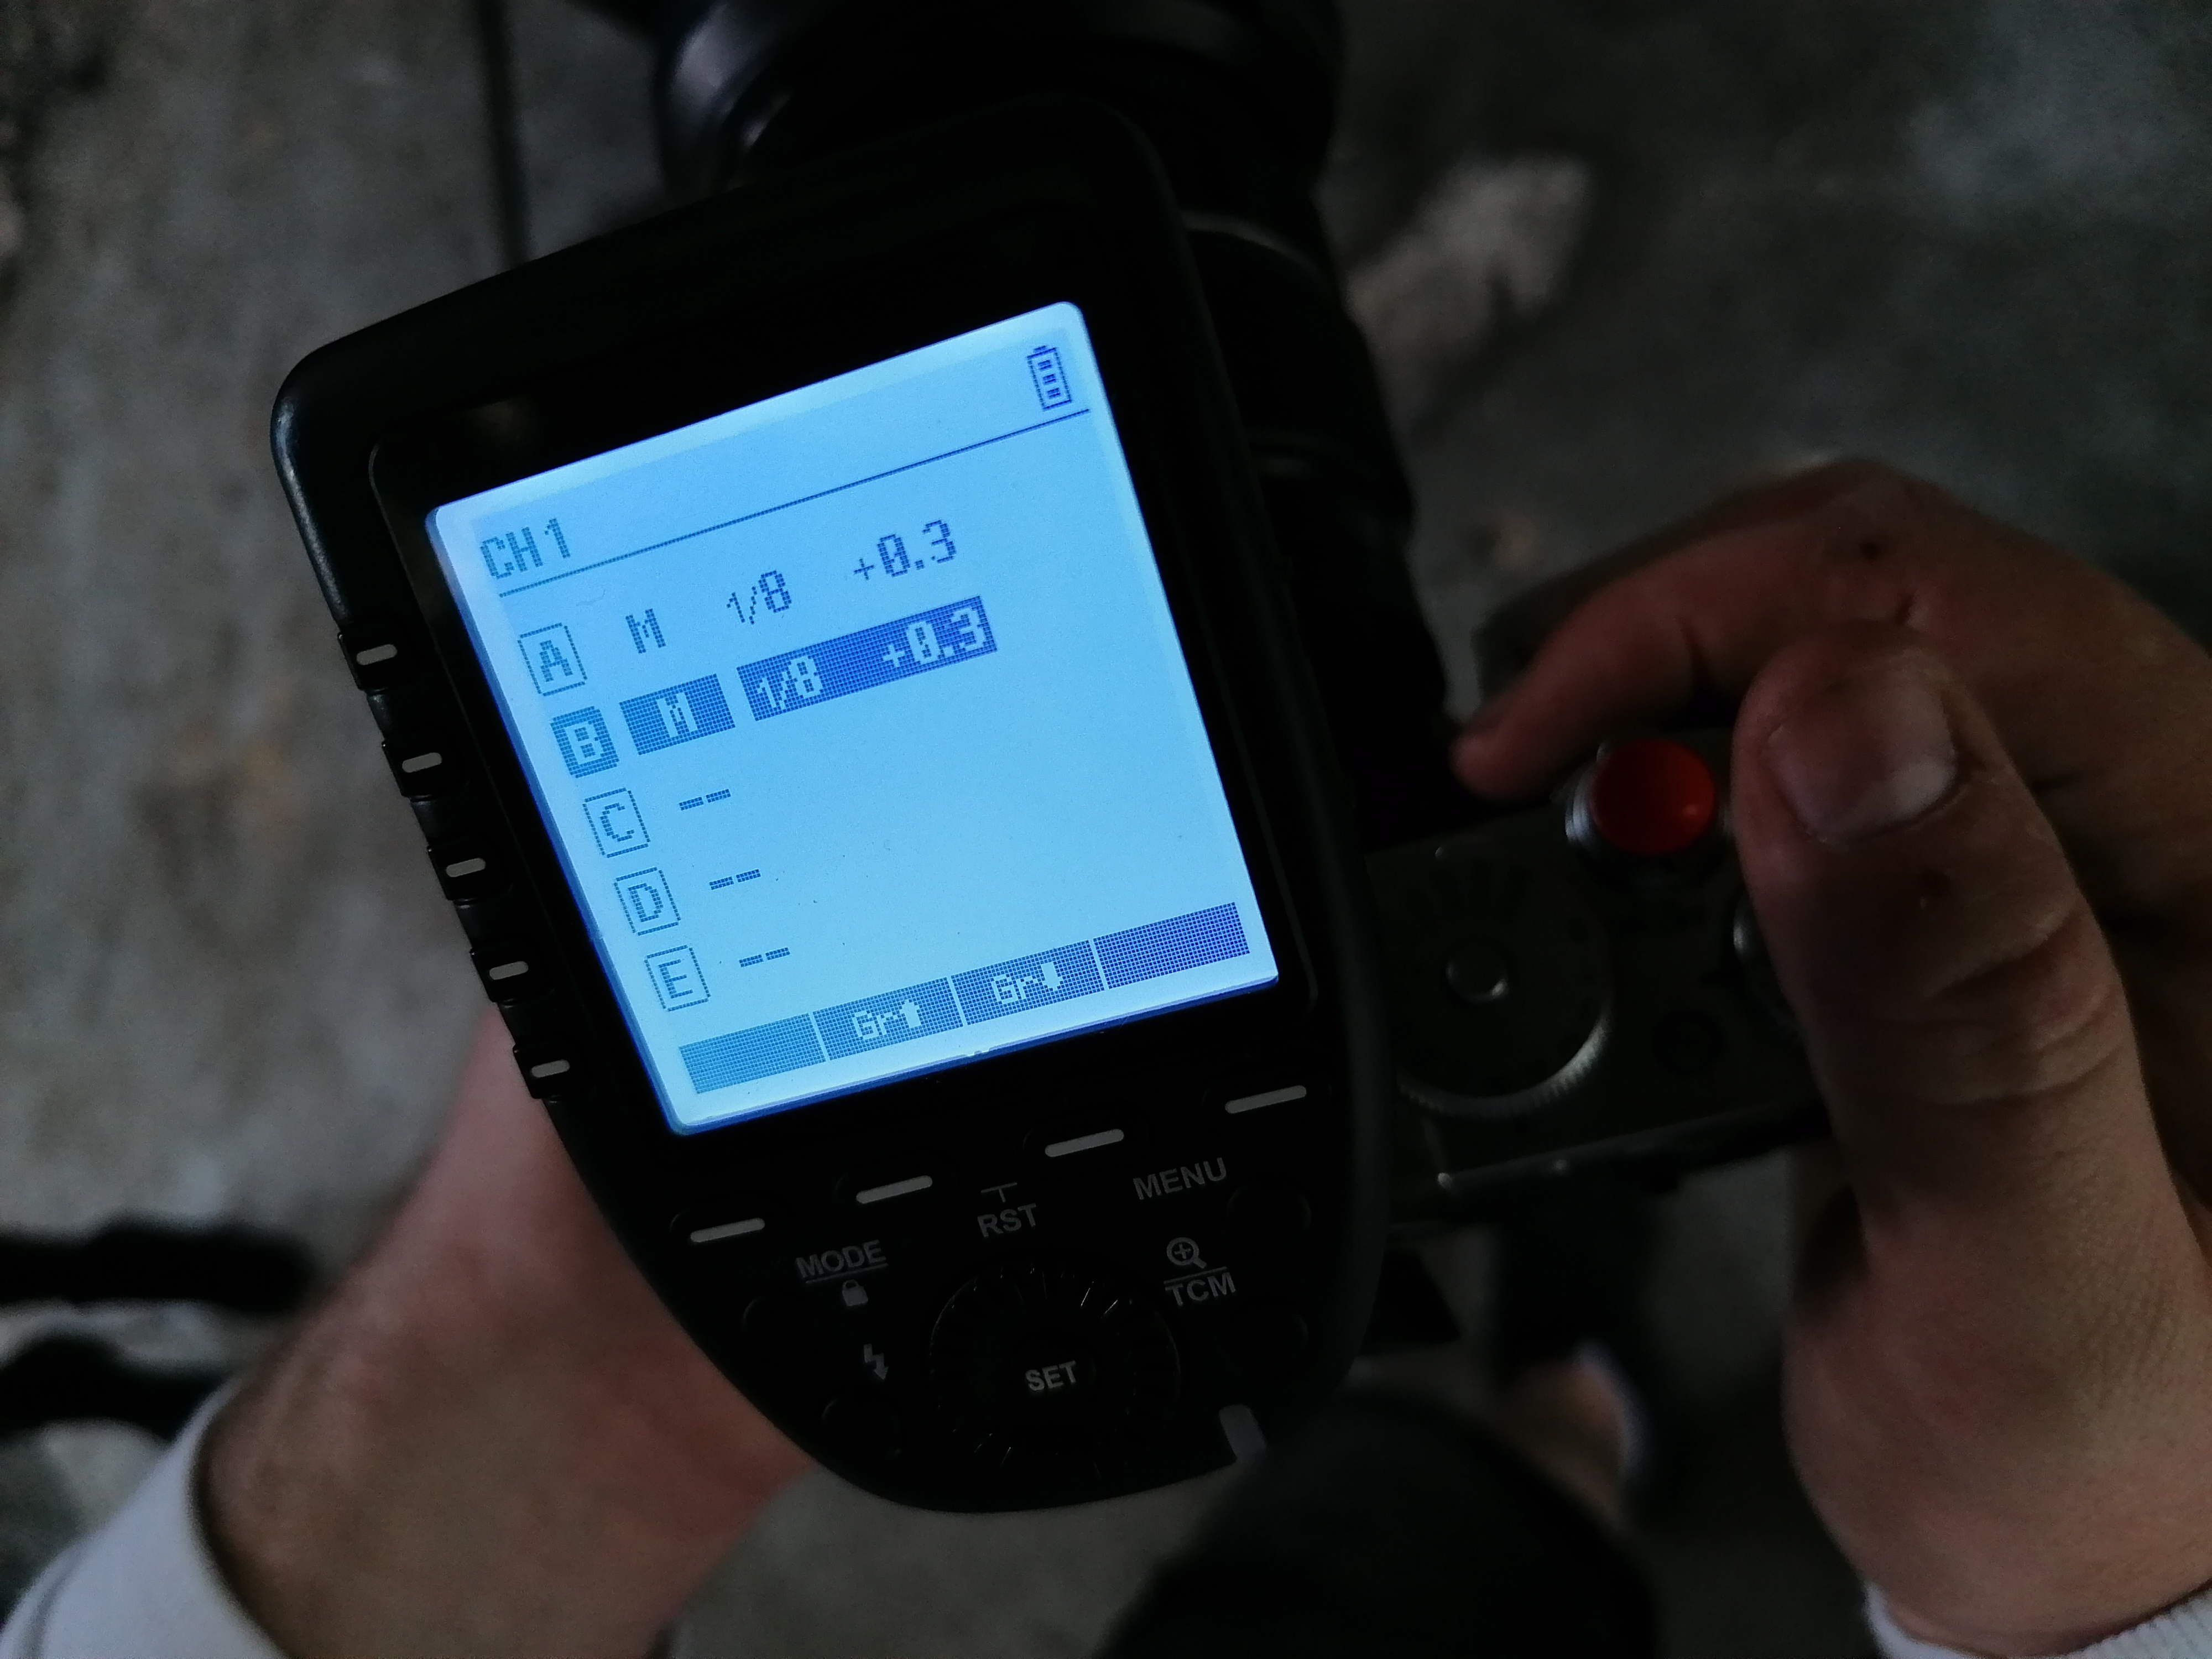
You might have to experiment with the flash power depending on your camera settings and more importantly the environment you're shooting in. The warehouse was quite dark in places, so I found having both flashes at 1/8 power worked well. My fill light is usually a stop or two lower than the main light, but with the outfits being partially black, I needed more light to see the details there. To create a pleasing falloff in the lighting, place your lights about six feet away from your subject.
05 Shooting your images
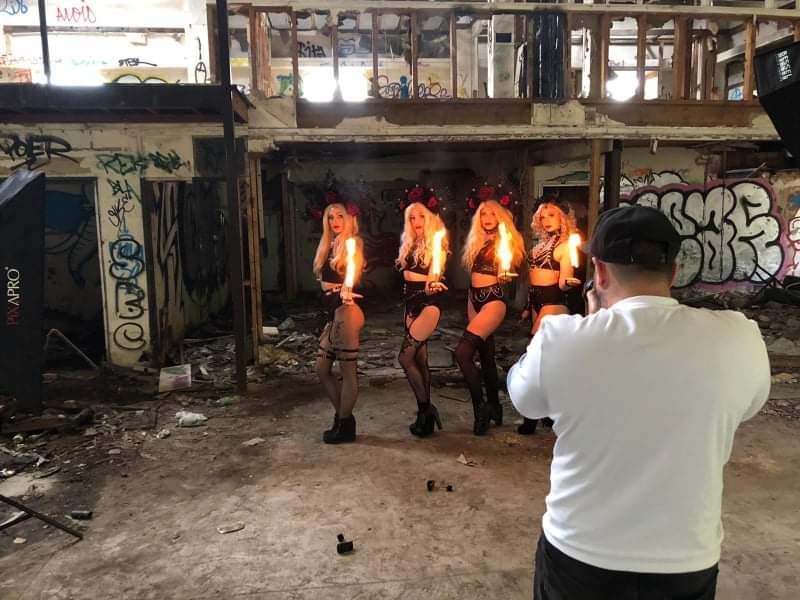
Once I was ready to shoot, the girls lit their fire sticks. At this point you might find that everything works perfectly, but you can also use this time for test shots, because the fire will introduce a new element of light to the scene. It might also be far brighter than you initially set up for; if this is the case, you can adjust your ISO accordingly. As the fire will die out in a very short time, you might only get a few shots in – so keep talking to your models to make the most of the time.
All of these images were shot under the safety guide of professional performers and pyro lighting technicians. Always ensure you've got all safety measures in place for the entirety of your shoot.
Read more:
Godox AD300 Pro / Flashpoint Xplor 300 Pro TTL R2 review
Fujifilm Fujinon XF 16-80mm F4 R OIS WR review
The best Fujifilm X-T3 deals and prices in March 2022
Alistair is the Features Editor of Digital Camera magazine, and has worked as a professional photographer and video producer.
