
Tips and tutorials
• How to download Photoshop
• 100 Photoshop tips!
• 15 top Photoshop fixes
• More Photoshop tutorials
• Photoshop Elements tutorials
Free Photoshop stuff
• 55 free Photoshop brushes
• 63 free Photoshop templates
• 52 free Photoshop plug ins
• 63 free Photoshop actions
• Free textures for Photoshop
• Free frames and borders
In an ideal world, you would get things right in camera, and you would not need to 'cheat' and tweak the composition. But the world is far from ideal - and sometimes you should have the artistic licence to alter things in Photoshop when you edit your images.
The Content Aware tool is a fantastic way of taking the pain out of moving subjects in your picture so that they are in a better place in the frame. The following step-by-step Photoshop tutorial will show you how this can be done…
Before: the problem

After: the Photoshop solution

Step 1: Duplicate the background
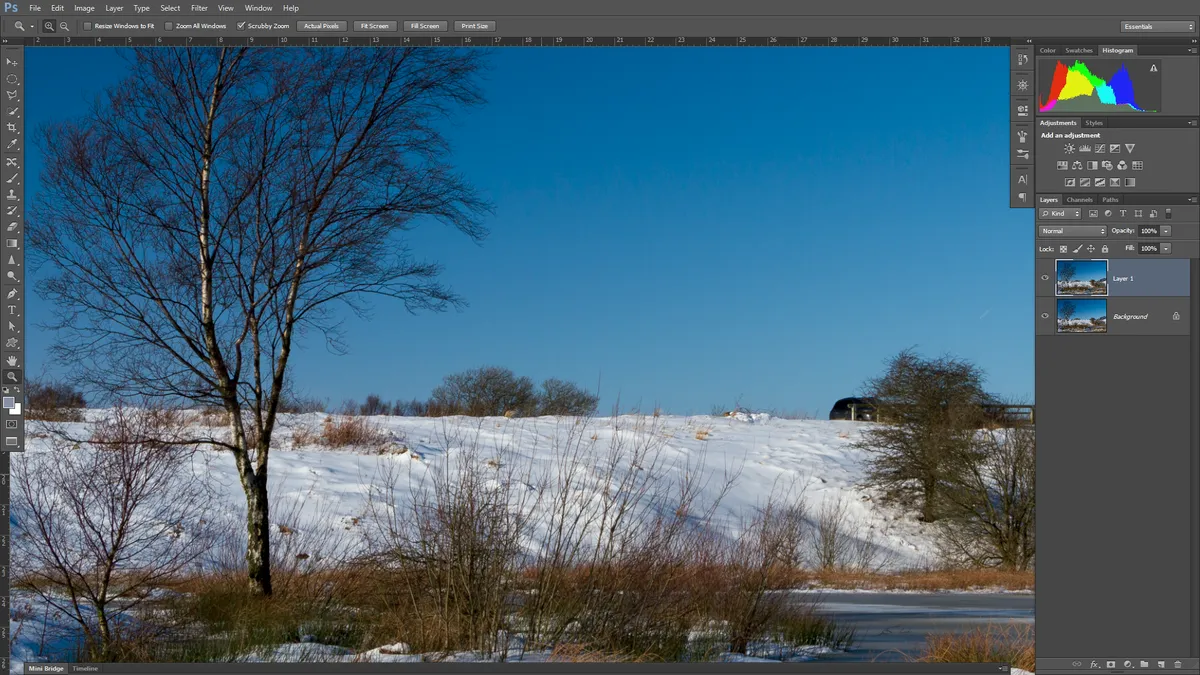
To make the process as non-destructive as possible and ensure we can adjust any automatic changes from Photoshop, make a copy of the background layer (Cmd/Ctrl+J) and work on the duplicate layer. The ability to use layer masking will be useful later.
Step 2: Make a selection

Use one of the Lasso tools to make a selection of the object you need to move within the frame. We used the Polygonal Lasso here to roughly draw an outline around the tree. Make sure you try to follow the object’s shape as much as possible.
Step 3: Move the object

Here the tree is a little too close to the frame edge – a placement that was necessary to compose out various visual distractions to the left of the tree. To move it further into the scene, we used the Content Aware Move Tool (J) to drag the selection to the right.
Step 4: Repair seams

Photoshop will automatically attempt to patch and fill the space left by the move. Here the pattern of the tree is complex so we masked out the areas of mismatching sky colour on the duplicate layer using a medium brush, with moderate hardness.
Step 5: Extend the canvas

To further balance the composition we will add more land and sky to the left of the tree. Use the Crop Tool (C) to extend the canvas and fill it with the Background Colour. Select this new canvas with the Magic Wand (W), go to Edit>Fill.
Step 6: Fill empty space

Choose Content Aware as the method under the Use dropdown menu. Photoshop will sample the surrounding canvas to derive colour and texture. This image has a uniform sky but in more complex scenes, some retouching may be necessary.
Read more:
The best photo editing software
Photo editing tips and shortcuts
More photography tutorials
More photography tips

