5 essential boudoir photography tips
Create beautiful boudoir photography with the right gear, the right lighting skills and our range of posing tips
Watch the video: Home photography ideas – Shoot beautiful boudoir
Boudoir photography is big business nowadays and, if you’re a portrait photography specialist, it’s a useful skill to master. First off it’s worth thinking about the style of shoot; classic glamour has its place, but it’s not here.
It’s not just about hiding the rude bits – we need a style of photography that celebrates the shape of the model’s body without objectifying them. here’s an element of empowerment to boudoir, which is why, more often than not, it’s women – rather than husbands or partners – who willingly seek out and pay for this type of photo shoot. It’s a boost for the ego, and a chance for them to say ‘I can look like this if I want to’.
So how do we get this sense of empowerment across in the photos? Firstly we talk to our model and find out the kind of looks and styles that appeal to her to give us an idea of what she wants to show – or hide – and what she considers her best features. The best portrait photographers learn how to emphasize a person’s most interesting or alluring assets and play down the unflattering parts. With boudoir, this is vital. On the technical side, there are choices that we can make to take our shots out of the Reader’s Wives category and into the realms of the pros
It’ can be a boost for a woman’s confidence, and a chance for her to celebrate her shape now and to say, “I can look this beautiful if I want to.”
• Get more Home photography ideas
• Best online photography courses
The best camera deals, reviews, product advice, and unmissable photography news, direct to your inbox!
Boudoir photography posing tips
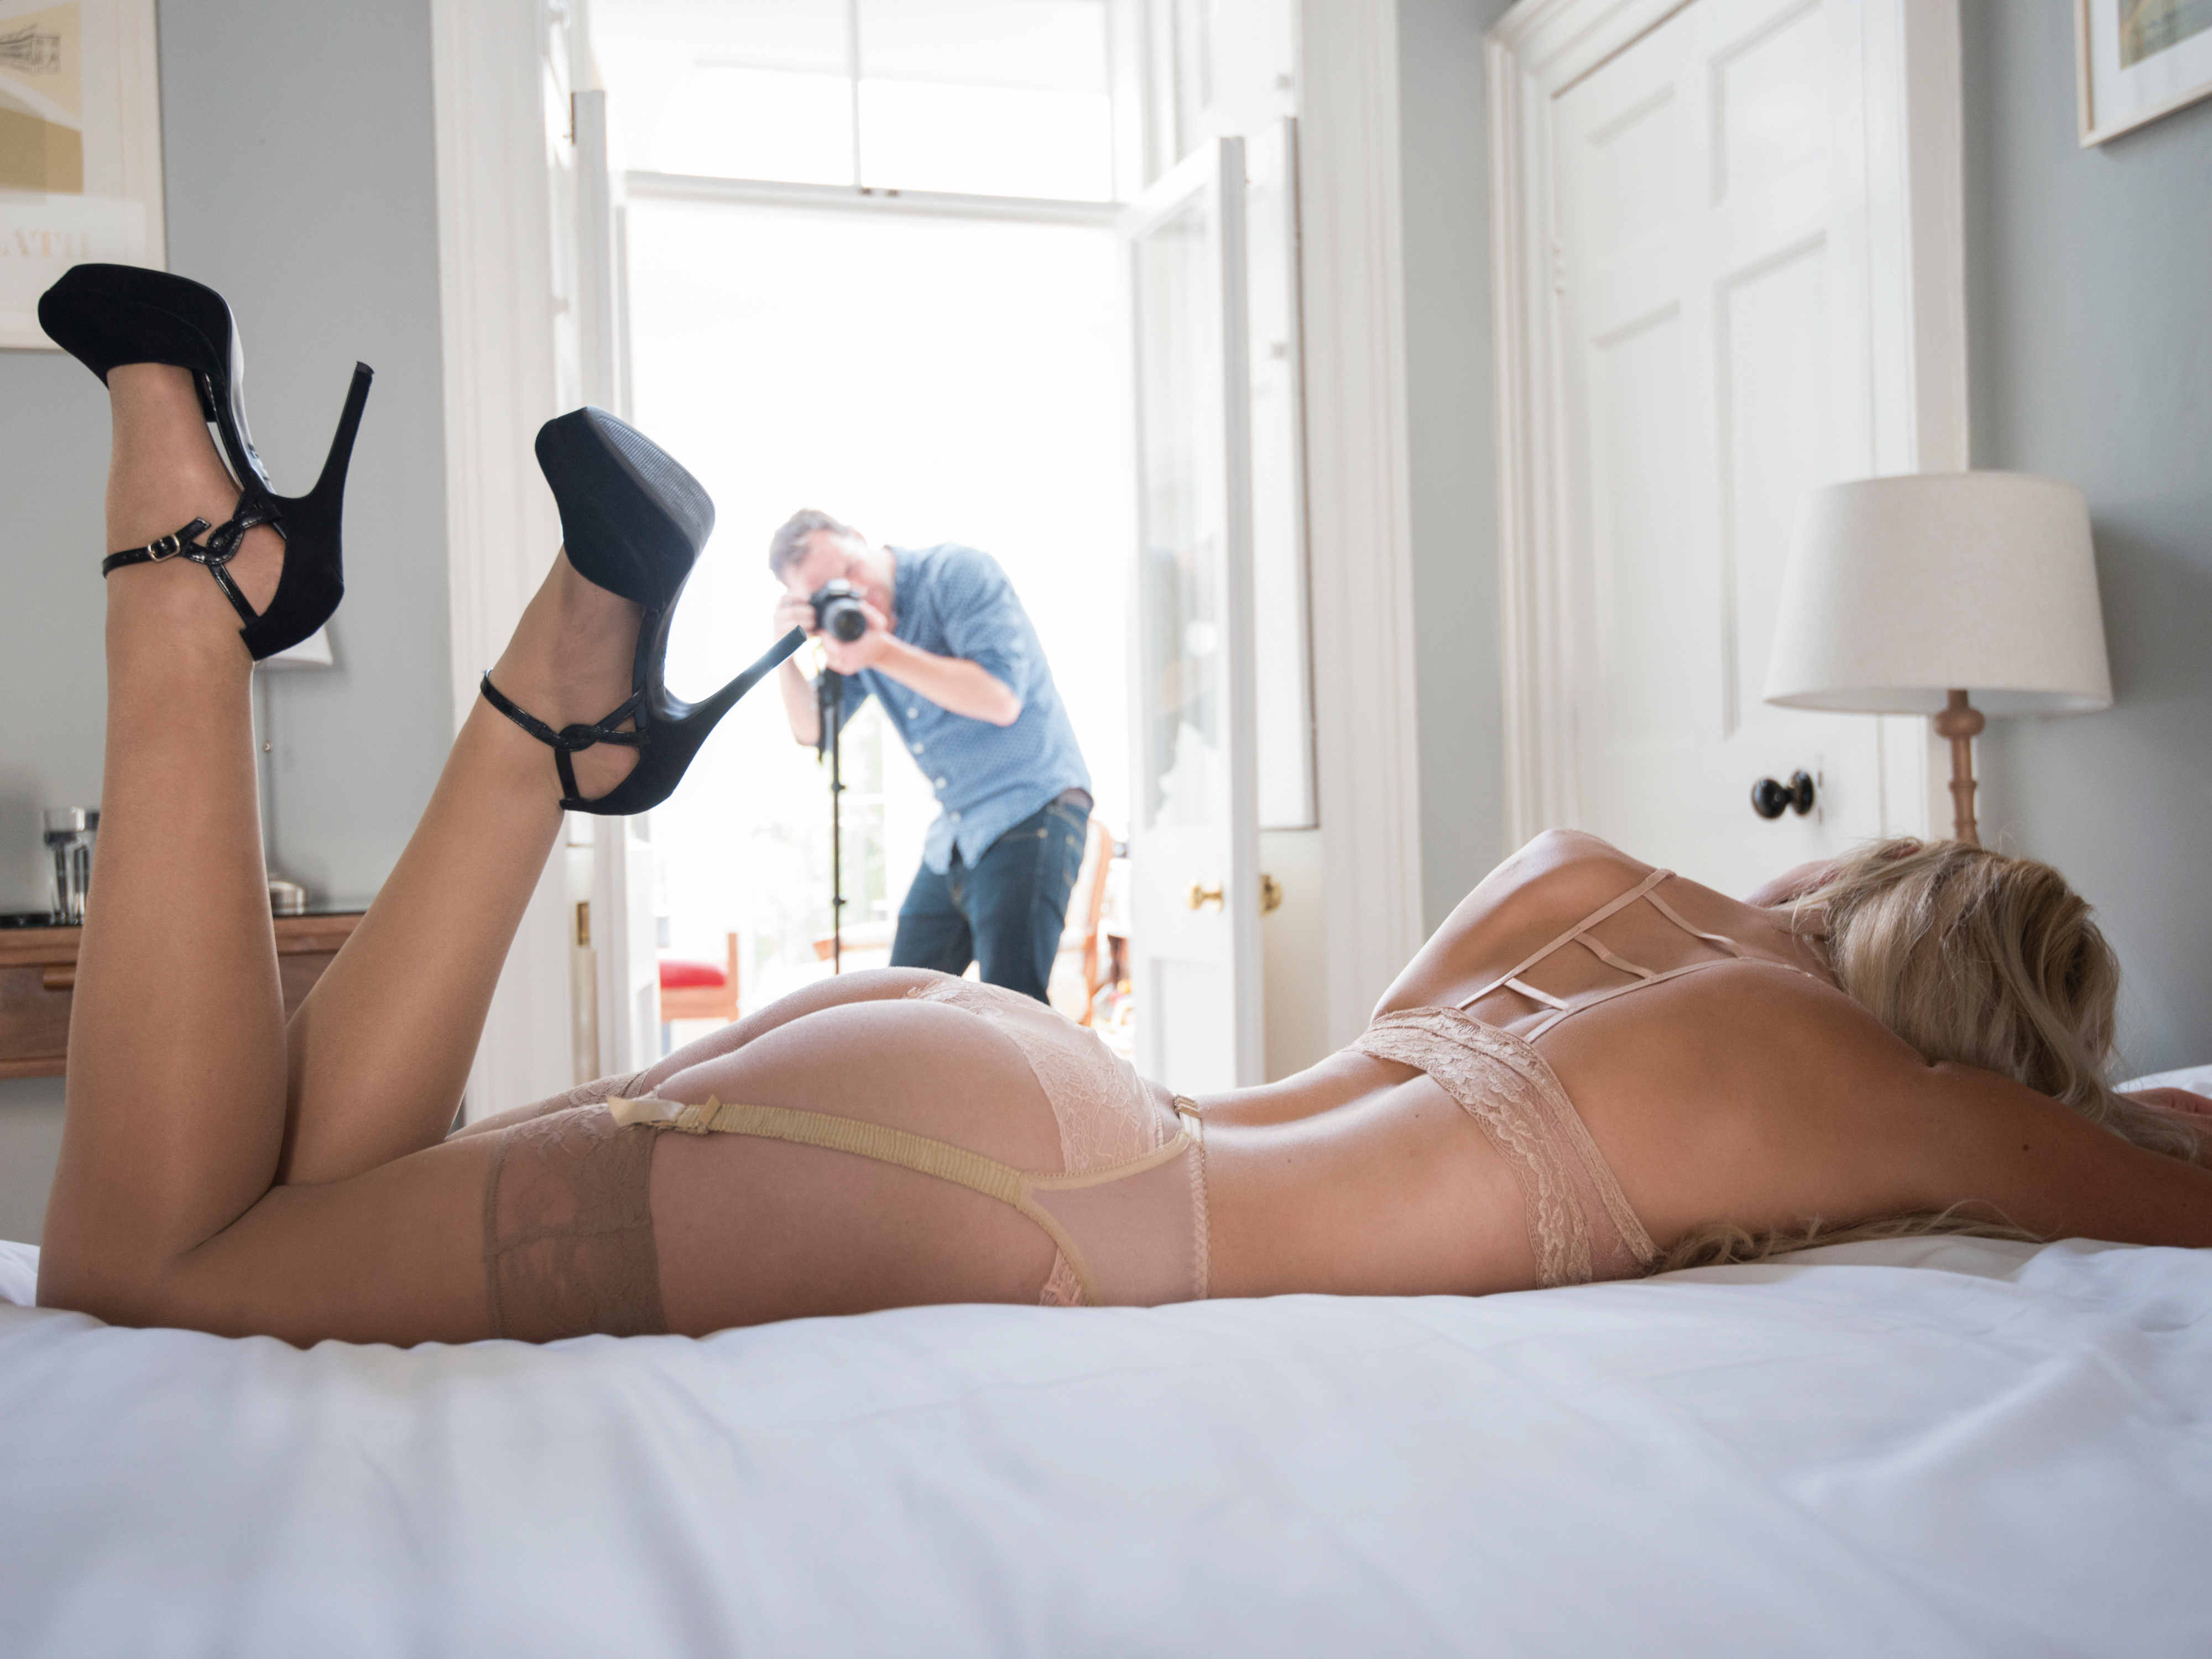
Posing tip 1: On the bed
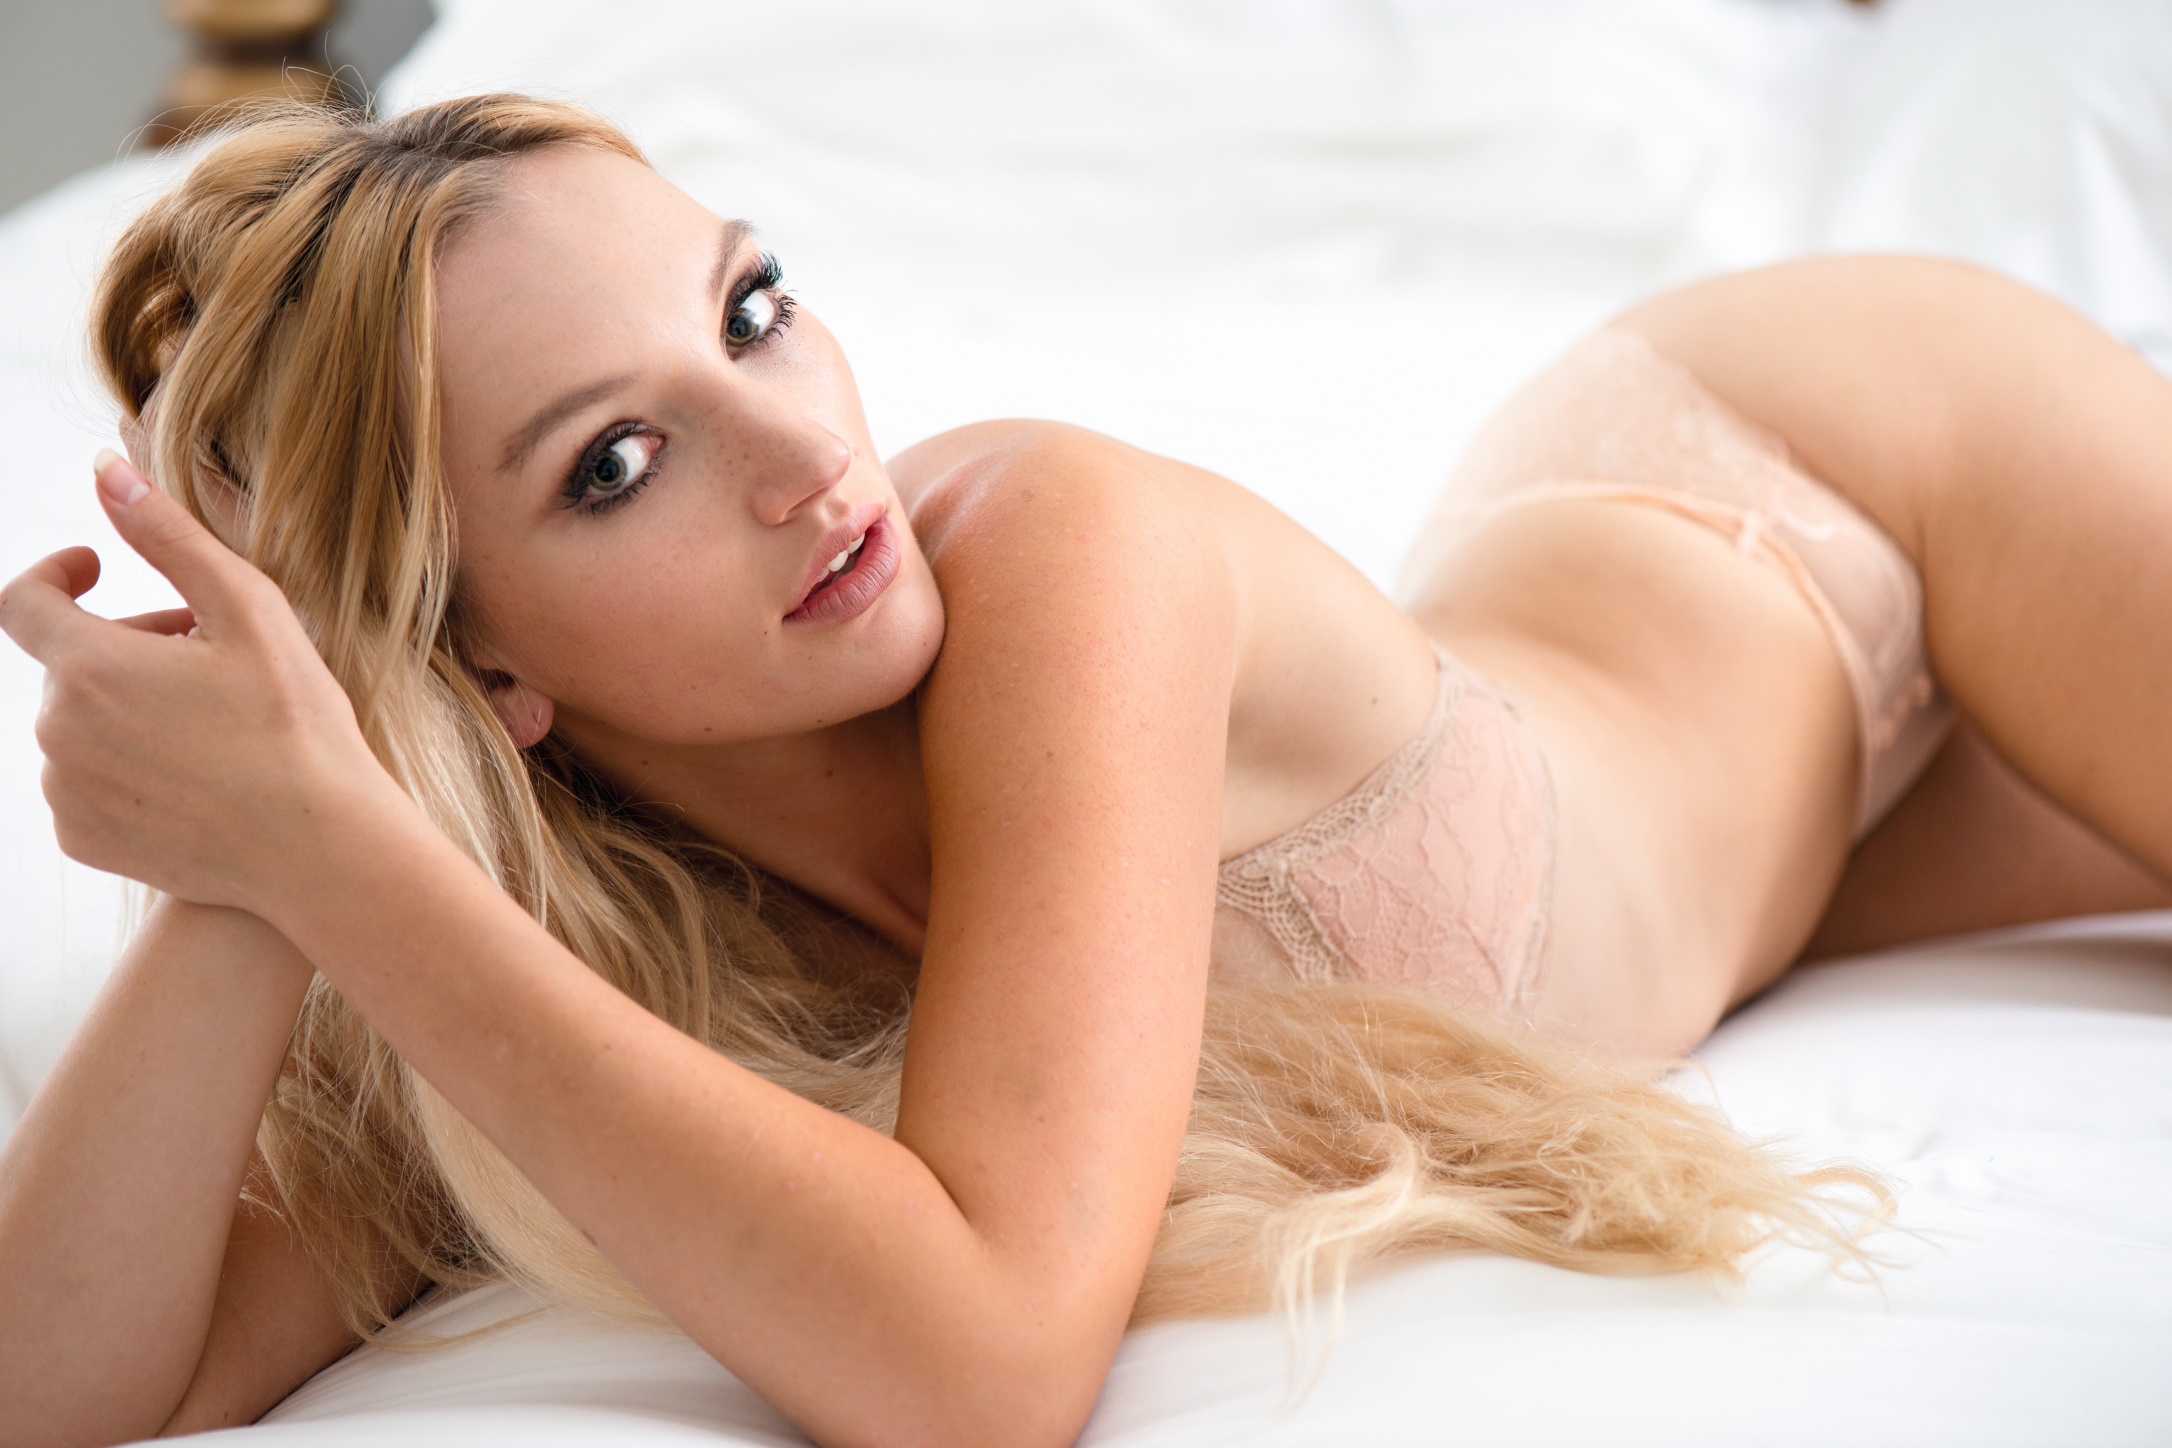
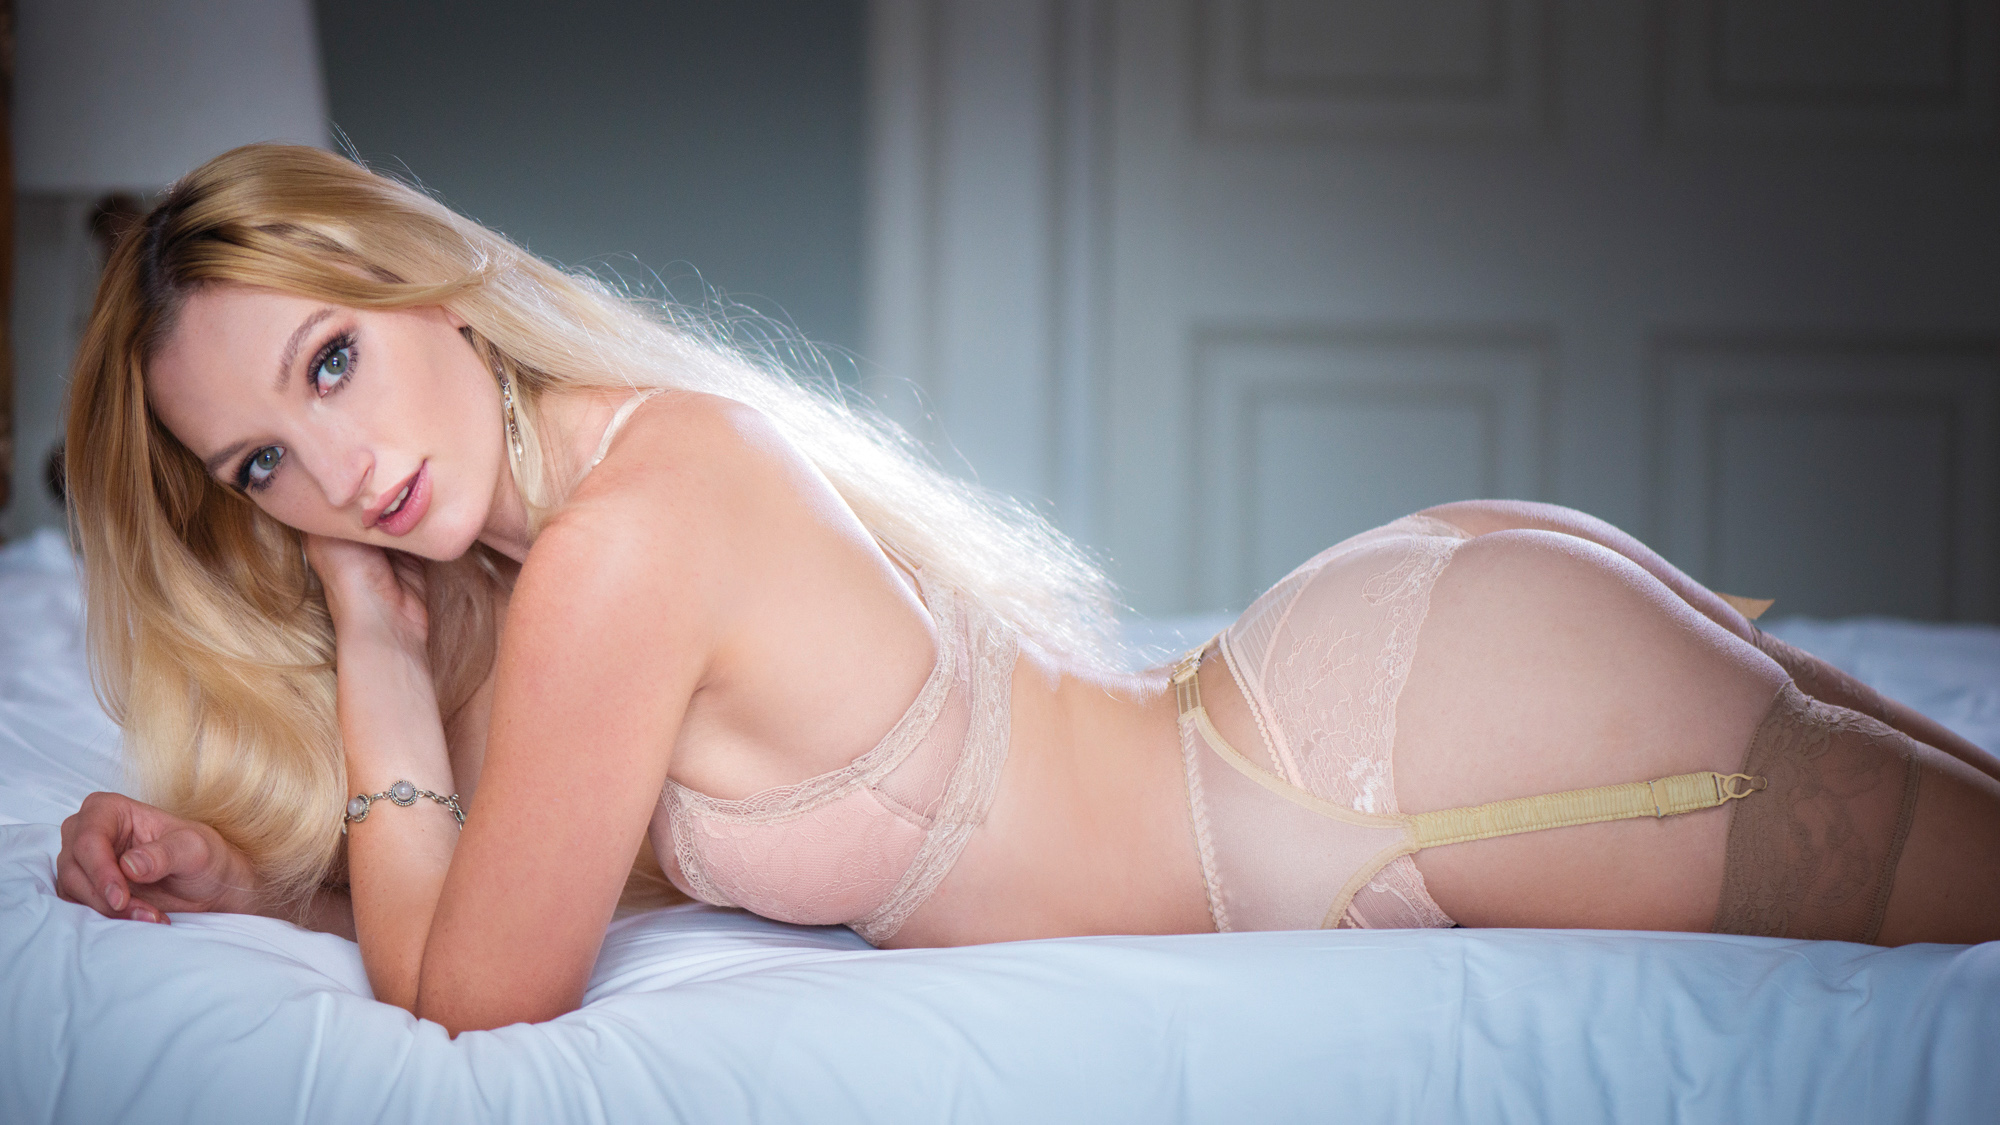
For one of the classic boudoir shots, get your subject lying on the bed, on their tummy or side. The angle is flattering on the face, it presents a great cleavage, and it gives you the opportunity to either go in for a close up or pull out for a full body shot. For heavier ladies, the front-on view in the above image can be more flattering. Ask them to cross their legs behind them then shift the hips onto one side to create a great curve to the back and the behind.
Lighting: Window light from opposite windows behind and in front of subject
Exposure: 1/80 sec, f/2.8, ISO1000
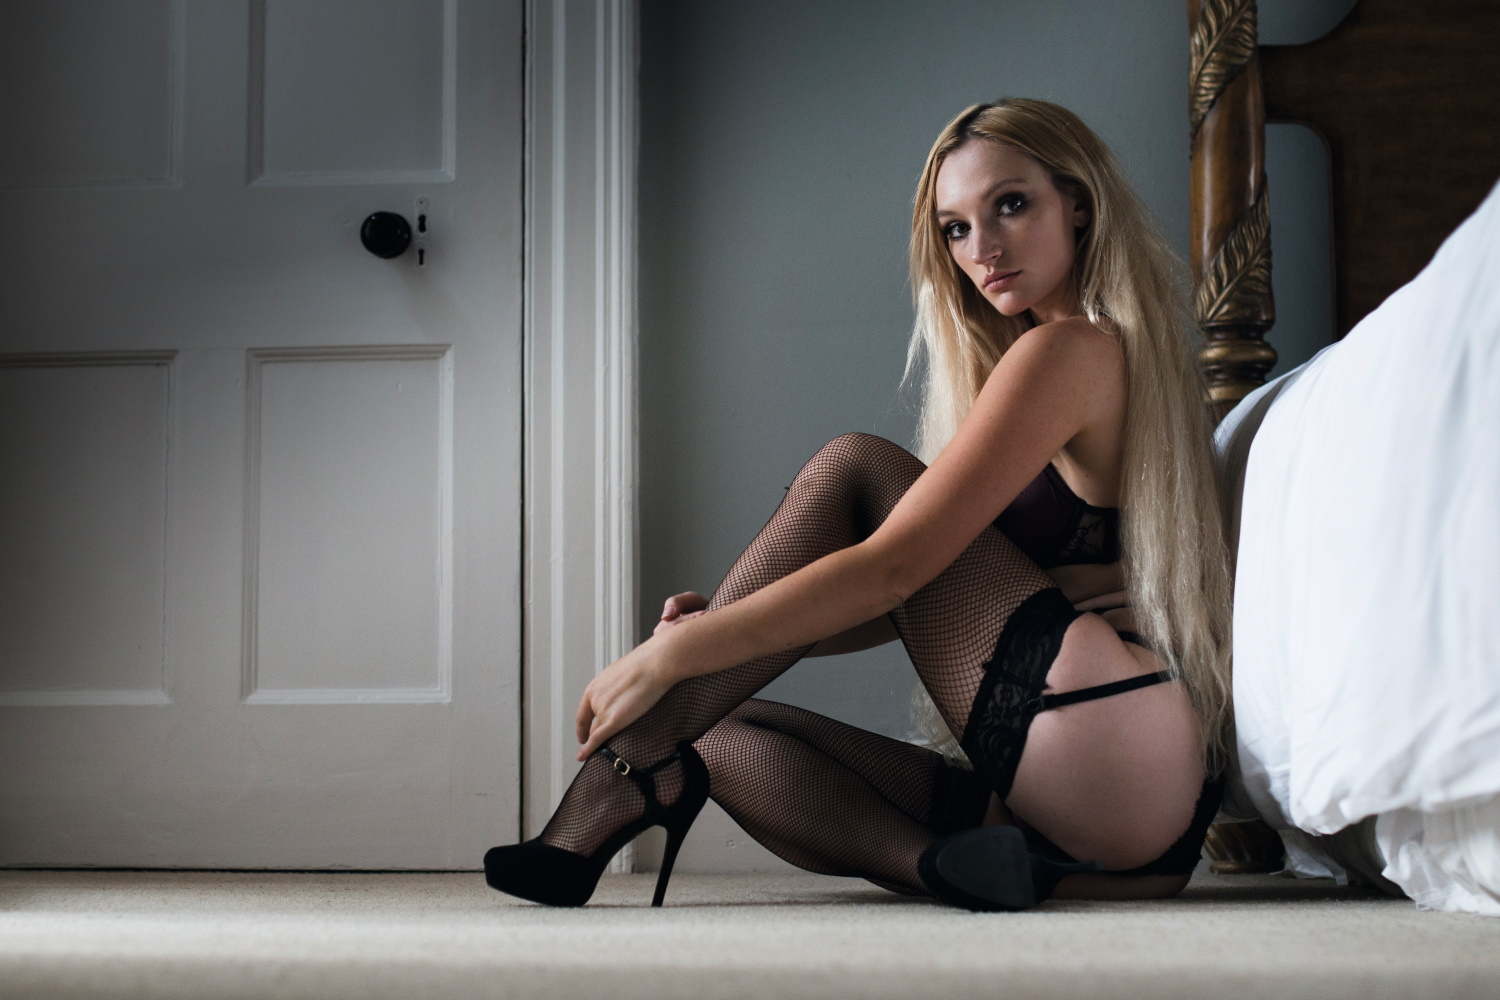
Posing tip 2: At the window
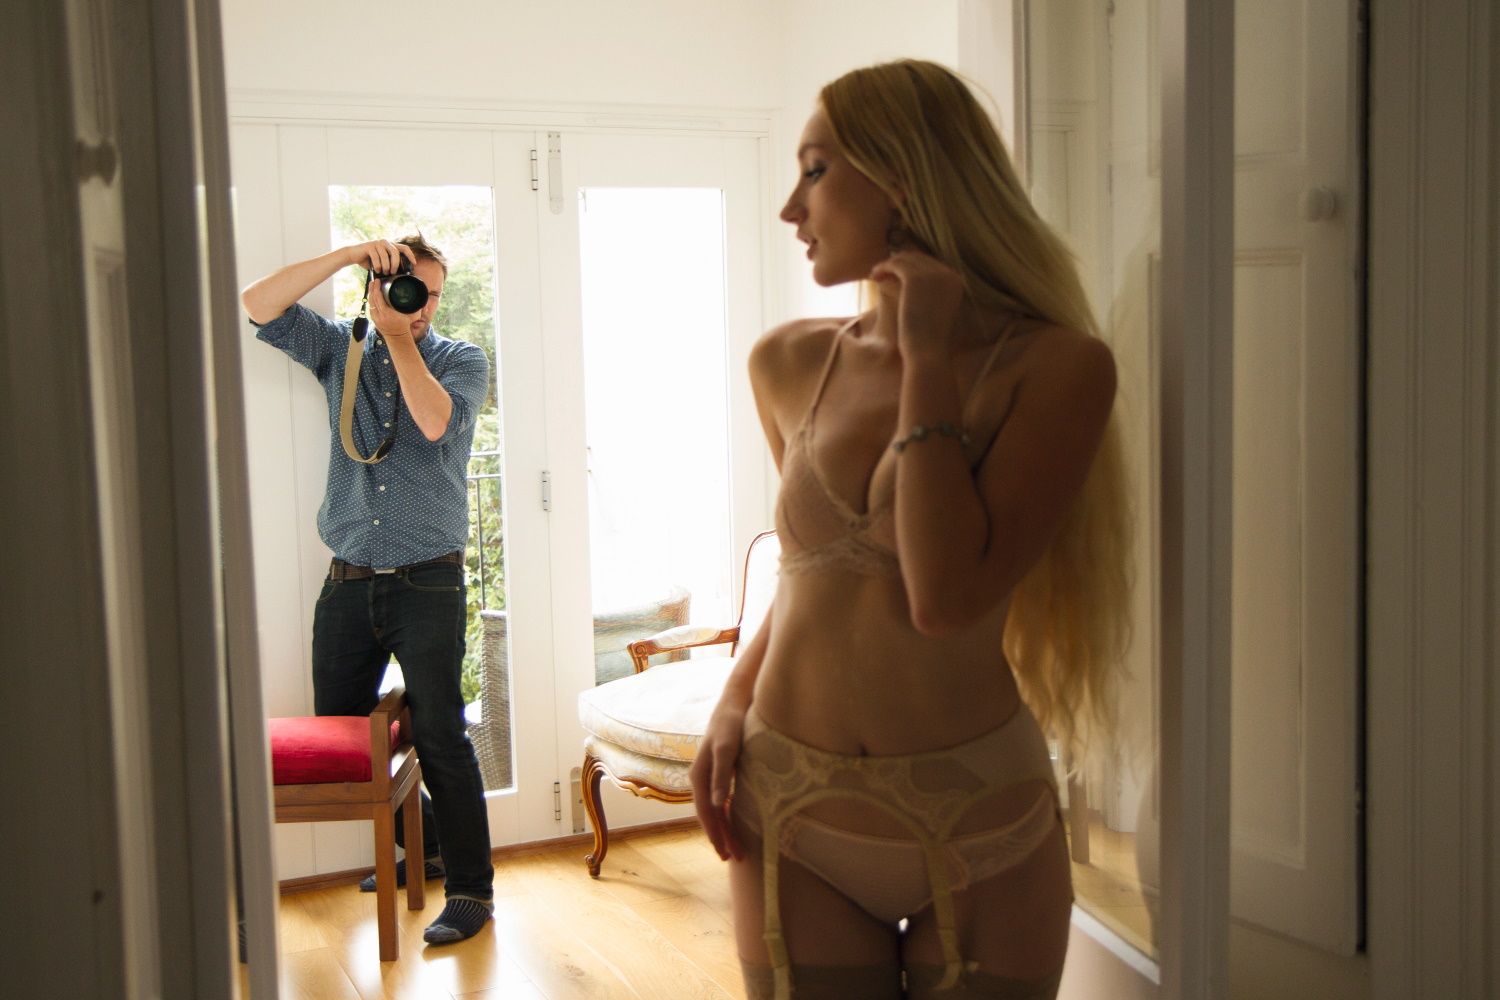
Here a large window floods over the subject for beautiful natural light. You could also try introducing a gentle narrative by using props. Even something as simple cup of tea transforms the mood; it’s no longer just a person looking out of a window, it’s more thoughtful and voyeuristic – as if they’ve been caught during a private moment. As the image below shows, you can use side-on window light in a more controlled, directional way for a moody look – here every other window is blocked except a single strip of light directly to the left of the subject.
Lighting: Window to the left of subject
Exposure: 1/160 sec, f/3.5, ISO160
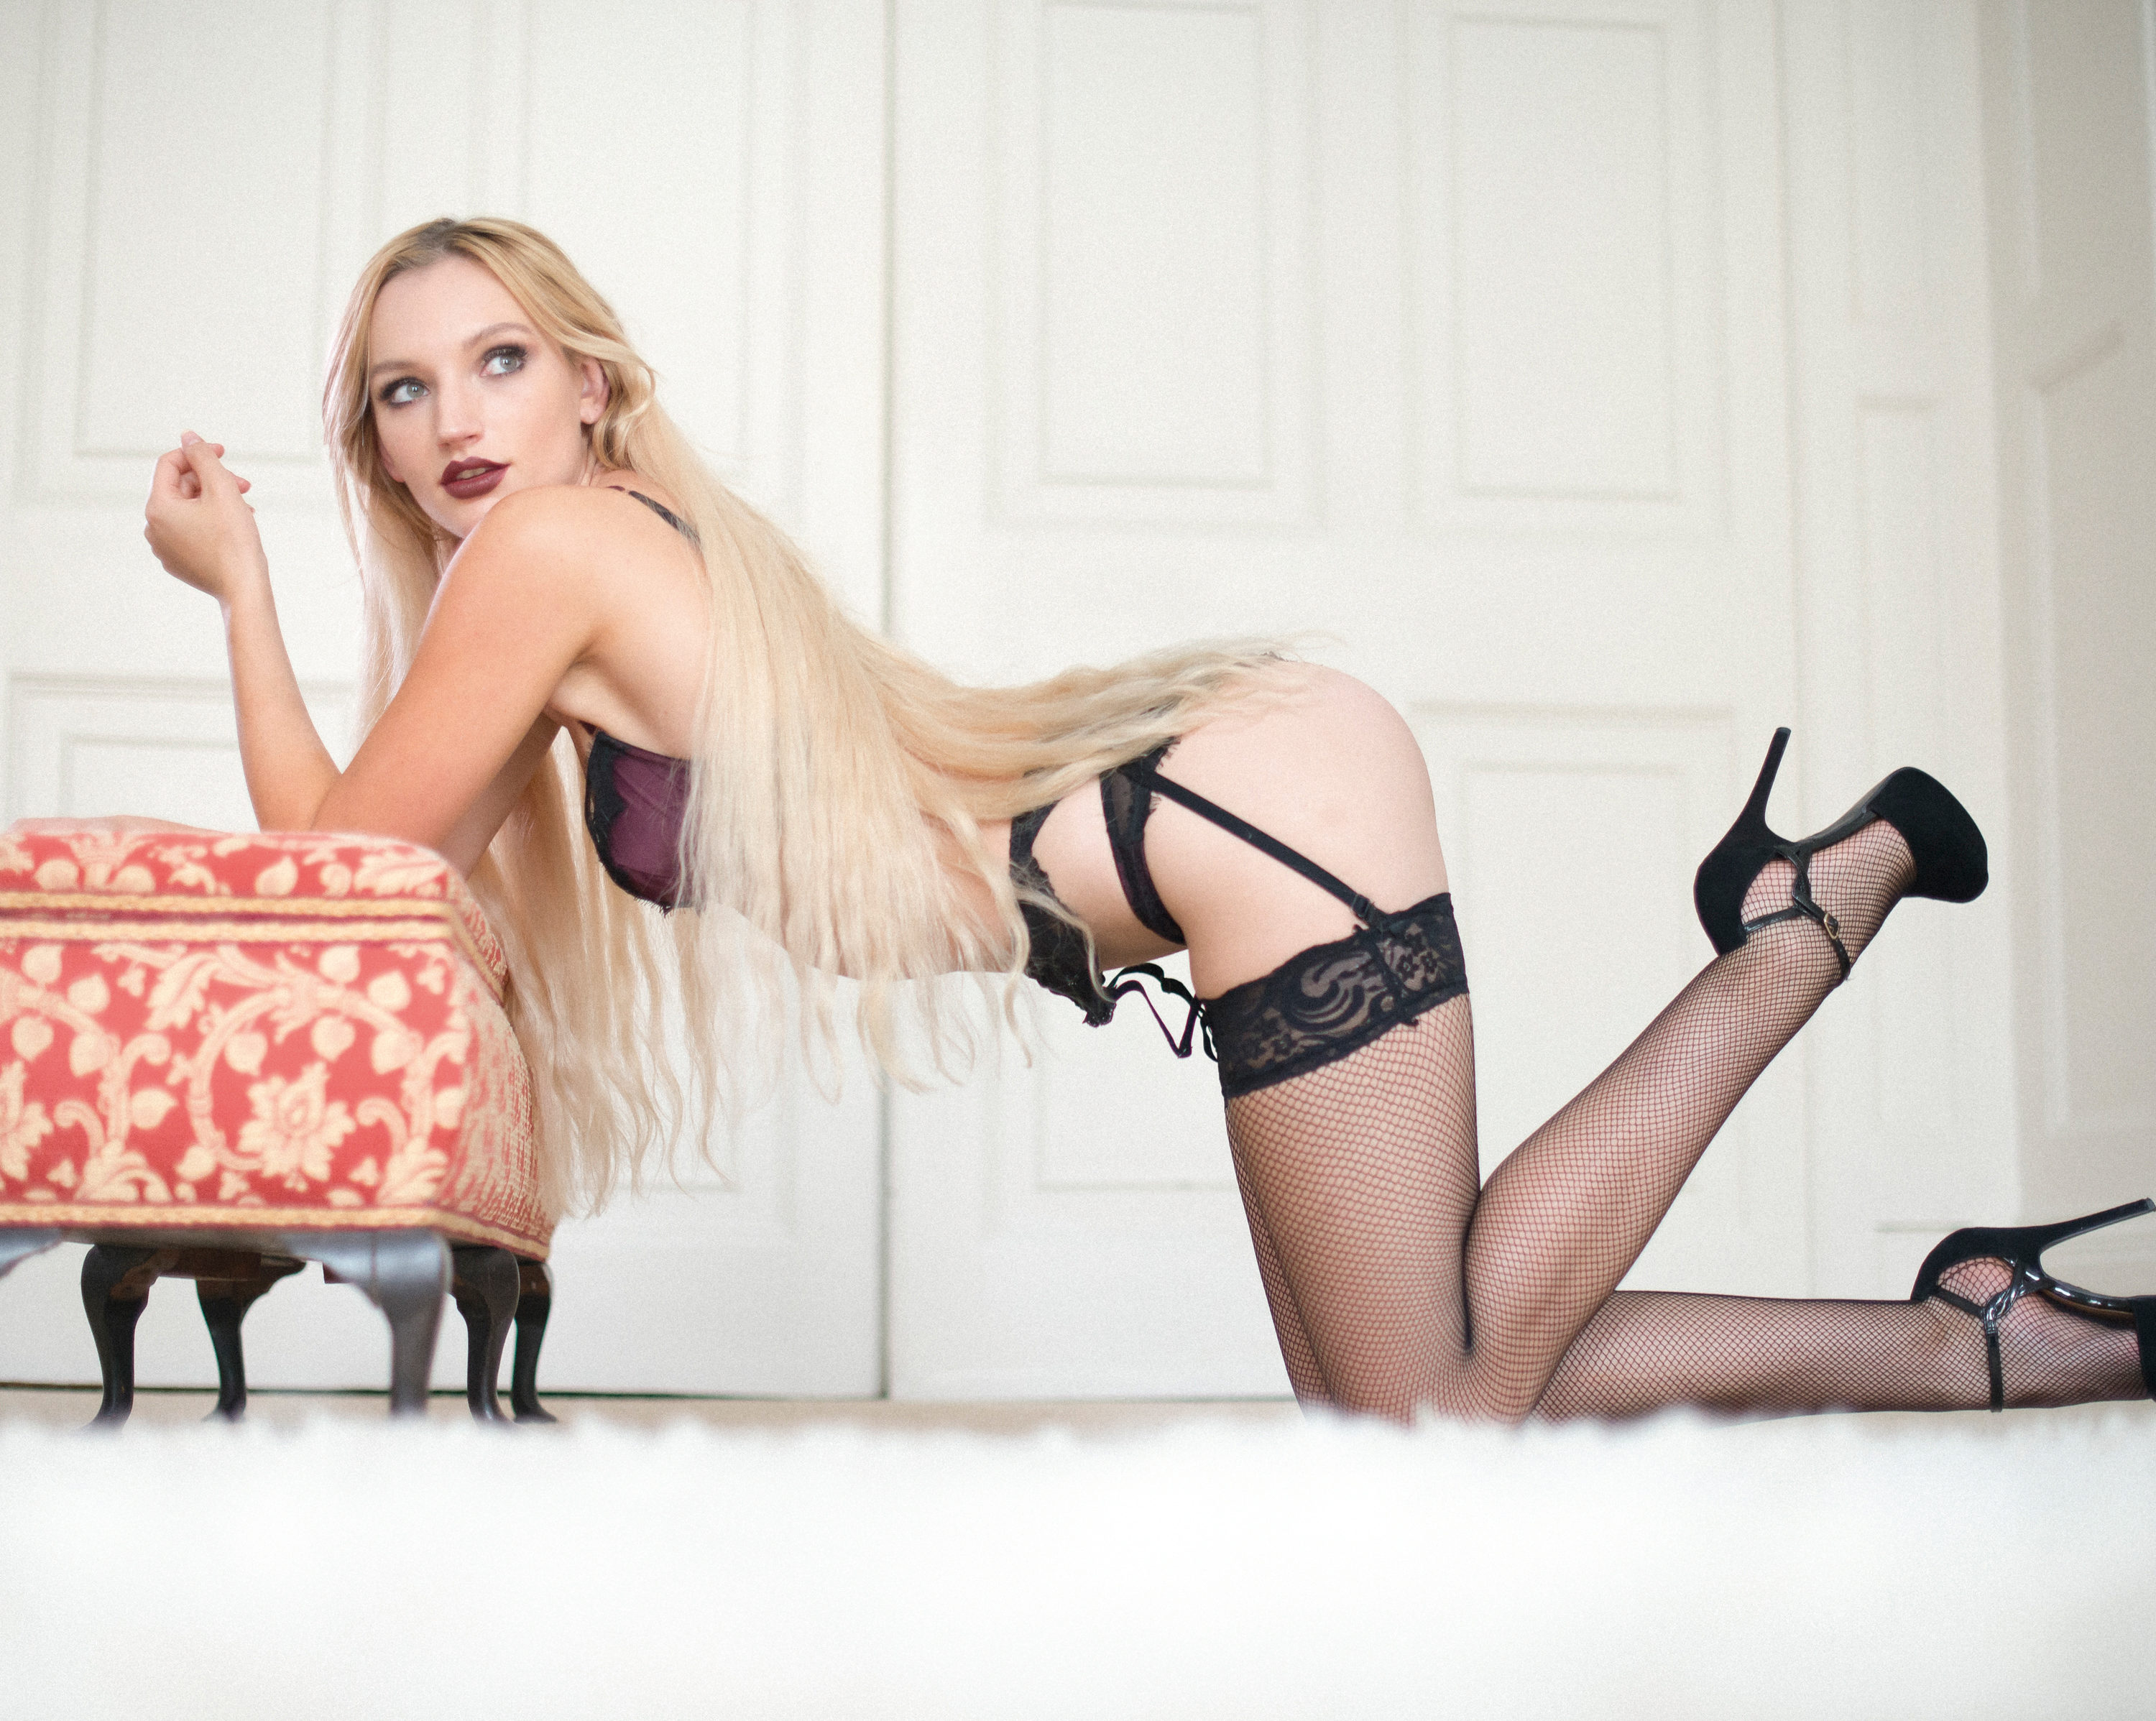
Posing tip 3: On the floor
When it comes to posing, we should always be looking for ways to create interesting shapes out of the body, to show the curves and the rise and fall. A pose like this gives you separation between the subject and the chair. Here the camera is almost on the floor to make her seem more dominant and statuesque. Similarly, with the above image, you can see how the pose celebrates the shape of the body by freeing it from any surface – if she was lying on the floor or on the bed then the shape might get a little lost.
Lighting: Window light from two bay windows directly behind the camera
Exposure: 1/160 sec, f/2.8, ISO800
Posing tip 4: Light the edges
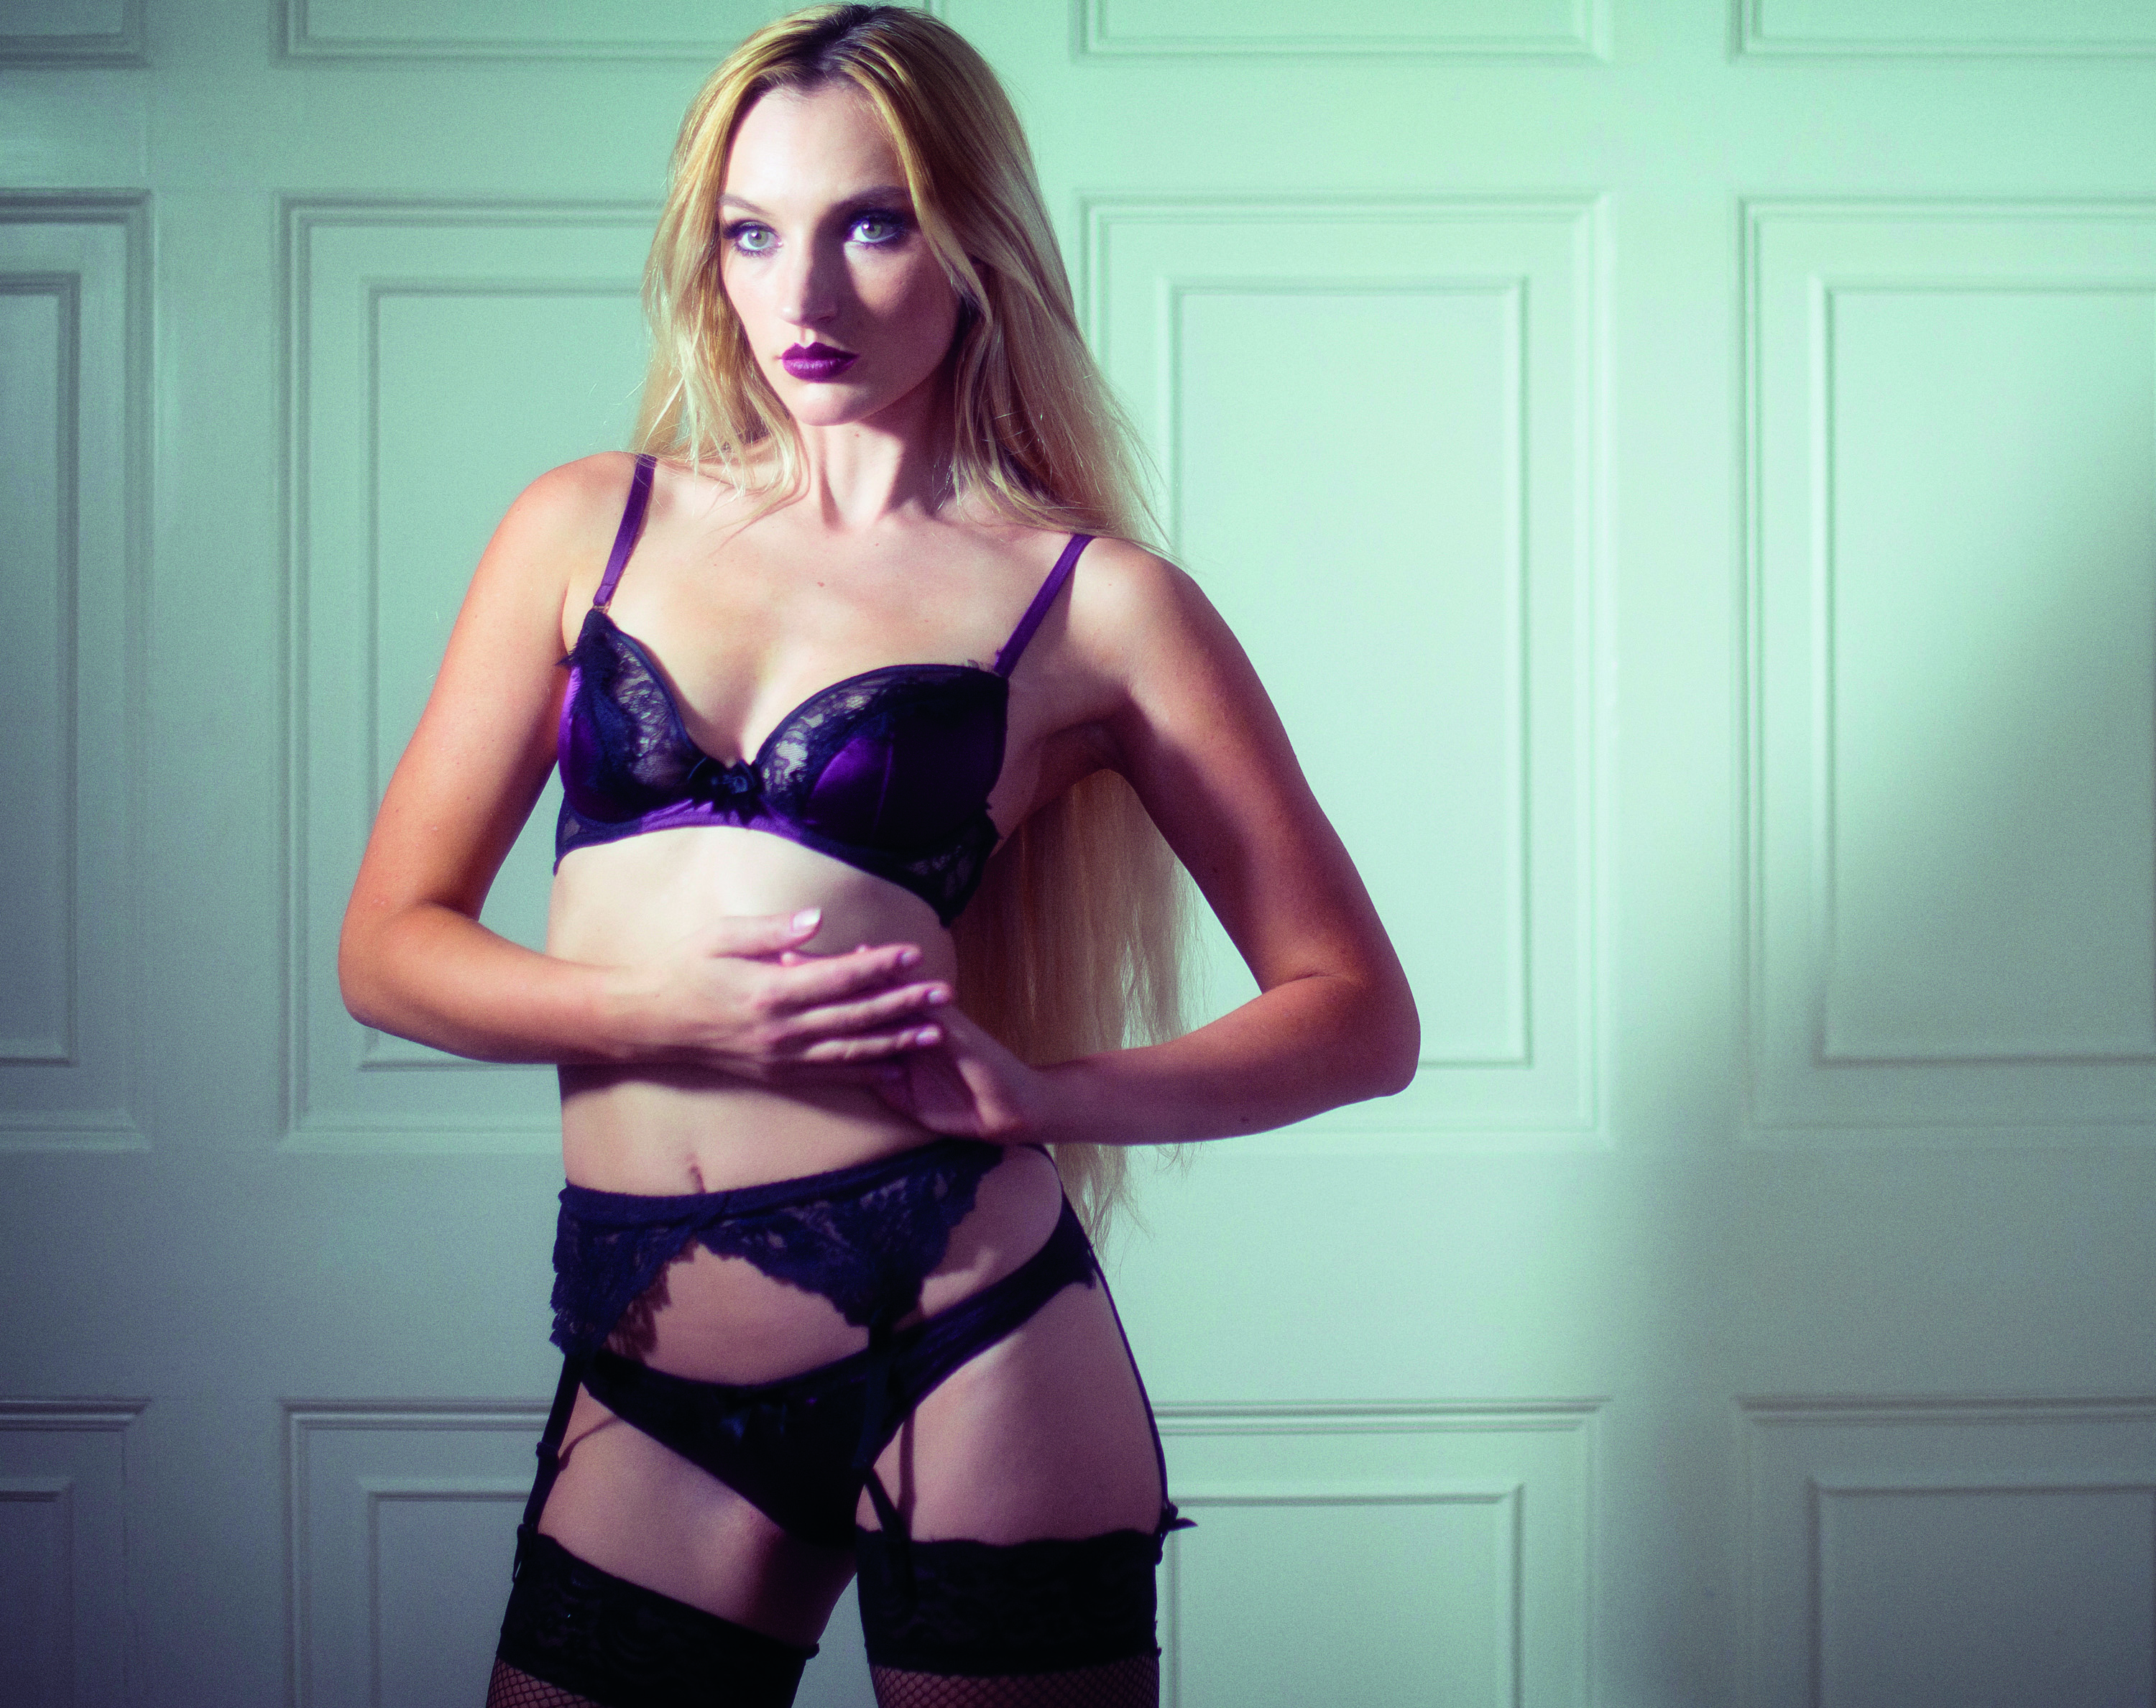
Window light is lovely and soft, but sometimes harder light and stronger shadows can be more effective. Here strong side-lighting from the left of camera creates an edgy fashion-type shot. The light comes from a single LED panel to the left of the subject. LEDs can also be used to backlight the body and create edge highlights, as in the above image. Place her on her tummy and the curves of the behind can create a beautiful shape when backlit. This one is all about the lighting – we position a light behind the subject angled back towards the camera.
Lighting: LED continuous light panel
Exposure: 1/100 sec, f/2.8, ISO400
Posing tip 5: Controlling window light
Window light is a ‘soft’ light source because it channels daylight through a large opening, and it’s the size of the light source that determines how soft the light is. We can control the softness of the light by moving the subject closer to or further from the window. Close in, the window is larger in relation to the subject, so the light is softer and fills out shadows. But move her further away and the light source becomes smaller, so the light gets harder and more direct.
Lighting: Window to the left of subject
Exposure: 1/160 sec, f/4, ISO400
Boudoir basics
01 The right lens
The most important thing is to flatter your subject, but shooting too close or with a wide lens will distort them. The ideal lens here is a prime with a focal length between 50-100mm, and a wide maximum aperture such as f/1.8. Alternatively, use a zoom with a wide maximum aperture like f/2.8.
02 Keep it steady
In the kind of low light environment you'll be shooting in, stability is important for sharp shots. It's hugely helpful if your camera or lens has image stabilization, but a monopod can also prevent shake.
03 Window light
Soft, flattering and cheap, window light is ideal for this kind of shoot as it floods over the body with beautifully and evenly. By moving your subject around, you can have the window in front, to the side or behind them. If the window light is too weak, you could supplement it with constant LED lighting like the Rotolight AEOS.
04 Wardrobe choices
Ask your model to bring a few outfits – and they don’t all need to be underwear. Remember, boudoir photography is about creating an alluring mood, not showing the most skin.
05 Keep your subject comfortable
Make your model comfortable by keeping the room warm and providing soft cushions and furnishings. At the same time, remember that two people shooting – especially if suing lights – will warm up the room quickly, so don't make it too hot! Make sure to keep a dressing gown to hand for downtime, too.
More videos:
• Photography tips and technique videos
• Fine art nude photography: tips and techniques
• Portrait photography how to
• Commercial headshot tips
• Studio portrait lighting: essential tips and setups explained
• Cheat sheet: Portrait posing guide
The lead technique writer on Digital Camera Magazine, PhotoPlus: The Canon Magazine and N-Photo: The Nikon Magazine, James is a fantastic general practice photographer with an enviable array of skills across every genre of photography.
Whether it's flash photography techniques like stroboscopic portraits, astrophotography projects like photographing the Northern Lights, or turning sound into art by making paint dance on a set of speakers, James' tutorials and projects are as creative as they are enjoyable.
He's also a wizard at the dark arts of Photoshop, Lightroom and Affinity Photo, and is capable of some genuine black magic in the digital darkroom, making him one of the leading authorities on photo editing software and techniques.
