5 creative indoor portrait ideas - Part 5: Shutter drag
Inject movement and drama into your photos with shutter drag – and these six steps from Tom Calton

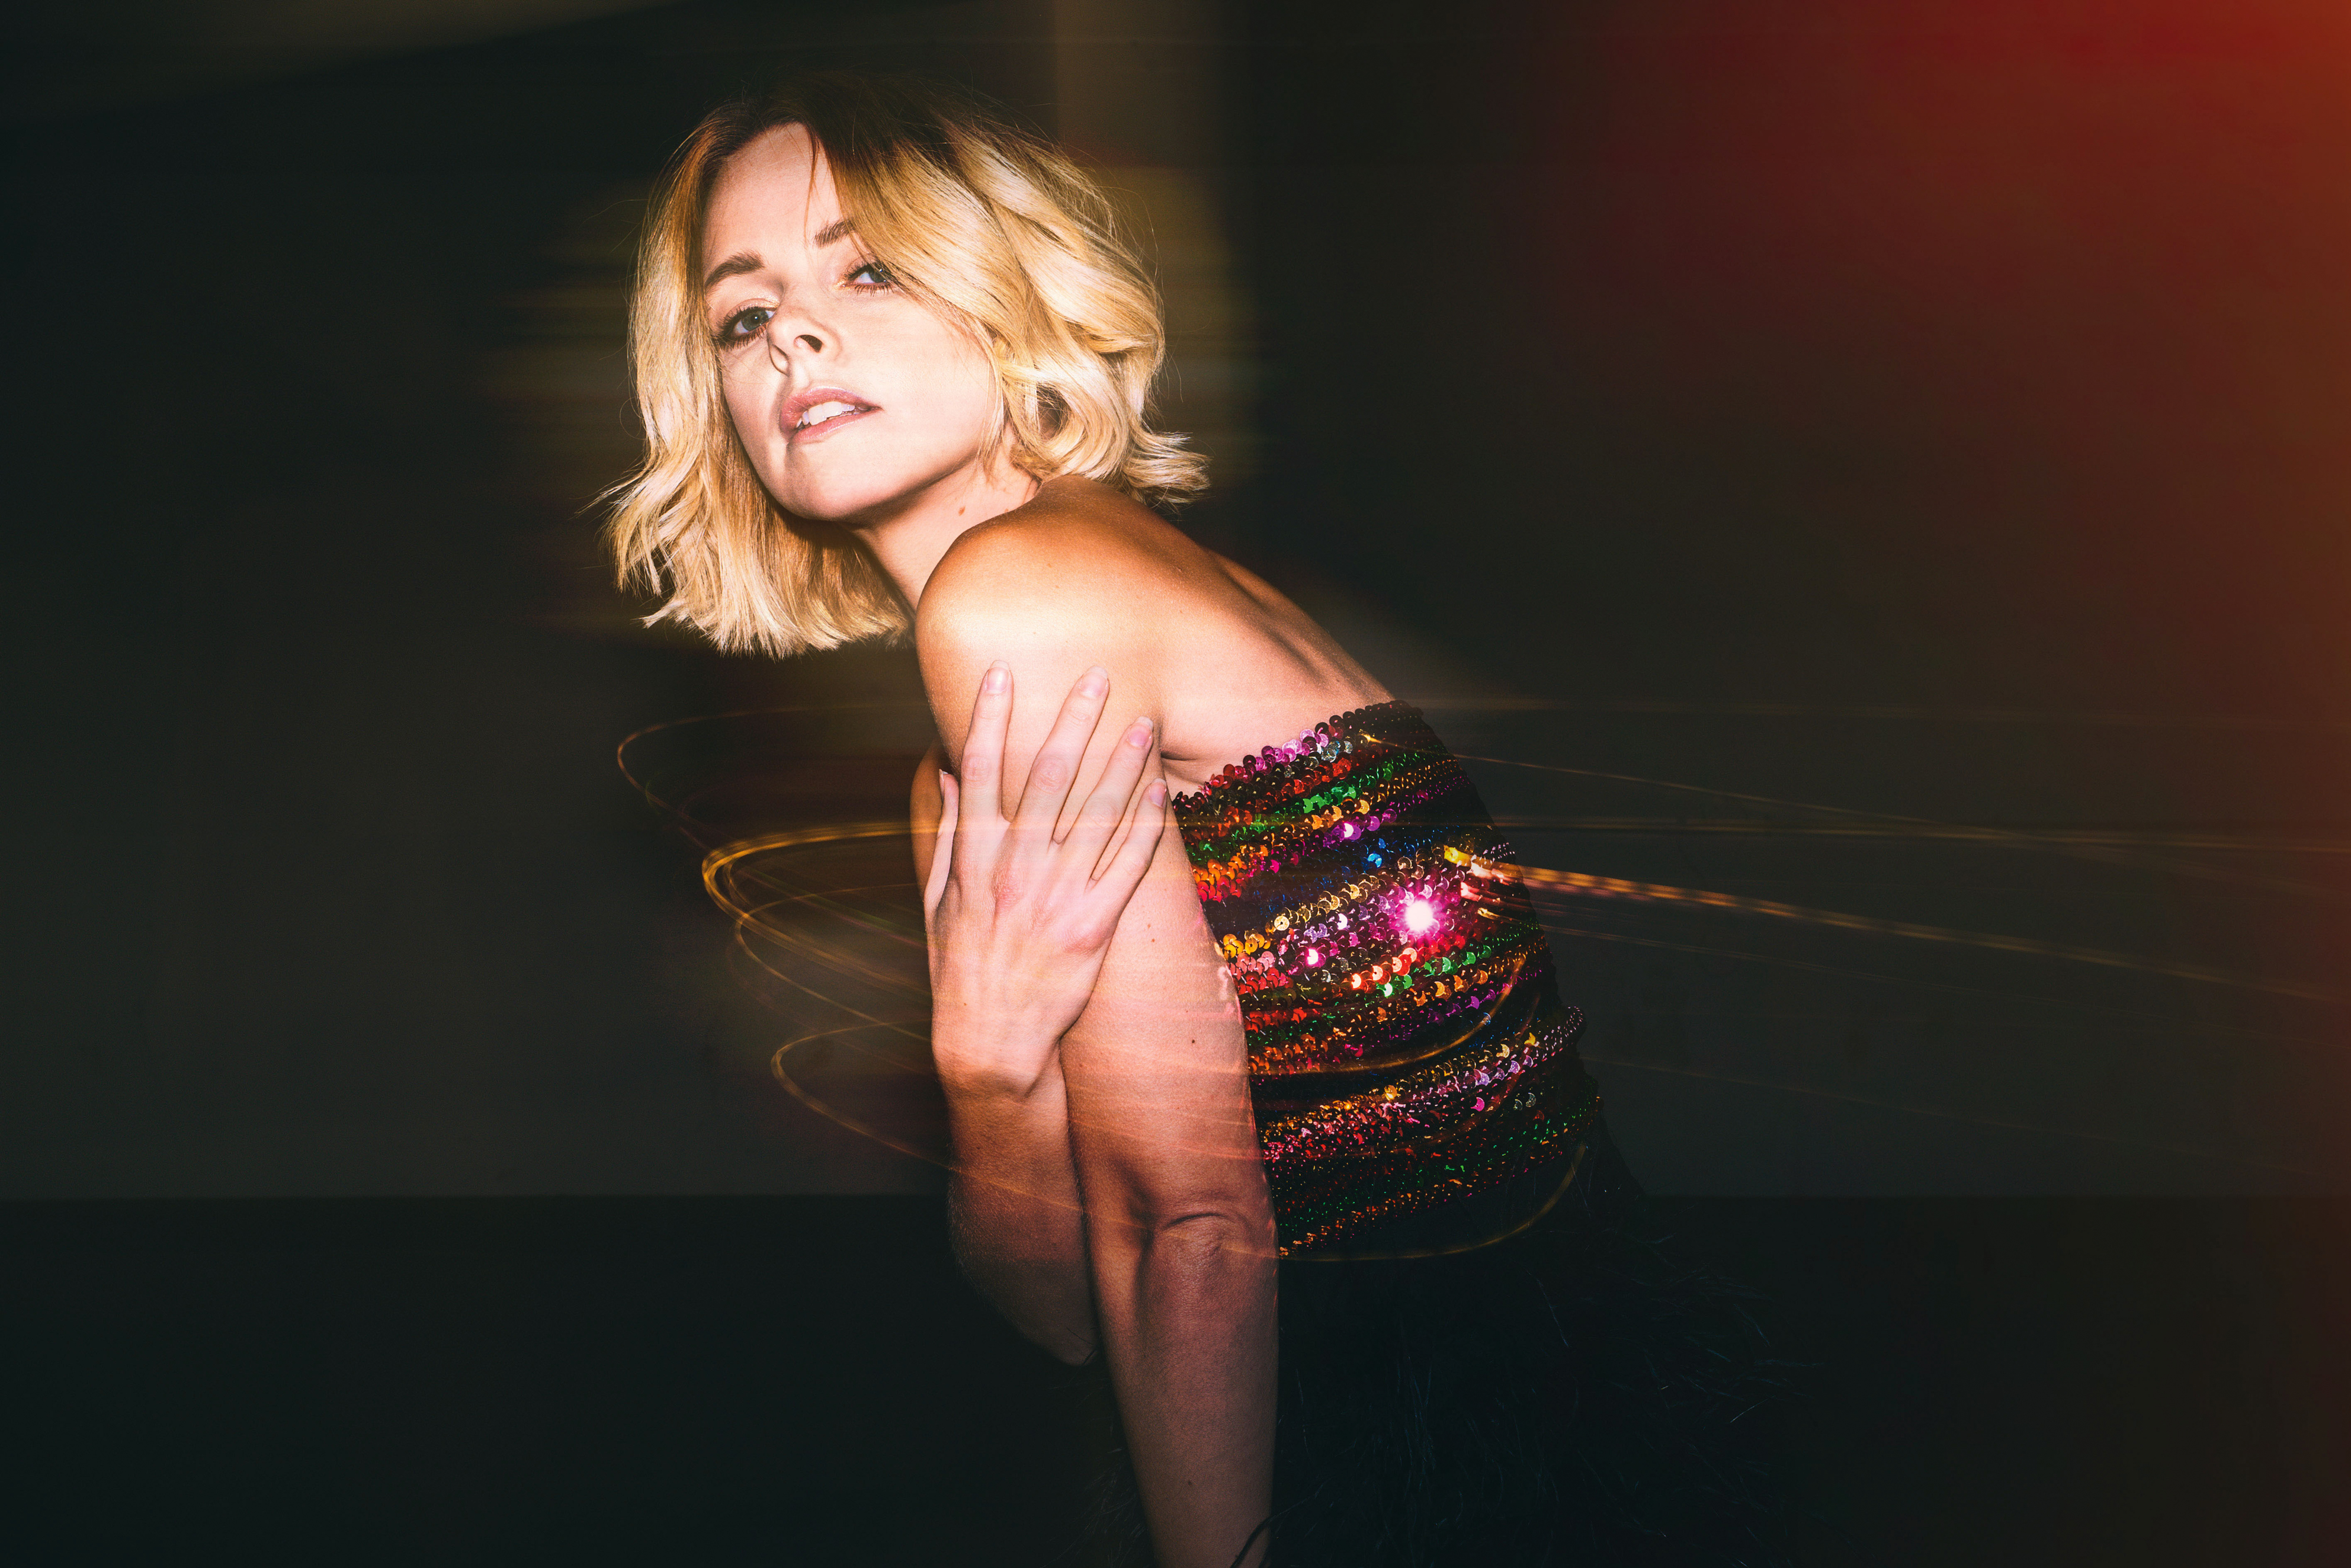
Shutter drag is a flash technique that creates colourful swirls of light across your photos, while ensuring that your subject is frozen in place. It works by combining flash with a slow shutter speed, and all you need is a camera with a flashgun attached to the top.
Every shot you take will give you completely different results, based on the direction and speed you move the camera around while the shutter is open. So, take a number of shots, and then look through the results to check that you’re getting the shots you’re looking for!
Shutter drag technique in six steps
1. Shoot in Manual
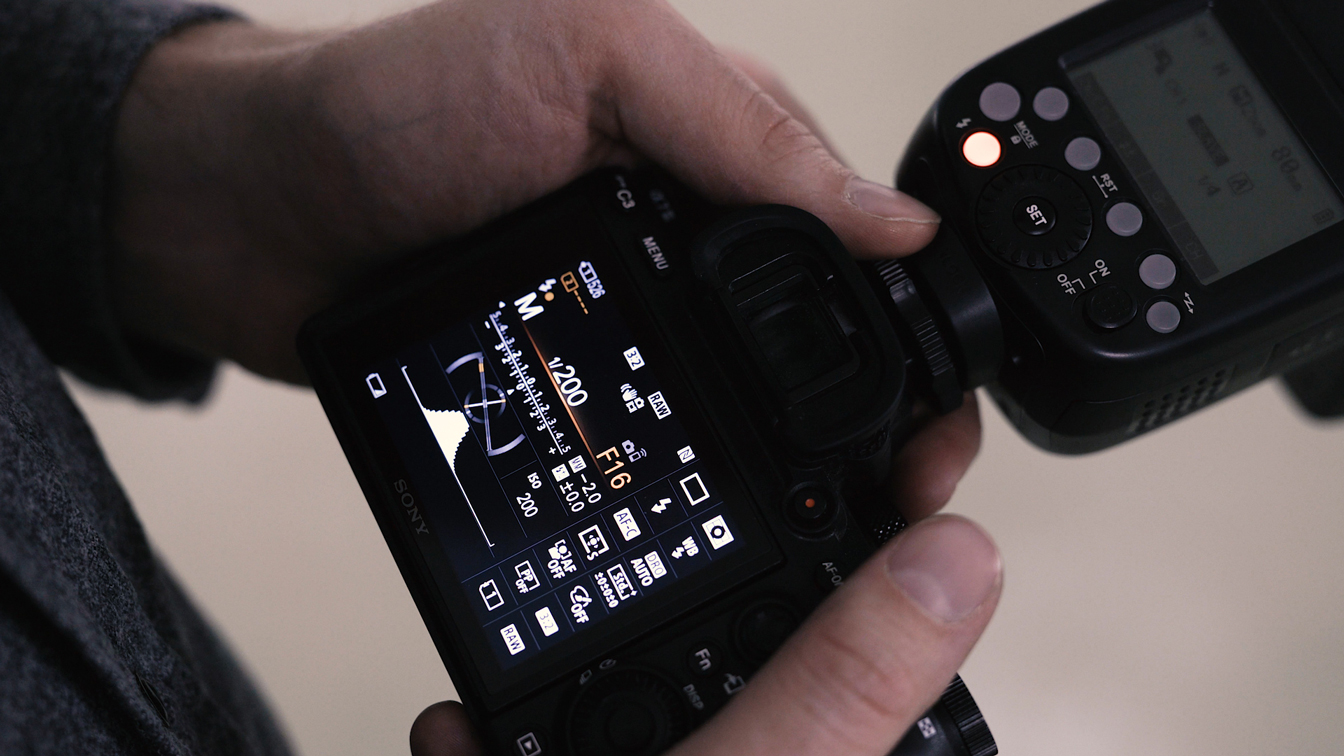
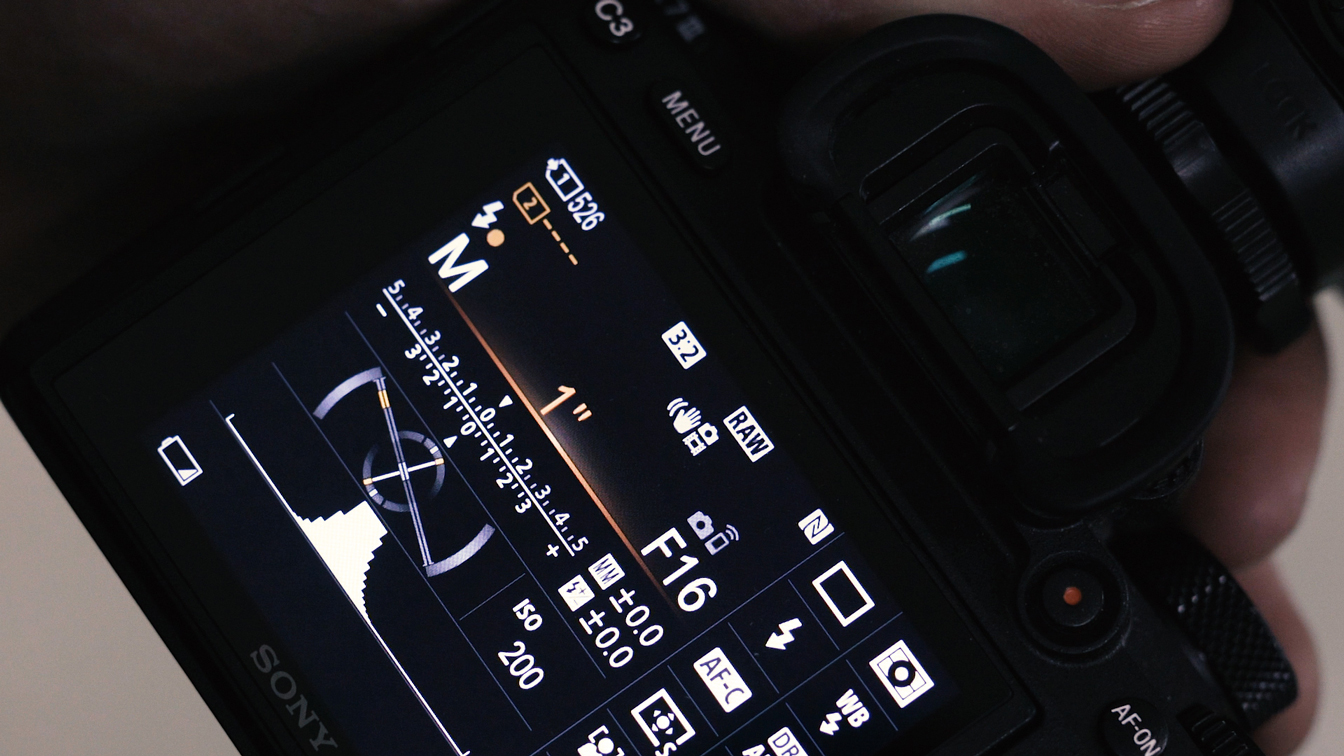
For this technique, start off by switching your camera over to Manual mode (M on the mode dial), and set the aperture to f/16 to restrict the amount of light that is entering the camera.
2. Slow shutter speed
In order to achieve the swirling trails of light, you’re going to need to use a slow shutter speed. So select this now – an exposure of around 1sec should be plenty slow enough.
3. Set a low ISO
The best camera deals, reviews, product advice, and unmissable photography news, direct to your inbox!
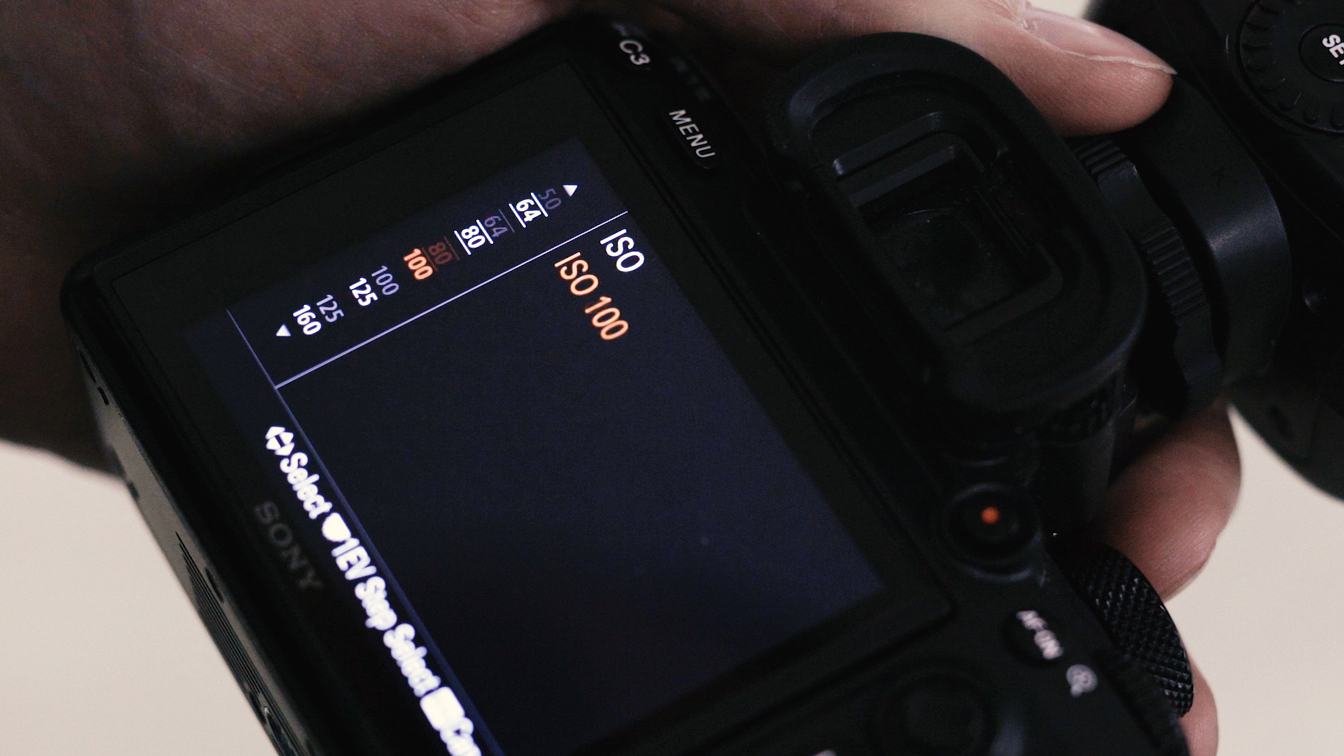
Next, reduce the ISO sensitivity to the lowest setting available on your camera, to reduce the amount of noise within your image and balance the exposure settings. This is usually around ISO 100.
4. Flash settings
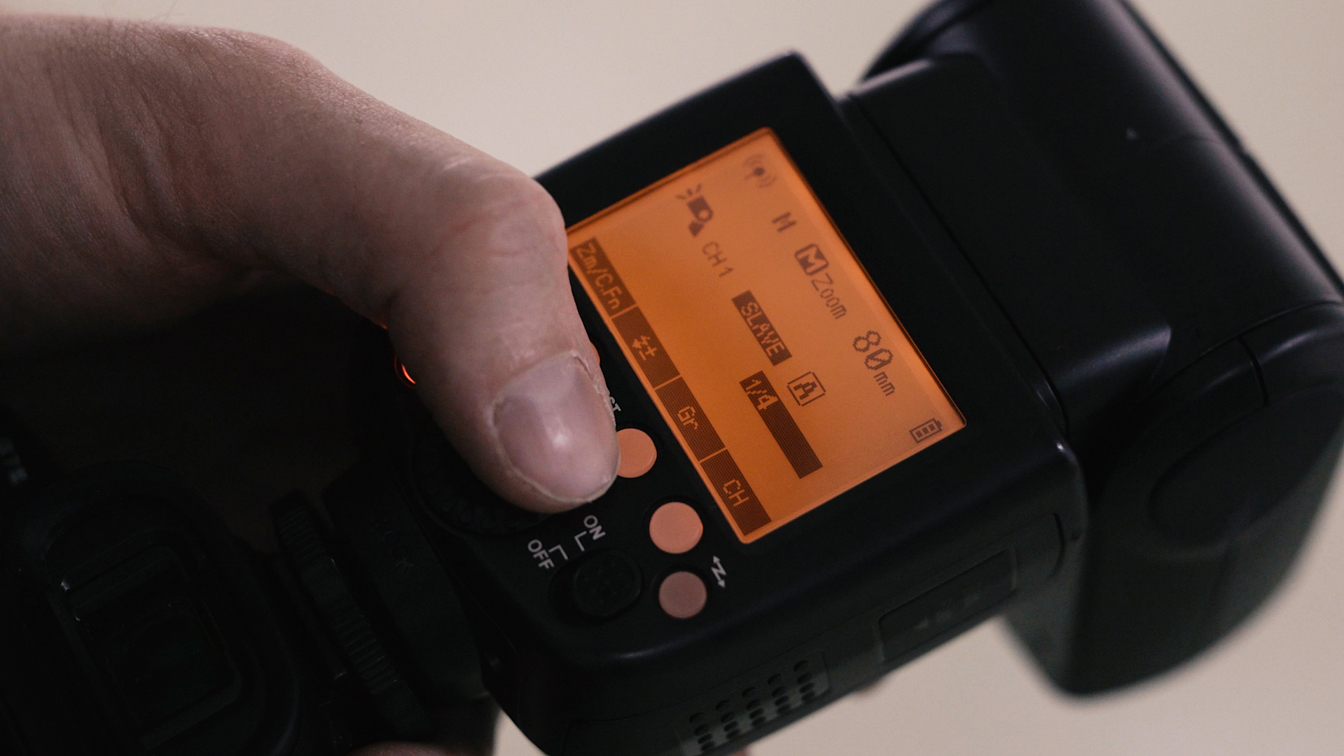
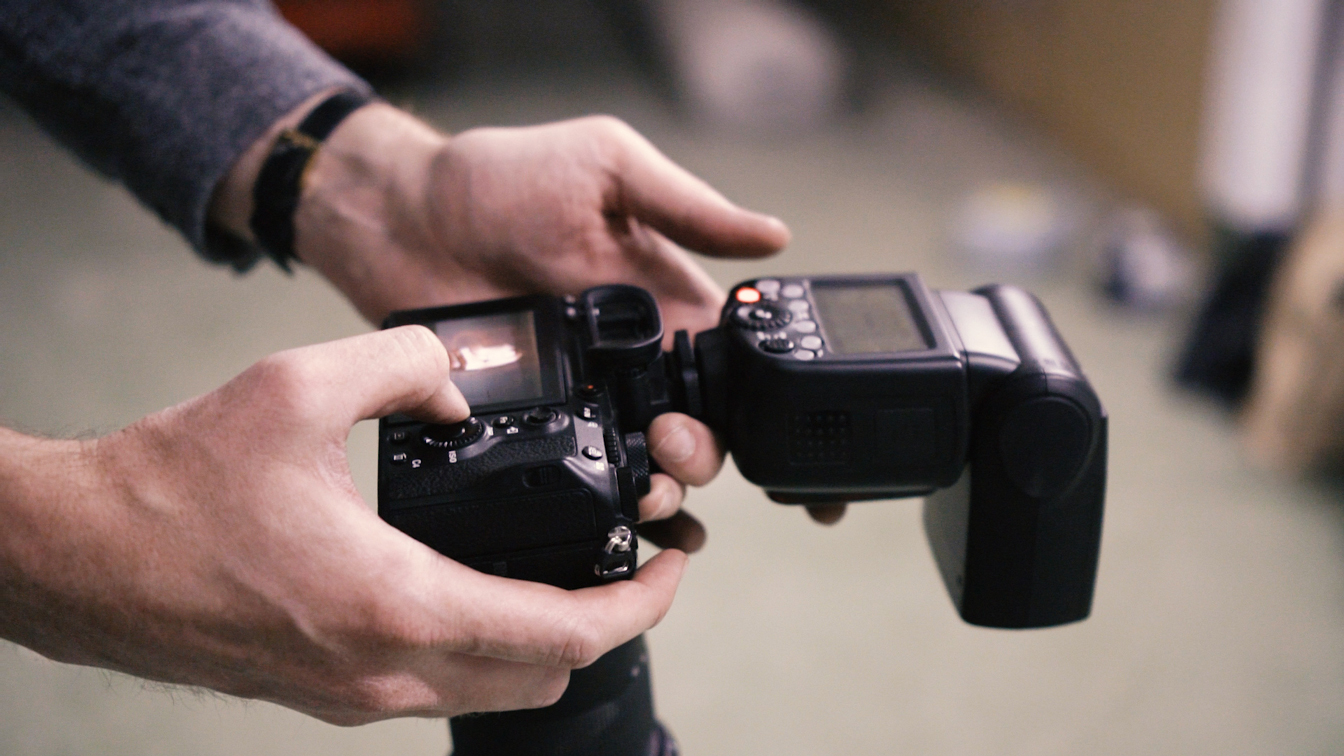
Turn on your flashgun, and attach it to the top of your camera via the hotshoe port. Set the power output to around ower to begin with, though you may need to increase or decrease this later.
5. Test shot
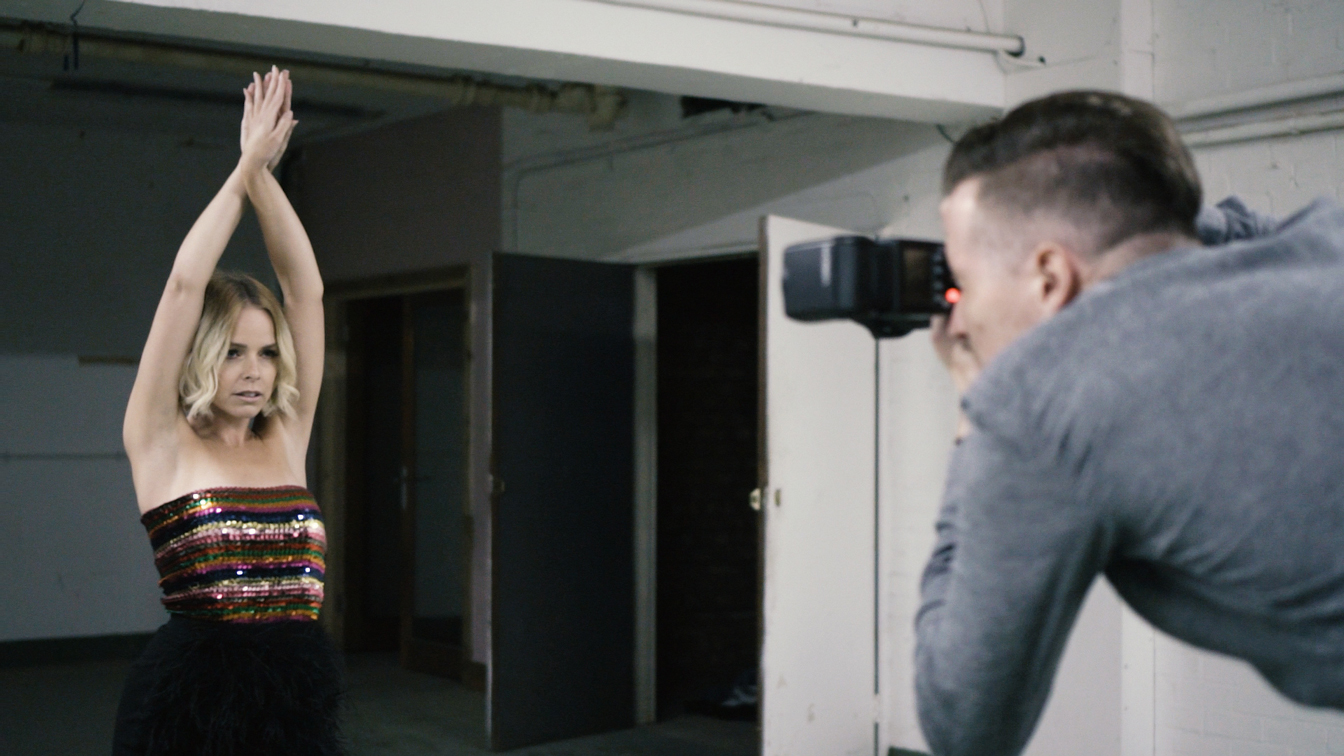
With your model in place, frame up and take a shot. Once the flash has fired, move the camera around in a twisting motion until the shutter closes. Review the results. If the flash is too bright or dark, adjust accordingly.
6. Rinse and repeat
Once you have the exposure perfected, keep taking shots and reviewing them periodically. This technique is all about trial and error, so keep experimenting until you have a result that you’re happy with.
Read more:
Best 85mm lenses for portraits
Portrait photographers to follow this year
Home photography ideas

Lauren is a writer, reviewer, and photographer with ten years of experience in the camera industry. She's the former Managing Editor of Digital Camera World, and previously served as Editor of Digital Photographer magazine, Technique editor for PhotoPlus: The Canon Magazine, and Deputy Editor of our sister publication, Digital Camera Magazine. An experienced journalist and freelance photographer, Lauren also has bylines at Tech Radar, Space.com, Canon Europe, PCGamesN, T3, Stuff, and British Airways' in-flight magazine. When she's not testing gear for DCW, she's probably in the kitchen testing yet another new curry recipe or walking in the Cotswolds with her Flat-coated Retriever.
