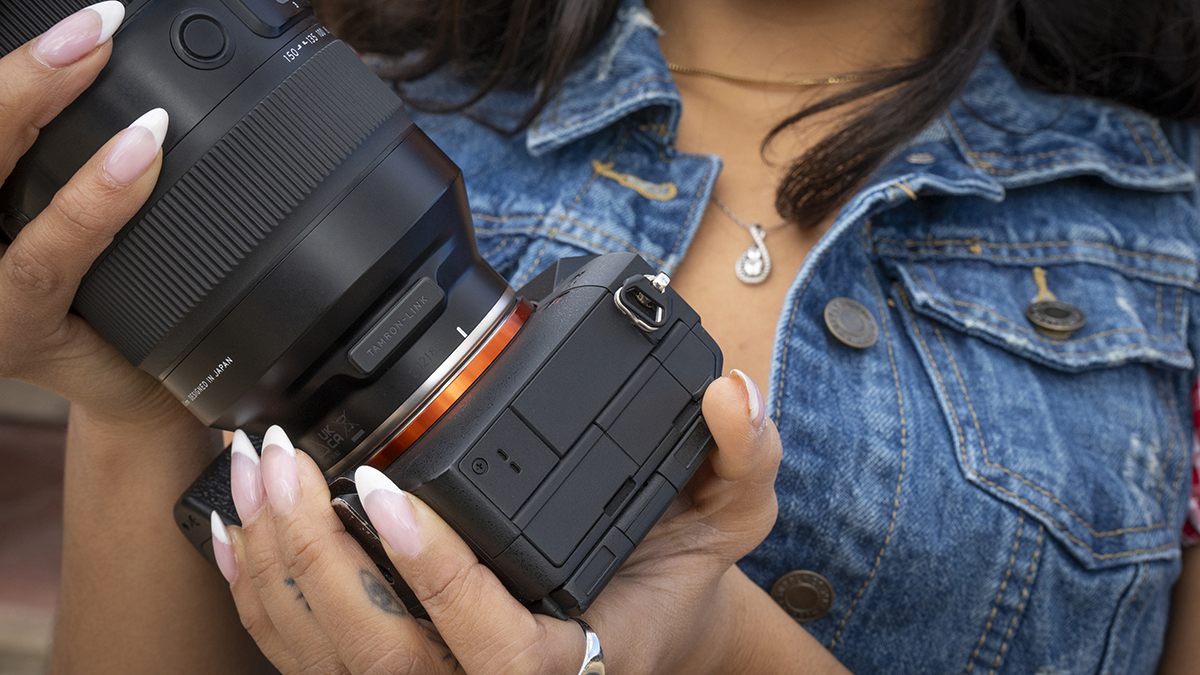
5 creative indoor portrait ideas - Part 4: Direct flash
Add some grit to your portraits with this direct flash technique from Tom Calton
The best camera deals, reviews, product advice, and unmissable photography news, direct to your inbox!
You are now subscribed
Your newsletter sign-up was successful
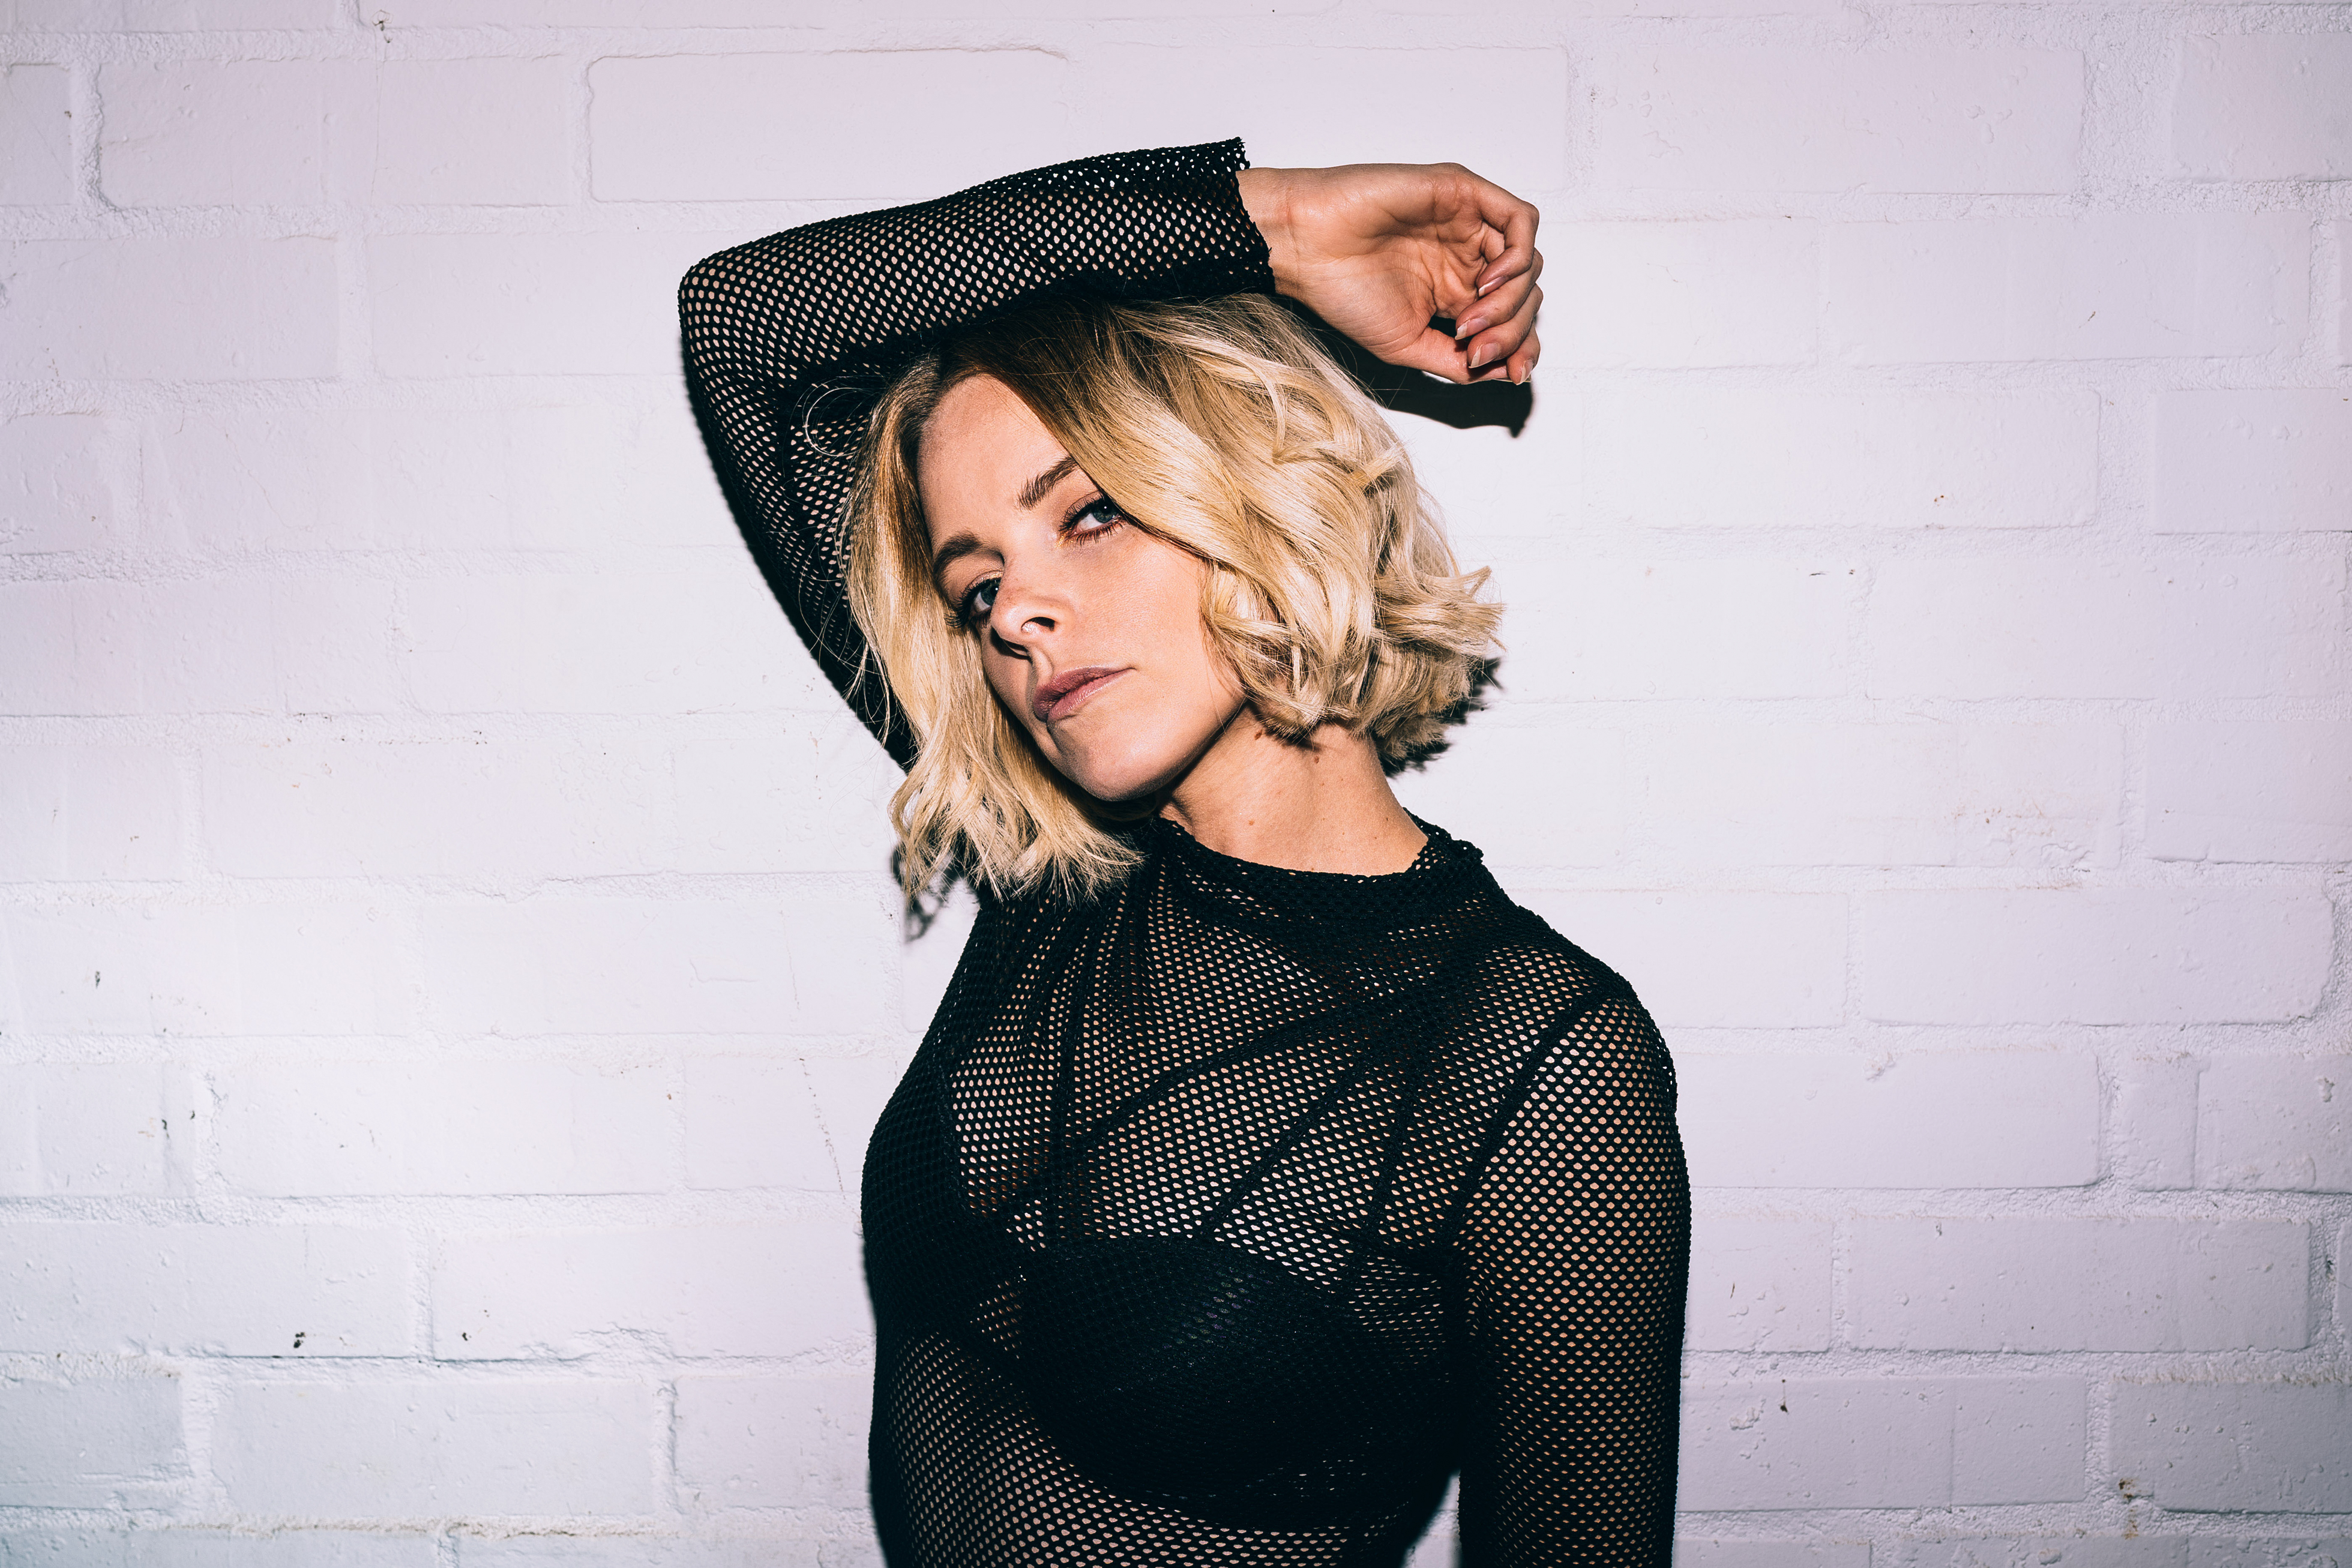
When starting out in the world of flash photography, a common piece of advice is that, when using on-camera flash, you should always avoid pointing the flash directly at your model because it creates really harsh, unflattering lighting.
In truth, if you know when to use direct flash, you can actually capture some really cool-looking images with it. Here, you’re going to need flash: a flashgun will ultimately give you more control over the settings, but you could technically use the built-in flash on your camera if that’s all you have.
This technique will generally work with any combination of camera and lens, though a 35mm lens is perfect, as the wider angle will make your images look more candid.
Direct flash technique in six steps
1. Attach your flashgun
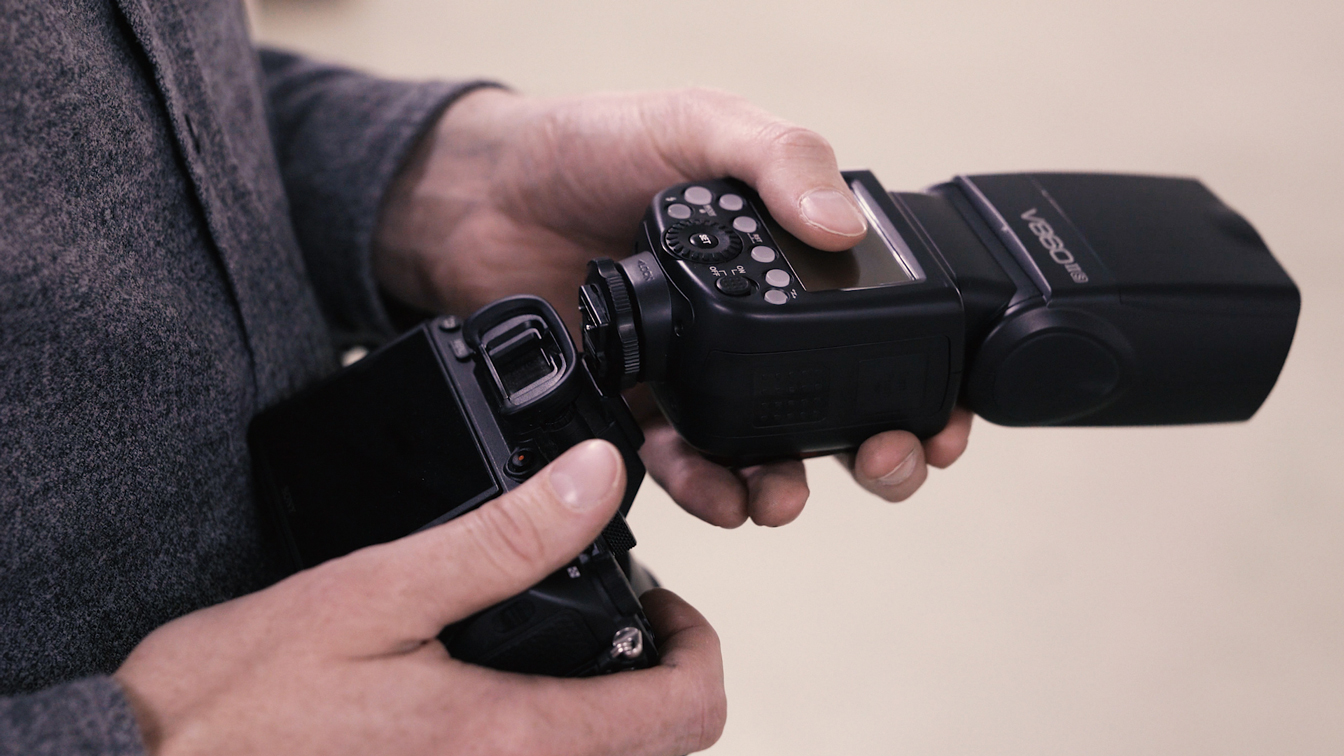
This technique uses on-camera flash, so turn on your flashgun and start off by sitting it on top of your camera using the hotshoe mount. If you’re using your camera’s built-in flash, activate this now.
2. Shoot in Manual
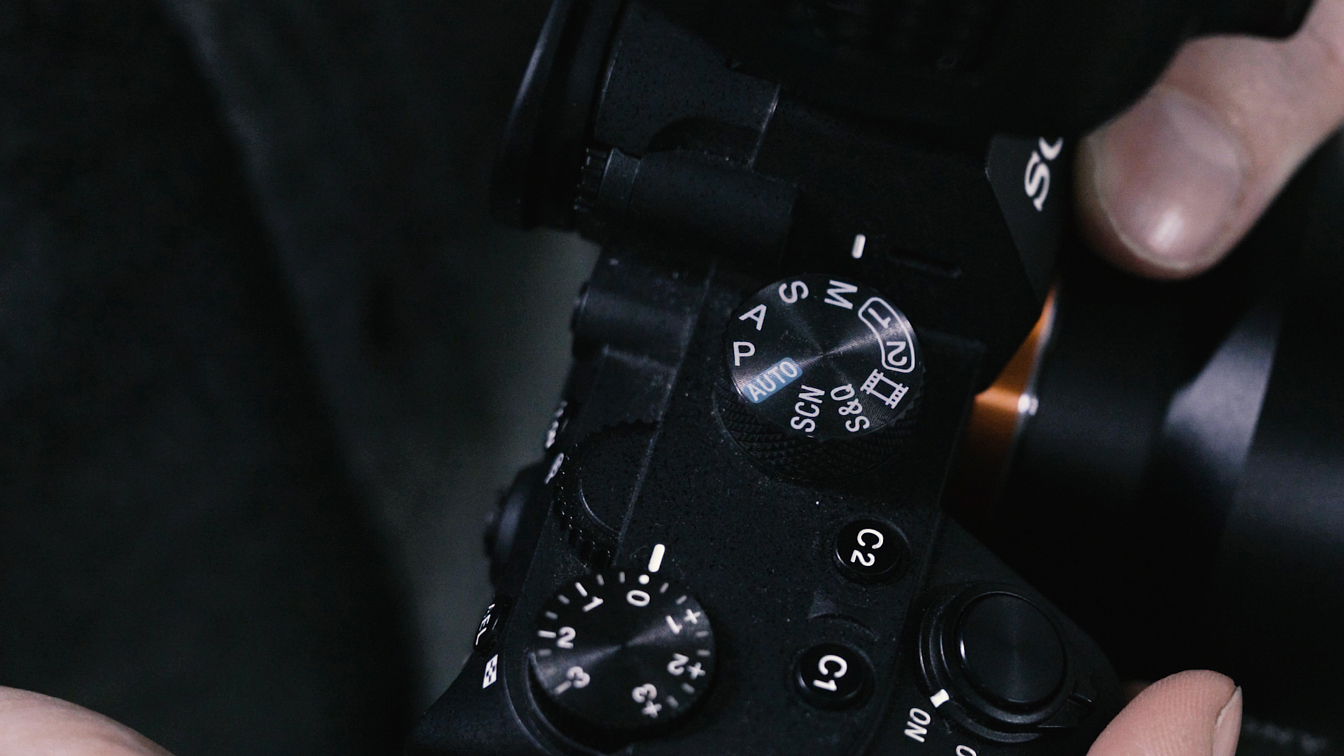
Using the mode dial on the top of your camera, switch over to Full Manual mode (represented by the letter M). This will give you full control over the camera’s exposure settings.
The best camera deals, reviews, product advice, and unmissable photography news, direct to your inbox!
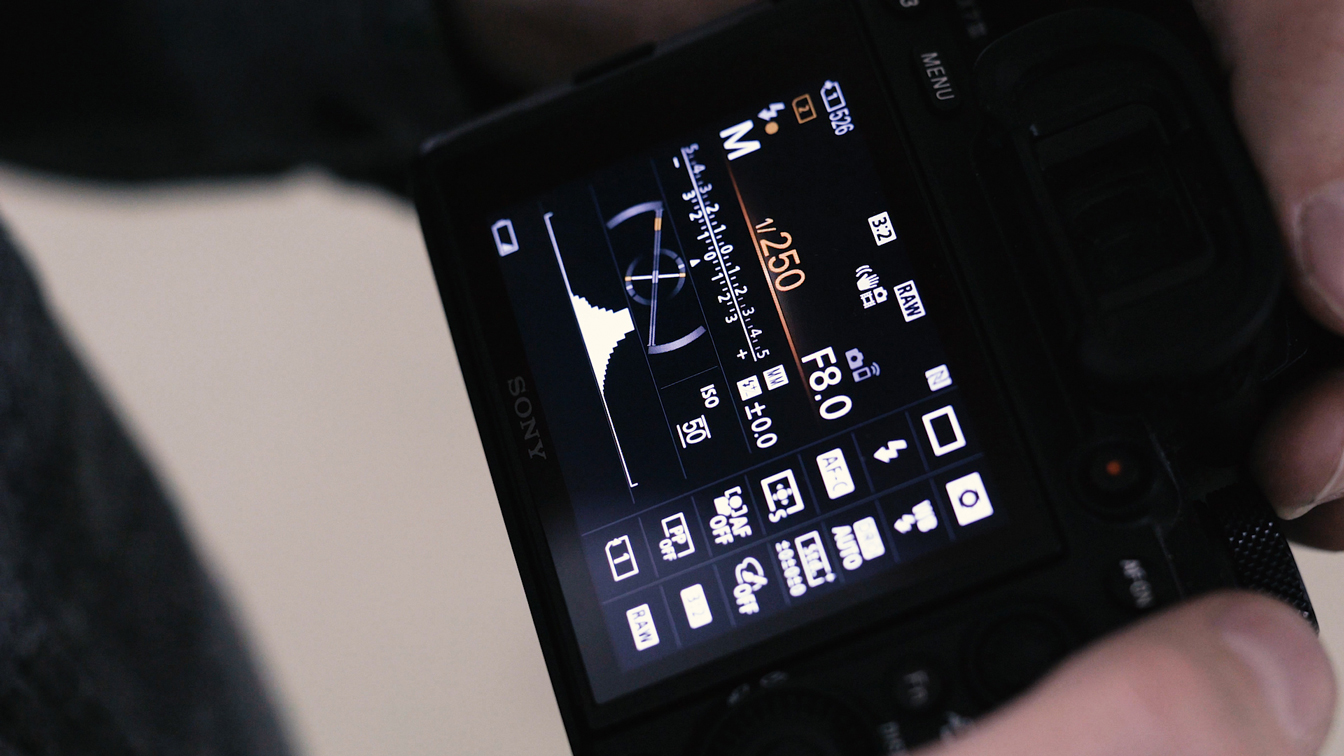
3. Exposure settings
Now it’s time to dial in the exposure settings. Start by setting the shutter speed to around 1/250sec, and also narrow the aperture to around f/8 to ensure that you achieve an image with a deep depth of field.
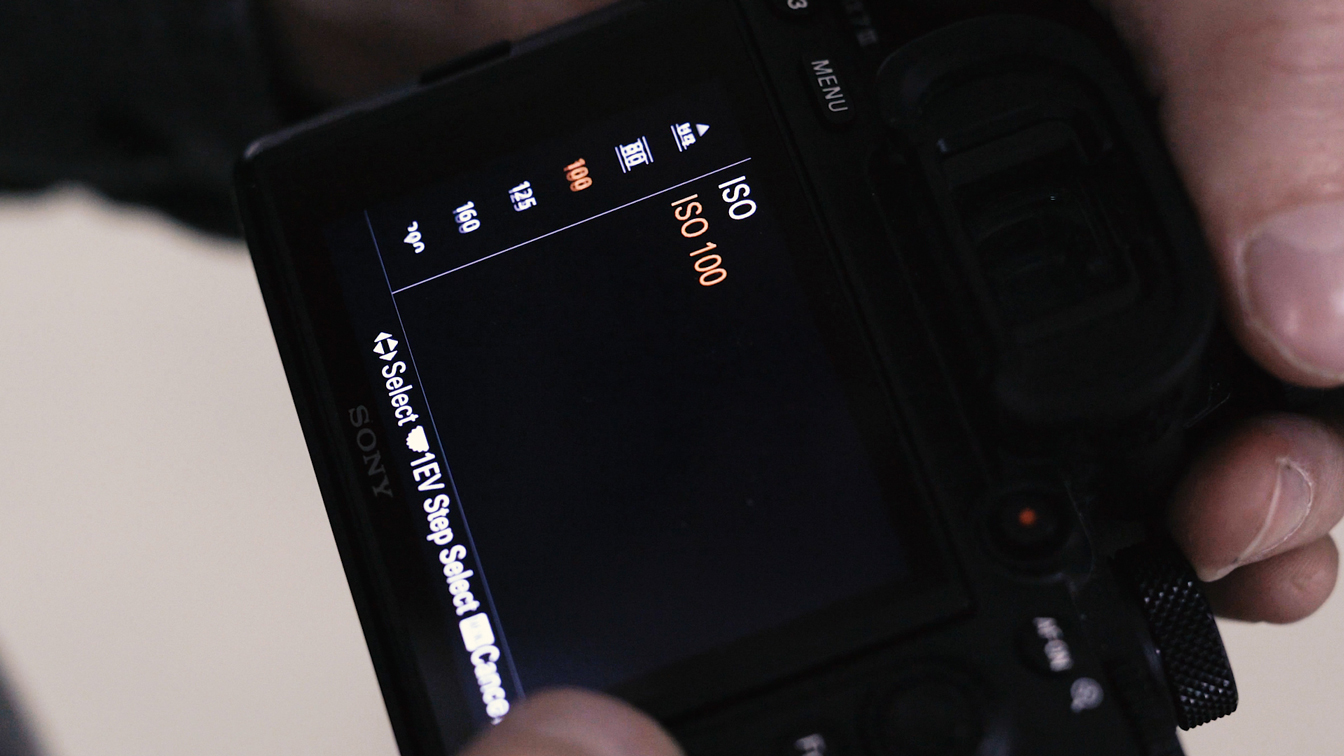
4. Reduce the ISO
To ensure that you achieve the highest image quality, reduce the camera’s ISO setting to the lowest possible value. This is usually around ISO 100, though some camera’s may allow you to go lower than this.
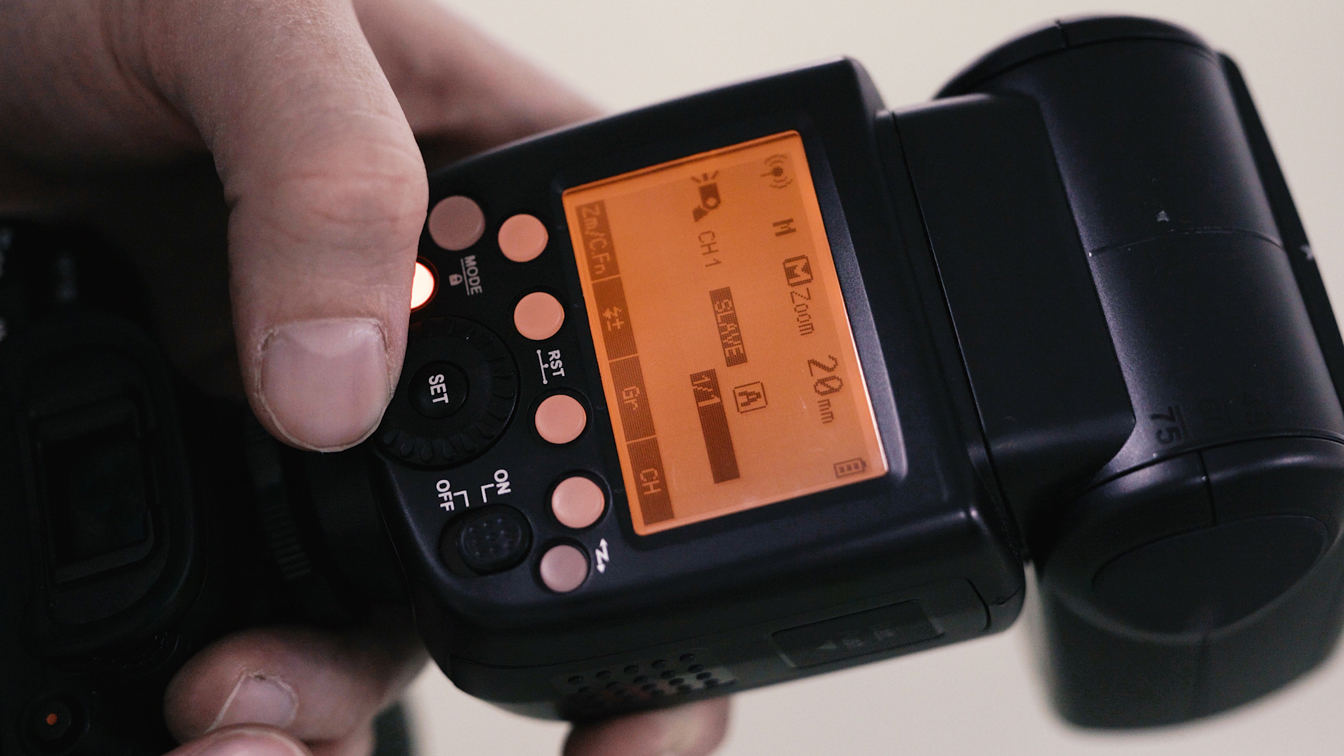
5. Flash settings
If you’re shooting with a flashgun, now is the time to adjust its power settings. Using the controls on the back of the flash, increase the flash output to full power (1/1) for that harsh, edgy look..
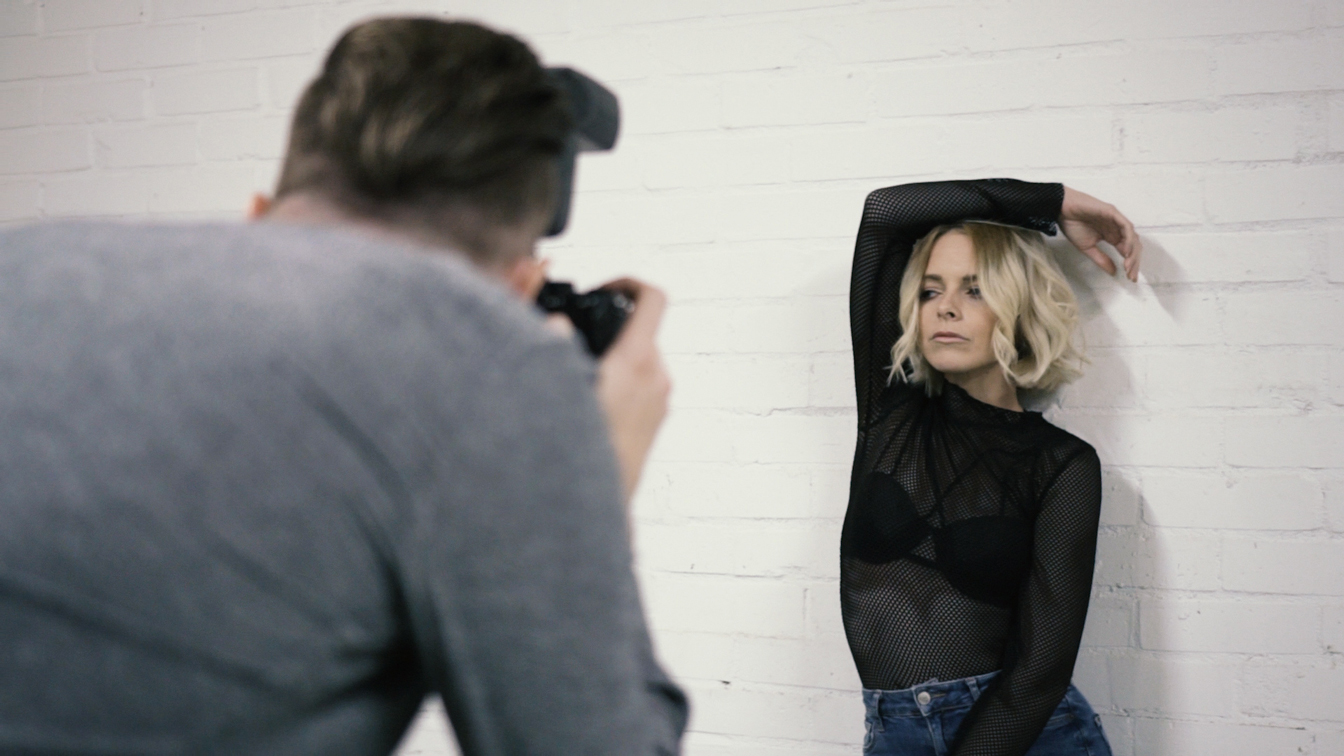
6. Take the shot
Ask your model to stand in position, compose the shot, focus, and take the photo. Review the image on the back of your camera. If the image is too bright, reduce the flash power to 1/2 and try again.
Read more:
Best 85mm lenses for portraits
Portrait photographers to follow this year
Home photography ideas
Lauren is a writer, reviewer, and photographer with ten years of experience in the camera industry. She's the former Managing Editor of Digital Camera World, and previously served as Editor of Digital Photographer magazine, Technique editor for PhotoPlus: The Canon Magazine, and Deputy Editor of our sister publication, Digital Camera Magazine. An experienced journalist and freelance photographer, Lauren also has bylines at Tech Radar, Space.com, Canon Europe, PCGamesN, T3, Stuff, and British Airways' in-flight magazine. When she's not testing gear for DCW, she's probably in the kitchen testing yet another new curry recipe or walking in the Cotswolds with her Flat-coated Retriever.
