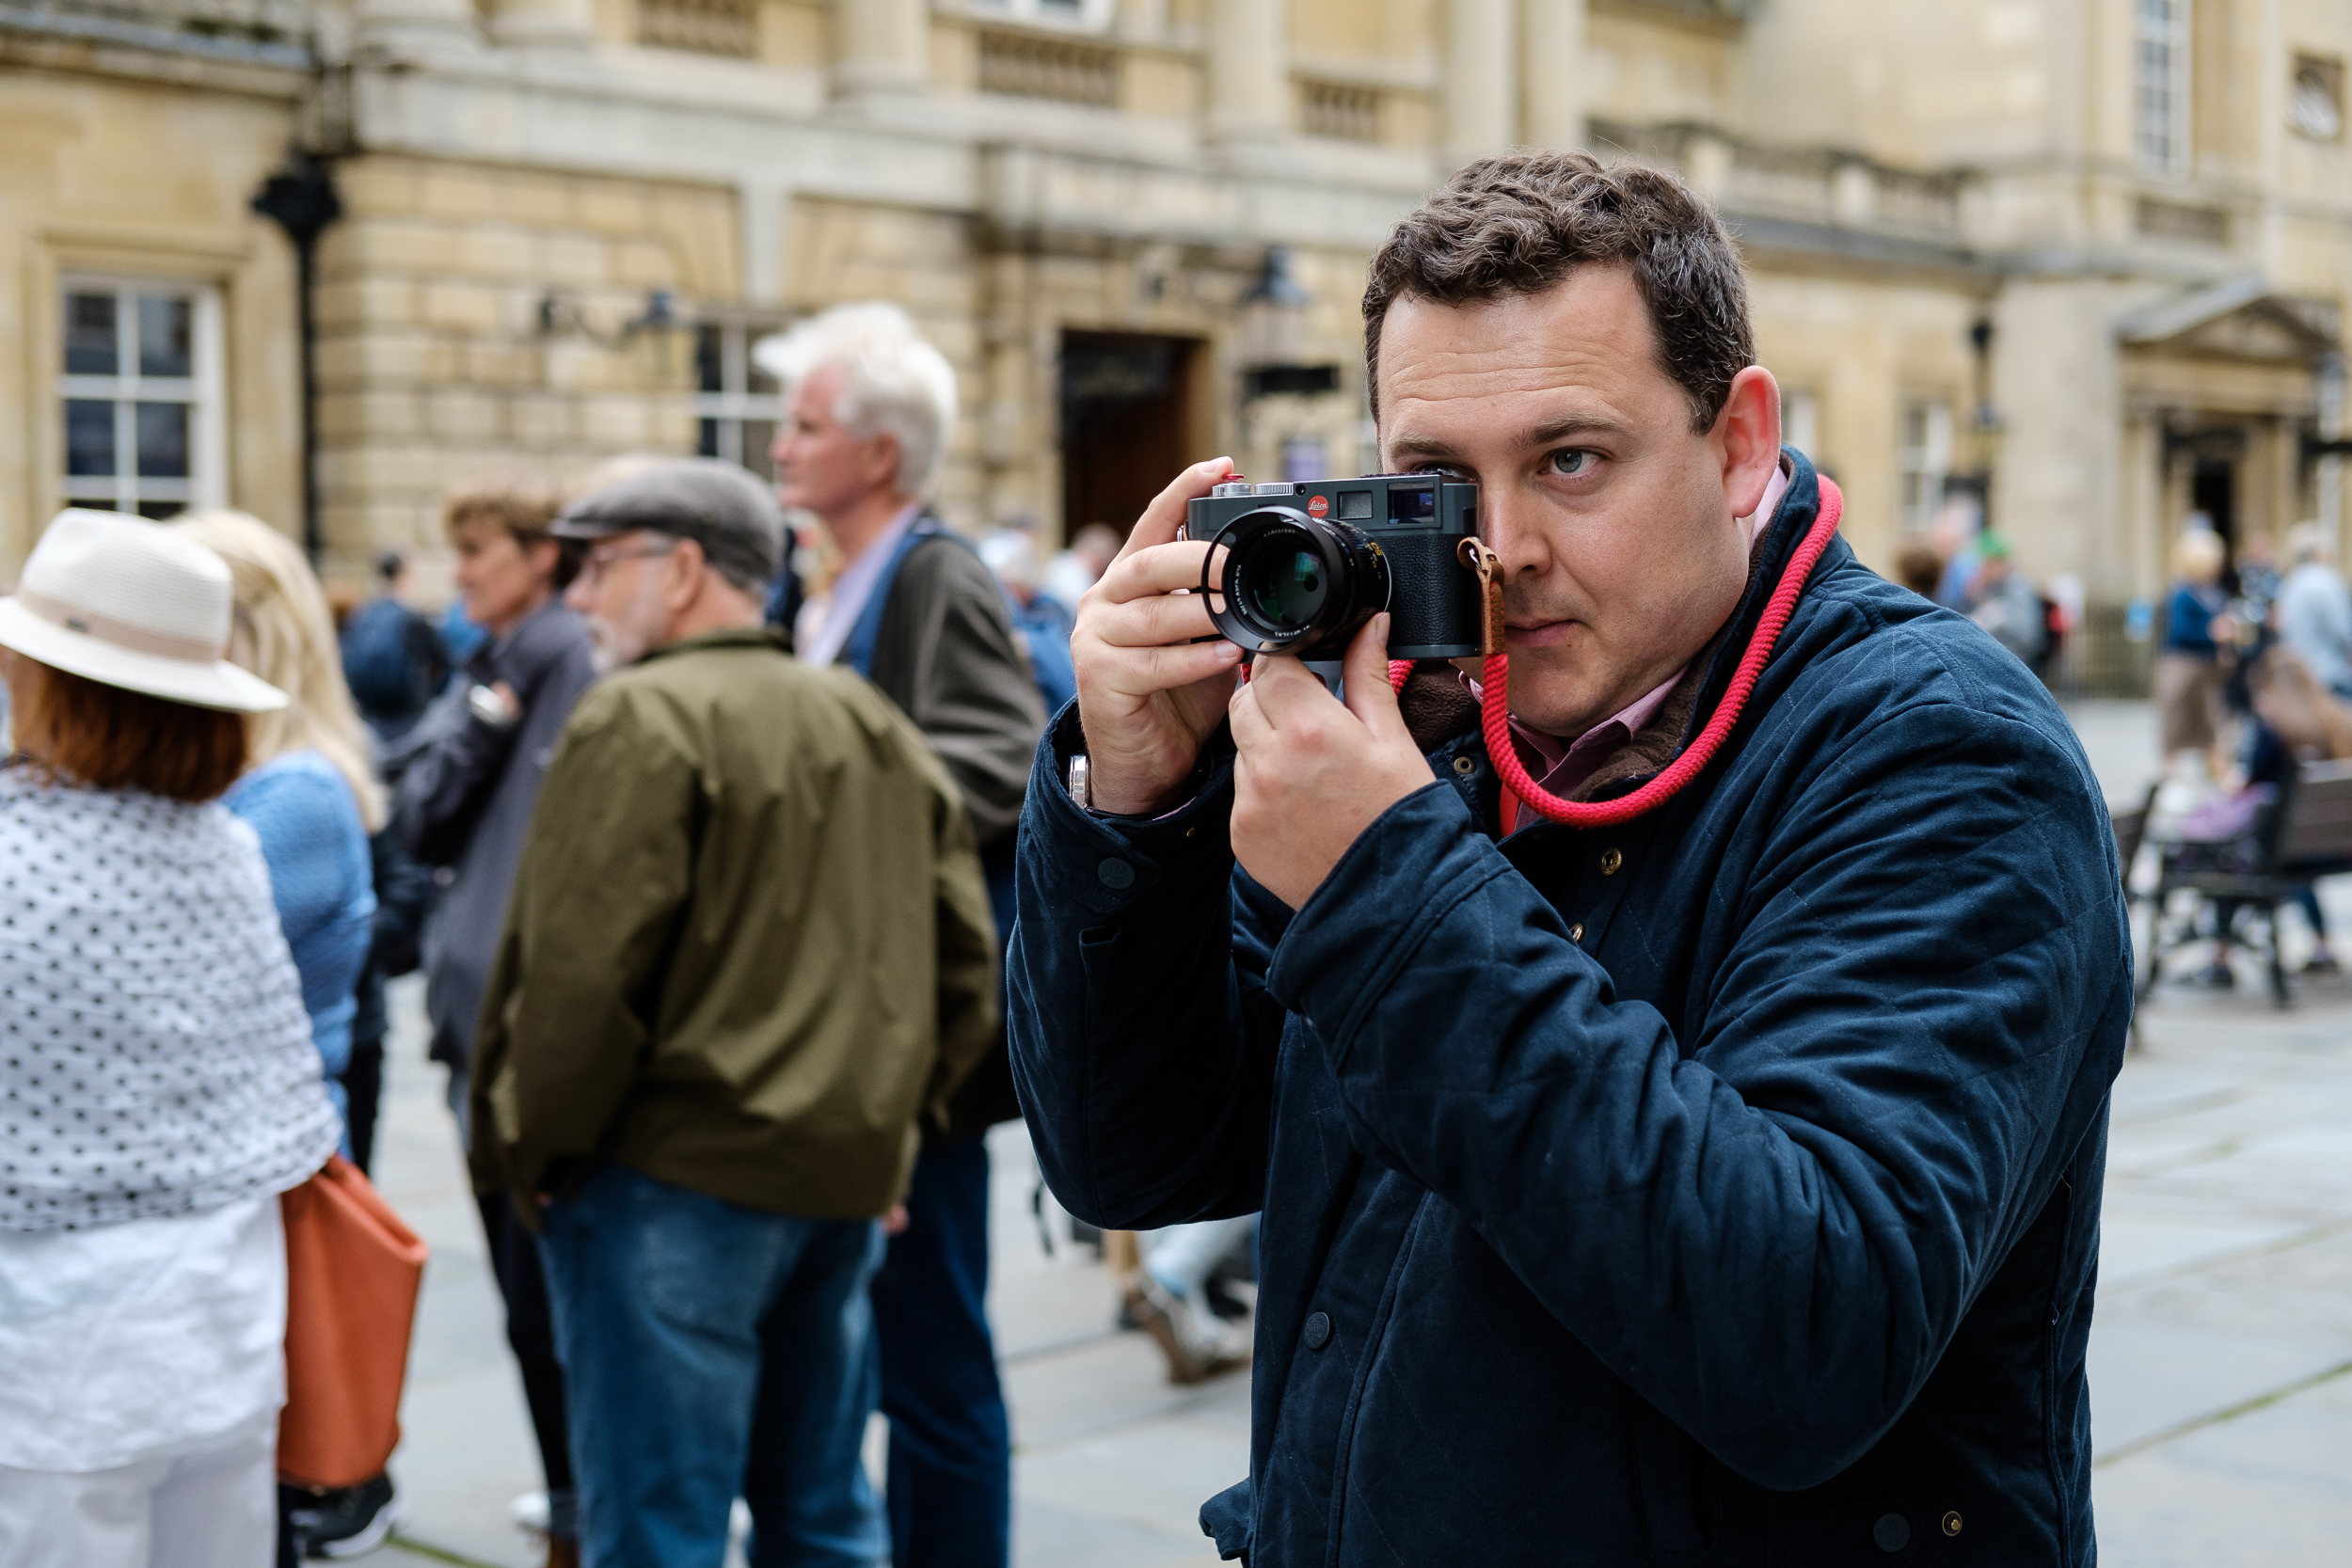
10 essential steps you need for stunning street images
Co-founder of the Street Photography International Collective Craig Reilly shares his advice for capturing candids like a pro
The best camera deals, reviews, product advice, and unmissable photography news, direct to your inbox!
You are now subscribed
Your newsletter sign-up was successful
Street photography seems to be the in-vogue genre for newcomers and experienced photographers alike around the world.
Some of the reasons for this are because of its accessibility (you don’t need an invite or backstage pass to attend), the lack of equipment required (any one camera is enough), lack of expense (walk to your nearest town), plus, it’s a great way to keep your eye in if you work in other genres.
• See our essential street photography tips
Even though it’s called street photography, images don’t have to be taken on a street – it can be a photo of anything happening in a public place. There are also so many definitions of street photography; each one unique to the photographer shooting.
I see it as trying to capture or create art from an everyday, mundane and candid moment. Hopefully, using the tips in this feature will help you to increase your success rate in catching them...
1. Take the right gear
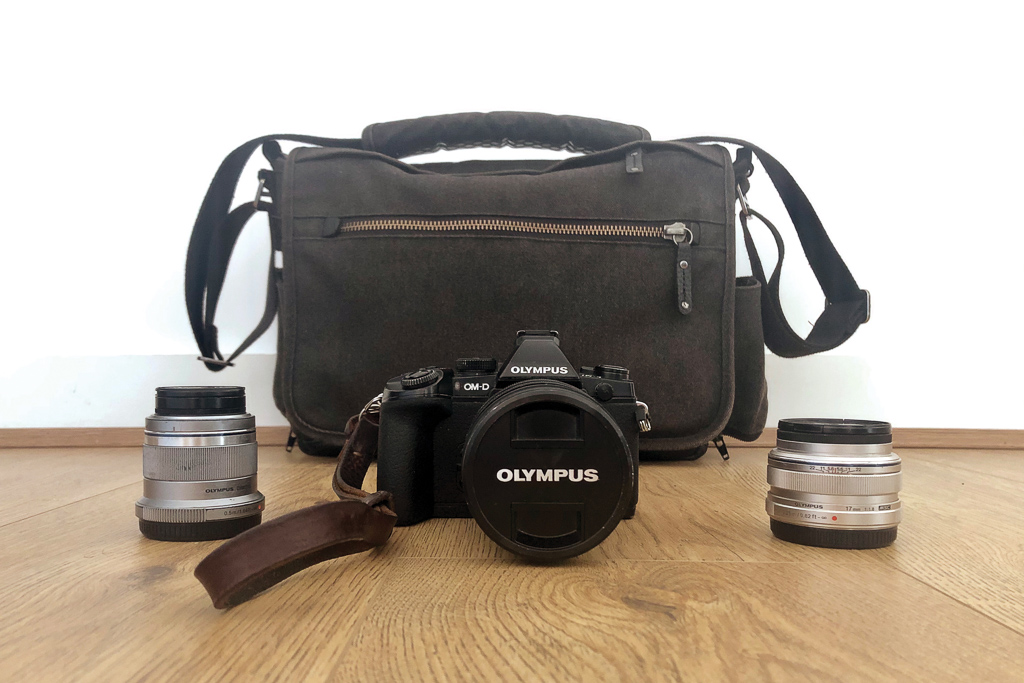
The right gear can only be chosen by you, the photographer. There are many websites, magazine articles and chapters in books telling you what the perfect camera, lens and settings are for a particular genre, and street photography seems to be one of the most featured right now. There is no such thing as the ‘perfect’ model or technique.
If you’re able to capture the type of photo you’re aiming for, stick with your current kit. Only look to change when you want to try a different approach or create a new style.
The best camera deals, reviews, product advice, and unmissable photography news, direct to your inbox!
I use the Olympus Micro Four Thirds system on the OM-D range of cameras, and I chose that system by doing research and deciding what was best for me. Being able to customise certain buttons, and the size and weight of the camera body combined with a quality, weather-sealed lens, makes it easier for me to work without any worries of getting fatigued and achy, damaging my camera in bad weather, and not having to second-guess how to use it when I need to react quickly.
I prefer to use a prime lens (the Olympus 17mm f/1.8 is my most-used lens). This forces me to move and change my position when I’m trying to get the best composition in a particular scene, as opposed to just zooming in and out. It also encouraged me to get closer to my subjects when I first started shooting street shots.
2. Don't be in such a rush
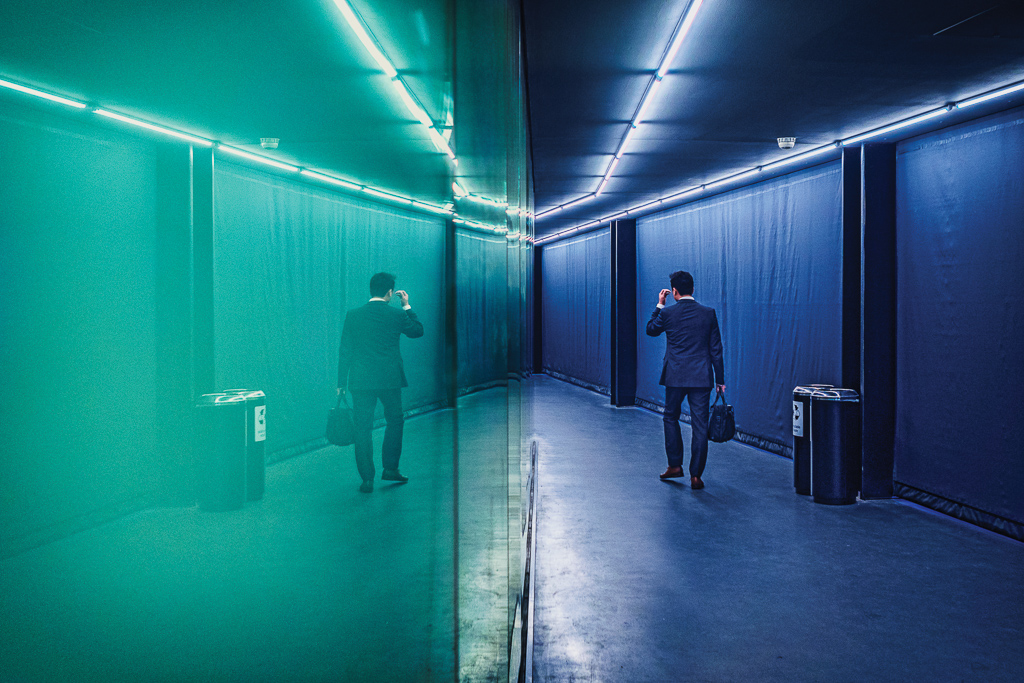
When we first start out in street photography – and most new genres, in fact – our initial instinct and excitement tells us to capture pretty much everything we see moving (or sitting still). But in doing so, we have hundreds or possibly thousands of photos to trawl through when we get home, with huge disappointment due to the lack of even a half-decent result.
I strongly recommend studying and waiting at a location if the light, subject matter or location make it worthwhile to stick around. Street photography isn’t always about seeing the exact moment and capturing it – sometimes it’s a case of predicting when something is going to happen and then capturing what you foresaw.
If you are going to wait, it’s a good idea to gauge how busy that location is. Ask yourself how long you may have to wait for someone of interest to walk into this scene, or if it’s too busy, would it be better to make a mental note of the day, time and available light, and return when it could be quieter?
3. Check the whole frame
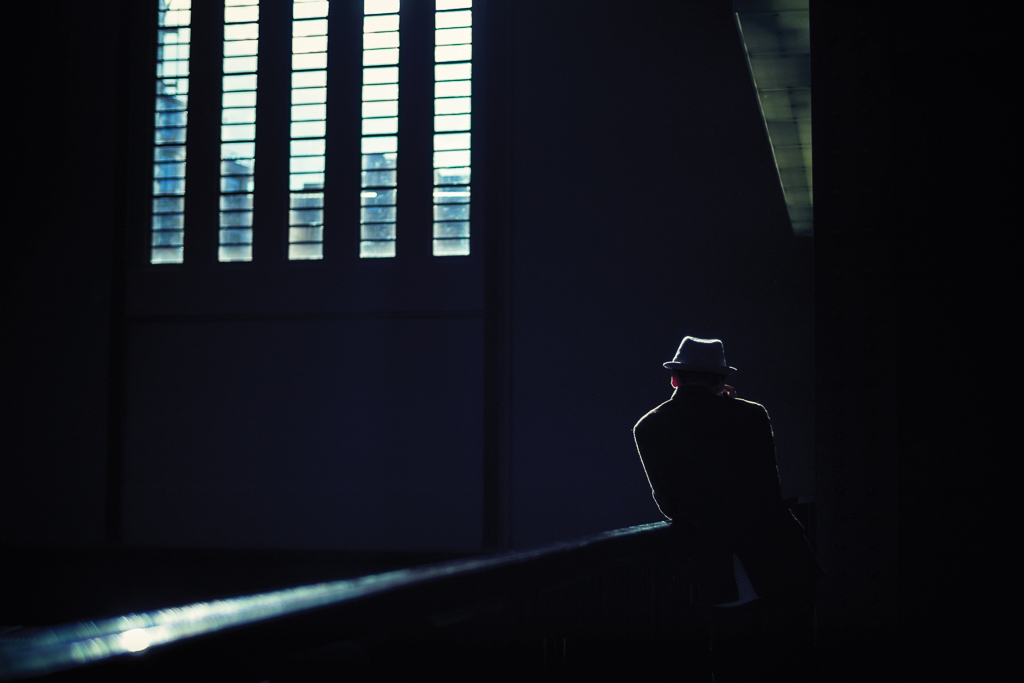
When a location has most of the elements to make a great image and just needs the final factor (a subject) to enter the scene, my preparation and process is to get as much as I can correct in camera rather than having to spend unnecessary time looking for something on a computer screen that I didn’t see initially. That’s not photography to me.
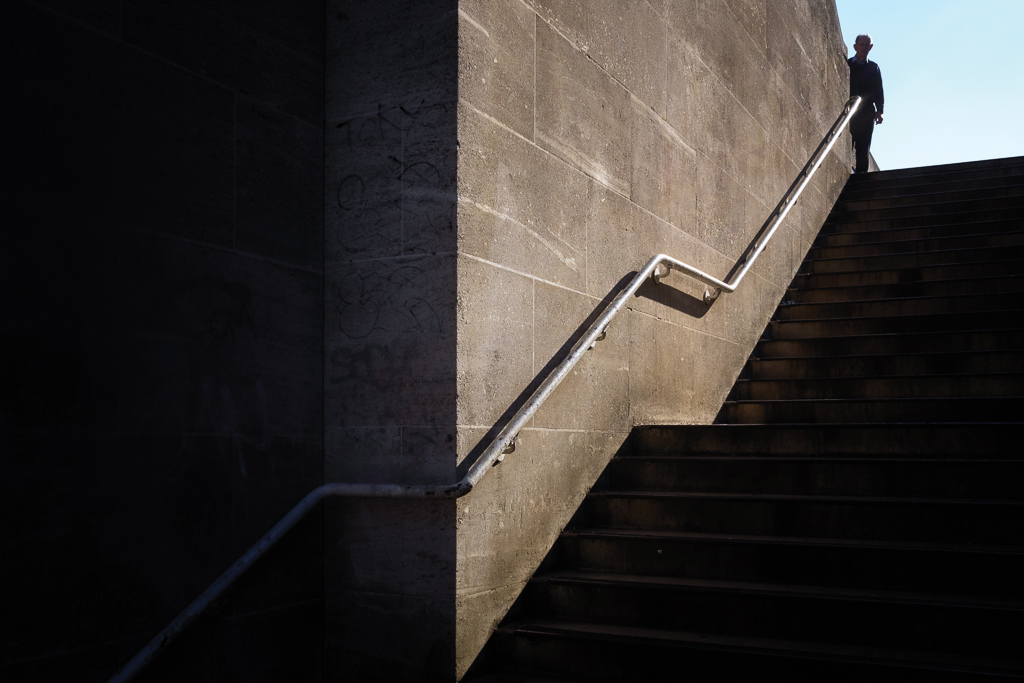
Firstly, I get my exposure correct. Once that’s locked in, my next process is to decide on how best to compose the frame. All the time I’m looking through my viewfinder, I’m looking in all the corners and edges for any distractions and making minor adjustments to remove them – whether that’s changing my location or adjusting the position of my camera. The things I want to eliminate can include minor spots of light, other people, signs with text or symbols, or just busy environments in general.
While eliminating the distractions, I’ll use the straight edges within that location to align with my frame, and also utilise any leading lines from a particular corner to the subject.
4. Think about the background
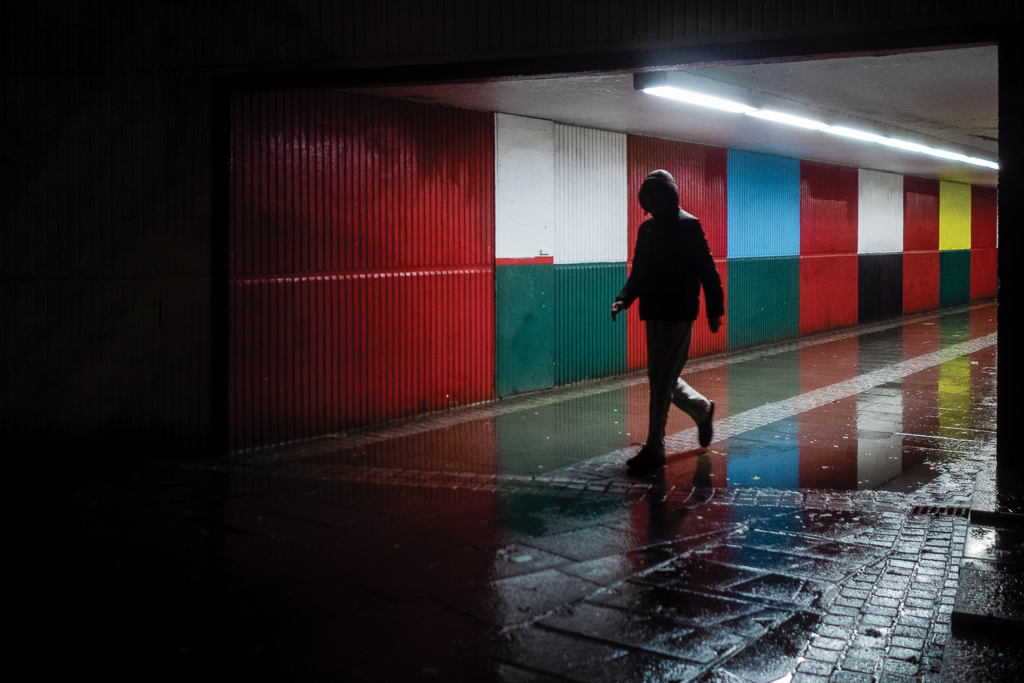
It’s easy to be so focused on our subject that we forget about the background. This is apparent when looking at the photos we’ve taken that day, and we either find the subject has been lost among a bush behind them, has a lamppost or sign coming out of their head, or there’s someone else in the background doing something much more interesting.
To eliminate these errors or use them to your advantage, your next thought, once you’ve spotted a subject, should be about the background and what position you need to be in to isolate them or use something behind them as a juxtaposition or aid.
The more you do this, the more you’ll recognise an opportunity and get into the correct position quicker, saving you seconds on the street and many minutes editing at home.
5. Change your perspective
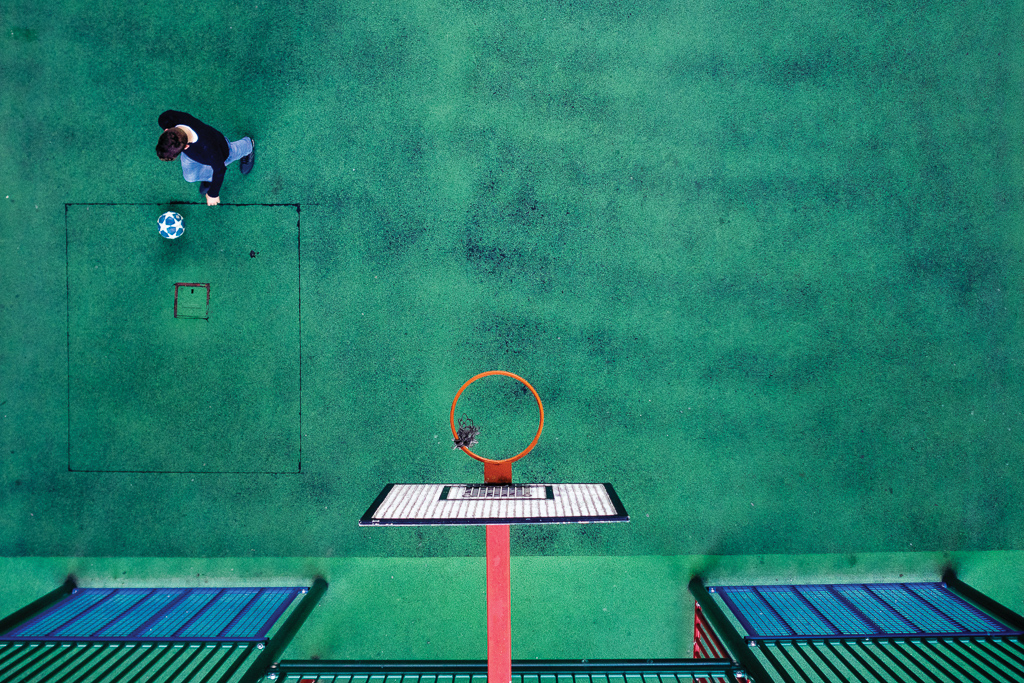
When you’re out walking the streets, visiting a gallery or museum, or travelling by bus or the Underground, it’s always good practice to take the opportunity to look at things from a totally different perspective.
It’s very easy to take a photo at eye level, which of course will be needed on a lot of occasions. But if it’s an option, take the time to look at your location from the ground, from above or at an odd angle. It will open you up to so many new ways of being creative. Can you look inside a window of a shop, a passing car or bus? Can you look outwards from a stationary vehicle? Can you raise your camera way above your head or lay it on the ground?
When I’m shooting I look around the whole scene from different angles. Just because you’ve seen something that’s caught your eye in one spot doesn’t necessarily mean you have to be rooted to that position.
6. Be prepared
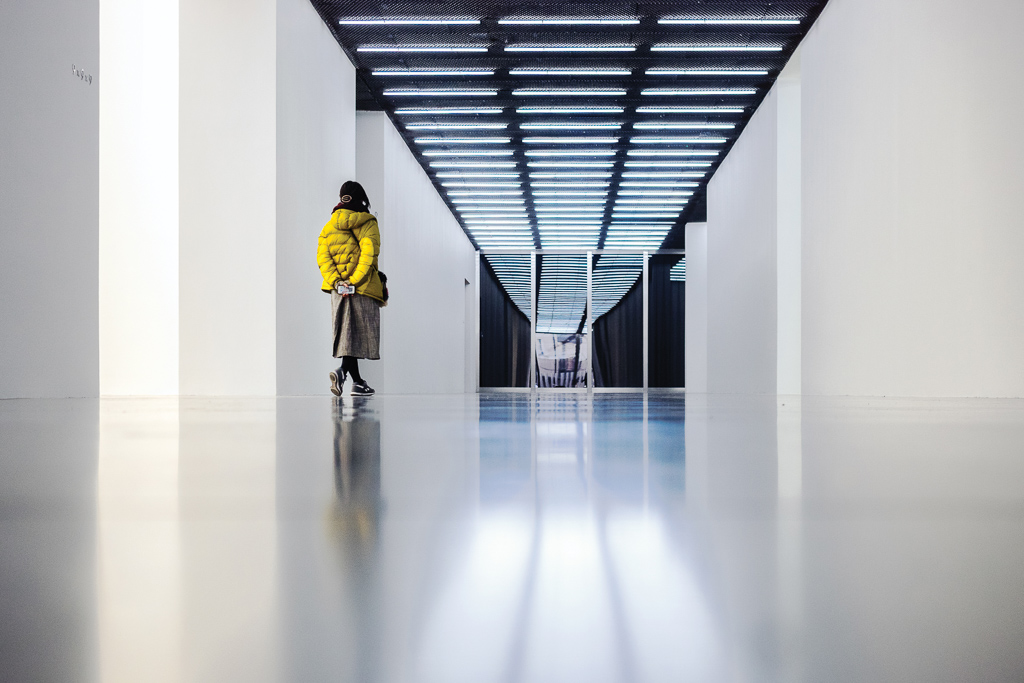
Making sure you have charged your batteries and have enough free memory on your memory cards is the first step to being prepared for a day’s shoot. I transfer all my photos to an external hard drive at the end of the day, and clear my memory card the morning before going out.
When out, I make sure to have my settings prepared depending on my location and the amount of light available. A good habit to get into is to check your shutter speed and depth of field every so often or when you’re entering a location where the light differs greatly.
If I’m waiting at a point of interest, the first thing I do after studying the scene is to get my exposure correct. I do this using spot metering. This allows me to be very selective with the available light, and a little creative too.
If it’s a dark shadow/high-contrast shot, I’ll expose from the brightest point. If it’s a bright, clean location, I will take a meter reading from a darker spot to overexpose the white walls. That way, anyone with a bright item of clothing or accessory will pop out and give the image a minimalistic feel if composed correctly. I do all this visually, rather than using the in-camera histogram. Once I’m happy with that, I’ll lock it in by pressing the AEL button. This allows me to compose the scene exactly how I wish.
Not having to worry about my exposure changing if the light remains the same is one less thing to think about when the time comes to get the shot.
7. Be confident in your approach
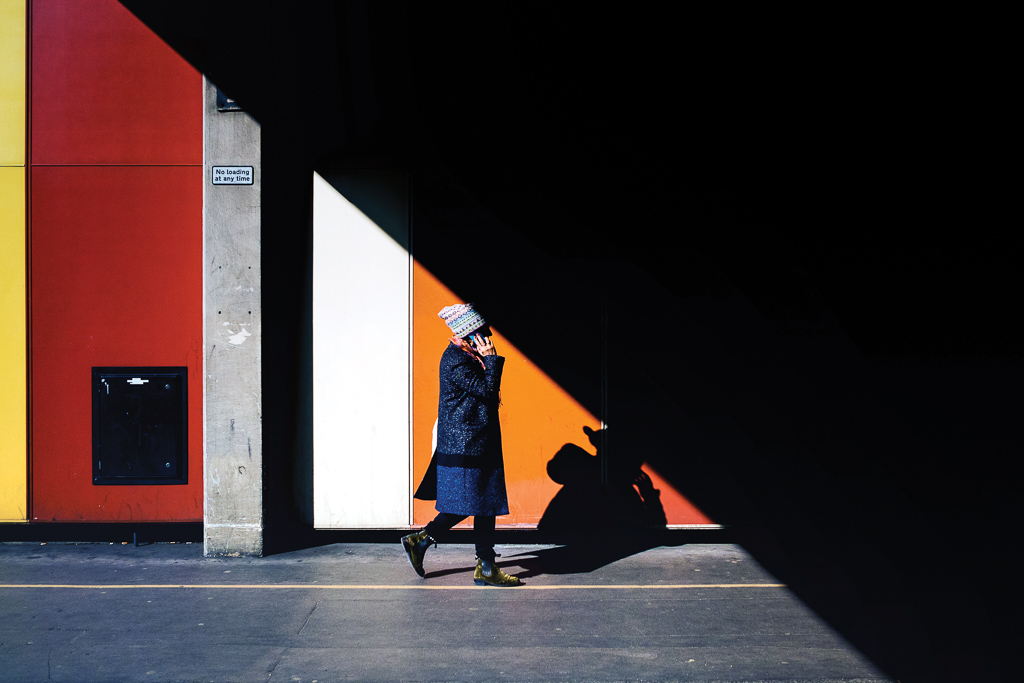
The biggest fear or hurdle the majority of people have when first getting into street photography (myself included) is being able to get close to strangers. One of the best tips I can give you to help you blend in is to be confident with your approach. This is easier said than done of course, but if you’re hesitant, looking at and then away from your subject, wondering whether to commit, you’re going to stand out, possibly look quite suspicious and more than likely miss the shot.
A tip to help build that confidence is a technique I have used many times. If I’ve spotted an interesting moment or person, I don’t want to make eye contact with them until I’m in my desired position. I’ll look beyond them and then bring the camera to my eye, frame them how I want to frame them and wait for eye contact. Upon getting the eye contact I’ll press the shutter button. After getting their photo, I take the camera away from my eye and look at the spot I was looking at before. Most of the time the subject will turn around to look at what you were fascinated with.
When you’re more confident and the quality of your images improves, you’ll happily wave or even speak to and show your subject their candid portrait, and they’ll probably ask you to send them a copy.
8. Stick to the same route
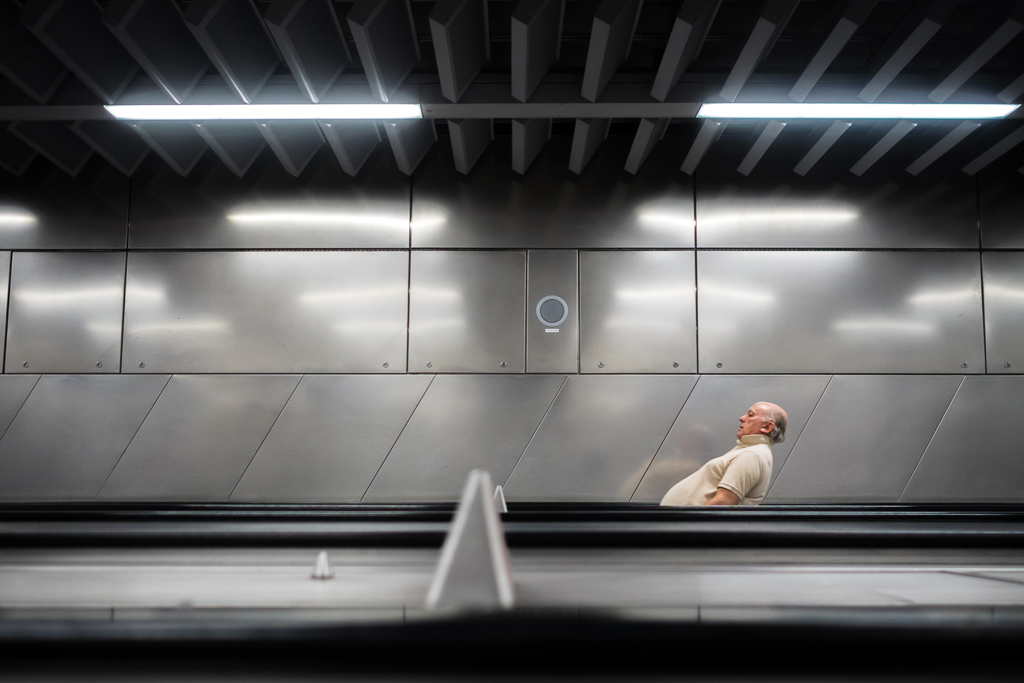
This may seem an odd tip to give, but it’s something many popular street photographers do. The reason I give this tip is because, by sticking to a particular route for at least a year and a half on and off, you’ll see how the same locations change dramatically due to the amount of light at certain times of the day, at different times of the year and in different types of weather.
Not only will you see how the light affects the same location, you’ll also see how much an area’s landscape can change from one month to the next. This is one of the reasons why I love street photography. Not only are we creating art from everyday moments, we’re also capturing the history of people’s lives, fashion, habits and surroundings in cities, towns and districts all over the world.
9. Don't delete
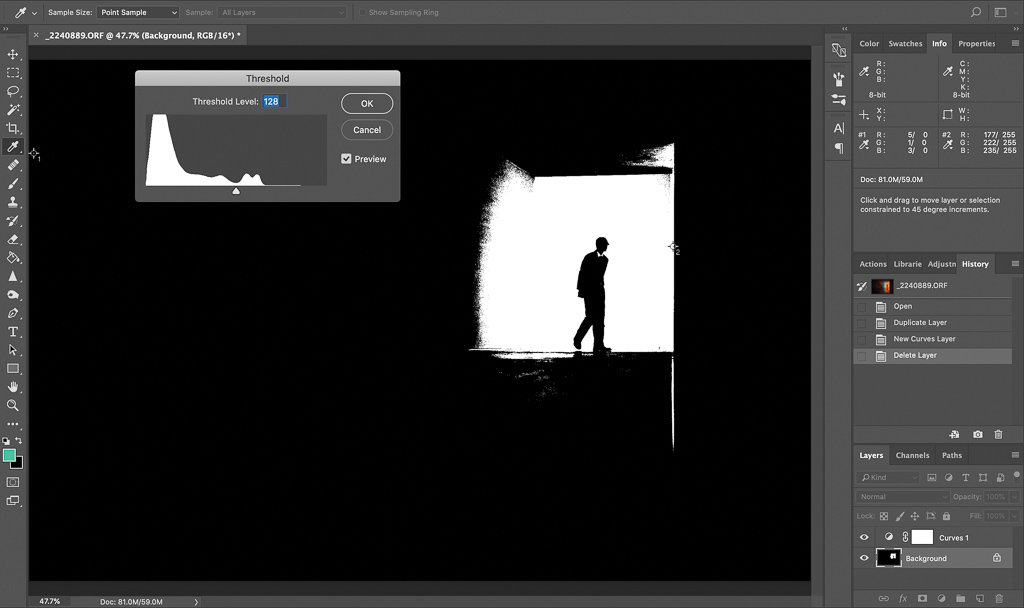
This is one of the greatest learning tools we can have in photography, and one of the fastest ways to train your eye to seek out opportunities. When you are looking at your photos on a computer or camera’s LCD screen, it’s a natural reaction to delete photos you think are useless. But don’t be so hasty. I strongly recommend you study the photos you consider a poor standard.
Rather than using a ratio such as rule of thirds or the golden spiral, using your eyes is the best way to analyse your own work, as you know what’s aesthetically pleasing to you and your creative style. Ask yourself what makes them bad. Could you have positioned yourself in a different location? Should you have waited until your subject was in ‘x’ position? What if you had used a faster shutter speed or a shallower depth of field? Continuously asking yourself these types of questions will teach you to have the answers before you press the shutter.
Another good reason not to delete your photos is because your eye will likely change over time, and you may notice some decent photos that you overlooked many months or even years before.
10. Dress in comfortable clothes
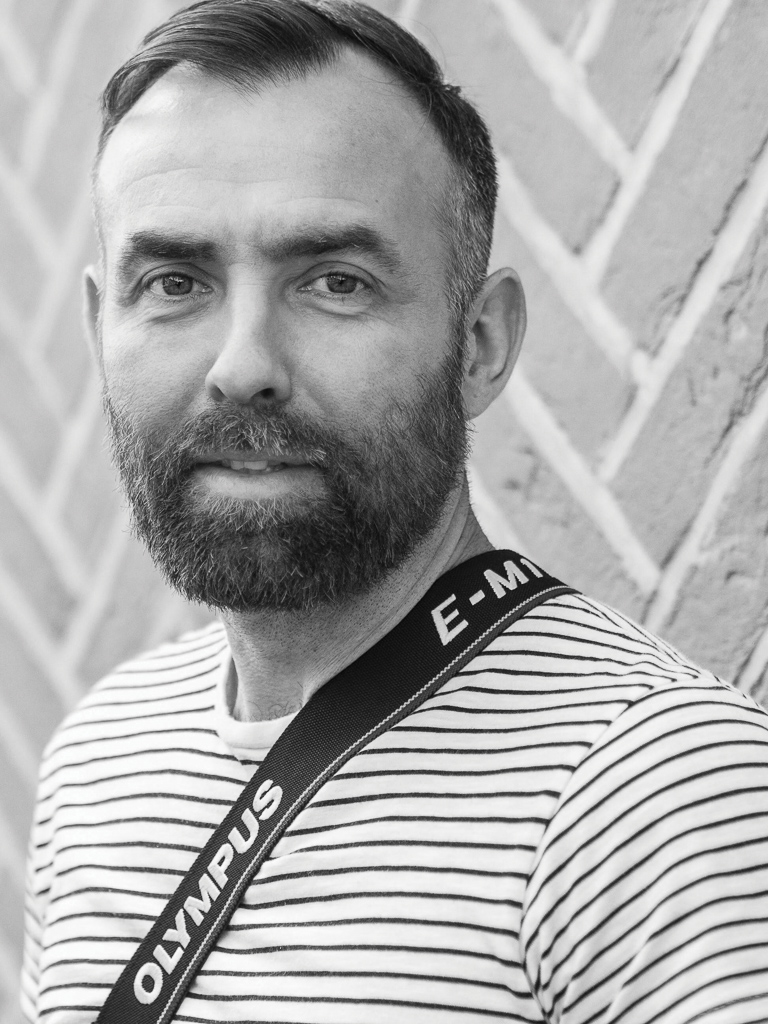
It cannot be stressed enough how important it is to feel comfortable with what you’re wearing for a full day of photographing on the streets. Obviously, shoes will be one of the most essential items on that list. Walking up to 21 kilometres during a single day’s workshop is common practice. It’s made very clear to workshop attendees that they make sure they’re wearing comfortable shoes for the day’s activity upon signing up.
In terms of clothing, again it’s important to be comfortable and warm, but I believe it’s also important to blend in with the people around you. I’m not suggesting you go head to toe in camouflage, but wearing something you’re likely to wear to your local supermarket – instead of wearing your full kit on a photographer’s vest – will not be screaming, “Look at me, I’m going to take your photo!”
I mentioned my bag in the kit section, and some people may not pay too much attention to their bag, but there’s nothing more frustrating than something that continuously slips off your shoulder, or that you have to adjust the position of every ten strides. If your mind is being distracted by any of these factors, there’s a good chance you’re going to miss a number of photo opportunities because of it, so dress smartly.
Discover more from Craig Reilly
Craig Reilly is a London-based street photographer and workshop leader. He started shooting on the streets in 2015 and has honed his skills by covering many hundreds of kilometres across London and other European cities.
Craig co-founded the Street Photography International Collective (SPi) and curates its Instagram account (@streetphotographyinternational), which has 1 million followers and over 6 million images in its pool of work.
Read more:
14 essential street photography tips
Best camera for street photography
The best books on street photography
Best lens for street photography
The best books on portrait photography
The best books on fashion photography
Lauren is a writer, reviewer, and photographer with ten years of experience in the camera industry. She's the former Managing Editor of Digital Camera World, and previously served as Editor of Digital Photographer magazine, Technique editor for PhotoPlus: The Canon Magazine, and Deputy Editor of our sister publication, Digital Camera Magazine. An experienced journalist and freelance photographer, Lauren also has bylines at Tech Radar, Space.com, Canon Europe, PCGamesN, T3, Stuff, and British Airways' in-flight magazine. When she's not testing gear for DCW, she's probably in the kitchen testing yet another new curry recipe or walking in the Cotswolds with her Flat-coated Retriever.
