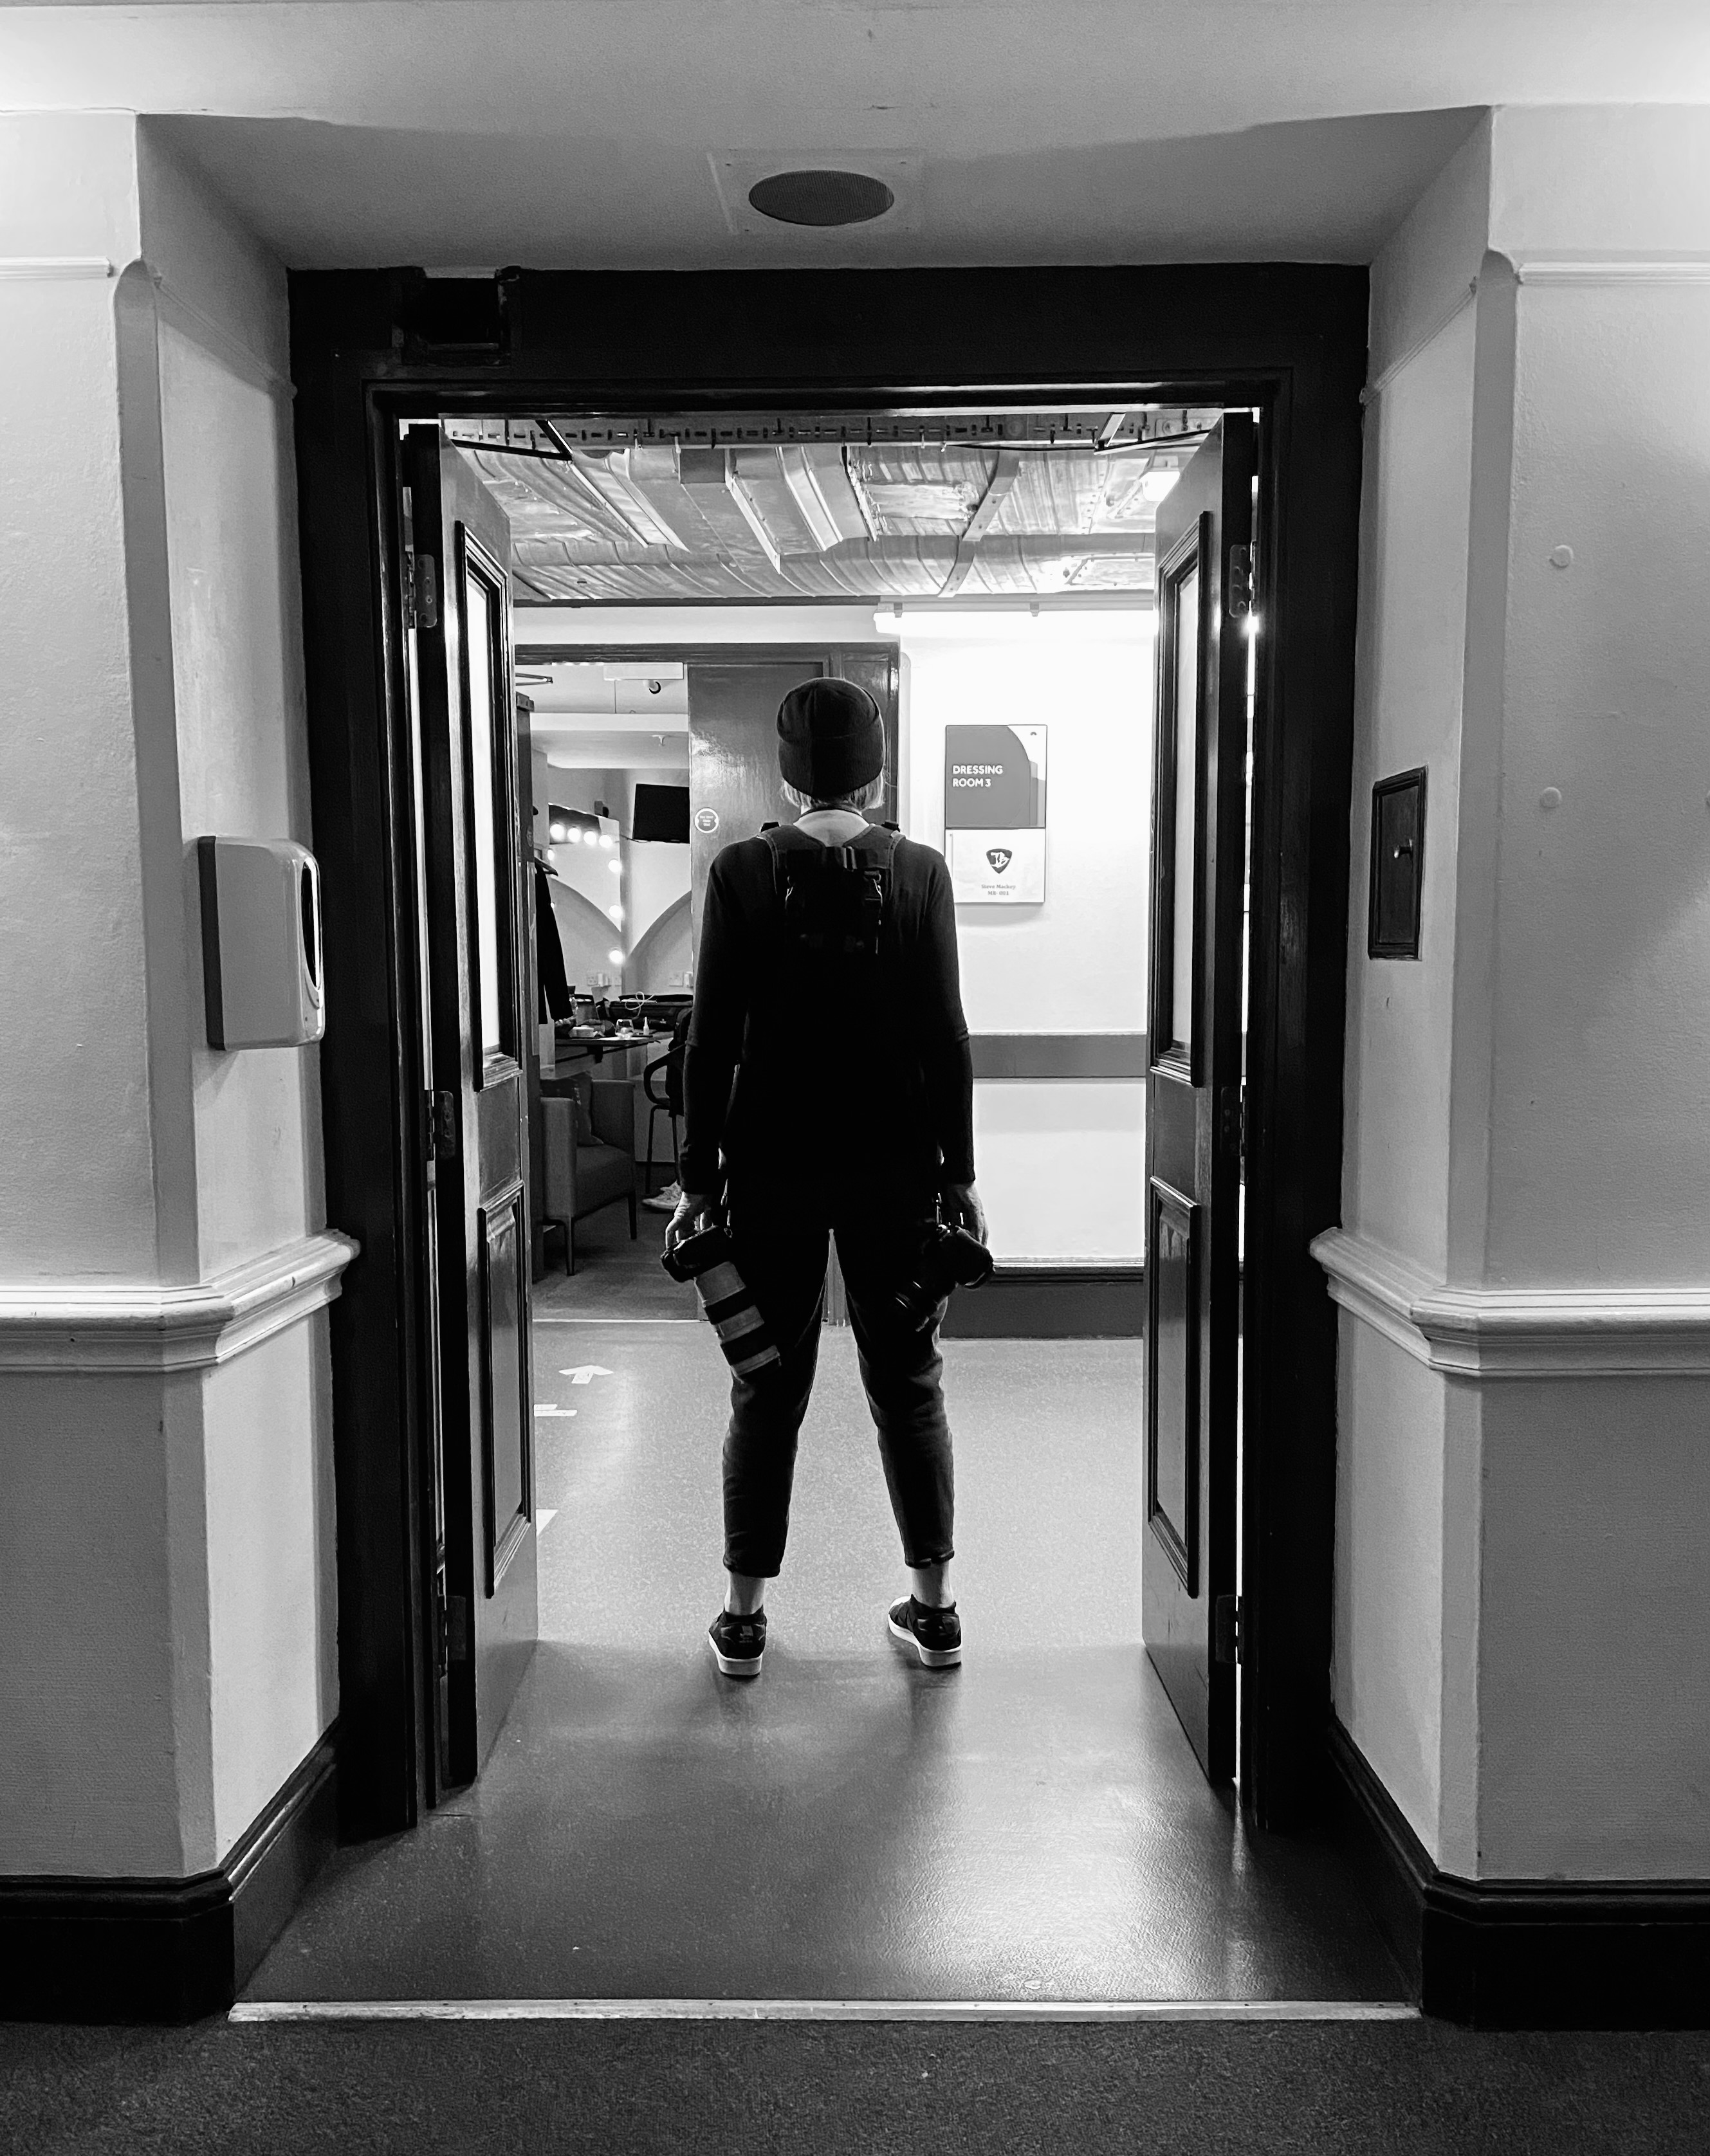
5 essential tips for editing live music photos, by Christie Goodwin
Expert editing insights from someone who has captured top stars including Ed Sheeran, Taylor Swift and Paul McCartney – and more!
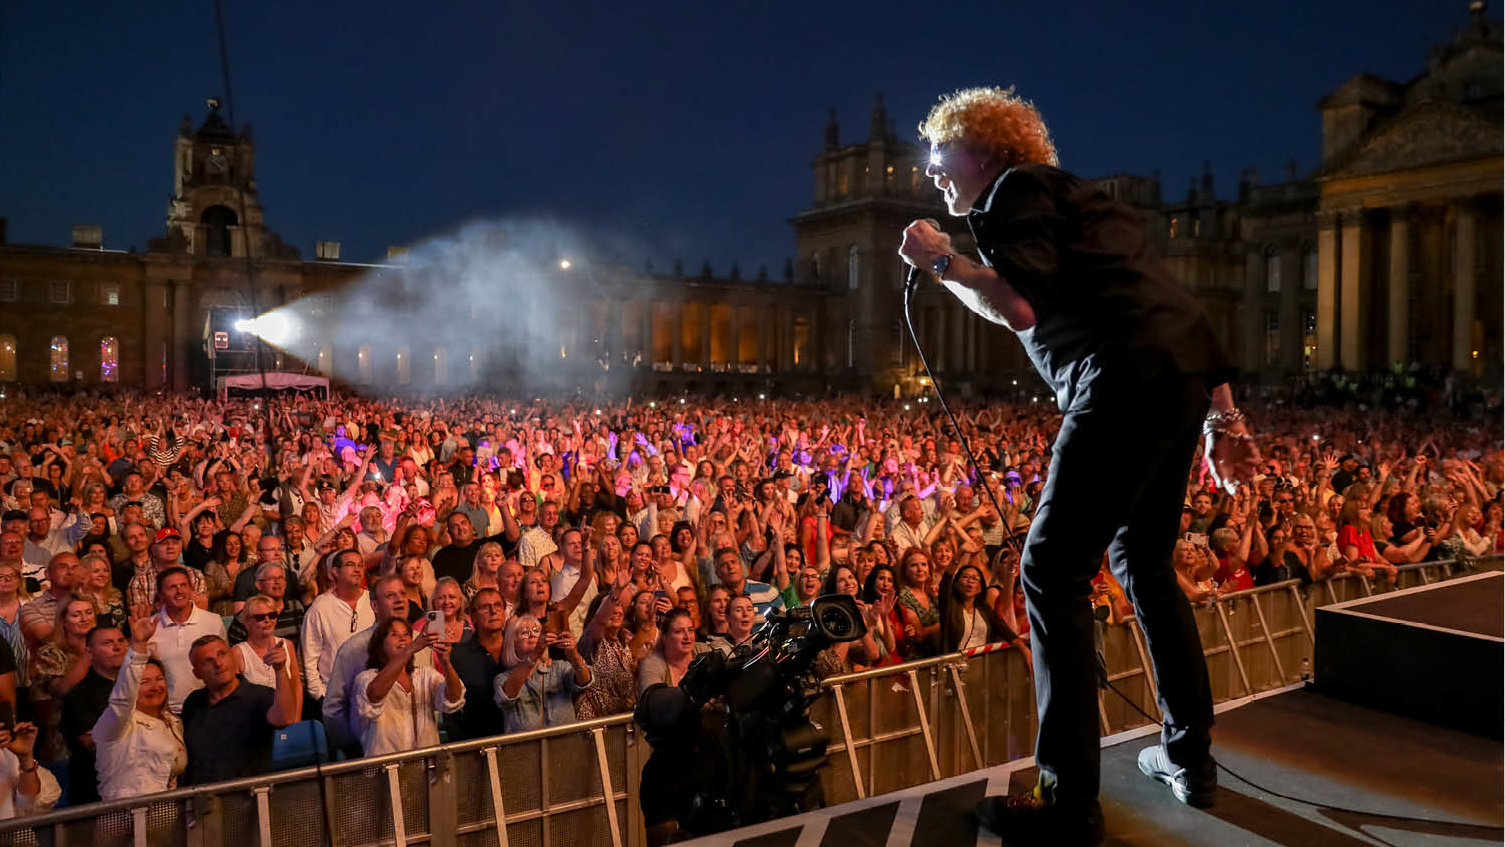
Leading live music photographer Christie Goodwin has been sharing her hints and tips for getting started in this competitive field, and having shot the likes of Ed Sheeran, Taylor Swift, Paul McCartney, Celine Dion and many more, Christie has plenty of helpful insights to offer.
We’ve heard her recommendations for cameras, lenses and accessories, plus how to shoot in low light – now Christie is taking us into her editing workflow, and how she readies her captures for delivery to her clients.
One of Christie’s other roles is being a judge for the world’s biggest photo competition, the CEWE Photo Award, so she knows all about the importance of editing images, and how a good edit can’t save a bad picture.
So with the summer music festival season now upon us, read on for a masterclass in editing captures from live music concerts…
1. Be hard on yourself and do a tight edit
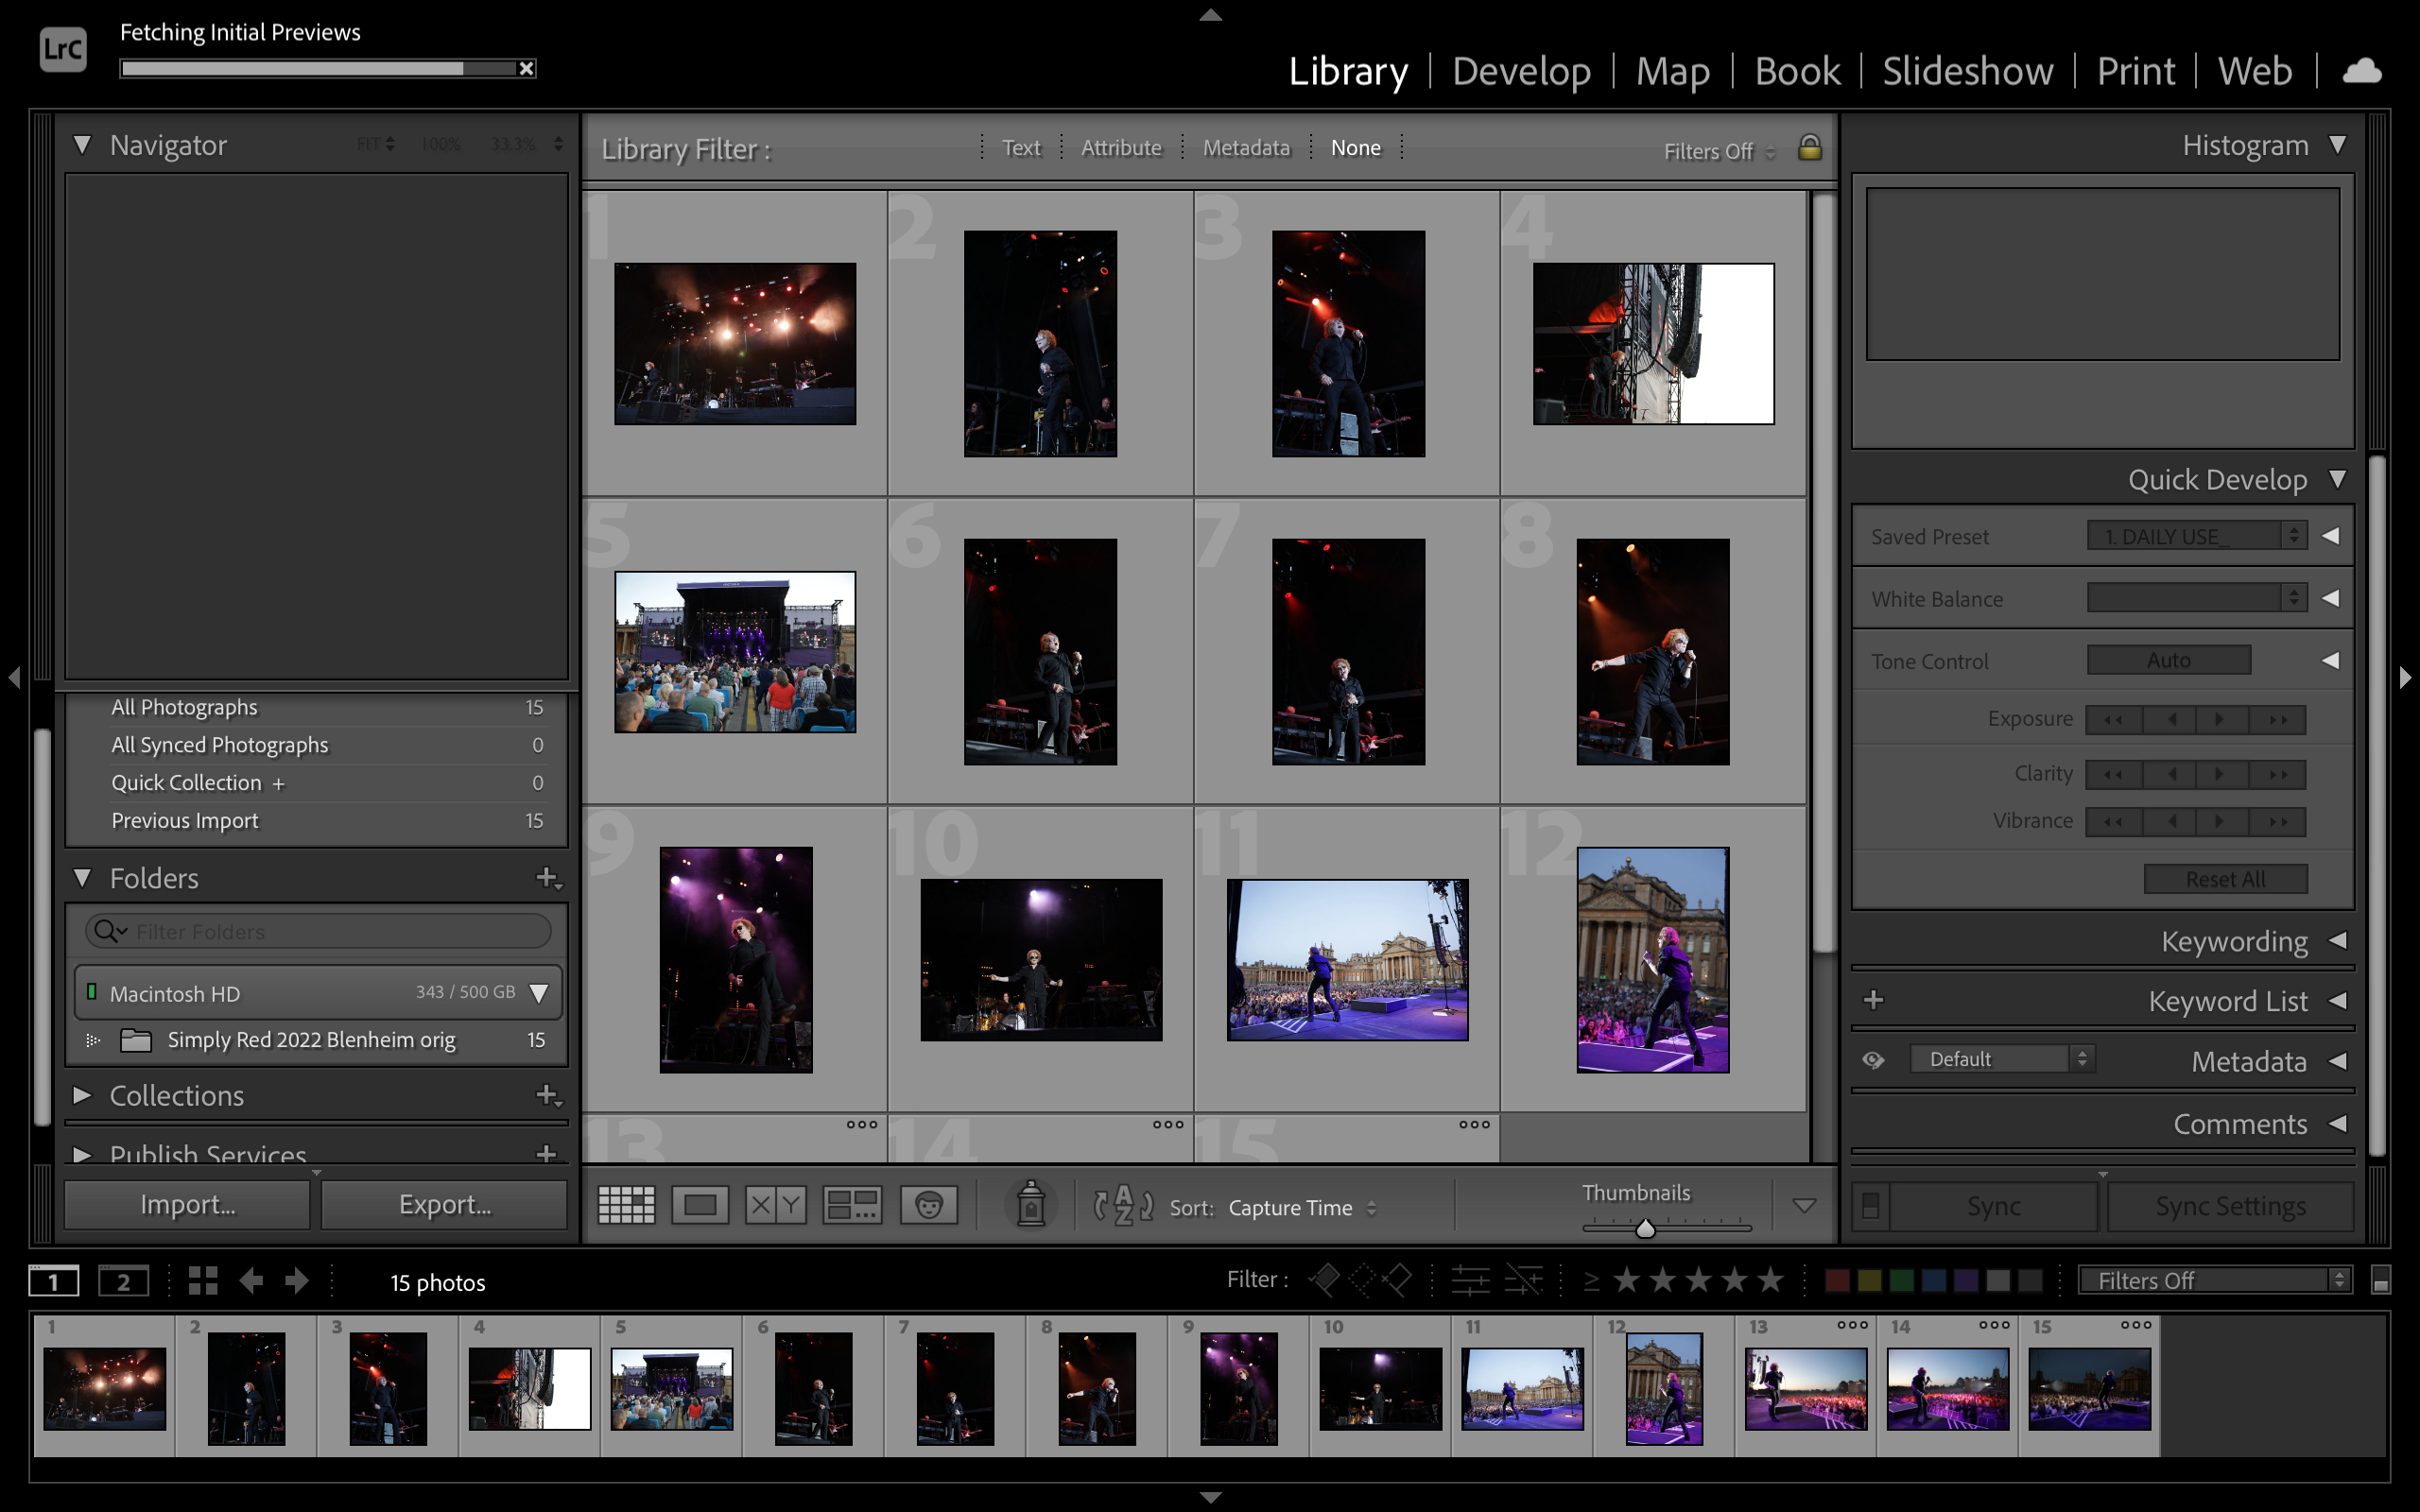
When you first select your pictures, only take the very best and be very hard on yourself. So when you are about to transfer the captures to your computer, open them in a program that offers you a grid view – I use Lightroom – and only select a set of images that really stick out, which can stay. I am very hard on myself: if there is something I don’t like, then it doesn’t get kept – even if the issue can be fixed in post-production. The picture has to be good before I start work on it. Be very strict on your selection and only be prepared to start working on the pictures that you really think are worthy, for your client or whoever you are shooting for.
2. Don’t over-process your images
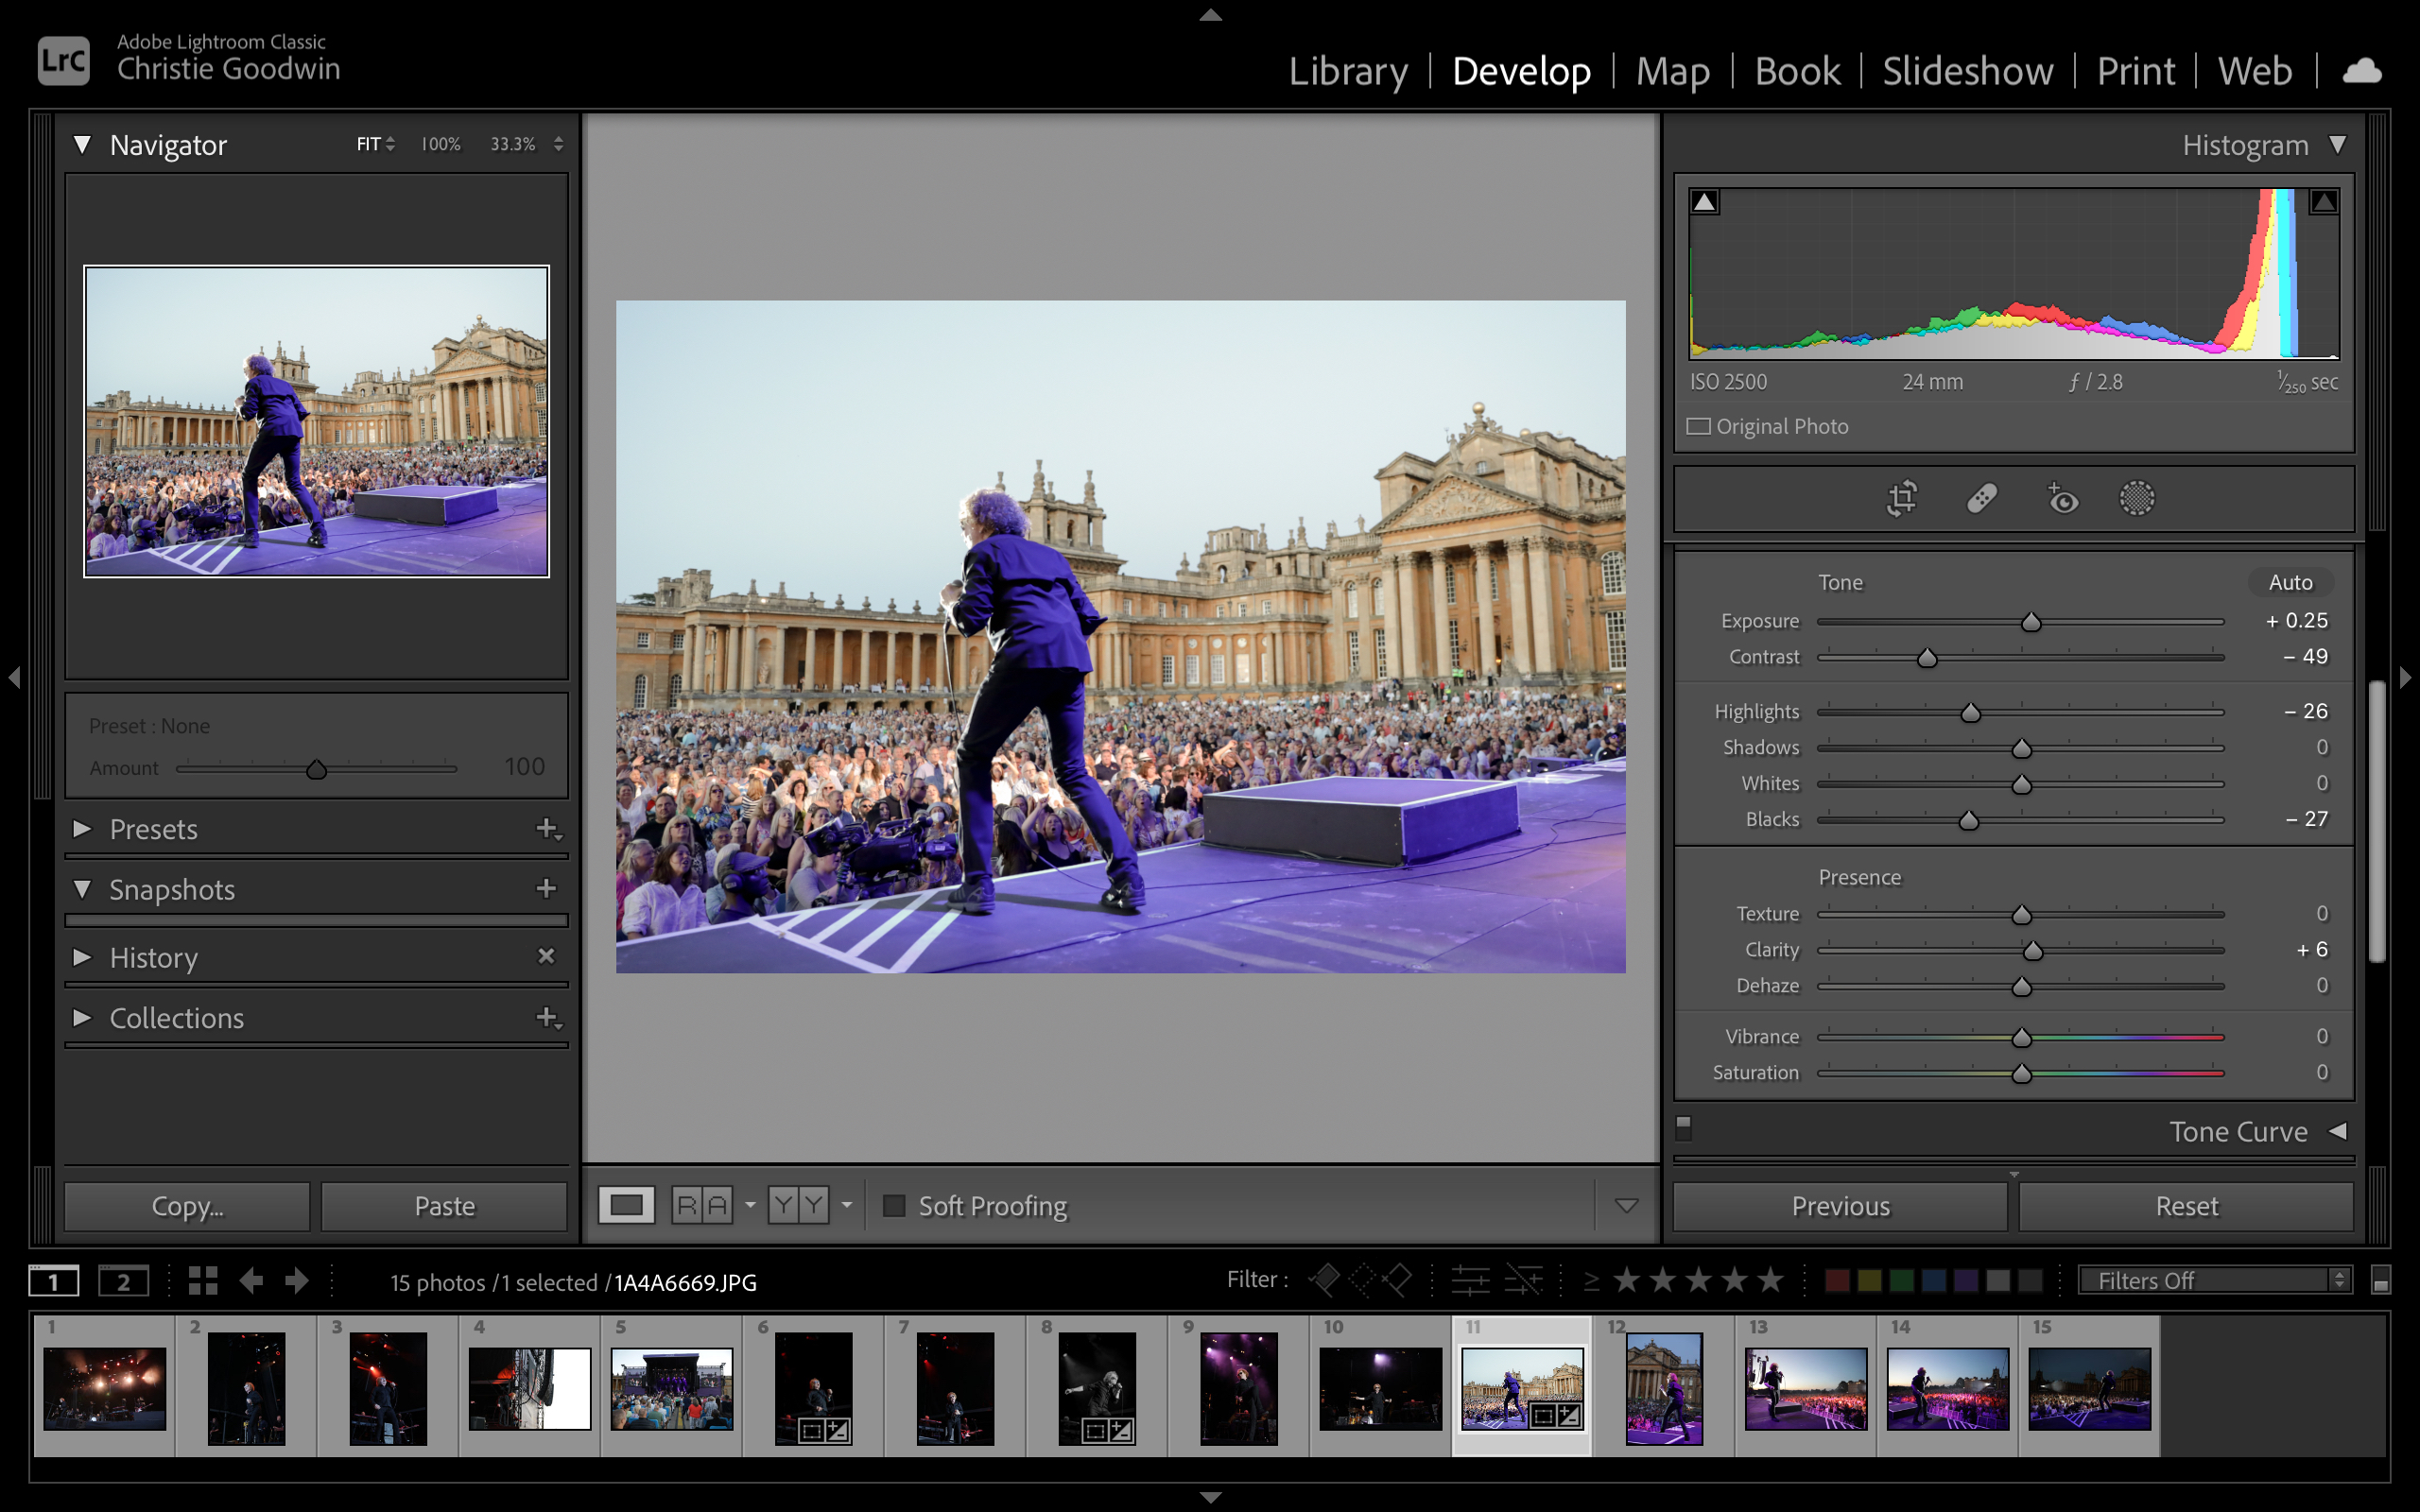
Next, start work on the images, but don’t go in for over-processing. You have photographed the show, so whatever you saw, whatever was there, you want to represent. You don't want to change any of the colors. Often I see music photographers talking about changing the blues or reds. Don’t change it. If the artist delivered the show in blue, then capture blue and deliver blue.
3. Reduce the contrast
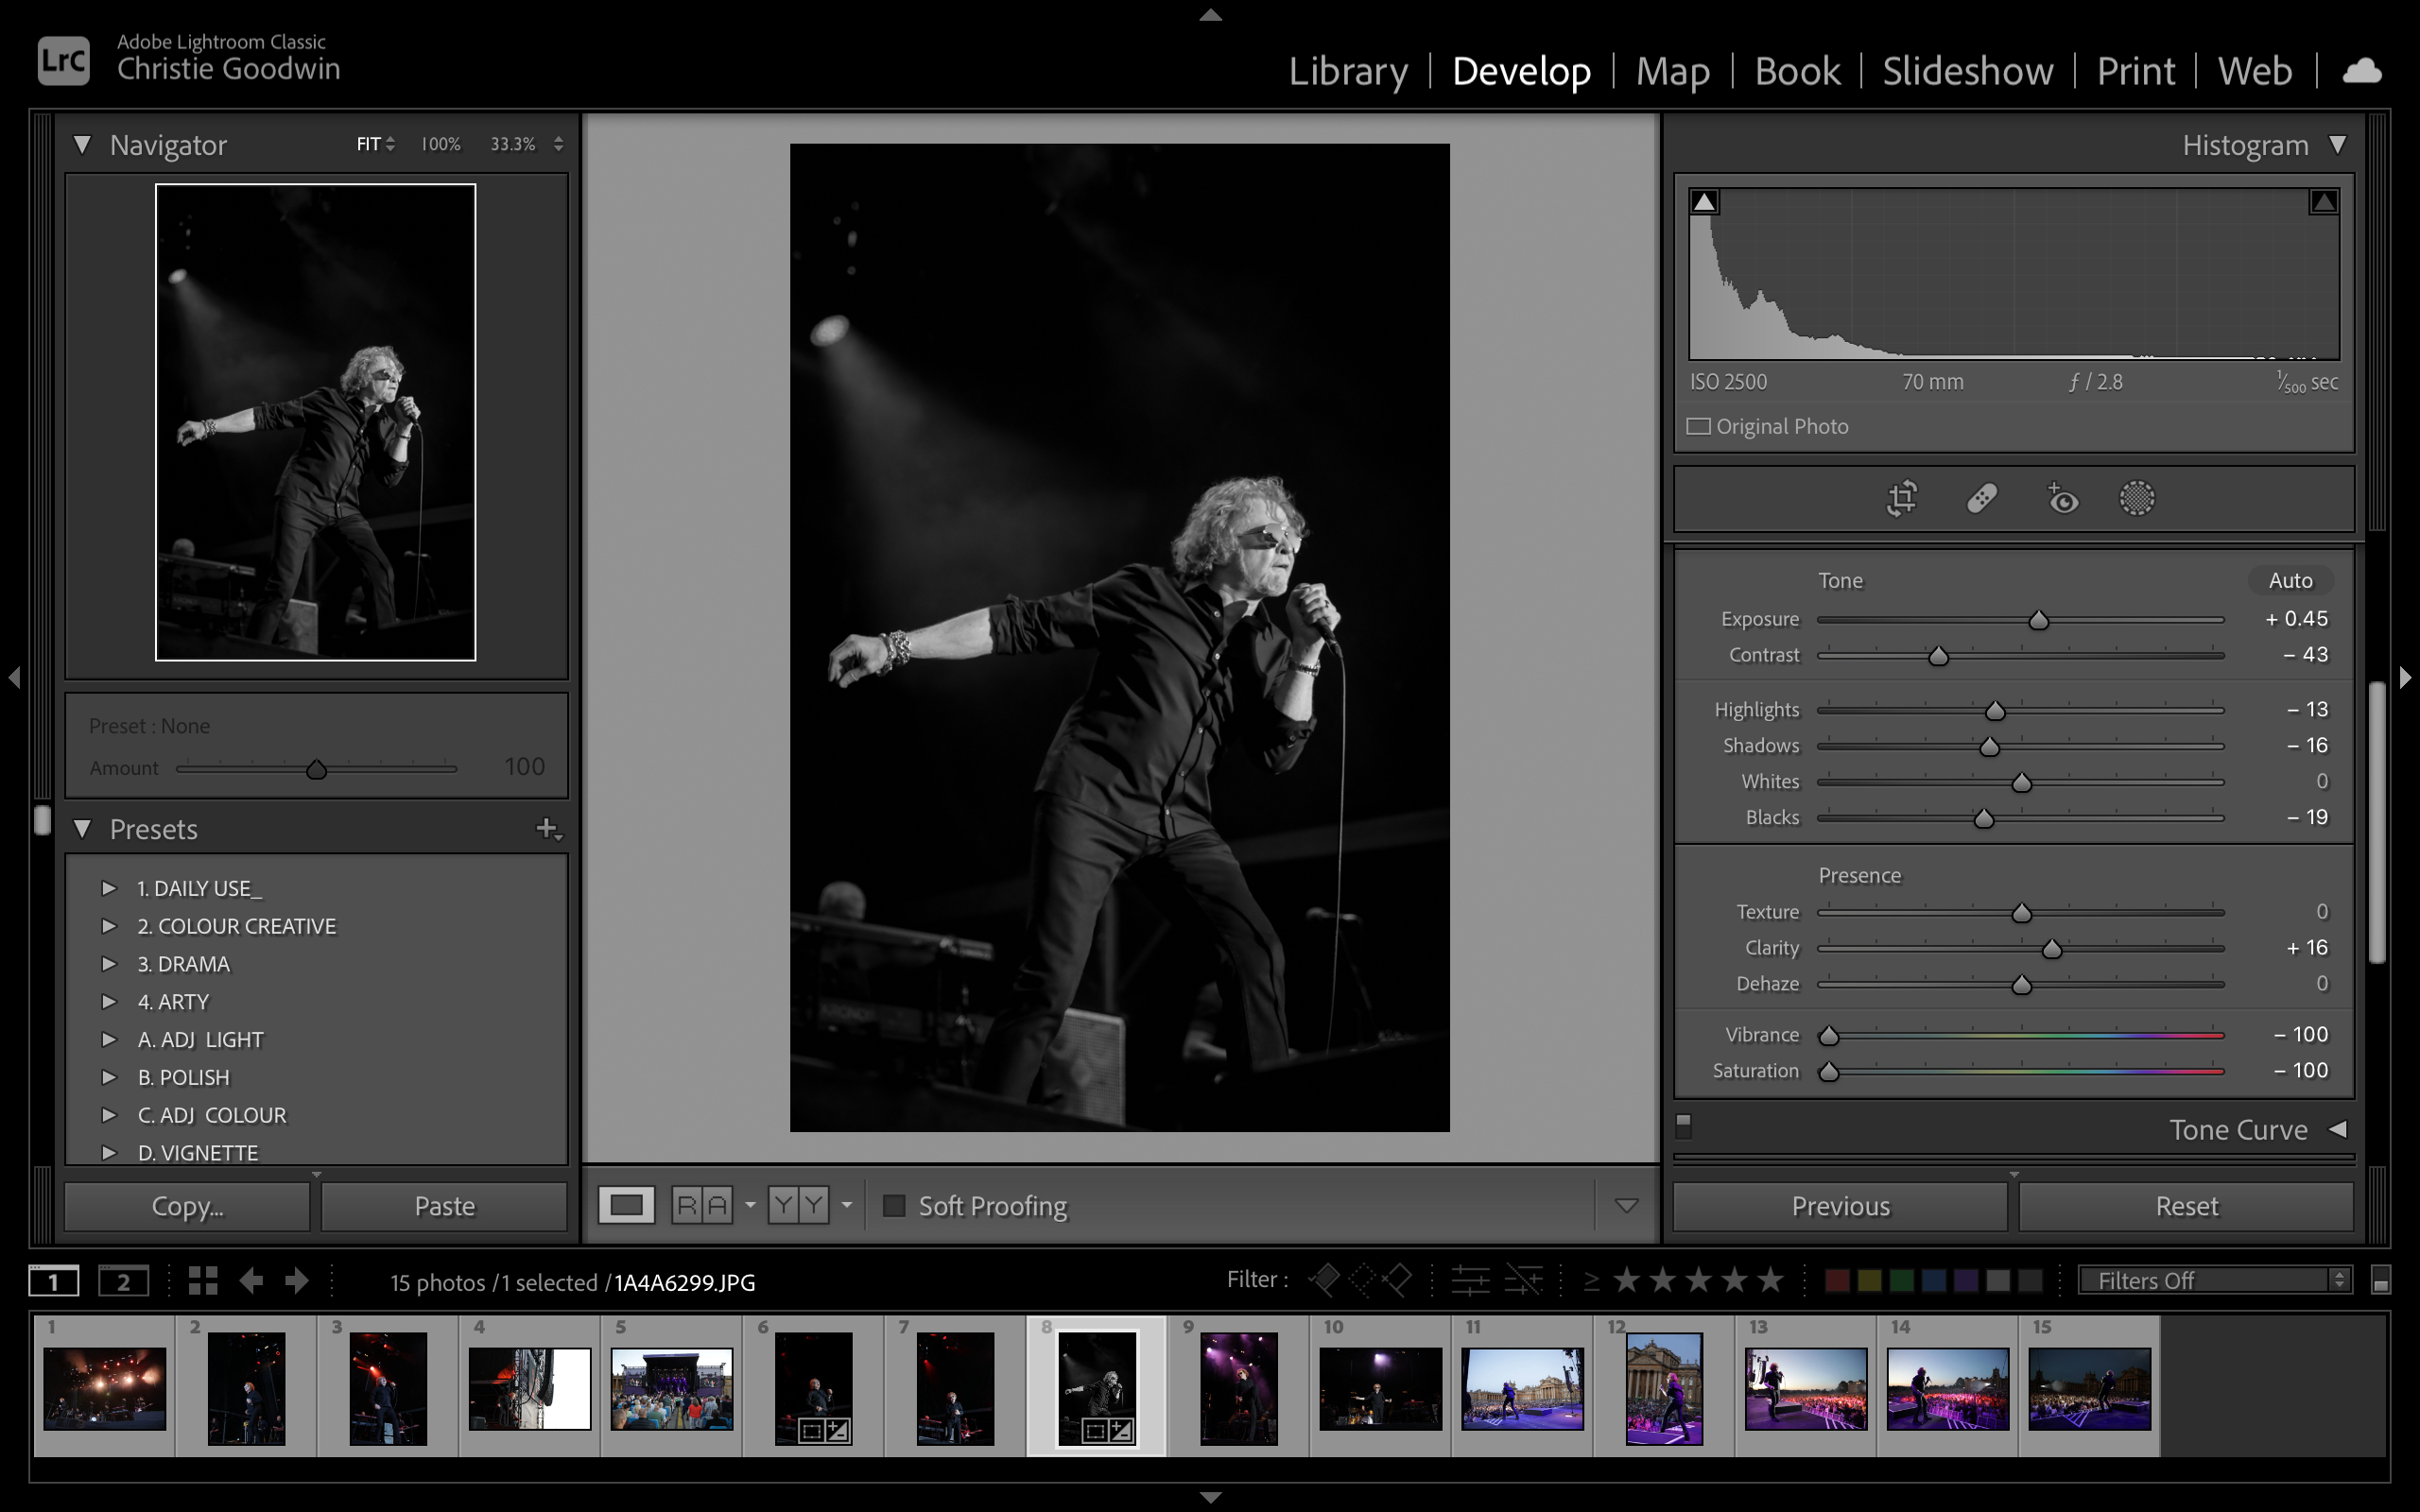
I usually either slide down the contrast a little when things are too harsh, or push it up a bit when things are too bleak. It’s OK to add a little bit of light, but personally, I would stay away from taking the image into Photoshop and altering things.
4. Crop and straighten
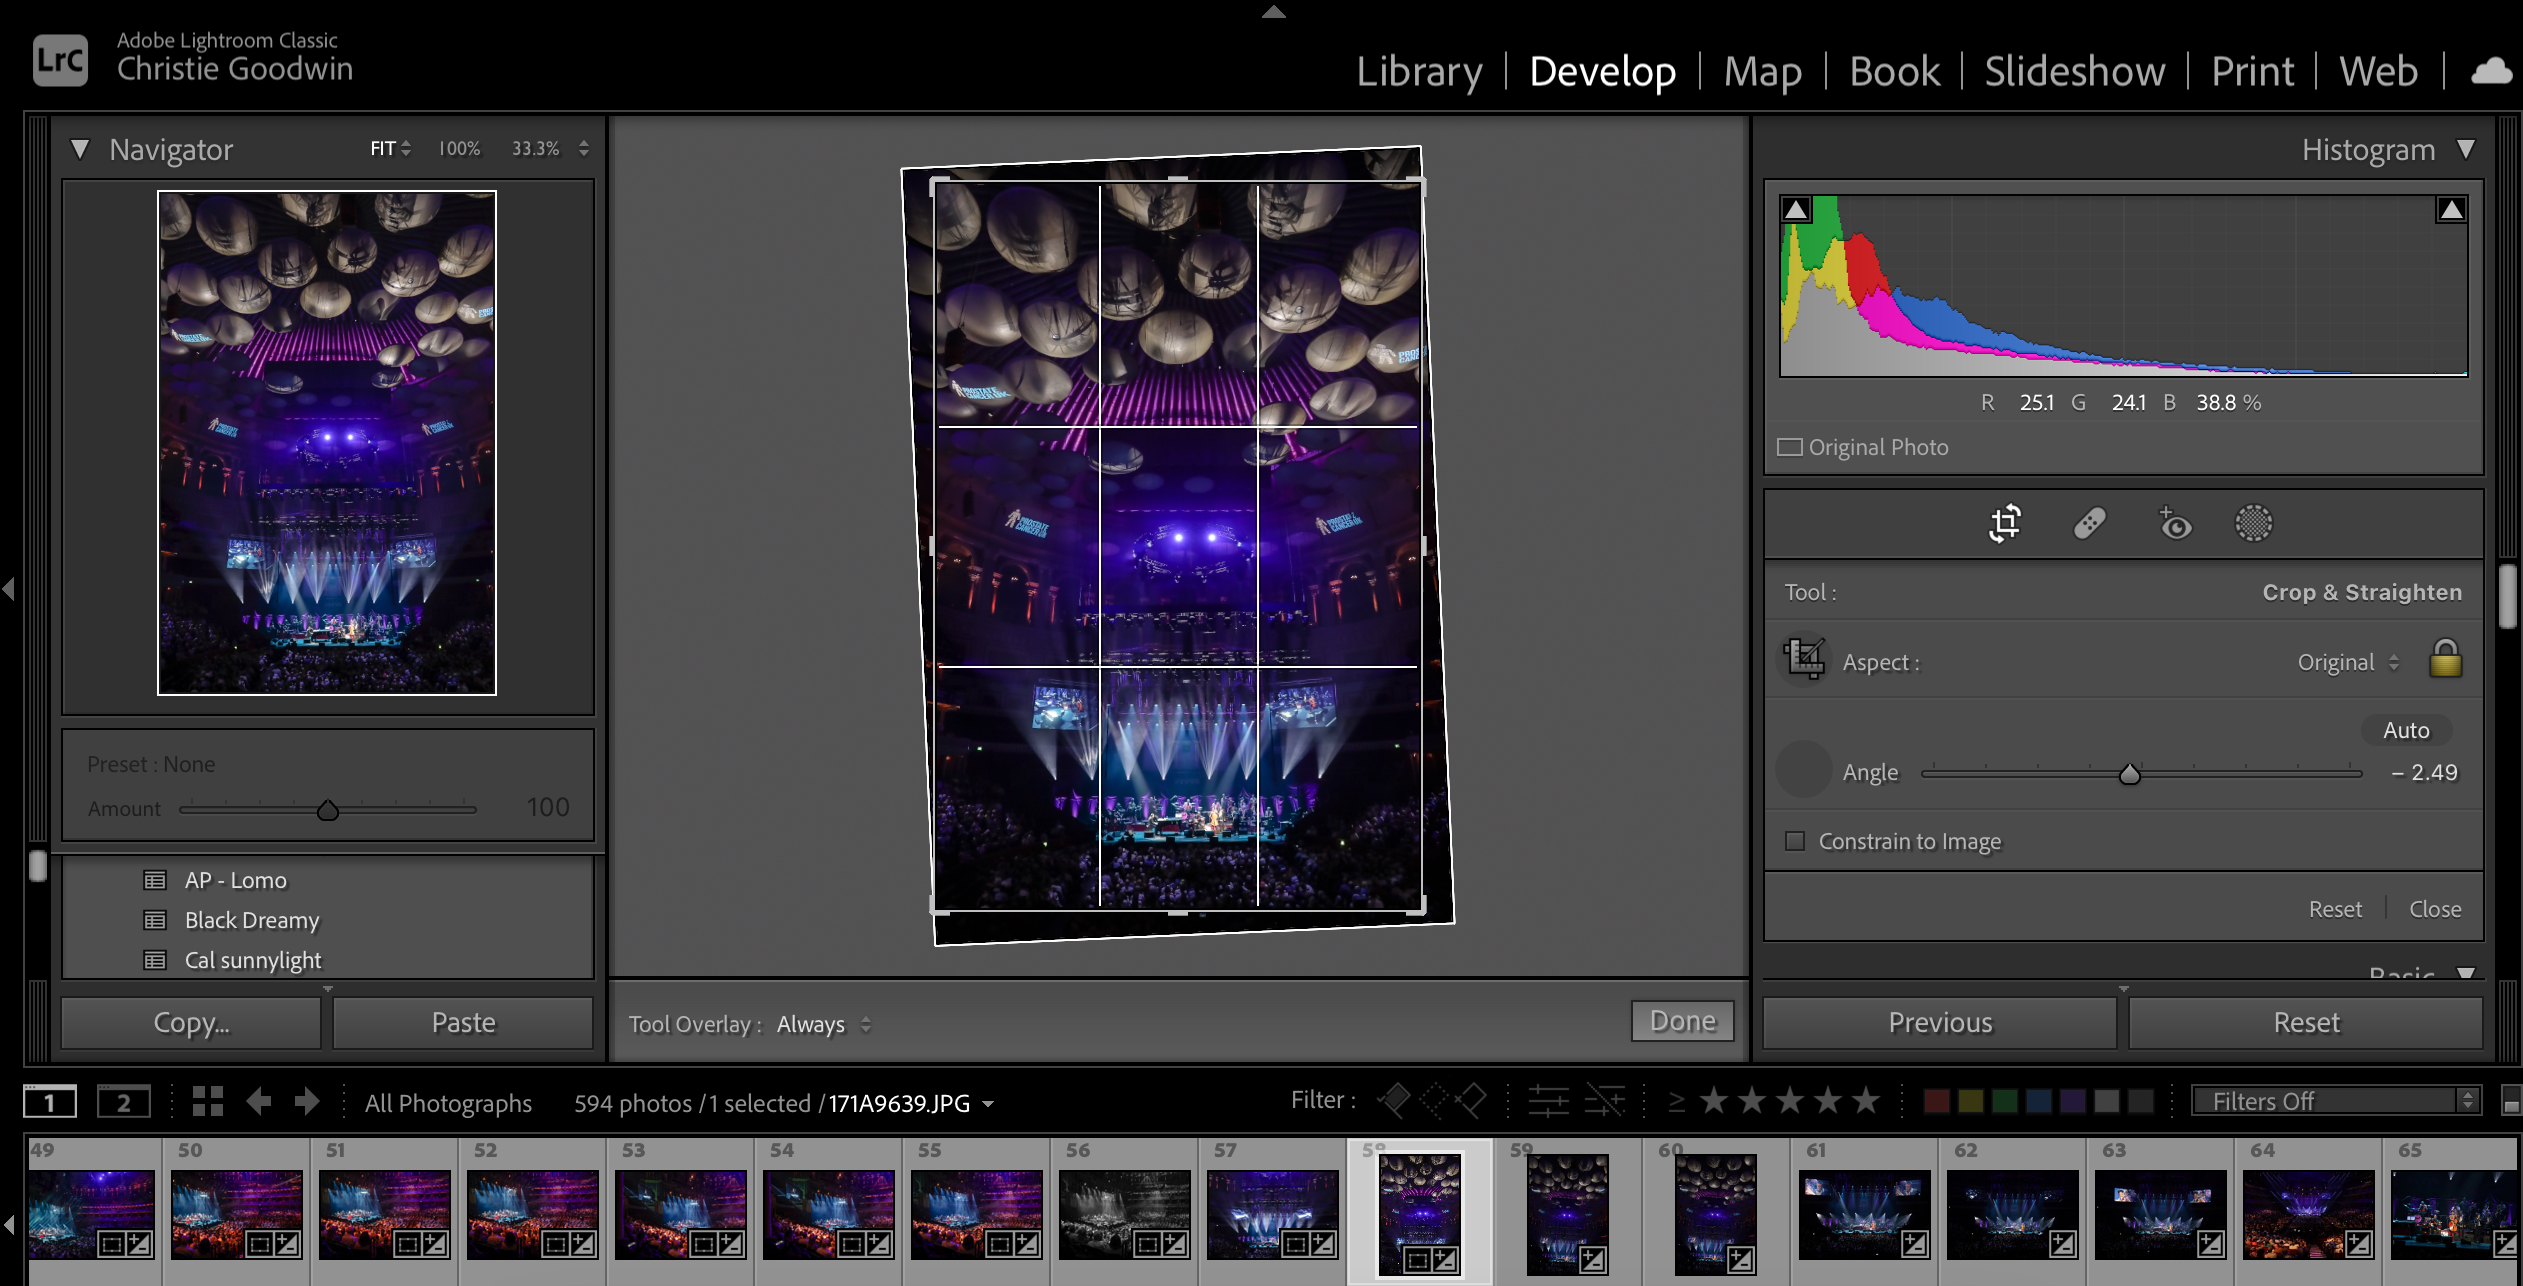
Whatever I shoot at the concert has to be perfect in my head, and something that can go straight to the client. That’s what I try to do, although it’s not always possible. Even though I don’t crop that much, I will straighten images. Sometimes a shot can be a slight bit off and I’m neurotic about straight lines. If I see that it’s a little bit off, then I will have to straighten it. Perhaps this sounds over the top, but it’s my thing. This editing stage is very important. It doesn’t matter how good the picture is; if there’s something off visually then it will register with the viewer as something off and it will diminish the quality of your picture. And make sure that the borders of the image are clean – this is something that I always look at. If you have something like a microphone sticking out in the border of your picture, crop it out. Don’t go into Photoshop to clone it out, just crop it out.
5. Make a final cull, and export the images
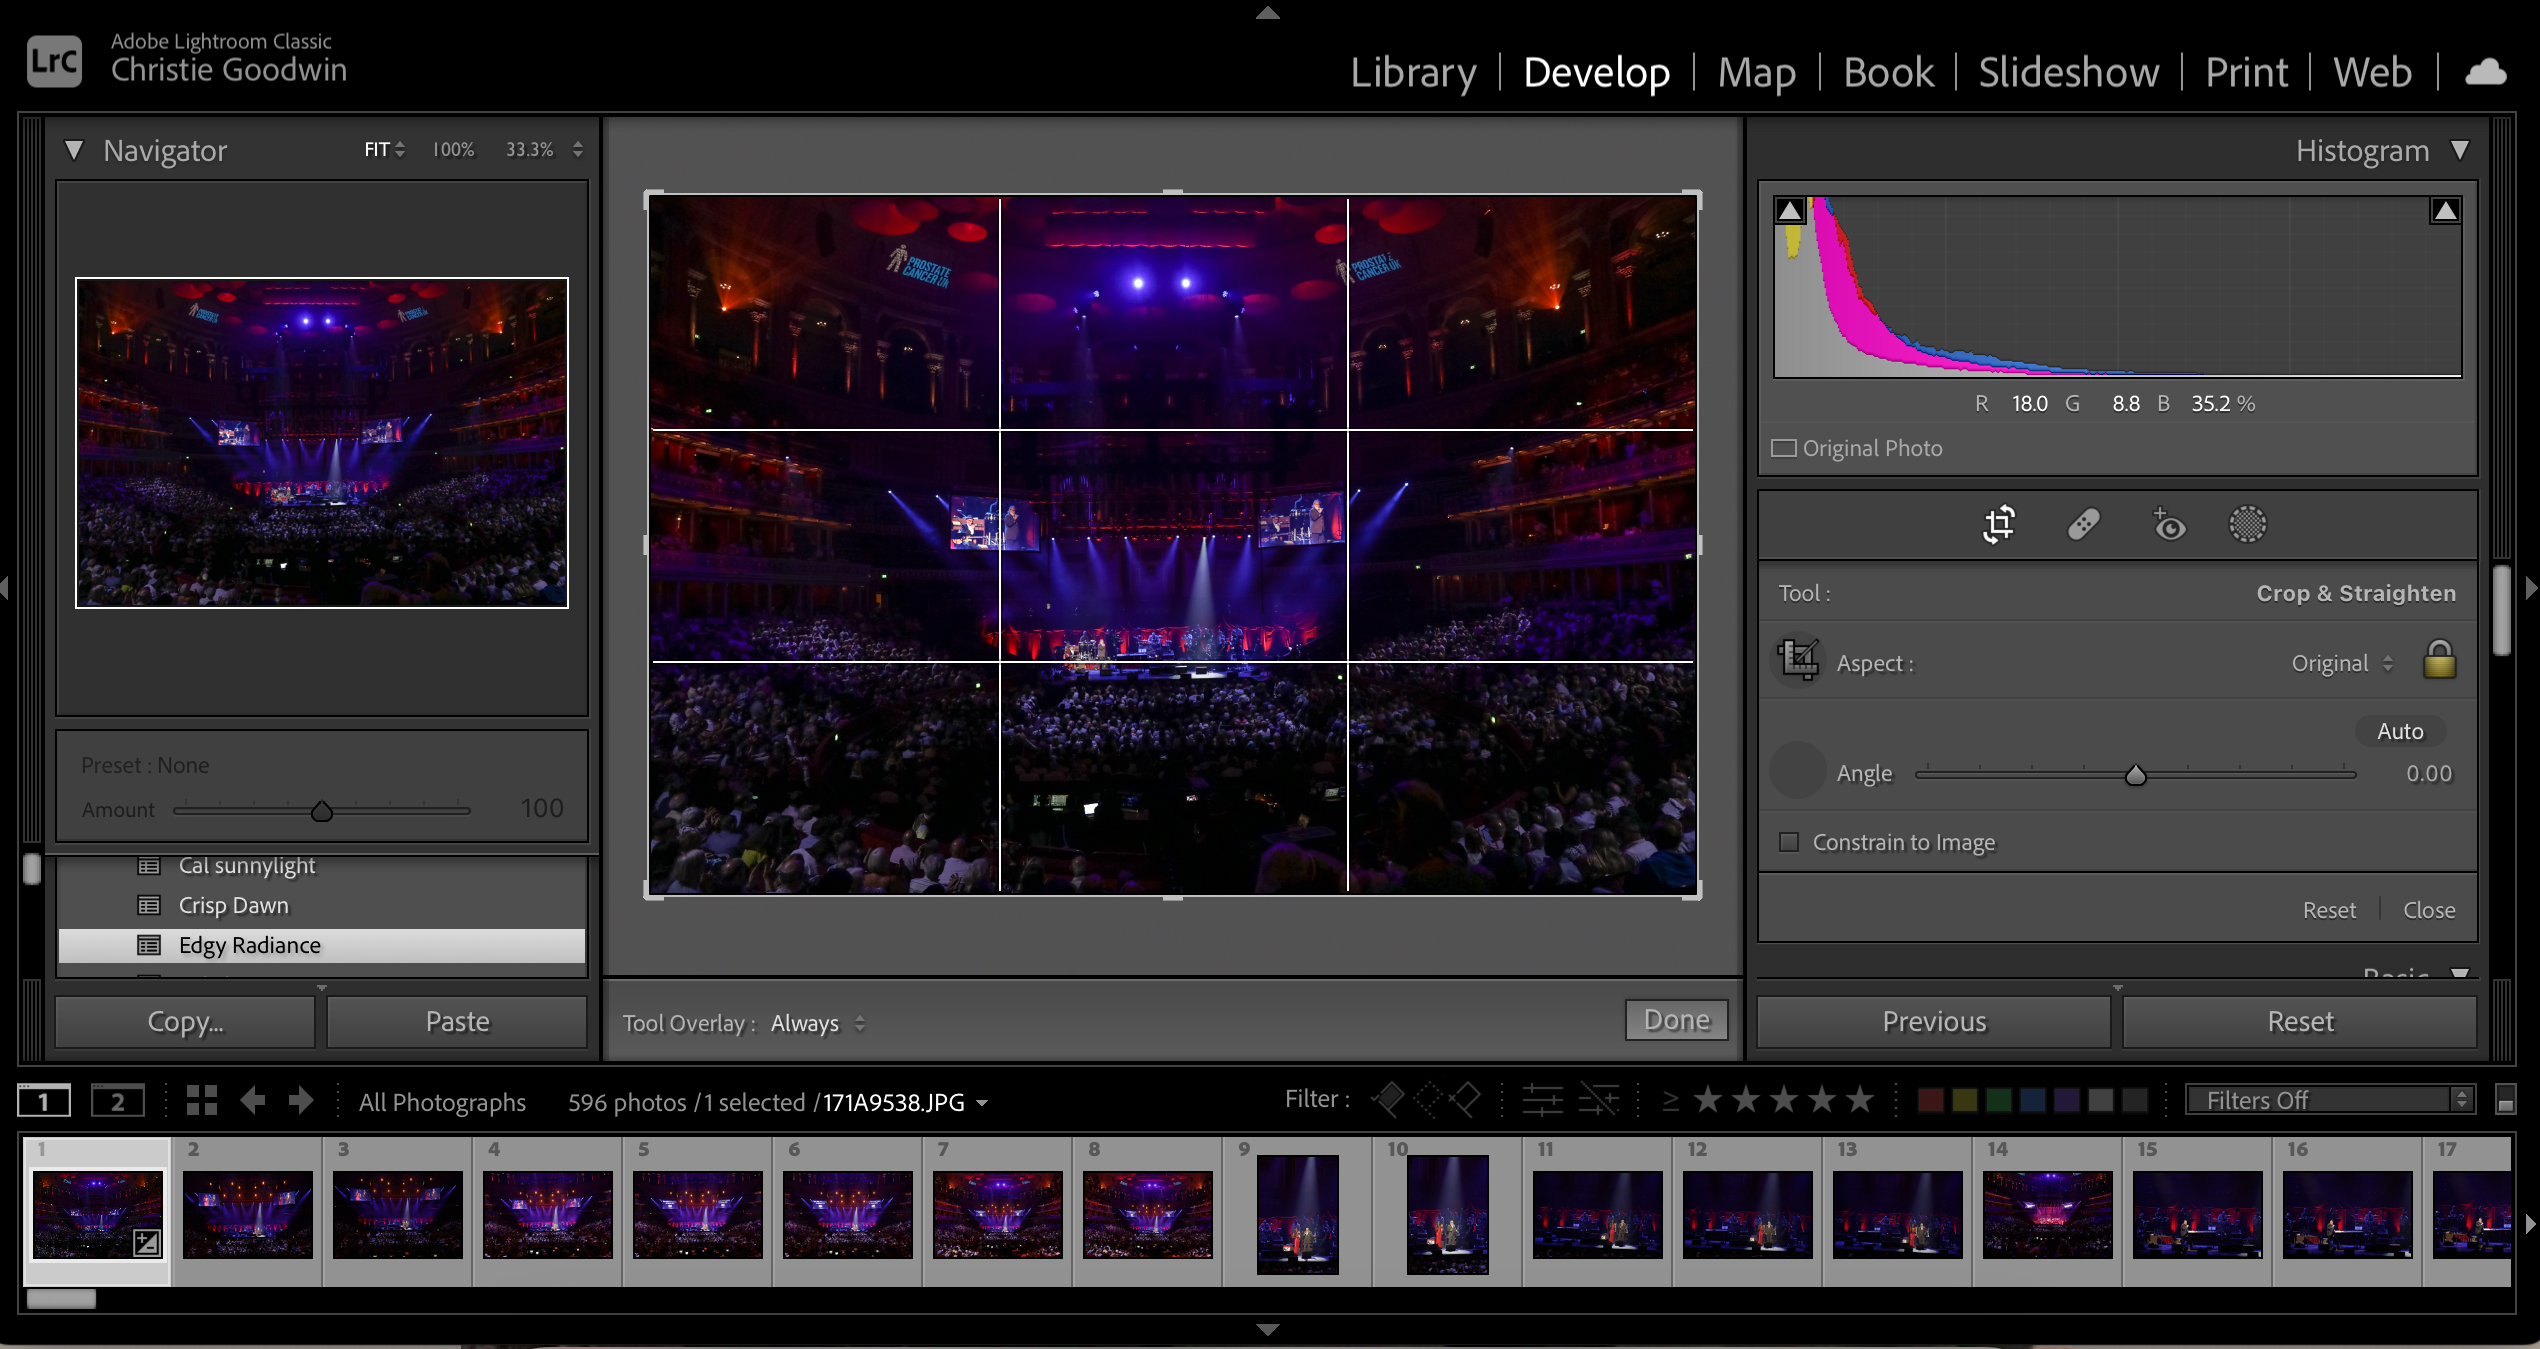
When you have your final selection, try to take yourself out of the process to see how the artist or the client you’re shooting the photos for will view them. If a picture of a singer shows them with a double chin, even if it’s a beautiful photo, then take it out. You wouldn’t like a picture of yourself with a double chin so why would you give one to the singer? Little things like this matter so be strict.
Then send your best images to the artist or the client. I always deliver images in two sizes, which is important: a lot of my clients like to use the images immediately for social media posts and online, so I produce a size for social media, and then a larger size if they need to print out an image.
Read more
Tips for photographing live music
How to make money with your camera
The world’s most picturesque music festivals
The best photo editing software
The best camera deals, reviews, product advice, and unmissable photography news, direct to your inbox!

Niall is the editor of Digital Camera Magazine, and has been shooting on interchangeable lens cameras for over 20 years, and on various point-and-shoot models for years before that.
Working alongside professional photographers for many years as a jobbing journalist gave Niall the curiosity to also start working on the other side of the lens. These days his favored shooting subjects include wildlife, travel and street photography, and he also enjoys dabbling with studio still life.
On the site you will see him writing photographer profiles, asking questions for Q&As and interviews, reporting on the latest and most noteworthy photography competitions, and sharing his knowledge on website building.
