Digital Camera World Verdict
I feel that the Manfrotto Q2 L bracket works well as far as it goes but for me it only does half a job. Quick-changing between landscape and portrait orientation is covered but centering the lens axis isn’t possible with any of my cameras.
Pros
- +
Strong magnesium alloy build
- +
Adjustable fit
- +
Good for big cameras
Cons
- -
Poor fit for most cameras
- -
Proprietary quick-release plates
- -
Pricey to buy
Why you can trust Digital Camera World
Manfrotto is a company that needs no introduction. The Italian outfit has been responsible for some of the most legendary tripods and other photographic supports since 1974, moving into other areas of design and manufacture for the likes of backpacks and various accessories more recently. The Q2 L-bracket is designed to enable you to quickly swap between landscape and portrait orientation shooting. It’s adjustable to fit different cameras but certainly isn’t ‘universal’. The lack of complete adaptability makes it struggle to be one of the best L-brackets that you can buy.
Manfrotto Q2 L bracket: Specifications
Base length | 14cm / 5.51in |
Base width | 5cm / 2in |
Vertical aspect | 13cm / 5.12in |
Shoe compatibility | Manfrotto 200PL-14 |
Weight | 0.31kg / 11oz |
Manfrotto Q2 L bracket: Price
As L-brackets go, the Manfrotto Q2 is pretty pricey at around $147 / £129 / AU$288 at the time of writing. Even so, it’s ideally suited to big and chunky pro-grade cameras, so the price is likely to be in keeping with other accessories you might buy as part of a high-end kit.
Manfrotto Q2 L bracket: Design & Handling
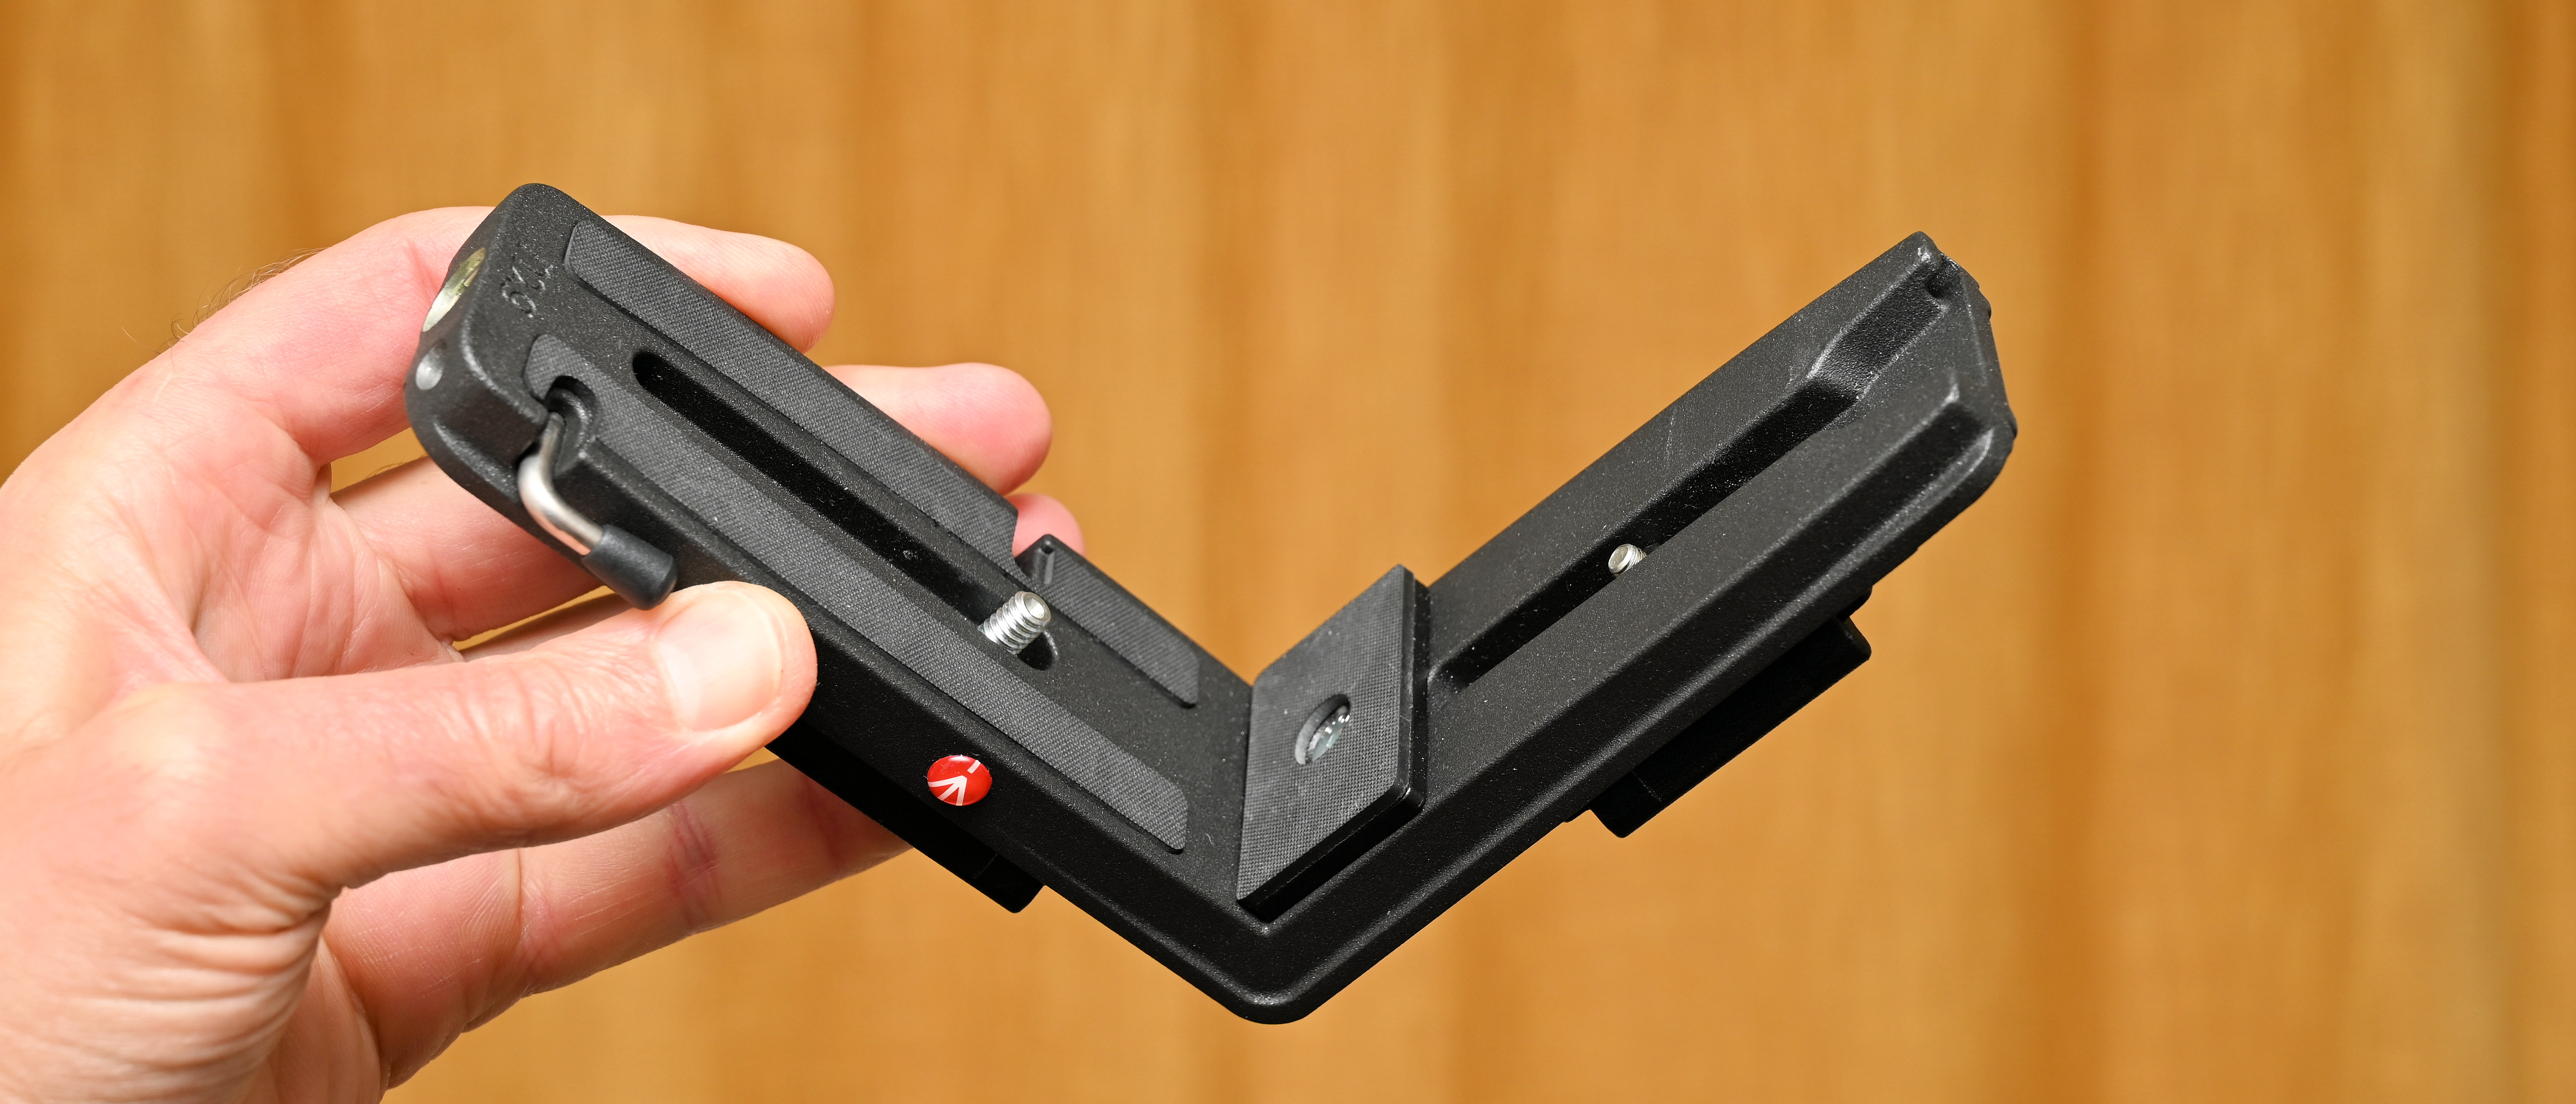
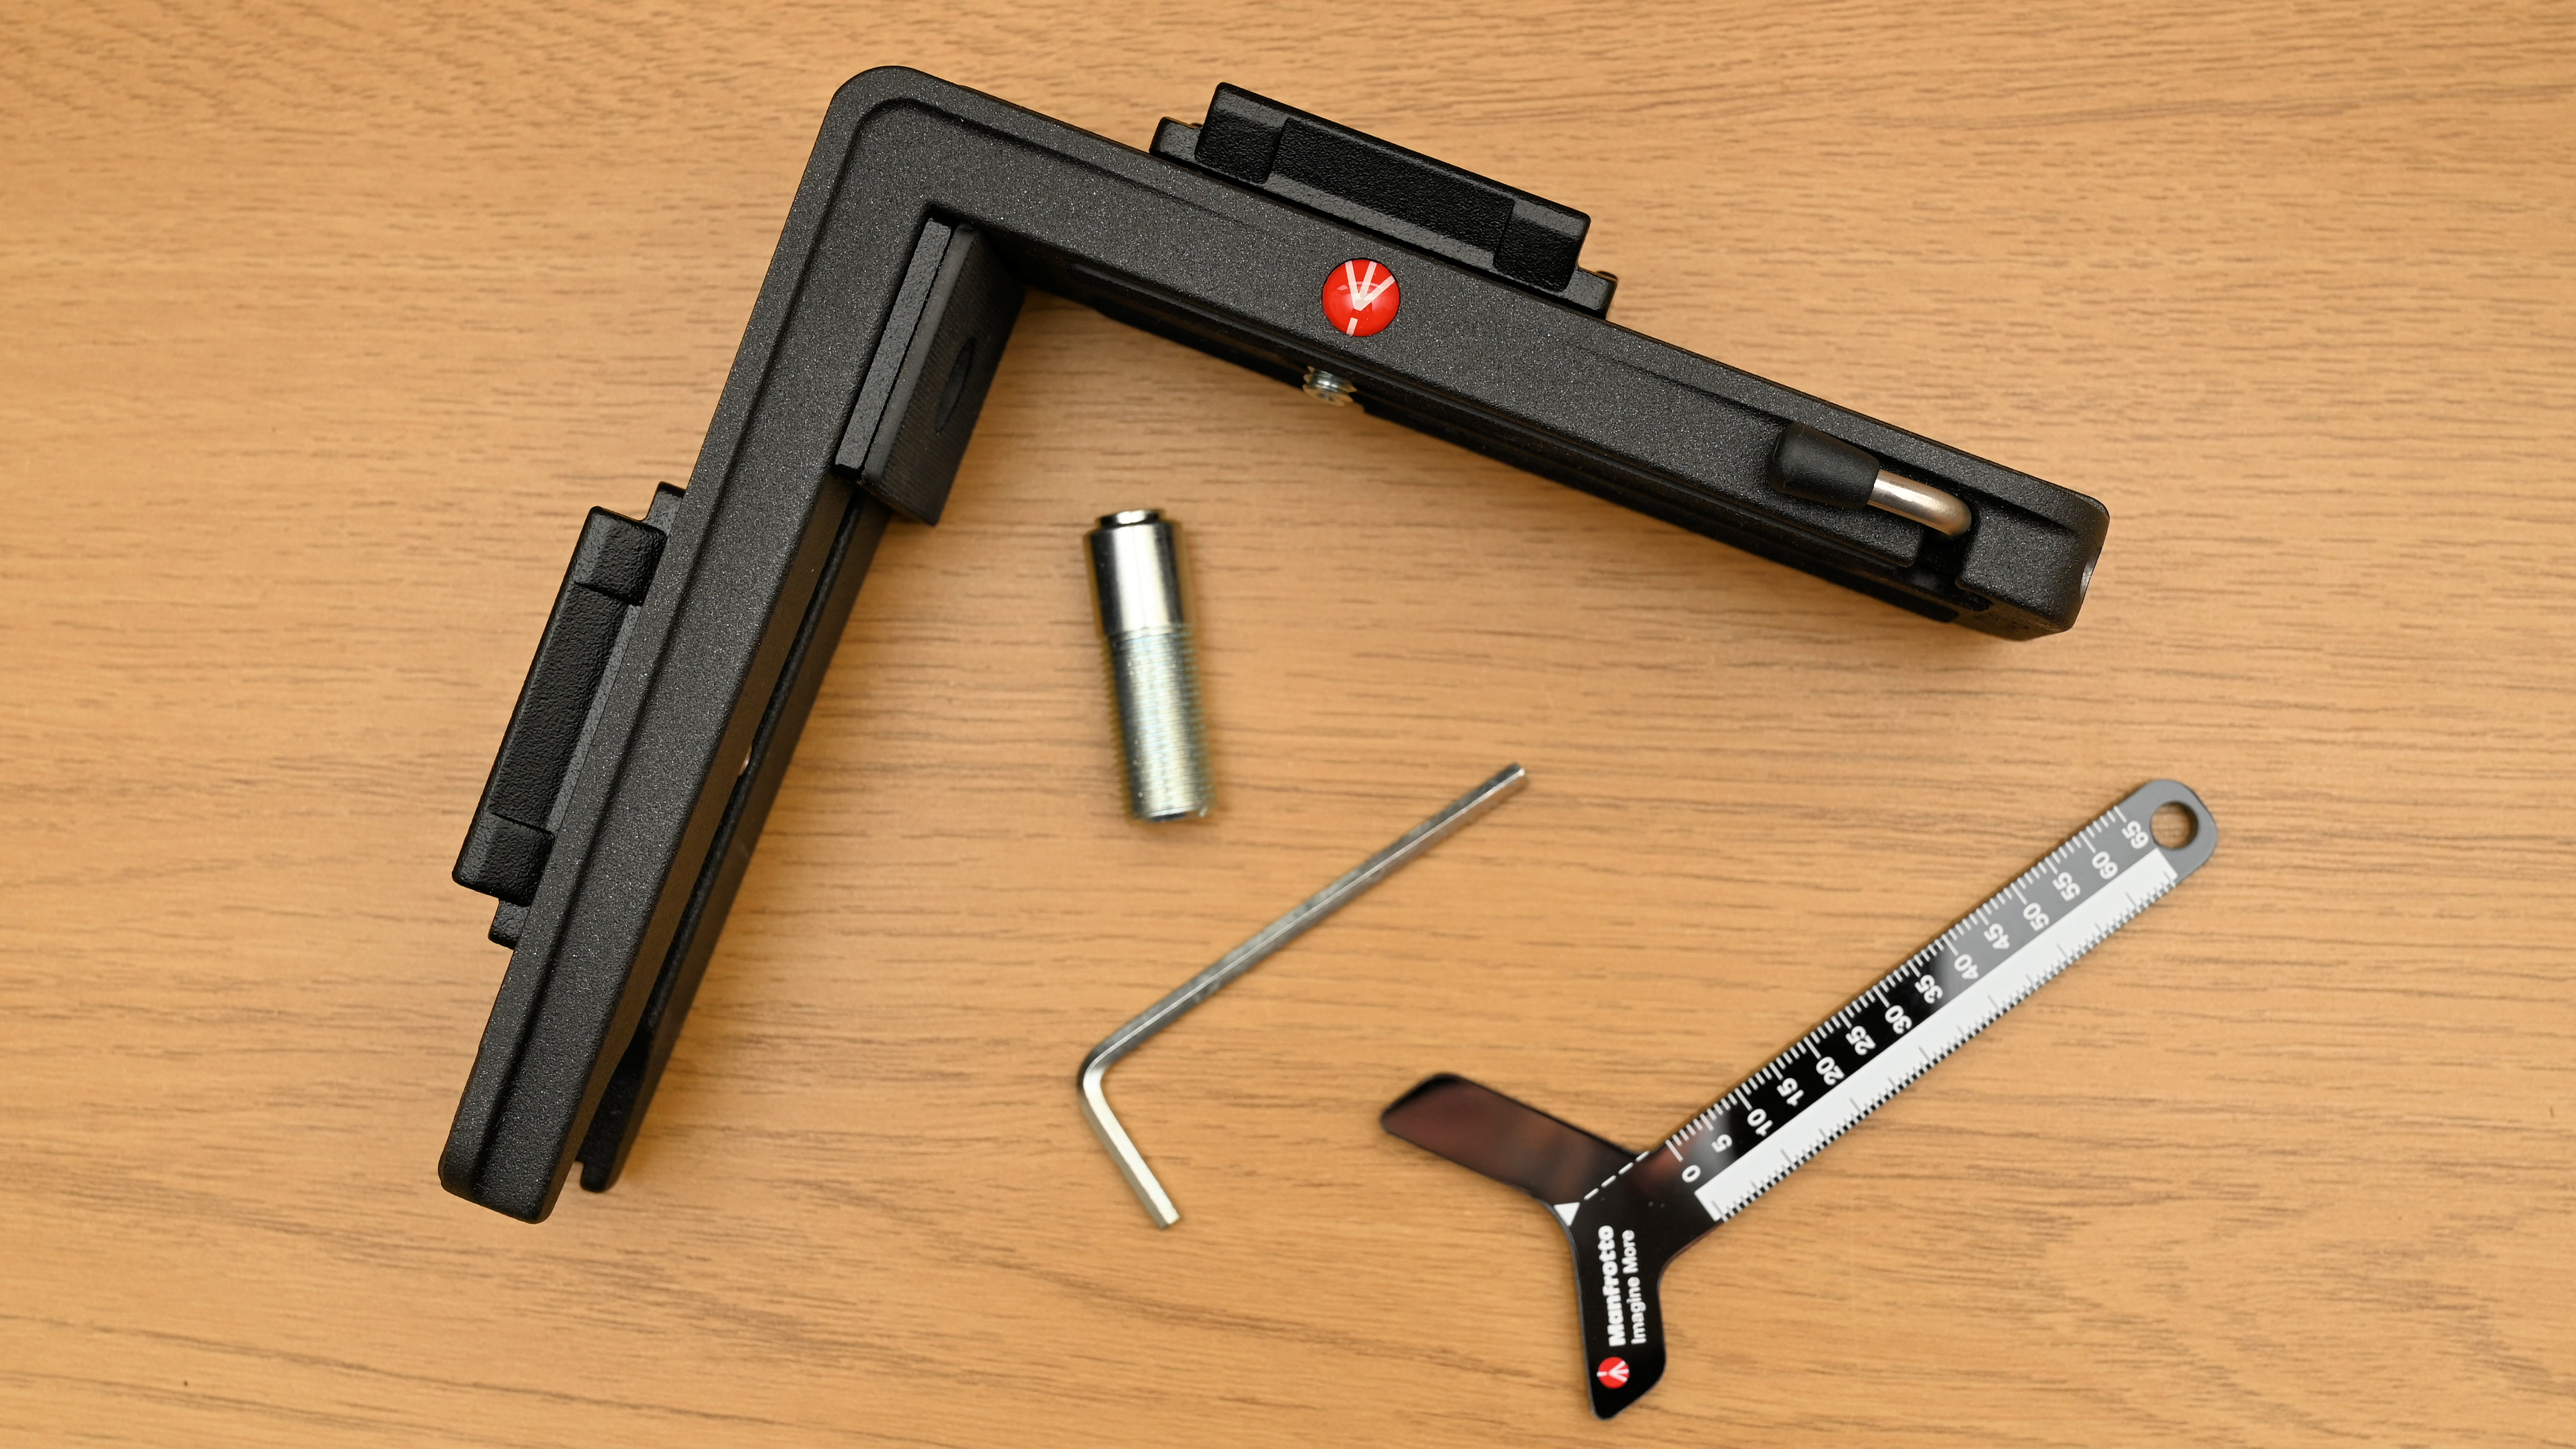
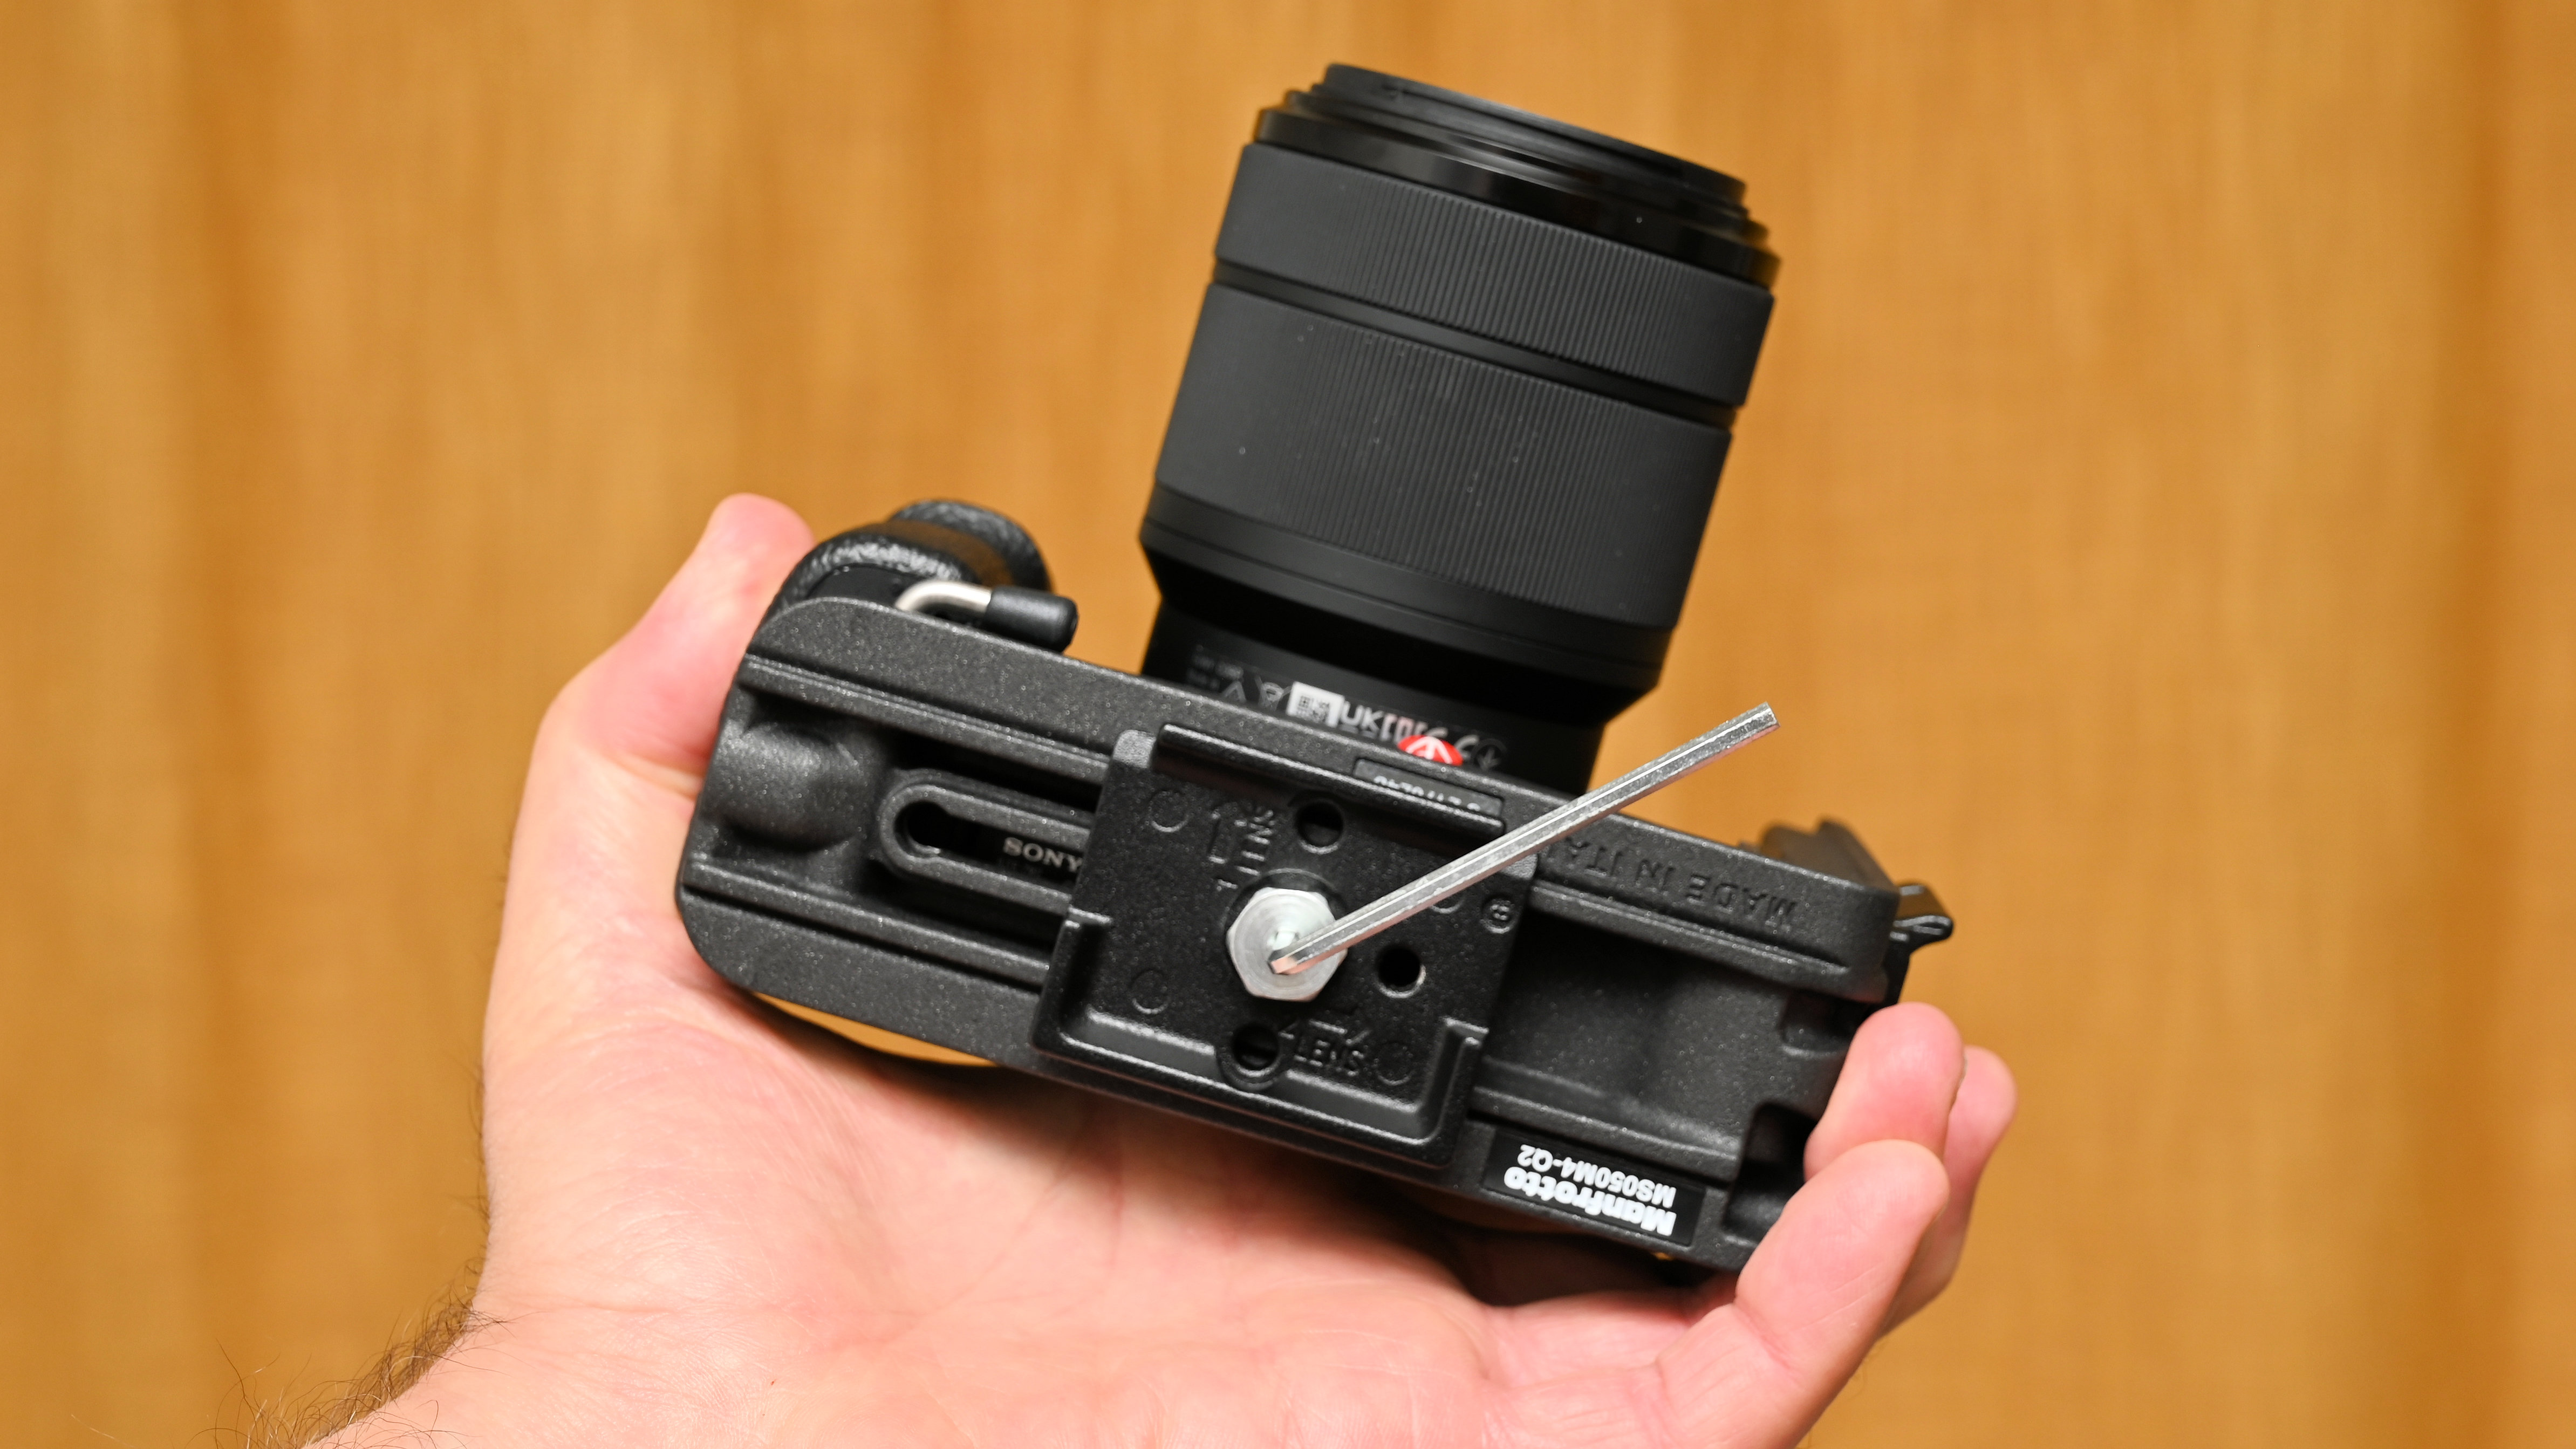
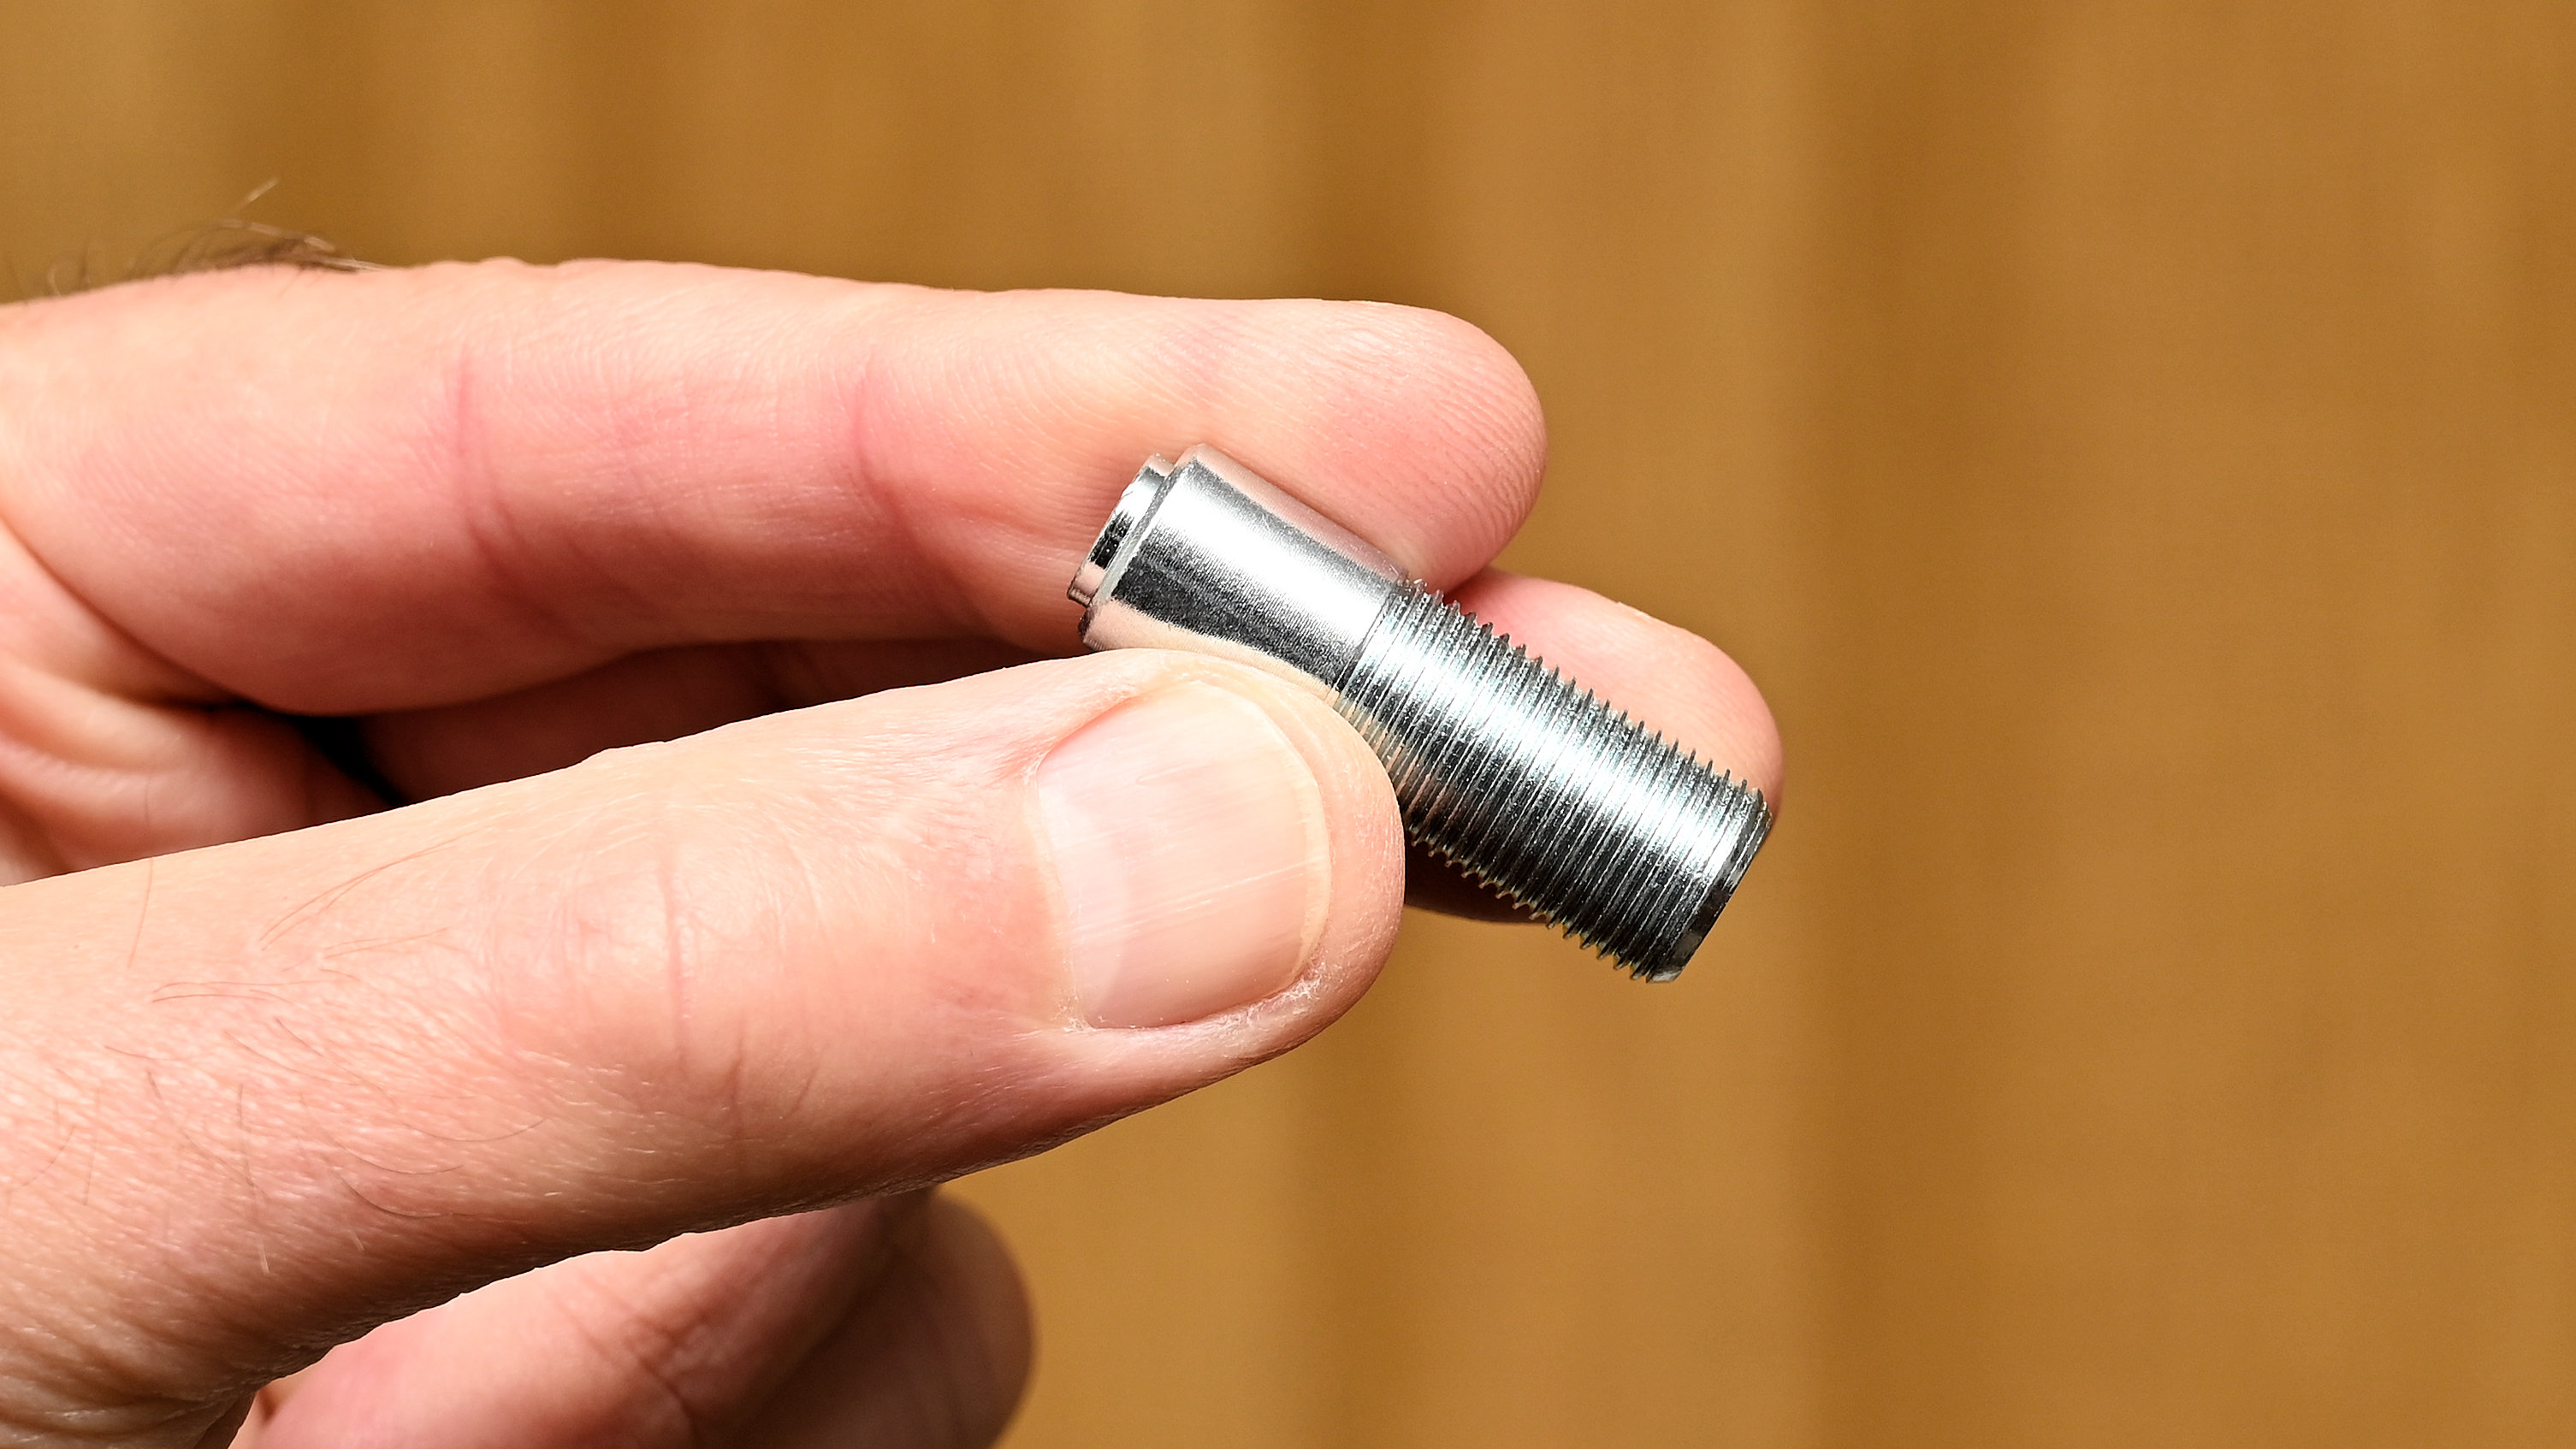
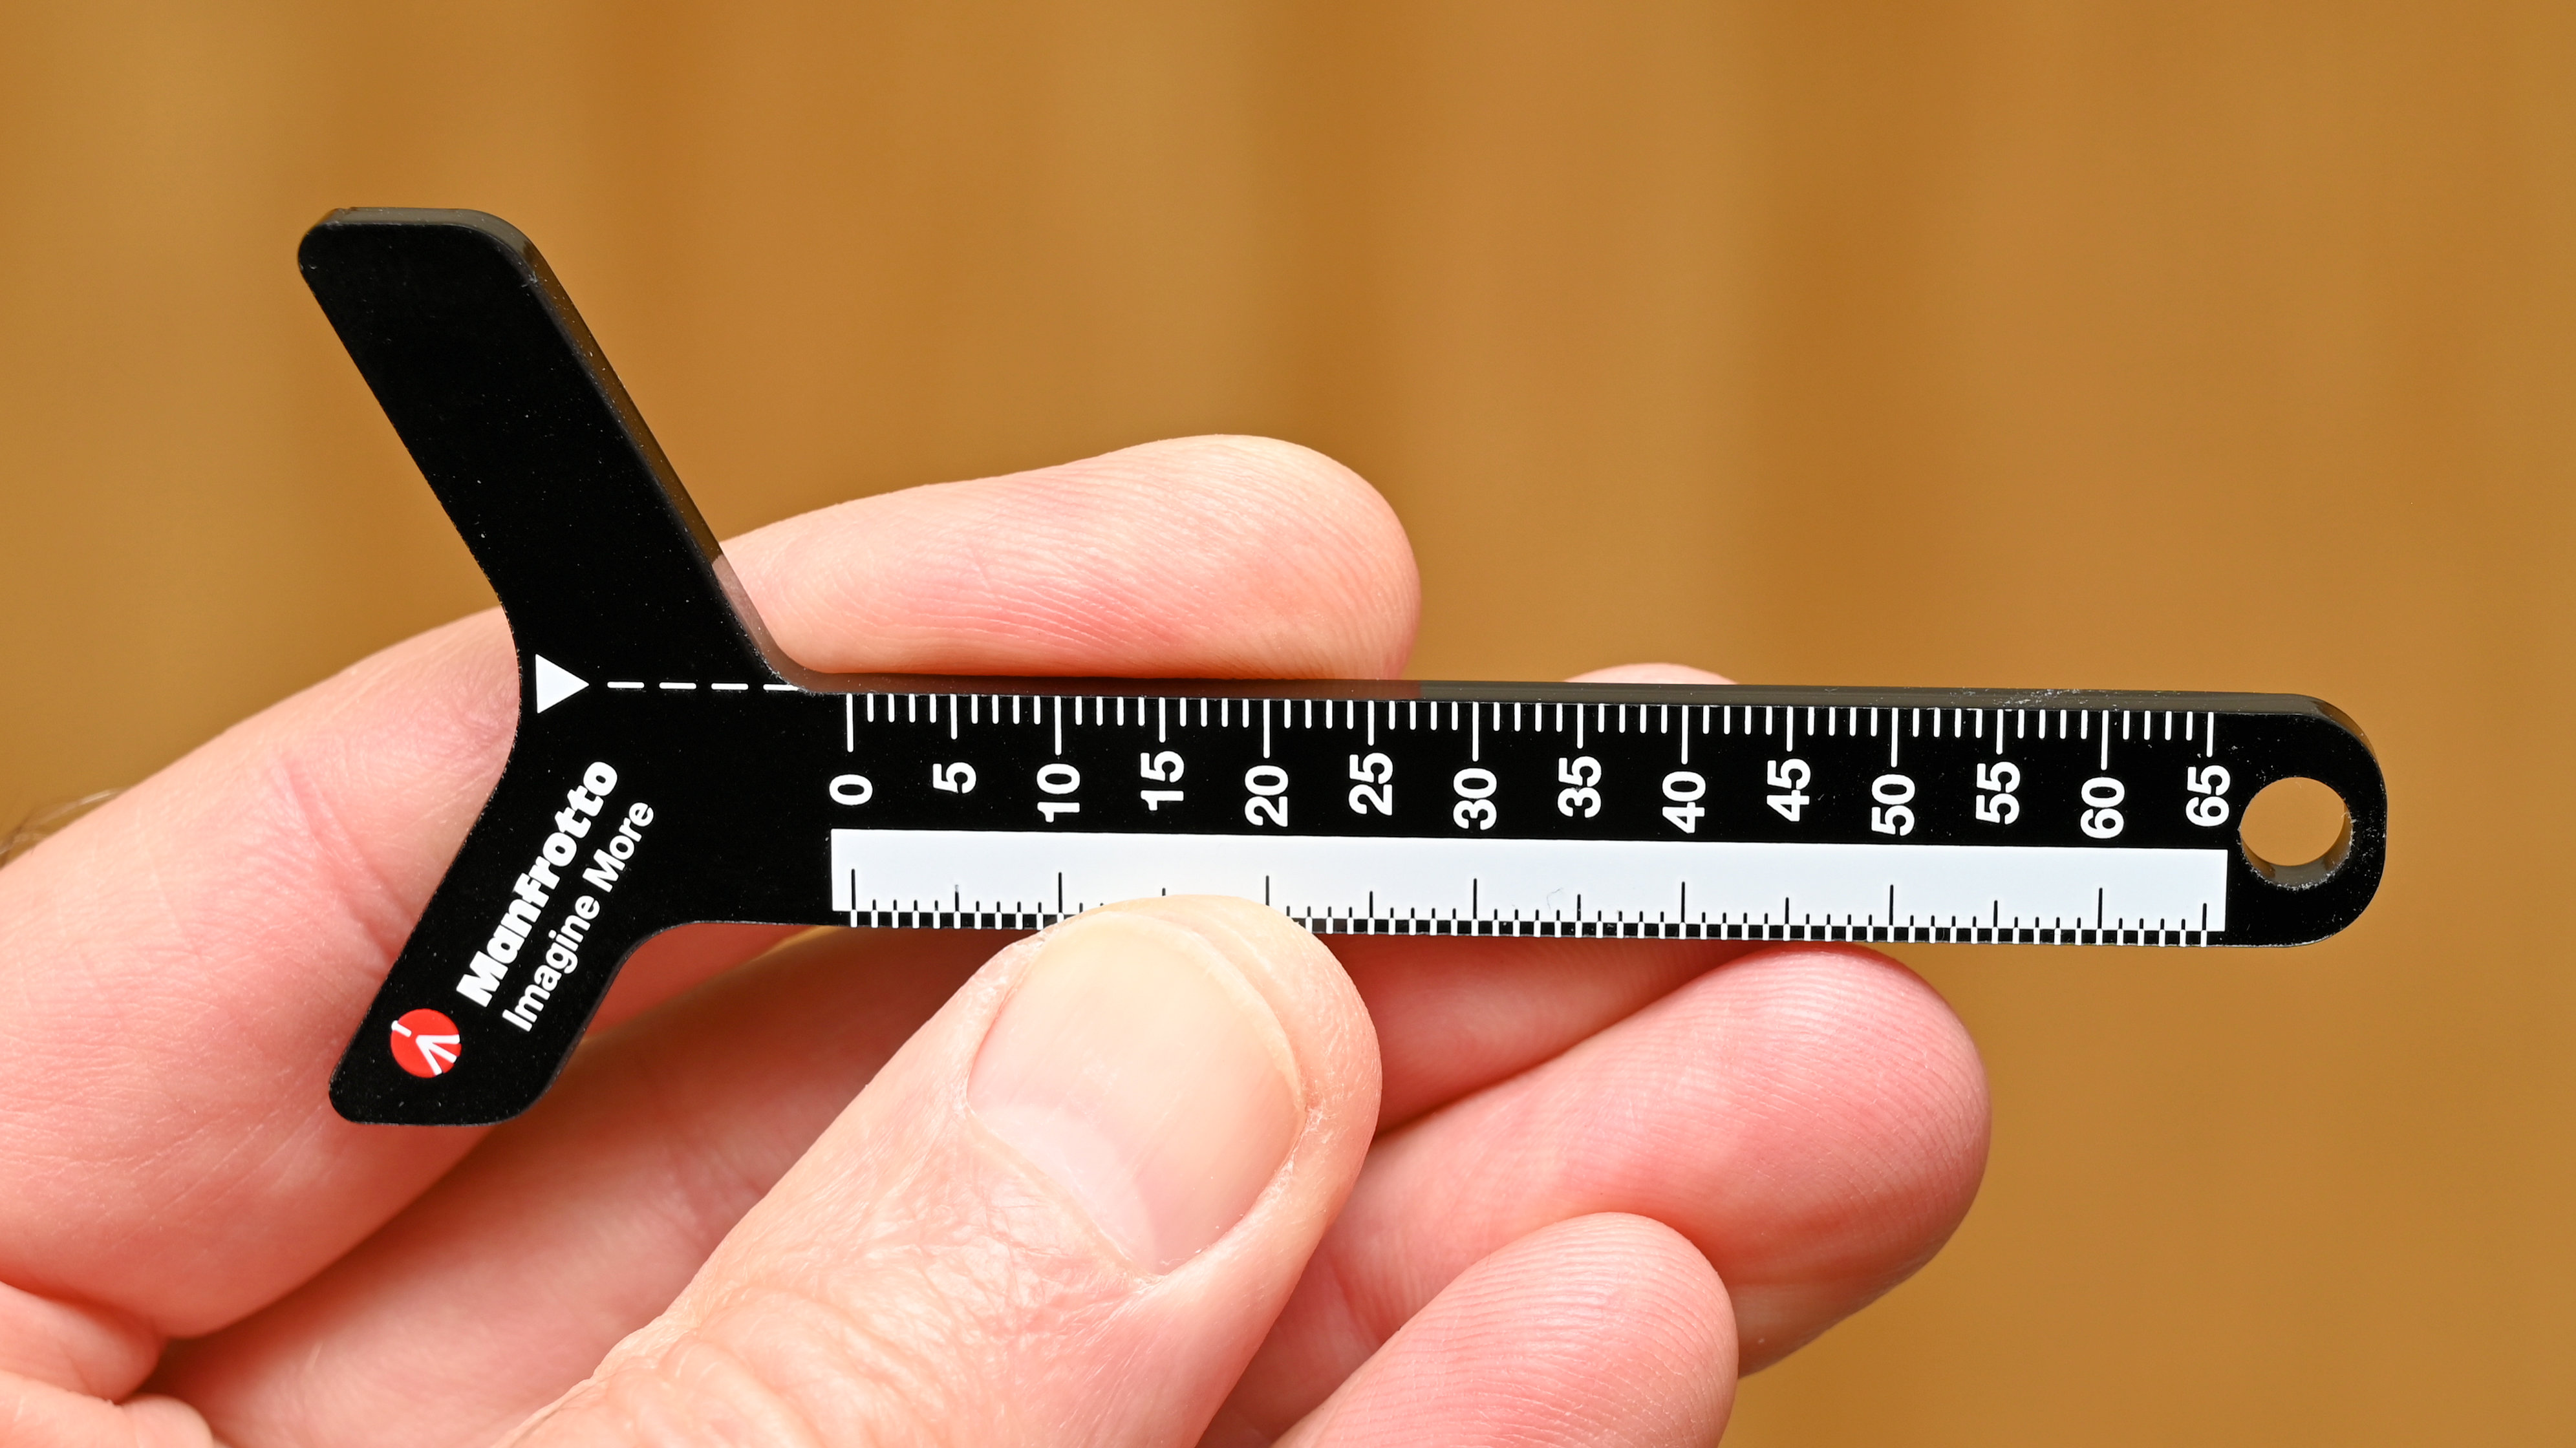
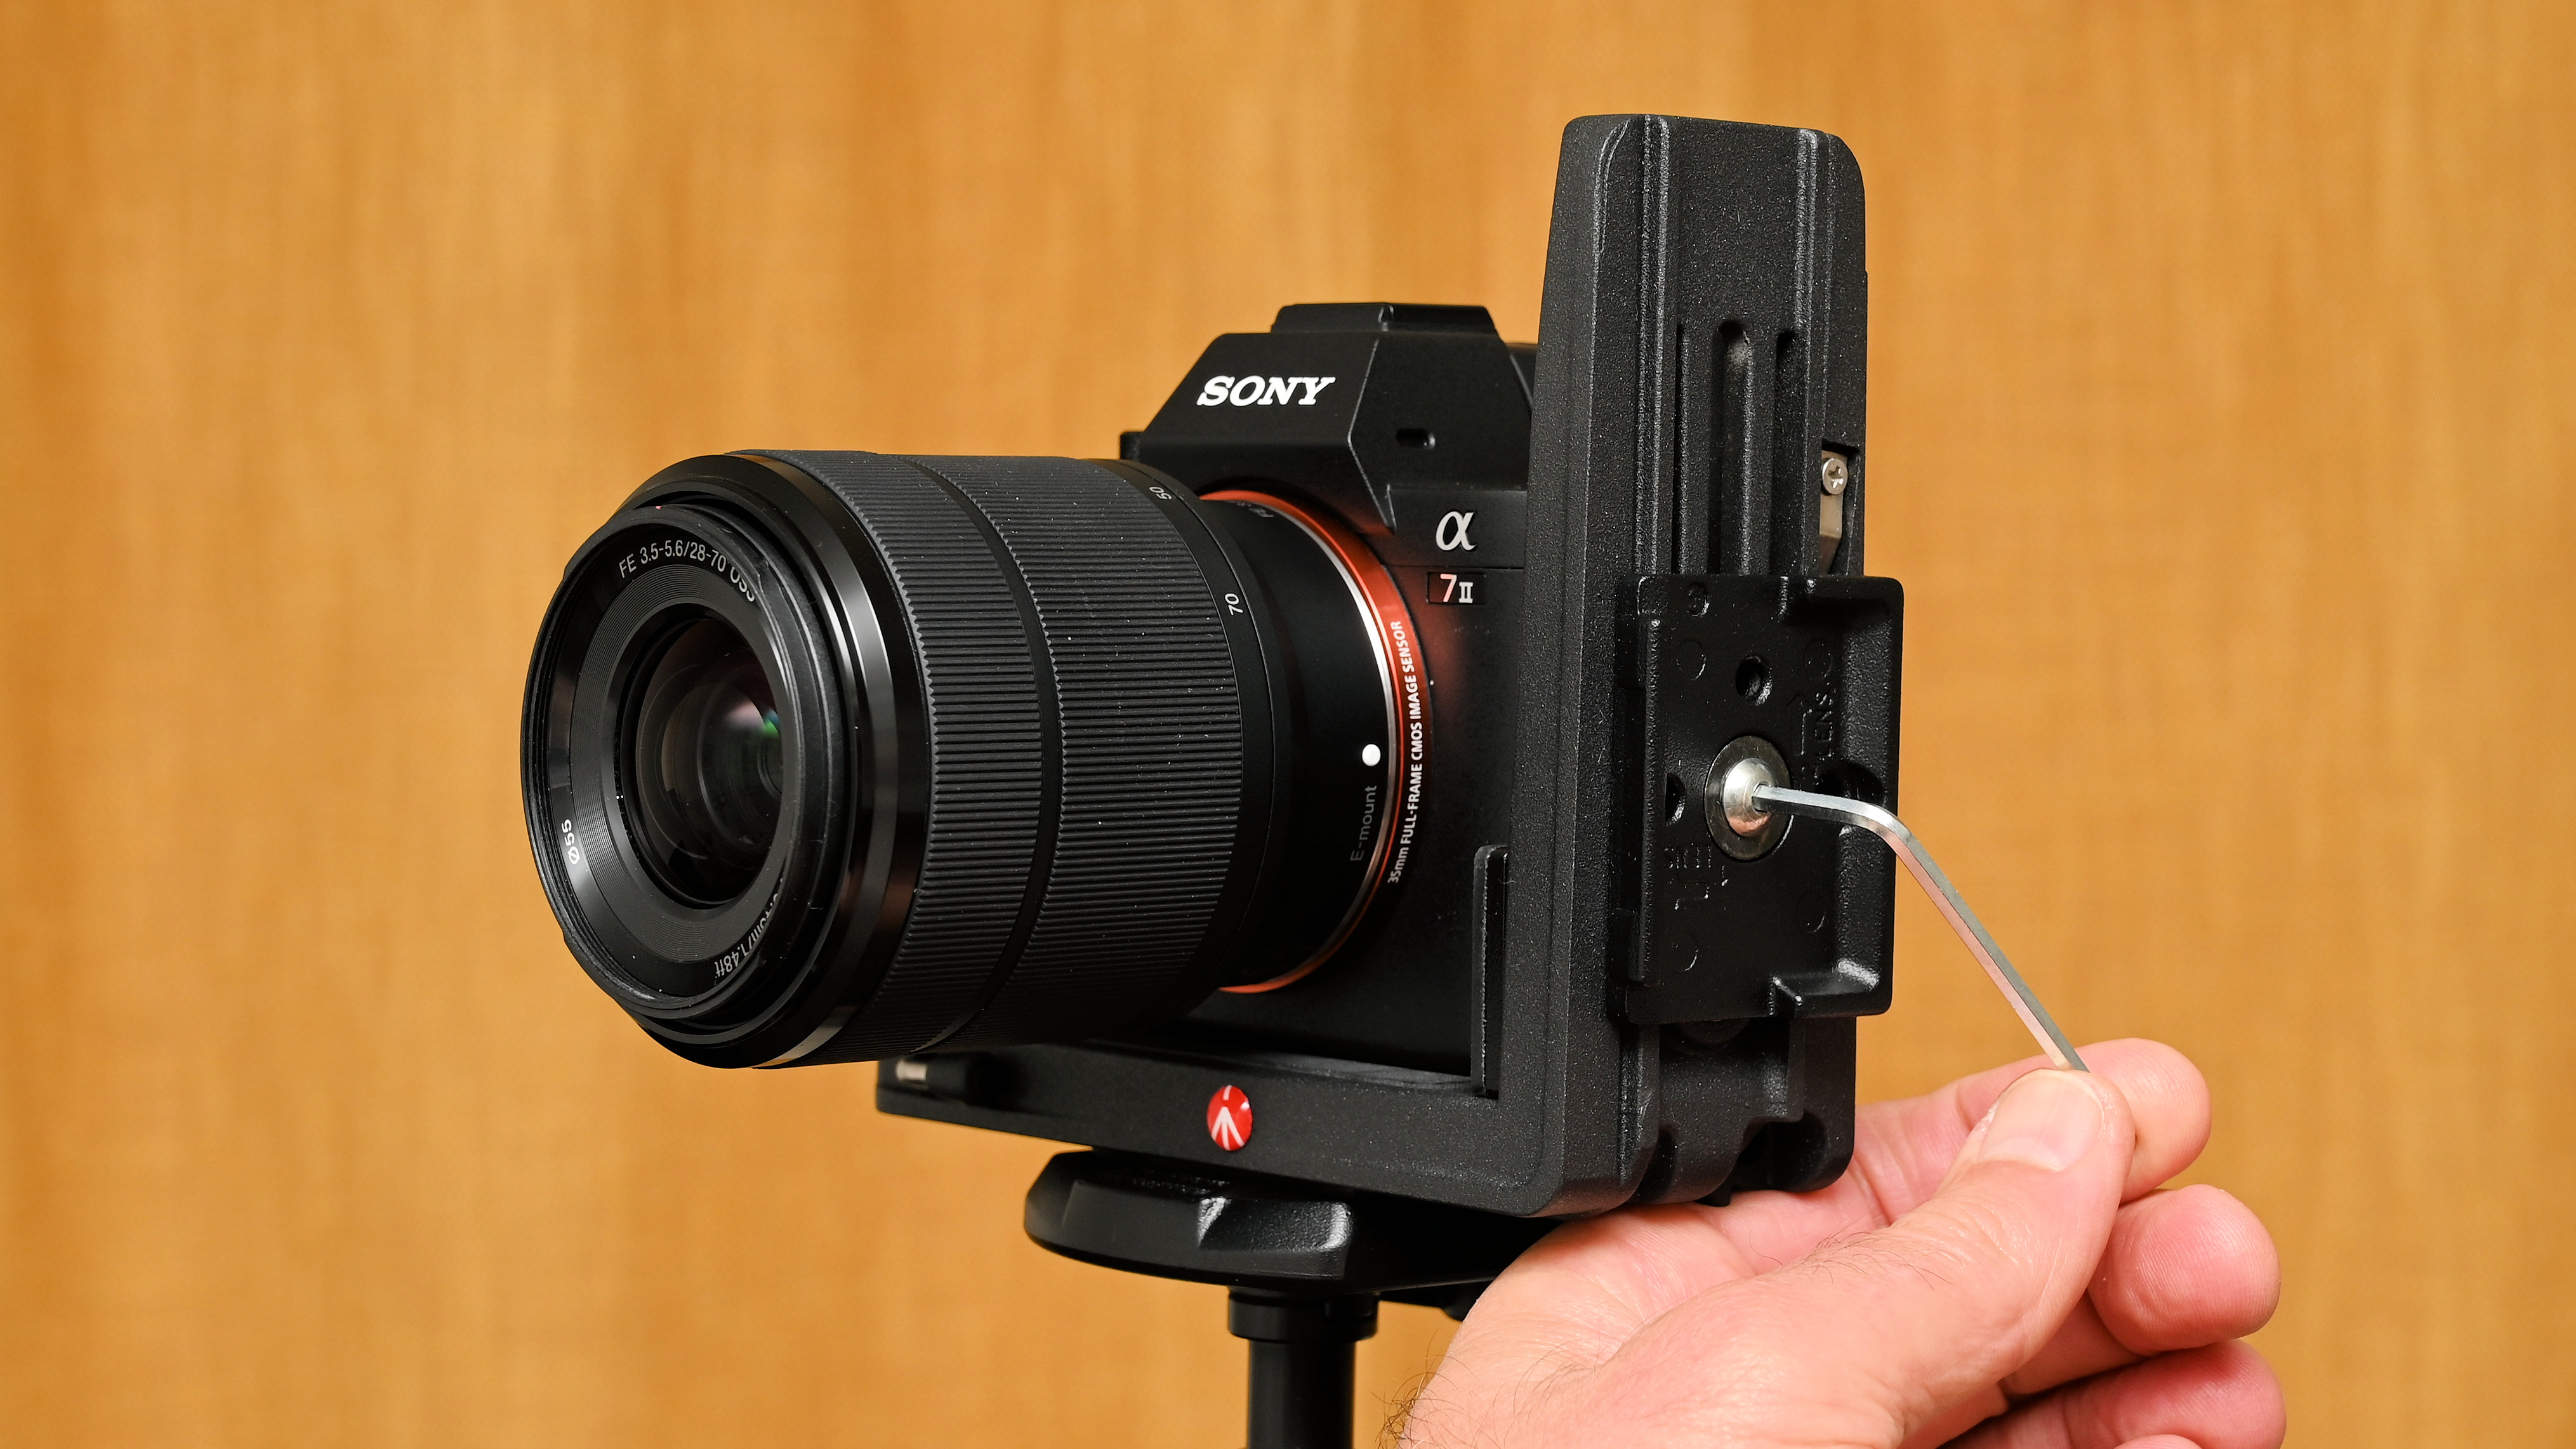
The Manfrotto Q2 L Bracket is supplied as a kit of parts, intending to enable you to fit it to a wide range of cameras. The components include the L-bracket itself, an Allen key for making adjustments, a longer version of the screw that adjusts the side plate, and a Y-shaped ruler for lining everything up.
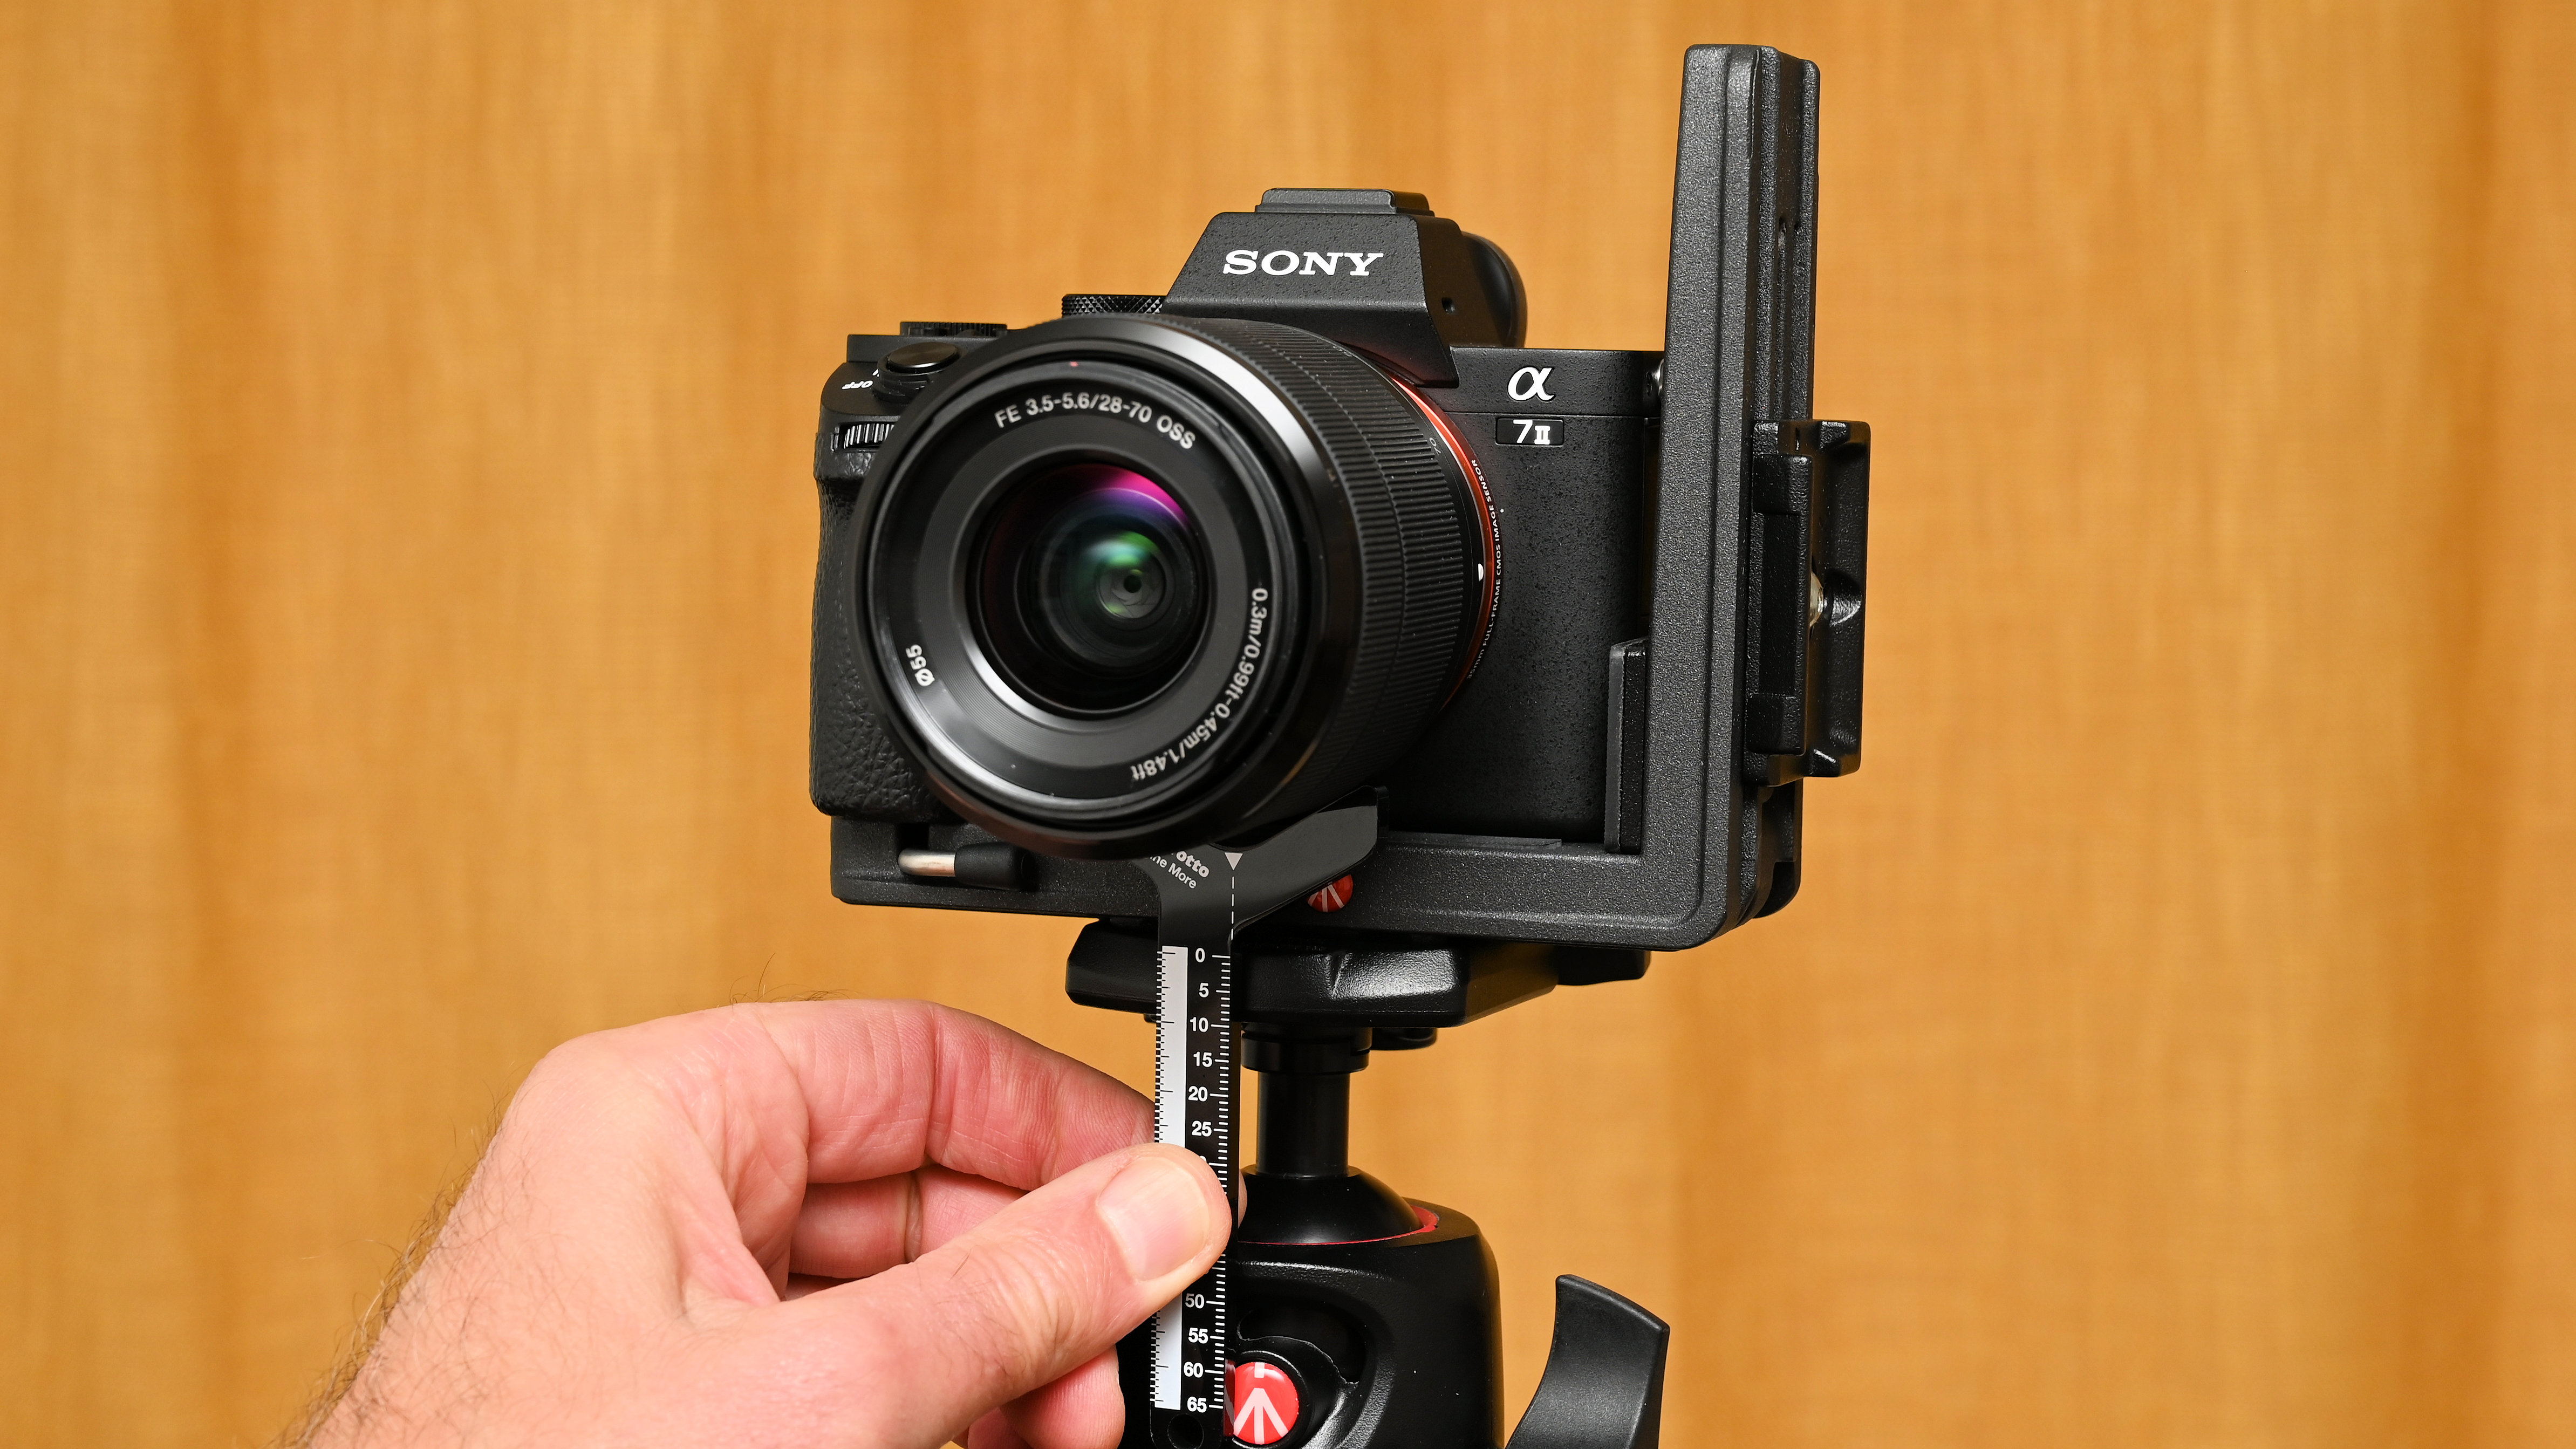
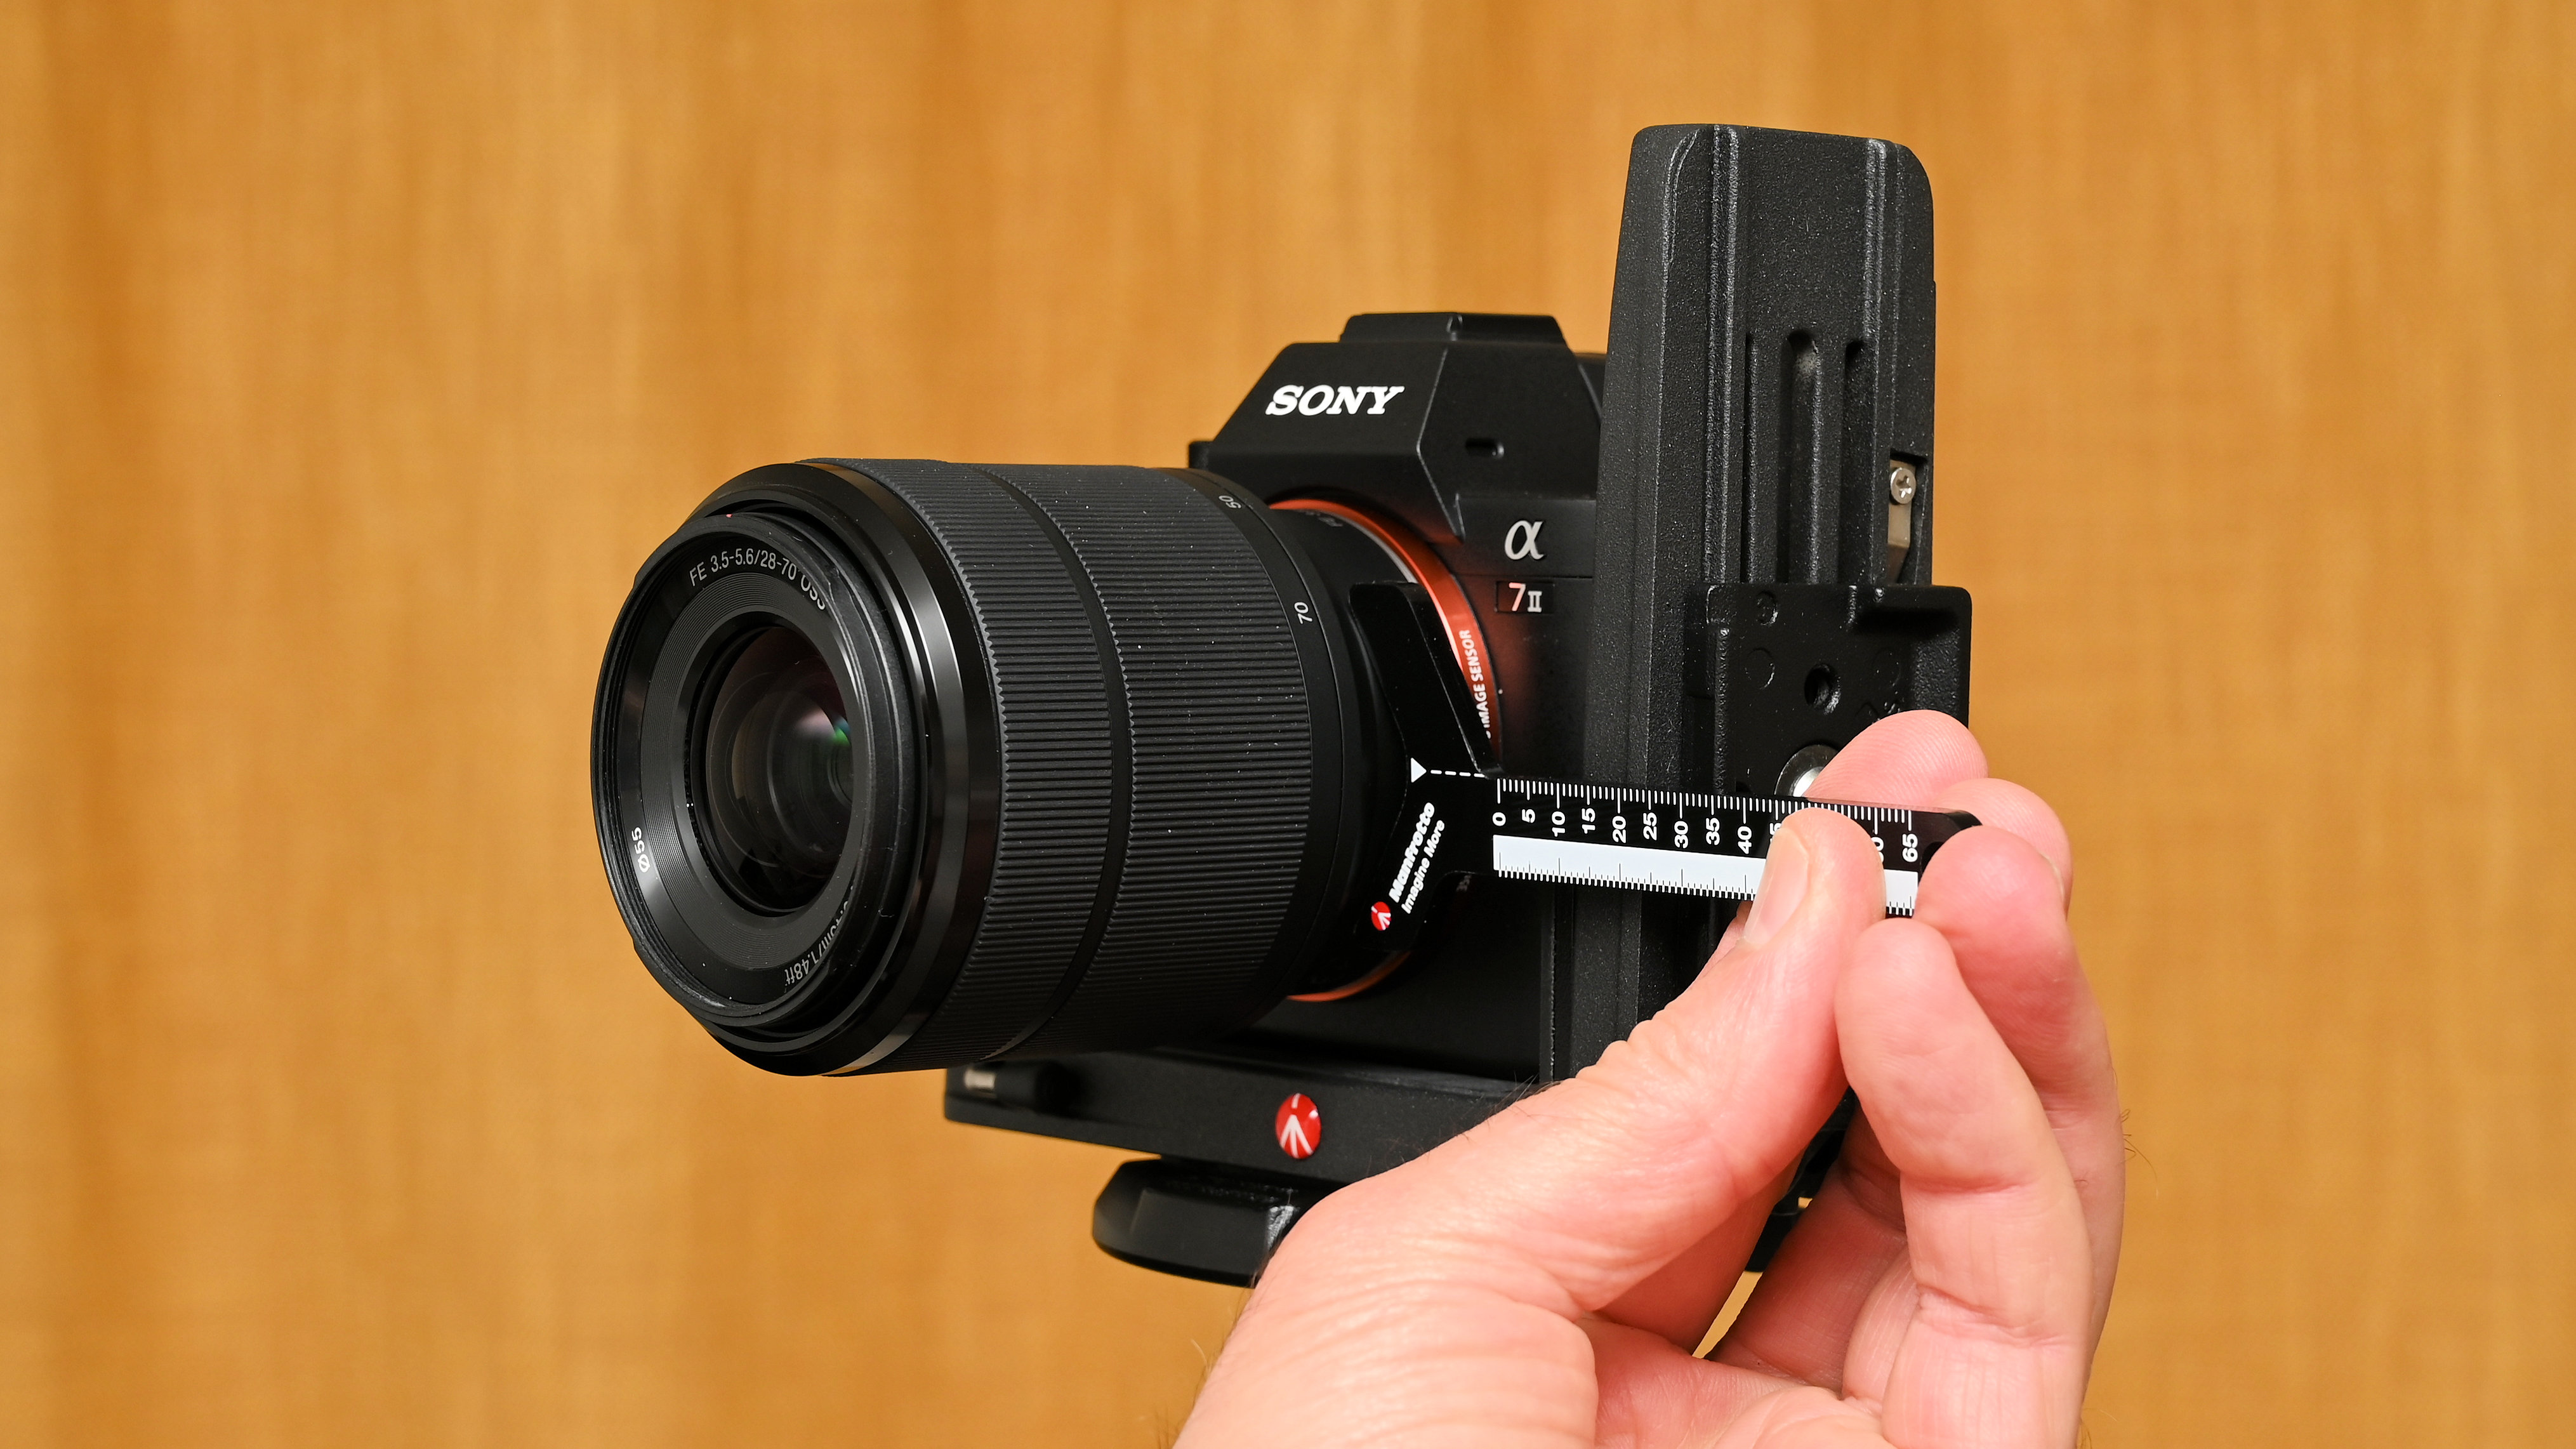
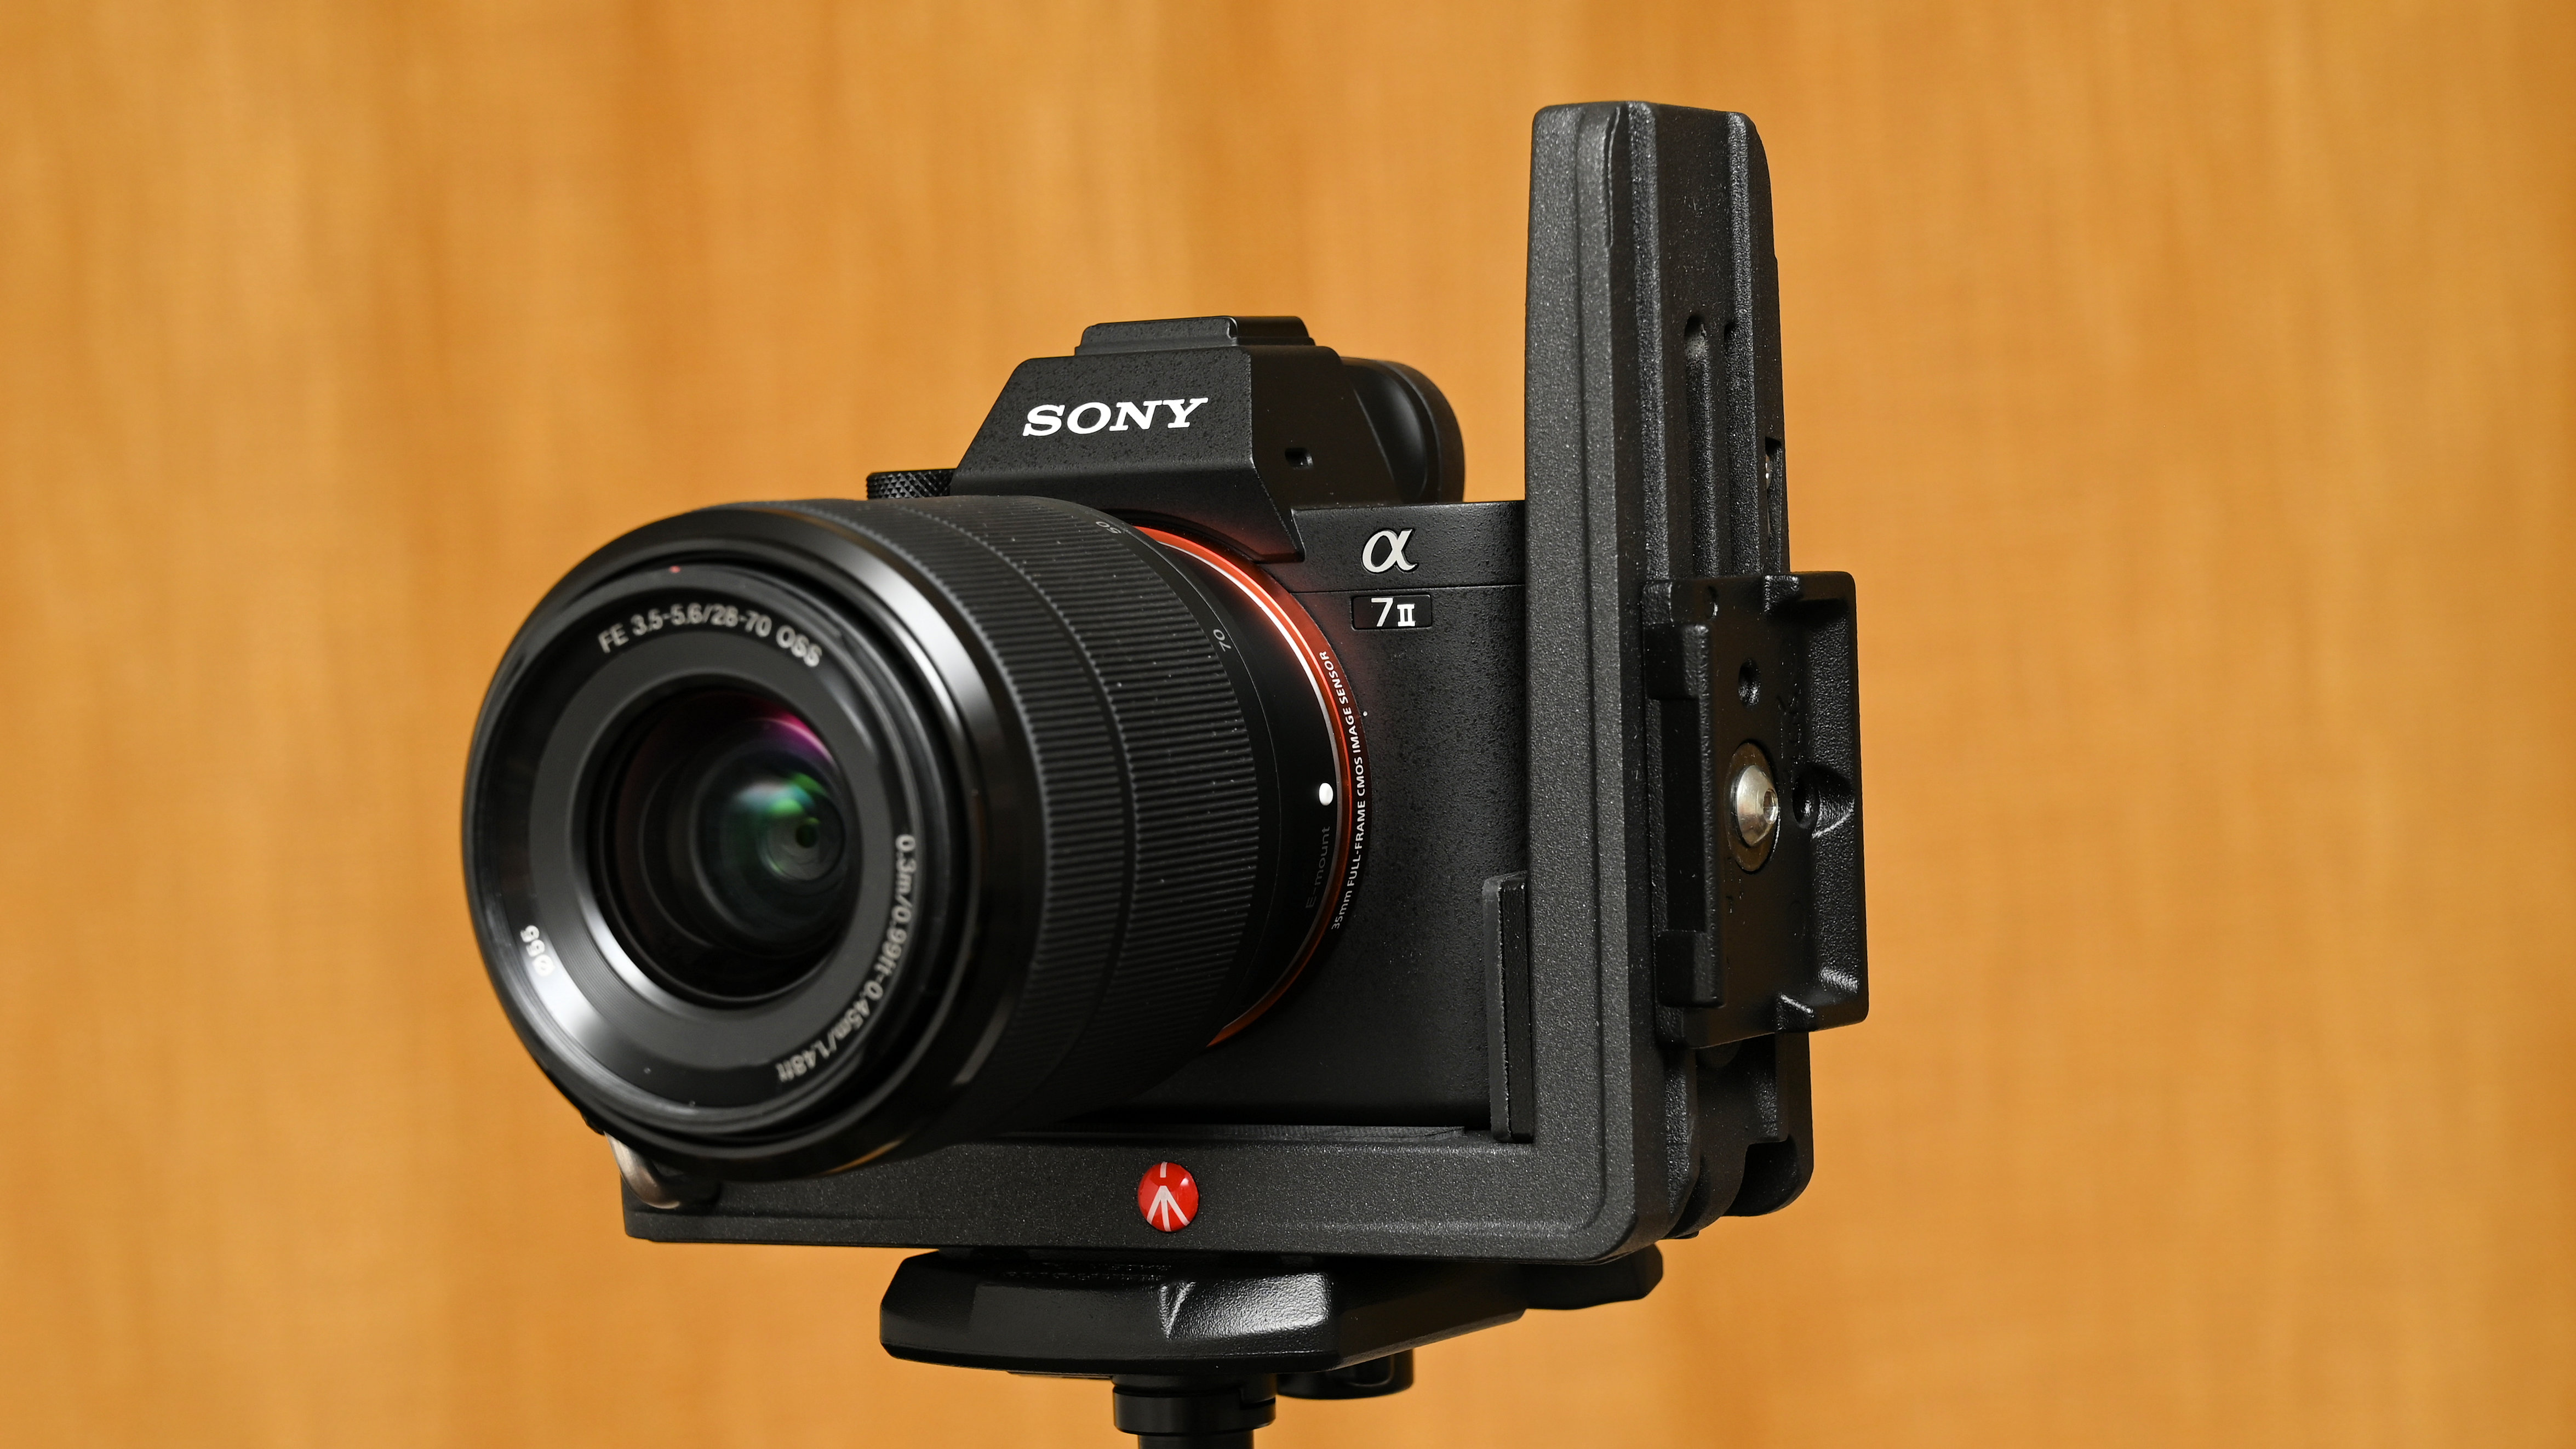
Attaching any of my cameras to the Q2, I immediately ran into problems. The supplied ruler enable you to measure the distance from the bottom of the lens to the horizontal, base section of the L-bracket. The idea is that you move the camera laterally so that this distance is the same as that between the lens and the side arm of the L-bracket. I tried three different mirrorless cameras and found that even with them moved over as far as possible towards the side arm, the distance to it was significantly greater than to the bottom section.
I started to wonder if the poor fit was something to do with mirrorless cameras being smaller. After retrieving my ancient Nikon D300 DSLR from the attic, I found exactly the same problem with that camera. It’s then that I noticed that the step-by-step setup guide that comes printed on a sheet of paper with the Q2 uses a ‘pro-grade’ camera with an integral vertical grip in all the illustrations. These naturally have a taller build with a significantly greater distance between the bottom of the lens and the bottom of the camera body.
If you’ve got a sufficiently large camera that you have to actually move it away from the side arm, there’s an additional security feature. This is in the form of a side plate which is mounted on a screw and extends sideways from the bottom of the side arm. You simply adjust its fixing screw so that it extends towards the camera body and clamps up against it with its protective rubber pad. This also ensures that the horizontal positioning of your camera remains the same if you remove it from the L-bracket and subsequently refit it.
Getting back to measuring things up, the supplied ruler has a Y-shaped design. That’s so that you can fit it up against the bottom and side of the lens successively and adjust the bottom quick-release plate so that the distances are the same. That’s the theory, at least.
The best camera deals, reviews, product advice, and unmissable photography news, direct to your inbox!
The next step is to place the ruler at the side of the lens, make sure the ruler is level, then use it as a guide for placing the quick-release plate of the side arm. The goal is that the optical axis of the lens is centered. This ensures that the lens remains at the same position on the horizontal axis when swapping between landscape and portrait orientation shooting.
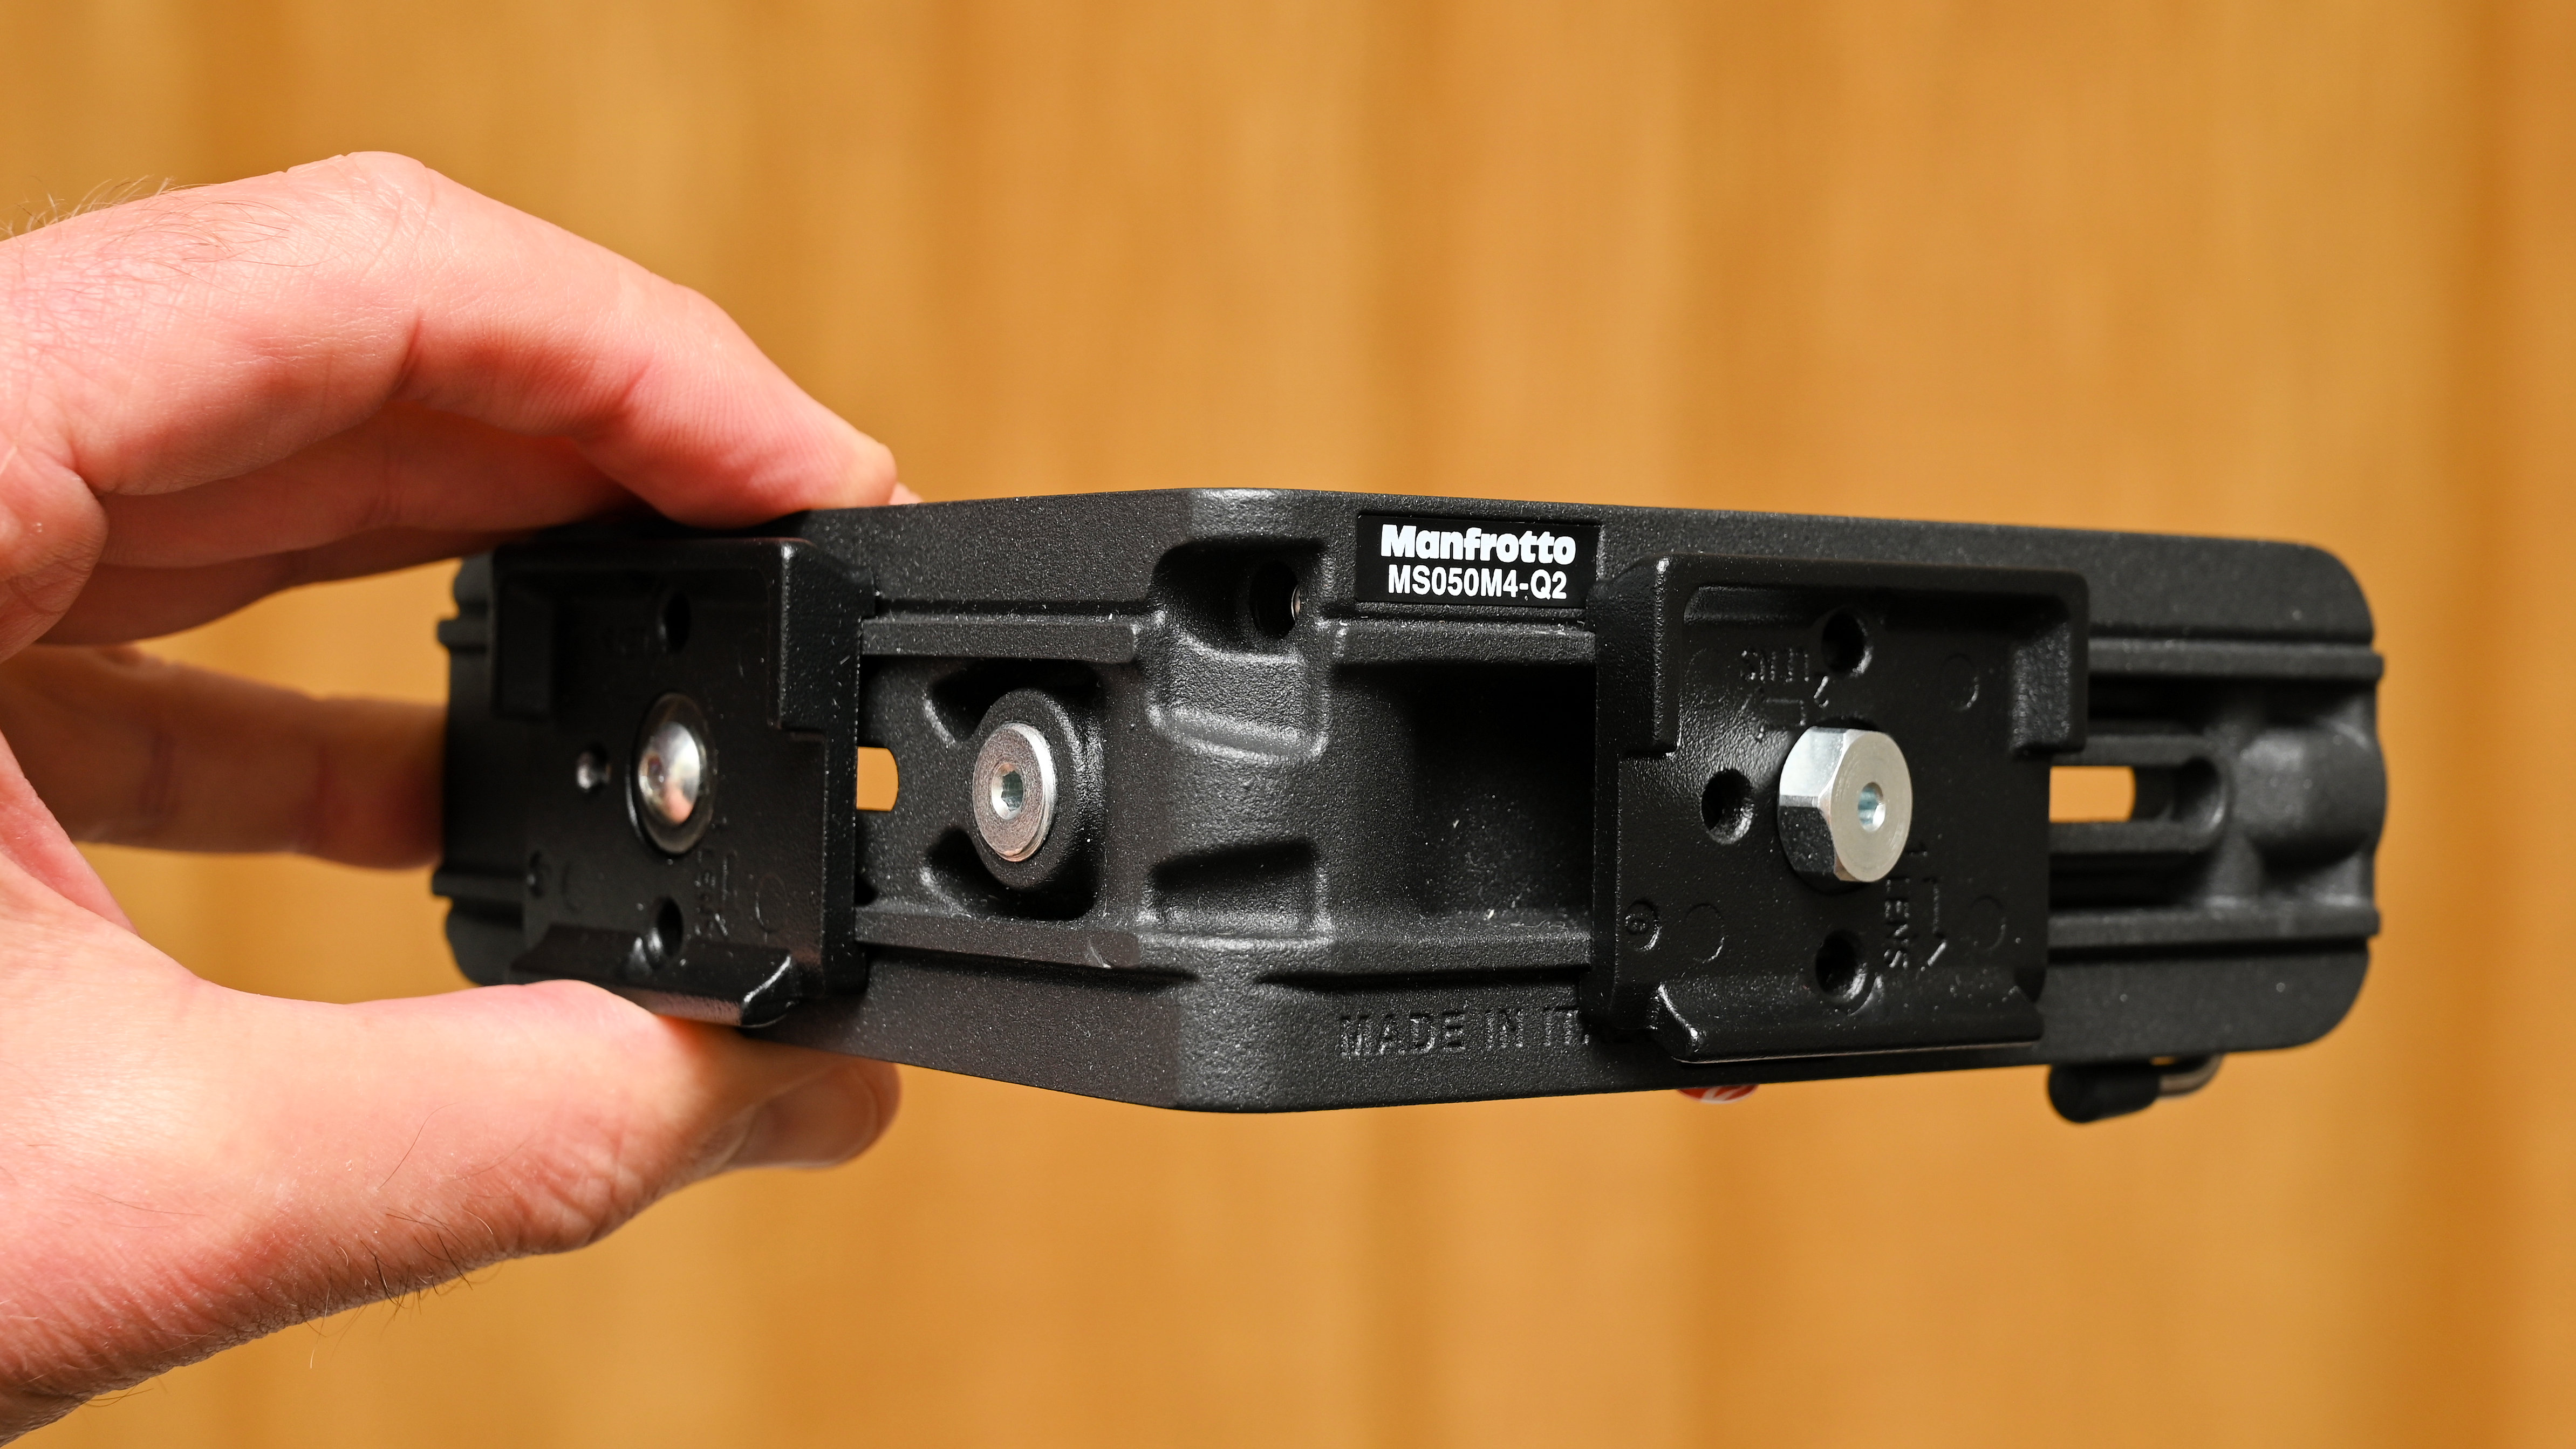
Tightening the quick-release plates brings up another issue with compatibility. The L-bracket uses proprietary Manfrotto 200PL-14 quick-release plates. They’re naturally compatible with a wide range of Manfrotto tripod heads, but not all of them. However, Arca Swiss has become much more of an industry standard and, if you don’t use a Manfrotto head with this particular type of quick-release clamp, the L-bracket will be incompatible.
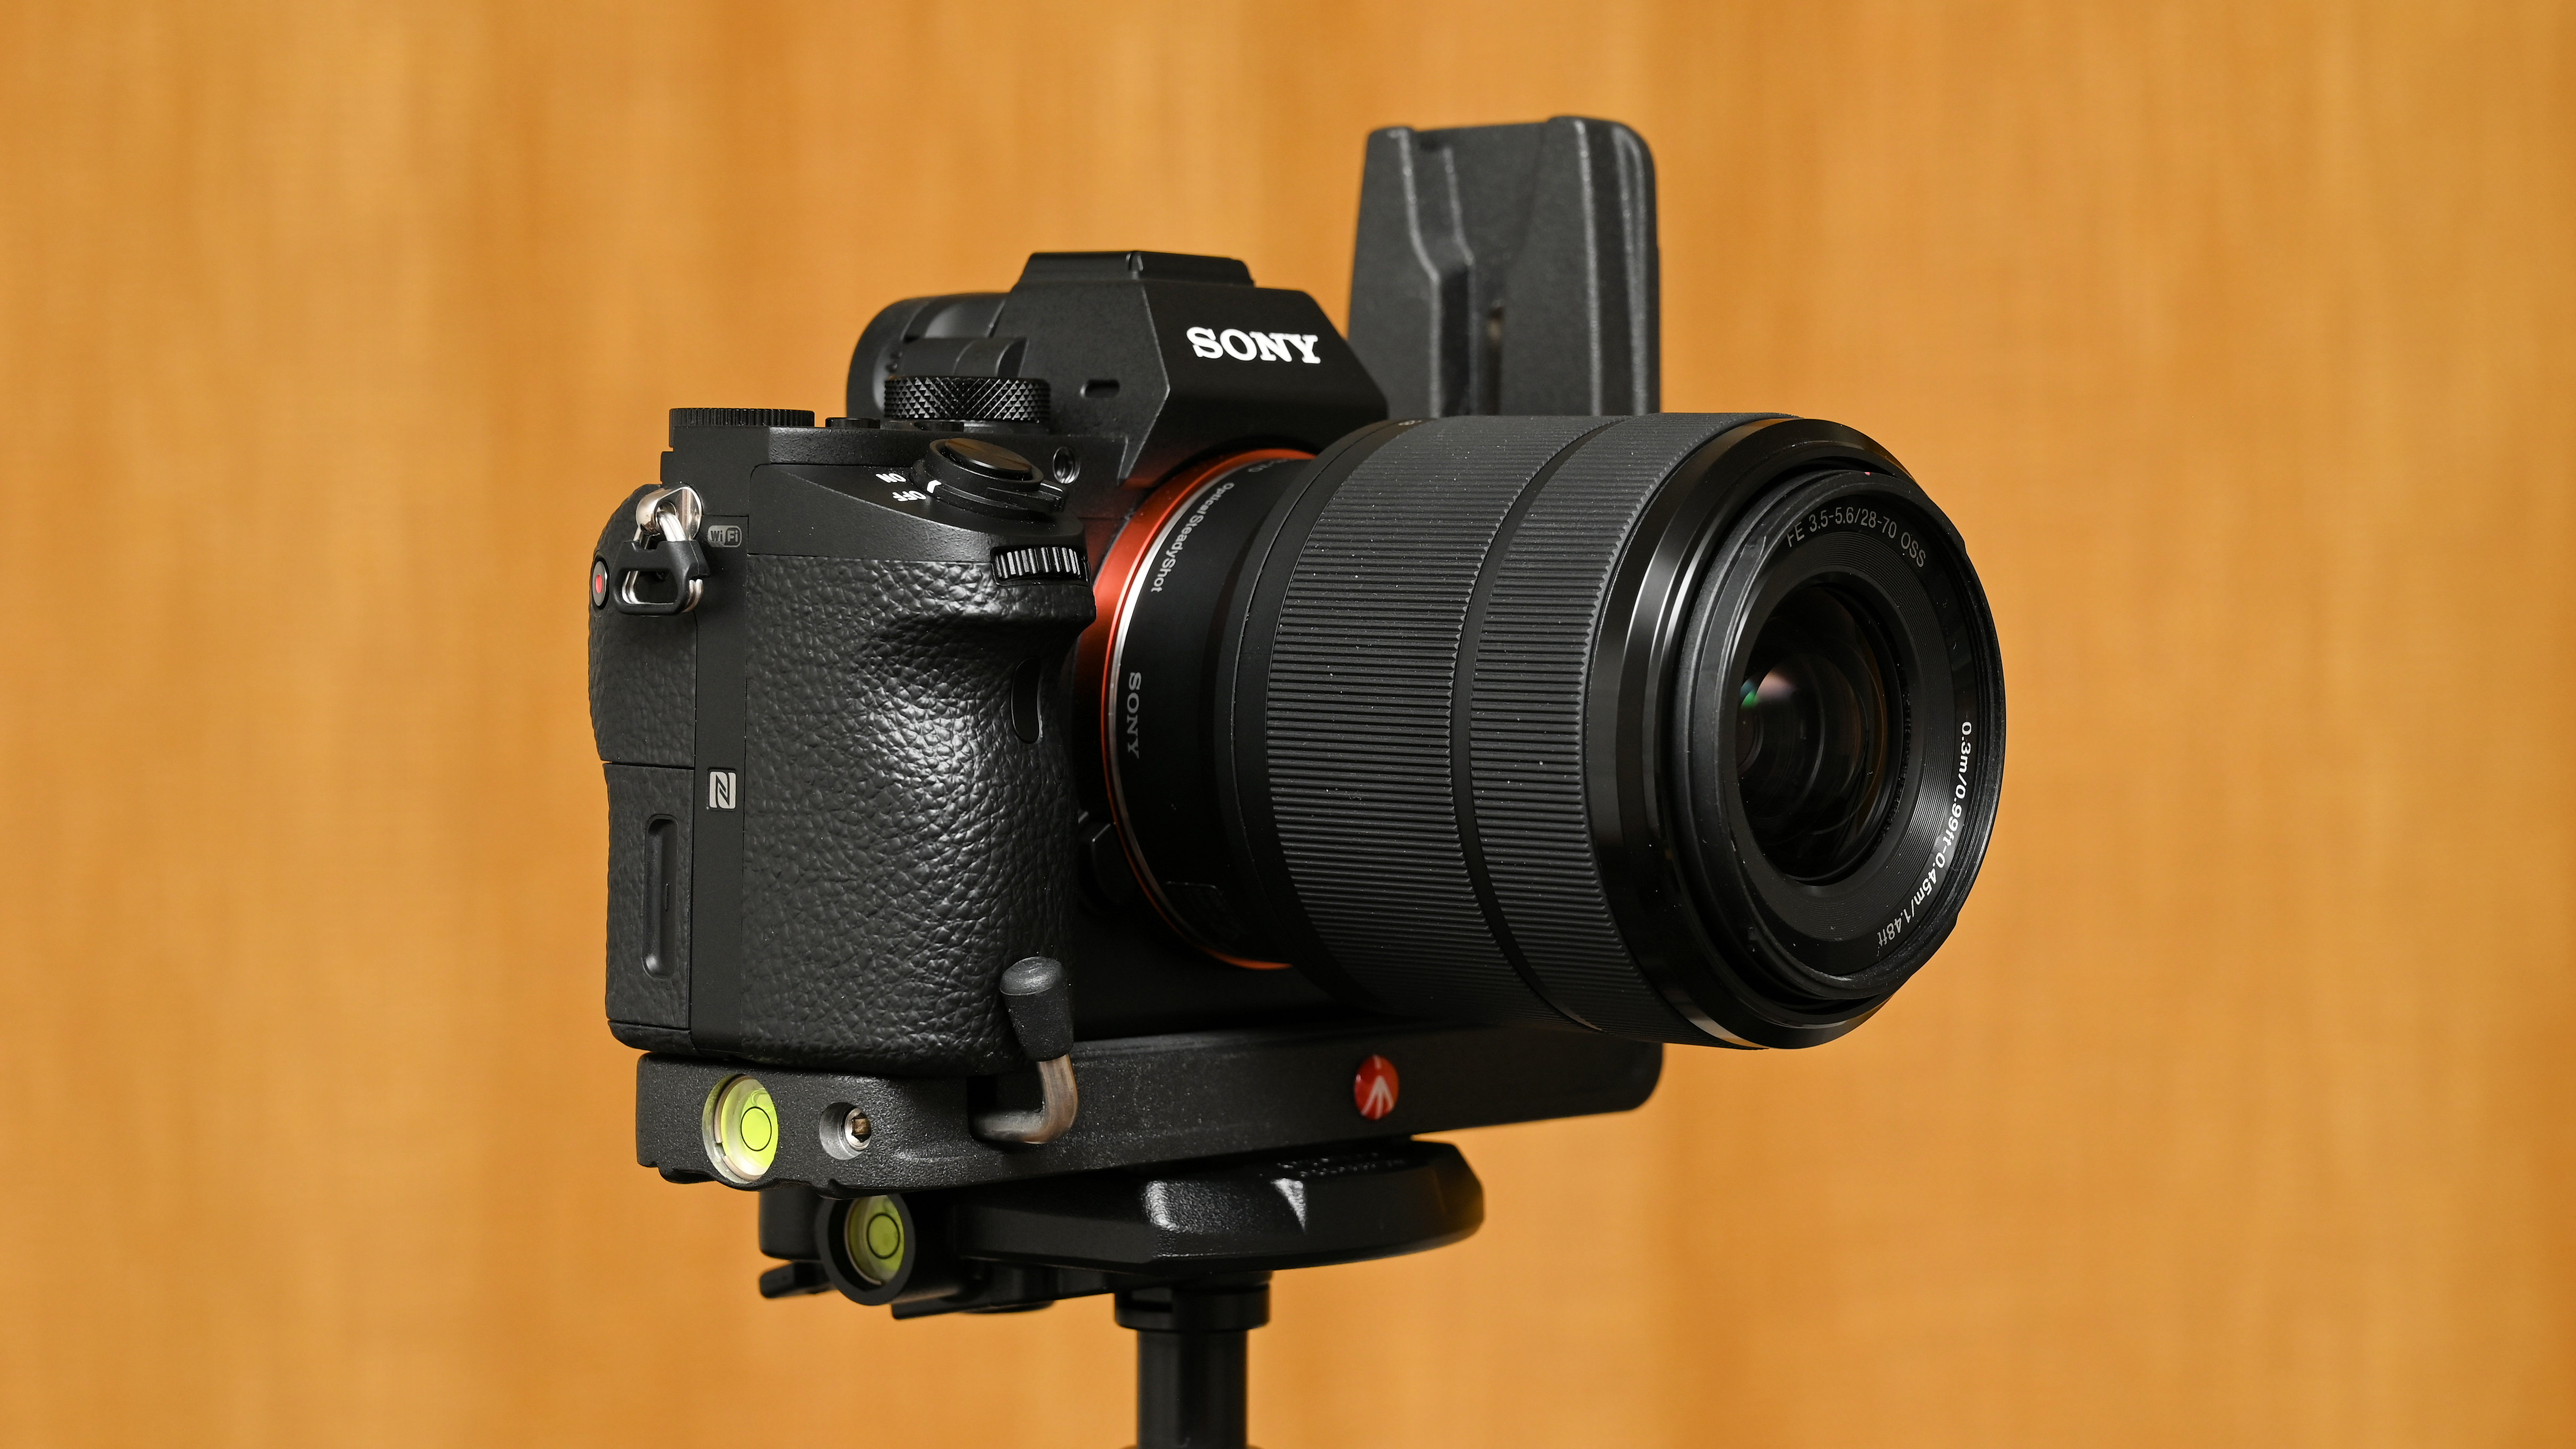
Little extras include a safety peg, which pulls out and rotates after loosening an Allen screw with the same sized head as the others, so everything works with the same Allen key. On one end of the base section there’s also a bubble level, although it naturally only works when the camera is in portrait orientation.
Manfrotto Q2 L bracket: Performance
The Manfrotto Q2 L-bracket is certainly tough and sturdy. The main body of the bracket is machined from a single piece of magnesium alloy and has a mighty 15kg payload rating. That’s an overkill really because if you’re using a big heavy lens, it’ll have its own rotational tripod mounting collar anyway, helping to give a much better center of gravity. Either way, the Q2 is certainly very strong and resistant to any flexing or wobble, whatsoever.
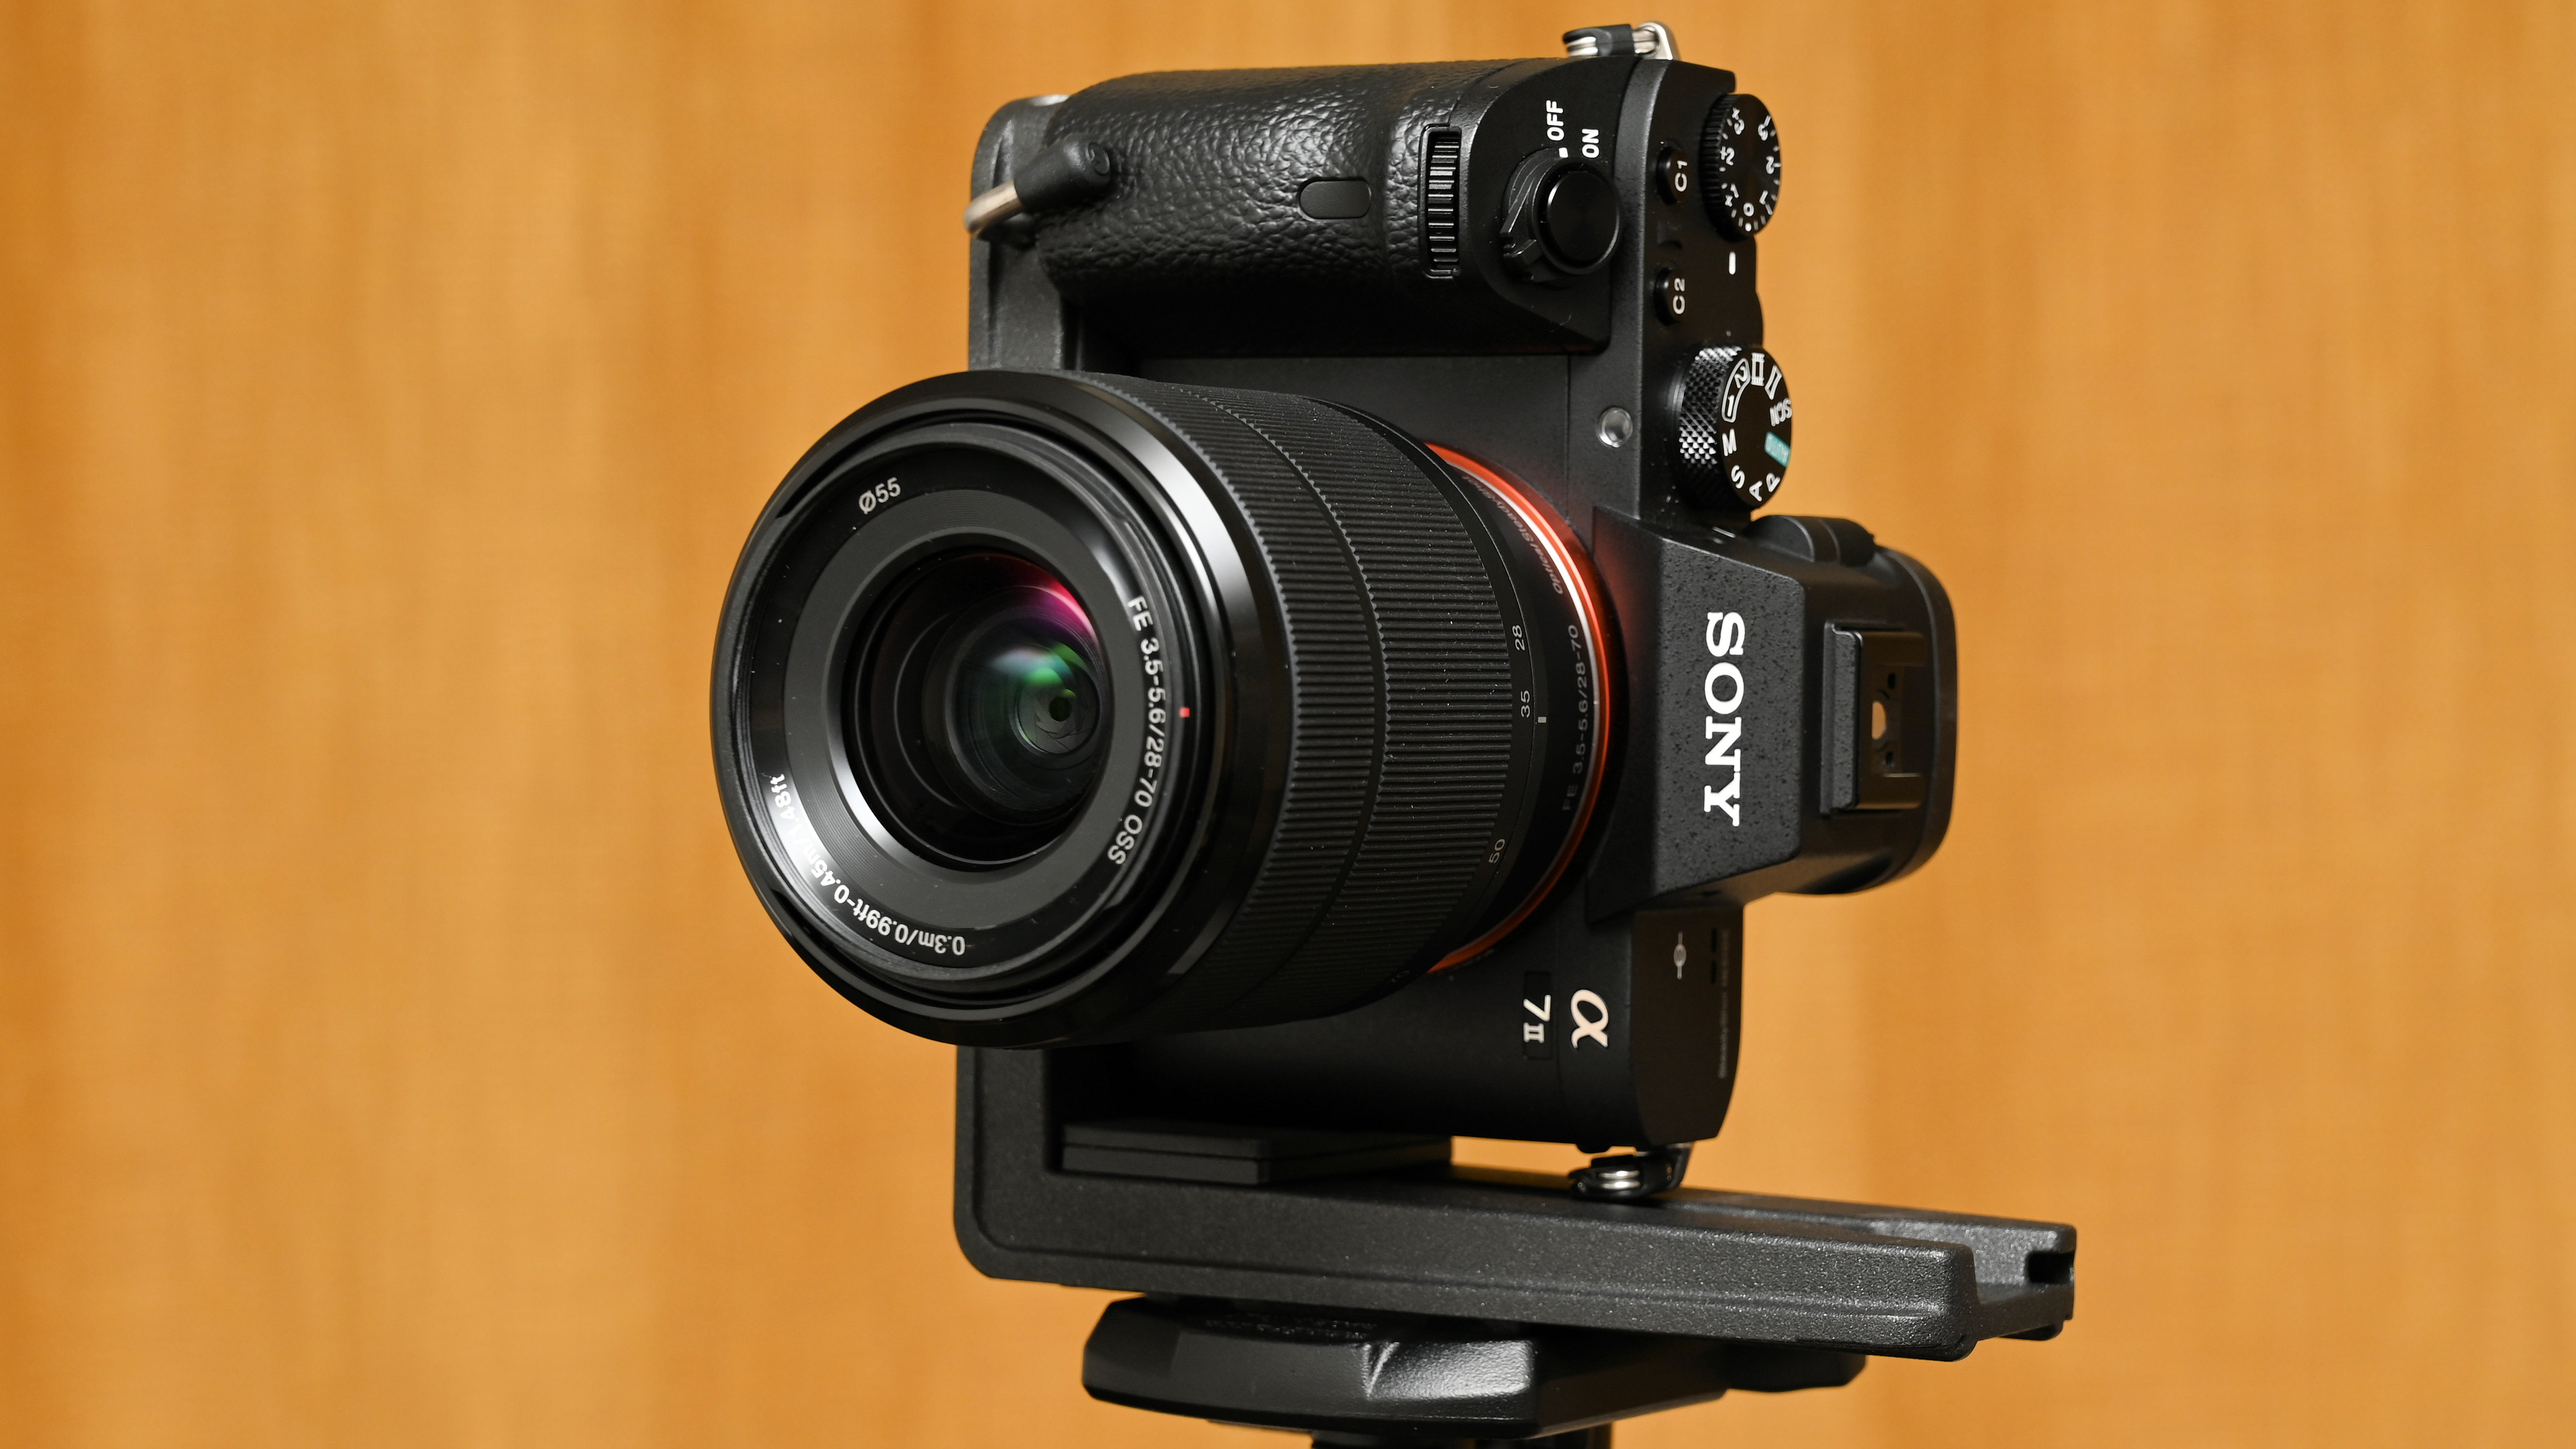
When it comes to switching to portrait orientation shooting, the Q2 covers half the brief. It’s quick and easy to remove the bracket from the tripod head, rotate it through 90 degrees and mount it back on again. The camera feels equally well balanced on the head, with the shooting button at the top so it feels natural, and without any risk of the camera loosening on its fixing screw. That covers most of the attraction of using any L-bracket, but not all of it.
For me, the only real problem is that all of my cameras have a fairly small distance from the bottom of the body to the lens mount, as they lack a built-in vertical grip. I can adjust the side arm’s quick-release plate so that the same lateral position is maintained when switching between landscape and portrait orientation shooting. However, the height changes. Sure, it doesn’t change very much but the optical axis rises noticeably when swapping from landscape to portrait, and that’s a major minus point for an L-bracket, as far as many photographers are concerned.
Manfrotto Q2 L bracket: Verdict
The Manfrotto Q2 L Bracket is certainly tough and dependable, its body being made from a single piece of magnesium alloy with a load rating of 15kg. It succeeds in making it quick and easy to swap between landscape and portrait orientation shooting, as well as maintaining a good balance for your camera on the tripod in both situations. There’s a flaw, however, in that there’s not enough latitude in the ‘universal’ adjustment to maintain the same optical axis when rotating the bracket through 90 degrees. On top of that, the proprietary Manfrotto 200PL-14 quick-release plates aren’t even compatible with all of Manfrotto’s tripod heads, let alone those of other manufacturers. All in all, it’s a good L-bracket but only ideally suited to a relatively small number of users.
Features ★★★★☆ | Good features include adjustment mechanisms, a safety peg and a bubble level. |
Design ★★★☆☆ | The magnesium alloy build is of very good quality but the design doesn’t fully cater to many cameras. |
Performance ★★★★☆ | It’s great for some cameras but the performance is flawed by axis shift for most. |
Value ★★★☆☆ | It’s pricier than the majority of L-brackets, both of the dedicated and universal varieties. |
Alternatives
The 3 Legged Thing Lexie is a universal L-bracket, so you can adjust it to fit pretty much any camera. It lacks the tailor-made design credentials of dedicated L-brackets but can be a useful option if your camera isn’t supported, or if you have multiple cameras and want to be able to use a single L-bracket with all of them.
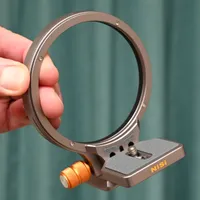
The NiSi Wizard Camera Bracket is like an L-bracket, but different. Rather than following the typical right-angle theme, it has a circular rotational mechanism that enables you to shoot at any angle, like using a tripod mounting collar for a big lens. It’s a neat solution but isn’t universally compatible with all cameras and lenses.
Matthew Richards is a photographer and journalist who has spent years using and reviewing all manner of photo gear. He is Digital Camera World's principal lens reviewer – and has tested more primes and zooms than most people have had hot dinners!
His expertise with equipment doesn’t end there, though. He is also an encyclopedia when it comes to all manner of cameras, camera holsters and bags, flashguns, tripods and heads, printers, papers and inks, and just about anything imaging-related.
In an earlier life he was a broadcast engineer at the BBC, as well as a former editor of PC Guide.
You must confirm your public display name before commenting
Please logout and then login again, you will then be prompted to enter your display name.
