
To shoot a flattering character portrait using a single flashgun and some craft foam
Time: Ten minutes
Skill level: Beginner
Kit needed: DSLR, flashgun, black craft foam
Time and time again you’ll hear the same thing: on-camera flash makes your images look flat. And, to some extent, that’s true; the harsh, direct light from on-camera flash can easily give your subject a clinical look.
However, it is possible to achieve a wonderfully soft, diffused light with on-camera flash, as long as you’re using a flashgun.
It’s the direct light that makes for dull, flat portraits, so the first thing you need to do is bounce the flash off another surface. By aiming the flashgun’s head at a wall, ceiling or window, you can reflect light off the surface to provide less directional light.
Read more: Cheat sheet: Three key lessons for every new photographer
The advantage of this is that you can get more flattering results; the disadvantage is that you will need to increase your flash power, as both the surface and the increased distance from the flash to your subject will reduce the light’s intensity.
With one additional accessory you can soften the light even more. A flag placed around the flashgun will stop any remaining direct light from hitting your subject and creating hard shadows. A sheet of black foam (available in most craft stores) or black card works well to block the light, allowing only the diffused, bounced light to hit your subject.
Step by step: Get creative with foam
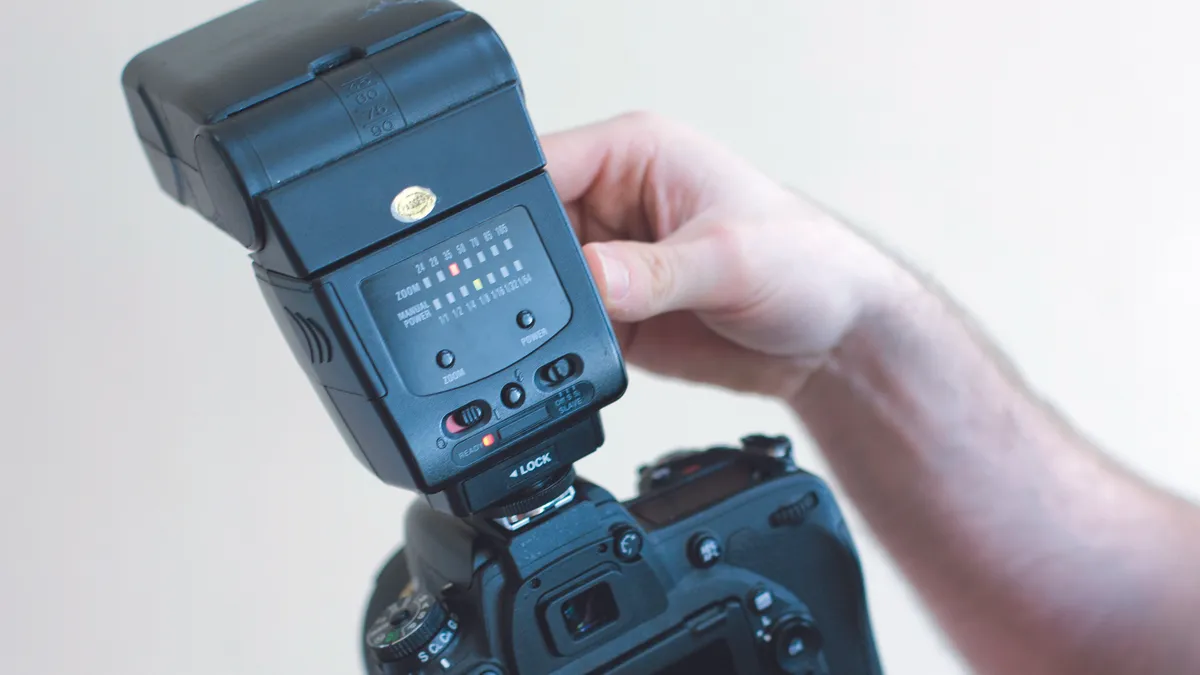
1. Mount the flash
Seat your flashgun in your camera’s hot shoe. Turn the flash on first, then the camera. Position yourself next to a white wall, large window or clean white ceiling. Then, using the tilt and swivel functions on your flash, point it towards your chosen surface.

2. Avoid coloured walls
If you want accurate colours, try to avoid bouncing the light off coloured surfaces, as it will pick up the colour and produce a colour cast in your image. If you want to add colour it’s easier to control this with gels fixed over the flash than to rely on these kinds of surfaces.

3. Angle the light
Where you position yourself will affect where the light falls on your subject. The angle of incidence (the angle of the light from flash to surface) equals the angle of reflection (the angle from surface to subject). Ensure the light bounces at the optimum angle to light your model’s face.
Read more: Depth-of-field decisions

4. Set your flash to the manual mode
For full control, you need to use manual mode. Increase the flash intensity in steps until the light is noticeably directional. We started at 1/8 power and went up until the light made our model stand out against the background and had soft shadows on the opposite side of his face.

Black foam will absorb light better than black paper or card. Avoid using materials in other colours, though, as this will colour the flash light.
5. Flag the light
Take your foam and cut out a square about six inches across. Use a rubber band to fasten it over the end of the flash. Adjust your foam around the flashgun to block the direct light between your flash and the subject, ensuring that the only light that reaches them is the bounced light.

Using windows or glass to bounce light works well, too, as glass is colourless but still reflective. The bigger the piece of glass, the more diffusion you can get. The effect also depends on your distance from the window and the power of the flash. If the flash isn’t powerful enough, the light will have faded before it reaches your subject.
6. Shoot vertically
You may want to take some pictures in portrait orientation, and some in horizontal. Using a rubber band to fix the foam around the flash head means
you can easily slip the foam around when changing orientation. Tape would make this much harder.
Read more: Cheat sheet: Which shutter speed should you be using?

