Home photography ideas: Practice portrait lighting without a model!
Want to practice portrait lighting, but don’t have a model in the household? Here's how to do it on your own!
Watch video: Home photography ideas – practice portraits without a model
With social distancing, self-isolation and the general restricted movement that we're currently experiencing, it's a challenging time to be a portrait shooter. There are many things you can still photograph if you're stuck indoors, but you can really only practice portraiture with somebody to sit for you – and right now, hiring and being in close proximity with a model isn't the best idea in the world.
If you're lucky you'll have a partner, family member or housemate willing to let you take some photos. But what if you don't have someone under the same roof – or, as is probably the case, you don't have someone willing to sit there for a few hours while you practice a bunch of lighting setups?
Yes, you could try self-portraits. However, to really learn how to use your lights and to see how their placement affects your subject, you need to be on the other side of the camera.
• Read more: 11 photo projects to try indoors during the COVID-19 crisis
• Get more photoshoot ideas
• Get more Home photography ideas
The solution? Purchase a mannequin head! There are a vast number of different heads available online, with eBay and Amazon being the best place to start. For just a few bucks you can pick up a polystyrene or styrofoam head, which will be enough to show you how the placement of your lights creates different lighting patterns.
However, for best results, we recommend purchasing a professional mannequin head – sometimes known as a dressmaker’s dummy or haberdashery head. Rather than being all white, these heads are available in different skin tones so that you can see how varying light temperatures affect differing skin color.
The best camera deals, reviews, product advice, and unmissable photography news, direct to your inbox!
Some heads can be articulated like real heads, and some can even have proper eye detail that can pick up catchlights. Whichever kind you go for, they provide the ideal way to practice lighting patterns with your speed lights, LEDs and modifiers, and keep your skills sharp! This obviously works with any lighting kit you have – from bare flash to umbrellas and softboxes – but here are a couple of simple setups you can try with minimal kit.
• Read more: Best portrait lenses
01 Single sidelight…
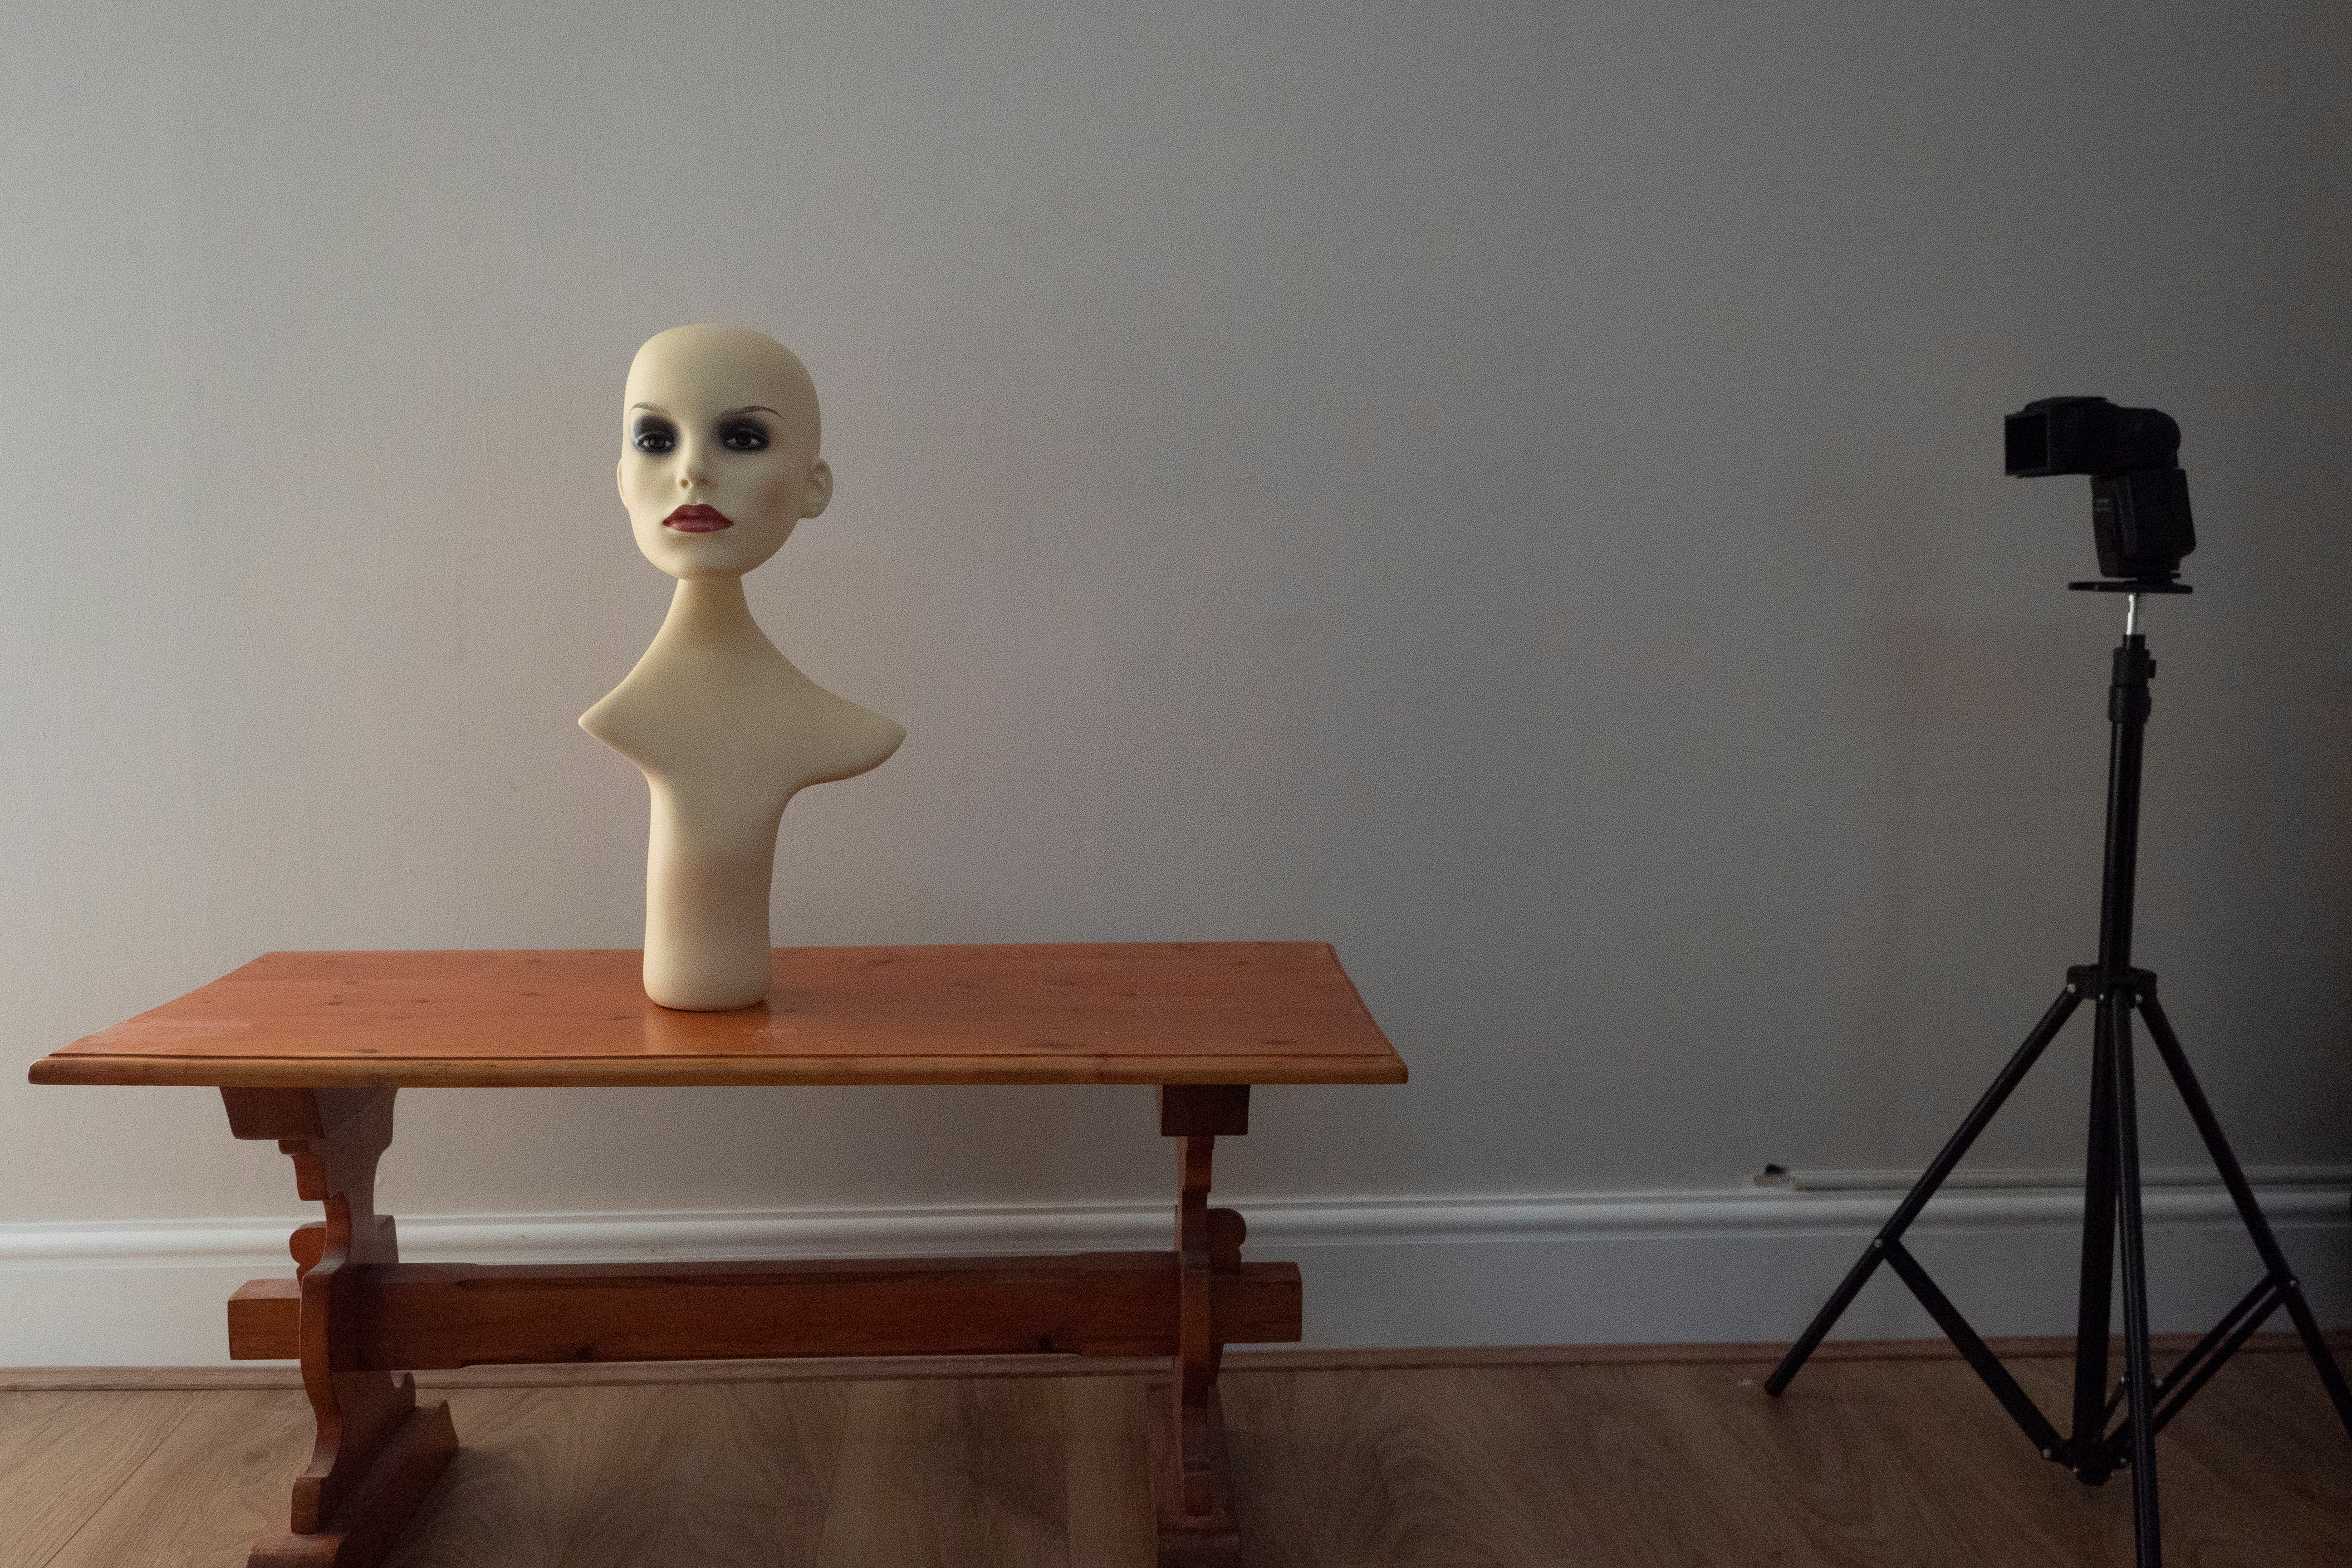
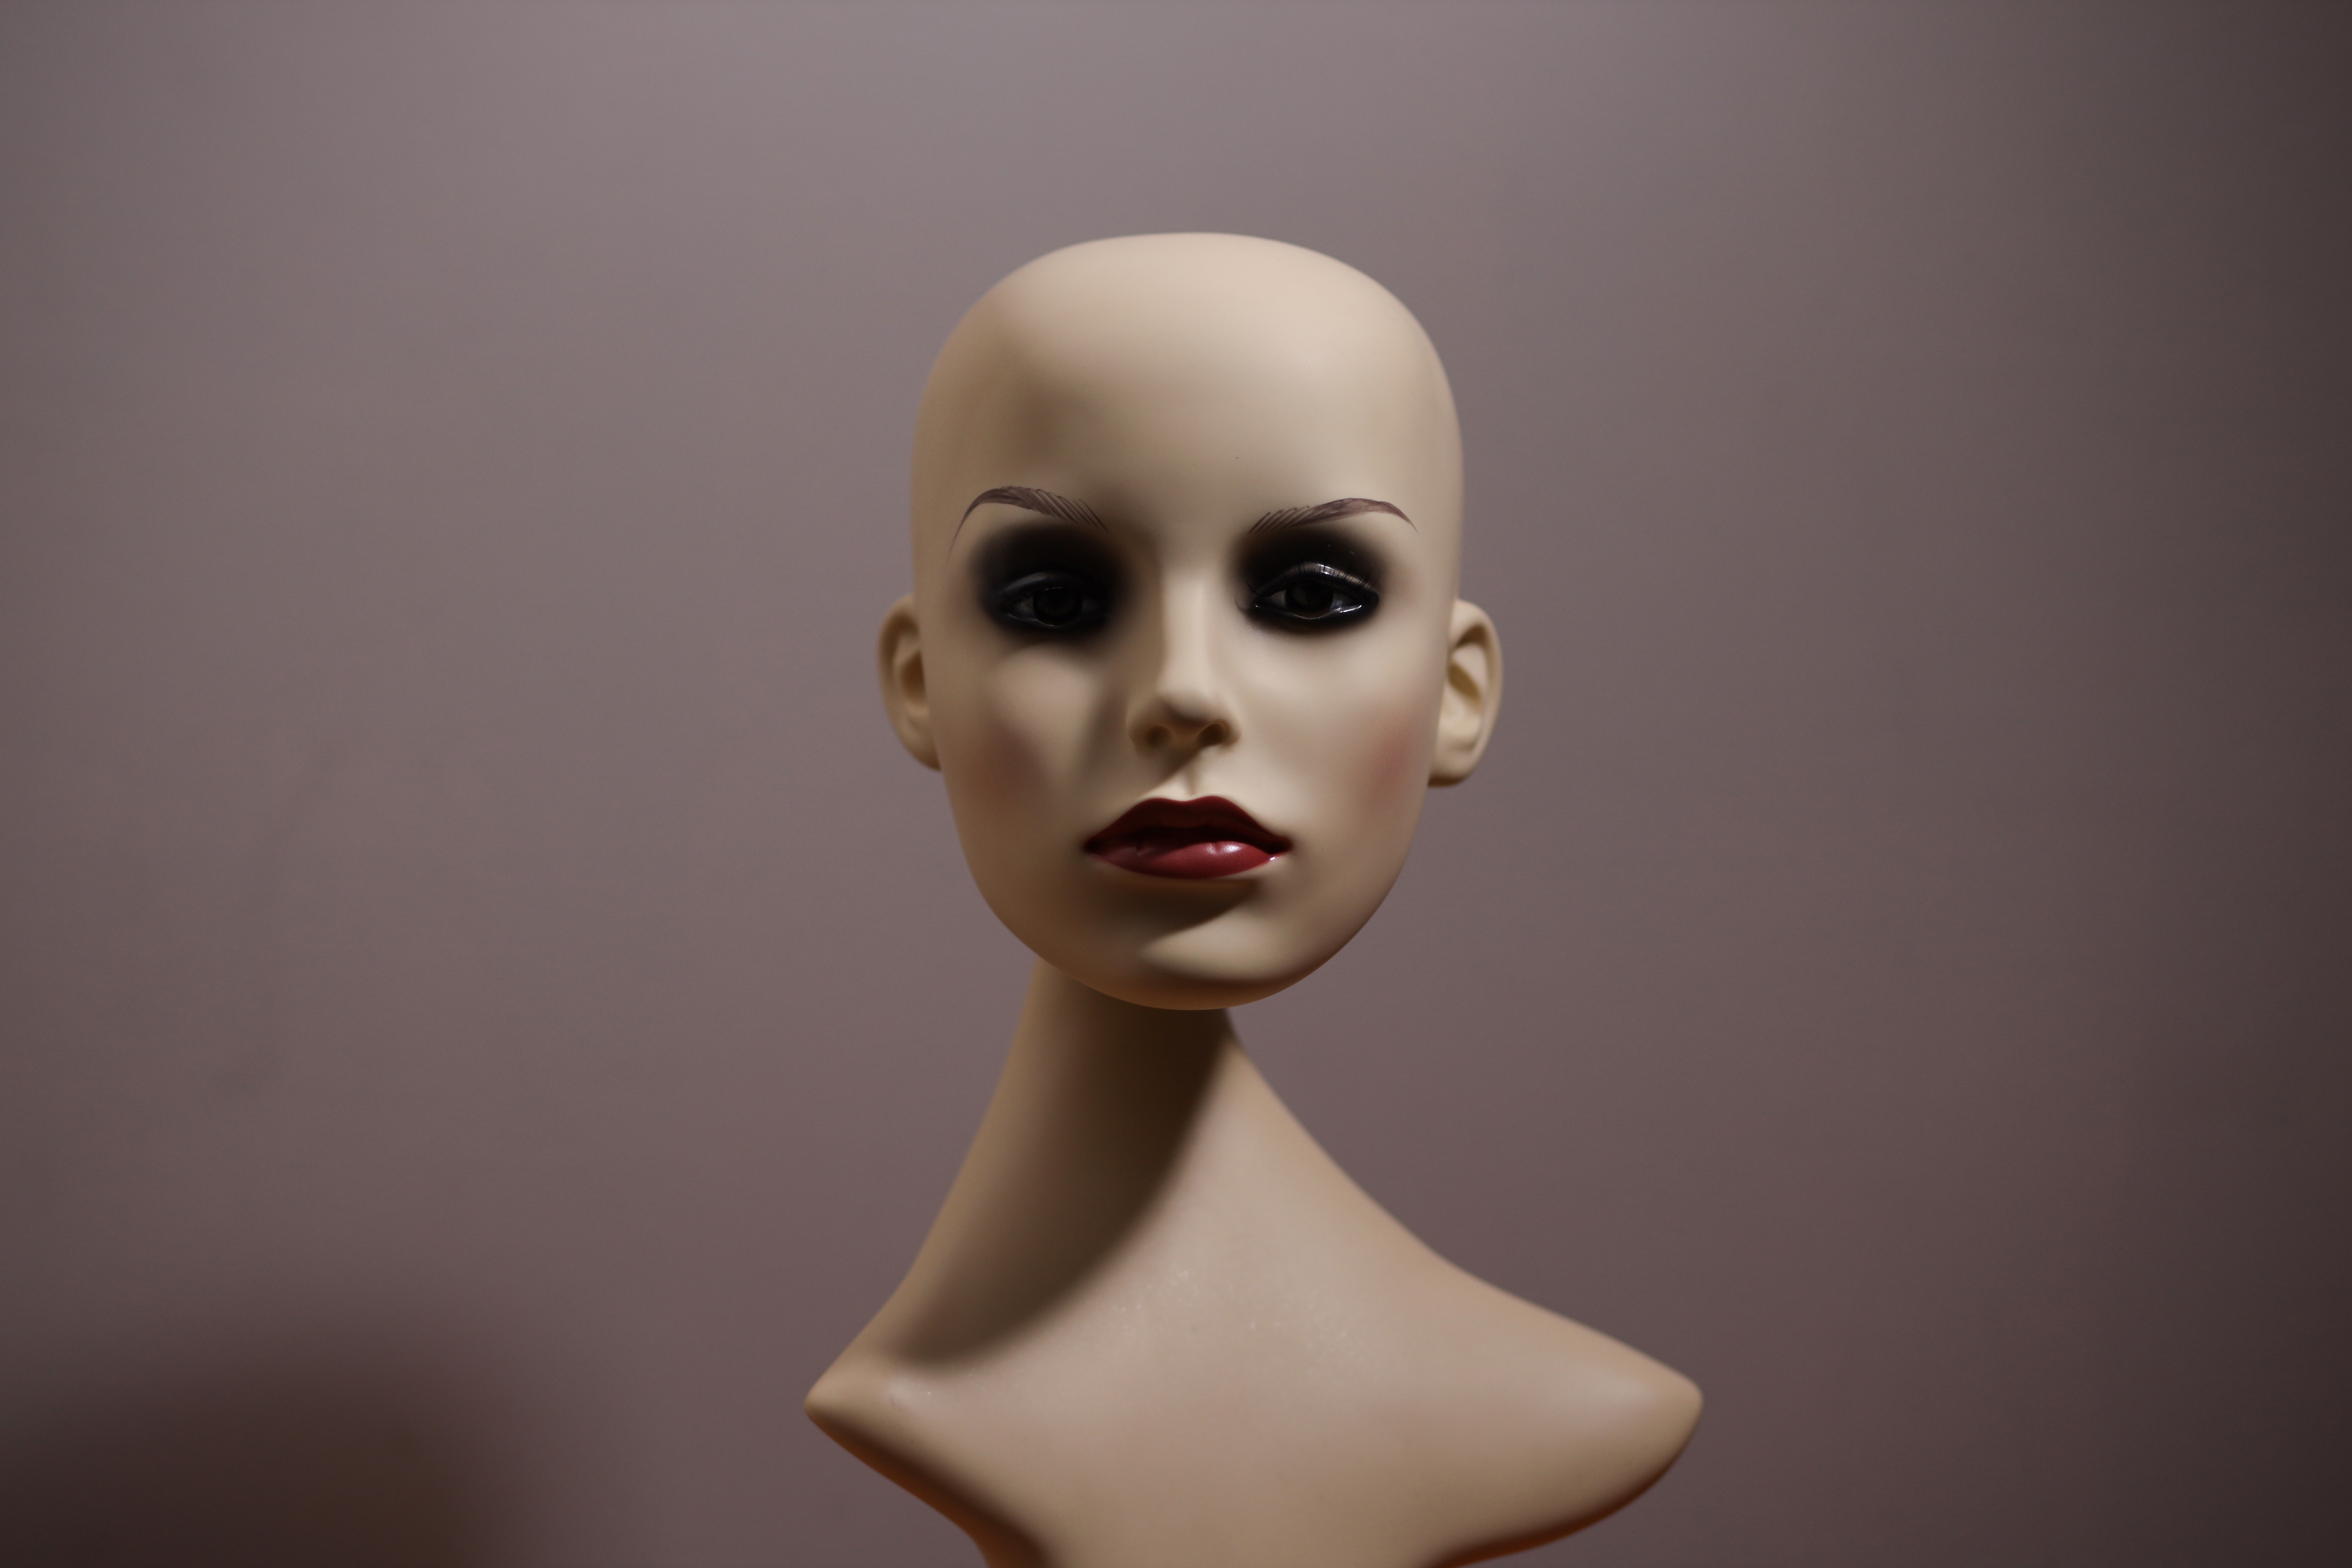
This project is ideal if you only have a single light, as you can try placing it in different positions with different modifiers to see how it affects your subject. Here we’ve got a single Yongnuo flashgun with a honeycomb attachment to direct the light.
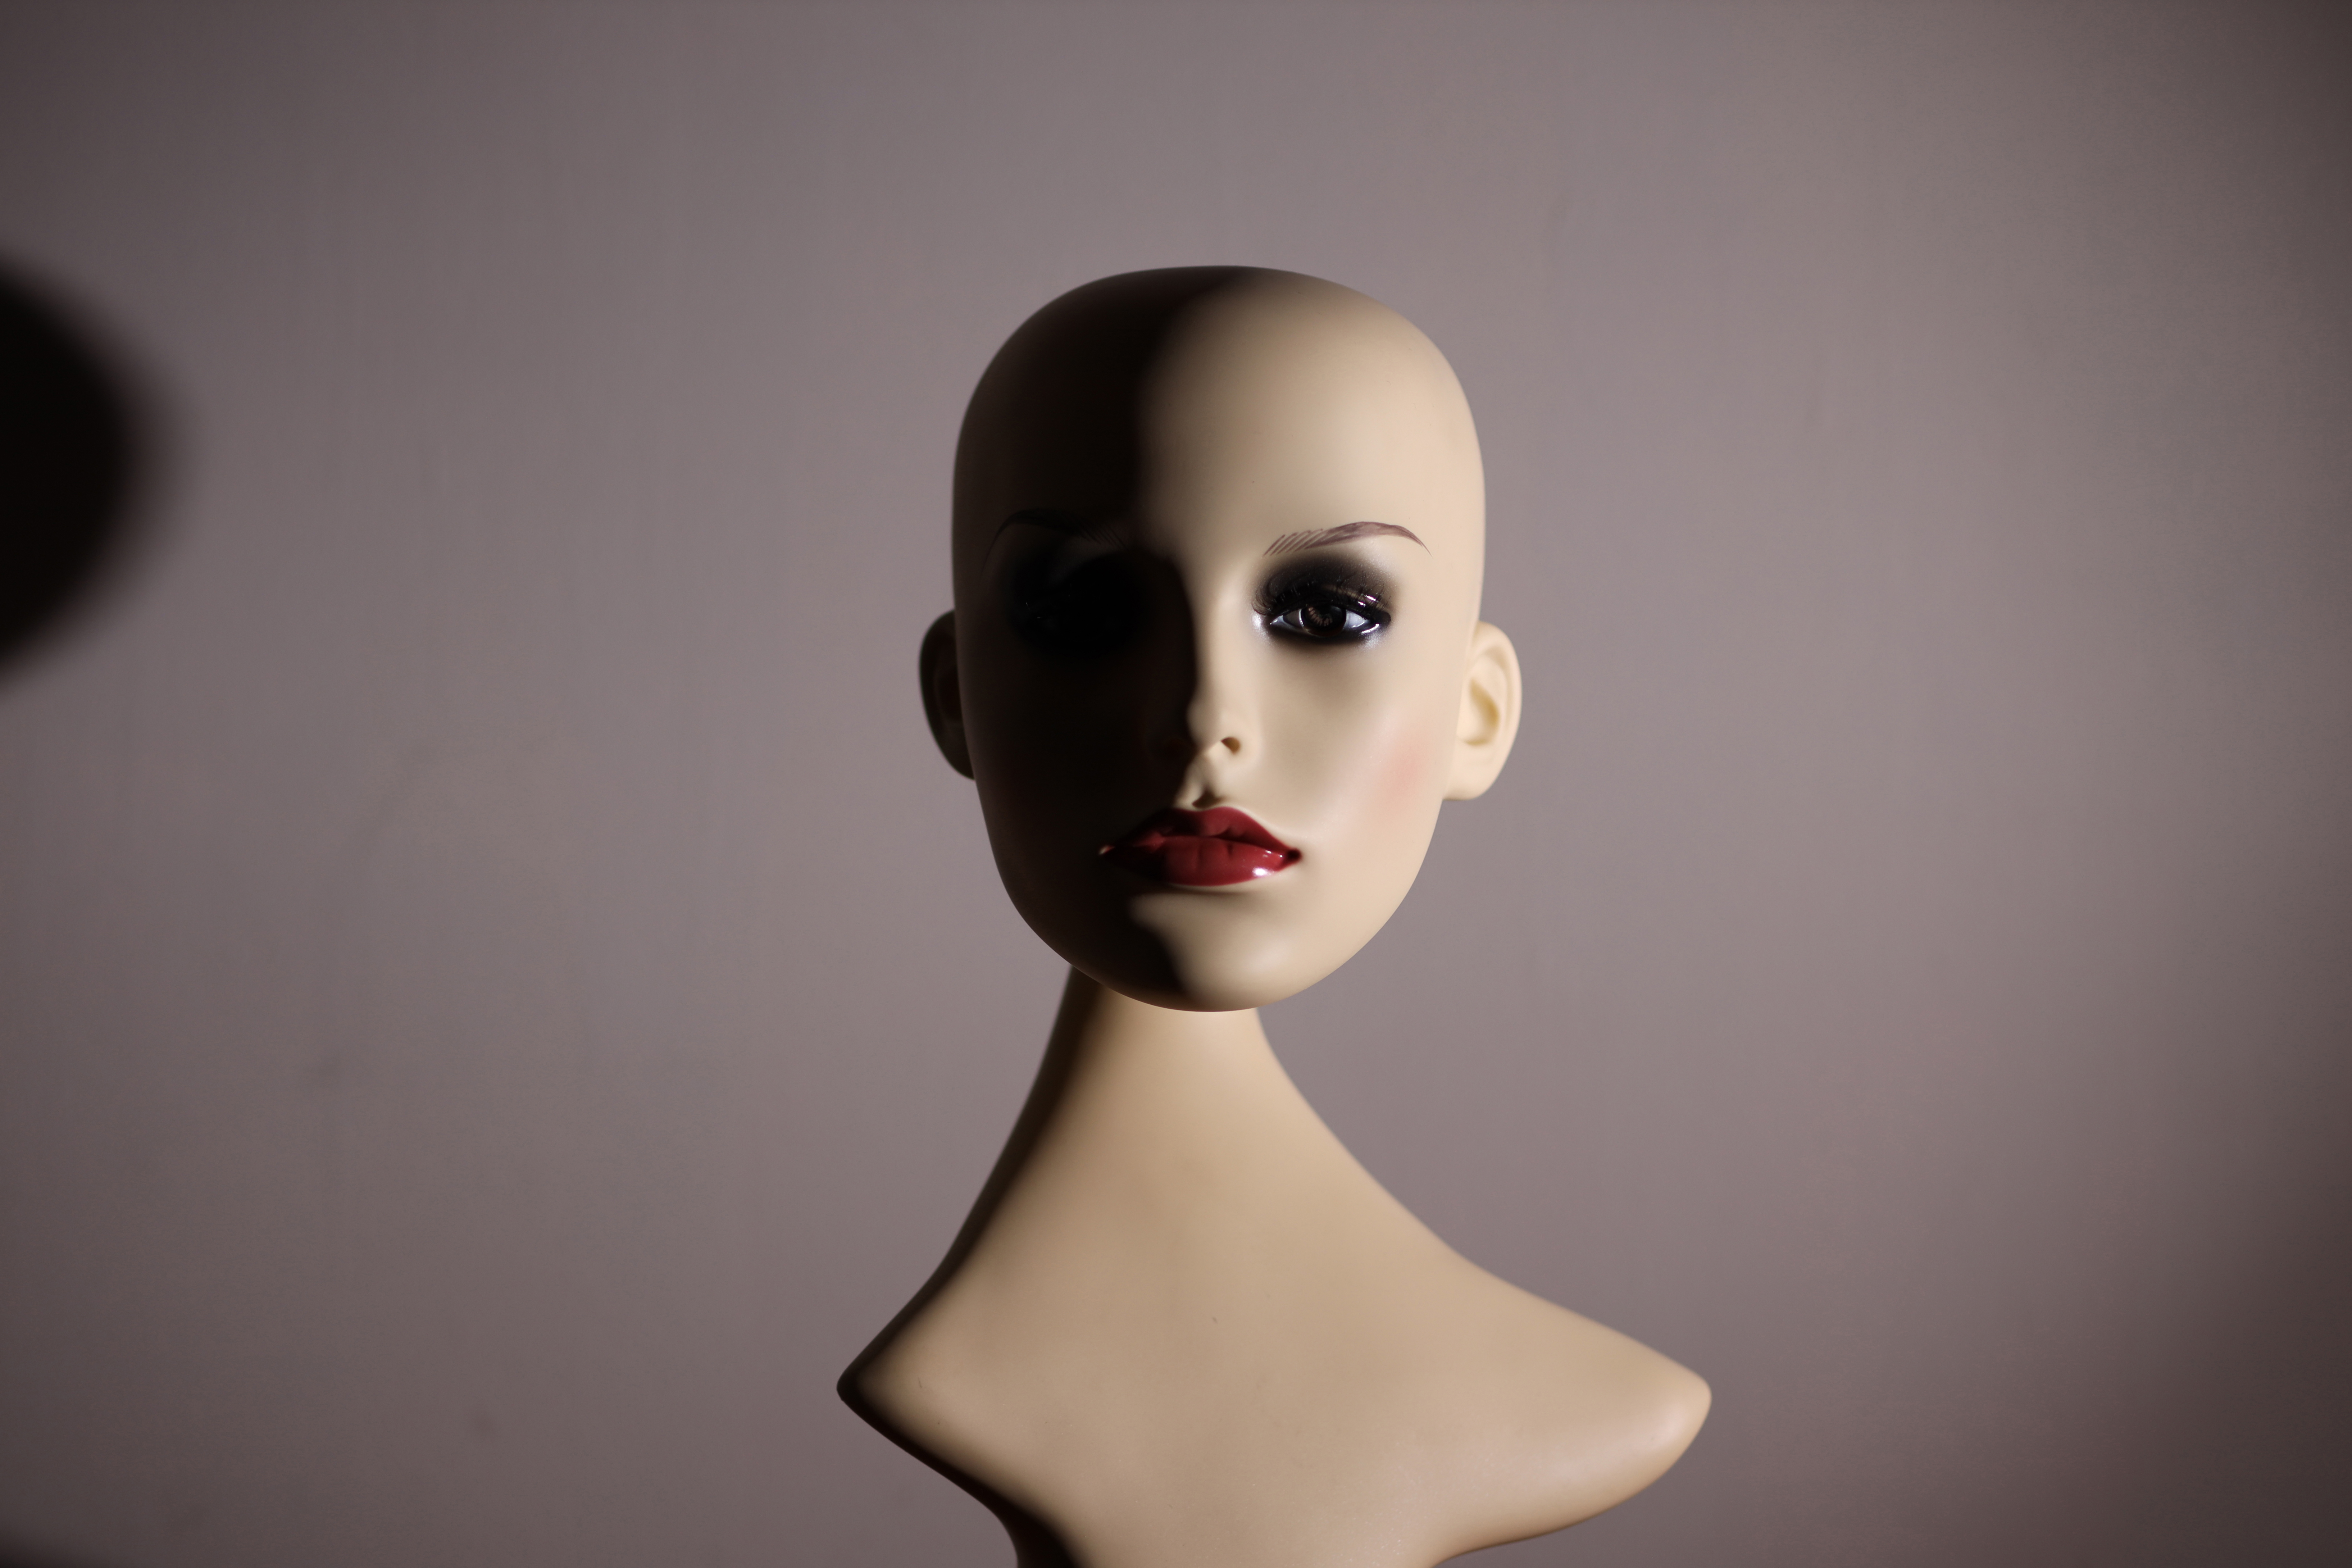
… for split lighting
Placing your light at 90 degrees you get a dramatic split lighting (split lighting being when the subject’s face is ‘split’ by the light). Using a mannequin shows how the iris is illuminated by the light from this angle.
02 Single flash with bounce card…
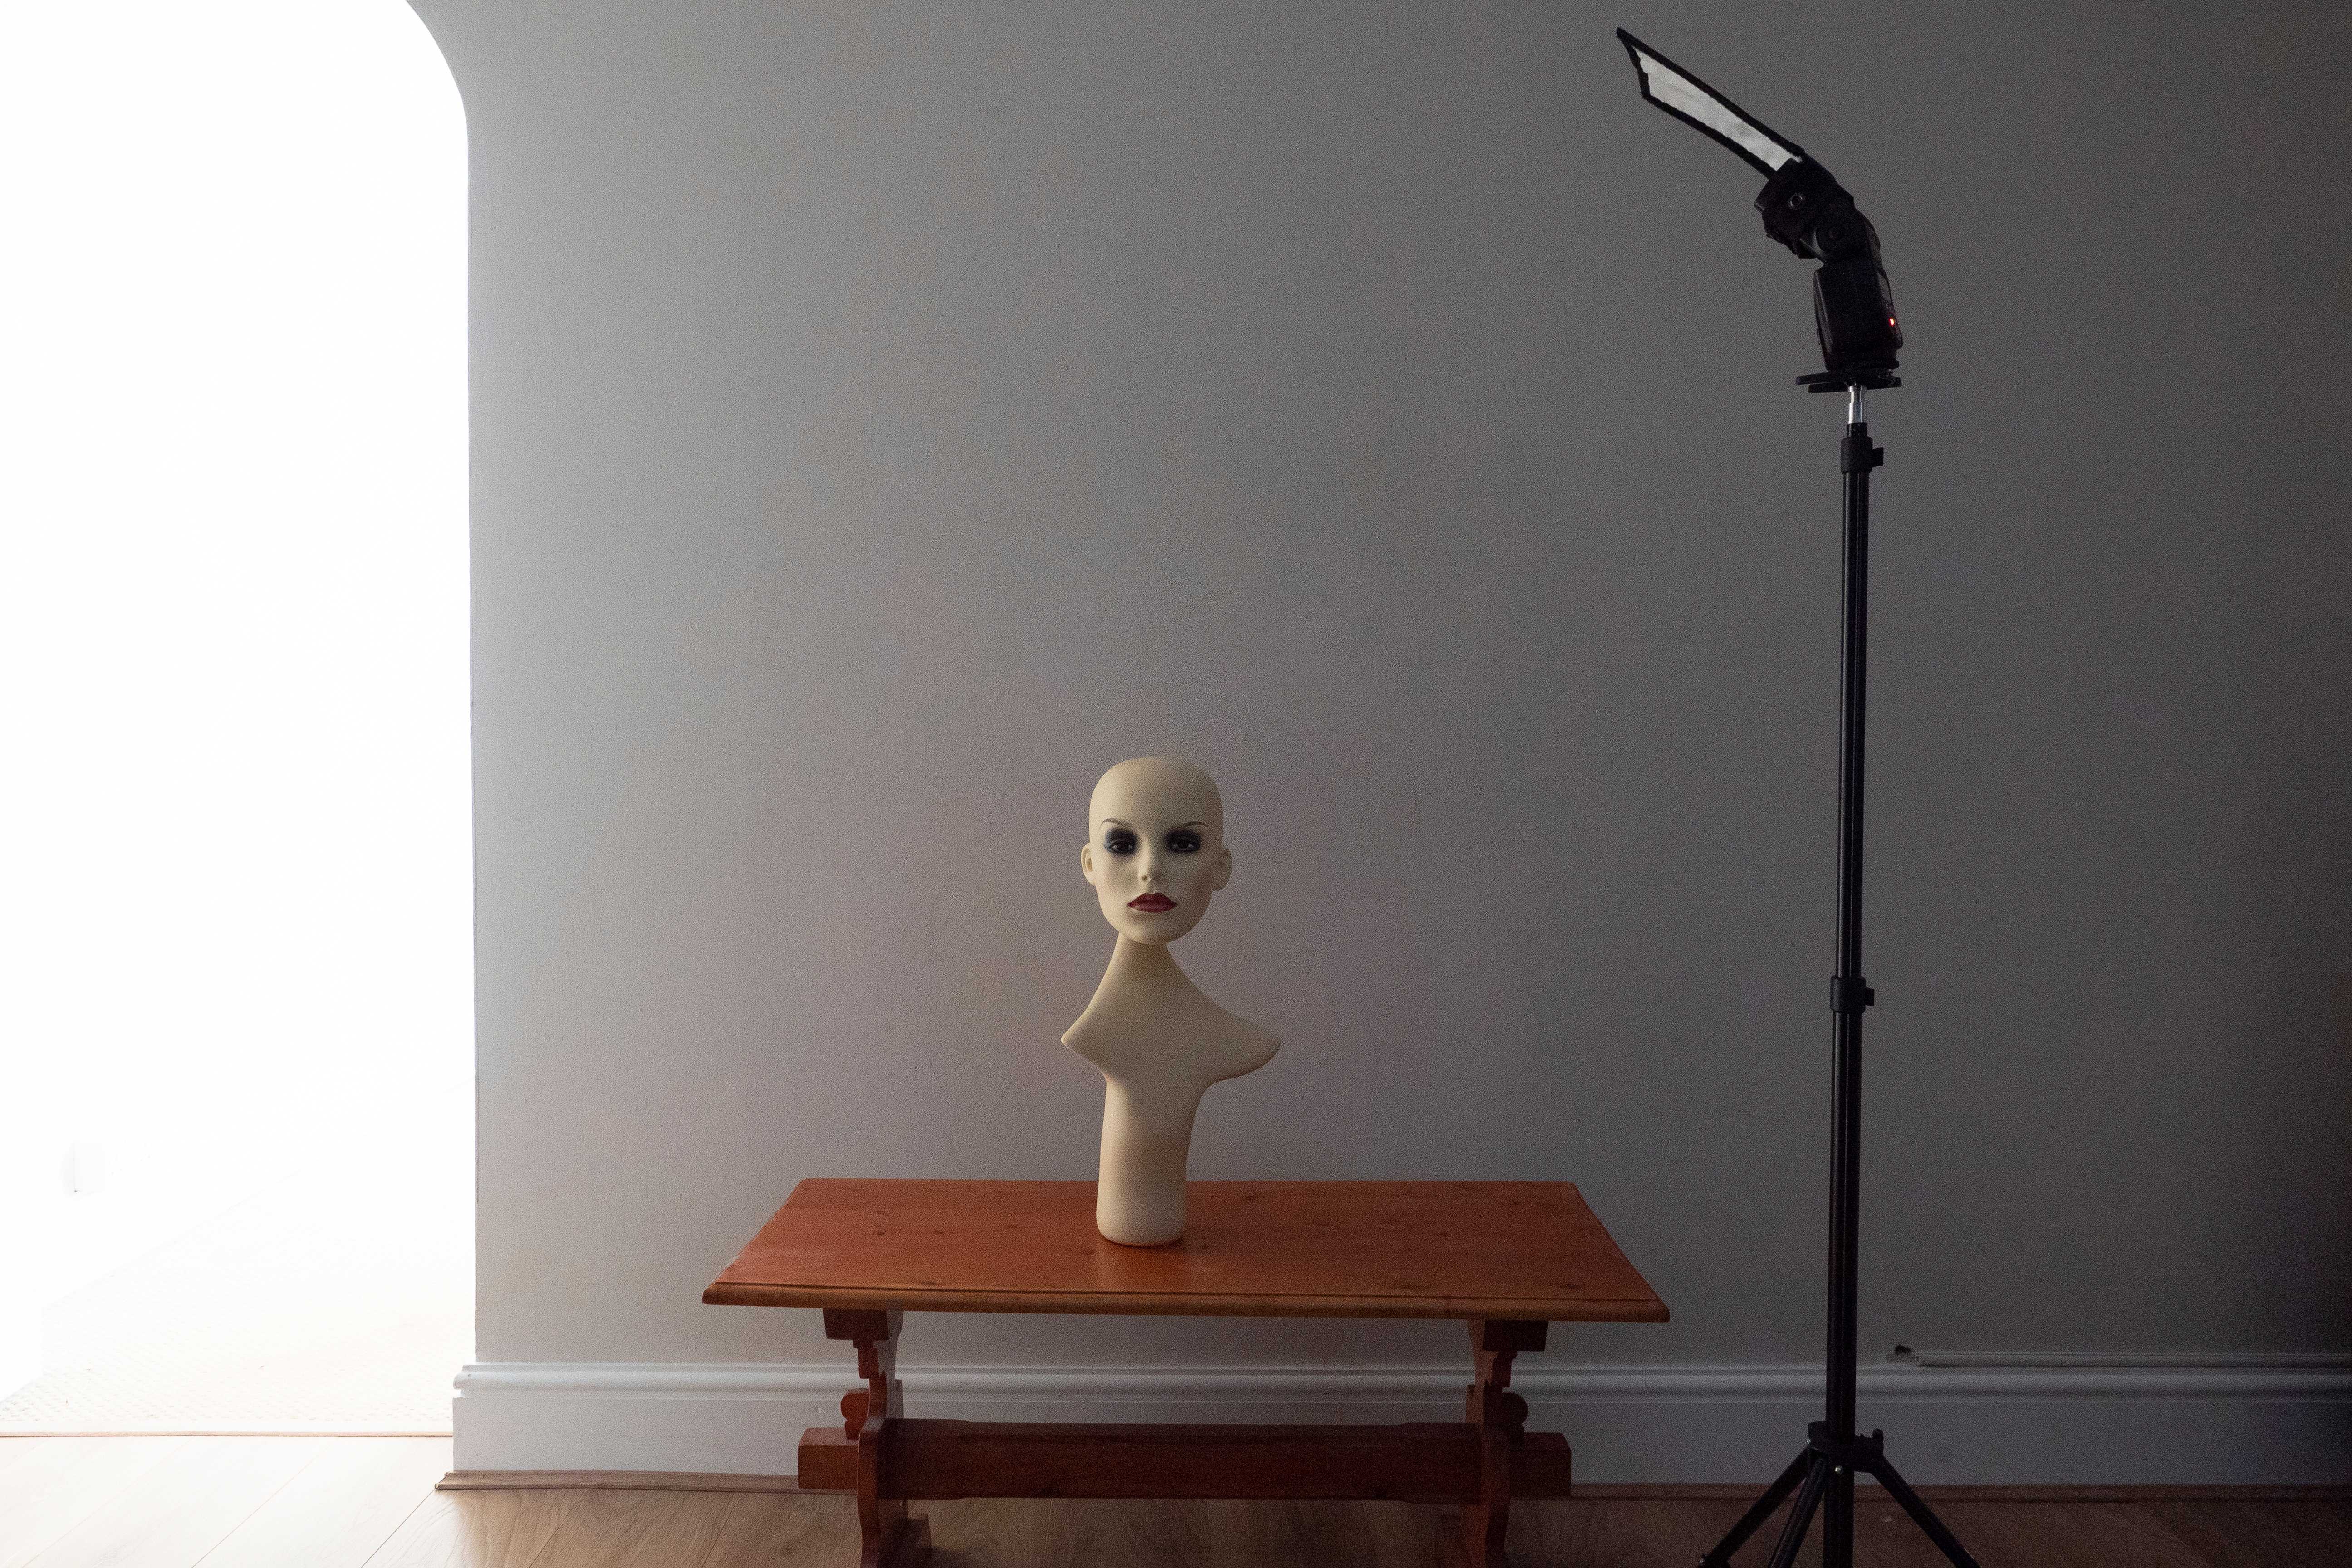
Now we’ve set up the single flash unit in an elevated position. We angled the head upward and attached a bounce card – in this case, a Rogue Flash Bender 2 – to ricochet softer light back down onto the subject, rather than blasting it with hard directional light as in the first setup.
… for Rembrandt lighting
This setup produces a Rembrandt lighting pattern, with the signature triangle of light on the cheek opposite the light source. The beauty of this project is that enables you to practice fine-tuning the position your light with no model.
03 Sandwich lighting with gels / colors…
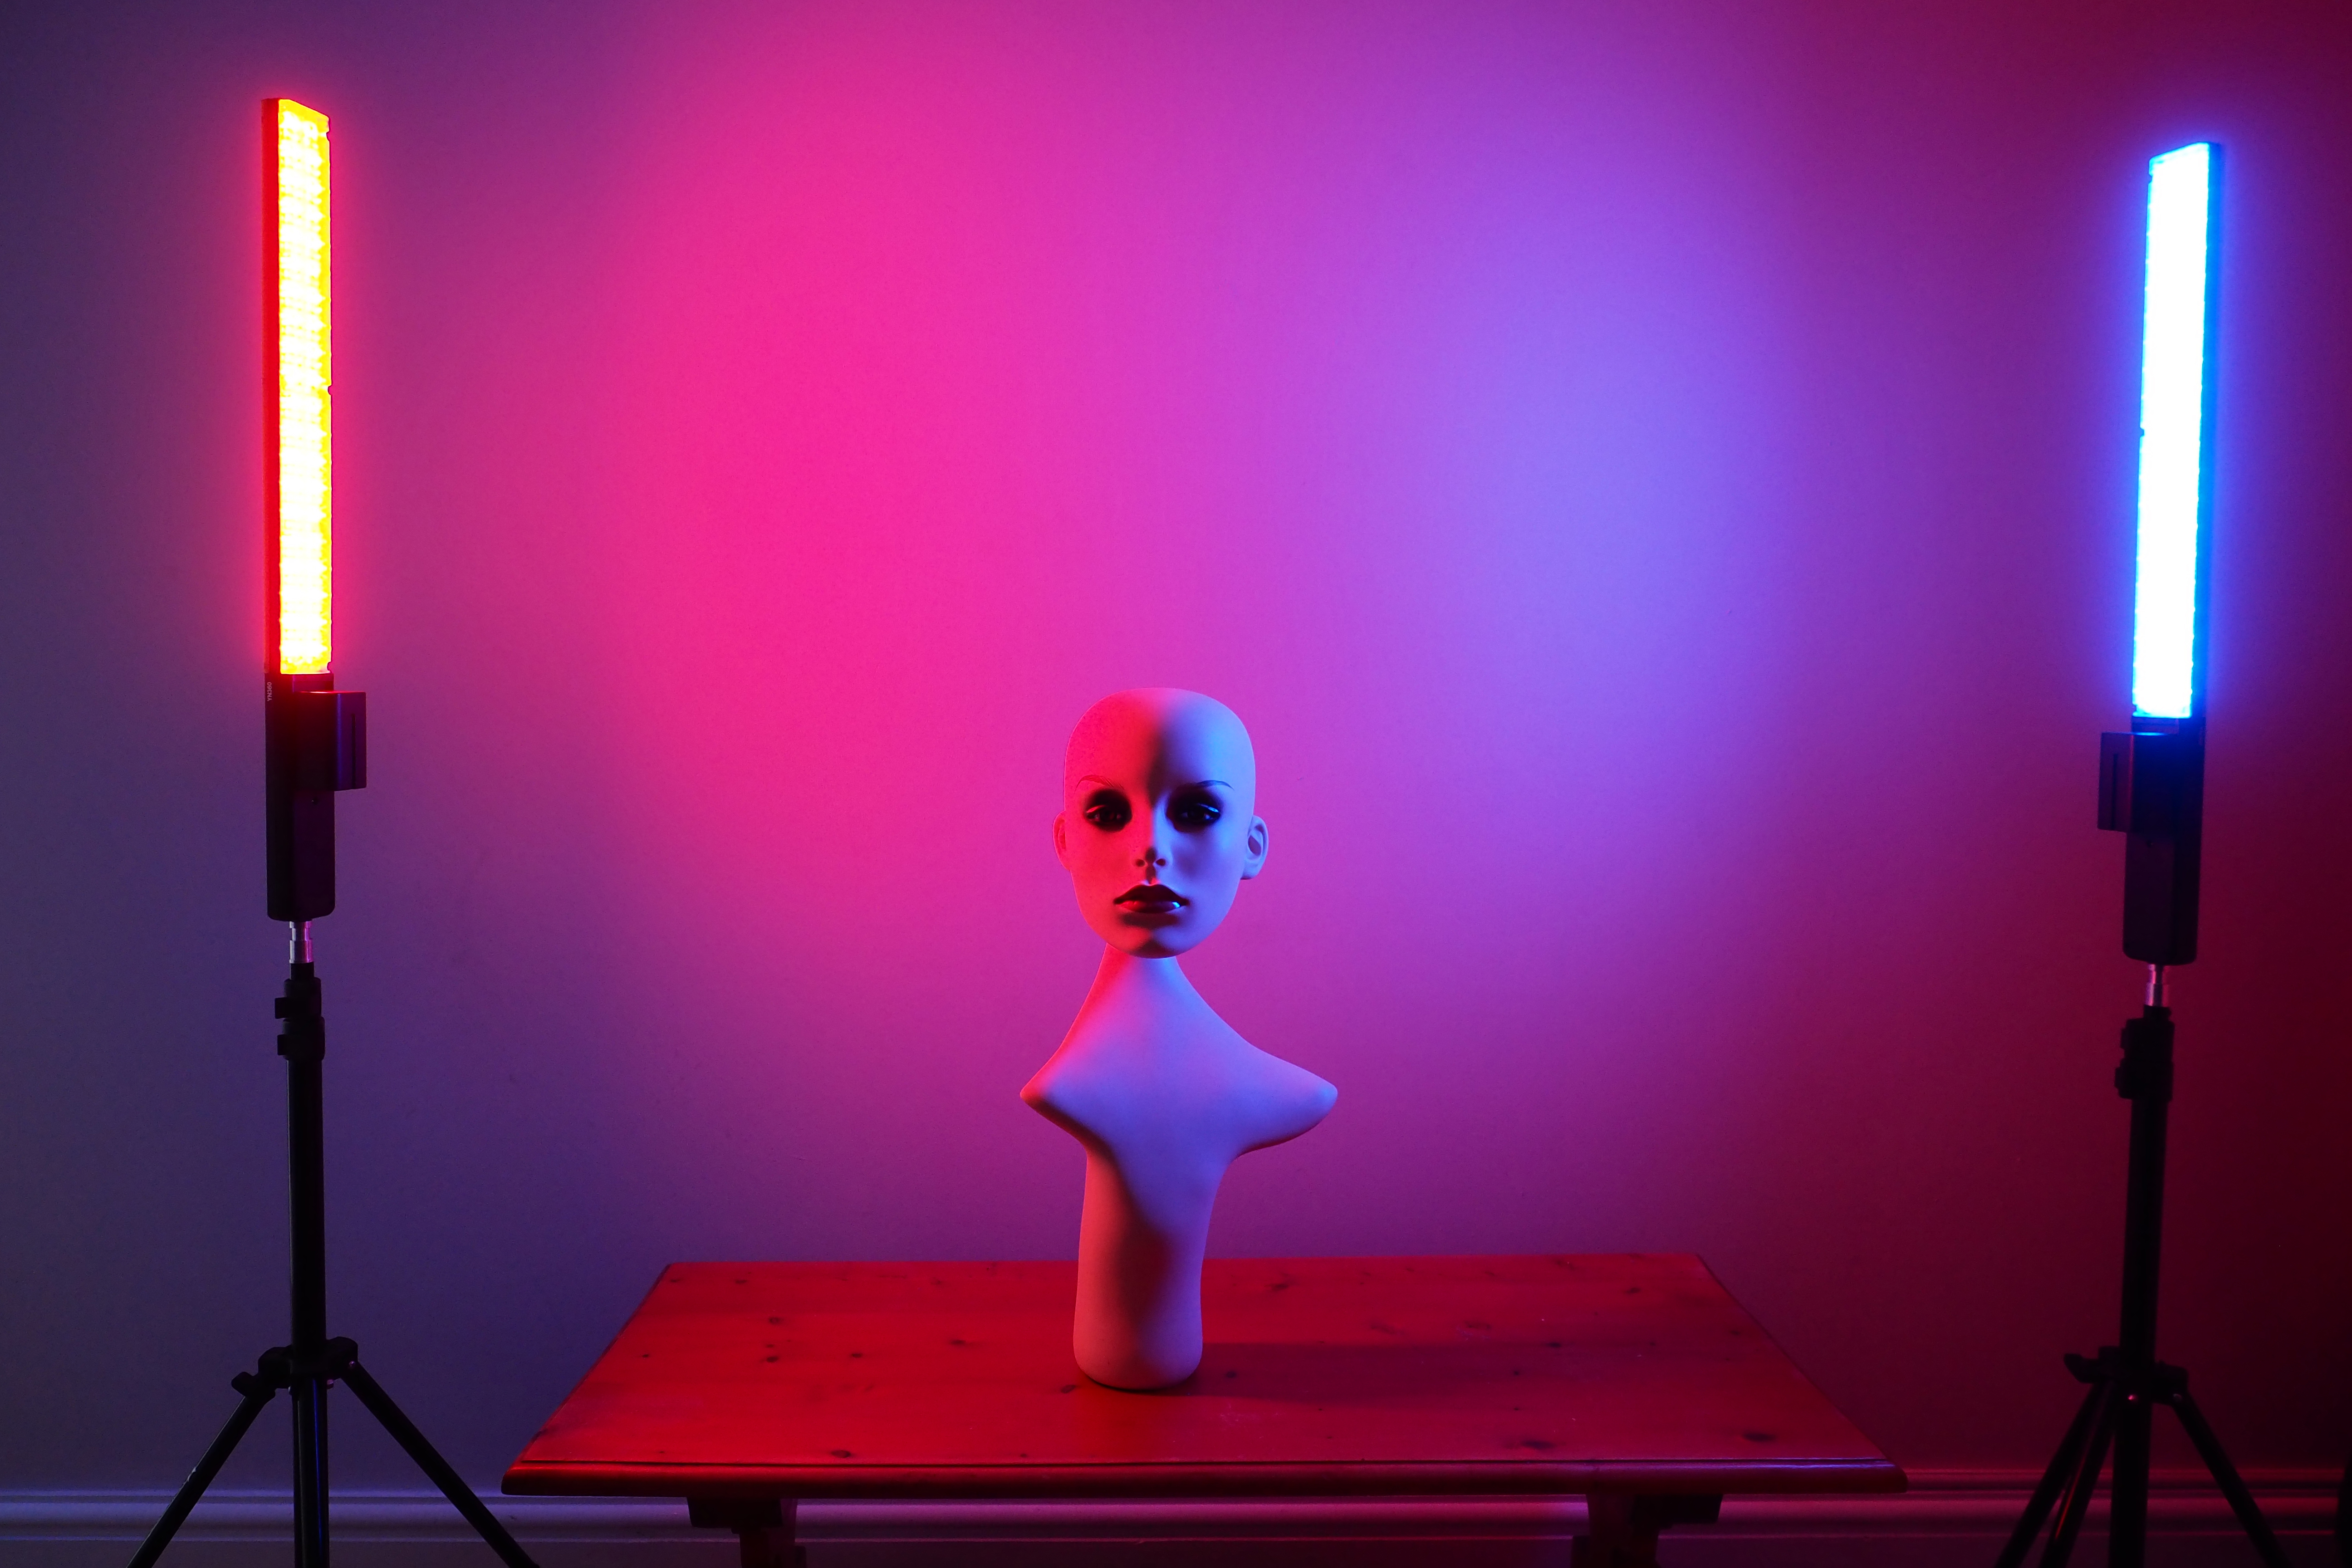
Not having a subject on call can put many amateur photographers off investing in extra lighting units and learning how to use them. Here, you can start introducing more light sources – and even experiment with adding gels and colors.
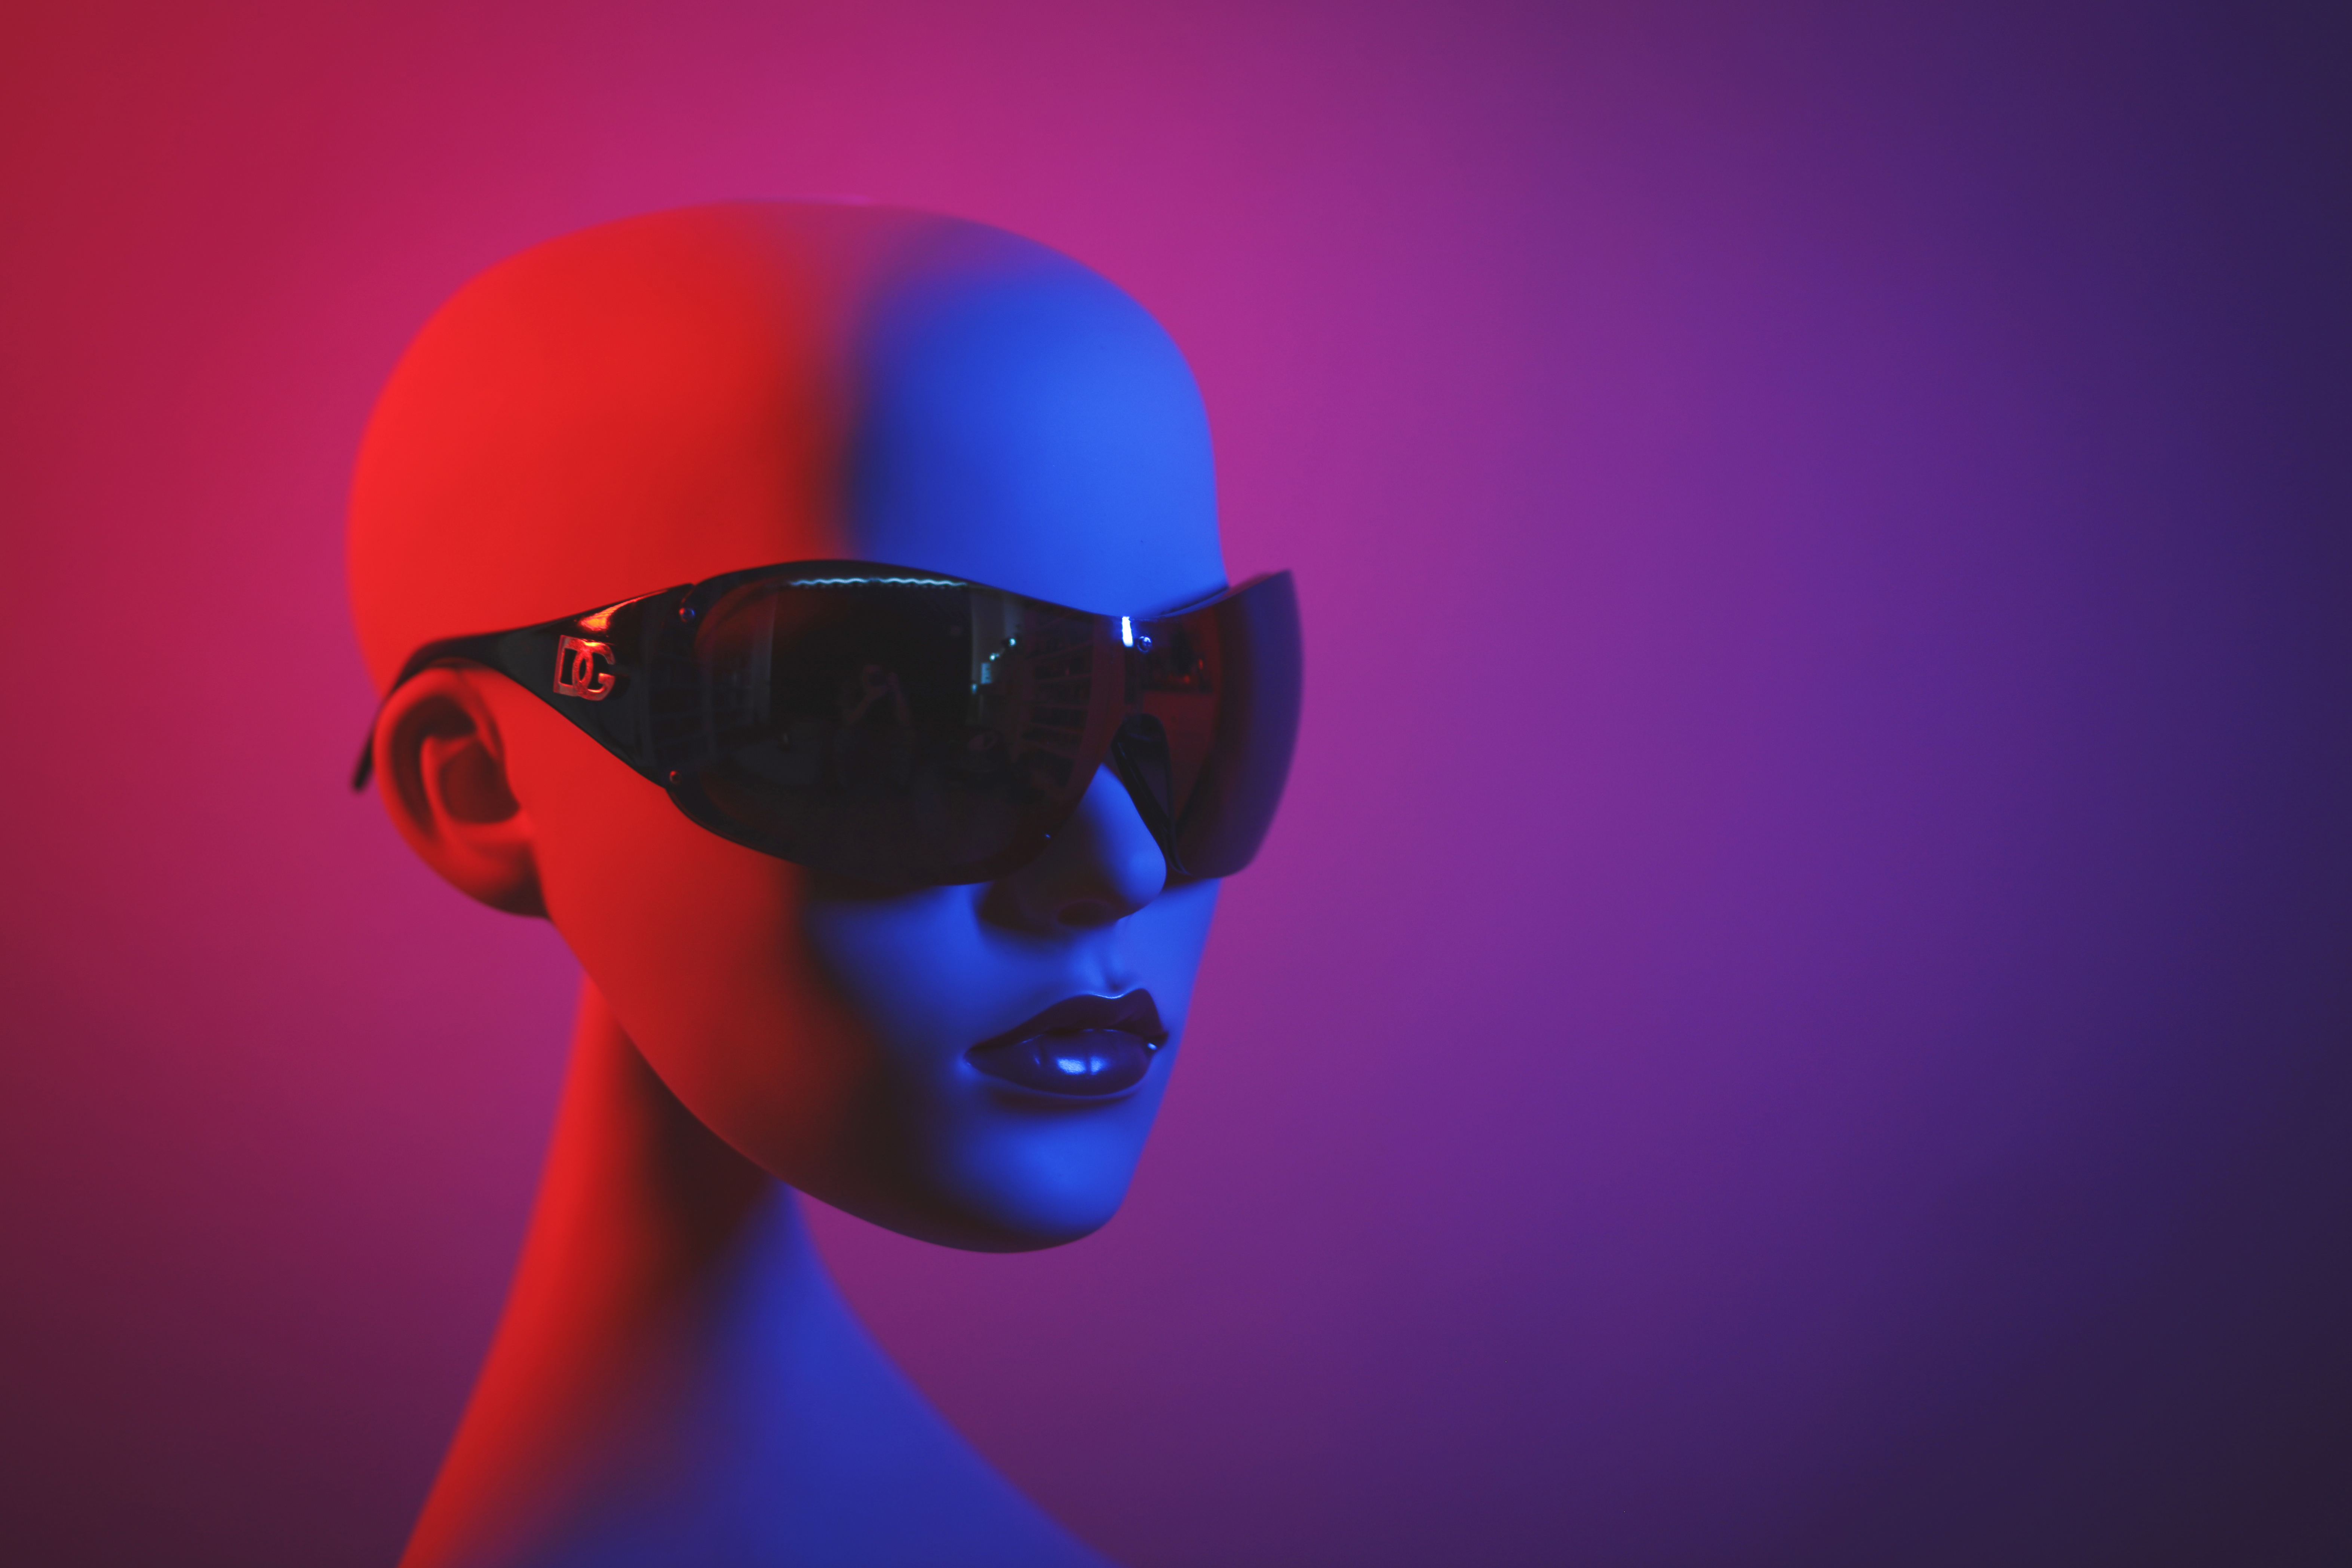
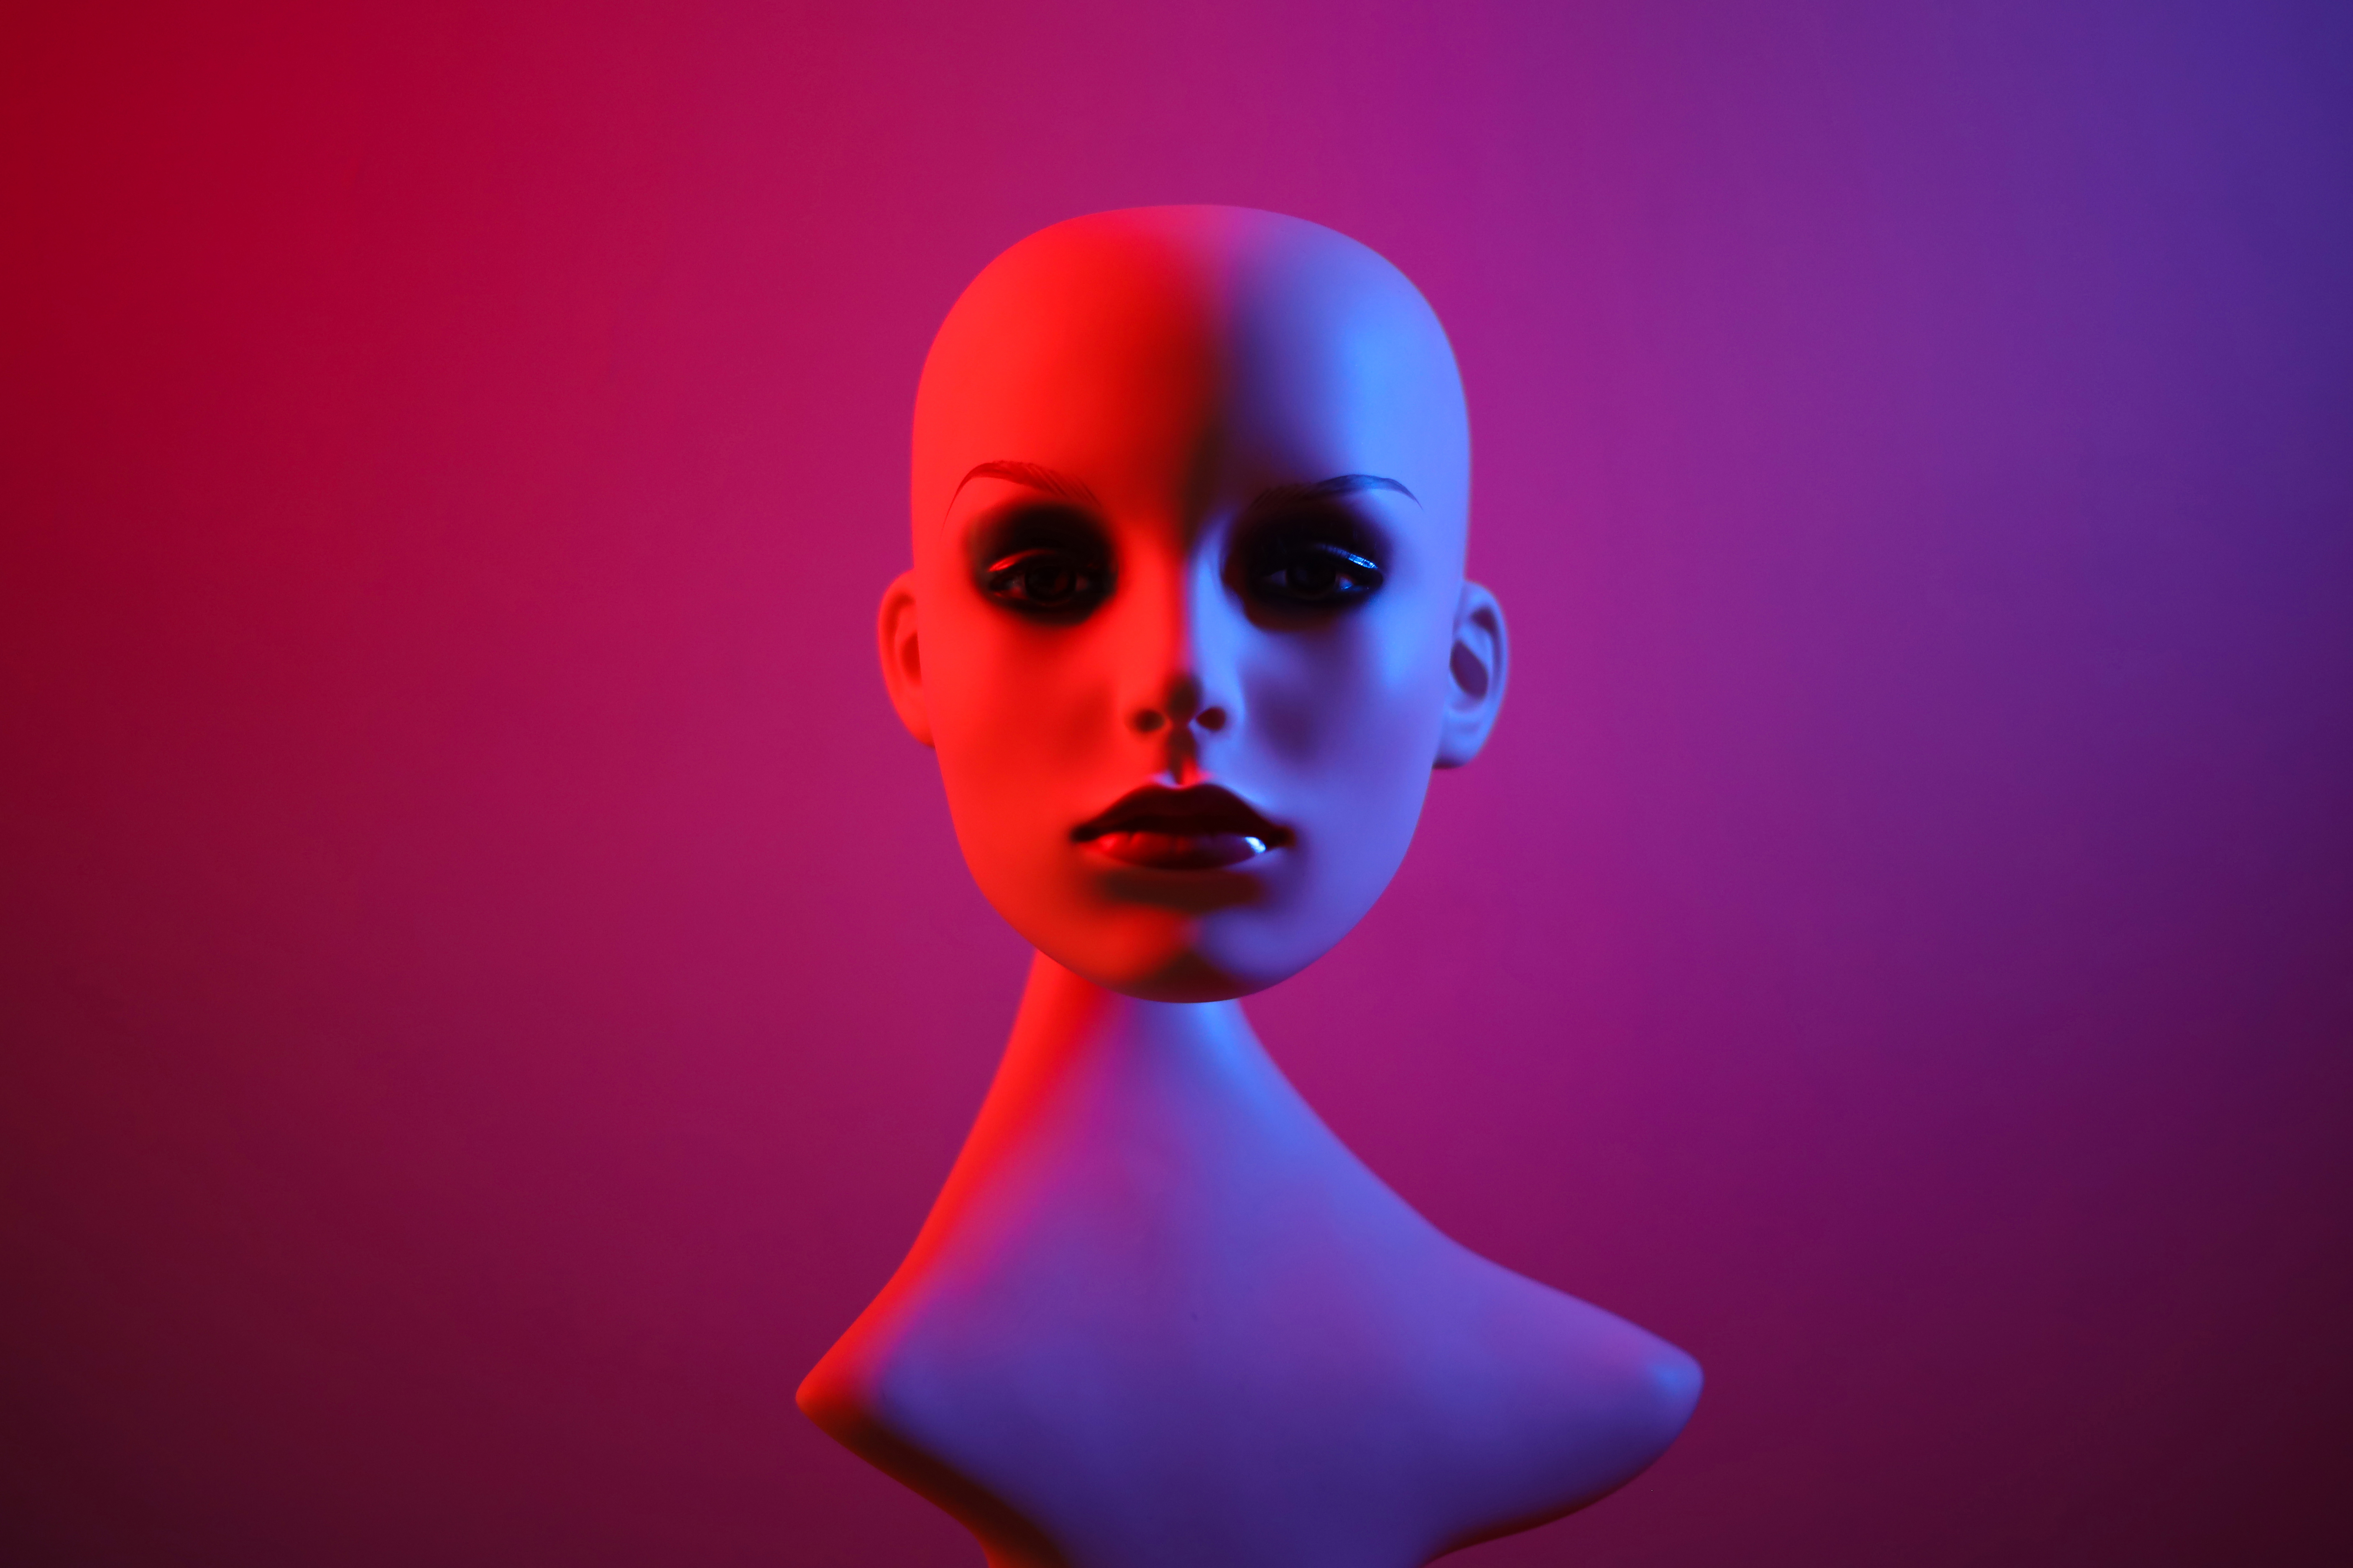
… for colored split lighting
Unlike the first setup, with just a single sidelight, here we’ve used a pair of LED strip lights to create split lighting. This is also a great way to see exactly how power differs between LED and flash illumination, and also to practice introducing complementary color palettes.
More videos:
Photography tips and techniques videos
Gobo lighting: tips for dramatic portraits and film noir photography
Studio portrait lighting: essential tips and setups explained
Read more portrait photography tips

James has 25 years experience as a journalist, serving as the head of Digital Camera World for 7 of them. He started working in the photography industry in 2014, product testing and shooting ad campaigns for Olympus, as well as clients like Aston Martin Racing, Elinchrom and L'Oréal. An Olympus / OM System, Canon and Hasselblad shooter, he has a wealth of knowledge on cameras of all makes – and he loves instant cameras, too.
