What is Image.Canon – and how do you use it?
Canon's cloud service simplifies image backups when on longer photo trips
The best camera deals, reviews, product advice, and unmissable photography news, direct to your inbox!
You are now subscribed
Your newsletter sign-up was successful
Image.canon is a cloud storage service designed for Canon photographers to upload images, but it is also a handy short-term photo-trip back up service with 30 days of unlimited storage capacity.
Below I'll show you how to connect your camera, transfer images and be clever moving photos to your computer and other services. You have up to 10GB of free long-term storage, and a 30-day short-term unlimited storage for all your files (including RAW files and video clips).
Almost every Canon EOS camera with built-in Wi-Fi can be used with the service (see full list of image.canon compatible cameras). You’ll need a mobile device, the Canon app, and an internet or mobile data connection. In the setup, you create a Canon ID or login to an existing one, which will also add the camera to your CPS account if you have one.
Once you’re set up, photographs can be uploaded wherever you have an internet connection. Many recent cameras will upload images you choose from the playback screen directly to the Canon service automatically, others will need you to transfer them to an app on your phone, or computer, to upload.
30 days after being uploaded, images are automatically removed from your image.canon account unless you transfer them to your 10GB permanent storage. But be warned, if you don't access the service for a year, this back up will be deleted automatically
How to set up image.canon
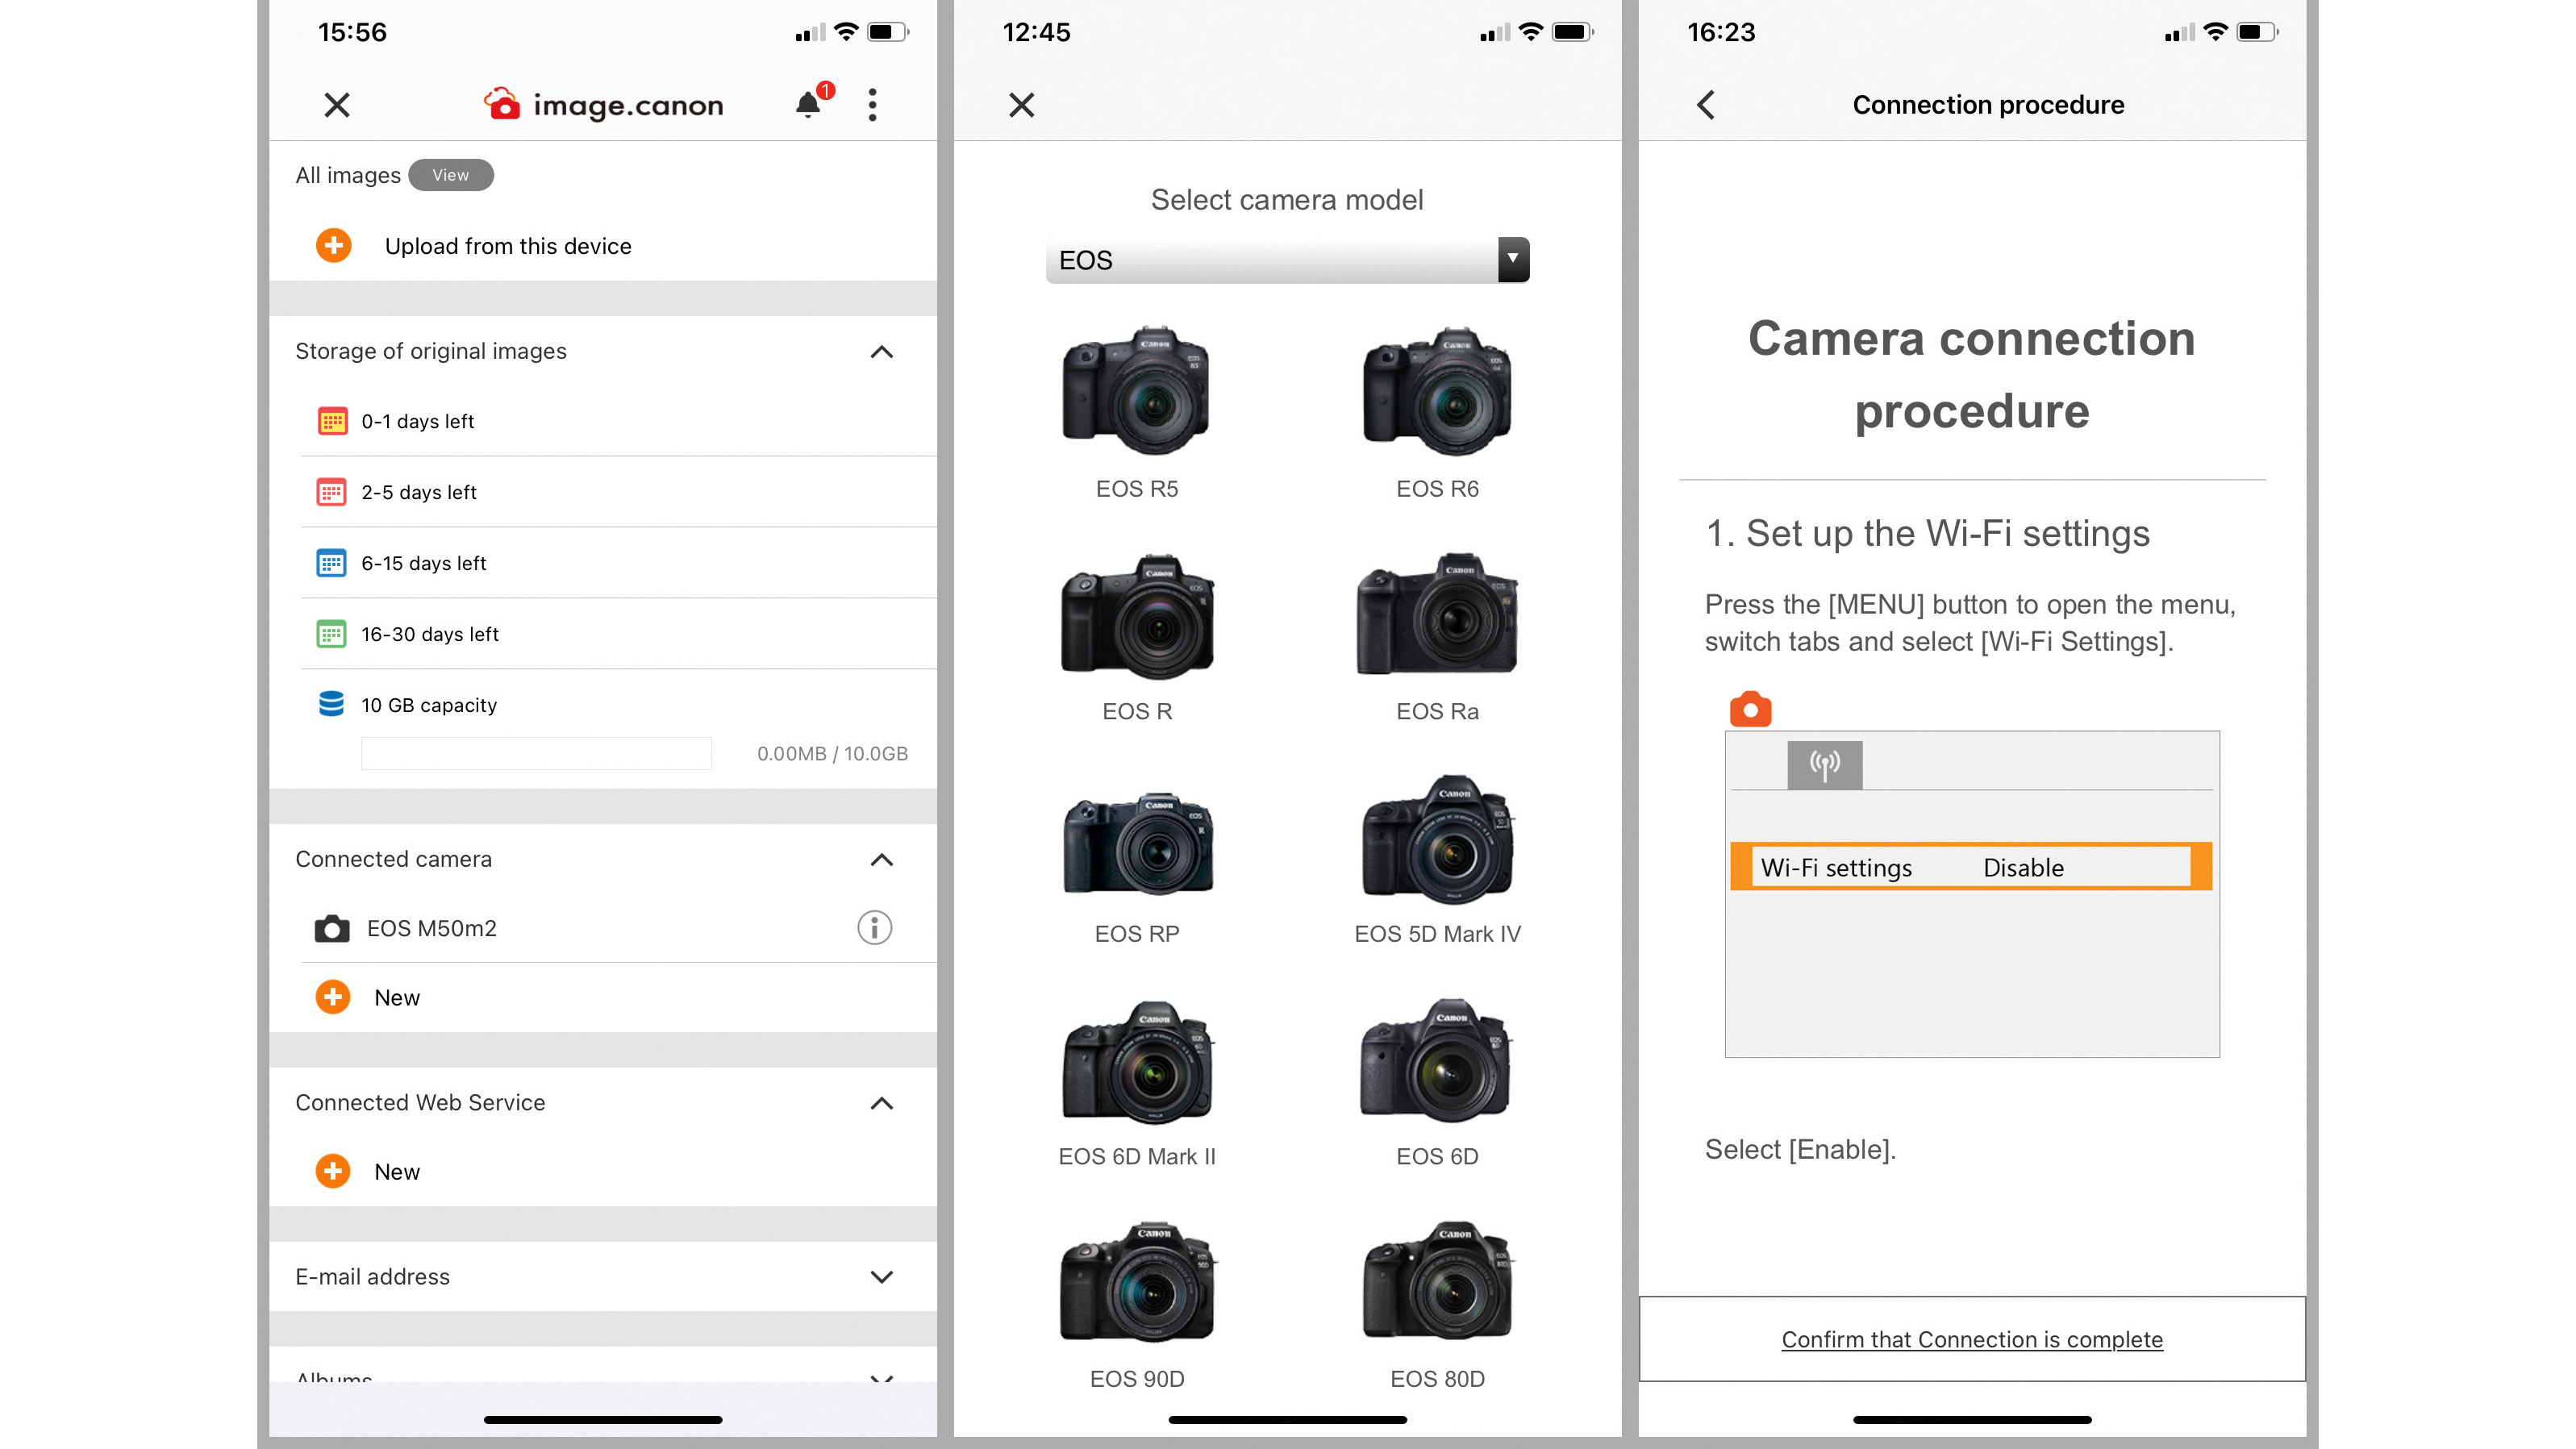
Setting up your camera for image.canon before you embark on your travels is really simple and the mobile app guides you through the specific steps for your camera. Consider how much data you might need if you plan uploading via your mobile, especially if you’re shooting in Raw.
01 Set up your camera connection
The best camera deals, reviews, product advice, and unmissable photography news, direct to your inbox!
You’ll need to download the image.canon mobile app from Google Play if you use Android or the Apple App Store if you use an iPhone or iPad. Start the app and select your camera, then follow the steps to create your account and configure your camera’s wireless settings. As part of the sign up process you’ll need an email and to sign up to Canon’s online system with a Canon ID.
02 Transfer your photos
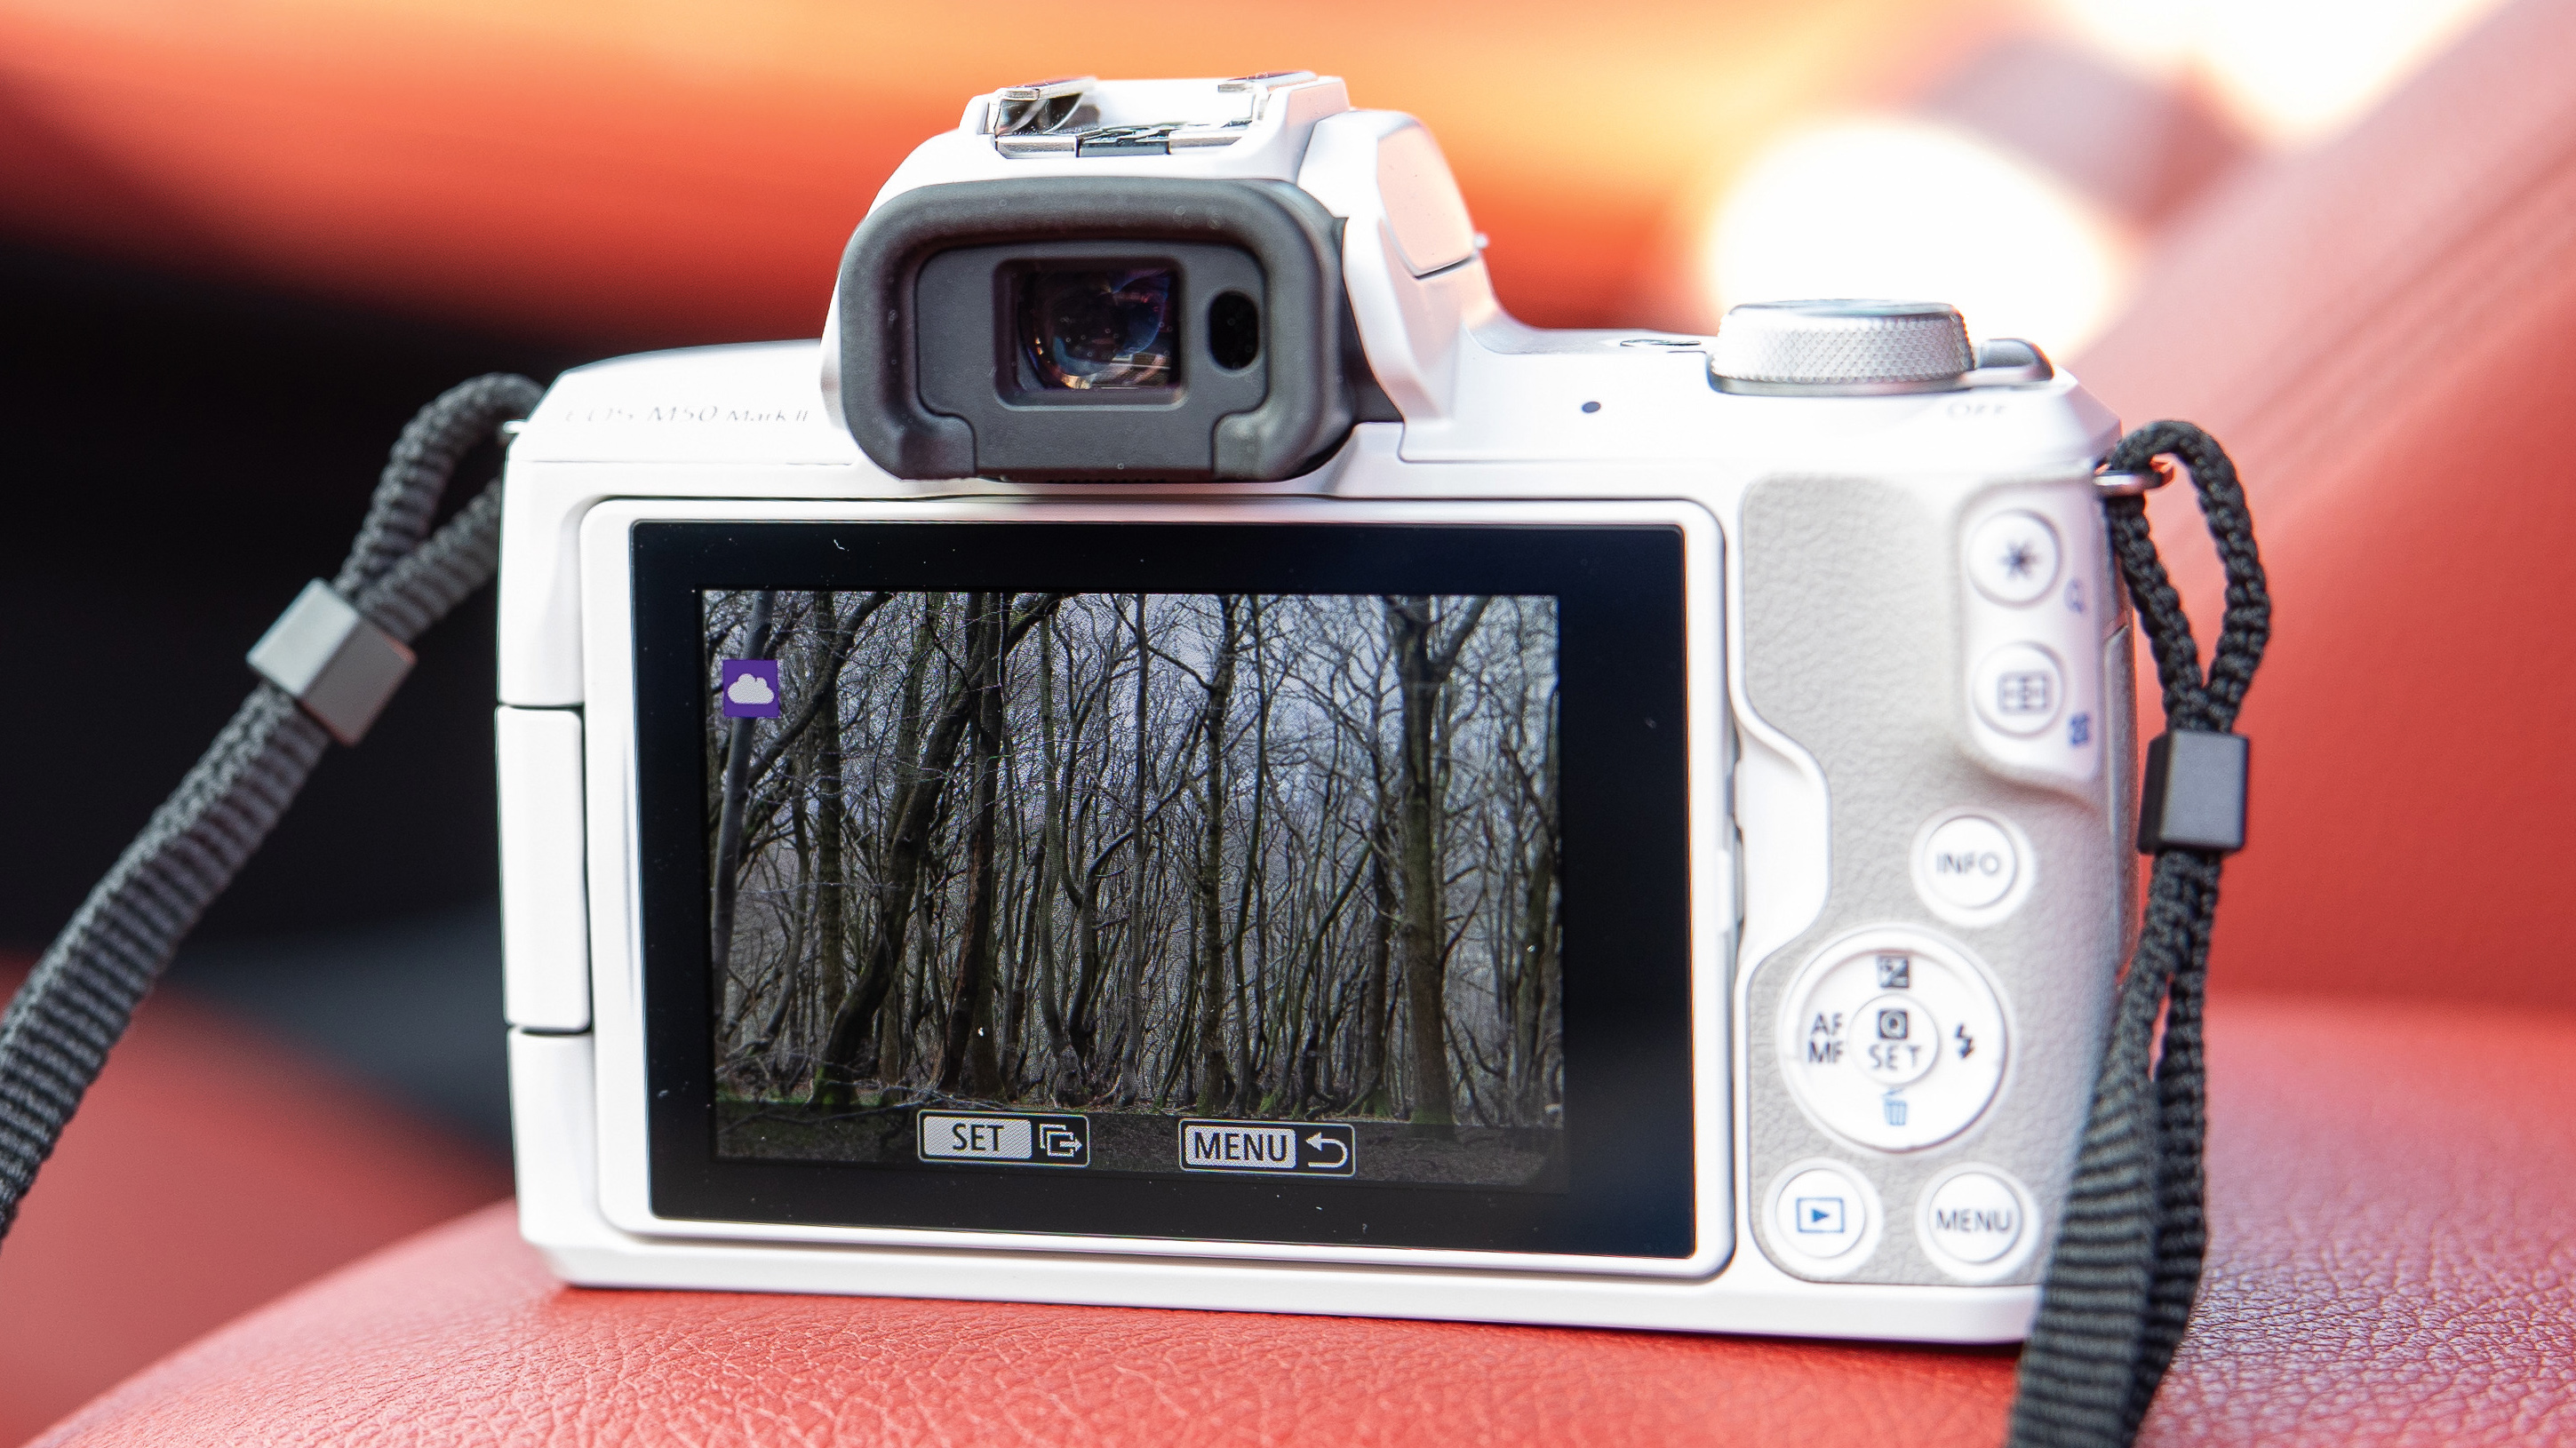
There are several ways to transfer photos, so check your camera to see what method works for you. Options include transferring images to your phone using the Camera Connect App, then uploading with the image.canon app, transfer from your camera to the image.canon app, and a few models can upload directly, some even as you shoot.
03 Automatic sharing to online services
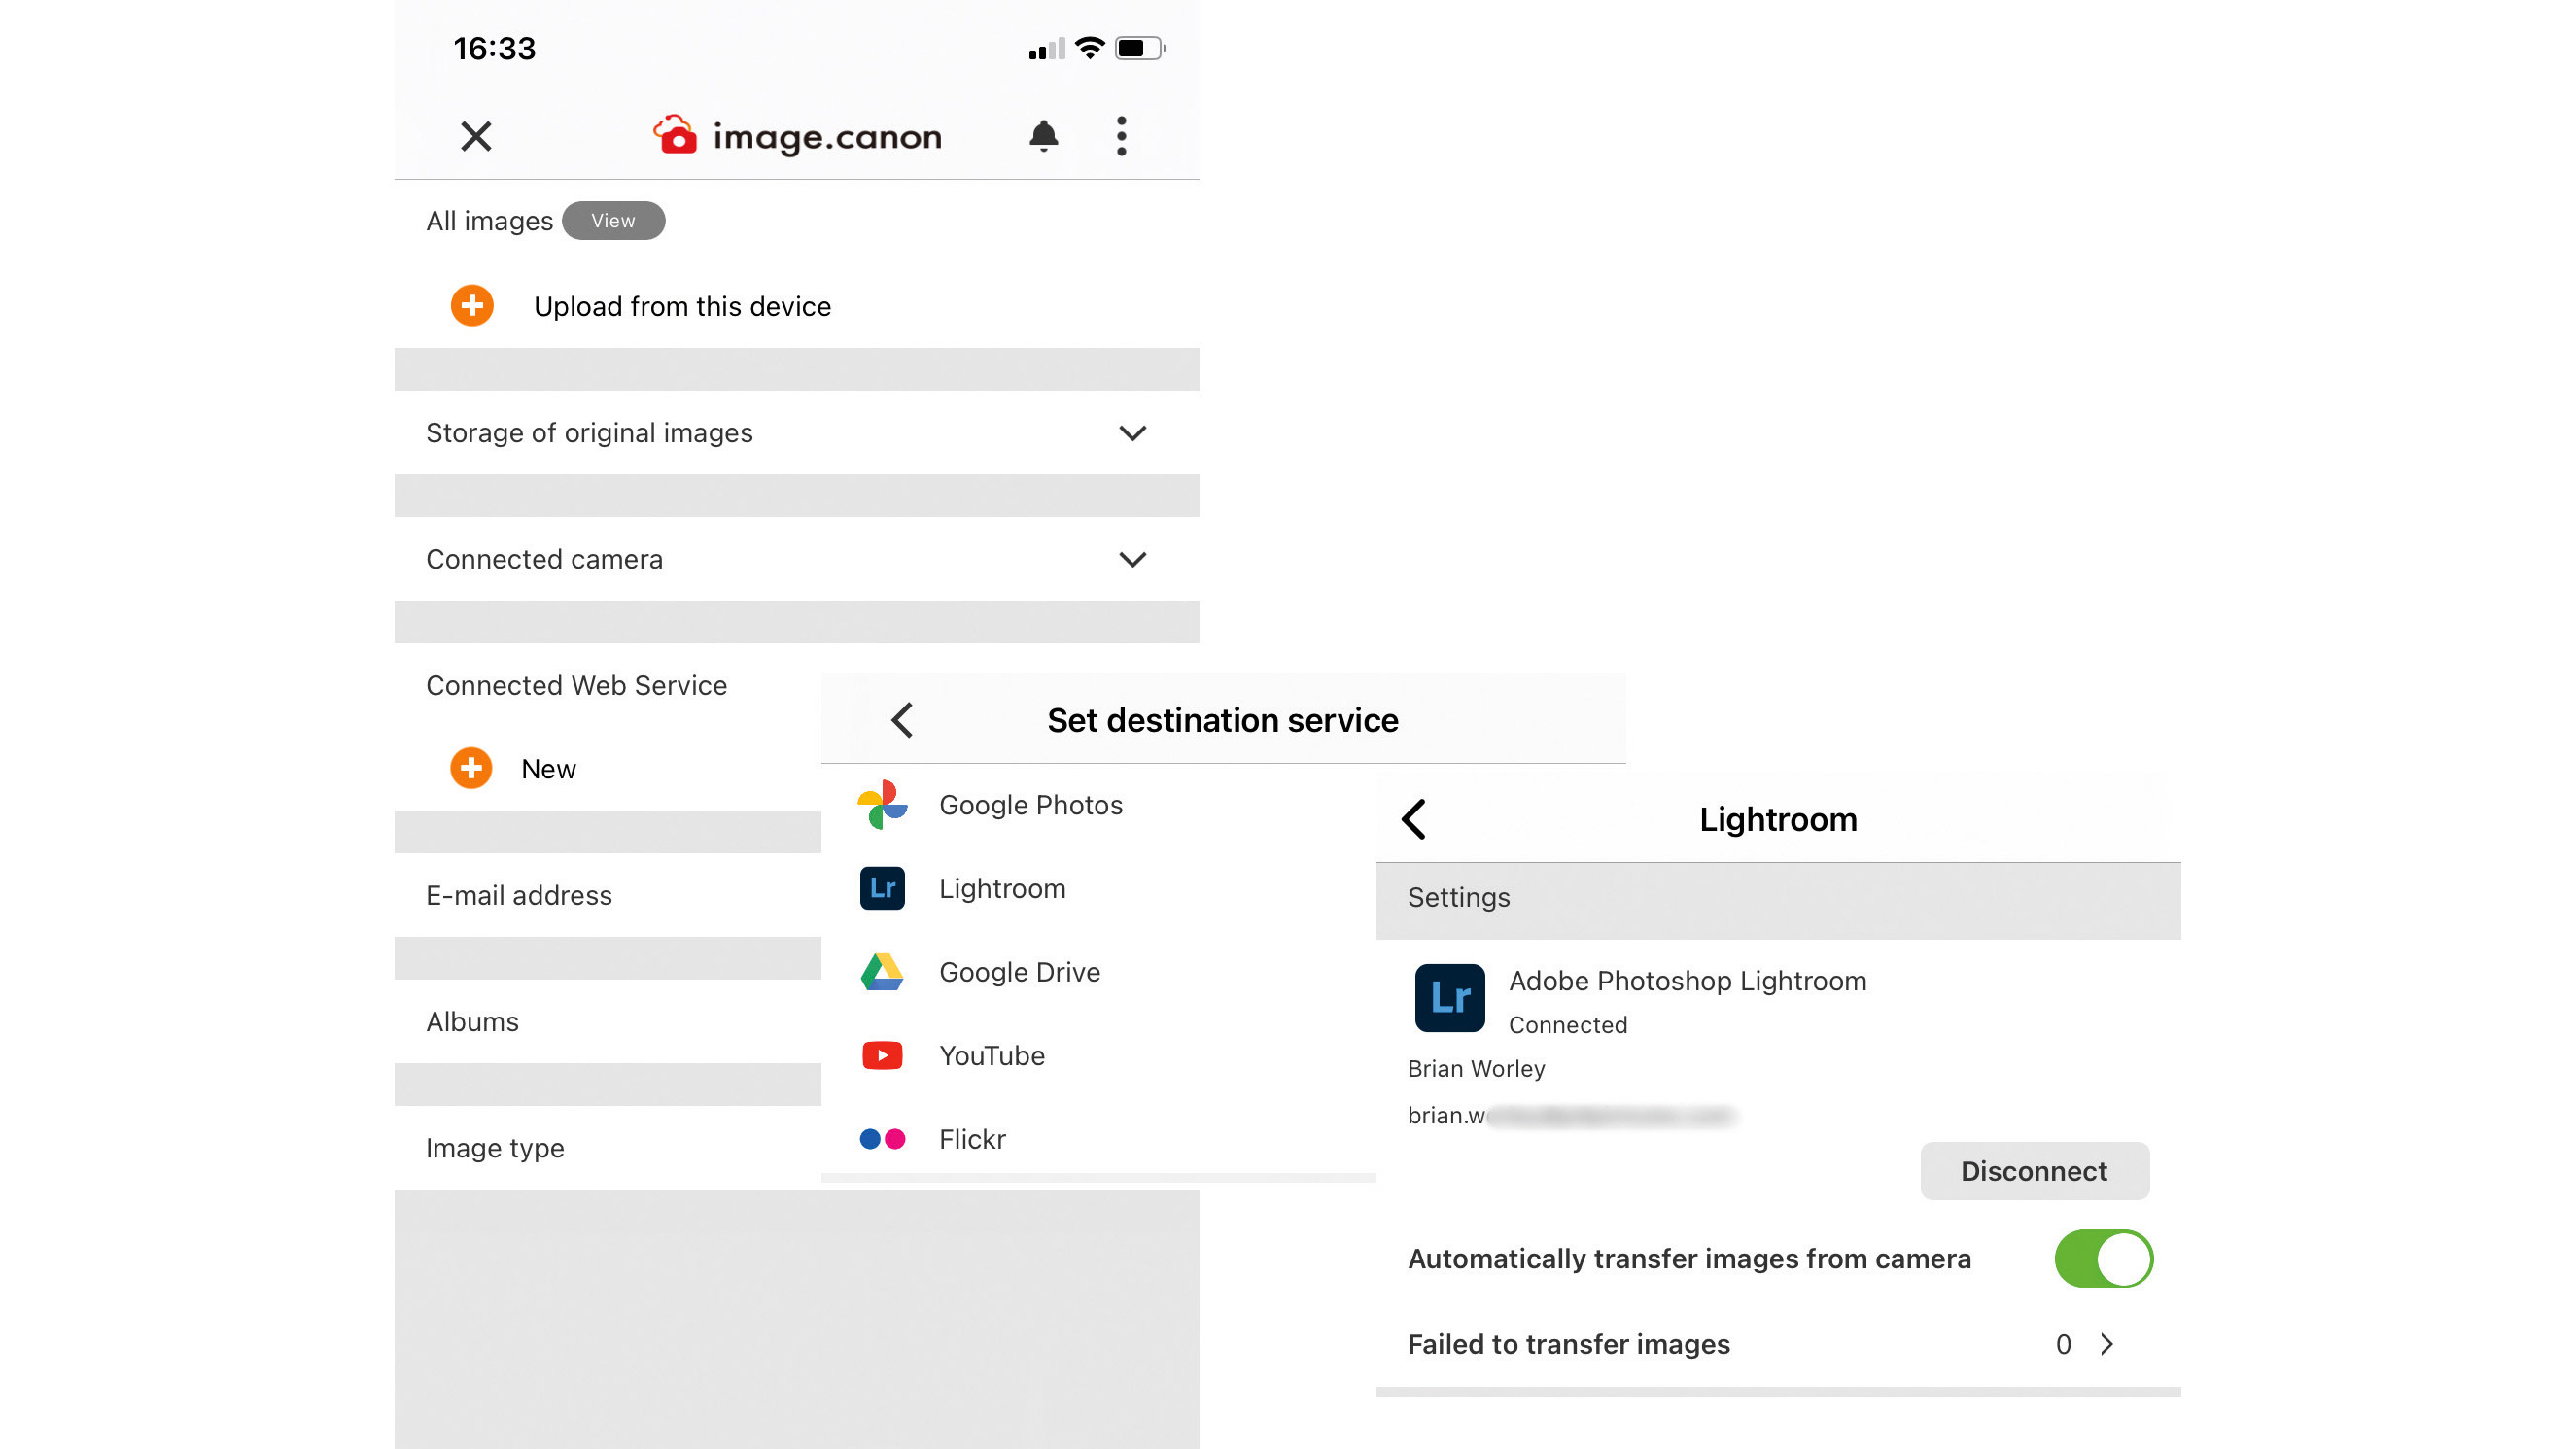
Photos you send to image.canon can be auto transferred to other services like Google Photos, Google Drive, Adobe Photoshop, Lightroom, or Flickr. Imagine begin able to upload and share in one step direct from your camera. Or for more in-depth photo-editing use Adobe Photoshop Lightroom and edit on an iPad or laptop.
04 Auto download to your computer
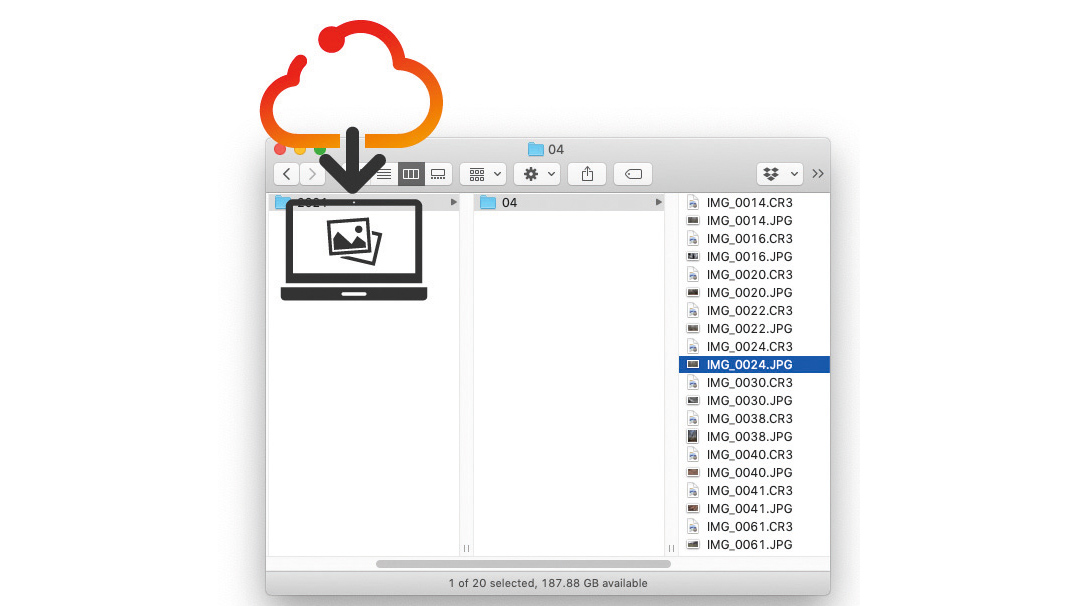
Your computer can automatically download new images from your image.canon account whenever your computer is connected to the internet. You’ll need to install the image downloader on your PC or Mac and choose where to save the images. When you get back from your trip your images are ready to work with using your preferred software tools.
Best Canon cameras
Best Canon lenses
Best Canon flashguns
Best Canon printers
Brian is a freelance photographer and photo tutor, based in Oxfordshire. He has unrivaled EOS DSLR knowledge, after working for Canon for over 15 years, and is on hand to answer all the EOS and photographic queries in Canon-centric magazine PhotoPlus.
