Three reasons why your photos aren’t always sharp
Discover how to analyze your shots and pinpoint the specific causes of blurred images

We need to acknowledge that compelling and engaging photos don’t have to be sharp! After all, if your aesthetic treatment of a shot requires fuzzy or indistinct areas then sharpness may not be the intended outcome.
But nine times out of ten, most shots require some part of the image to be crisply defined, so if you discover on close examination that you’ve missed the mark, then one of the three reasons outlined here is likely to be the cause.
We say ‘likely’ because it is possible that softness in a picture is due to hazy or misty climatic conditions, strong backlighting creating a ‘glow’ around the subject that doesn’t seem crisply defined or the poor optical performance of a lens.
We wouldn’t suggest you use the latter as an excuse for shots that aren’t sharp, but cheap lenses with a lack of resolving power at the end of their zoom range, for example, will not be able to produce a super-sharp result, especially towards the edges of the frame.
These caveats aside, let’s jump in and look at the major reasons why shots don’t come up with well-defined edges or show an unexpected fuzziness when brought up on your computer screen that you didn’t think was there at the time of capture.
1. Camera shake movement
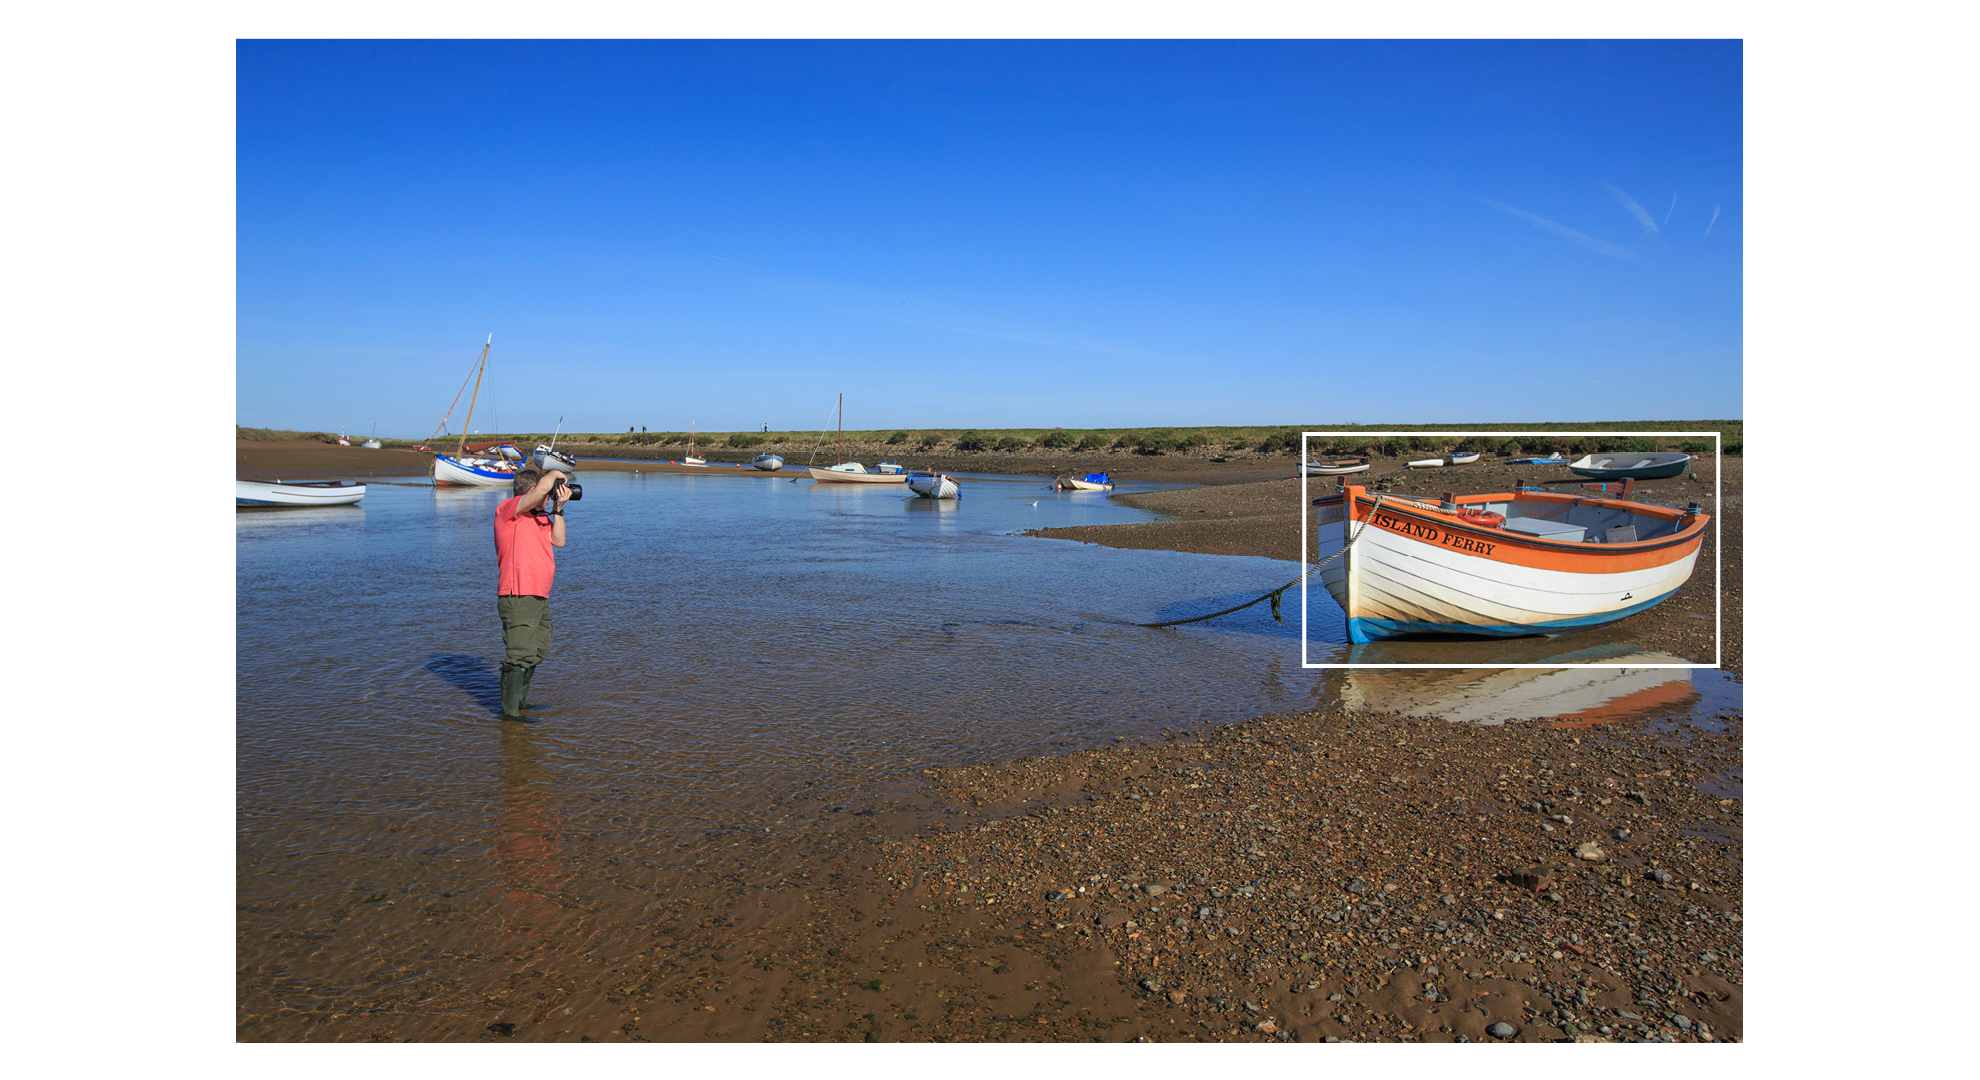
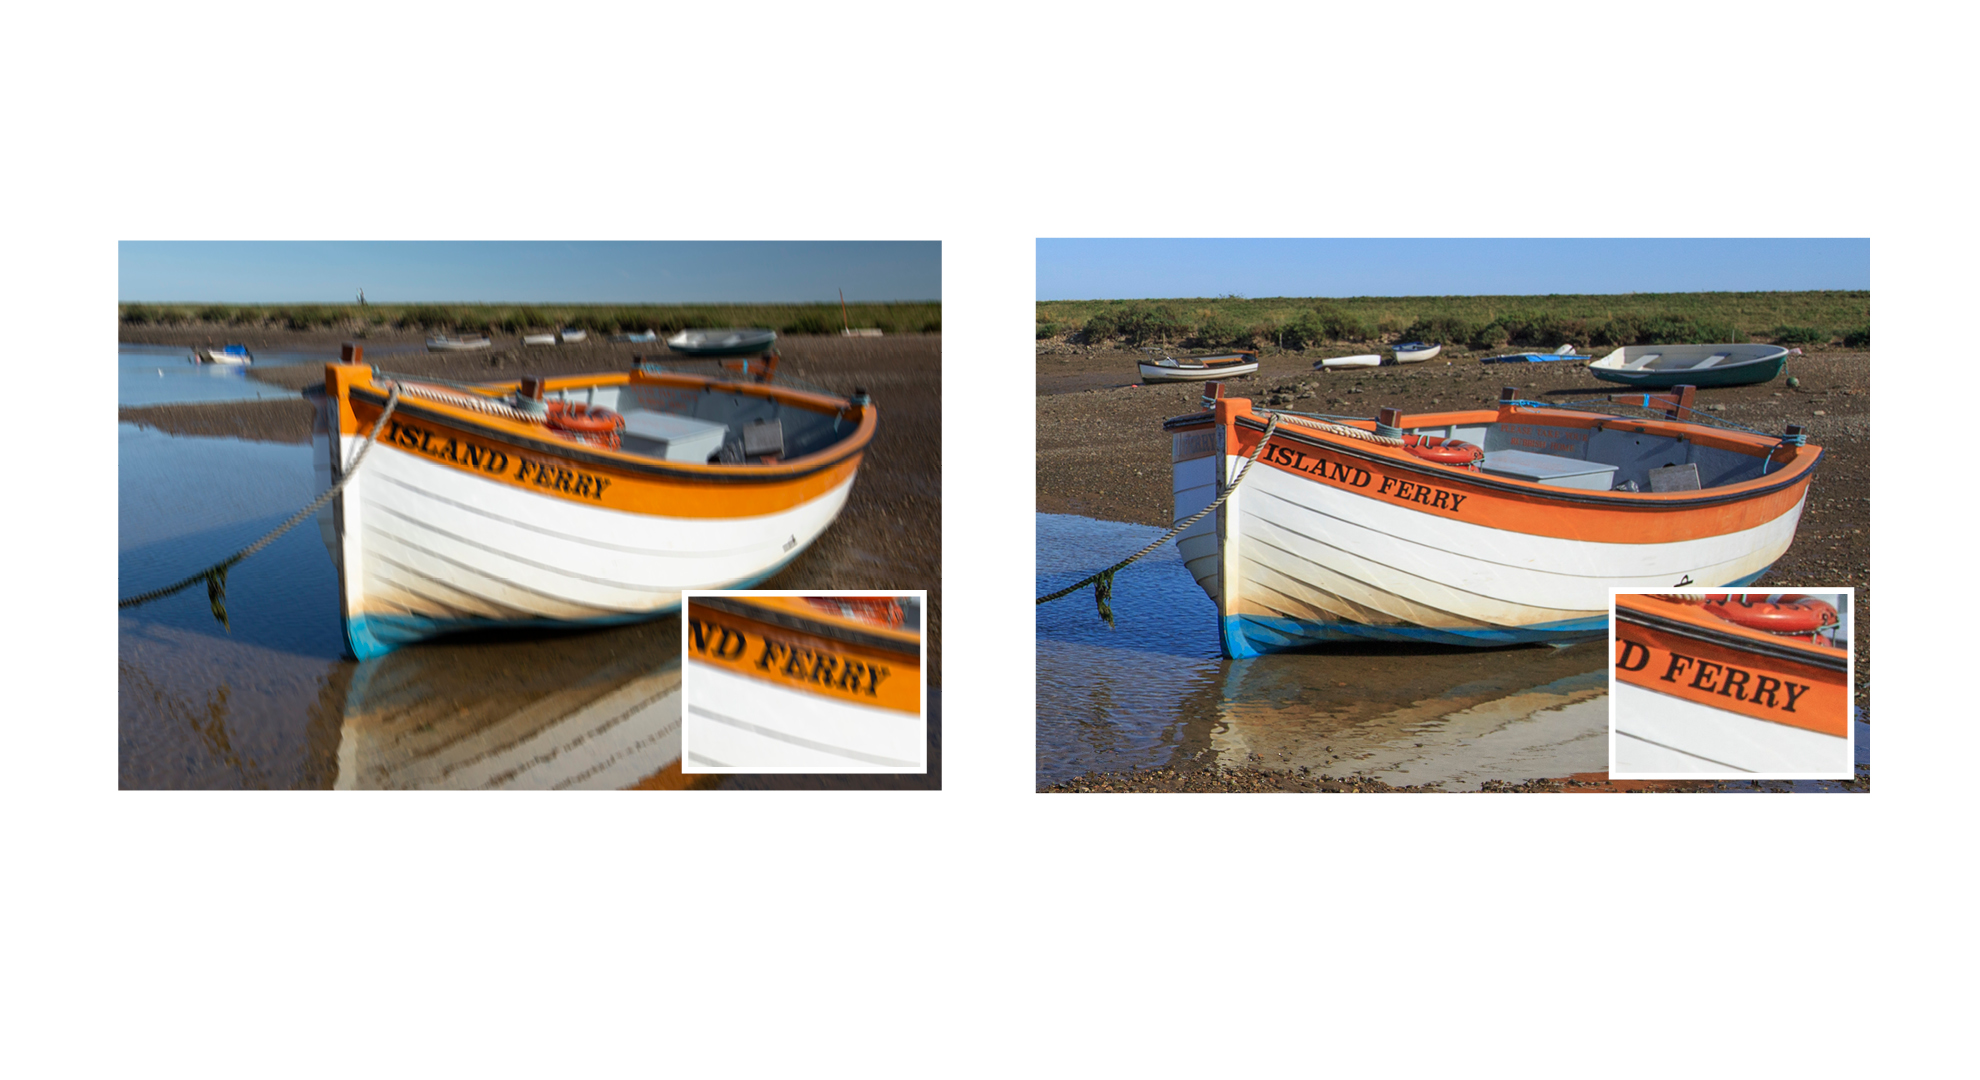
If your camera and lens are moving when the shutter opens for the image to be recorded then no matter how precise your focusing may be, the resultant image will be blurred.
You’ll be able to observe the effects of camera shake across the entire frame, and the amount of streaking or ghosted double edges will be consistent. If some parts of the scene are sharp and don’t show the problem then camera shake is not the issue, and either a focusing error or subject movement will be the cause of the blurring.
The best camera deals, reviews, product advice, and unmissable photography news, direct to your inbox!
Camera shake doesn’t have to be extreme for its effects to be captured, but a lens that magnifies the subject – such as a macro or telephoto model – will make the problem more prominent.
• What is camera shake and why does it happen?
If you can see a slight fuzziness on all the edges in the image then camera shake is the culprit, and the solution required is to keep the camera still and stable for the time period over which the shutter opens and closes.
2. Common focusing errors
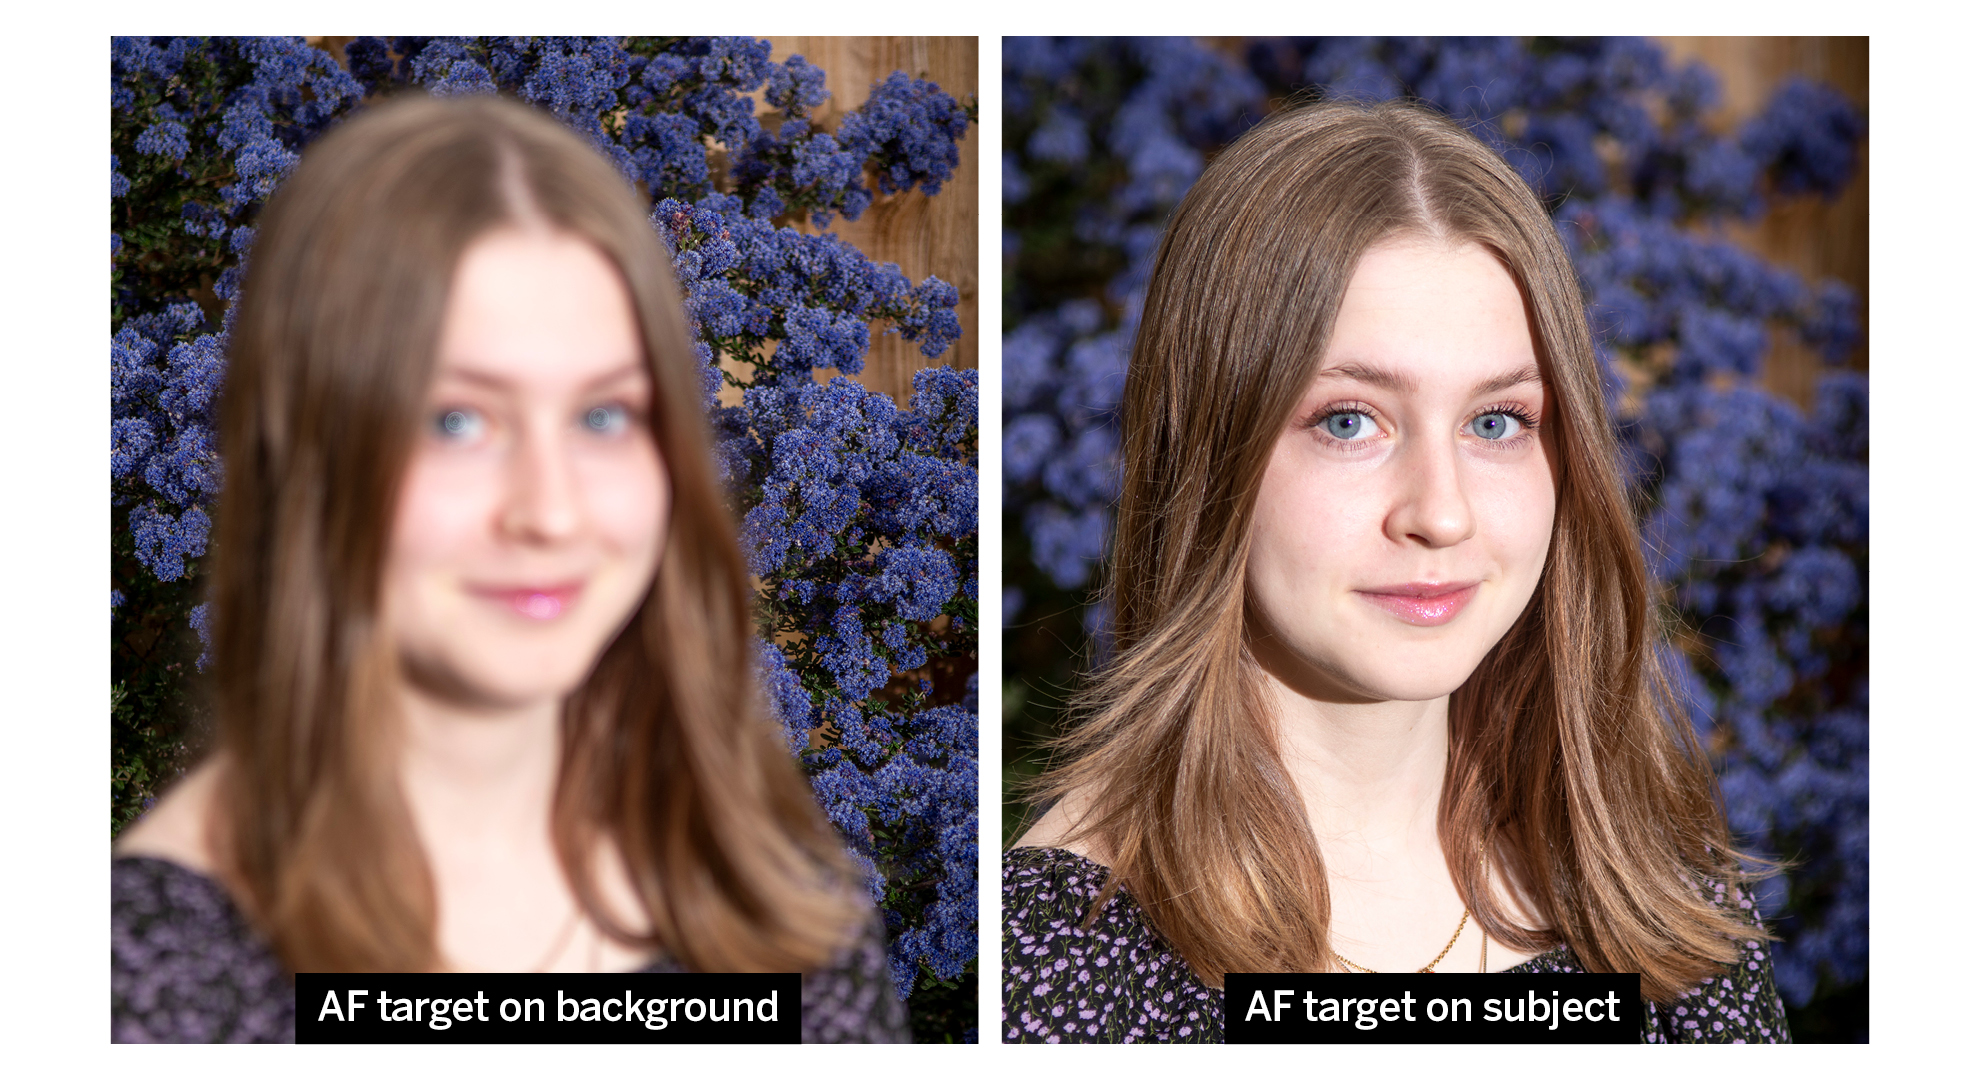
A common cause of blur in a shot is a relatively simple one: focusing on the wrong part of the image.
This is revealed in its most obvious form as a soft-edged and indistinct subject on a sharply focused background but has more subtle variants, such as when the eyes of a portrait are soft, but the tip of the nose is pin-sharp.
When you see this on your images, it’s a simple case of user error, and means you have placed the active AF target over the wrong part of the scene or subject. This is easily done, especially with a moving subject like a pet that won’t keep still.
• Which AF points and areas should you use on your Canon camera?
The good news is that with a screen on the back of your camera, you can zoom and check the shot to make sure you’ve focused in the place you intended. It’s better to verify that your shot is sharp in the right place while you’re at the scene than find out later that it’s not!
3. Subject movement – beware motion blur!

If your shots show a blurred main subject – or blurred parts of the subject – this reveals that even though the camera was still for the time the shutter was open, some movement of the subject occurred during the exposure.
This is sometimes the desired effect – for example if you want to record the blurred motion of water in a landscape – but if you weren’t looking to achieve this then you’ll be disappointed.
• How to use ND filters for long exposure photography in the day
No matter how stable your camera is, if the shutter is open long enough for movement in the scene to be recorded then blur will occur. The blur from a moving subject can be confused with a focusing error, but the distinction is that movement always has a direction, so will ‘streak’ rather than be soft.
How pronounced the effect is depends on how fast the subject is moving, but whether the motion blur actually ruins a shot often depends on where it occurs.
For example, if the motion blur occurs in the wings of a bird or the limbs of an athlete, it may provide a shot with extra energy and excitement.
But if it occurs on the head and facial features of the subject, the shot would likely be one that’s destined for the bin. Always zoom in on the camera’s screen to check the image after shooting.
Pro tip: use manual focus for macro shots…

When you magnify a subject with a macro lens, focusing has to be absolutely spot-on, as any errors will be enlarged.
If you rely on AF, then the slightest movement of the subject from a breath of wind can place your AF target point over the wrong part of the scene.
For this reason, it’s often best to use Manual Focus, where you override the AF system entirely and set your own focus point in the scene.
Because it can sometimes be hard to see the critical point of focus in the viewfinder, a good solution is to mount the camera on a tripod and use Live View mode.
Once you’ve enabled this, you can zoom in on the screen up to 10x to magnify your exact point of focus, and then adjust the focusing ring on the lens to get the sweet spot with absolute precision. It also pays to shelter or stabilise the subject, so the effect of any breeze is minimised.
… and use a remote shutter release
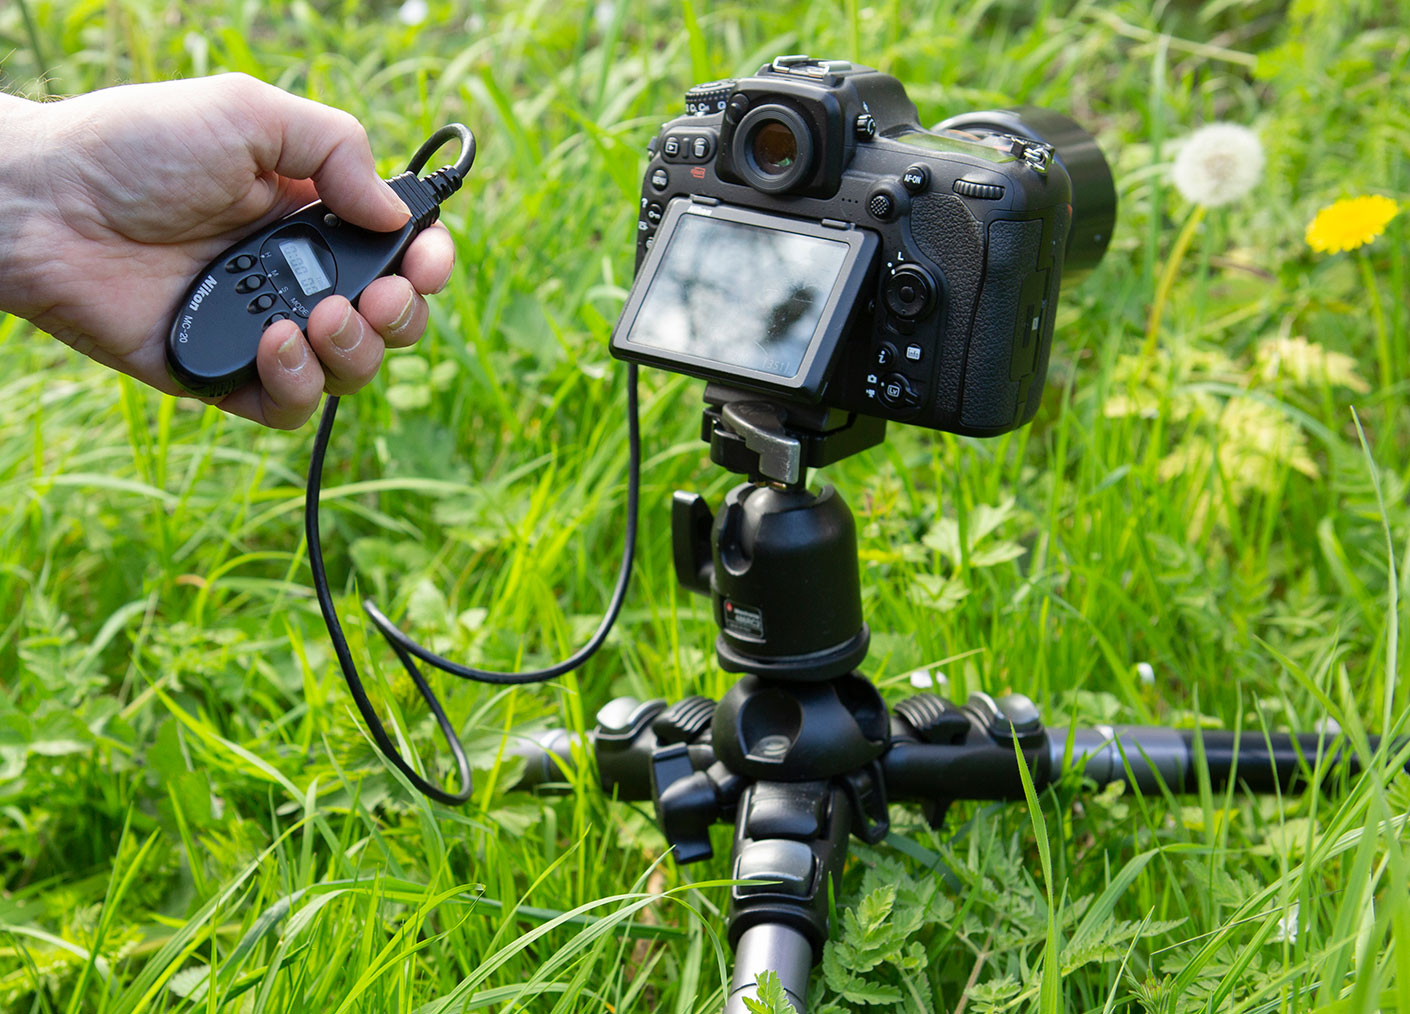
To avoid causing camera shake when you press the shutter button, you need to fire the camera with your hands off it.
One way is to use the self-timer, set to a delay of 2 secs, but if exact timing is critical, invest in a remote release.
This lets you fire the shutter at the optimum moment without making physical contact with the camera.
Read more:
The best mirrorless camera in 2022
The best DSLR camera in 2022
What is autofocus and how does it work?
Digital Camera World is the world’s favorite photography magazine and is packed with the latest news, reviews, tutorials, expert buying advice, tips and inspiring images. Plus, every issue comes with a selection of bonus gifts of interest to photographers of all abilities.
Jon started out as a film-maker, working as a cameraman and video editor before becoming a writer/director. He made corporate & broadcast programmes in the UK and Middle East, and also composed music, writing for TV, radio and cinema. Jon worked as a photographer and journalist alongside this, and took his video skills into magazine publishing, where he edited the Digital Photo magazine for over 15 years. He is an expert in photo editing, video making and camera techniques.
- Lauren ScottFreelance contributor/former Managing Editor


