Seascape photography tips: using an ND filter and slow shutter speeds
Take things slow, with a long shutter speed, to get classic coastal landscape images with a neutral density filter
Watch the video: how to photograph slow-shutter-speed seascapes with an ND filter
Timing is key to shooting great seascapes. You need to be there at the right time of day, but just as important is the timing of the exposure. For a raging, stormy sea, a fast shutter speed can be appropriate, but with calmer waters the best approach is to take it slow. Very slow.
• 10 things you need to know about camera filters!
• More photography tips: how to take pictures of anything
Shutter speeds that are seconds-long turn even the gentlest waters into a smooth, silky blur, and the expanse of water takes on a milky white appearance that contrasts with the static rocks.
All landscapes will tend to look their best if you get up at first light, or stay out until dusk. But these dimmer parts of the day are particularly appropriate for milky seascapes, and the low light will give you longer exposures than shooting in the middle of the day. However, a little bit of blur in the water isn’t enough to give you the effect you want, which means that you either need to shoot after sunset or just before dawn, when the only light is reflected from the sky.
Alternatively, give your camera a helping hand by fitting an ND (neutral density) filter. These dark grey filters (not to be muddled up with graduated neutral density filters, or ND grads) block a percentage of the light entering the camera and enable you to use shutter speeds that are seconds-long, even in the middle of the day.
The best camera deals, reviews, product advice, and unmissable photography news, direct to your inbox!
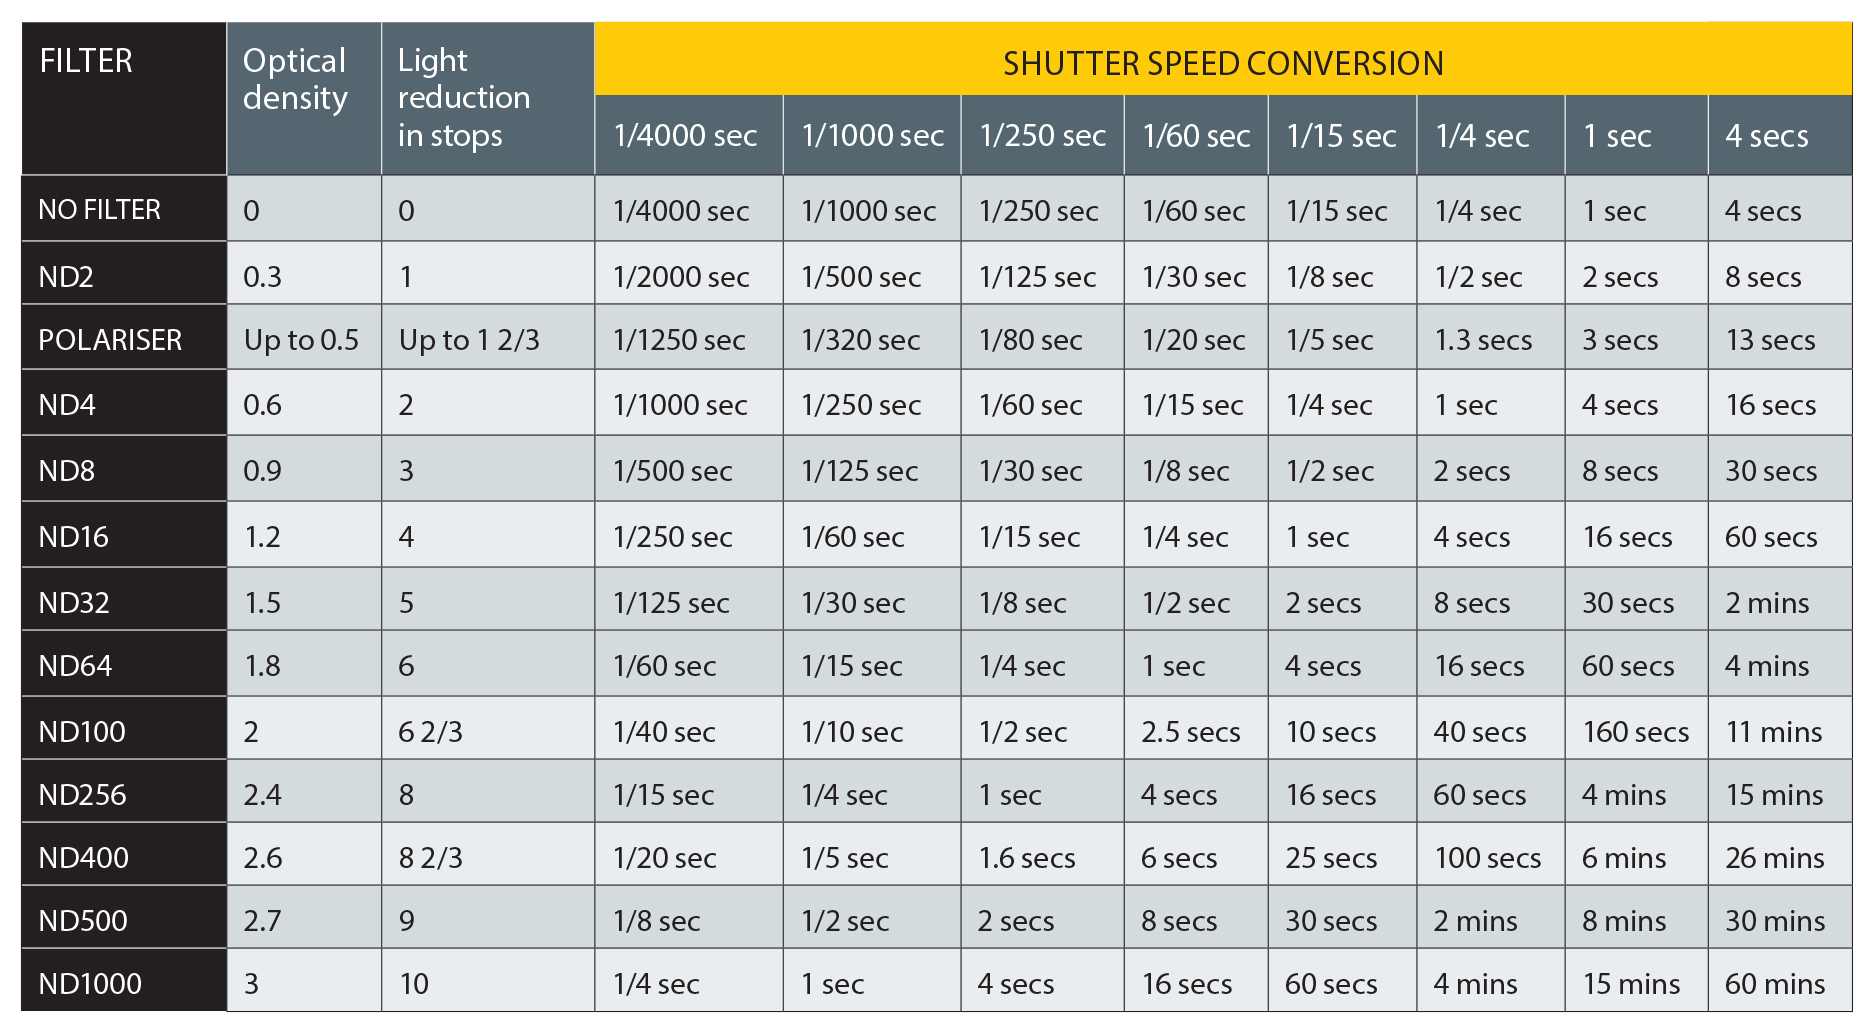
ND filters are available in a variety of strengths. A three-stop ND will increase a shutter speed of 1/4 sec to 2 secs; a 10-stop ND will increase a 1/4 sec exposure to a full 4 minutes!
As these filters make your camera’s viewfinder very dark, they aren’t the easiest accessories to use, but our step-by-step guide will show you how to make sure you always come home with a great seascape.
1. Pick your location
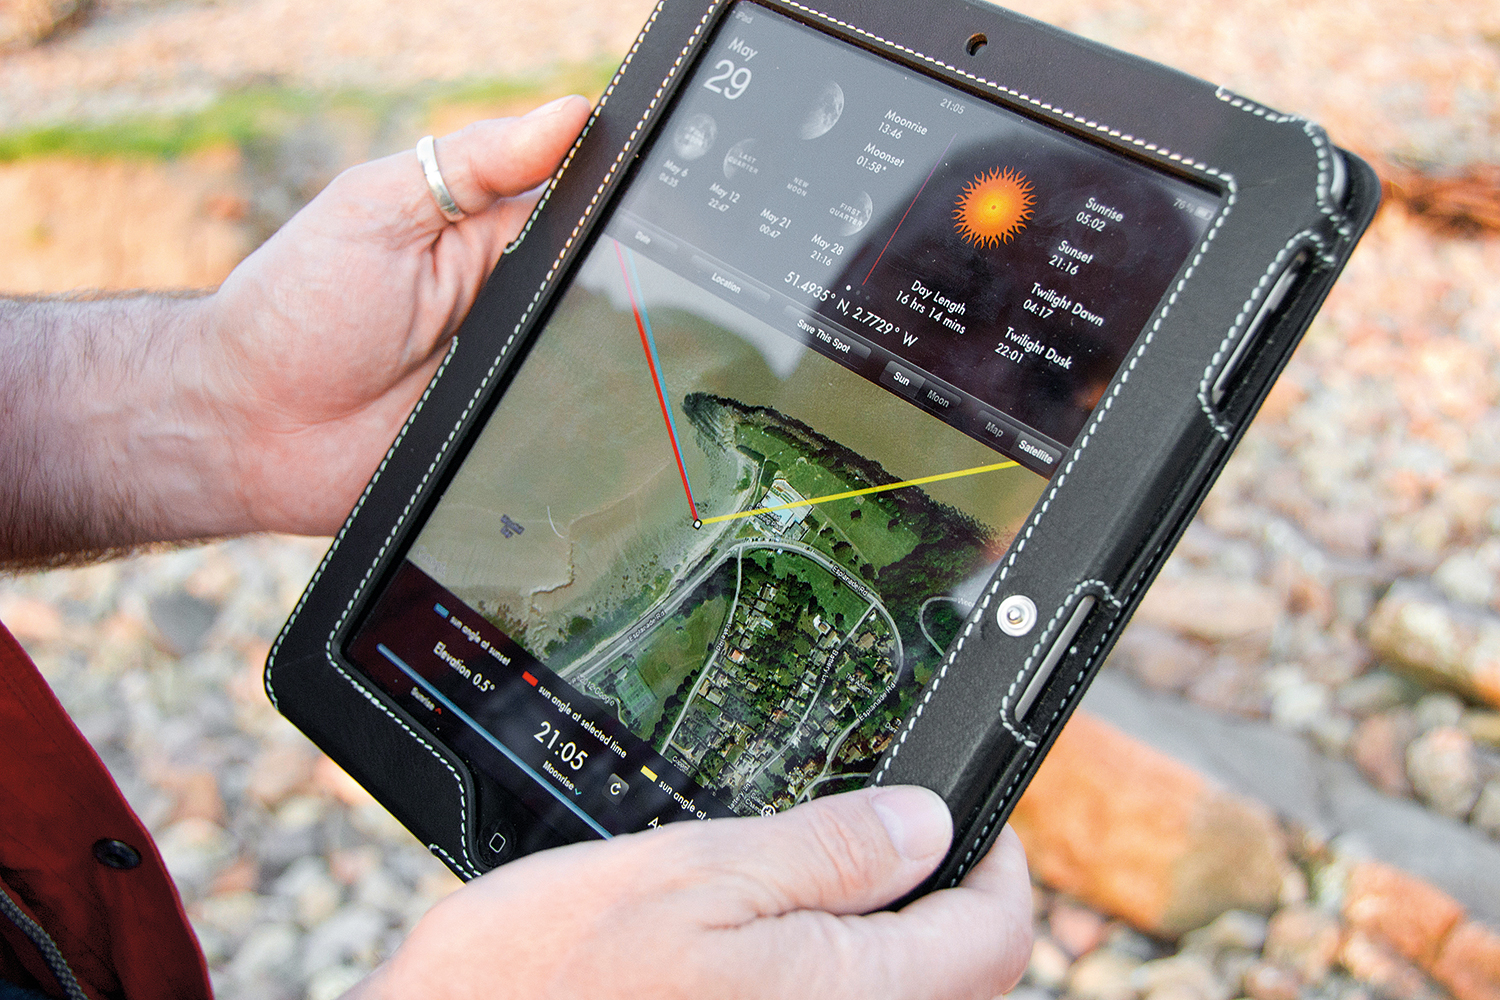
Ideally you need somewhere where you can get down near the water as it breaks over the shore. You also need the sun to be low in the sky so it picks out the rocks. For all this information, try a program or app that lets you work out the best time, date and spot to head to. LightTrac, which costs £8.99 / $8.99 on iOS and £3.99 / $4.99 on Android, is a good choice.
2. Watch the tide
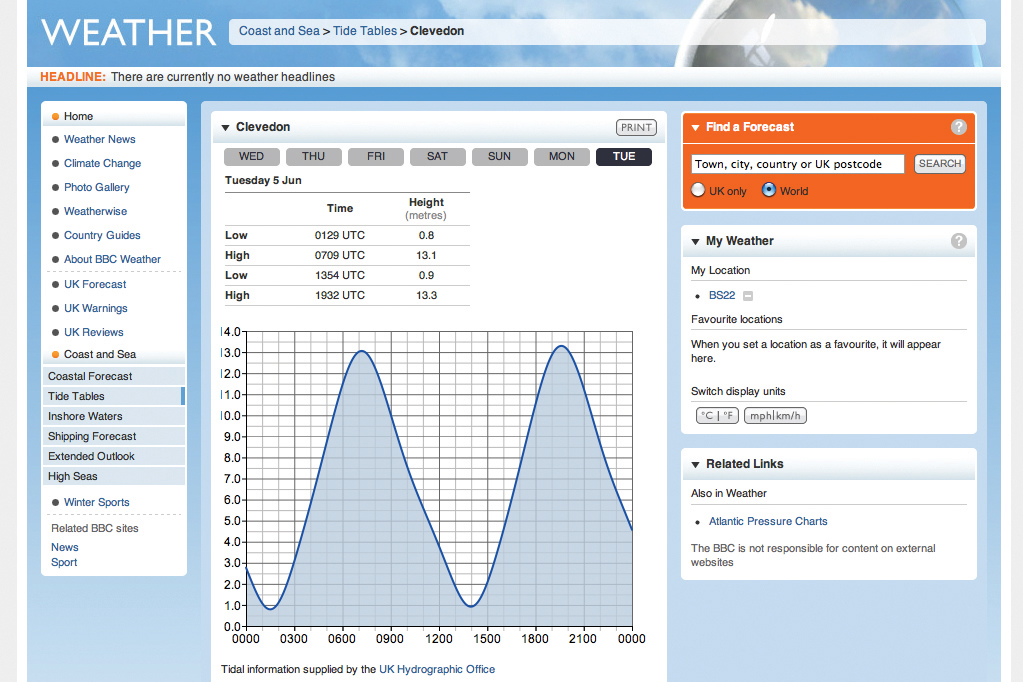
It’s no good just turning up at dusk or dawn – you need to check the tides. As a rule, these shots look better if the tide is going out because this ensures that the wet rocks glisten, but you also need the water to be high enough to break against your chosen rocks. UK photographers can visit the BBC weather website to check the tides online, for example.
3. Find your foreground
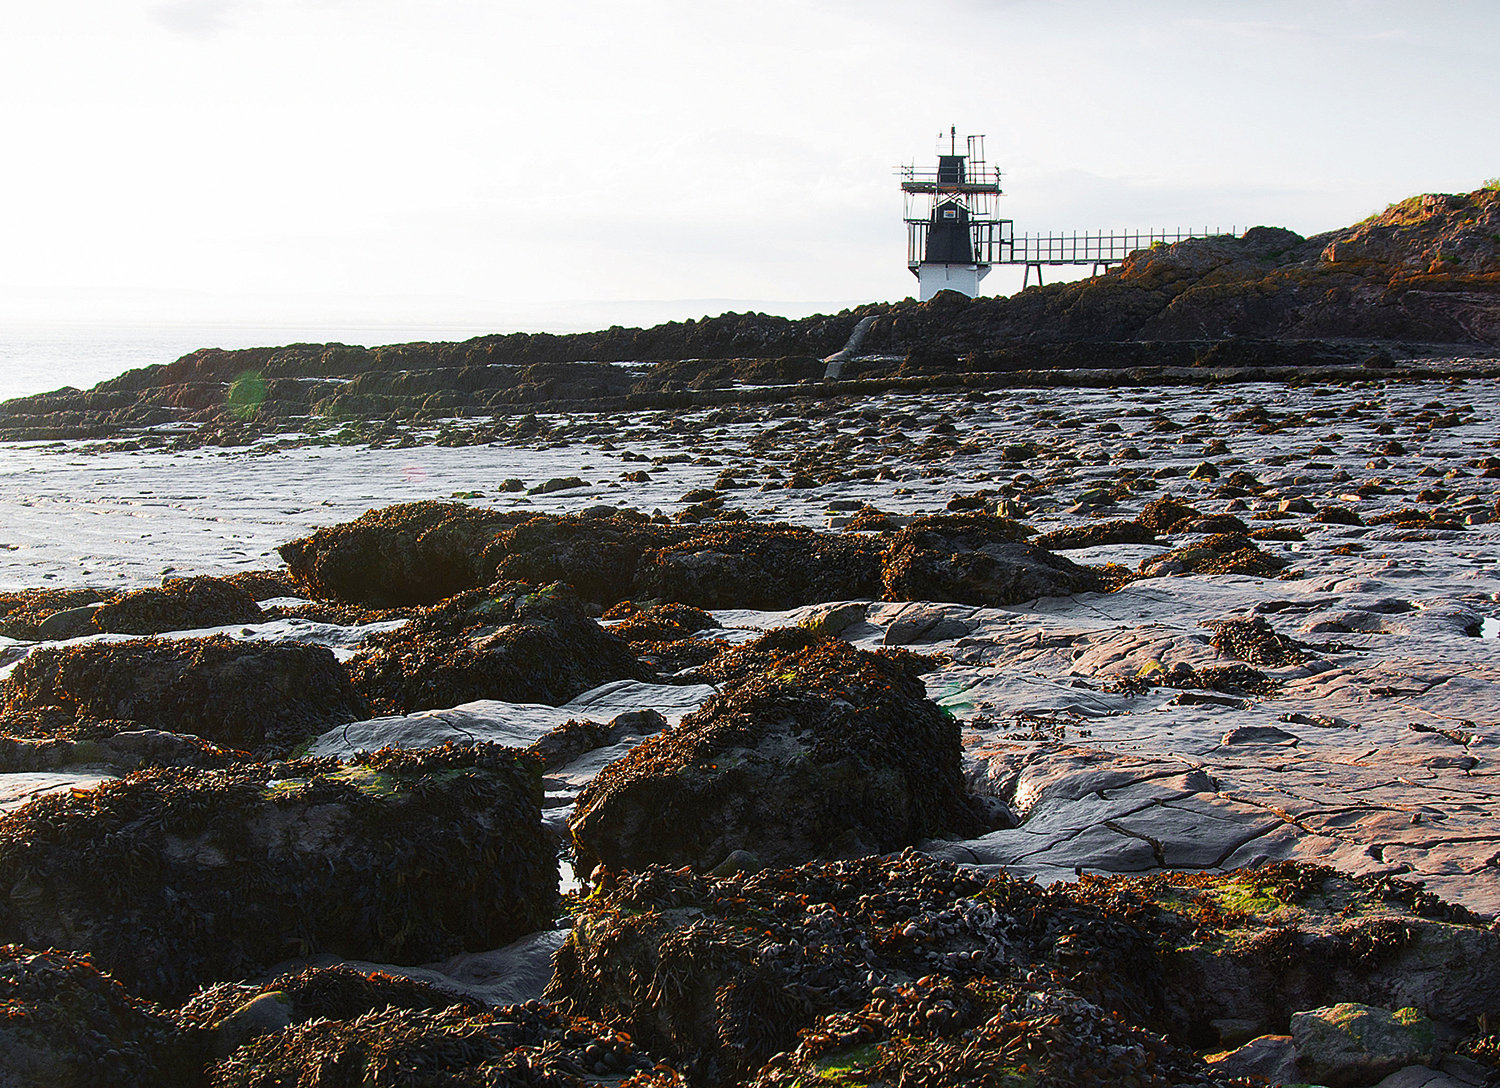
When you get to the location, you need to find the best camera angle, and it’s often best to hunt this out without your tripod. You need to find a focal point, such as a headland or lighthouse, as well as a good foreground – getting low helps you make rocks look big in the frame.
4. Keep a level head
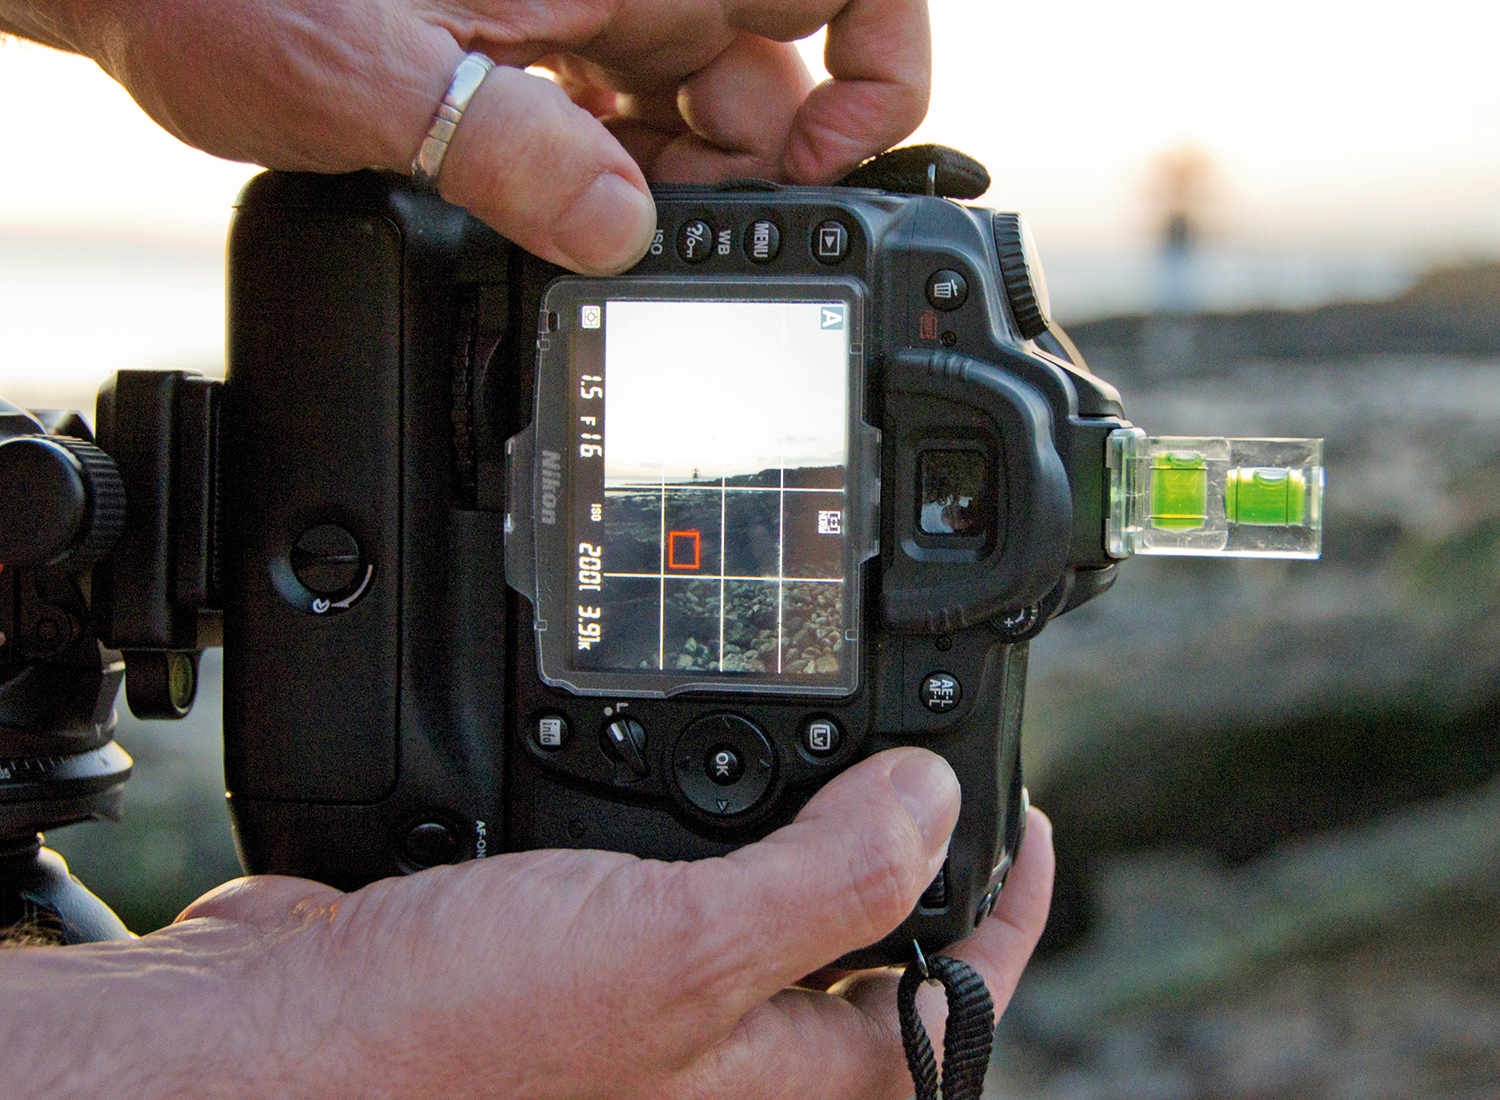
Set the camera on the tripod. It’s essential that the body is level – a sloping horizon is extremely irritating with seascapes, and this is hard to check as it gets darker. Use a spirit level on the hotshoe, or switch on Live View and use the grid overlay to make sure that you get things straight.
5. Get set to take it slow
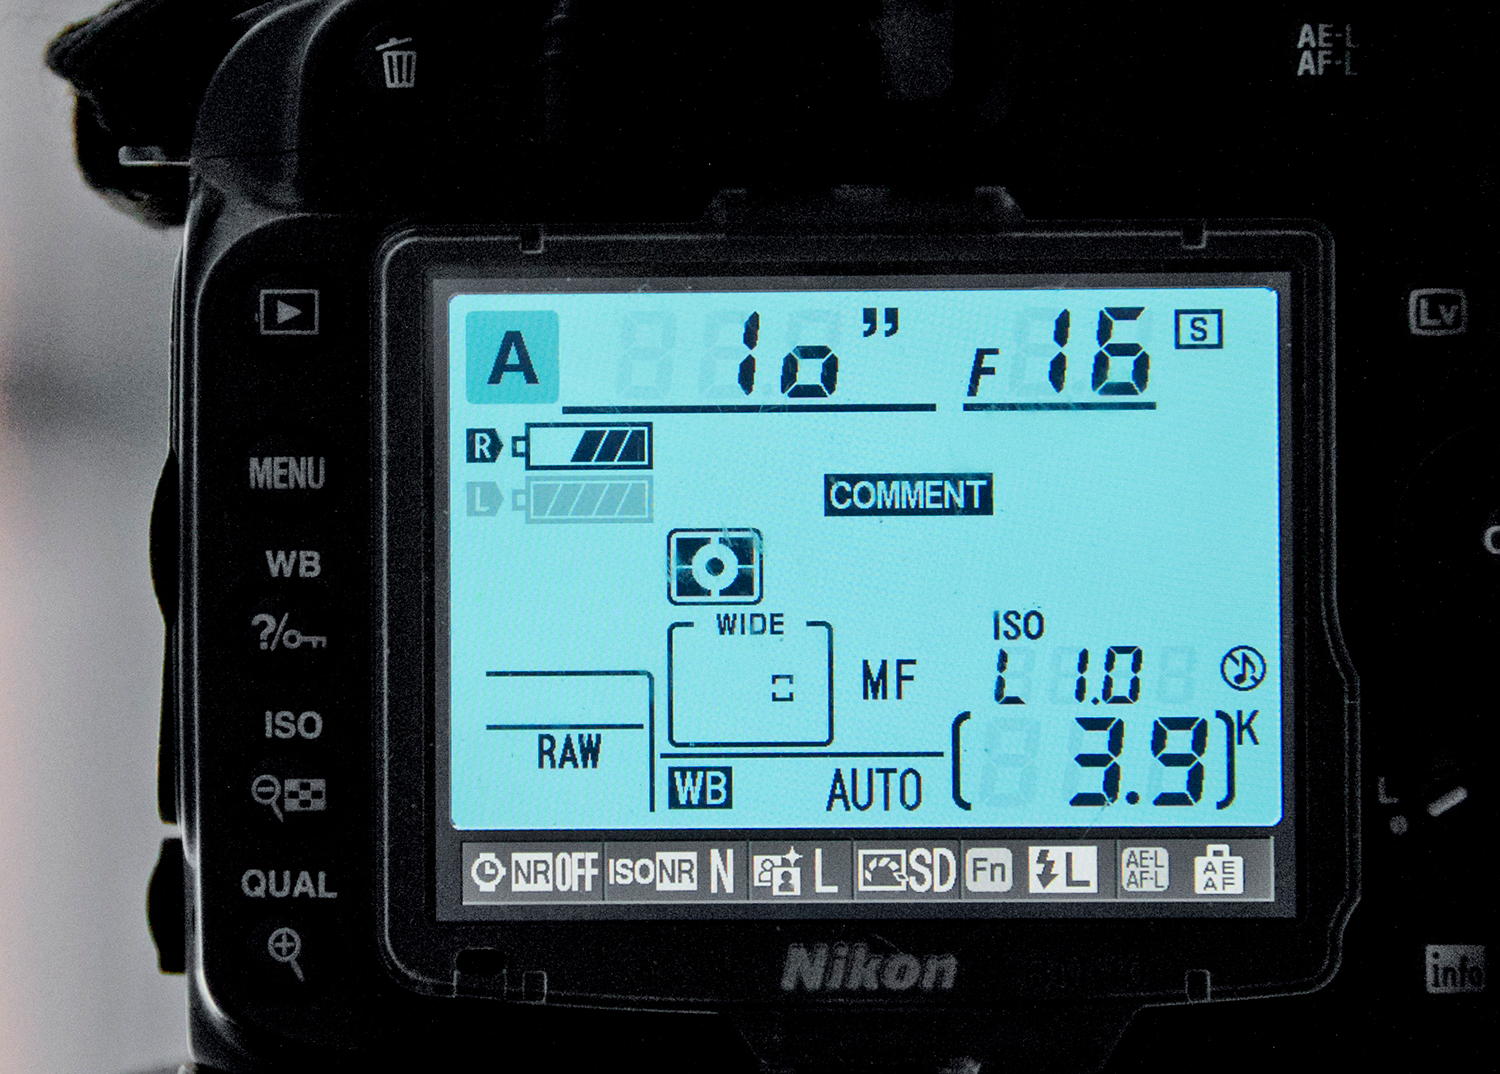
To get long shutter speeds, first switch to Aperture Priority mode and set a low ISO of around 100, with a narrow aperture of around f/16. Focus on a point about a third of the way up the frame – depending on the light, you might need to use a torch to light up this point.
6. Check the focus and lock it down
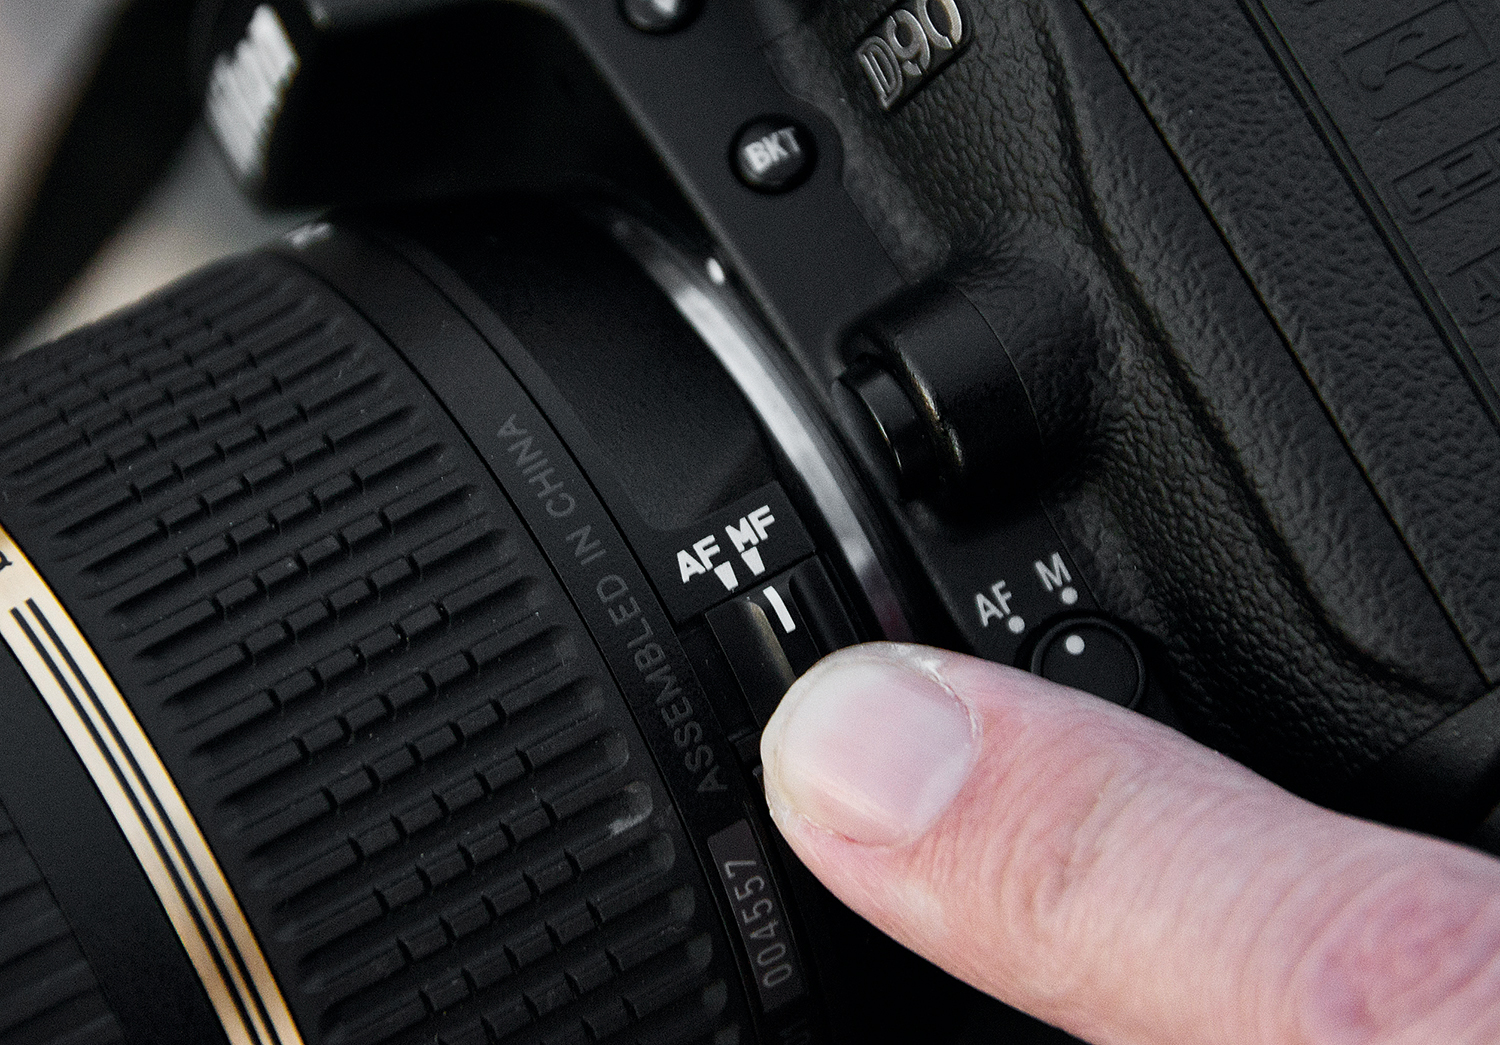
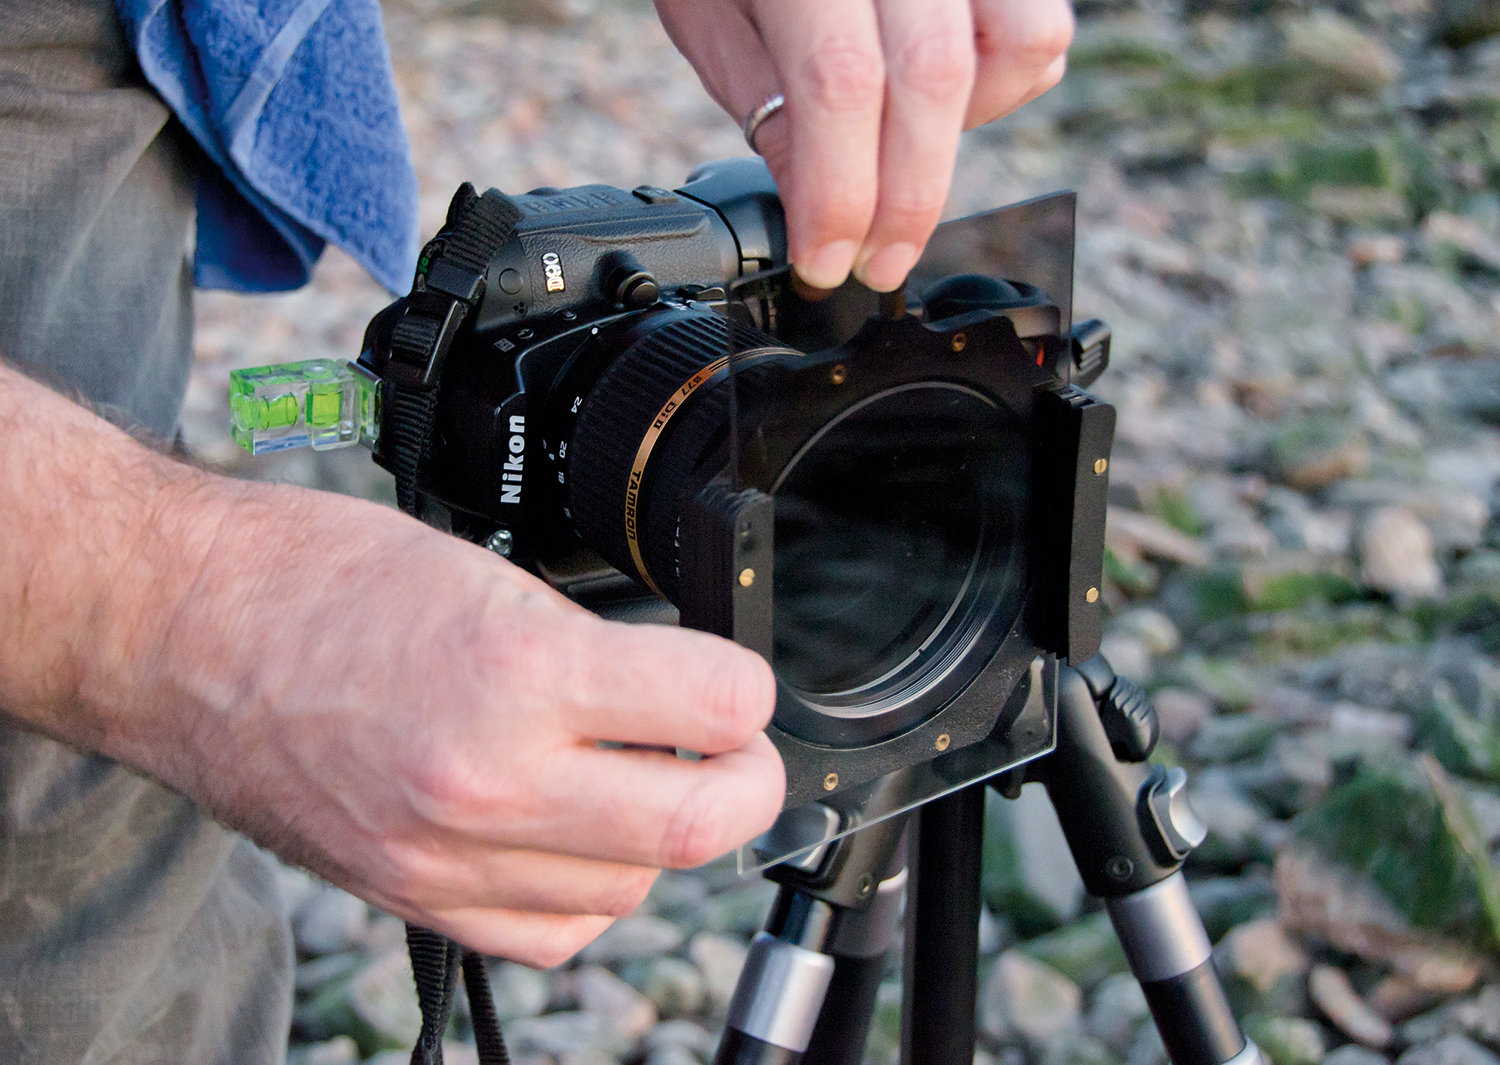
Take a test shot to check the focus. If everything is sharp, lock the focus by switching off autofocus. Now fit your ND filter. Choose a strength that gets you an exposure that’s between 15 secs and 2 minutes long. A variable ND filter will provide you with a range of shutter speeds.
7. Employ a graduate
With most seascapes, your shots will also benefit from using a second filter – a graduated ND filter that darkens the sky in the top half of the shot and lightens the foreground. A two-stop (0.6) soft-edged graduate is a good all-round choice that will do wonders for most landscape shots.
8. Minimize vibrations
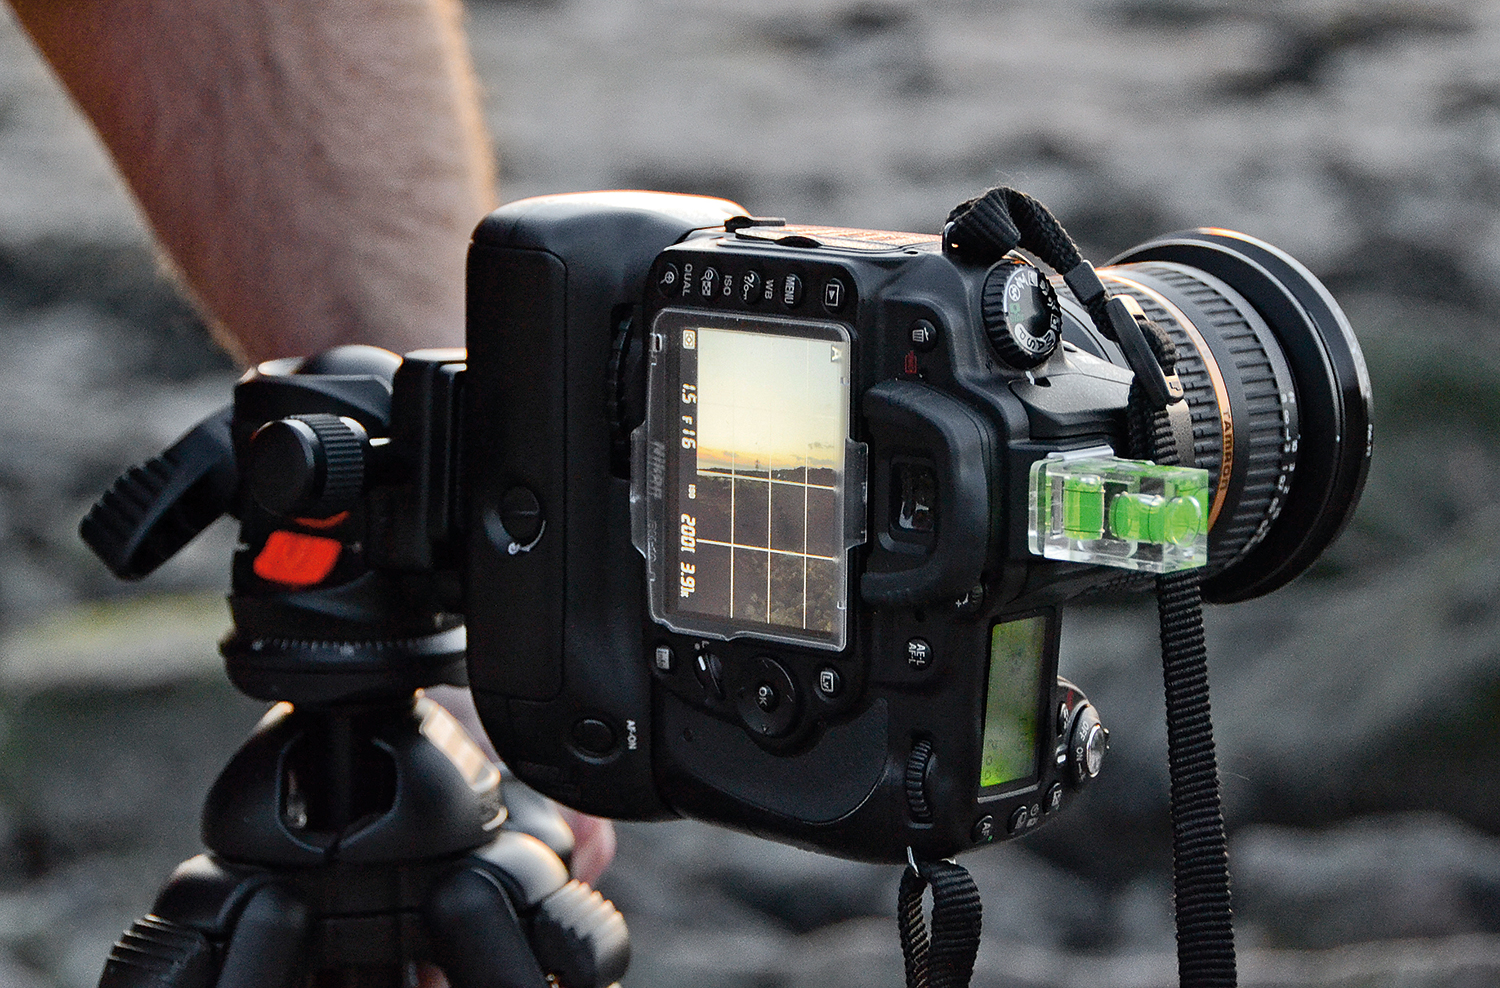
With such long shutter speeds, you’ll need to use a cable release and Live View to avoid shaky shots caused by the camera’s mirror moving as it takes the picture. The combination of long exposures and Live View means your battery won’t last long, so make sure you have a spare.
9. Salty spots
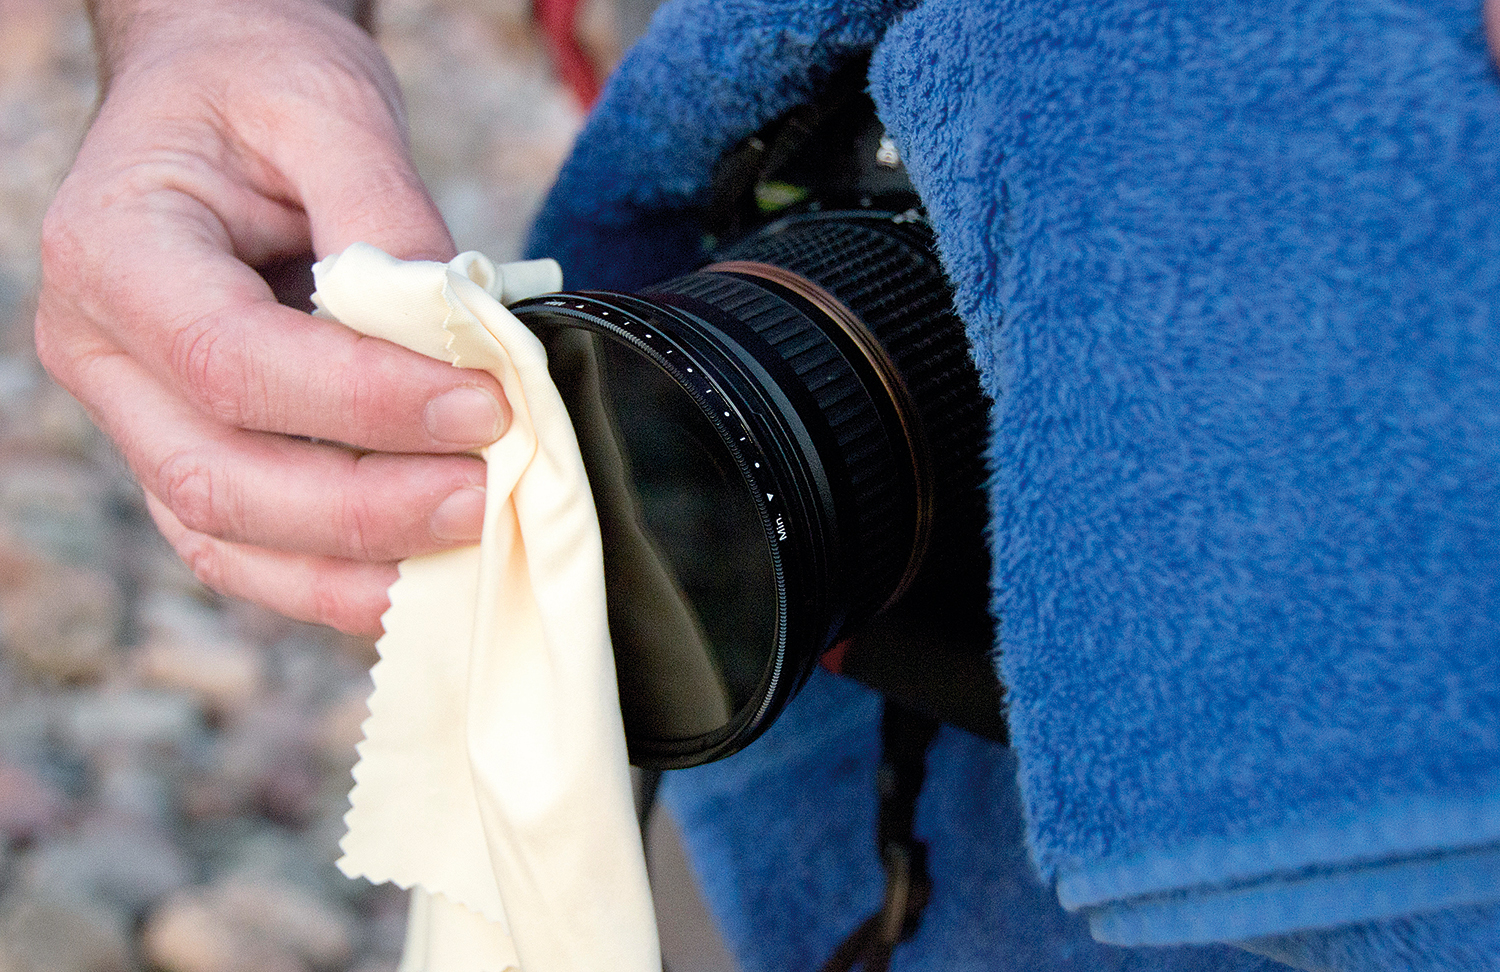
Salt spray on the front of the lens is an occupational hazard, and if you don’t check for it, it can leave marks on your pictures that can be hard to clone out. Make sure you have a lens cloth at the ready – and a towel, just in case there’s a bigger wave that catches you unawares!
ND filter table: strengths and speeds
ND filters are sold in different strengths, and different scales are used to measure this.
This table compares the systems and shows how much slower a shutter speed each strength will enable you to achieve.
More videos:
147 photography techniques, tips and tricks for taking pictures of anything
How to use an ND graduated filter for stunning landscape photography
Northern Lights photography: tips and techniques for stunning images
Sunset photography: tips and settings for perfect pictures

Chris George has worked on Digital Camera World since its launch in 2017. He has been writing about photography, mobile phones, video making and technology for over 30 years – and has edited numerous magazines including PhotoPlus, N-Photo, Digital Camera, Video Camera, and Professional Photography.
His first serious camera was the iconic Olympus OM10, with which he won the title of Young Photographer of the Year - long before the advent of autofocus and memory cards. Today he uses a Sony A7 IV, alongside his old Nikon D800 and his iPhone 15 Pro Max.
He is the author of a number of books including The Book of Digital Photography, which has been translated into a dozen different languages.
In addition to his expertise in photography and videomaking, he has written about technology for countless publications and websites including The Sunday Times Magazine, The Daily Telegraph, What Cellphone, T3 and Techradar.
