Landscape photography hack: find natural borders to frame scenes creatively
Supercharge your scenes by creatively composing with natural borders in your landscape photography
The best camera deals, reviews, product advice, and unmissable photography news, direct to your inbox!
You are now subscribed
Your newsletter sign-up was successful
Watch video: Use natural borders to frame landscape photographs
One of the common pitfalls for many photographers is to line up a subject in front of the lens and forget everything else in the scene. The problem with this approach is that, while centrally placed subjects offer interest, the rest of the frame can look empty and lack any real value, stopping a good image from becoming a great one. This is where a technique called 'creative framing' can come in very handy.
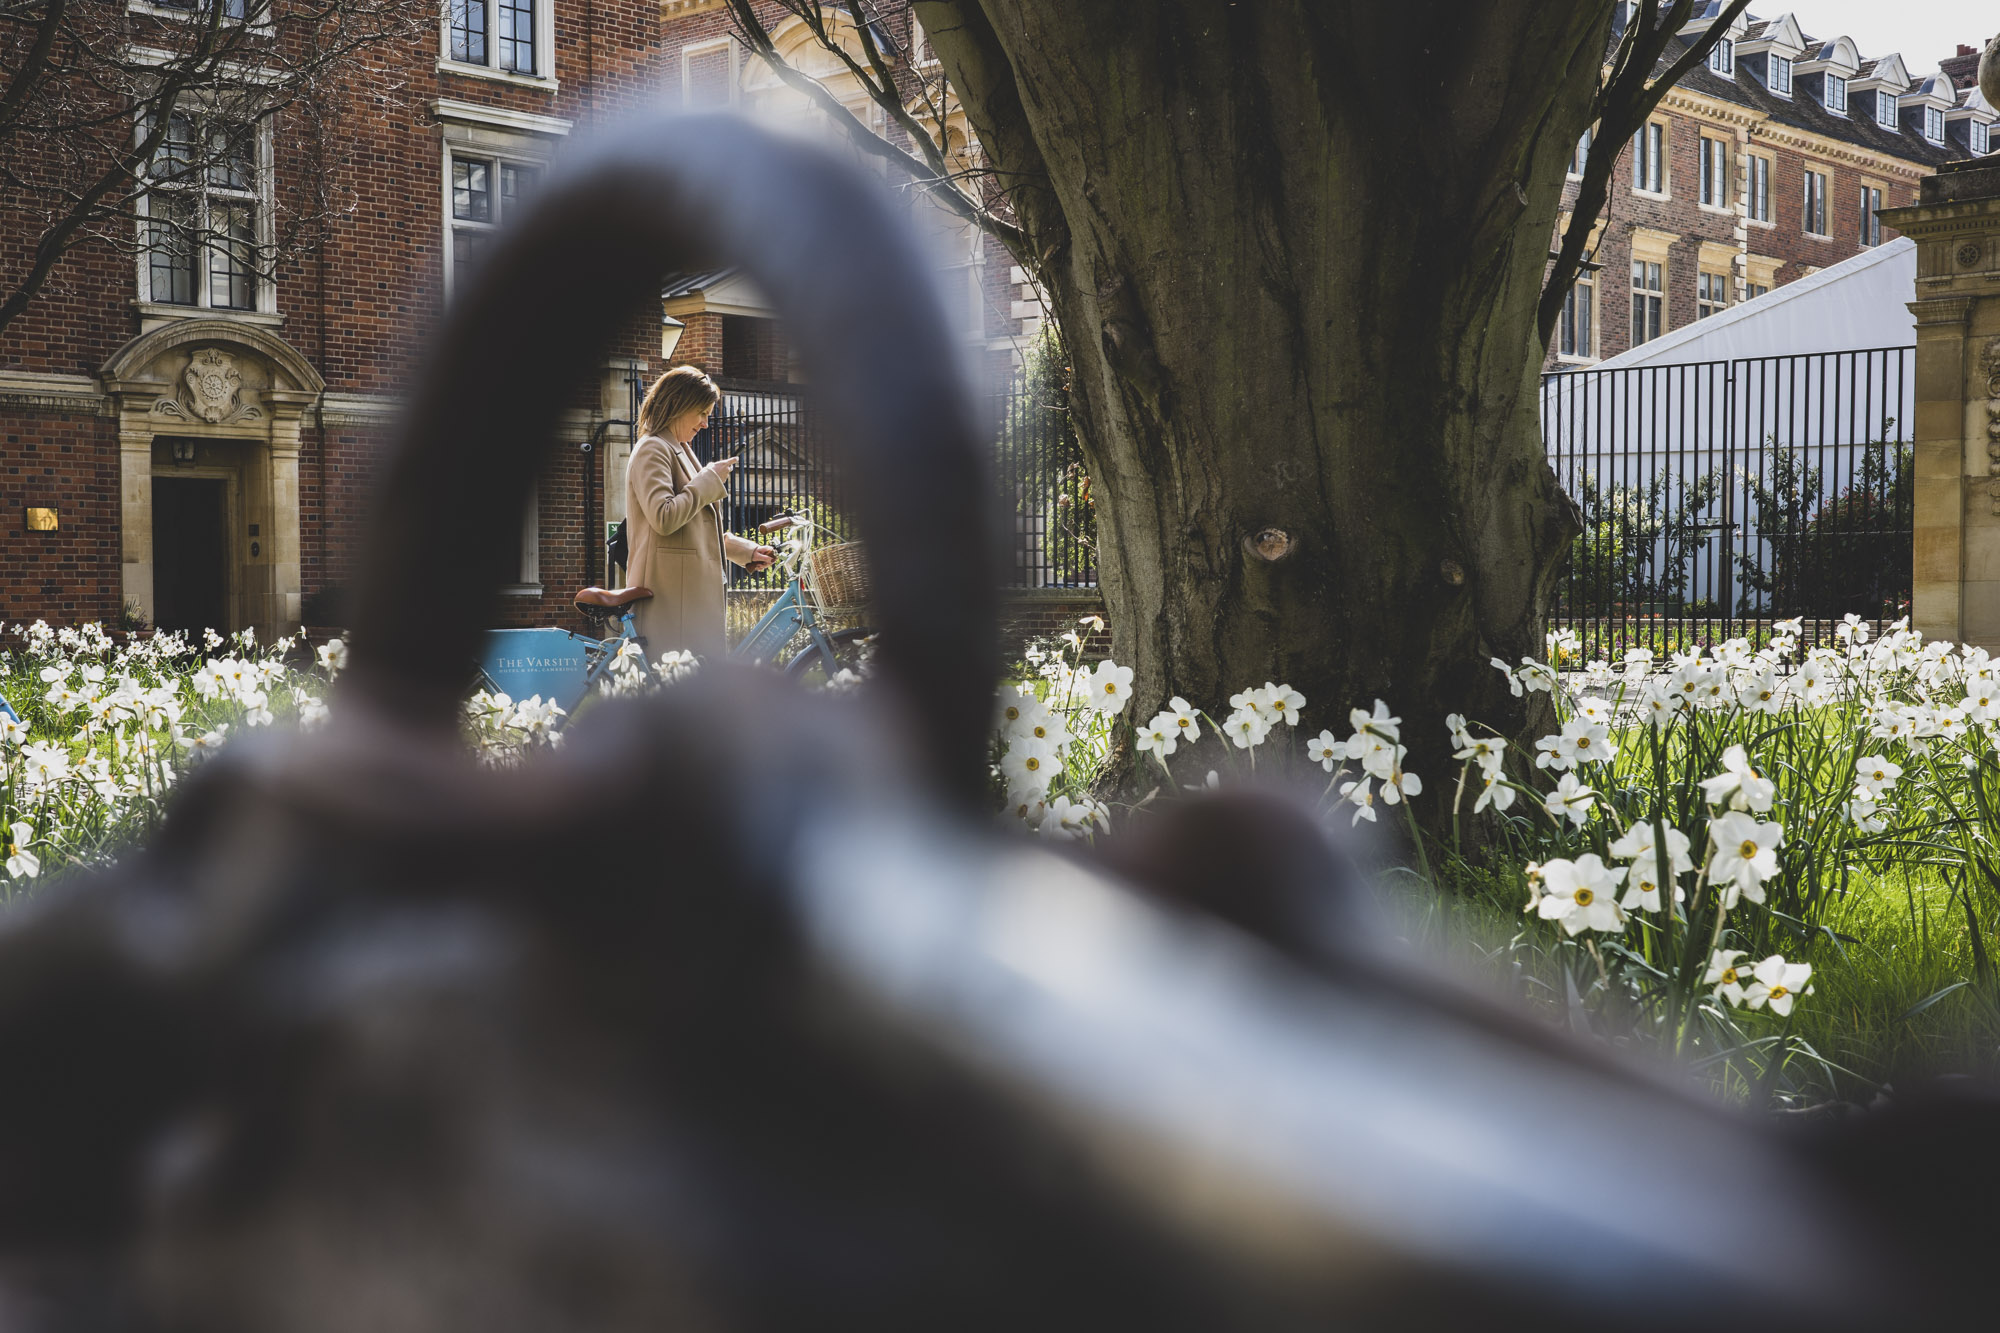
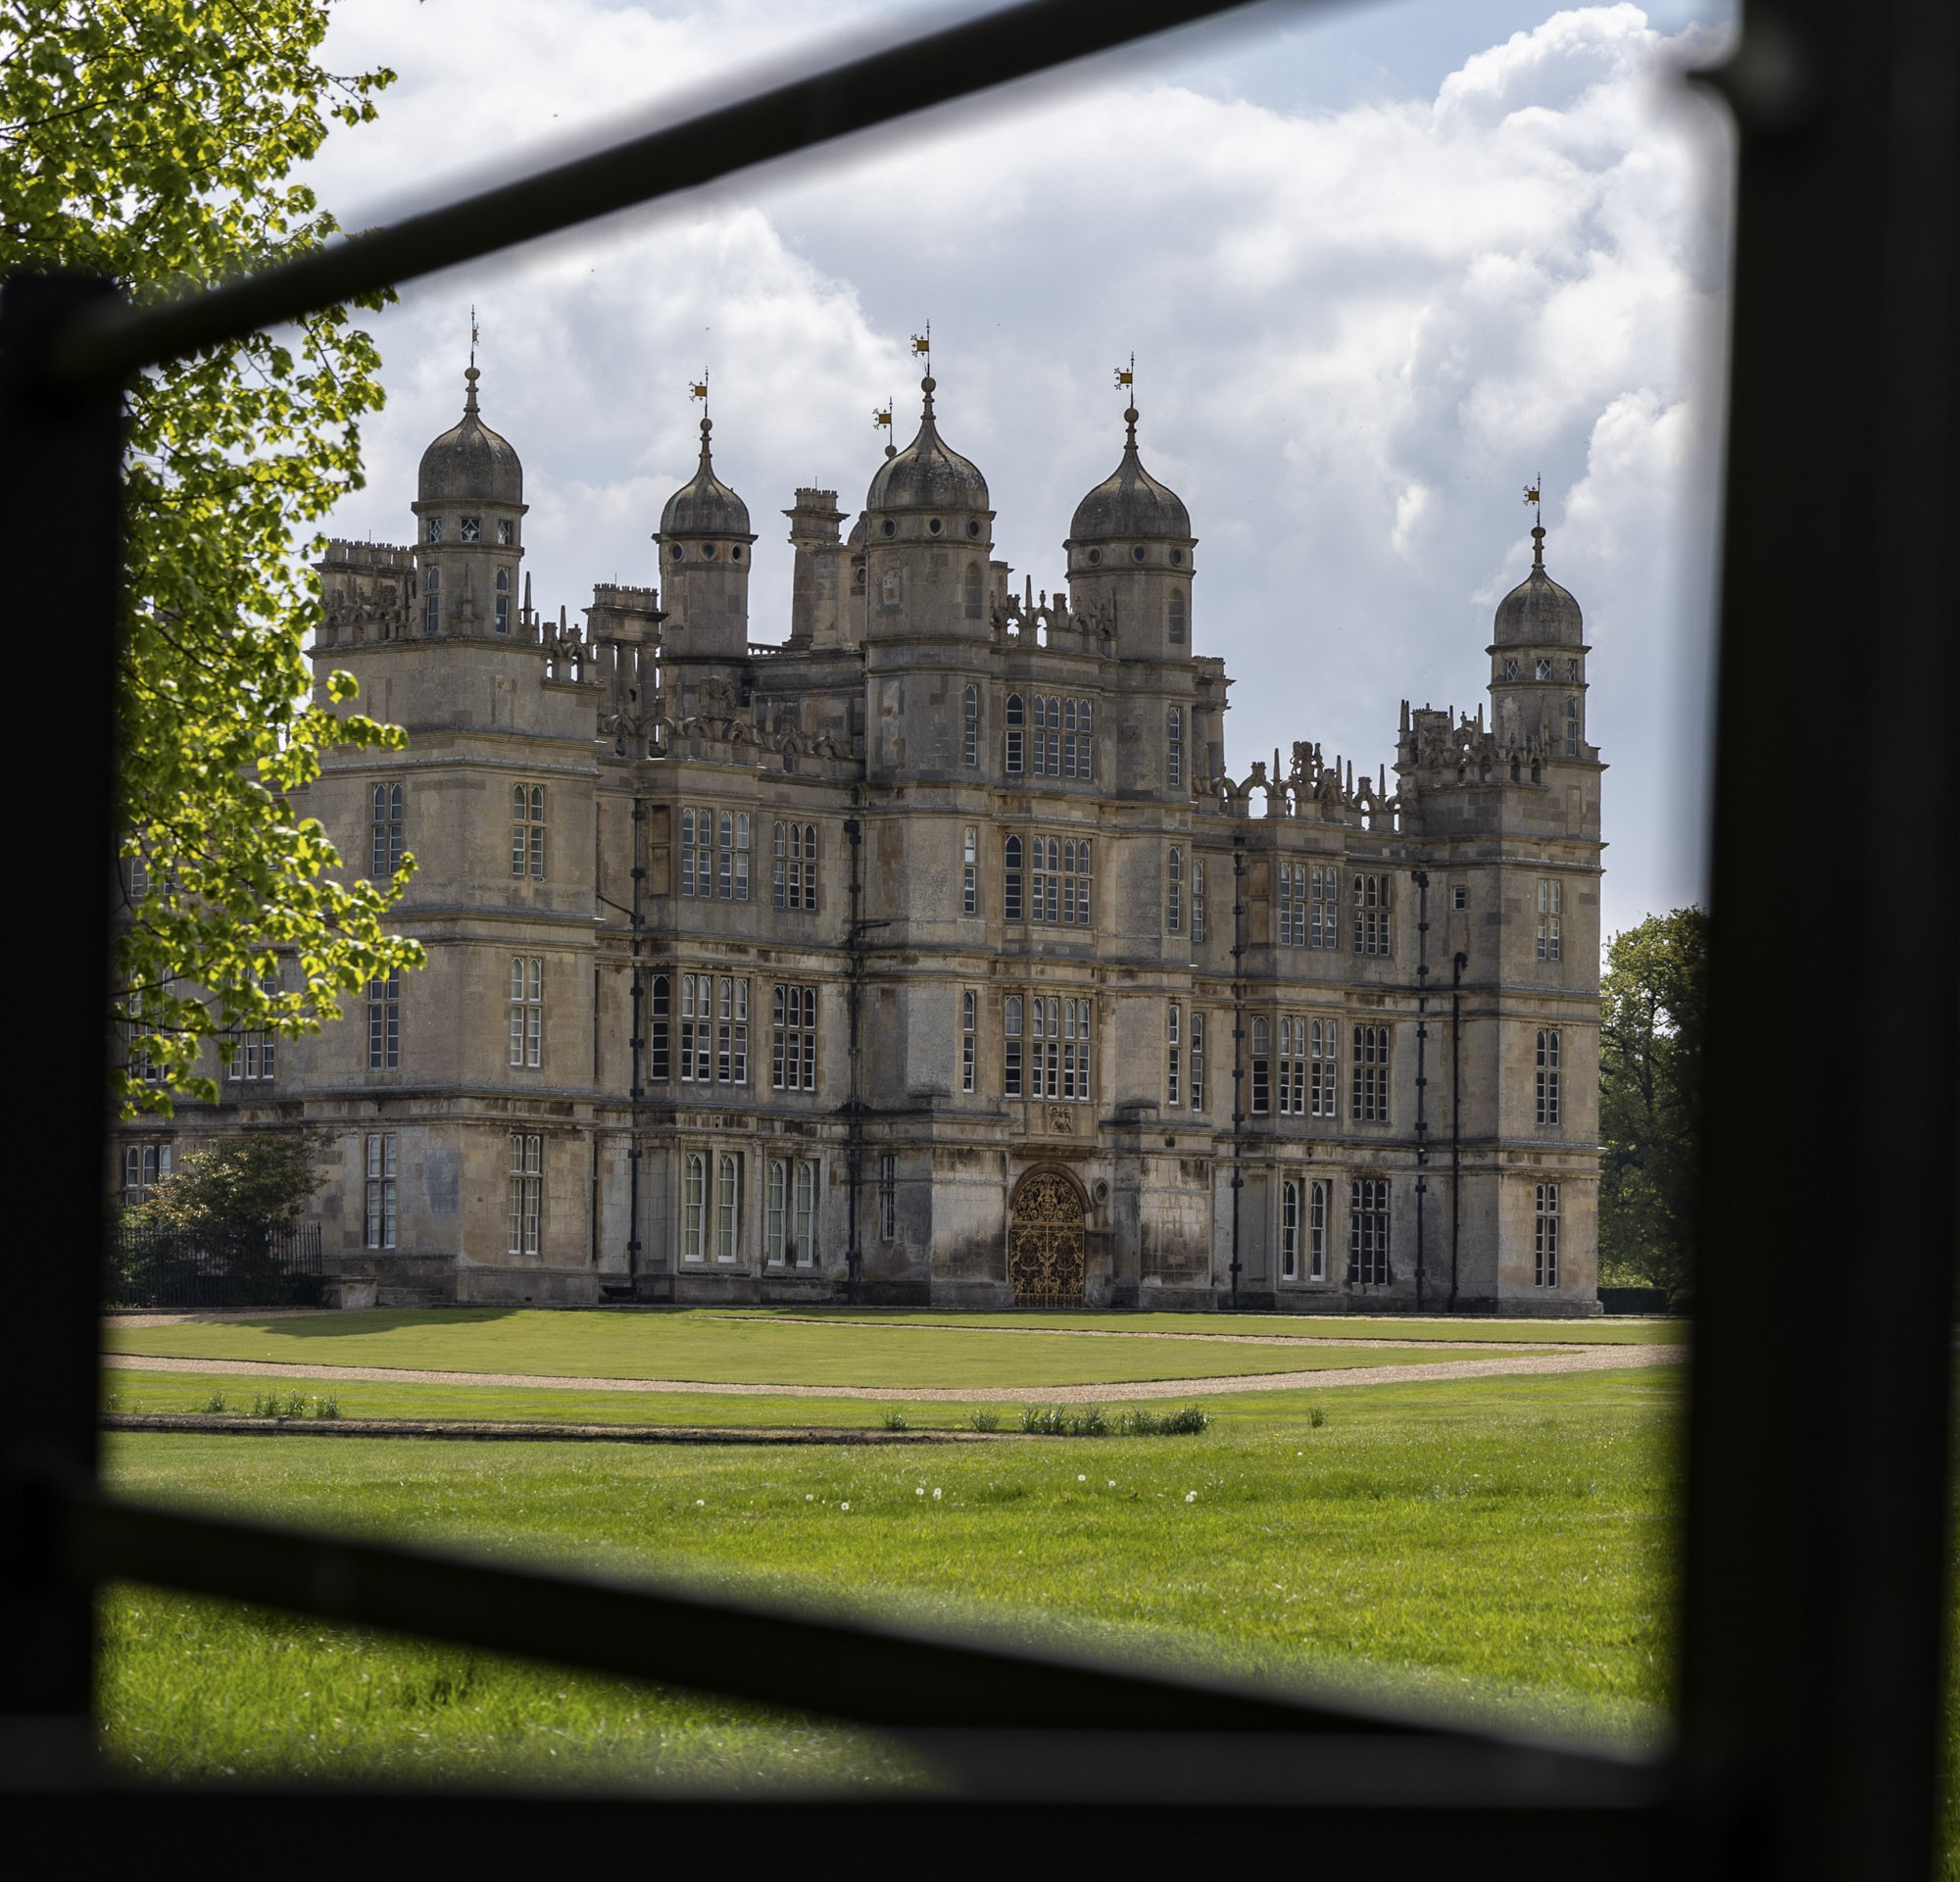
Essentially, you can use anything in your surroundings to create a natural border around the frame. Of course, what you use to make your border depends on your environment, but trees, fences, railings and doorways all work perfectly. Be mindful of whether your borders are brighter or darker, so they complement rather than compete with your main subject.
Using creative framing takes a little time, but once you start you’ll find potential borders wherever you look. The main trick with this technique is to be fluid with your composition – keep moving around to find framing that works, and don’t be afraid to try high and low angles. It's all about experimentation, which is why it's better to set the tripod to one side, because fiddling about with the leg locks and the tripod head only slows you down.
Also, unlike many other techniques, no extra kit like filters or lighting are needed – all that is essential to capture an expertly and creatively framed image is your camera, lens and an artistic eye.
1. Key settings
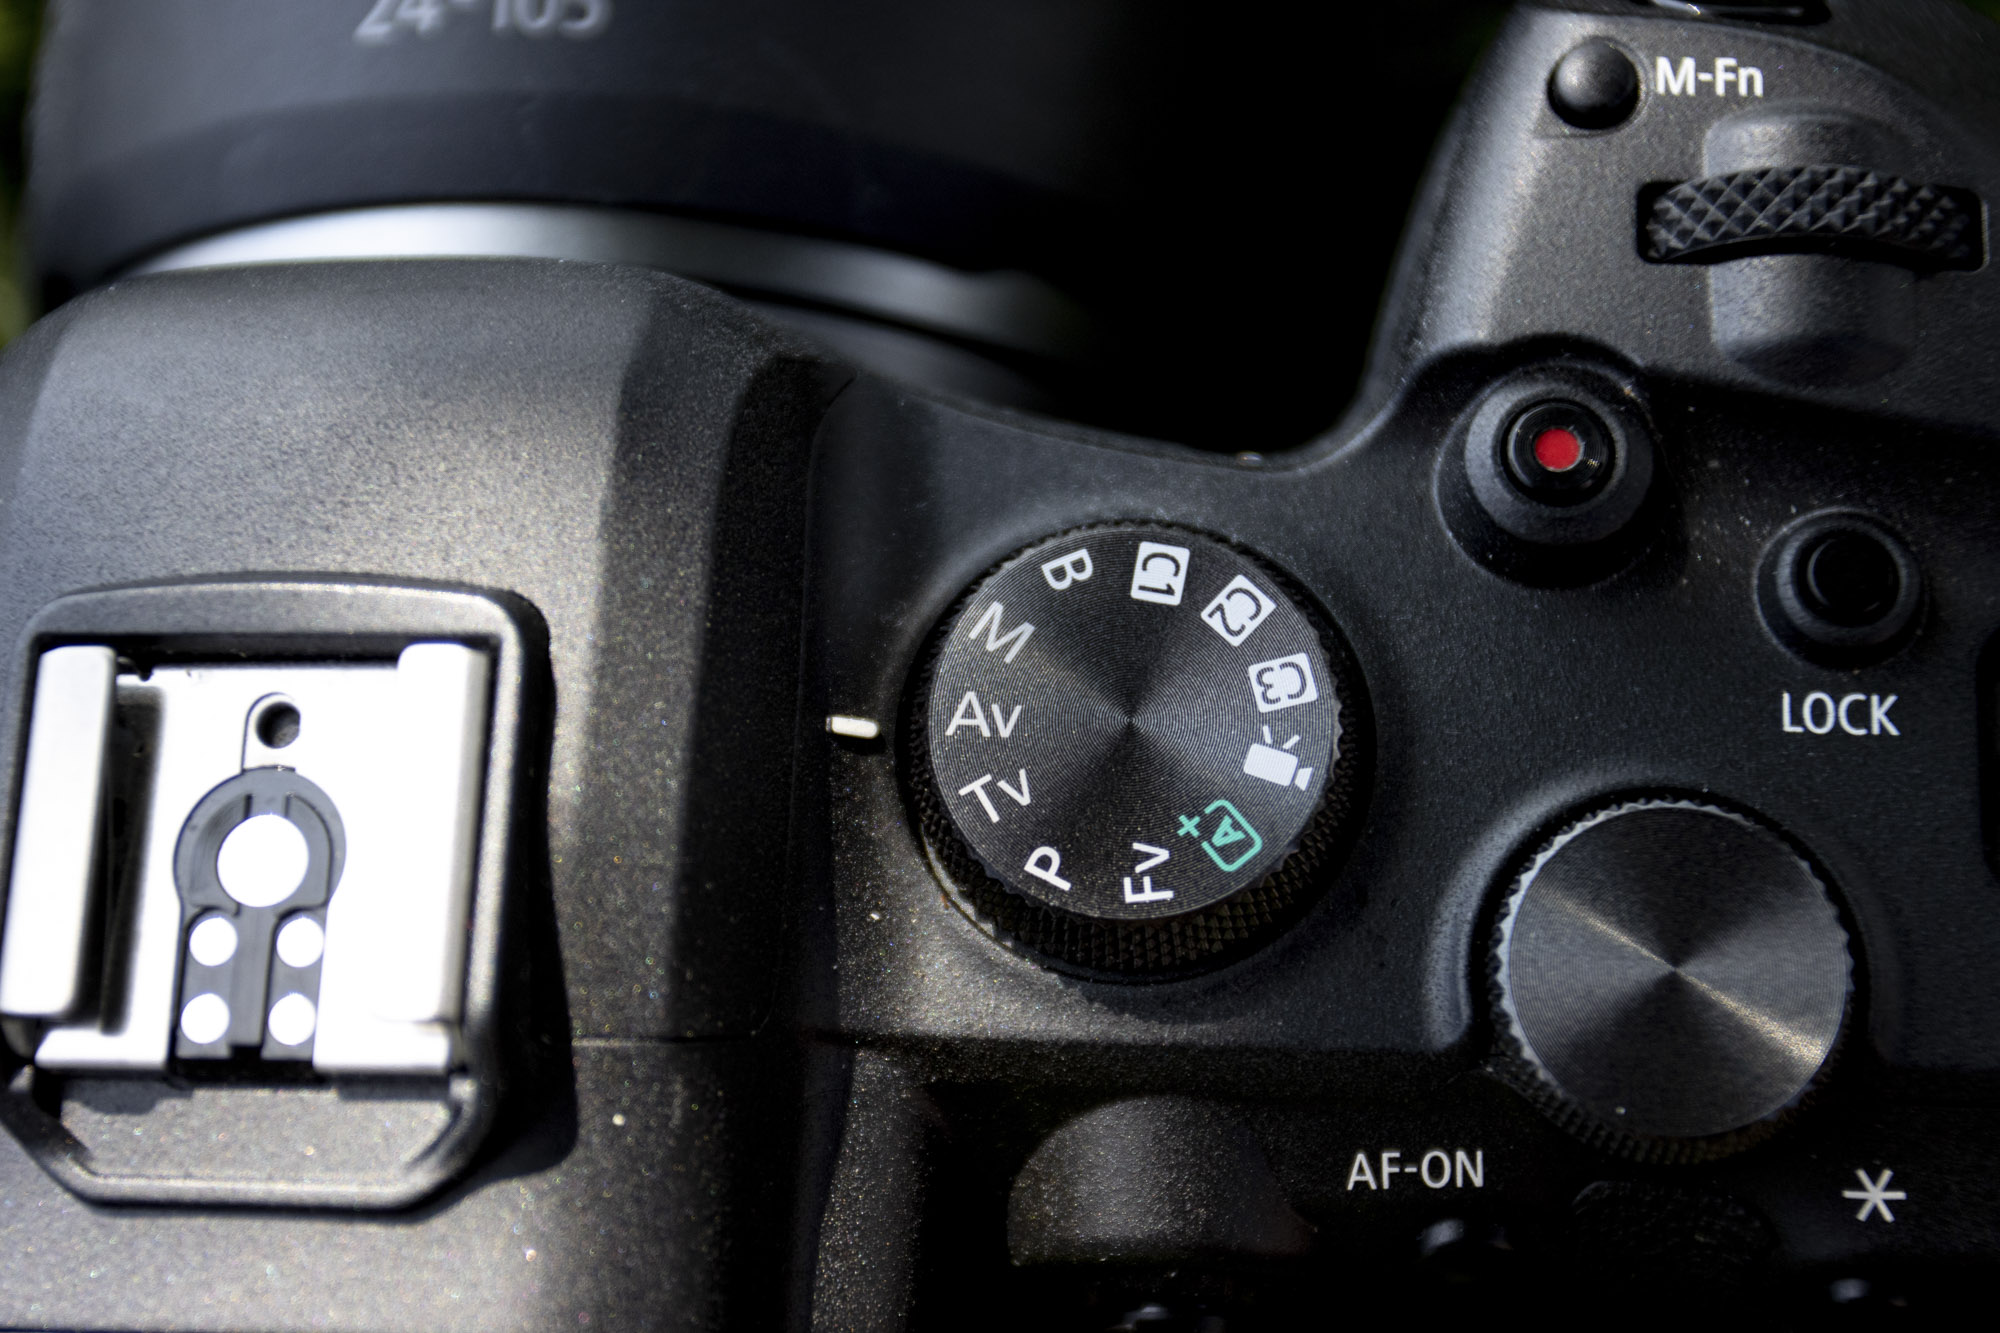
Our first task is to get the camera ready to shoot. As always when shooting landscapes, it’s preferable to use the RAW file format instead of JPEG, because this retains more tonal detail, enabling you to make more of the shadows and highlights in the scene.
When it comes to shooting modes, this is down to personal choice, but we like to use the semi-automatic Aperture Priority mode, as it enables us to concentrate on choosing the right aperture while the camera works out the best shutter speed to deliver a balanced exposure. We also set the ISO low on bright and sunny days for better image quality.
The best camera deals, reviews, product advice, and unmissable photography news, direct to your inbox!
2. Focal length
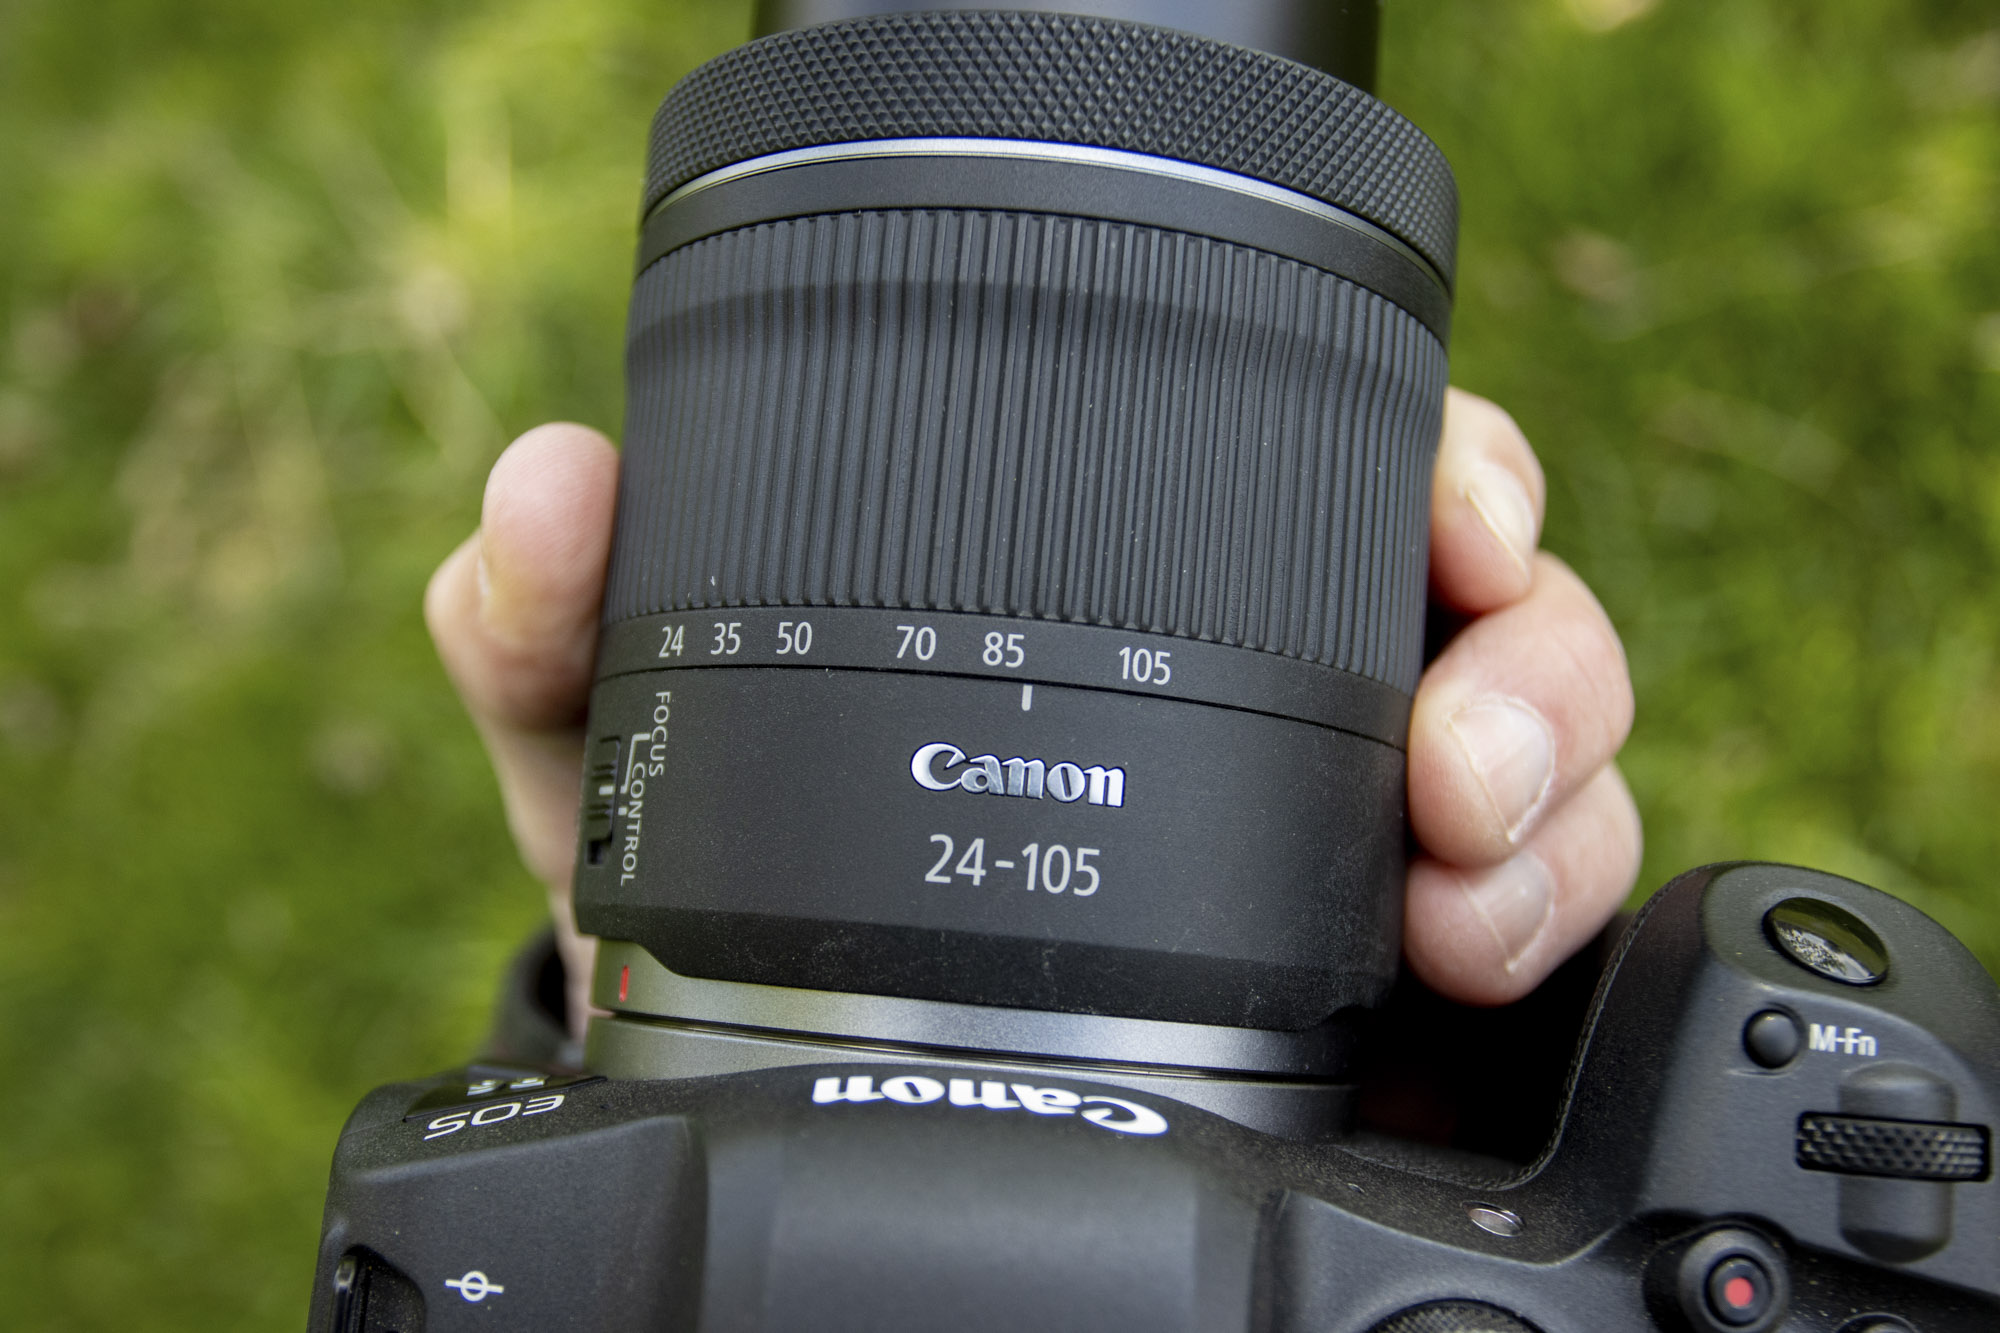
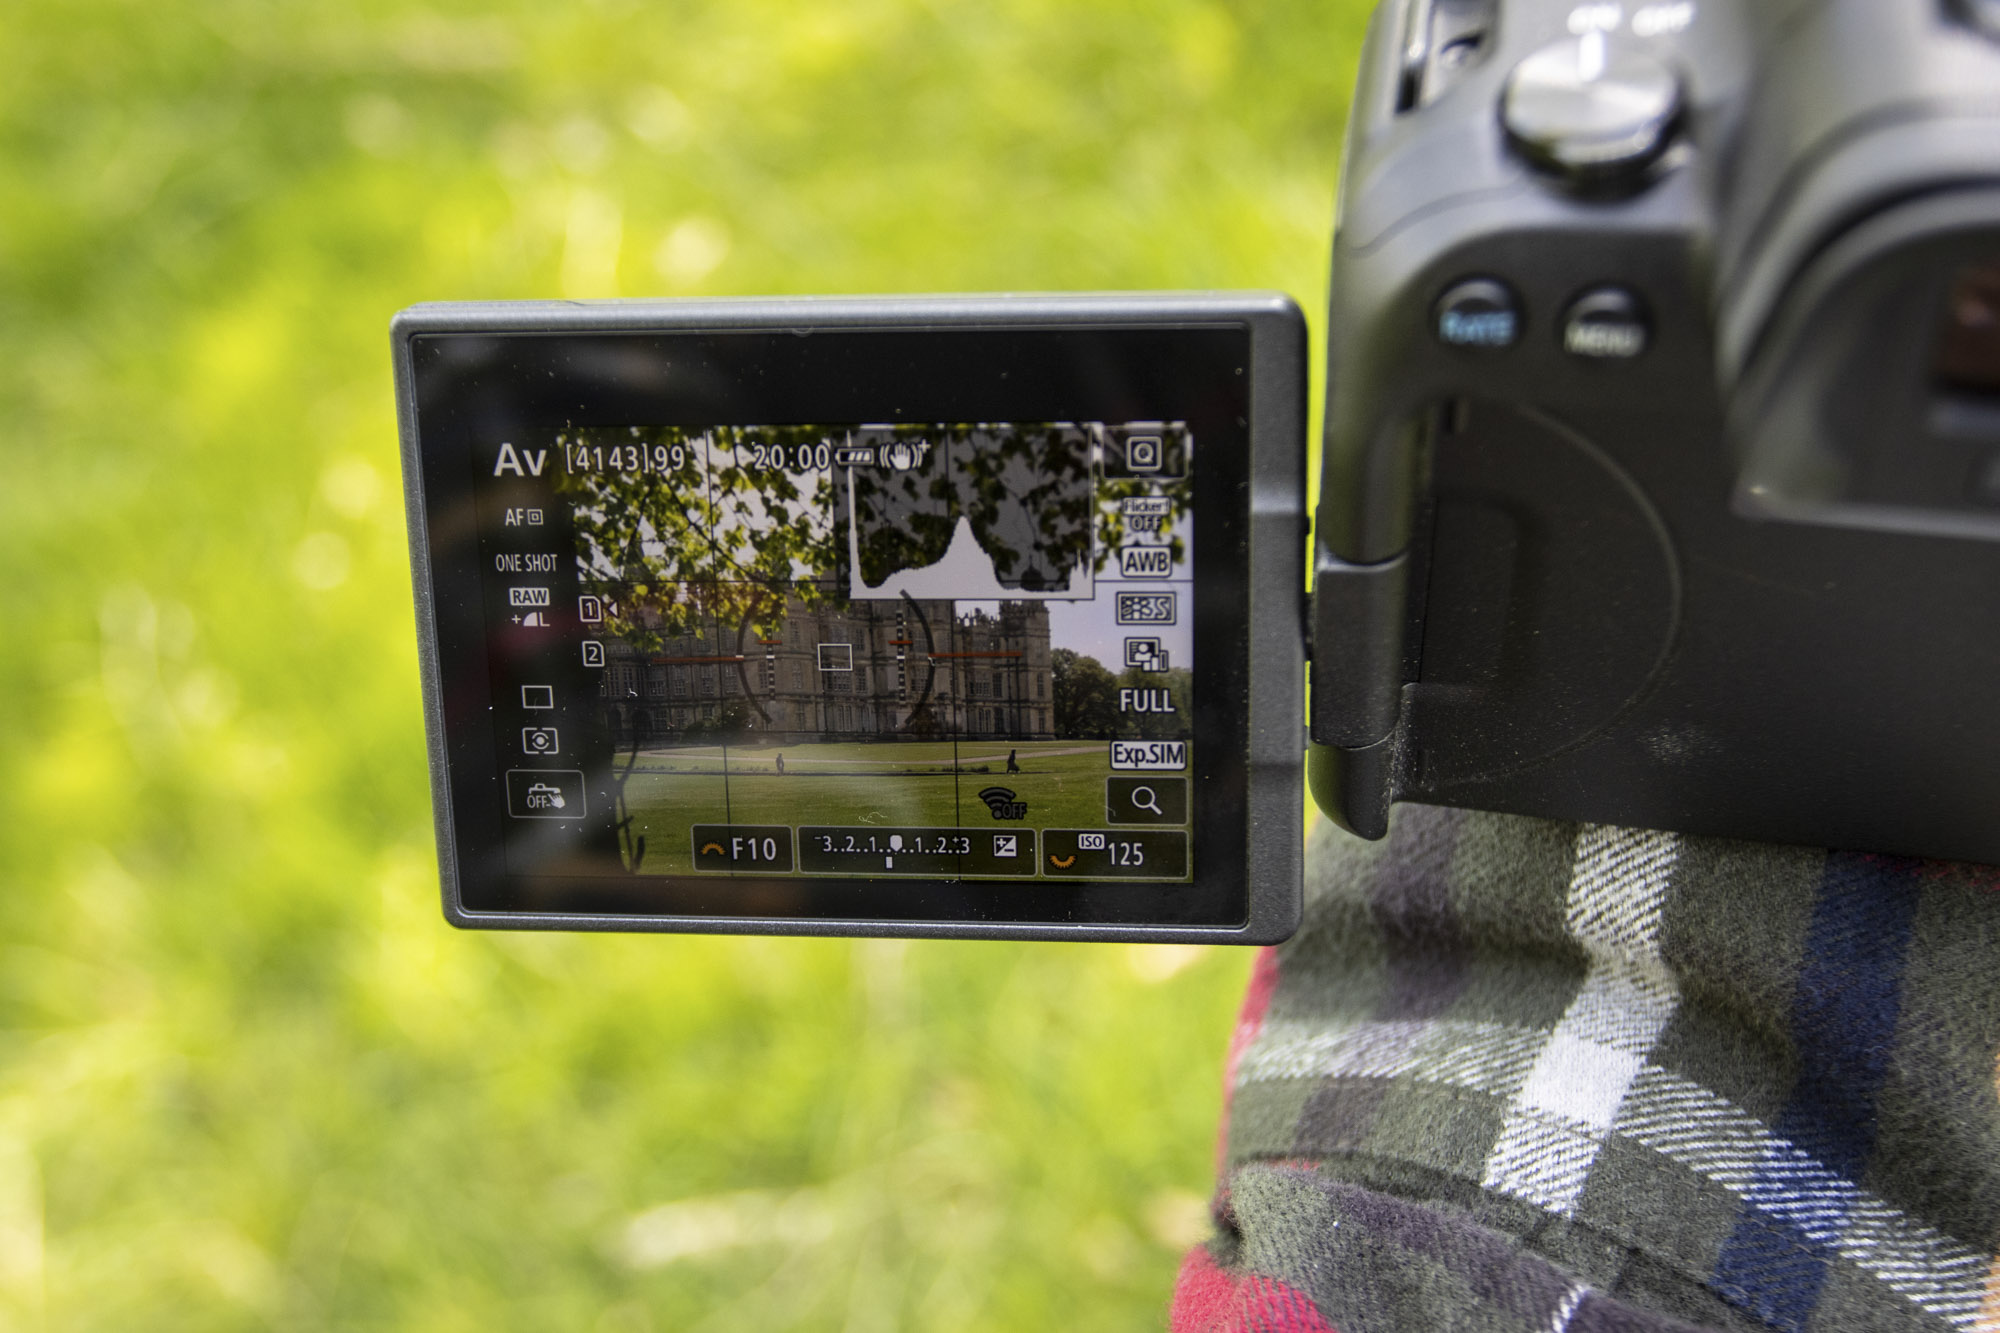
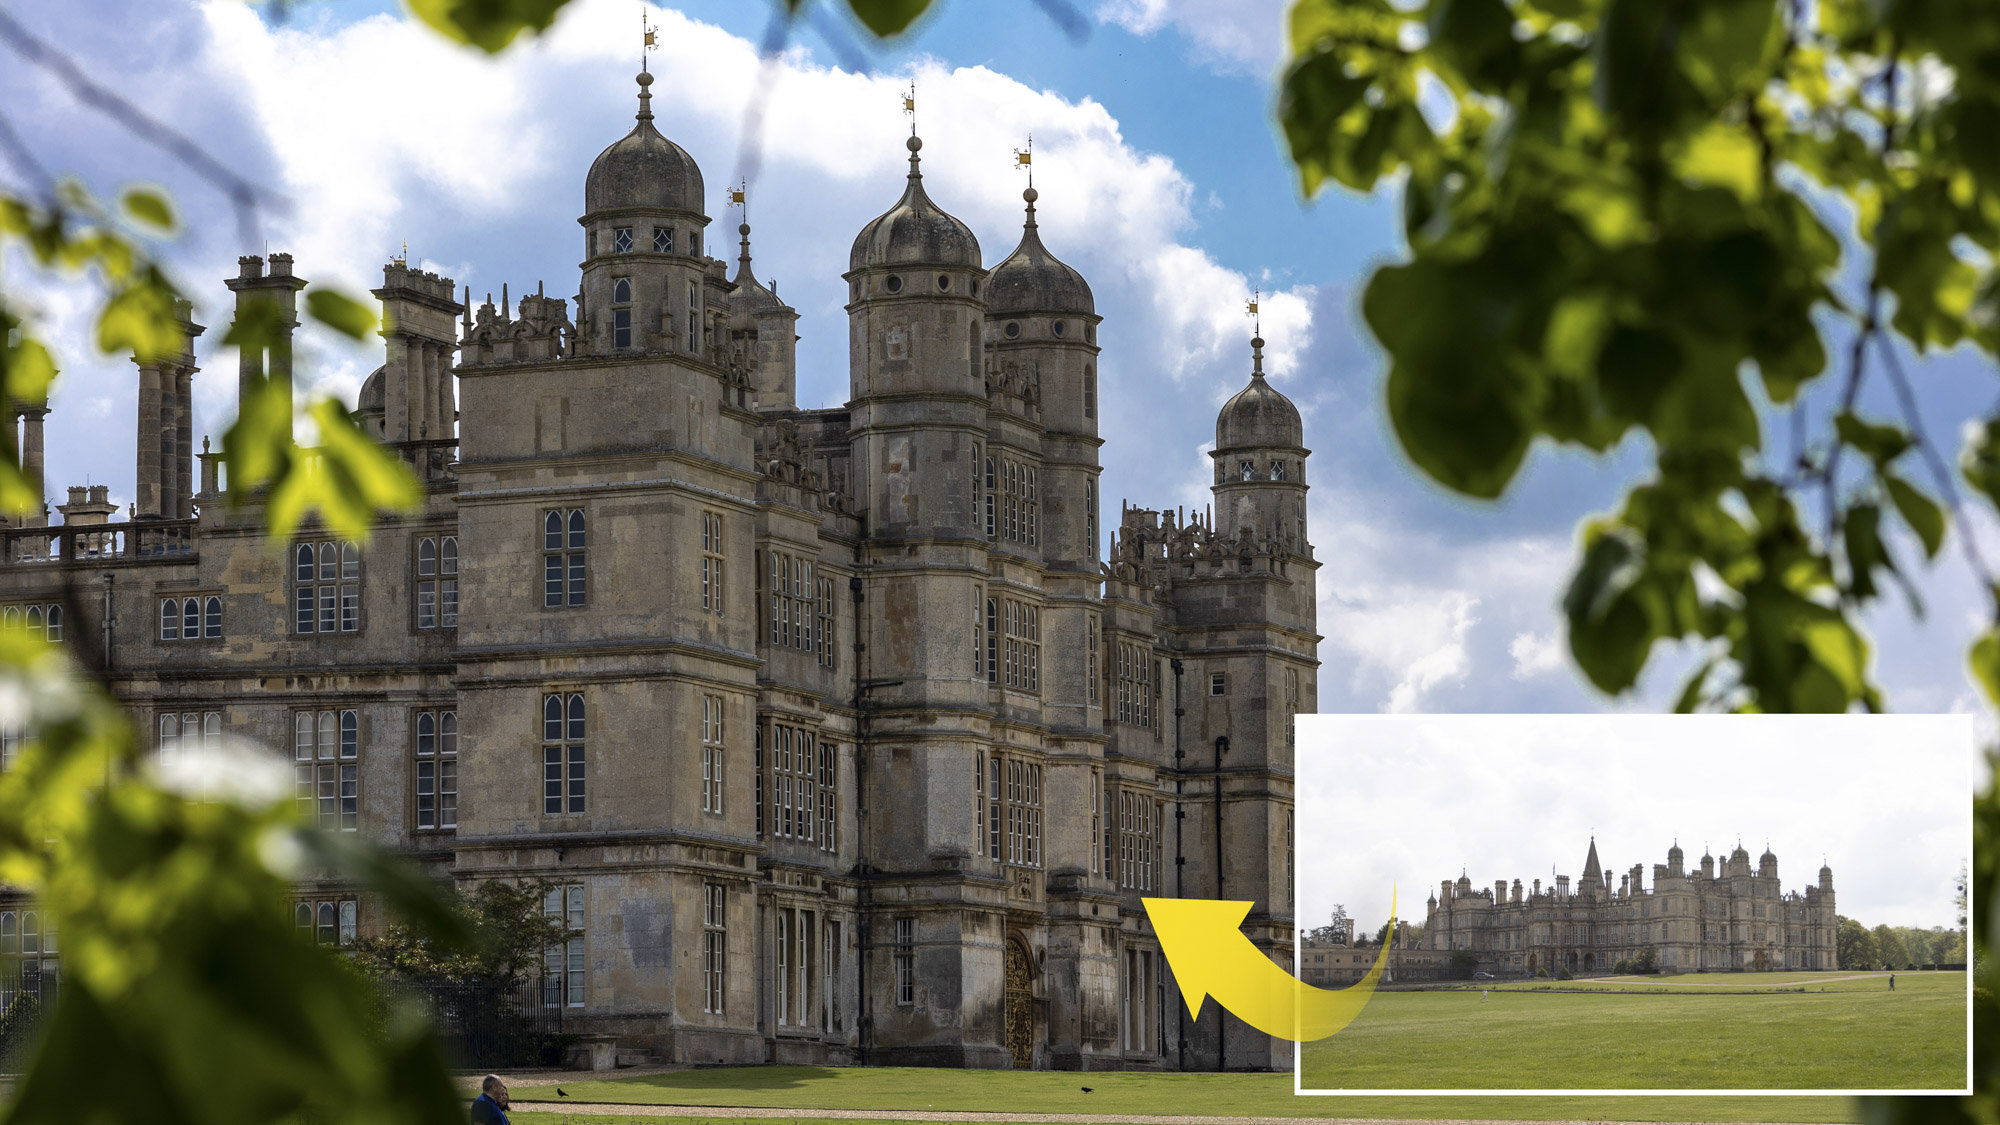
With a mid-aperture of around f/8 dialed in, it’s now time to create your composition. It can be helpful to tilt or flip out the LCD screen, if your camera allows, so you can clearly view the scene, and then proceed to adjust your focal length to frame up. Although you may be tempted to go as wide as possible, zooming in to around 60-85mm on a full-frame camera often gives a more compressed field of view, which can make more of the natural border around the frame.
What’s more, extending that focal length gives the frame a sense of depth, which can add a professional feel to your shots. It's at this stage that you should adjust the exposure compensation to balance the brightness of your subject and the frame if needed.
3. Get creative
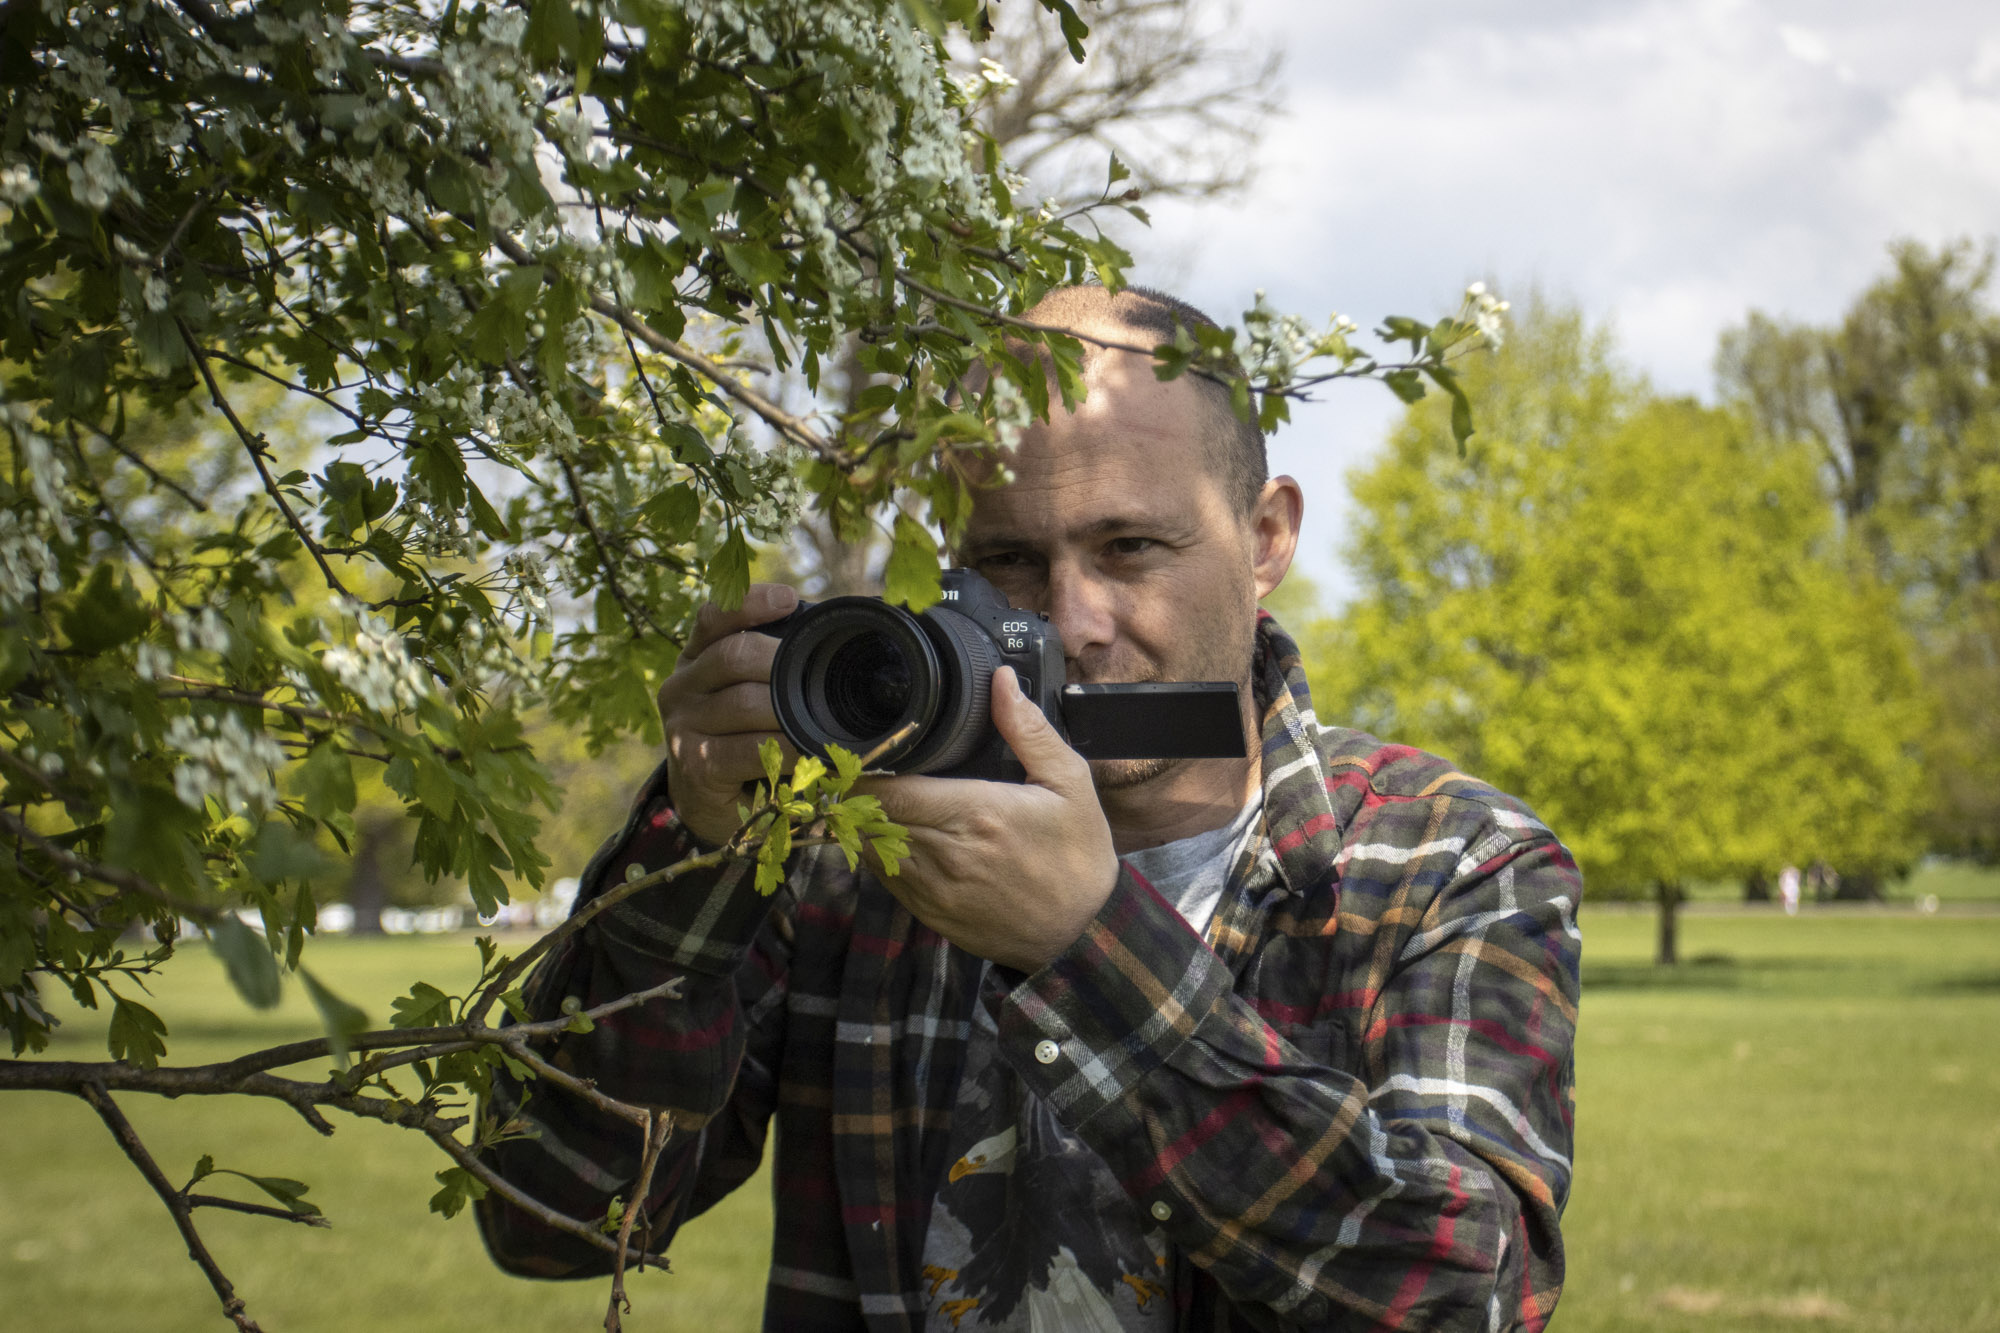
While some locations offer a steady stream of natural borders, at other locations you may have to take matters into your own hands and get more creative. While we don’t suggest damaging foliage, there’s nothing wrong with lowering a branch to fit with your composition.
What's more, the truth of this technique is that you don't need a huge border to make a big difference to your frame. Even picking up a curved stick can provide interest to the corners of the frame. In bright light, it may also be worth switching back to the optical or electronic viewfinder, because LCDs can sometimes be difficult to view due to the glare from the sun, especially when shooting during the day.
4. Time to experiment
The clue to creative framing is in the name. Get high, get low and switch up your focal lengths to vary your imagery. Don’t be afraid to experiment, and why not set yourself the challenge of capturing the same subject from multiple viewpoints using different natural borders.
Once you've tried this technique once, you'll begin to notice natural borders wherever you go and can incorporate them into other genres of image-making. For example, the next time you're shooting portraits or street photography, try framing the subject with a natural border. It's challenging but rewarding!
PhotoPlus: The Canon Magazine is the world's only monthly newsstand title that's 100% devoted to Canon, so you can be sure the magazine is completely relevant to your system.
Read more:
Best cameras for landscapes
Best landscape photography tips
Best neutral density filters
Best photo editing software
Best photo-editing laptops
Matty has worked for a number of photographic magazines including Professional Photo, Digital Photo and Digital SLR magazine. He is an accomplished car and lanadscape photographer, who runs his own video production and content creation business in Lincolnshire.

