How to photograph birds in your garden
Top tips for shooting backyard birds

Bird photography is a popular subject among nature lovers and wildlife enthusiasts. Birds are colorful, interesting and varied, but taking sharp pictures of them isn't easy. Here, we'll share advice on how to photograph birds in your garden.
Birds move quickly, which makes focusing and exposure more challenging – and it's not always to find them in the wild. That's why photographing birds in your garden is a great place to start. You can roughly predict the bird activity, there's a guarantee of the sighting, you don't have to travel far, and can to some extent control the environment, putting up feeders in the best places.
The best camera for wildlife photography and the best lenses for bird photography can improve your chance of taking good photos of birds in your garden. But if you want to watch and photograph the birds without having to spend a fortune, you could also try the best bird feeder cameras.
Getting started
If you don't already have birds visiting your backyard, get started now by regularly replenishing a bird table or feeder with seed and water. After a few weeks, you should have regular visits from local birds. Make sure your feeder is a few feet away from a plain, natural-colored background, such as a garden fence or a hedge, to give you a clean backdrop for your shots.
Even if birds are used to coming to the feeder you’re planning to photograph, you’ll still need to find somewhere to hide your camera to avoid spooking them too much.
Try setting up dead branches or even a spade near the feeder to give birds an attractive perch to pose on for your camera.
A garden shed or even a kitchen window will do for this. Alternatively, you could invest in a portable hide – these can cost as little as $85/£50, making them one of the more affordable pieces of kit for shooting birds.
If you aren’t sure which particular bird species of bird visit your garden, there are some great apps you can download that will help you identify them. You could try the Sibley guide to the birds of North America if you’re in the United States or Canada, while iBird UK has clear pictures and soundbites of common British bird calls (plenty of which you’ll also see and hear in mainland Europe).
The best camera deals, reviews, product advice, and unmissable photography news, direct to your inbox!
Tips for shooting backyard birds

1. Location, location, location
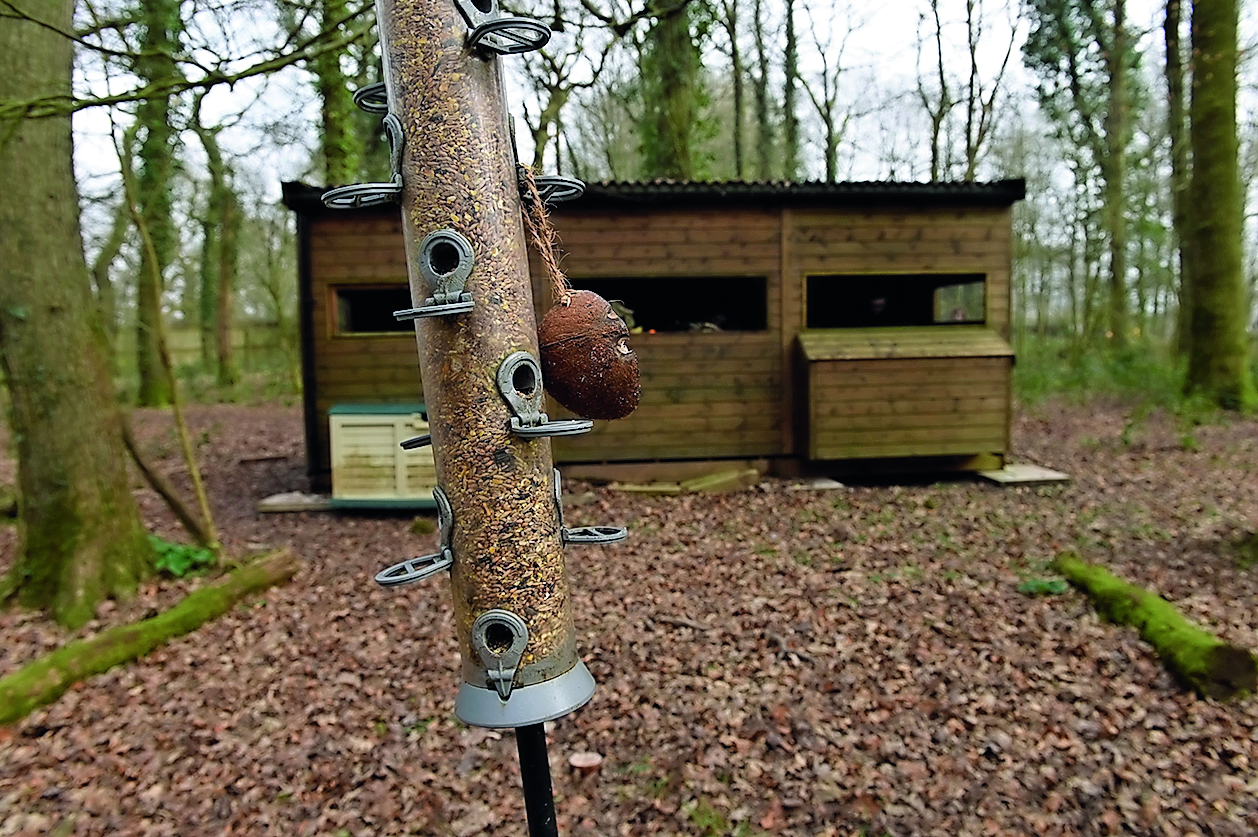
Don’t have a garden? Visit somewhere with bird feeders that are regularly topped up and set against a plain background. If there’s a permanent hide you can shoot from, like this hut, even better. Pick a calm, clear day with little wind – an overcast sky is best for avoiding any exposure issues.

2. Get some great glass
Small, speedy birds are a nightmare to capture without the best telephoto lenses. The longer the zoom you can get, the better for getting great detail. Zoom in as close as you can, as you can always crop in even further in post-production. It's also worth asking the question: should you use a full frame or cropped sensor camera for bird photography? as you can effectively get more reach from a cropped sensor.
That said, long lenses are expensive. So you might want to extend your existing glass with one of the best teleconverters instead.
3. Switch to Aperture Priority mode

You won’t have time to adjust settings between shots, so switch your camera to aperture priority mode (or ‘A’) and pick a wide aperture, such as f/5.6, to knock out the background. Your camera will look after the shutter speed. Increase the ISO to something like ISO800 to keep fluttering wings sharp.
4. Perfect composition

If your camera's autofocus is struggling, select single-point AF mode in the Shooting menu and then use the directional buttons to pick the perfect focus point, always aiming to keep your bird’s eye pin-sharp. For a better-looking composition, try positioning your subject off-center.
Capture garden birds in flight

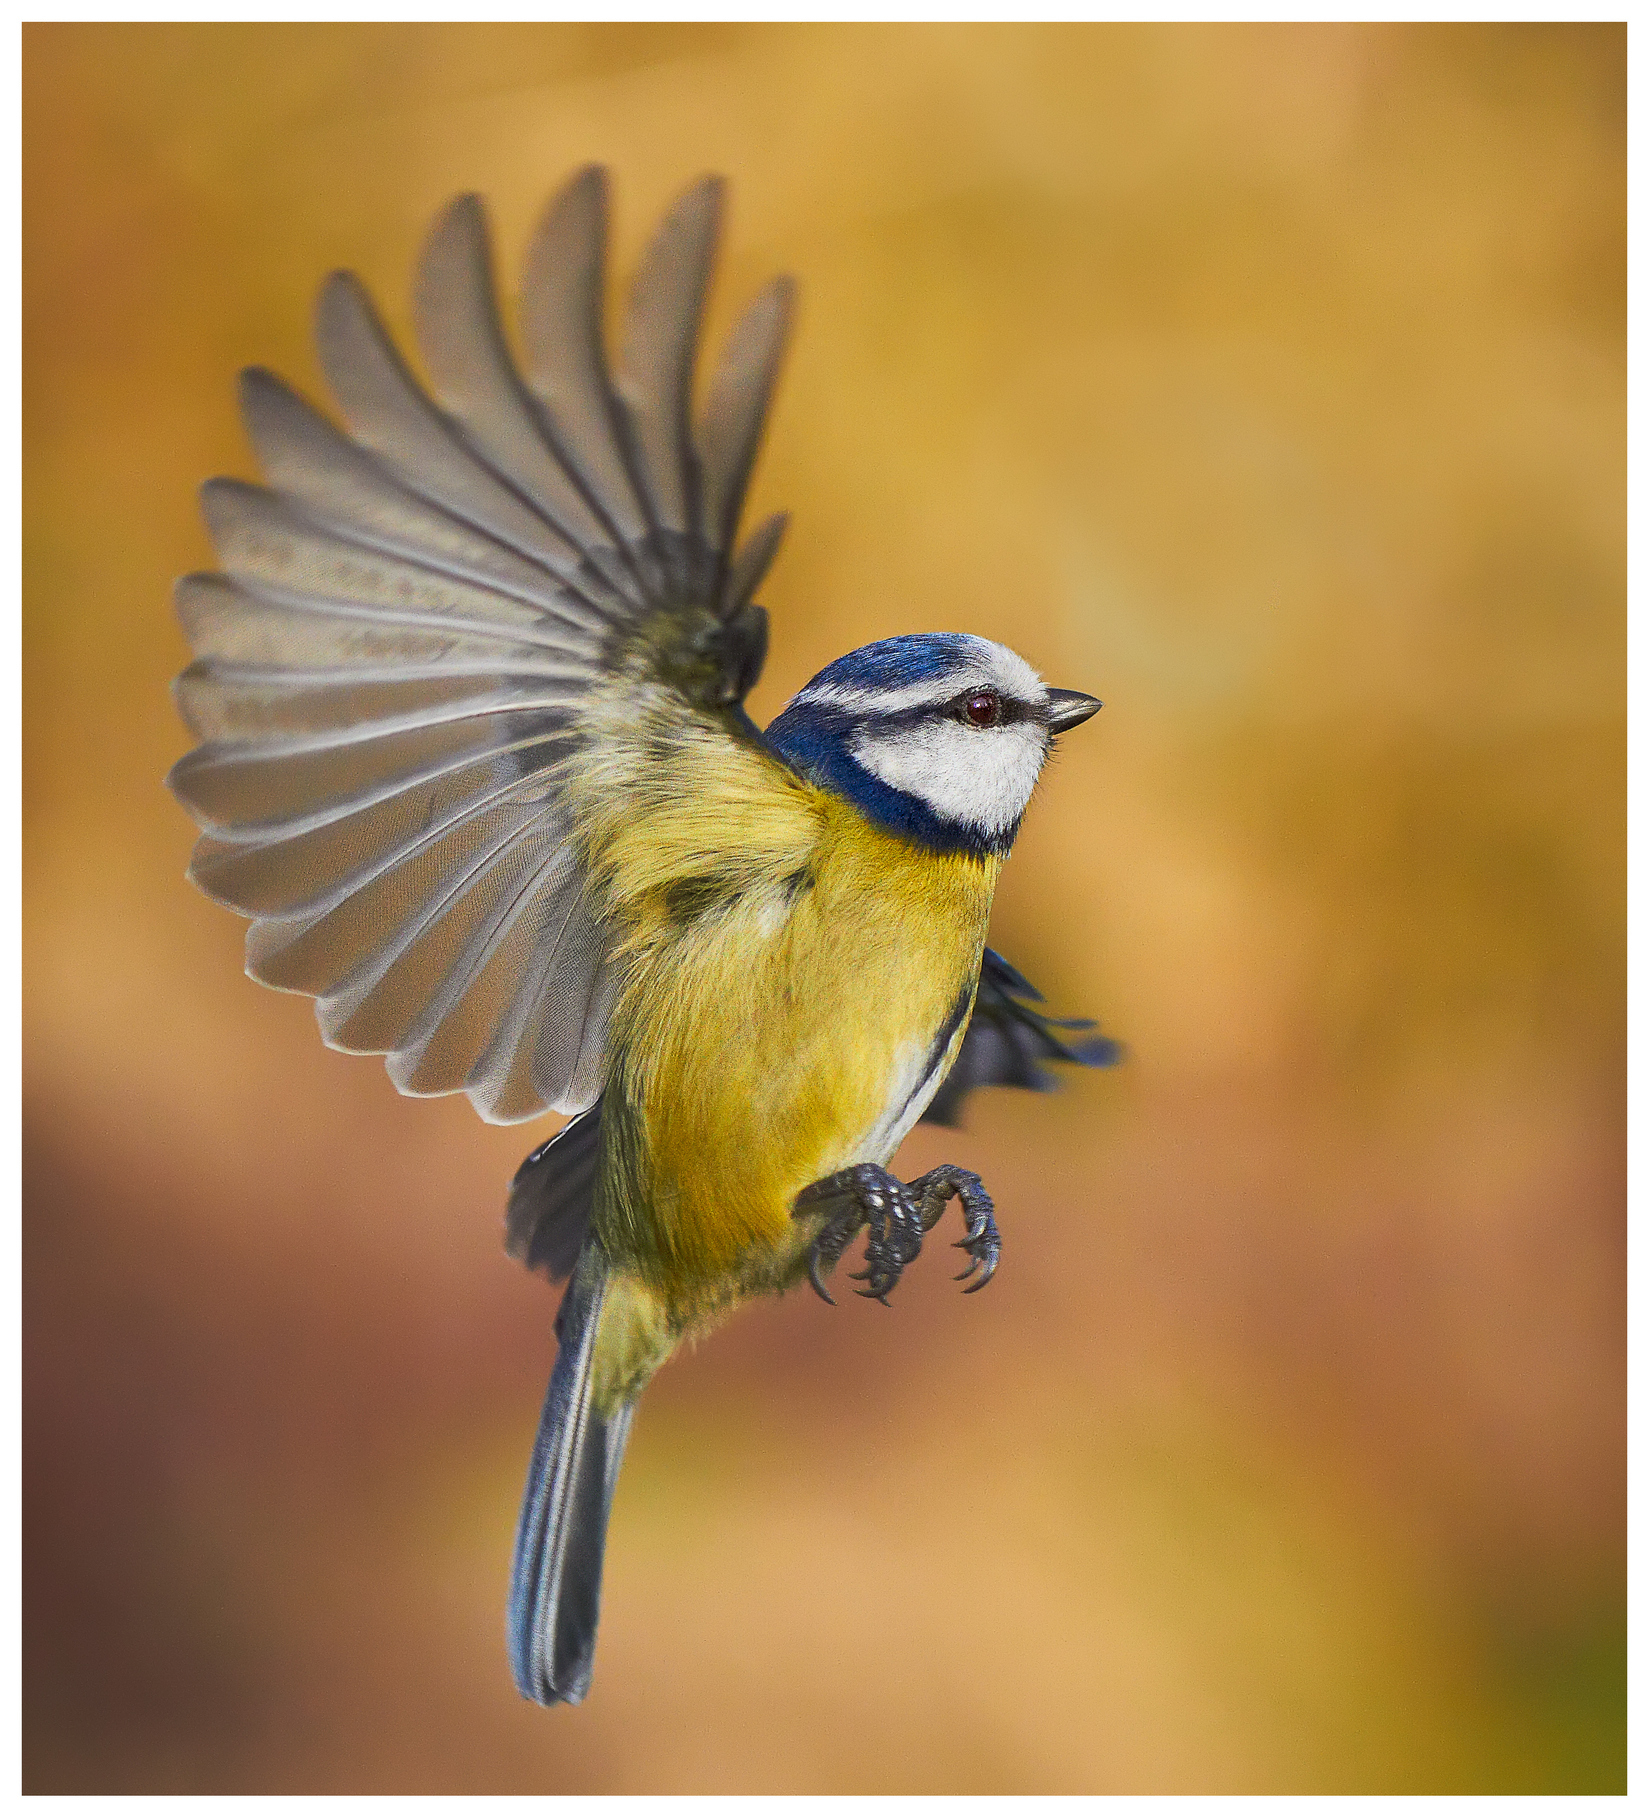
Once only possible with high-speed flash, flight shots are now accessible to anyone with a large-capacity memory card. You’ll need good sunlight and a high ISO setting because a shutter speed of around 1/2000 sec is needed to freeze the action. Autofocus didn't use to be reliable for fast-flying small birds, but things have improved significantly with Deep Learning AF. That said, it’s best to align the feeder and perch in the same plane of focus.
Manually focus on the perch (or feeder) and then re-compose the shot so that it’s framed in the gap between them. With luck, the bird will then fly from the perch to the feeder and remain in sharp focus. Use a camera remote so you can watch the bird on the perch, and then take a sequence of shots as it takes off using the fastest continuous burst setting.
It's definitely worth saying that you don't need the latest mirrorless camera to photograph birds, and in fact, a DSLR can be just as good.

Lauren is a writer, reviewer, and photographer with ten years of experience in the camera industry. She's the former Managing Editor of Digital Camera World, and previously served as Editor of Digital Photographer magazine, Technique editor for PhotoPlus: The Canon Magazine, and Deputy Editor of our sister publication, Digital Camera Magazine. An experienced journalist and freelance photographer, Lauren also has bylines at Tech Radar, Space.com, Canon Europe, PCGamesN, T3, Stuff, and British Airways' in-flight magazine. When she's not testing gear for DCW, she's probably in the kitchen testing yet another new curry recipe or walking in the Cotswolds with her Flat-coated Retriever.
