How to create a duotone effect in Photoshop
Spice up a simple outdoor portrait by creating a striking duotone effect in Adobe Photoshop
The best camera deals, reviews, product advice, and unmissable photography news, direct to your inbox!
You are now subscribed
Your newsletter sign-up was successful
Portrait shopping list
• Best lenses for portraits
• Best camera for portraits
• Best photo editing software
• Best photo-editing laptops
Watch video: How to create a duotone in Photoshop
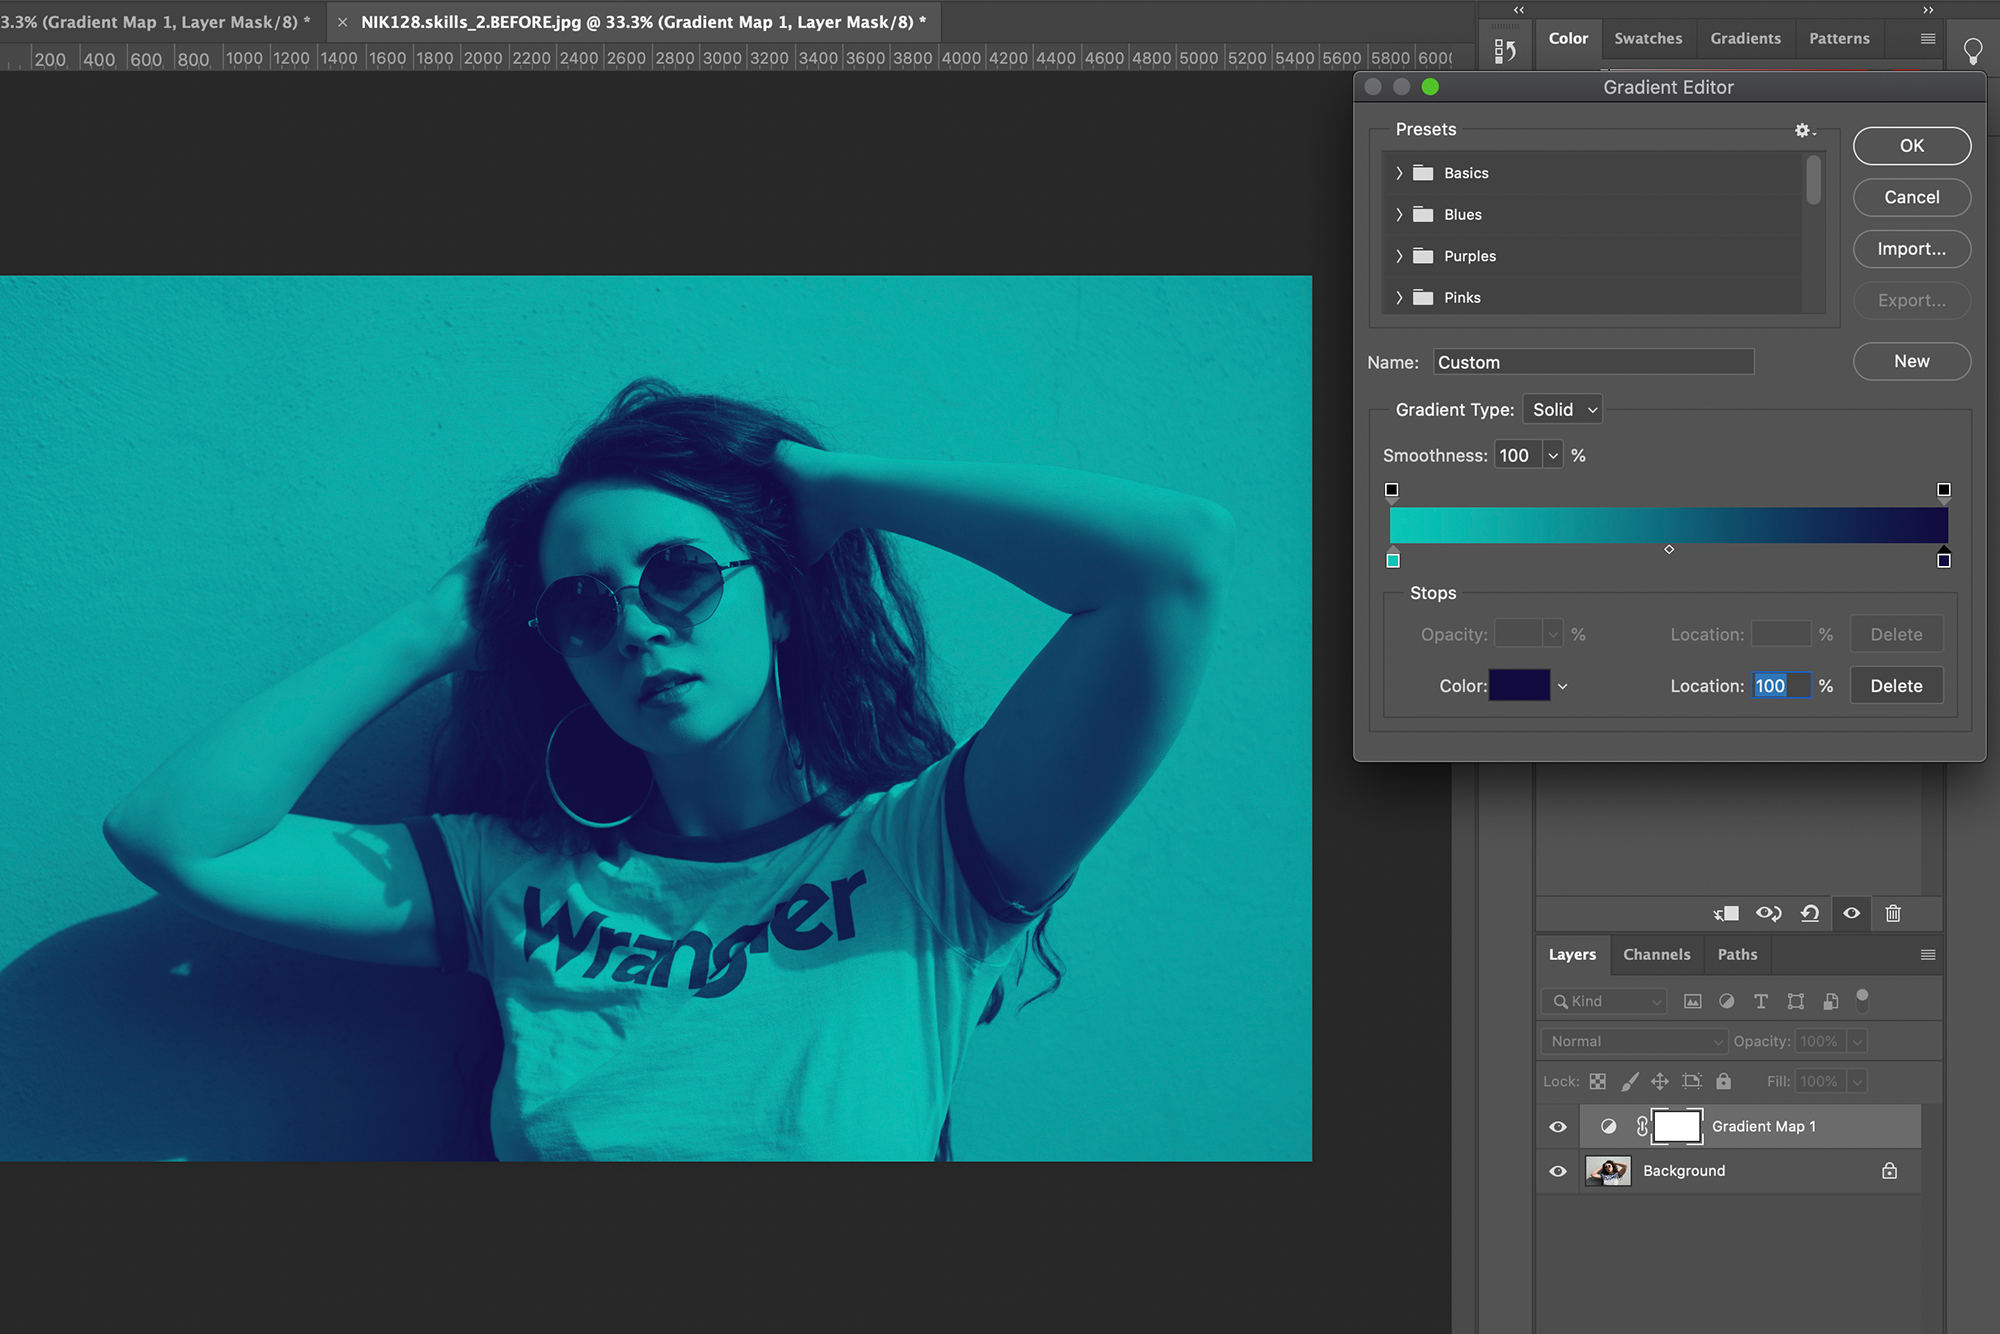
Duotone images are incredibly popular; you’ll often see them in adverts and posters. As the name suggests, a duotone photograph is made up of two colors with enough contrast to clearly separate the highlights, midtones and shadows.
This age-old style of image manipulation has been around since the 1800s, but the power of the best photo editing software has made it possible to apply this striking effect – using any combination of colors – in minutes. Performing a duotone edit is a great way to breathe life into old photos that perhaps never made the cut. Any image can be turned into a duotone, but photos with relatively clean backgrounds and prominent subjects work best. It’s therefore very prevalent in portraiture.
Article continues belowIf you’re new to Photoshop and searching for a simple way to apply this effect, convert your image to black-and-white in Camera Raw before opening it in Photoshop. Then select Image > Mode > Duotone in the top toolbar to bring up the Duotone Options window. You can then set the Type dropdown menu to Duotone and select your pair of contrasting colors.
However, in this tutorial we’ll take this a step further by using the Channels tab and Solid Color tool to create our duotone image. This gives you slightly more control as you isolate your preferred Red, Green or Blue channel, before applying adjustment layers to create a nondestructive duotone effect that can be easily tweaked later. Here’s how to do it…
How to create a duotone in Photoshop
1. Plain frame
Soft lighting will make your duotone image look flat, so we photographed our subject in high-contrast sunlight. Even then, this effect can make it harder for your subject to stand out, so refrain from shooting against a busy background and photograph your subject in front of something plain, like a pop-up background or wall.
The best camera deals, reviews, product advice, and unmissable photography news, direct to your inbox!
2. Camera settings
The bright conditions enabled us to work at ISO100 and easily achieve a fast enough shutter speed to mitigate camera shake. Since a shallow depth of field wasn’t necessary, due to the plain background, we refrained from using a super-wide aperture, making it easier to focus on our subject.
3. Beat the glare
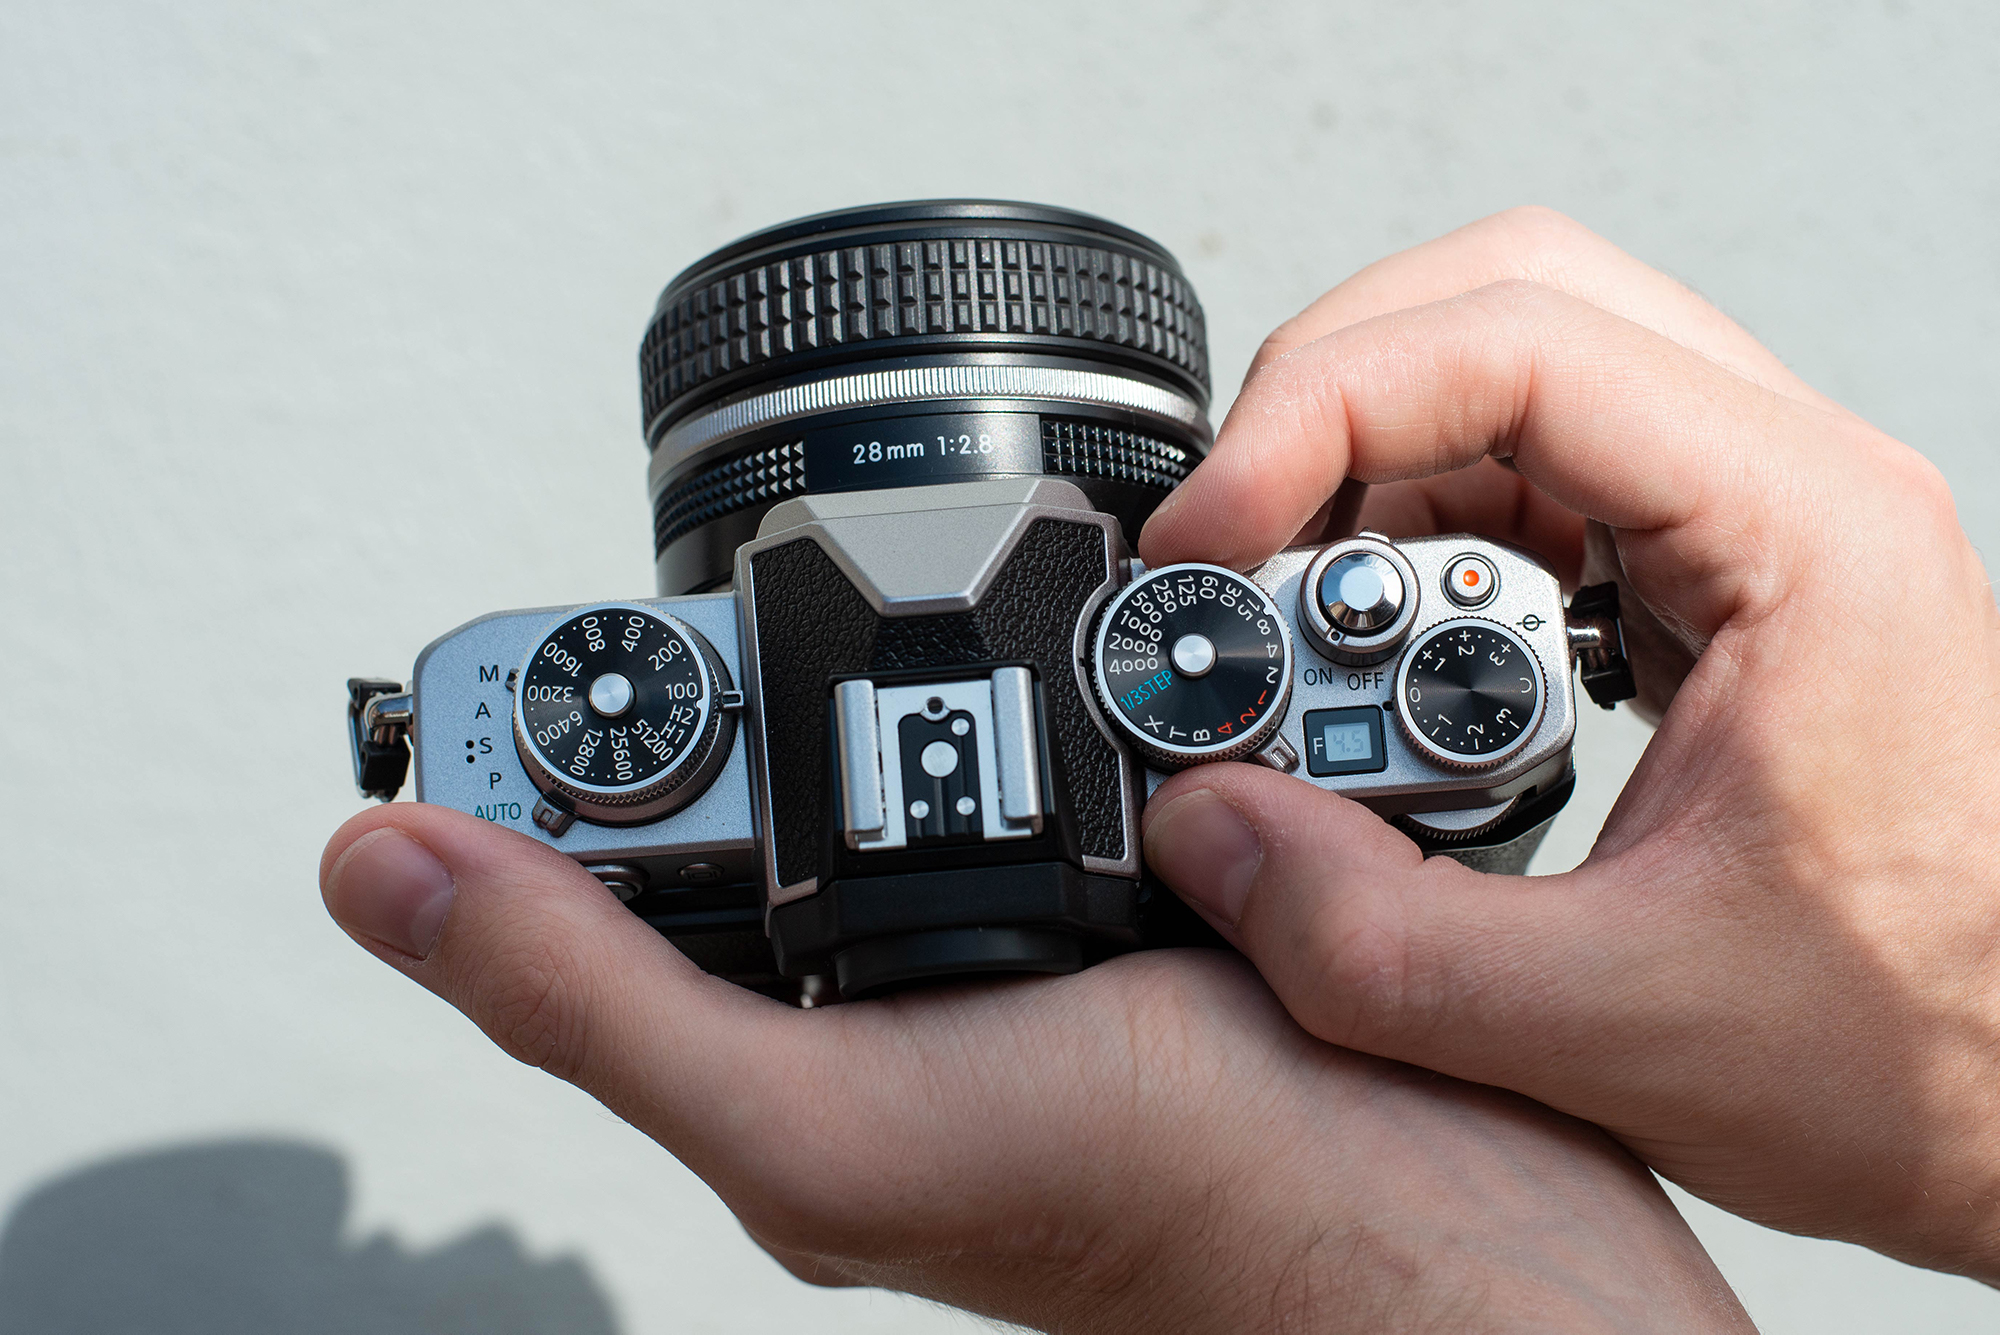
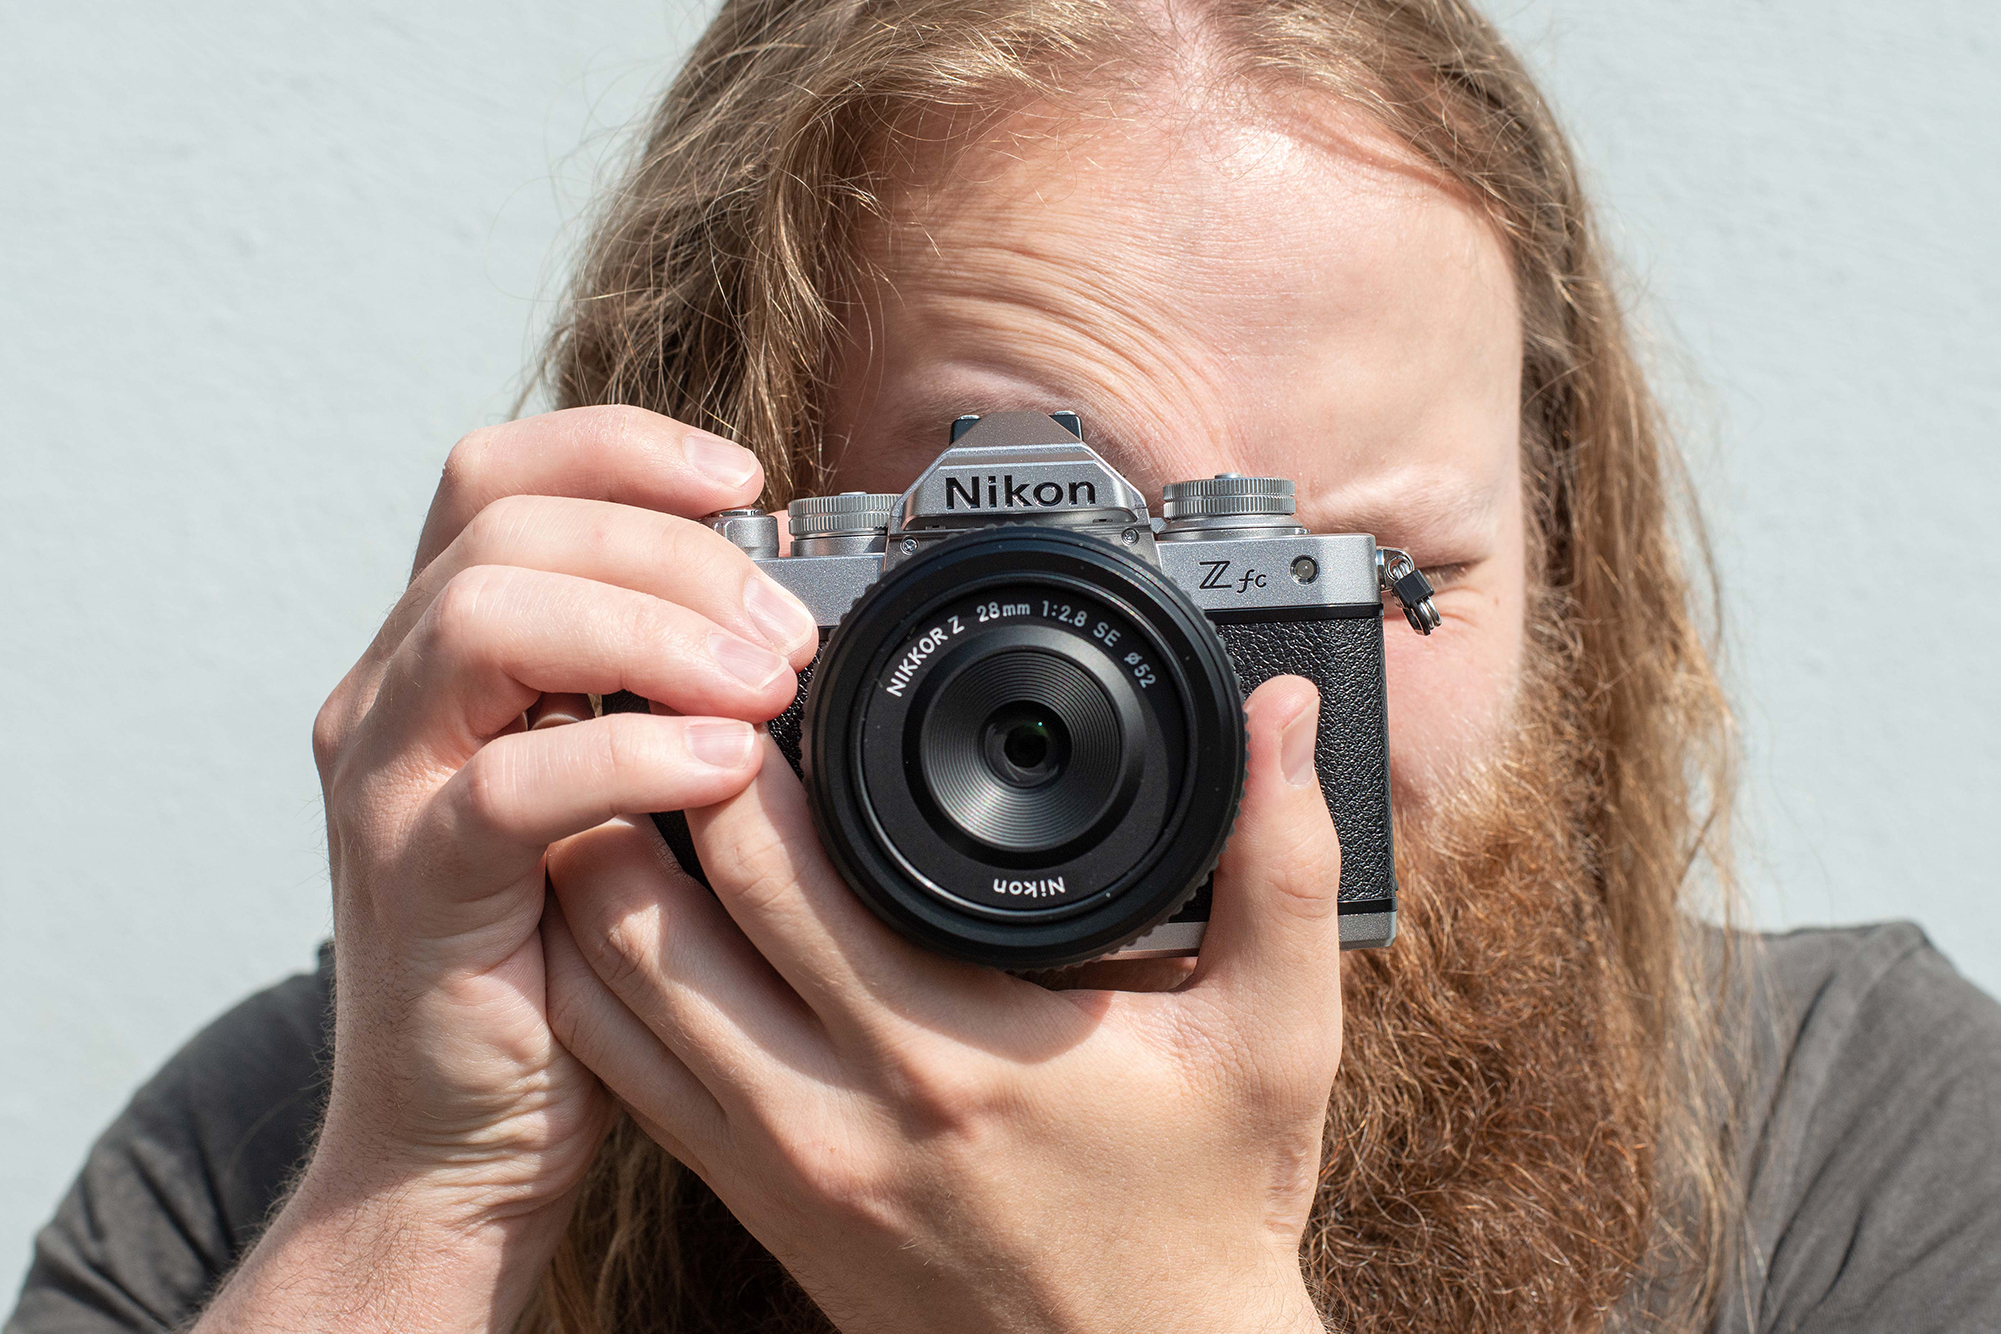
When shooting in bright conditions it’s always easier to frame your image through the viewfinder. Many mirrorless cameras, like our Nikon Z fc we used here, use an electronic viewfinder. This enables you to view and play back your images through the finder, which is helpful if glare makes it difficult to see the rear LCD.
4. RGB channels
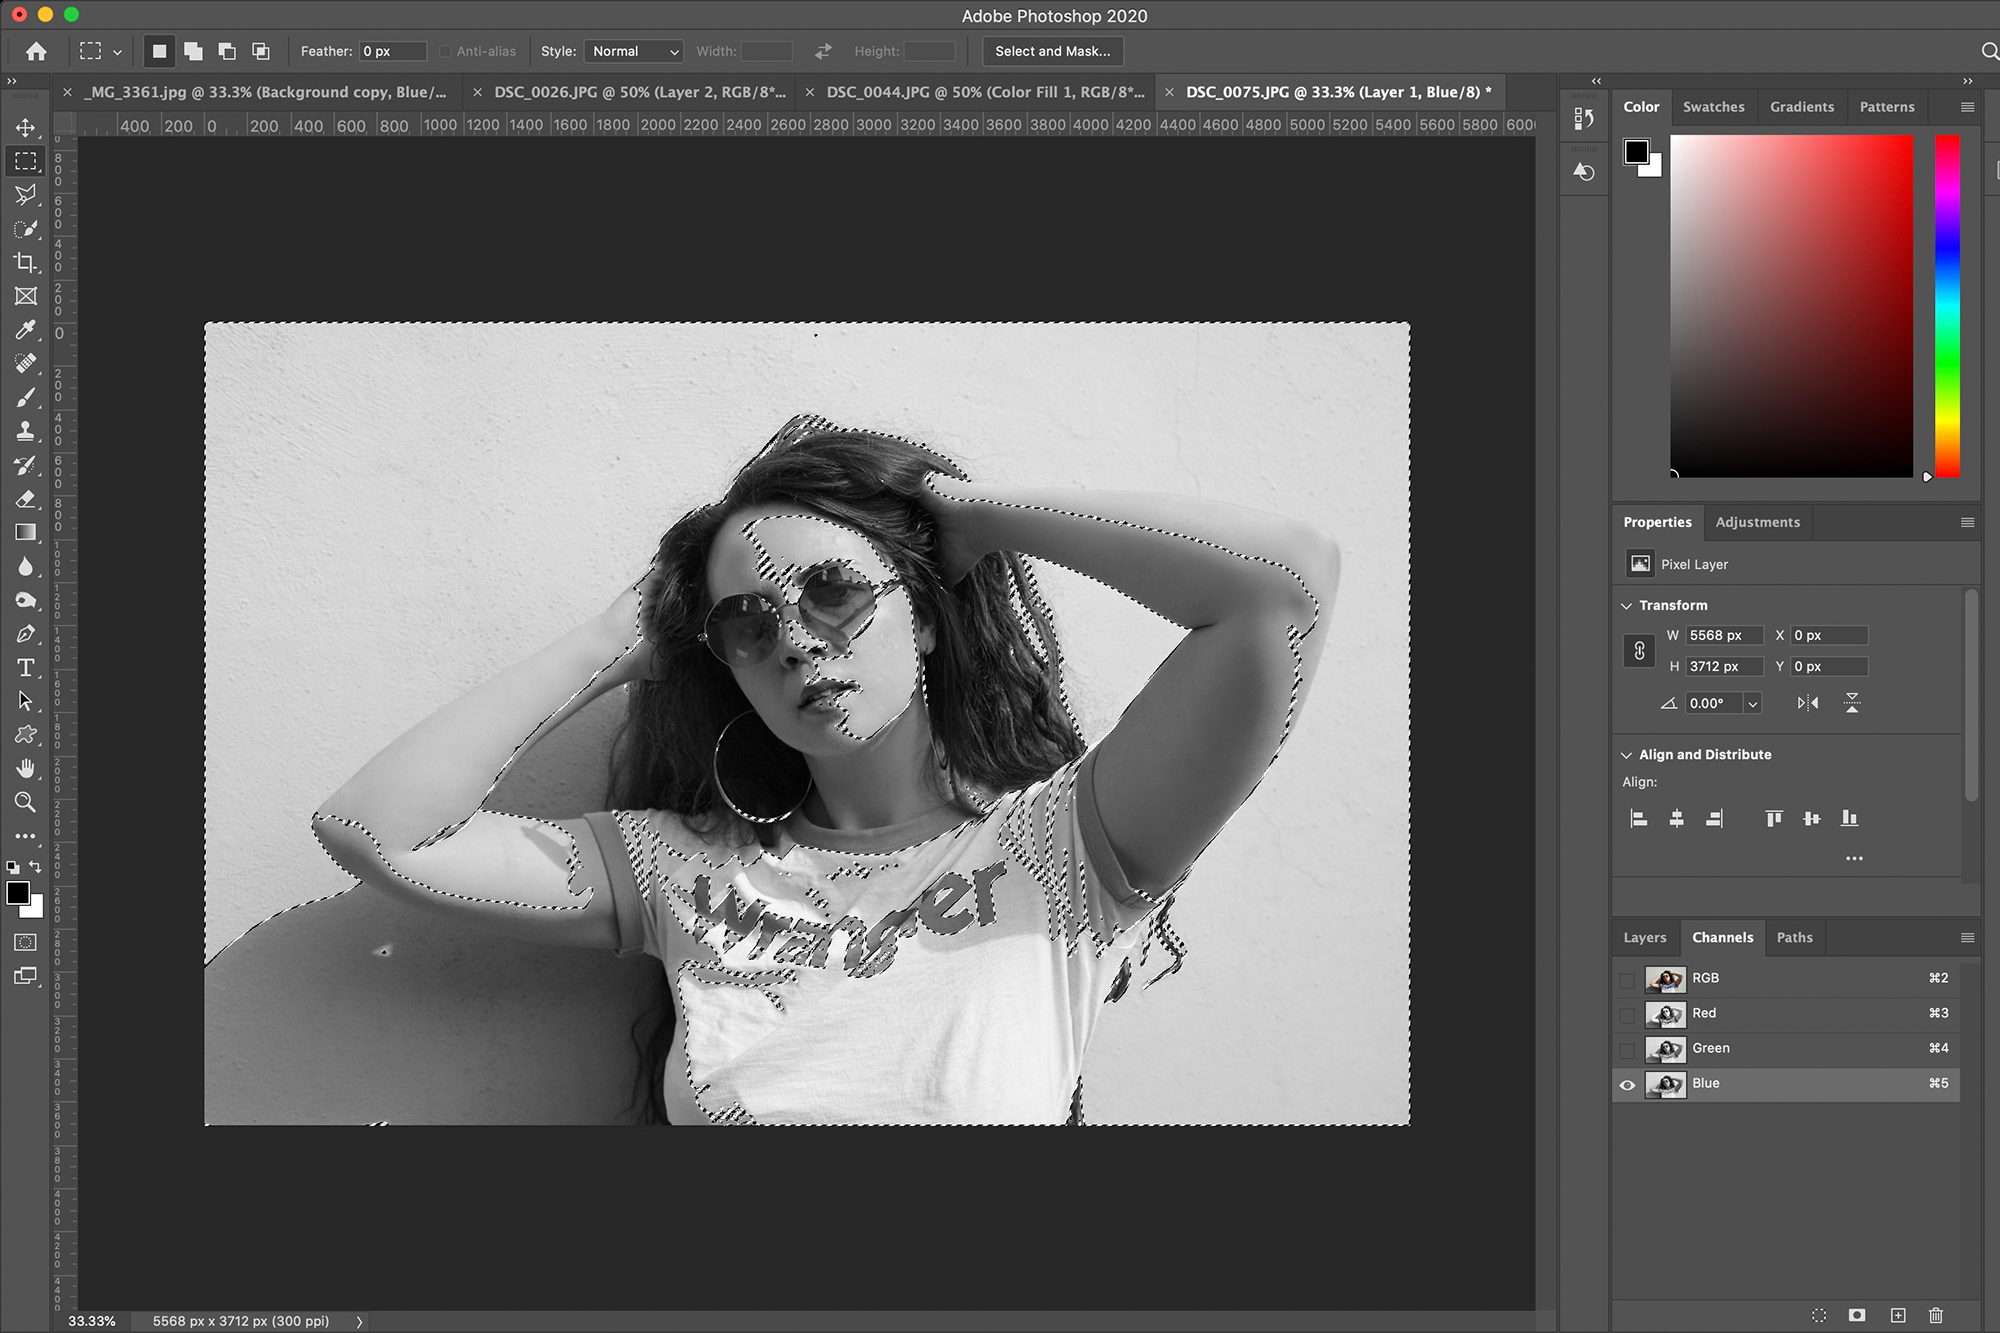
Open your image in Photoshop and select the Channels tab (next to Layers). Click on the Red, Green and Blue channels, and select whichever one looks like the most balanced black and white image (we chose Blue). Click the ‘Load channels as selection’ icon – a dotted circle – this will create a selection around your chosen channel.
5. Two tones
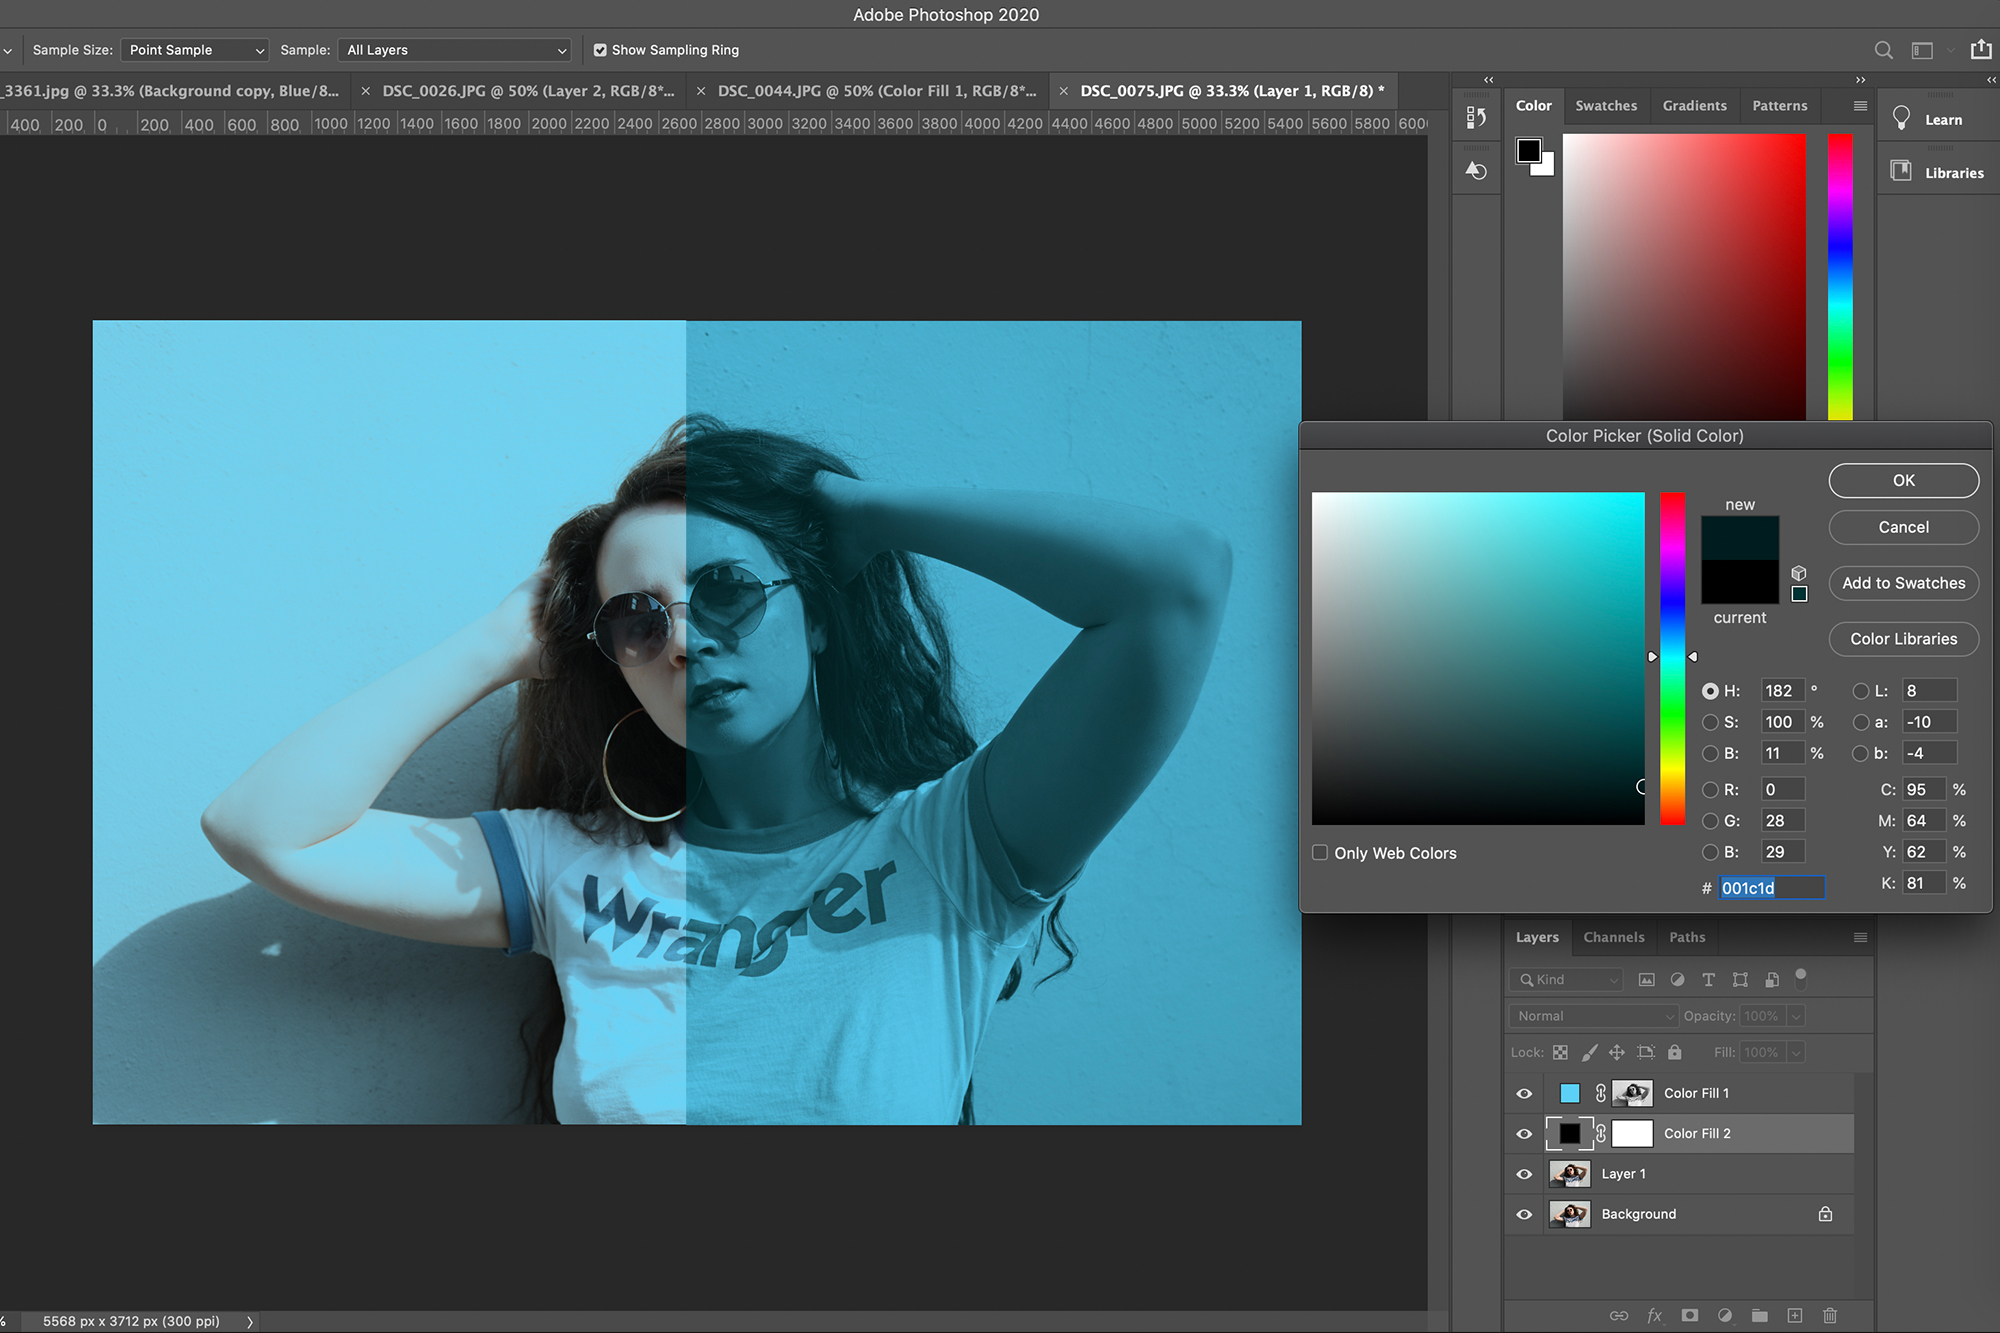
Head back to the Layers tab and click the ‘Create new fill or adjustment layer’ icon (a half grey / half dark grey circle) and select Solid Color. Choose your highlight color and click OK. Select the ‘Background’ layer and repeat the previous process, only this time choose a near-black shade of your chosen color to form the shadows.
6. Gradient maps
Another way to create a duotone image is to select the Gradient Map adjustment layer, before clicking the Reverse checkbox and then the Gradient bar. Select the bottom-left / right squares to change the two colors.
N-Photo: The Nikon Magazine is a monthly publication that's entirely dedicated to Nikon users. For the best news, reviews, projects and more, subscribe to N-Photo today!
Read more:
Portrait photography tips
The best Nikon portrait lenses
The best photo editing software
The best free photo editing software

Mike studied photography at college, honing his Adobe Photoshop skills and learning to work in the studio and darkroom. After a few years writing for various publications, he headed to the ‘Big Smoke’ to work on Wex Photo Video’s award-winning content team, before transitioning back to print as Technique Editor (later Deputy Editor) on N-Photo: The Nikon Magazine.
With bylines in Digital Camera, PhotoPlus: The Canon Magazine, Practical Photography, Digital Photographer, iMore, and TechRadar, he’s a fountain of photography and consumer tech knowledge, making him a top tutor for techniques on cameras, lenses, tripods, filters, and more. His expertise extends to everything from portraits and landscapes to abstracts and architecture to wildlife and, yes, fast things going around race tracks...

