The best camera deals, reviews, product advice, and unmissable photography news, direct to your inbox!
You are now subscribed
Your newsletter sign-up was successful
Watch video: Take magic photos of mushrooms
If you go down to the woods today you’ll be sure to find autumn in full swing, with trees taking on a fiery colour palette, leaves falling as well as fungi and mushrooms sprouting up from the earth.
Mushrooms are the fruiting bodies of mycelium, a huge, fascinating underground network of fungus. All mushrooms belong to the fungi family and make fantastic focal points for photos with their distinctive shapes, intricate details and colours. This season is a brilliant time to head to the forest or your local woods to spot them - mushrooms love dark, damp areas and can magically turn up overnight if there’s been a heavy spell of rain so be sure to explore regularly.
Due to their diminutive size, naturally, a macro lens that allows you to focus closer to your subject is a great choice here, though there are more budget-friendly options that we’ll outline in this project too. Let’s get to it...
1. Macro on a budget
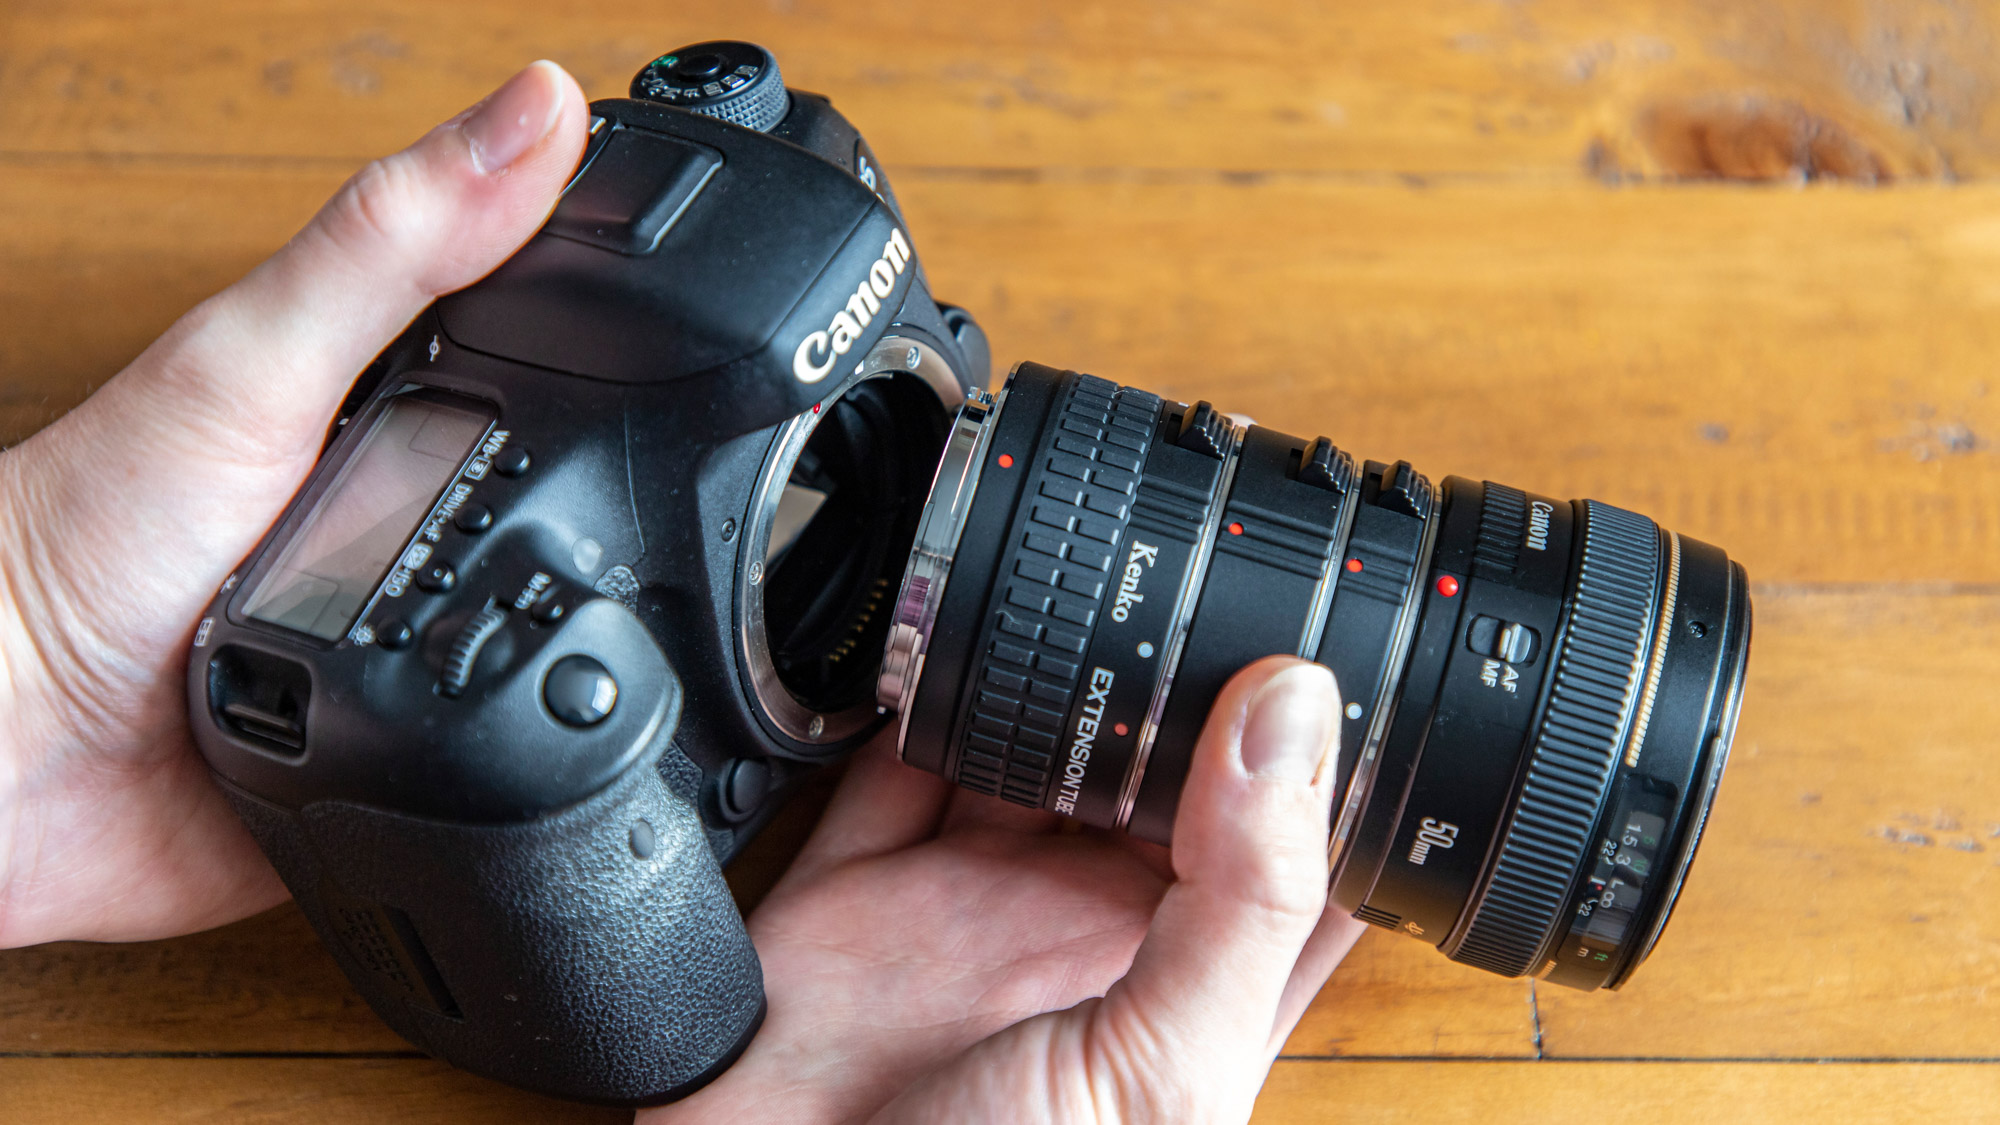
If a dedicated macro lens is too expensive you can use more budget-friendly accessories such as extension tubes (above) or close-up filters and reversing rings. These accessories give an ordinary lens macro capabilities, forcing it to focus much closer.
2. Beautiful bokeh
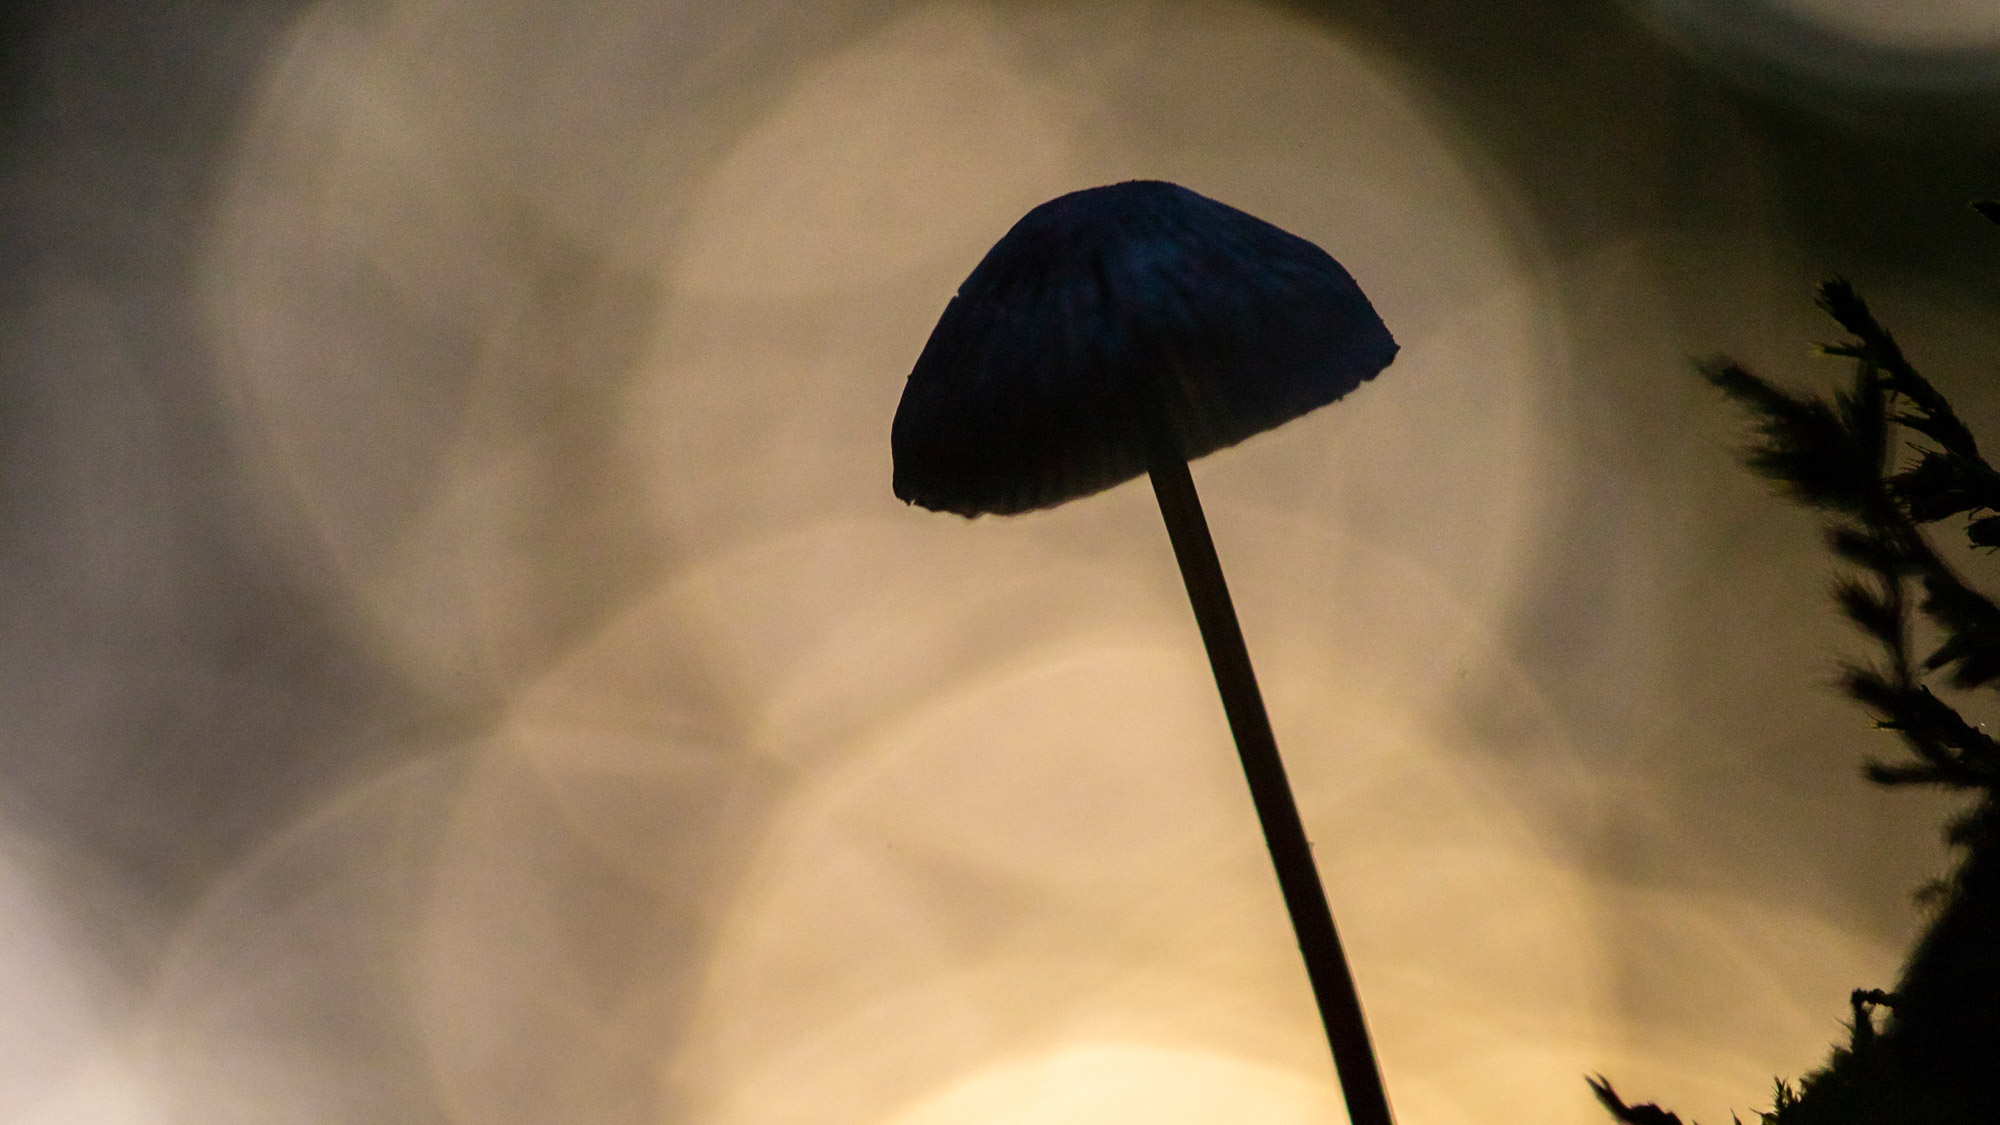
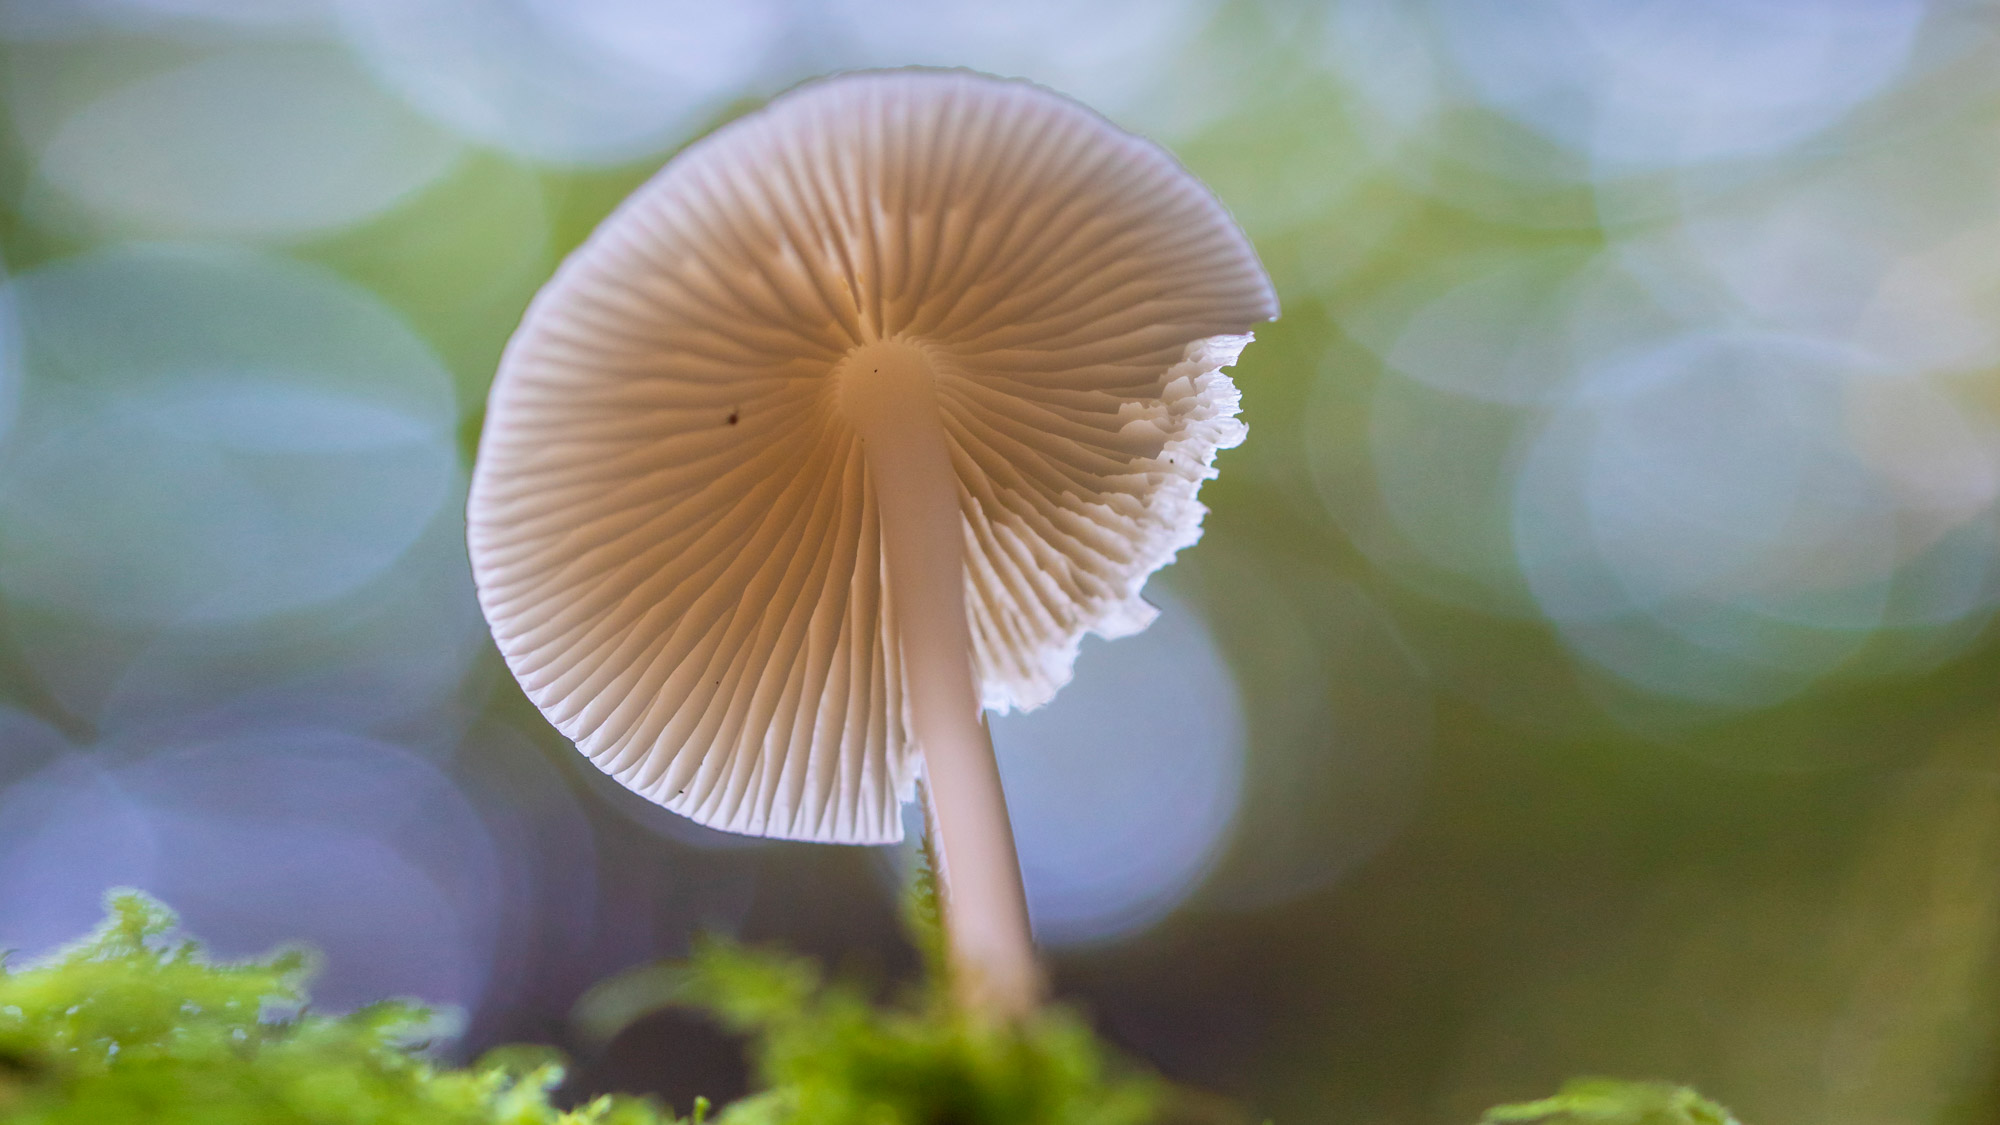
Bokeh is a Japanese word we that we use to describe the out-of-focus highlights in an image. Bokeh (and a shallow depth of field) is easier to achieve the closer you focus. The shape of your bokeh will also depend on how many blades your lens’ aperture is made of.
3. Cheap frills
The frilly area on the underside of mushroom cap is called its gills and is a wonderful detail to look at closely with a macro lens. The caps are also often semi-translucent so they light up beautifully when backlit by natural light or a torch.
The best camera deals, reviews, product advice, and unmissable photography news, direct to your inbox!
4. Focus peaking
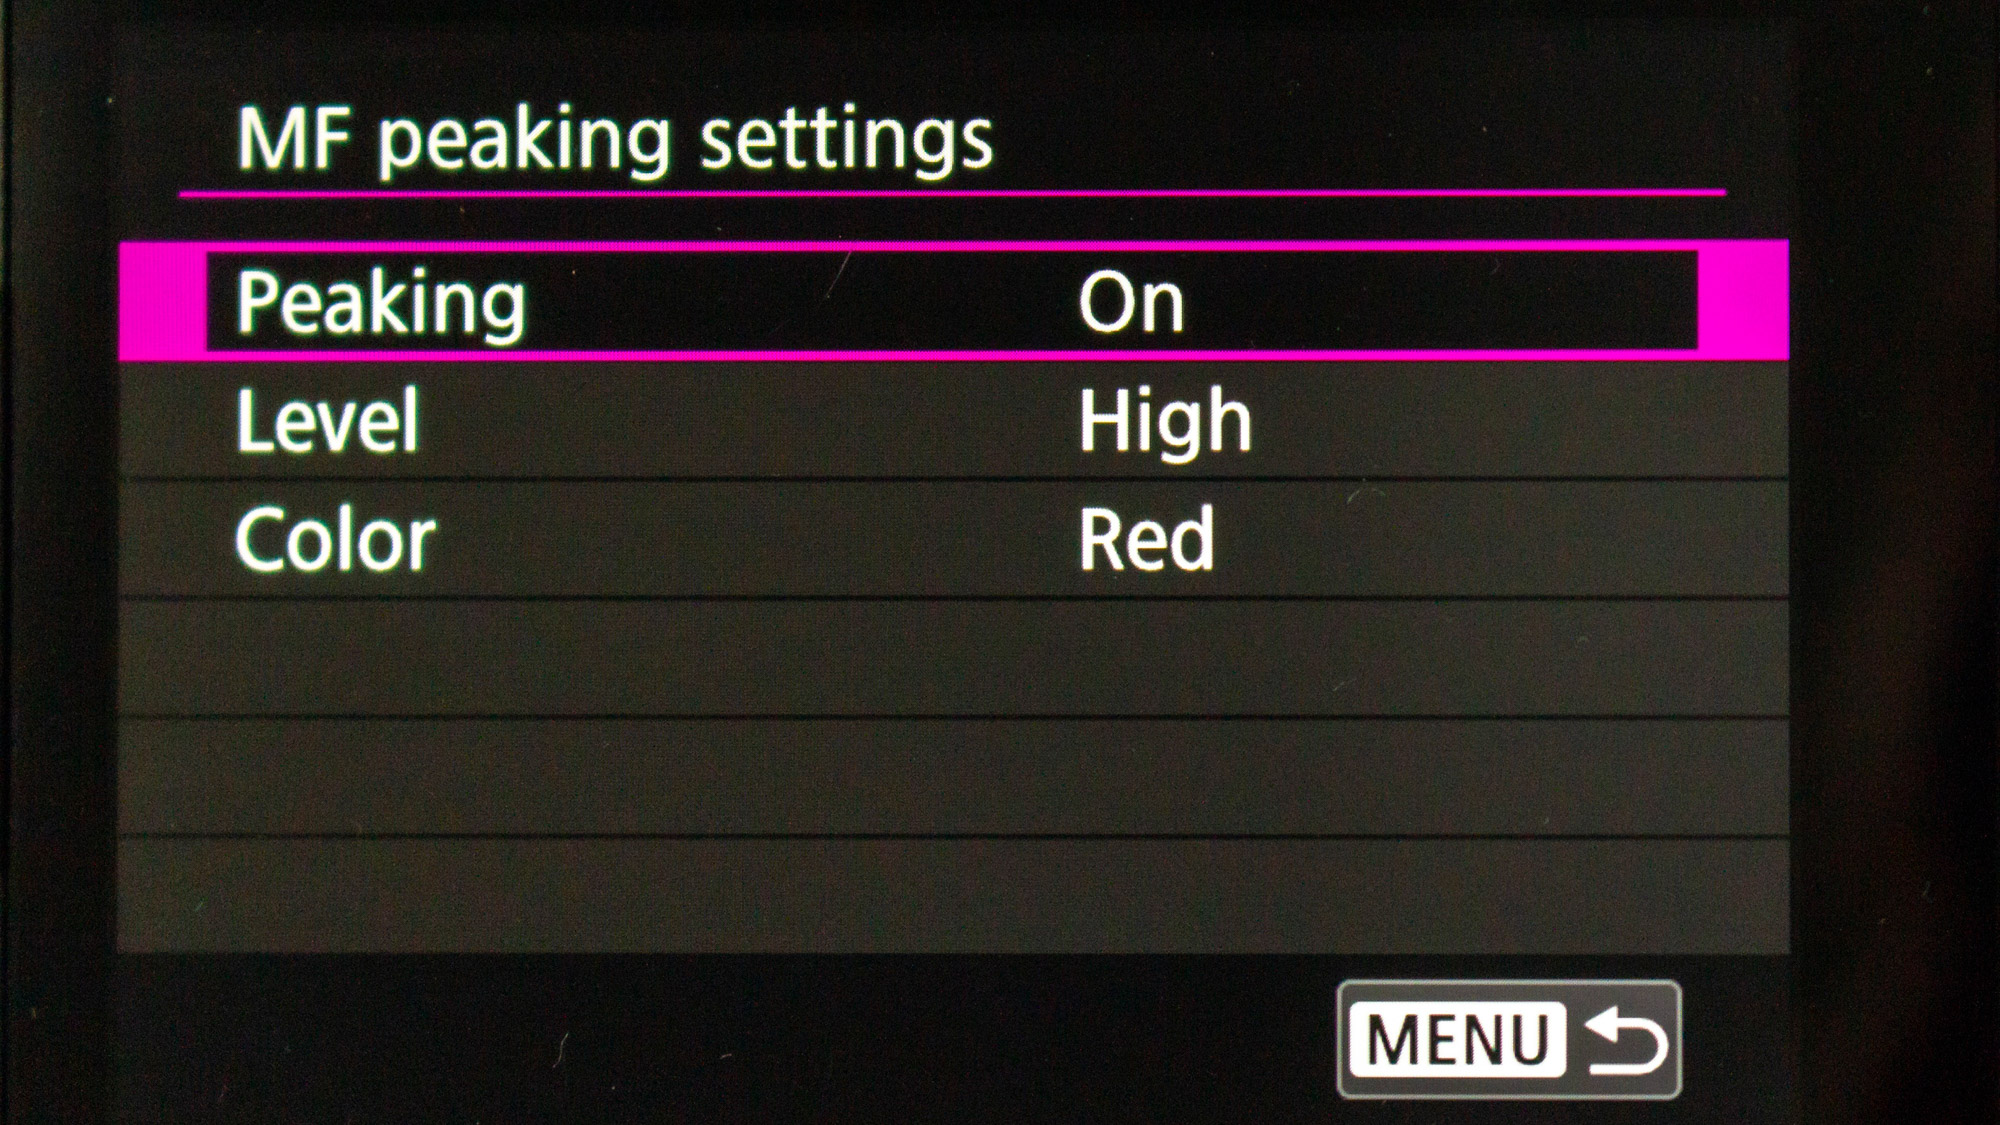
A nifty feature that can help you nail the focus when shooting close-ups and macro is focus peaking. Many mirrorless cameras now offer this feature which shows a bright color around any part of your scene that’s in focus, making it easier to see when your subject is pin-sharp.
5. Bring a bin bag
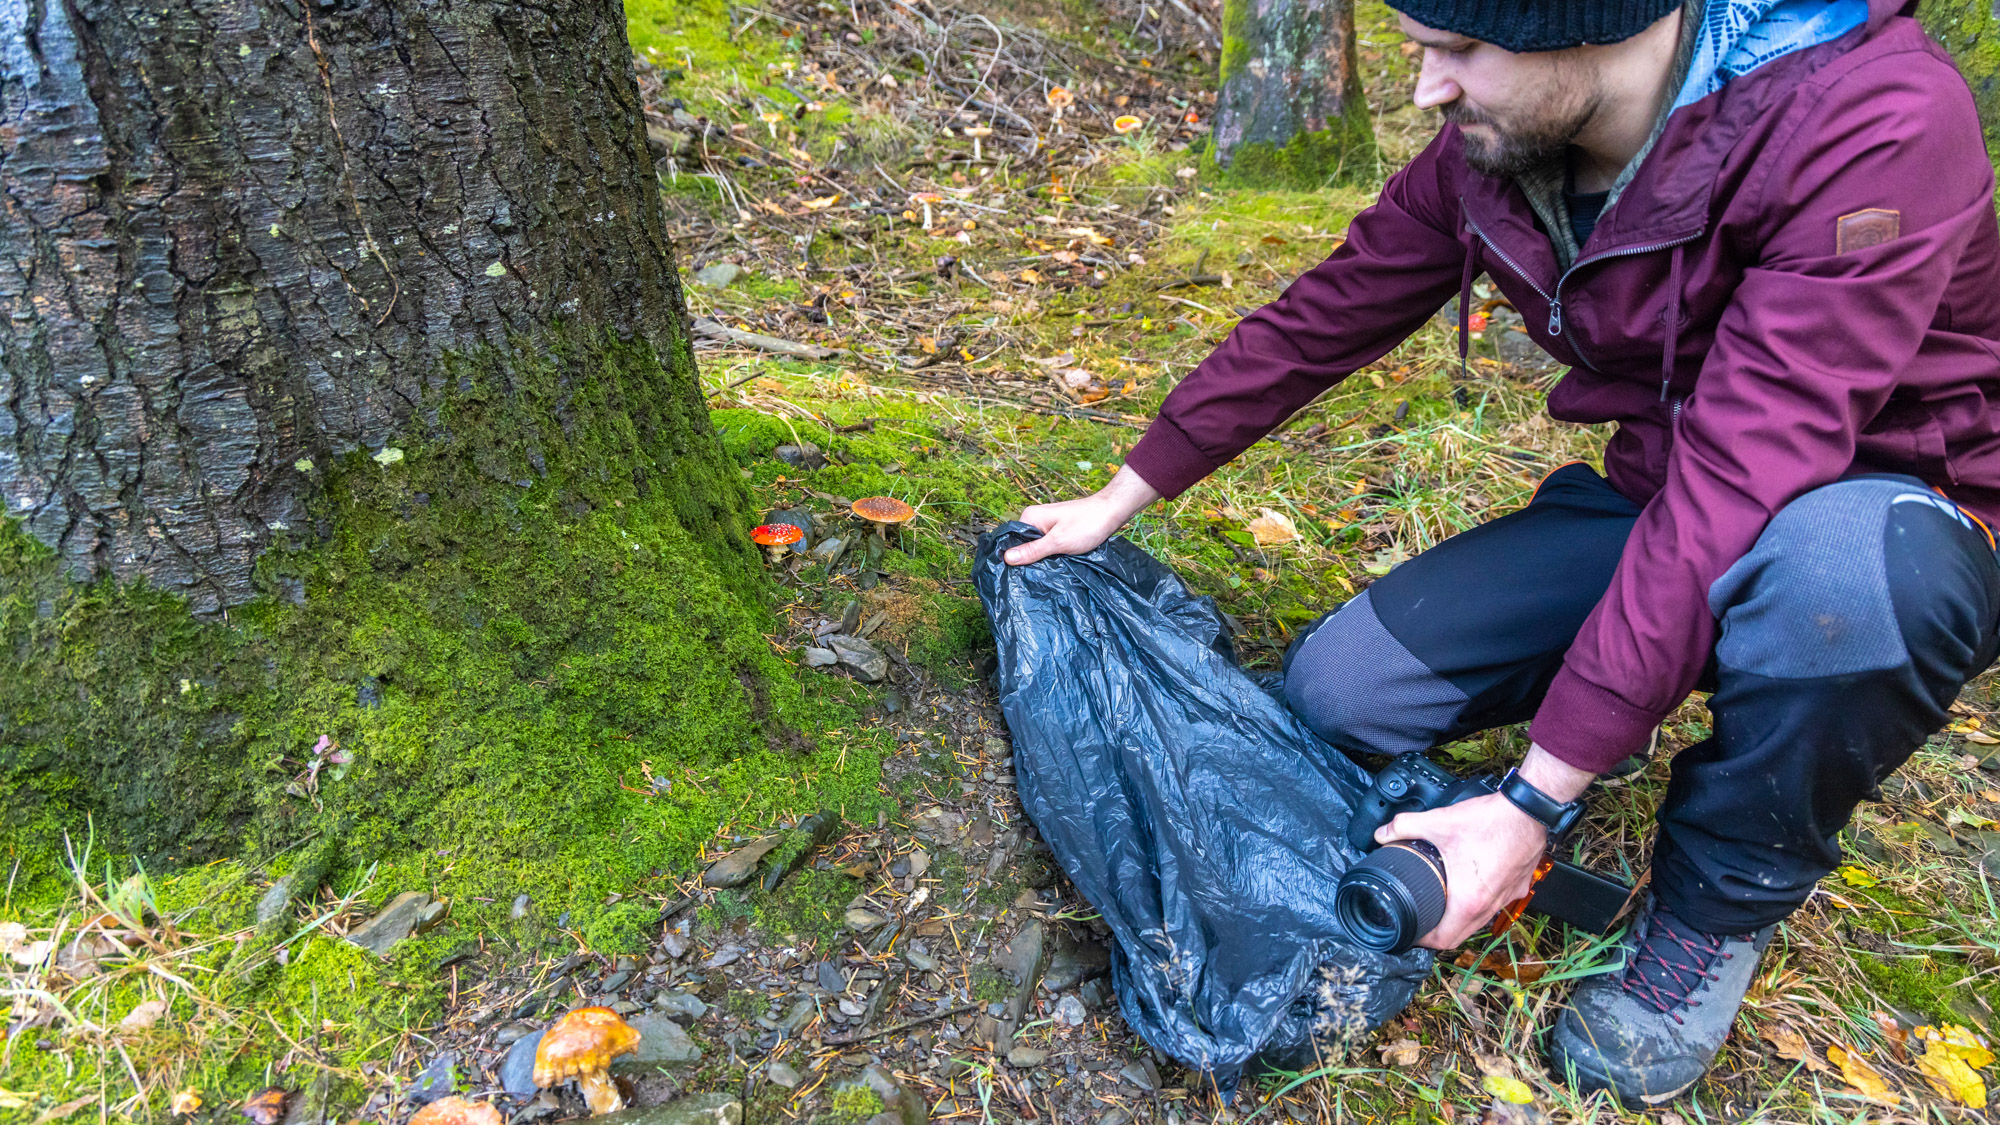
Many mushrooms appear at ground level so rather than shooting at head height, you’ll want to get down low to achieve a better angle and blur the background. A good tip is to bring a bin liner with you so you can rest on this without getting your clothes too muddy!
6. Zoom in on details
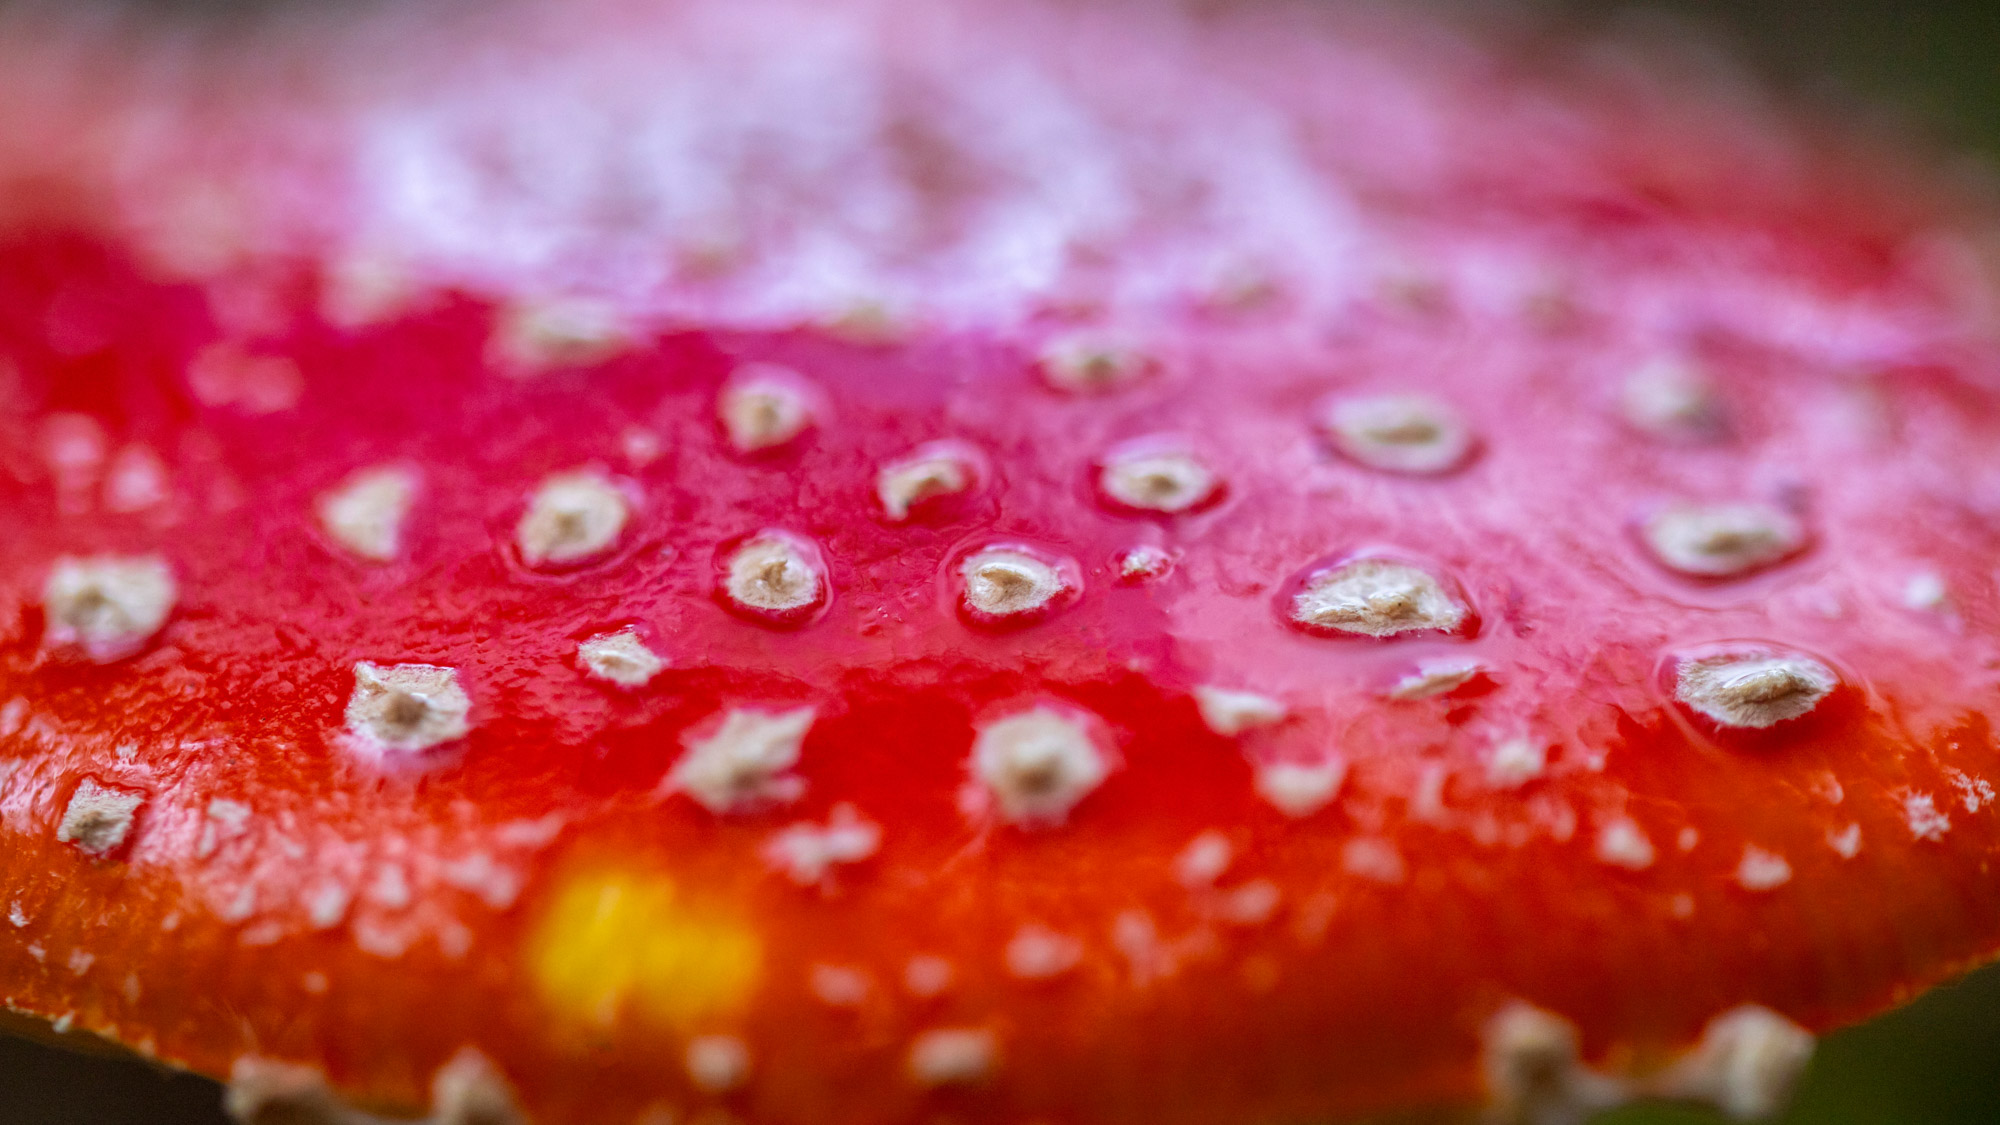
Don’t be afraid to get as close as you can to your little subjects as you’ll be able to pick out lovely details that would be difficult to see with the naked eye, like revealing all of the detail in the white spots on this Fly Agaric mushroom.
7. Macro lens
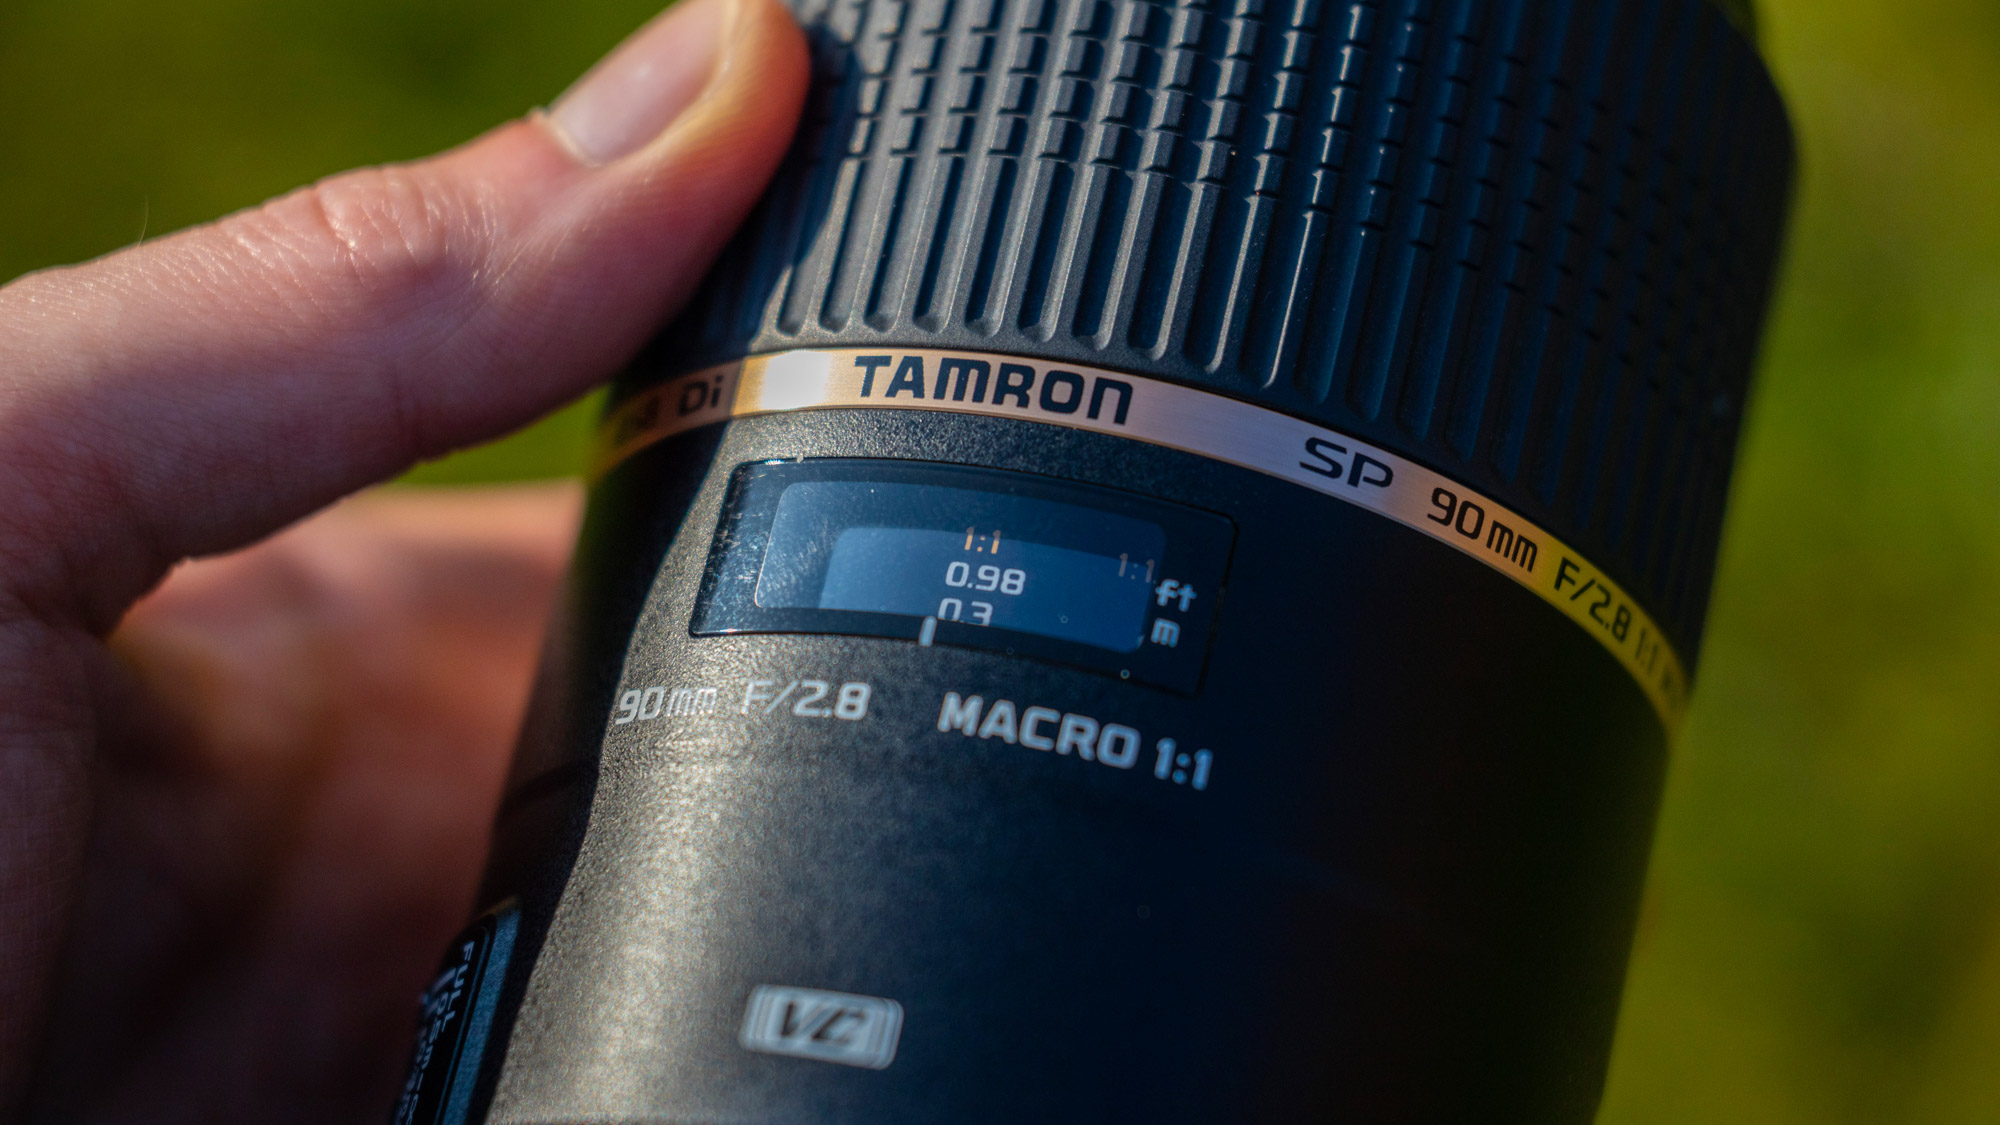
A macro lens has the ability to focus much closer than a standard optic, like a kit lens. A ‘true’ macro lens will be able to focus with a 1:1 reproduction ratio; this is also called lifesize because it means your subject will be caught at the same size as if it was directly laid across your cameras sensor. Some Canon optics are even more powerful, like the Canon RF 100mm f/2.8L Macro IS USM, which can go to 1.4x lifesize and the legendary Canon MP-E 65mm f/2.8 1-5x, which can shoot at 5x lifesize. All of the macro shots in this feature were taken on our Tamron 90mm f/2.8 SP Di USD VC.
8 Extra pair of hands
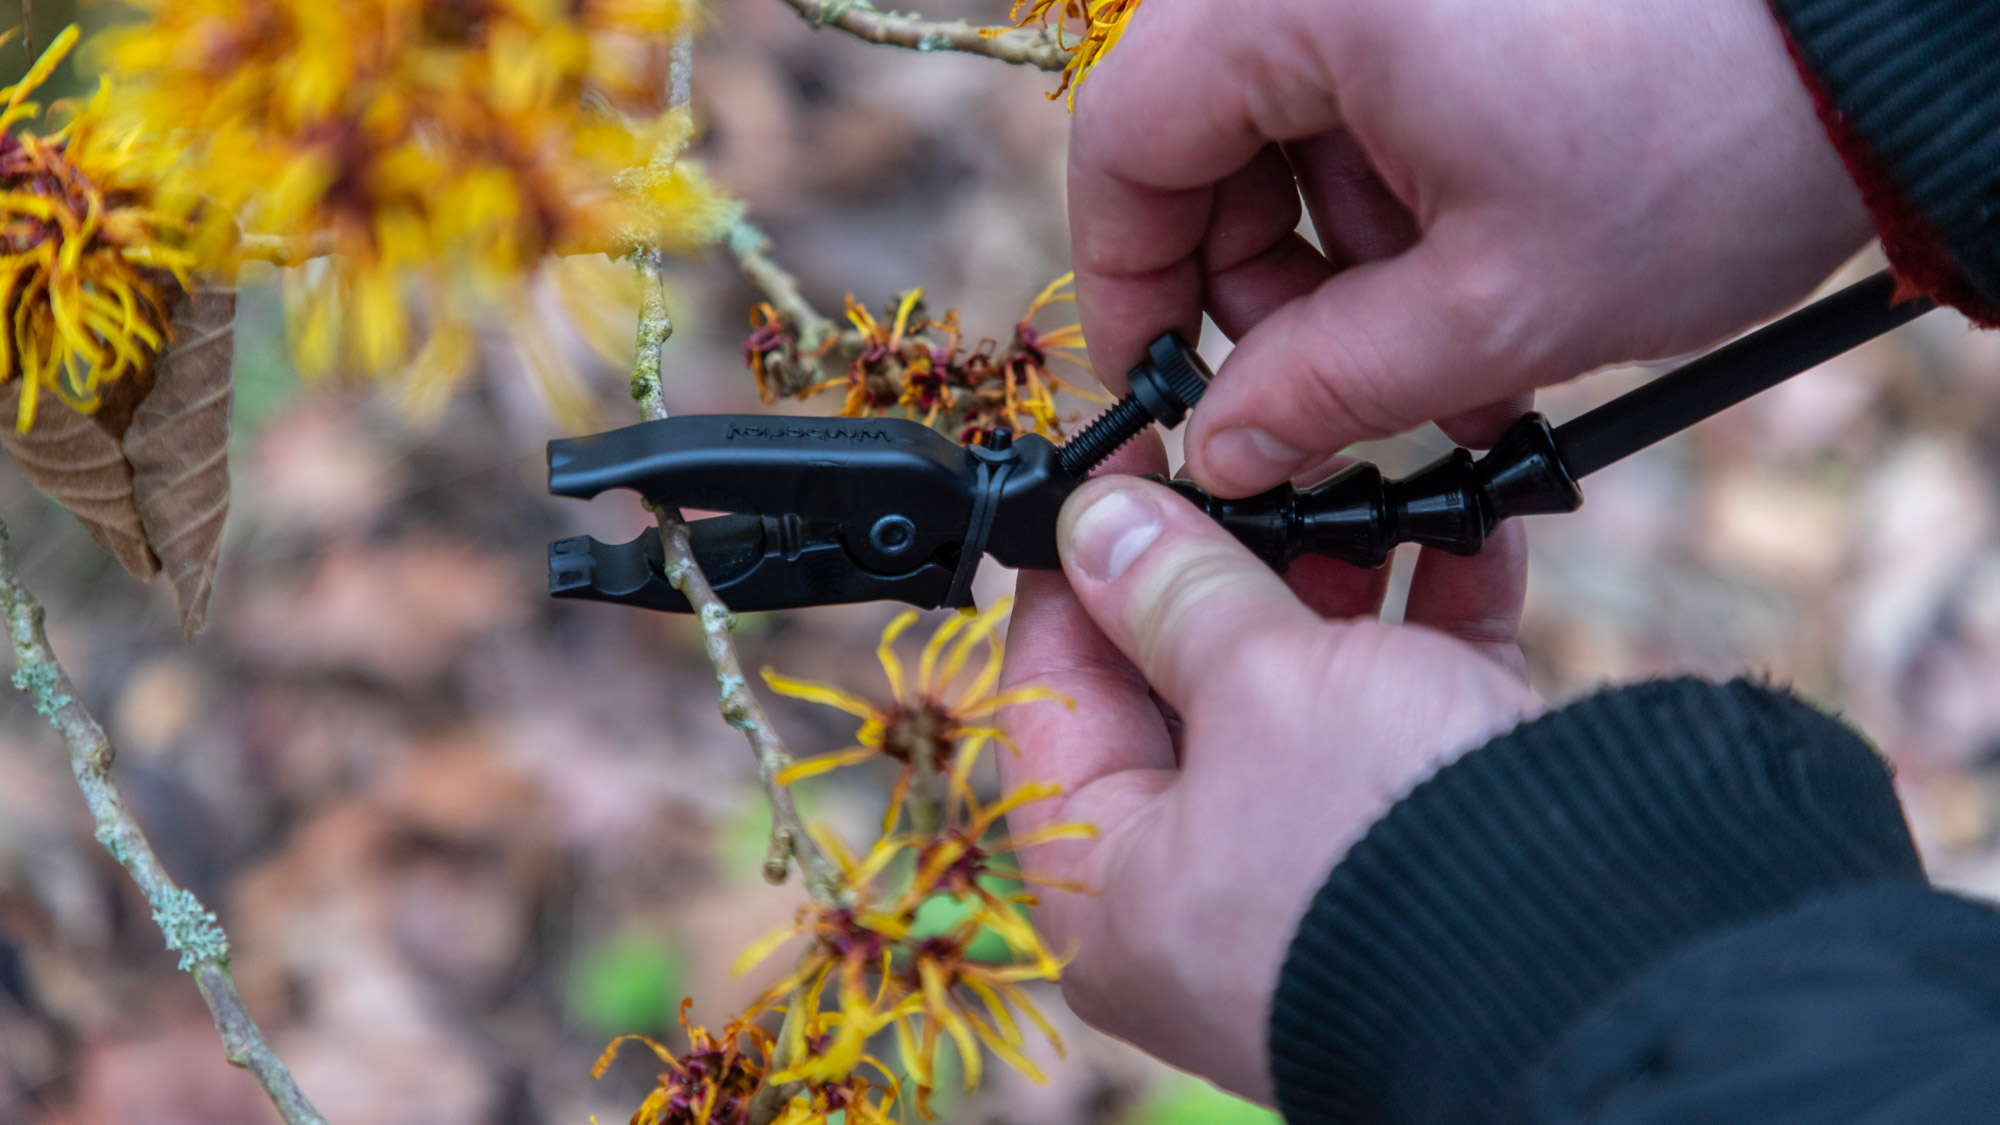
A clamp’, such as The Plamp from Wimberley, is a handy device for macro, still life and studio photography that has a large anchoring clamp at one end and a smaller, more precise clamp at the other, with a series of articulated ball joints in between. They make a fantastic extra pair of hands and can hold delicate plant stems steady, or even hold a reflector, or light, in place while you’re shooting.
9. How low can you go?
1. Mini tripod
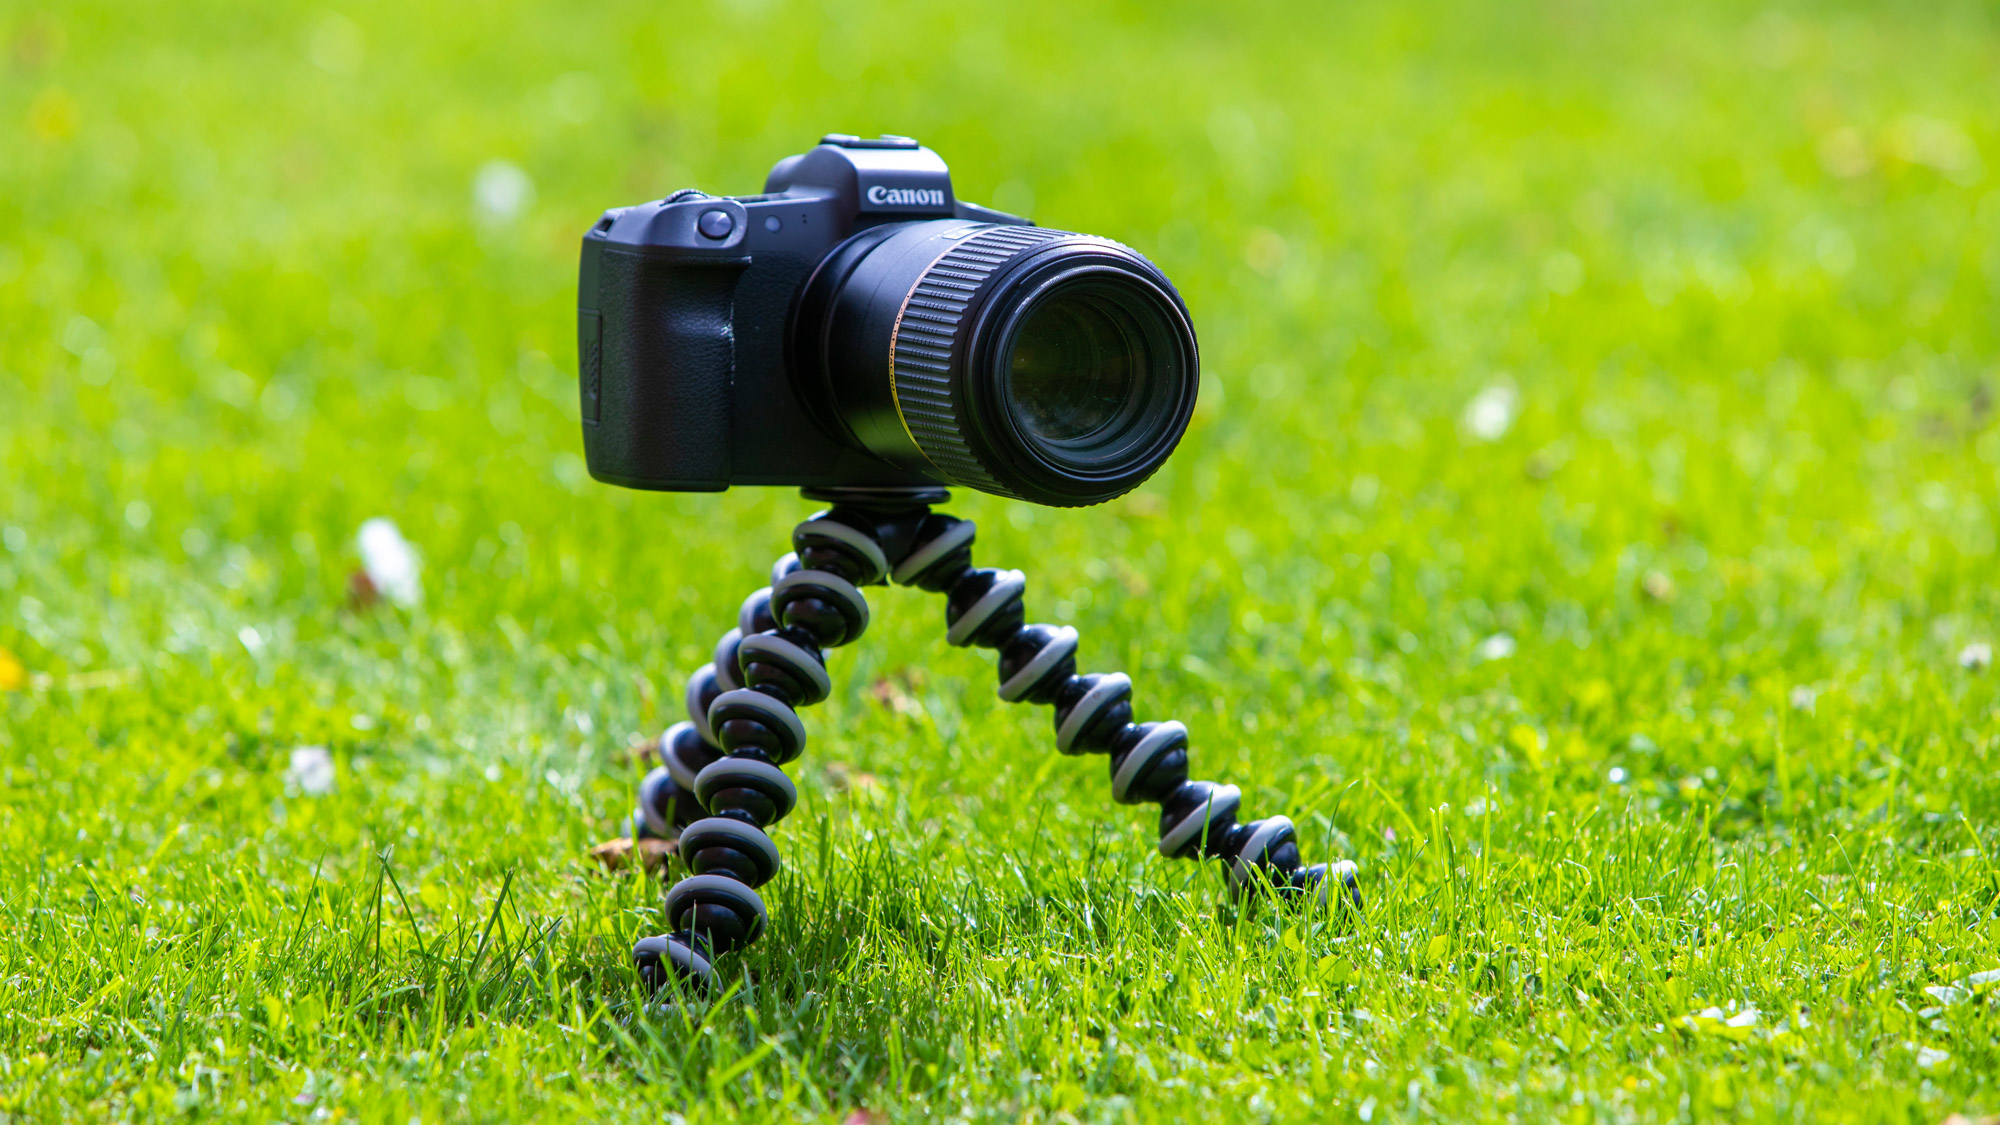
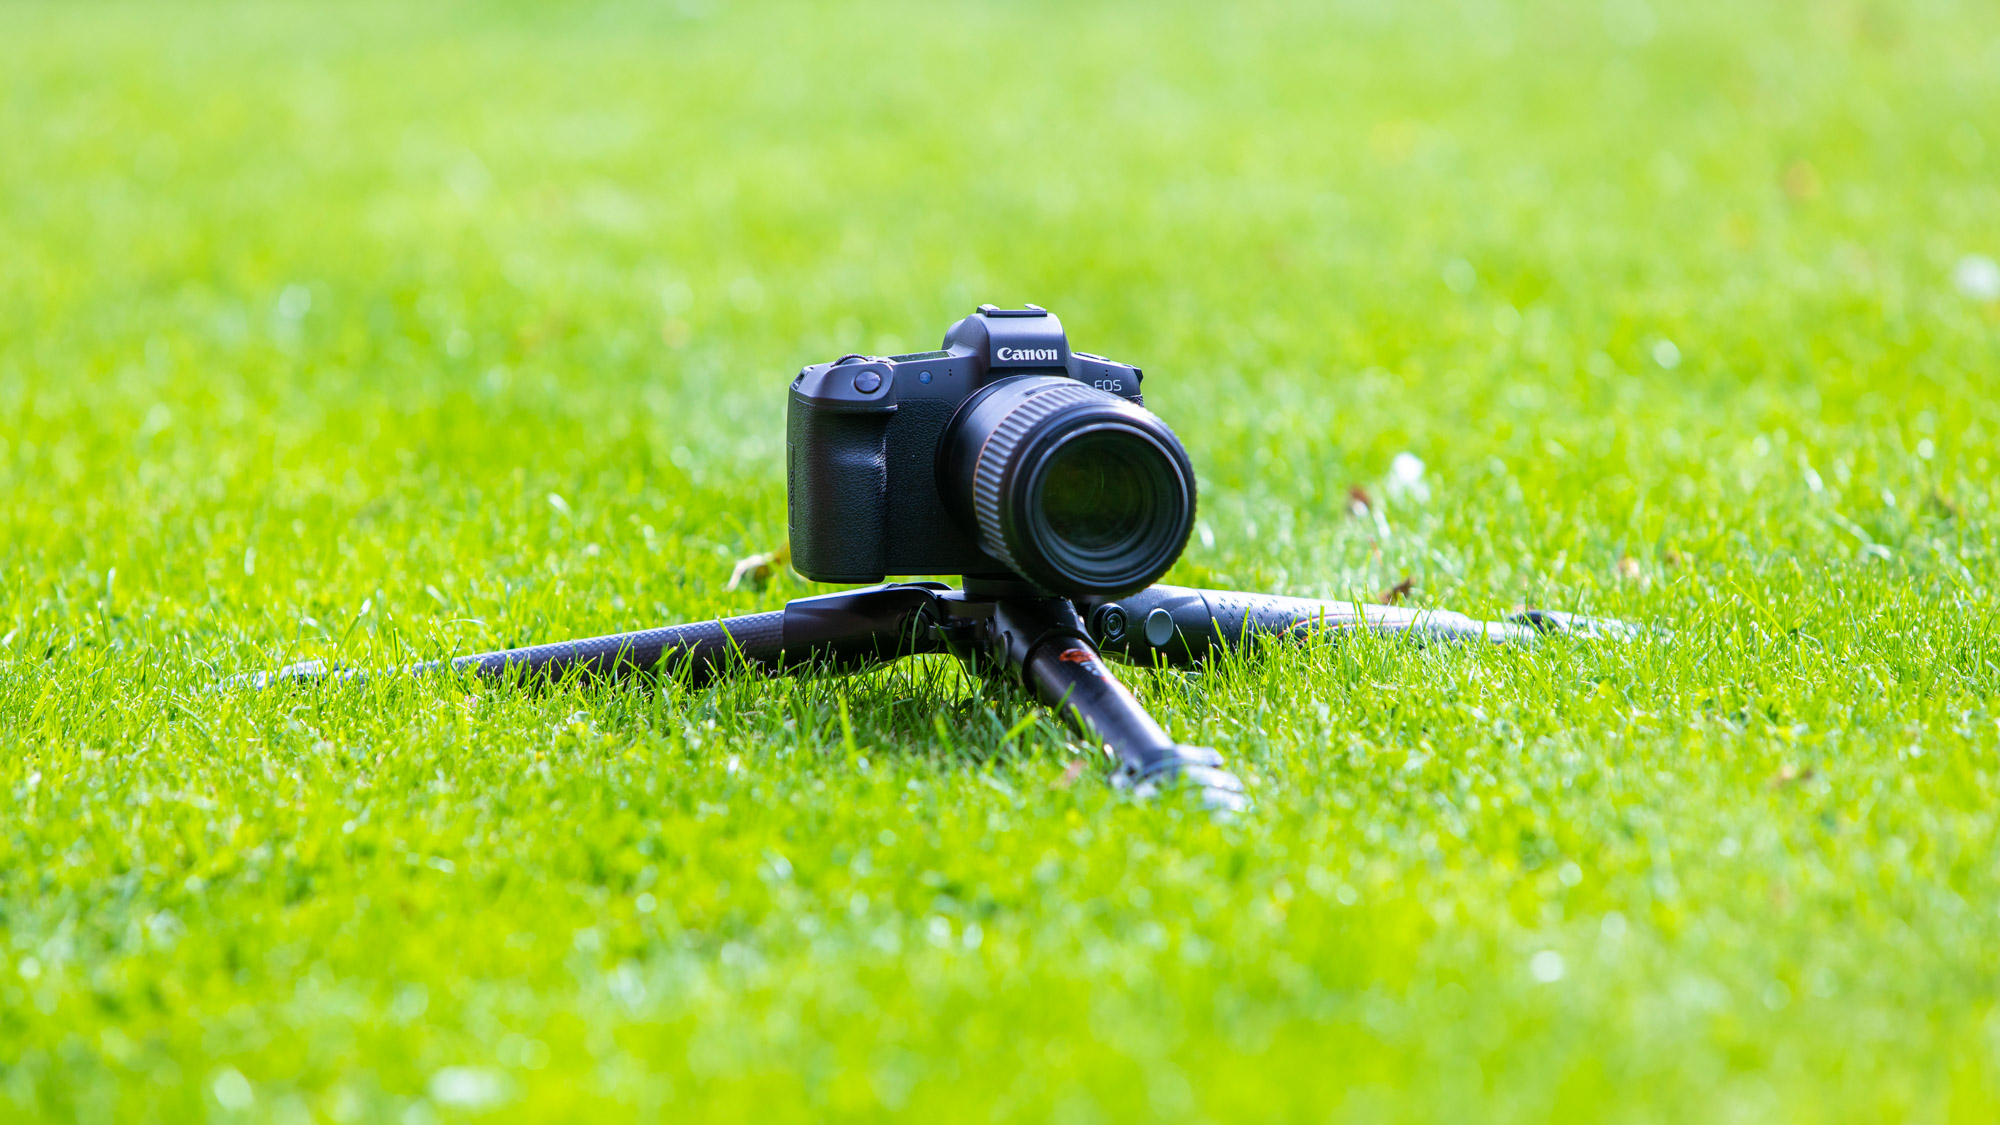
Small miniature tripods like a GorillaPod or the LeoFoto LS-223C are great for getting down low. Just be sure to check the maximum load of your mini tripod, as full-frame camera bodies and macro lenses can be quite heavy. Resting your camera on a beanbag can help you get lower in a pinch.
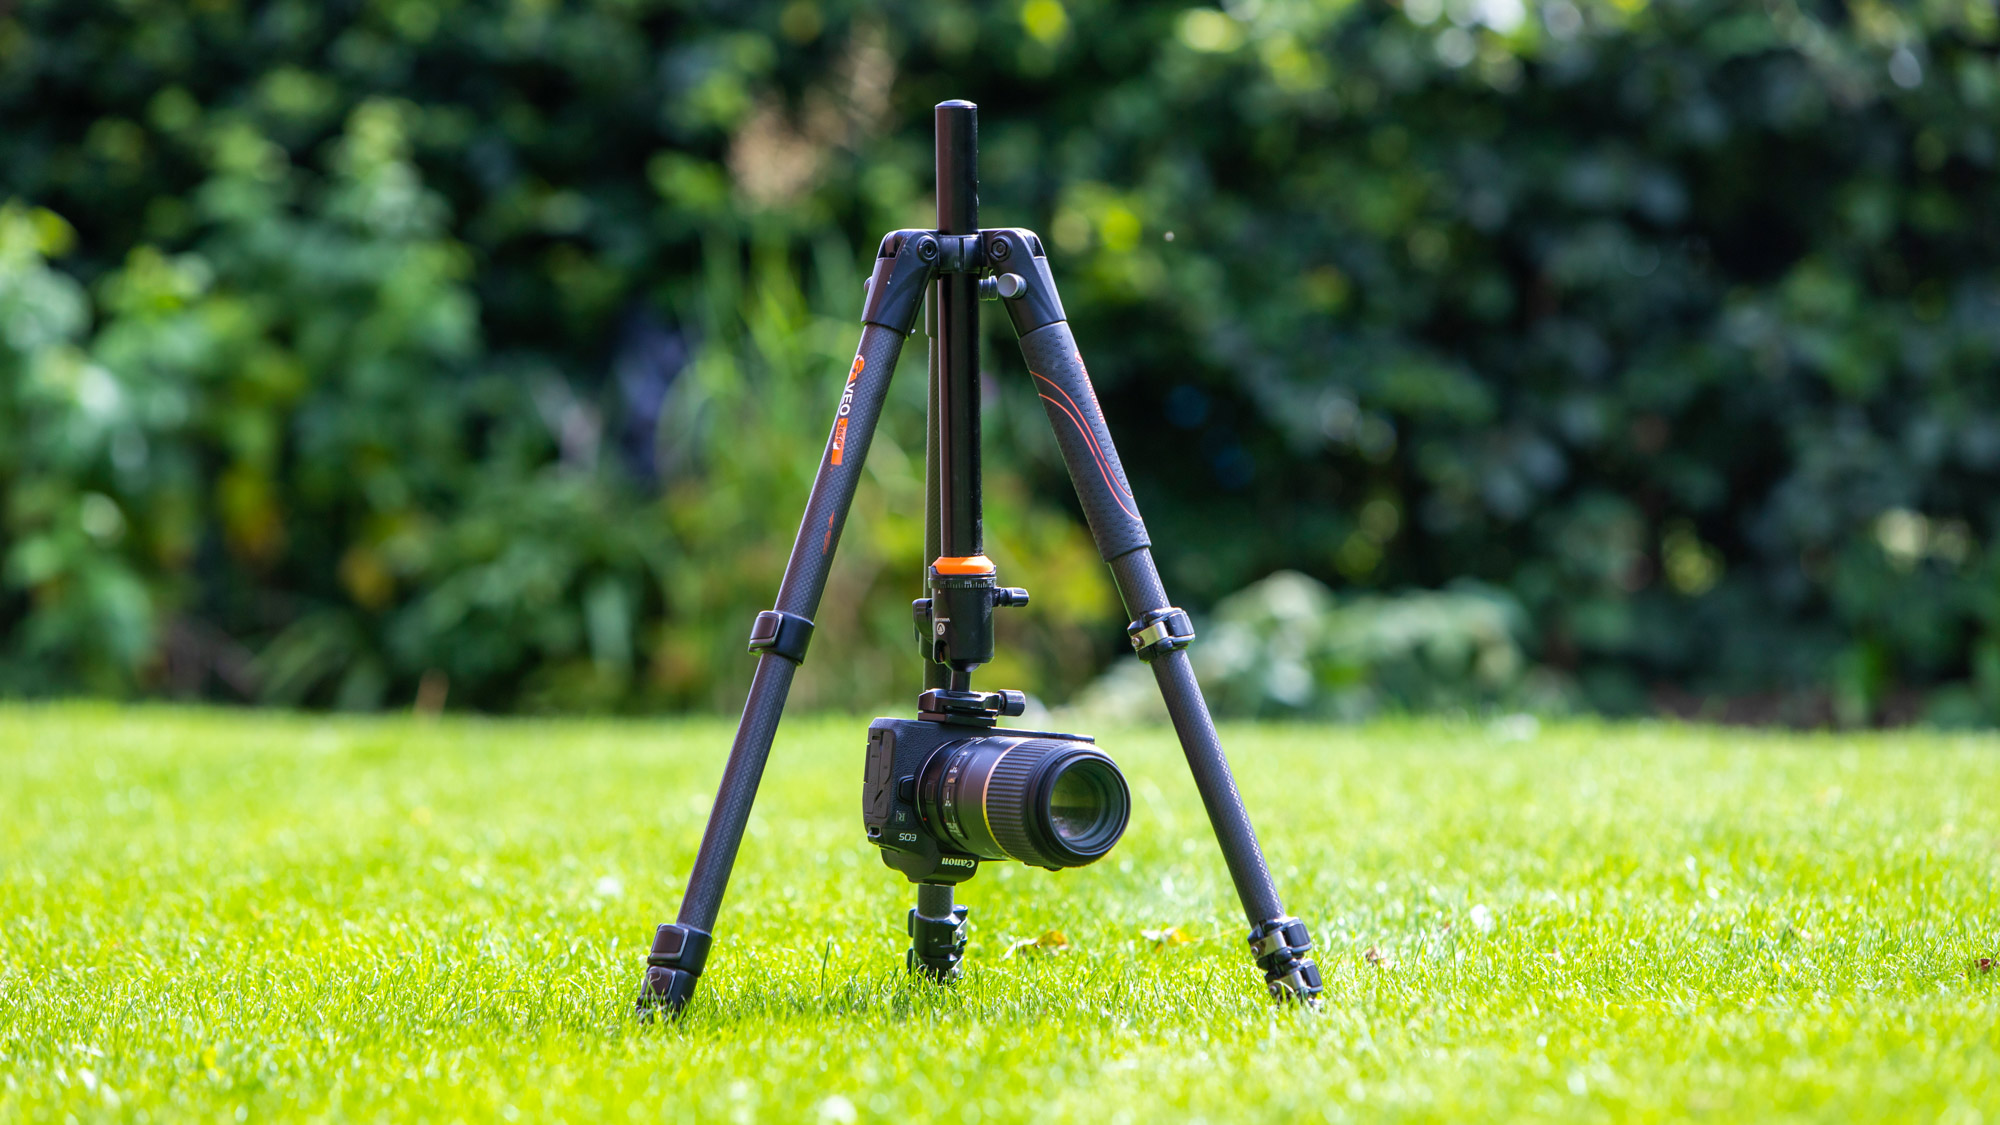
2. Invert the center column
Professional tripods might have a center column that can be inverted to get lower to the ground; the only downside with this method is that your camera (and all of its controls) will be the wrong way up. But you can get adapters online, which allow you to hang your camera off its hotshoe instead.
3. Short center column
Some tripods might come with a short, stubby center column. This allows you to remove the standard center column, which would get in the way if you wanted to spread the tripod legs out to get lower to the ground. With the short column in place, the legs can go completely flat.
Read more: The best mini tripods in 2024
PhotoPlus: The Canon Magazine is the world's only monthly newsstand title that's 100% devoted to Canon, so you can be sure the magazine is completely relevant to your system. Every issue comes with downloadable video tutorials too.
If you're serious about scenery, take a look at the best cameras for landscape photography along with the best lenses for landscapes.

In addition to being a freelance photographer and filmmaker, Dan is a bona fide expert on all things Canon and Adobe. Not only is he an Adobe-certified Photoshop guru, he's spent over 10 years writing for specialist magazines including stints as the Deputy Editor for PhotoPlus: The Canon Magazine, Technical Editor for Practical Photography and Photoshop Editor on Digital Photo.
