The no.1 macro photography mistake: Why sharp subjects fall flat without a strong background – and how to fix it
A sharp subject isn't enough. Catherine Régnier reveals how to use your surroundings to build dynamic, dramatic macro backgrounds that bring your images to life
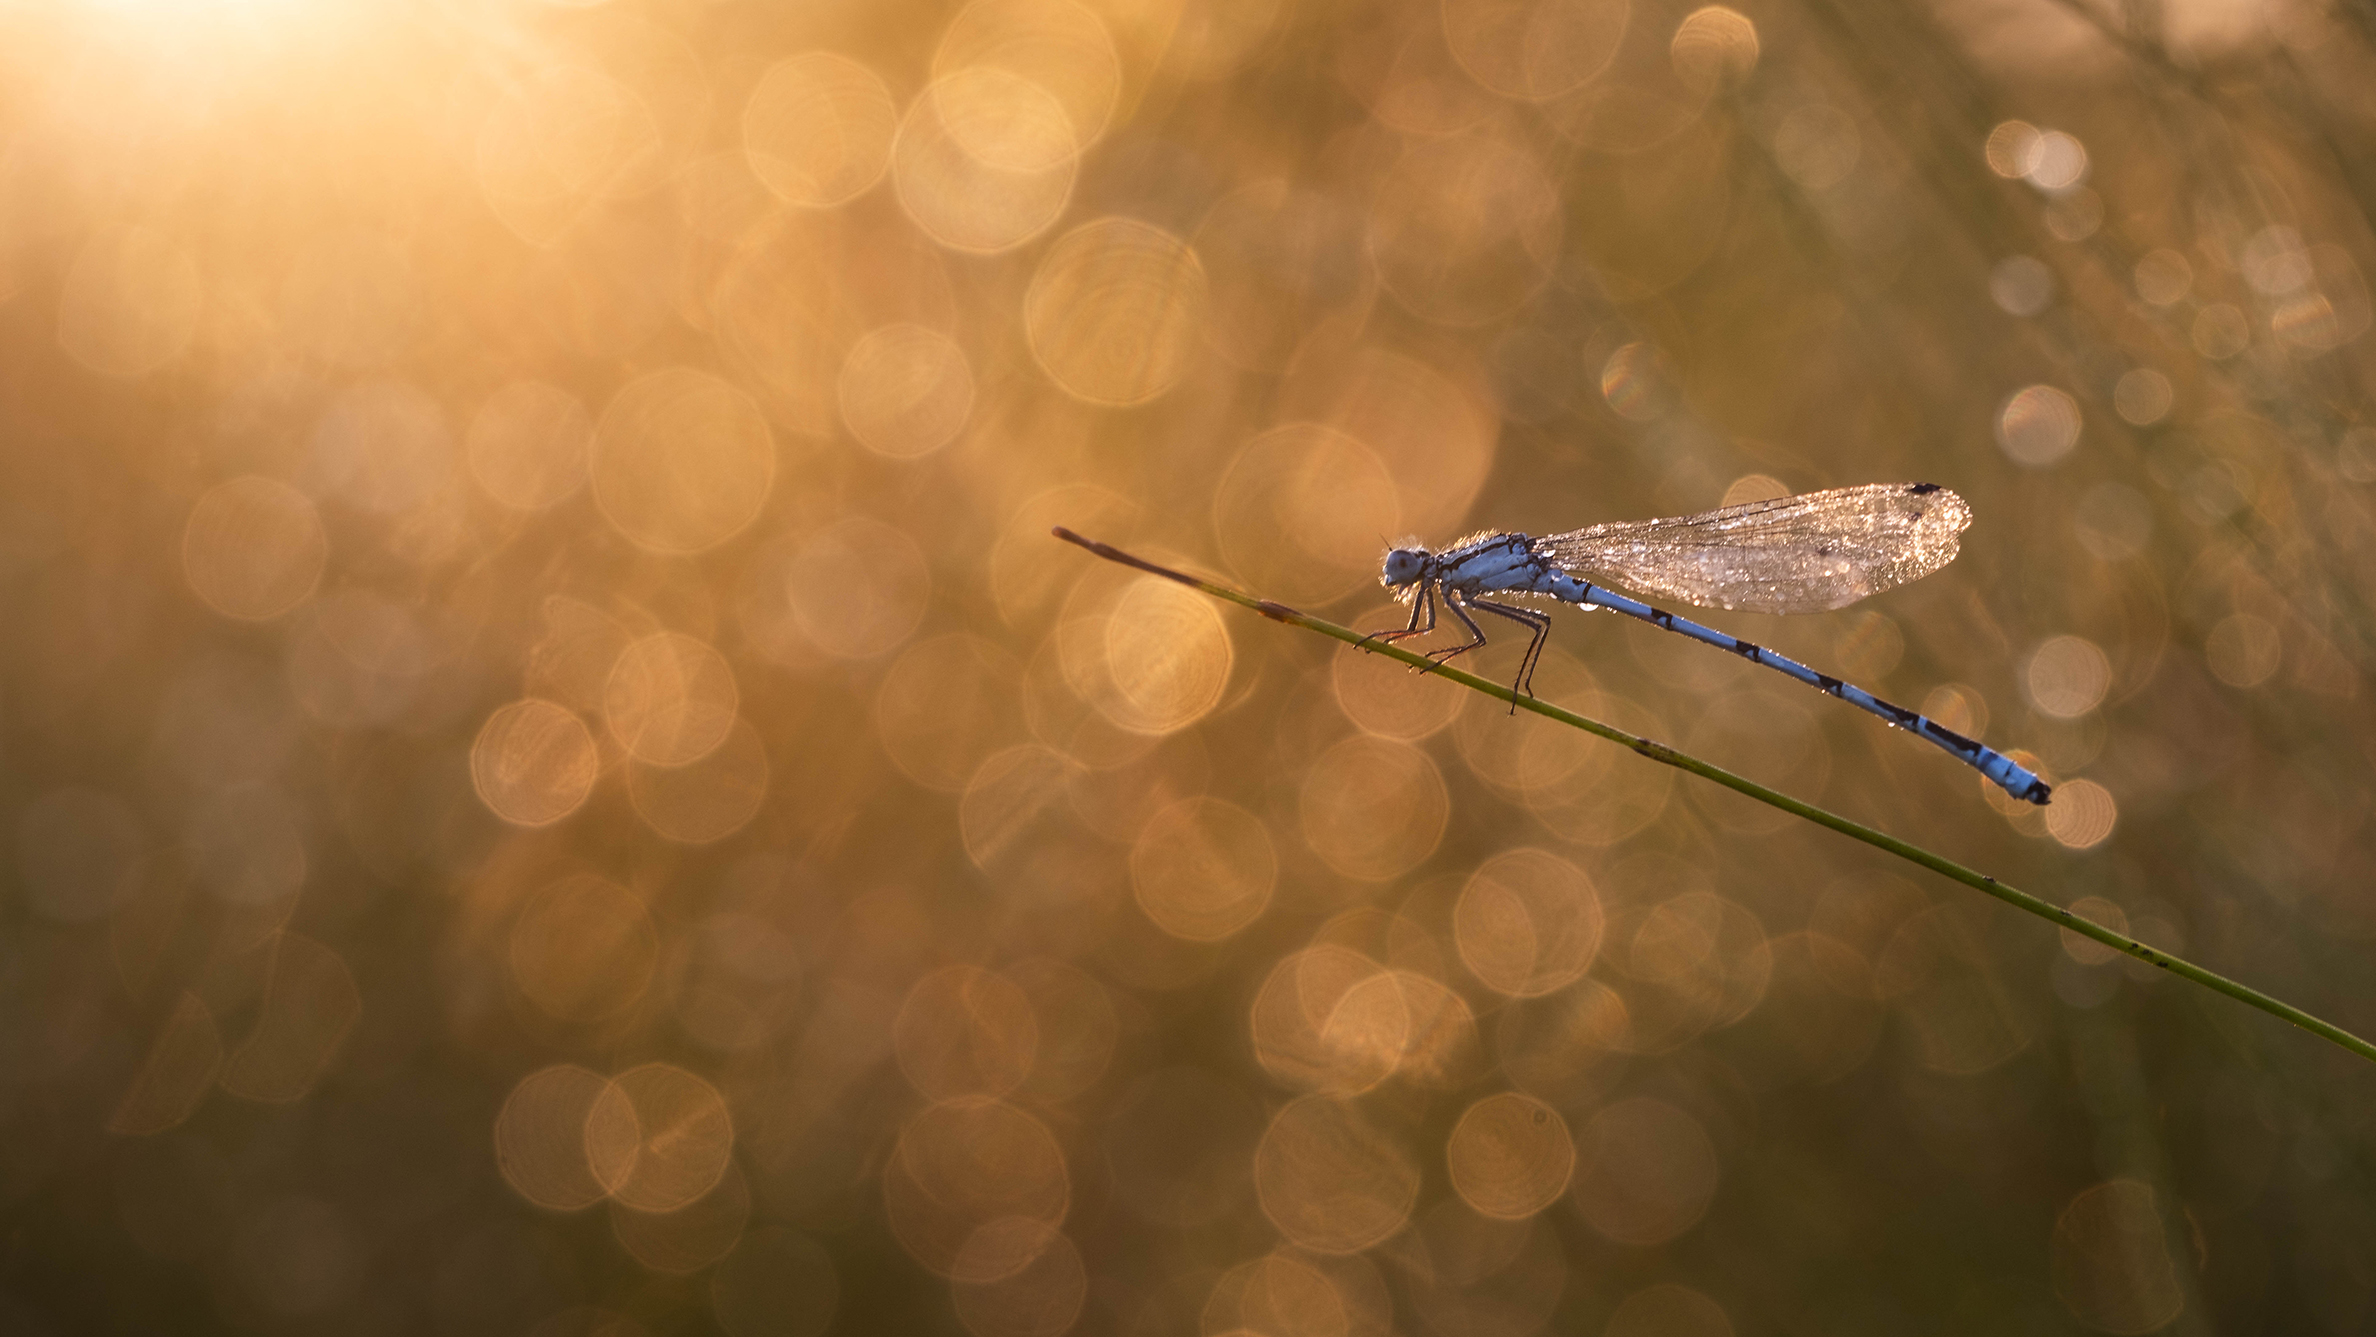
Macro photography isn't just about getting close – it's about revealing a hidden world that most people never notice. But a close-up alone won't do the trick. To truly mesmerize, it takes more: thoughtful lighting, layered composition, and a sense of depth. Photographer Catherine Régnier is a pro in giving artistic dimension to composition and elevating it above simple naturalist photography, which only captures a record shot of your subject.
"I place backgrounds on the same level of importance as the subject and the light. It's not unusual for me to abandon the idea of photographing an insect or a mushroom if the background doesn't suit. Indeed, the most common mistake in macro photography is to concentrate solely on the sharpness of your subject and neglect the background.
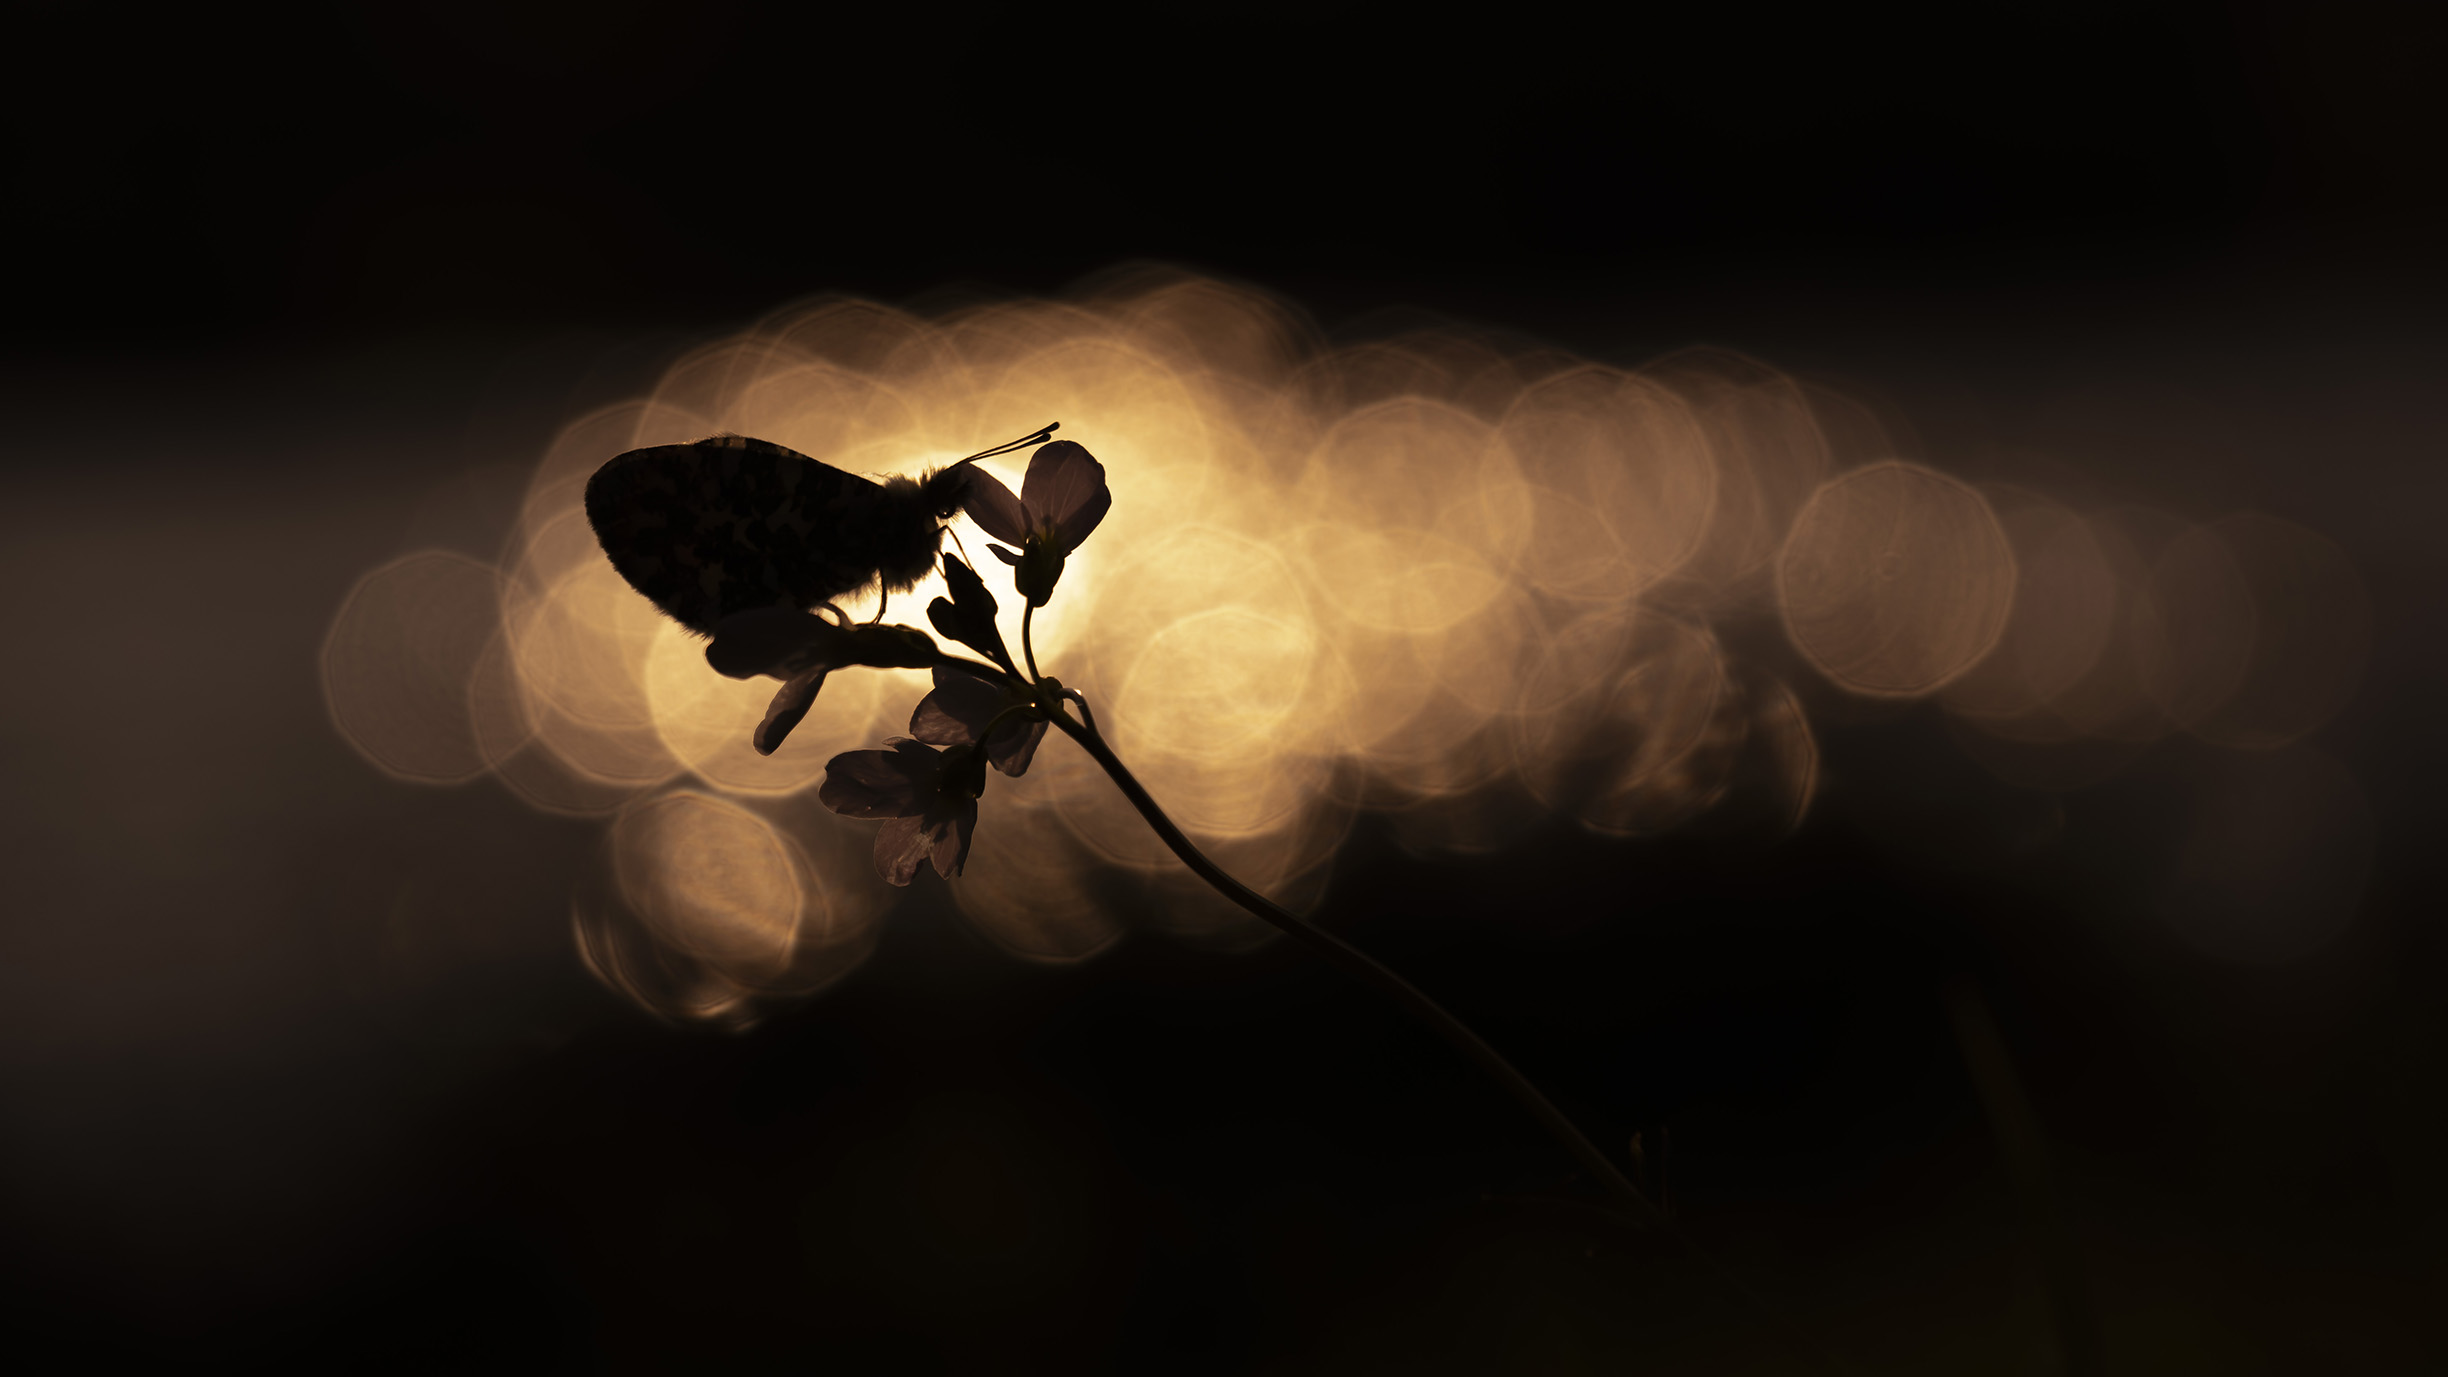
"I start by looking at the surrounding vegetation, colors and contrasts, such as the reflections of a body of water between branches. To achieve a beautiful background, the biggest challenge is to find the right combination between your choice of focal length, aperture, distance from the subject and from your background – not forgetting your positioning in relation to the light."
Although she has a background in biochemical engineering, Catherine turned to photography just a few years ago. She has already carved a niche for herself with her magical, dreamy macro images, which have been published in various magazines.
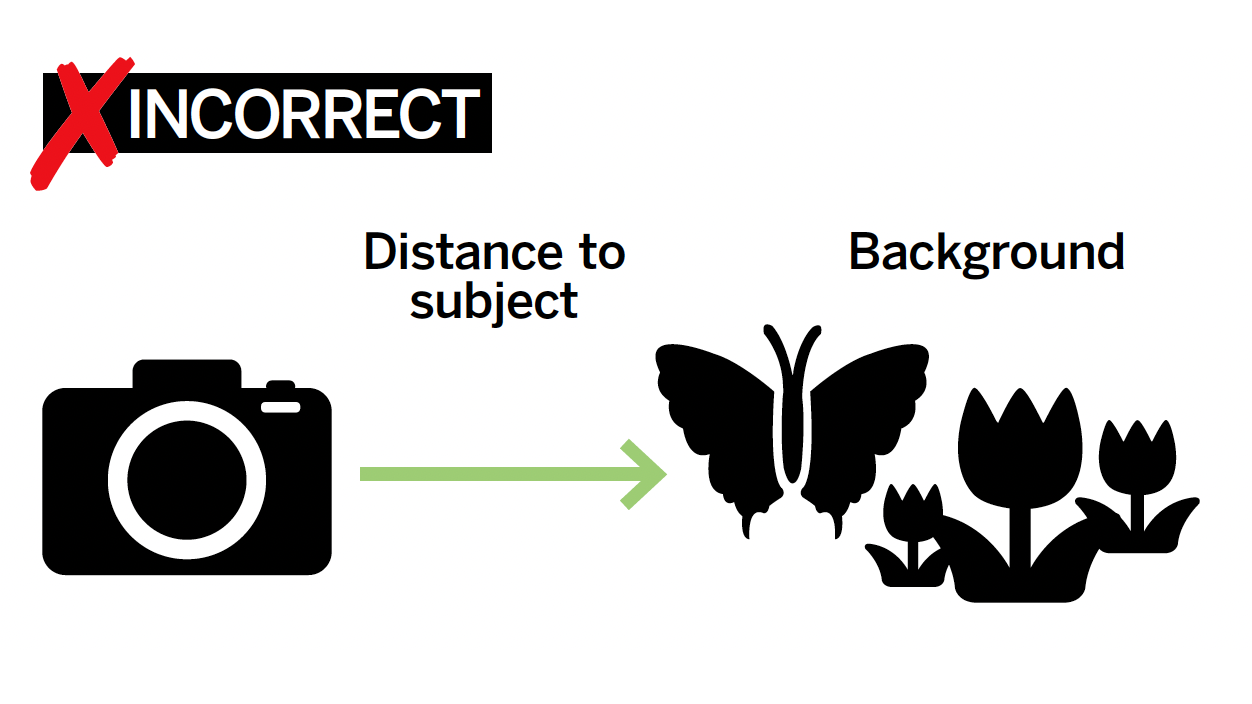
Calculate subject distance
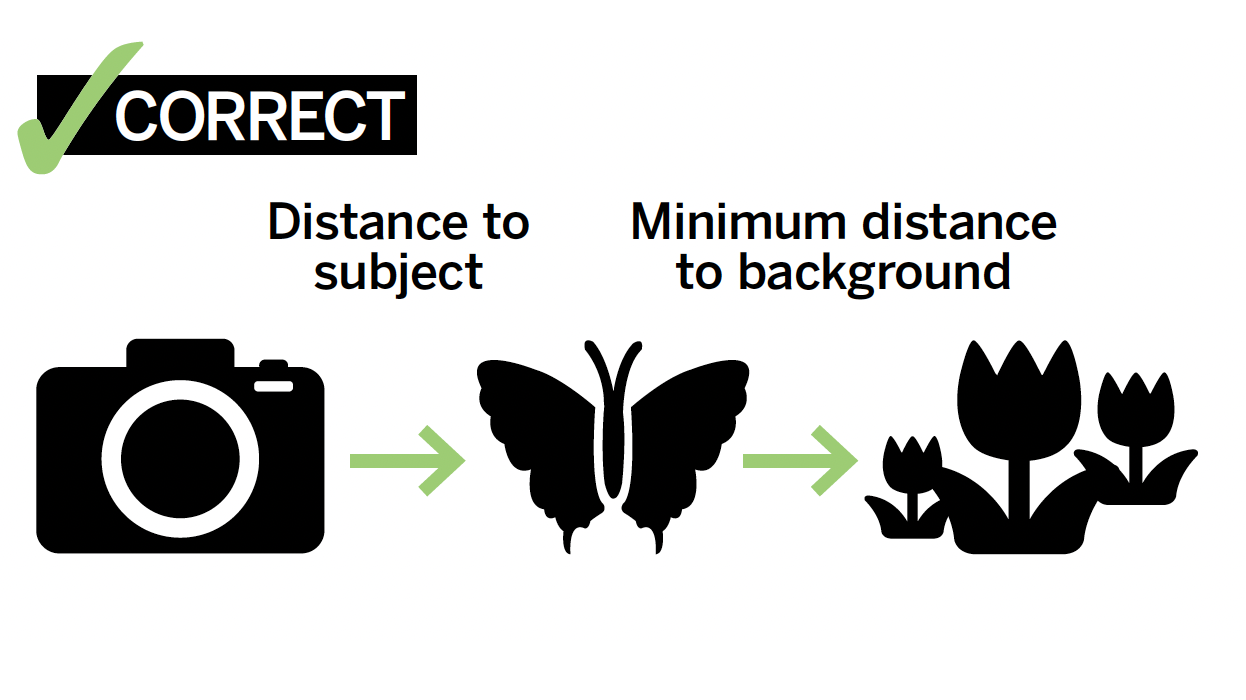
Place your subject and background for optimal bokeh effects
Your subject must be far enough away from the background for your bokeh to be successful. If your subject is surrounded by vegetation or any other element, you won't be able to achieve the desired effect as these background objects are too close to the subject and, therefore, similar distances from the focal plane.
By using a longer lens and a wide aperture, and by placing your camera so that background detail is a greater distance behind the subject, you can more easily create dreamy bokeh with smooth specular out-of-focus highlights.
Create magical bokeh
1. Zoom in
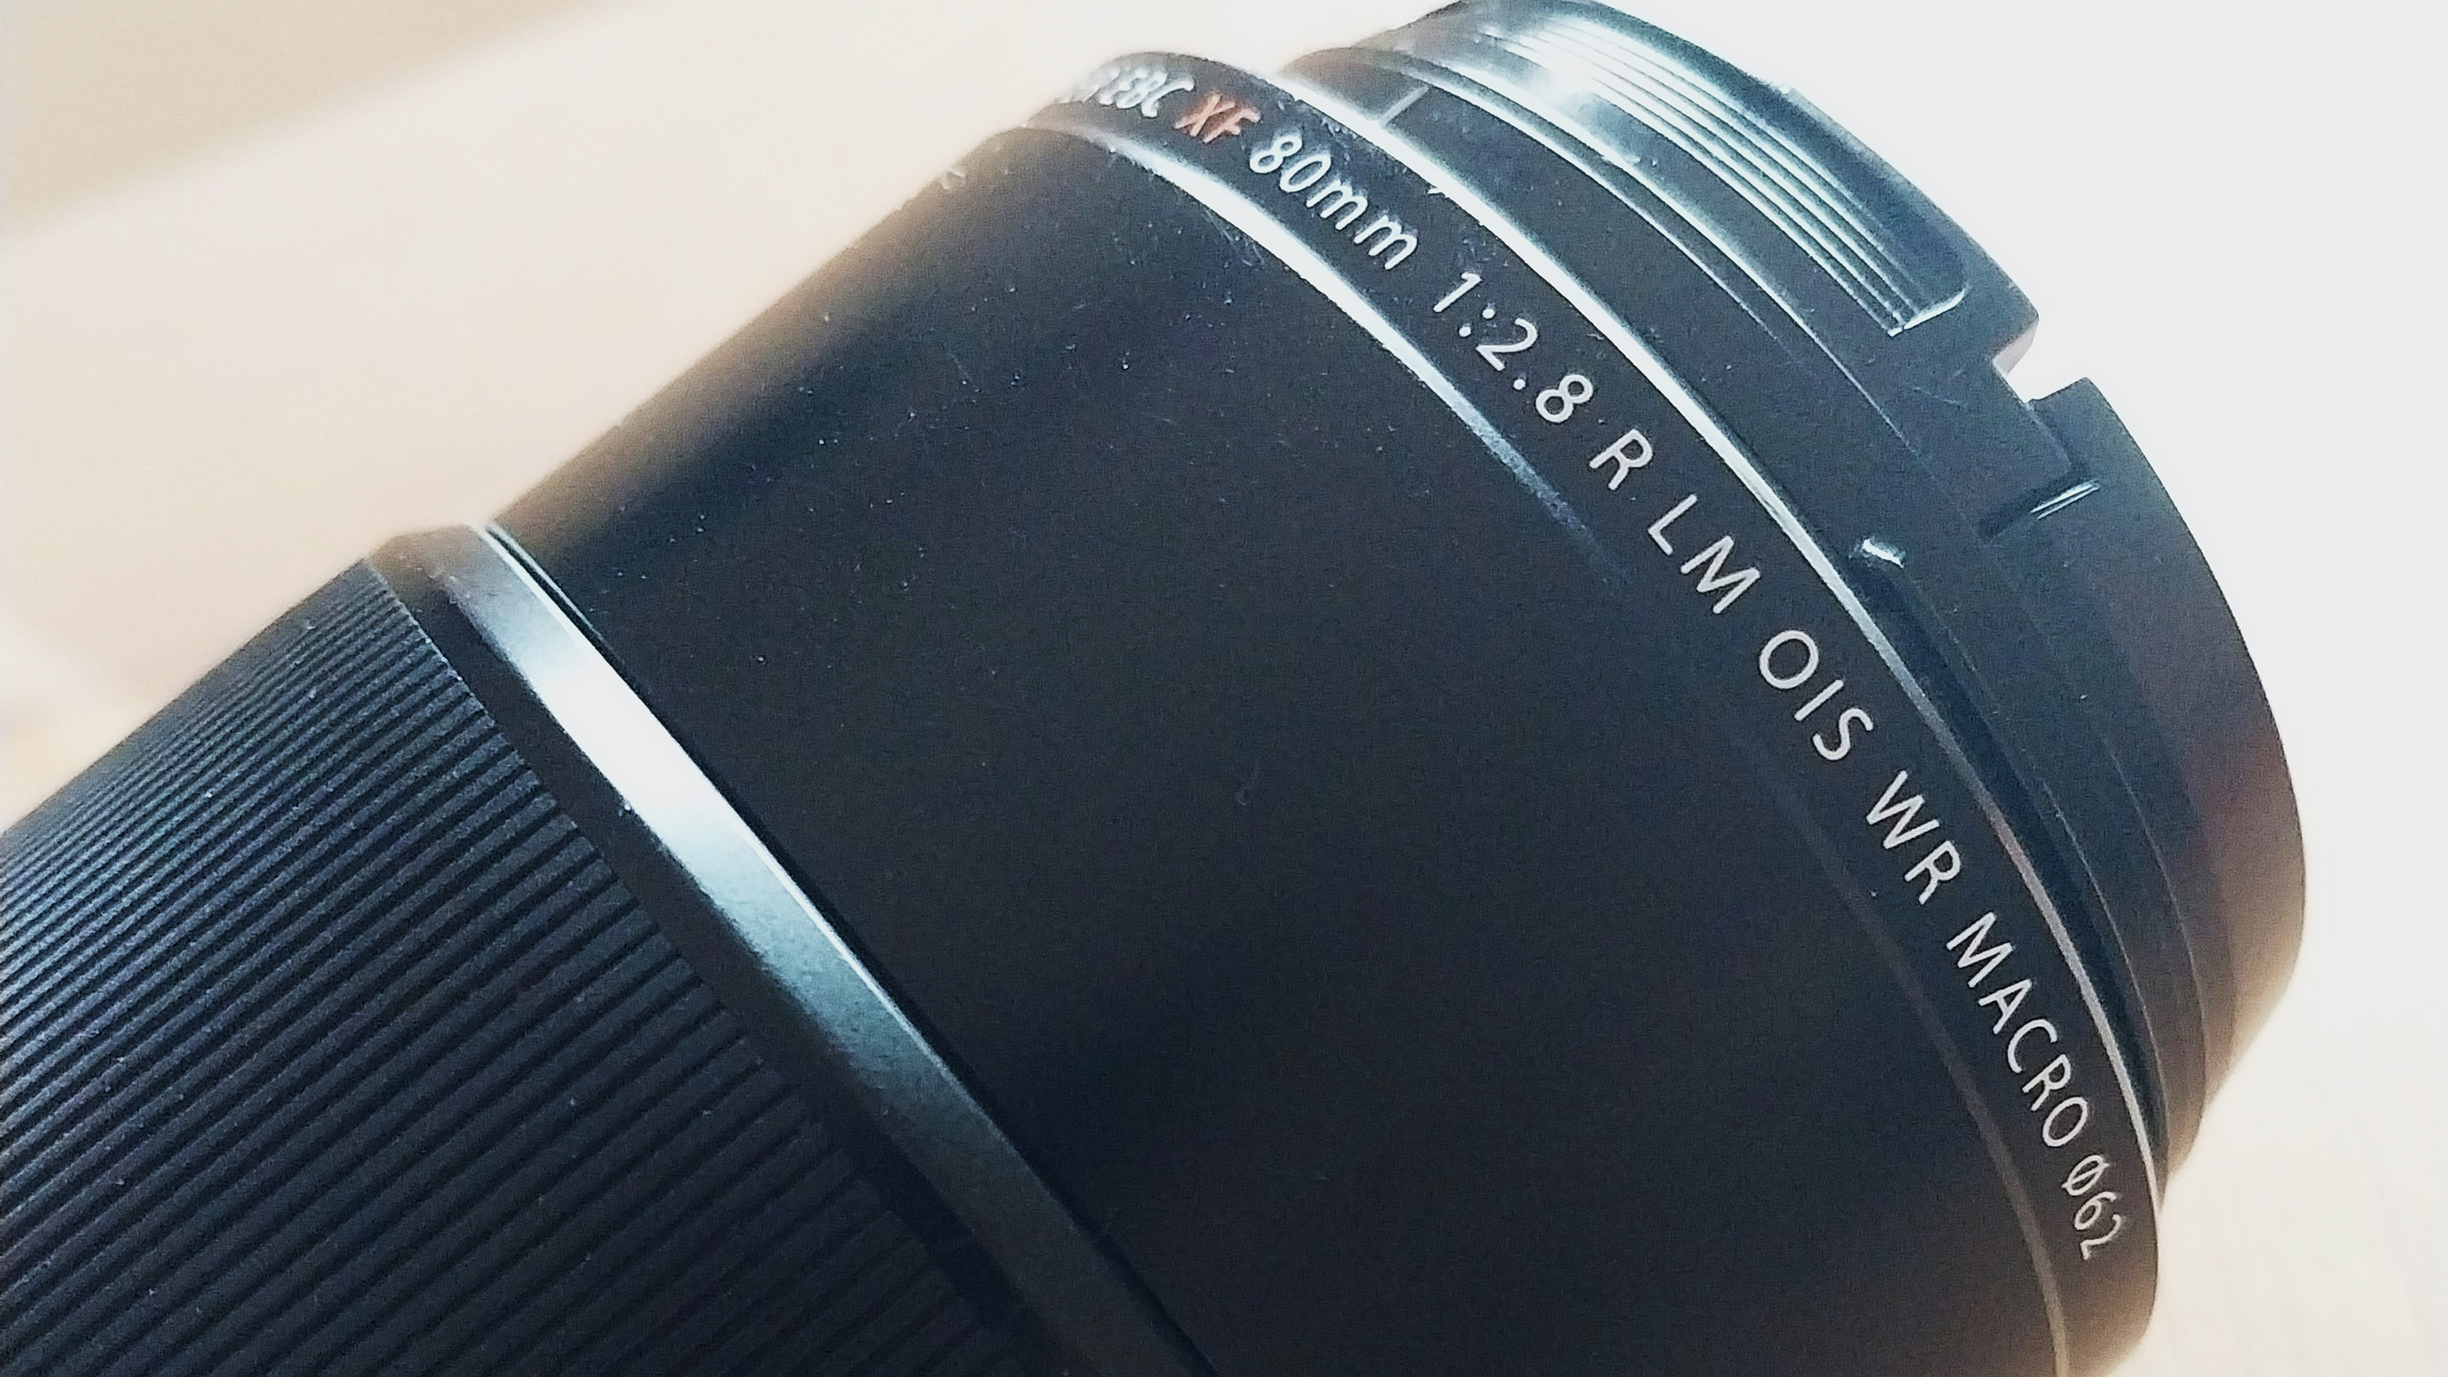
Opt for macro lenses with a focal length of between 100mm and 150mm for full-frame (80mm to 100mm for APS-C). This will shorten the depth of field, helping to isolate your subject and allowing you to play with the colours and textures of your background.
The best camera deals, reviews, product advice, and unmissable photography news, direct to your inbox!
2. Find a location
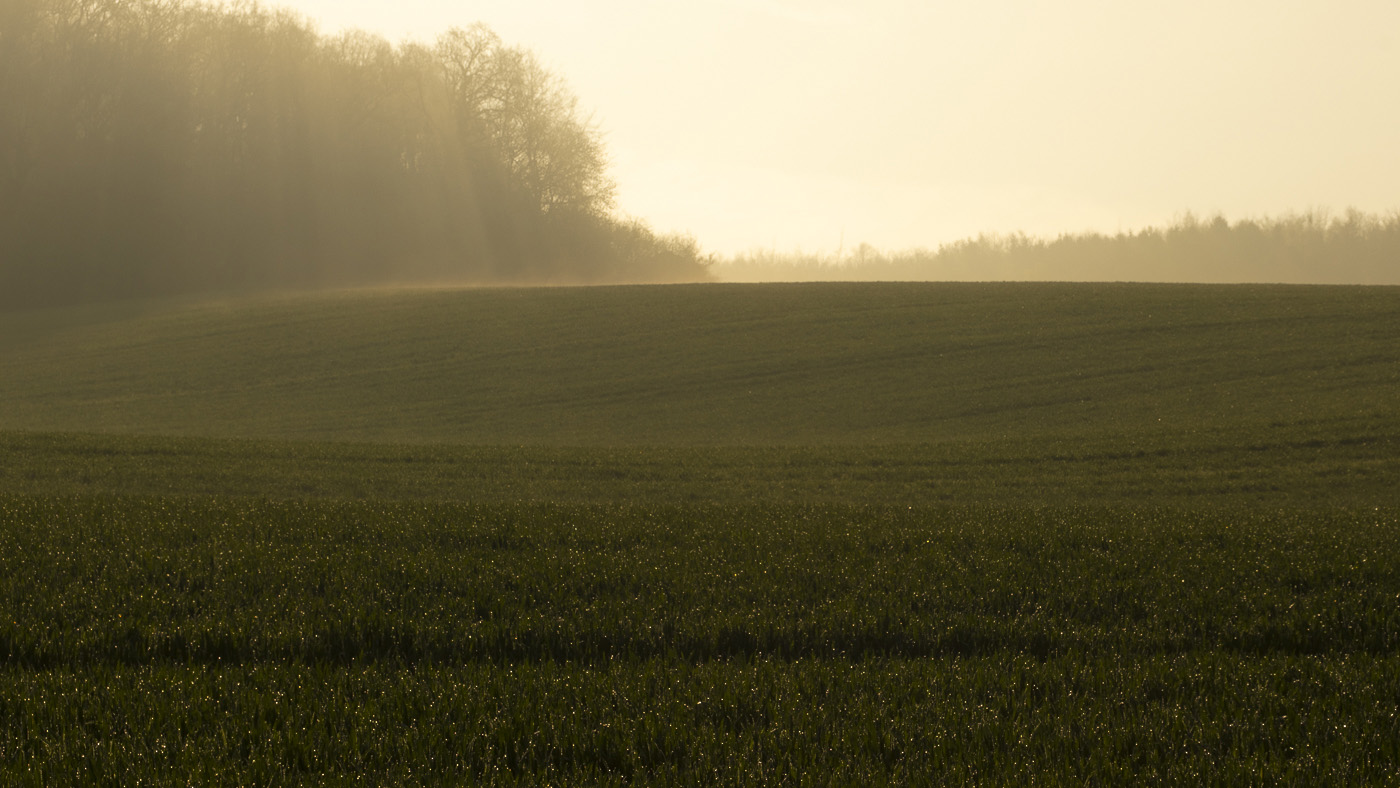
Whether it's a wetland, a meadow, forest or even your own garden, there should be enough vegetation to create a textured background – think tall grass, flowers, shrubs and stones. If you take a photo of an insect with no vegetation around it, the background will look bland and insipid.
3. Time your shoot
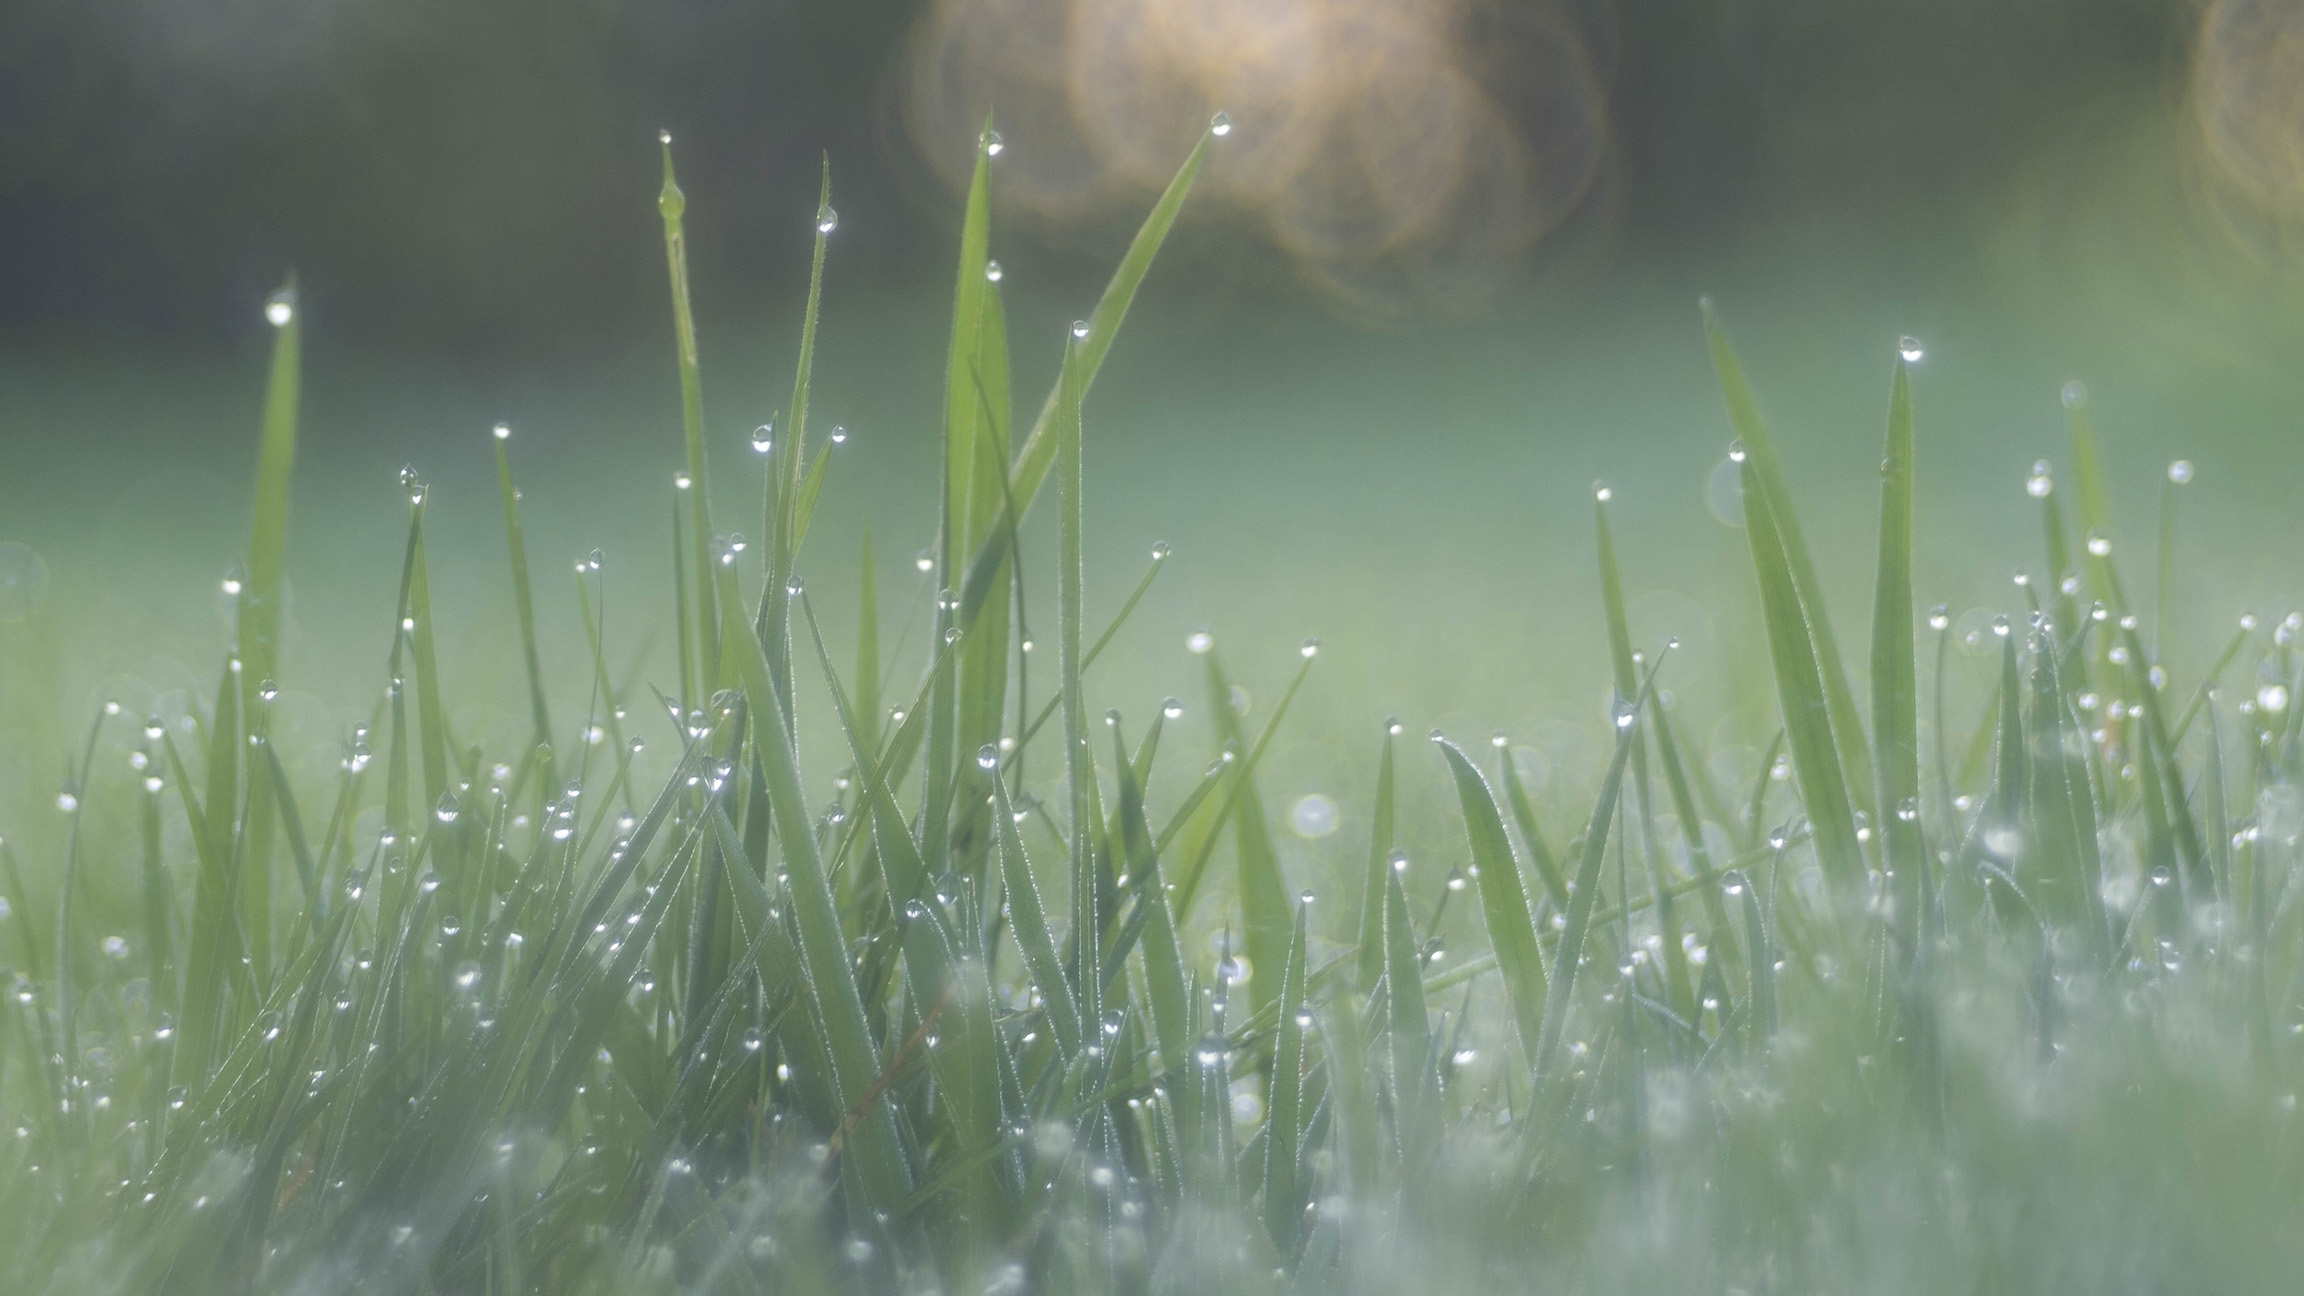
There’s nothing like water drops to create a bubble bokeh in the background. Set your alarm to get up at dawn or go out immediately after the rain. Choose sunrise or sunset to play with the contrasts in the background or reflections on the water and gaps of light between the trees.
4. Shoot wide open
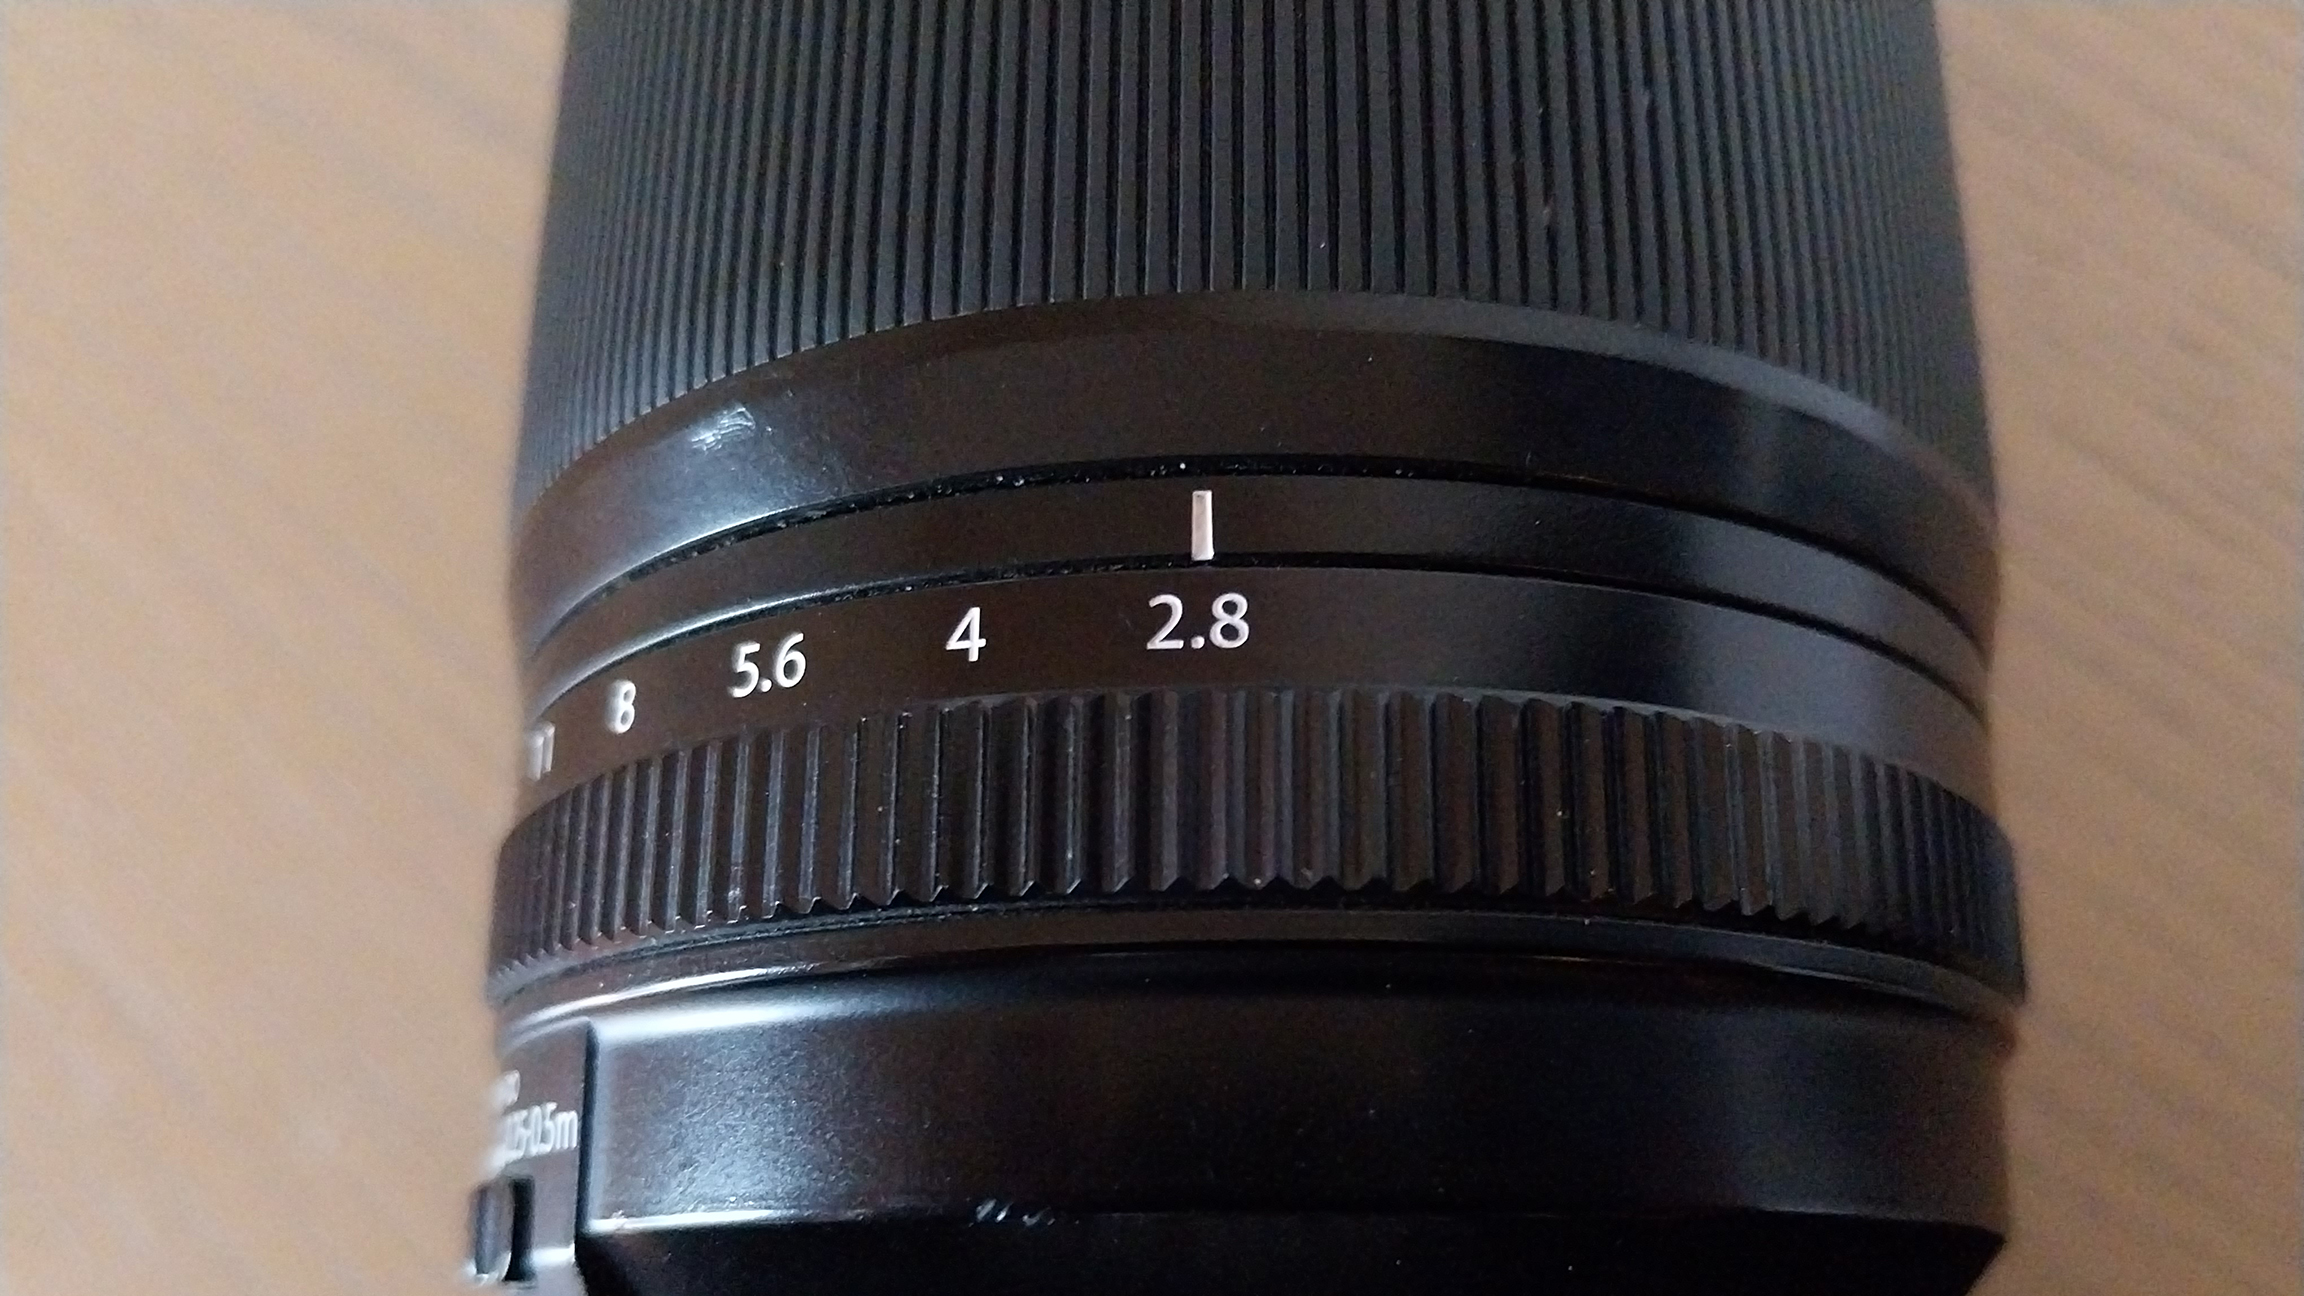
For the most impressive backgrounds, shoot at either full aperture or a wide aperture. When you stay below f/5.6, the depth of field is reduced enough to isolate your subject nicely. If your background lacks texture, you can always close the aperture a little more.
5. Your position
Once you have a subject that’s ideally placed in relation to the background, experiment with some different angles of view. Rotate around your subject and move closer or slightly further away from it. Try other angles – you may be pleasantly surprised by the result.
You might like...
Browse our best cameras for macro photography and the best macro lenses. You might also want to check out this tutorial on how to shoot above life-size and discover alternative tools to a macro lens.
As the Editor for Digital Photographer magazine, Peter is a specialist in camera tutorials and creative projects to help you get the most out of your camera, lens, tripod, filters, gimbal, lighting and other imaging equipment.
After cutting his teeth working in retail for camera specialists like Jessops, he has spent 11 years as a photography journalist and freelance writer – and he is a Getty Images-registered photographer, to boot.
No matter what you want to shoot, Peter can help you sharpen your skills and elevate your ability, whether it’s taking portraits, capturing landscapes, shooting architecture, creating macro and still life, photographing action… he can help you learn and improve.
You must confirm your public display name before commenting
Please logout and then login again, you will then be prompted to enter your display name.
