The best camera deals, reviews, product advice, and unmissable photography news, direct to your inbox!
You are now subscribed
Your newsletter sign-up was successful
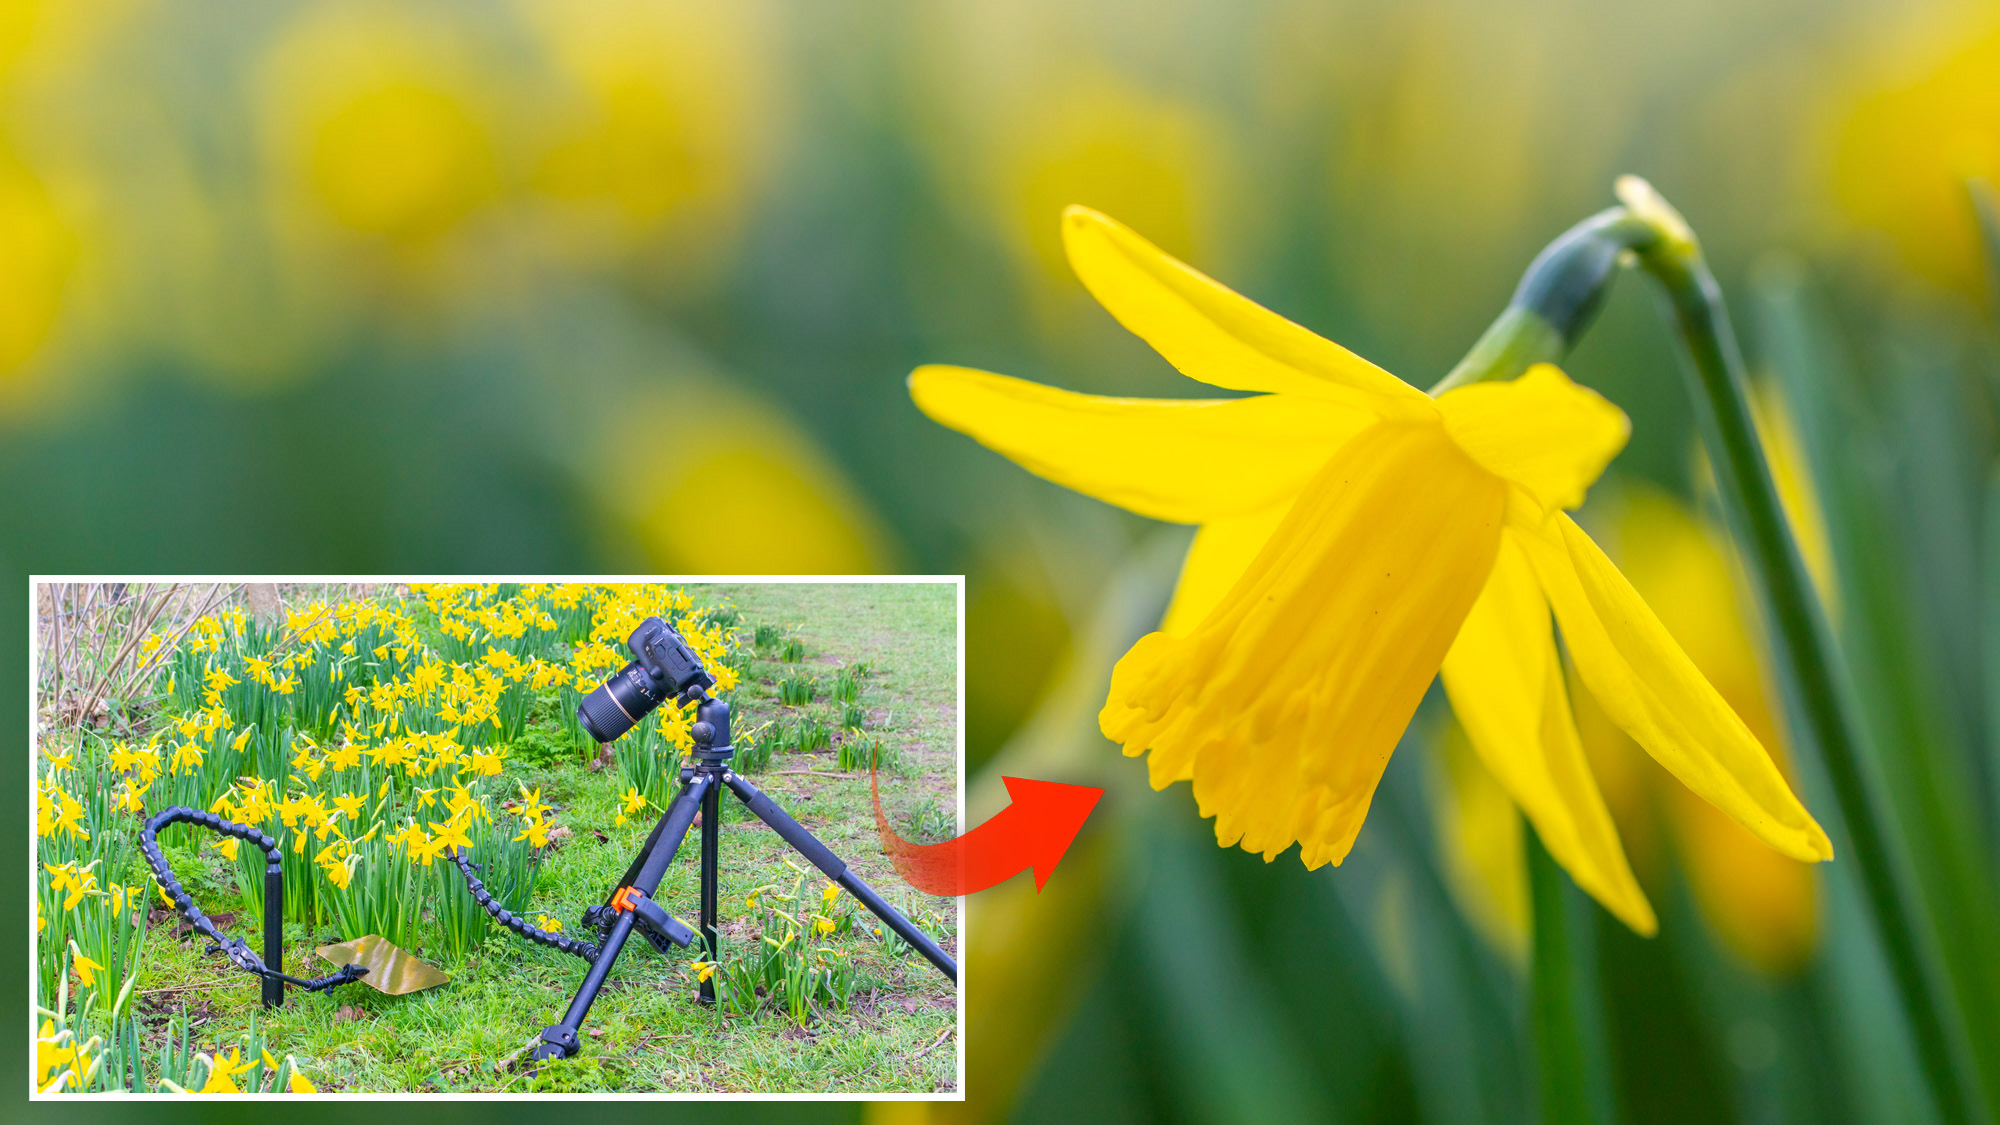
If you’ve ever tried to photograph a delicate plant outdoors you’ll know that it’s trickier than it seems, especially when working in windy conditions – flowery focal points are prone to being blown about!
A ‘plamp’, such as The Plamp II from Wimberley, is a clever device that has a large anchoring clamp at one end and a small clamp clip with soft foam jaws at the other to hold a fragile subject such as a flower stem steady. Between the two grippers there’s a long articulating arm made of ball and socket joints which allow you to bend it into position to hold a plant stem, reflector or LED light steady.
Above: see our video on using a 'Plamp'
Plamps are handy for all sorts of photoshoots, but they really shine in macro work, especially outdoors when a breeze might caused blurry results. Even small movements are exaggerated when shooting close-up so a Plamp helps to keep everything absolutely still. You can even set up a second Plamp to hold accessories or a background and position it so that the light is falling exactly where you need it to. They’re also fantastic for still life and studio shoots such as product photography where you need a finer level of control.
This month we got hold of a hoard of Plamp products from Wimberley that you may not have come across before so you can see how they may be beneficial to your photography, and which items deserve to be added to your equipment wishlish. Let’s take a closer look at them...
1. Set up your Plamp
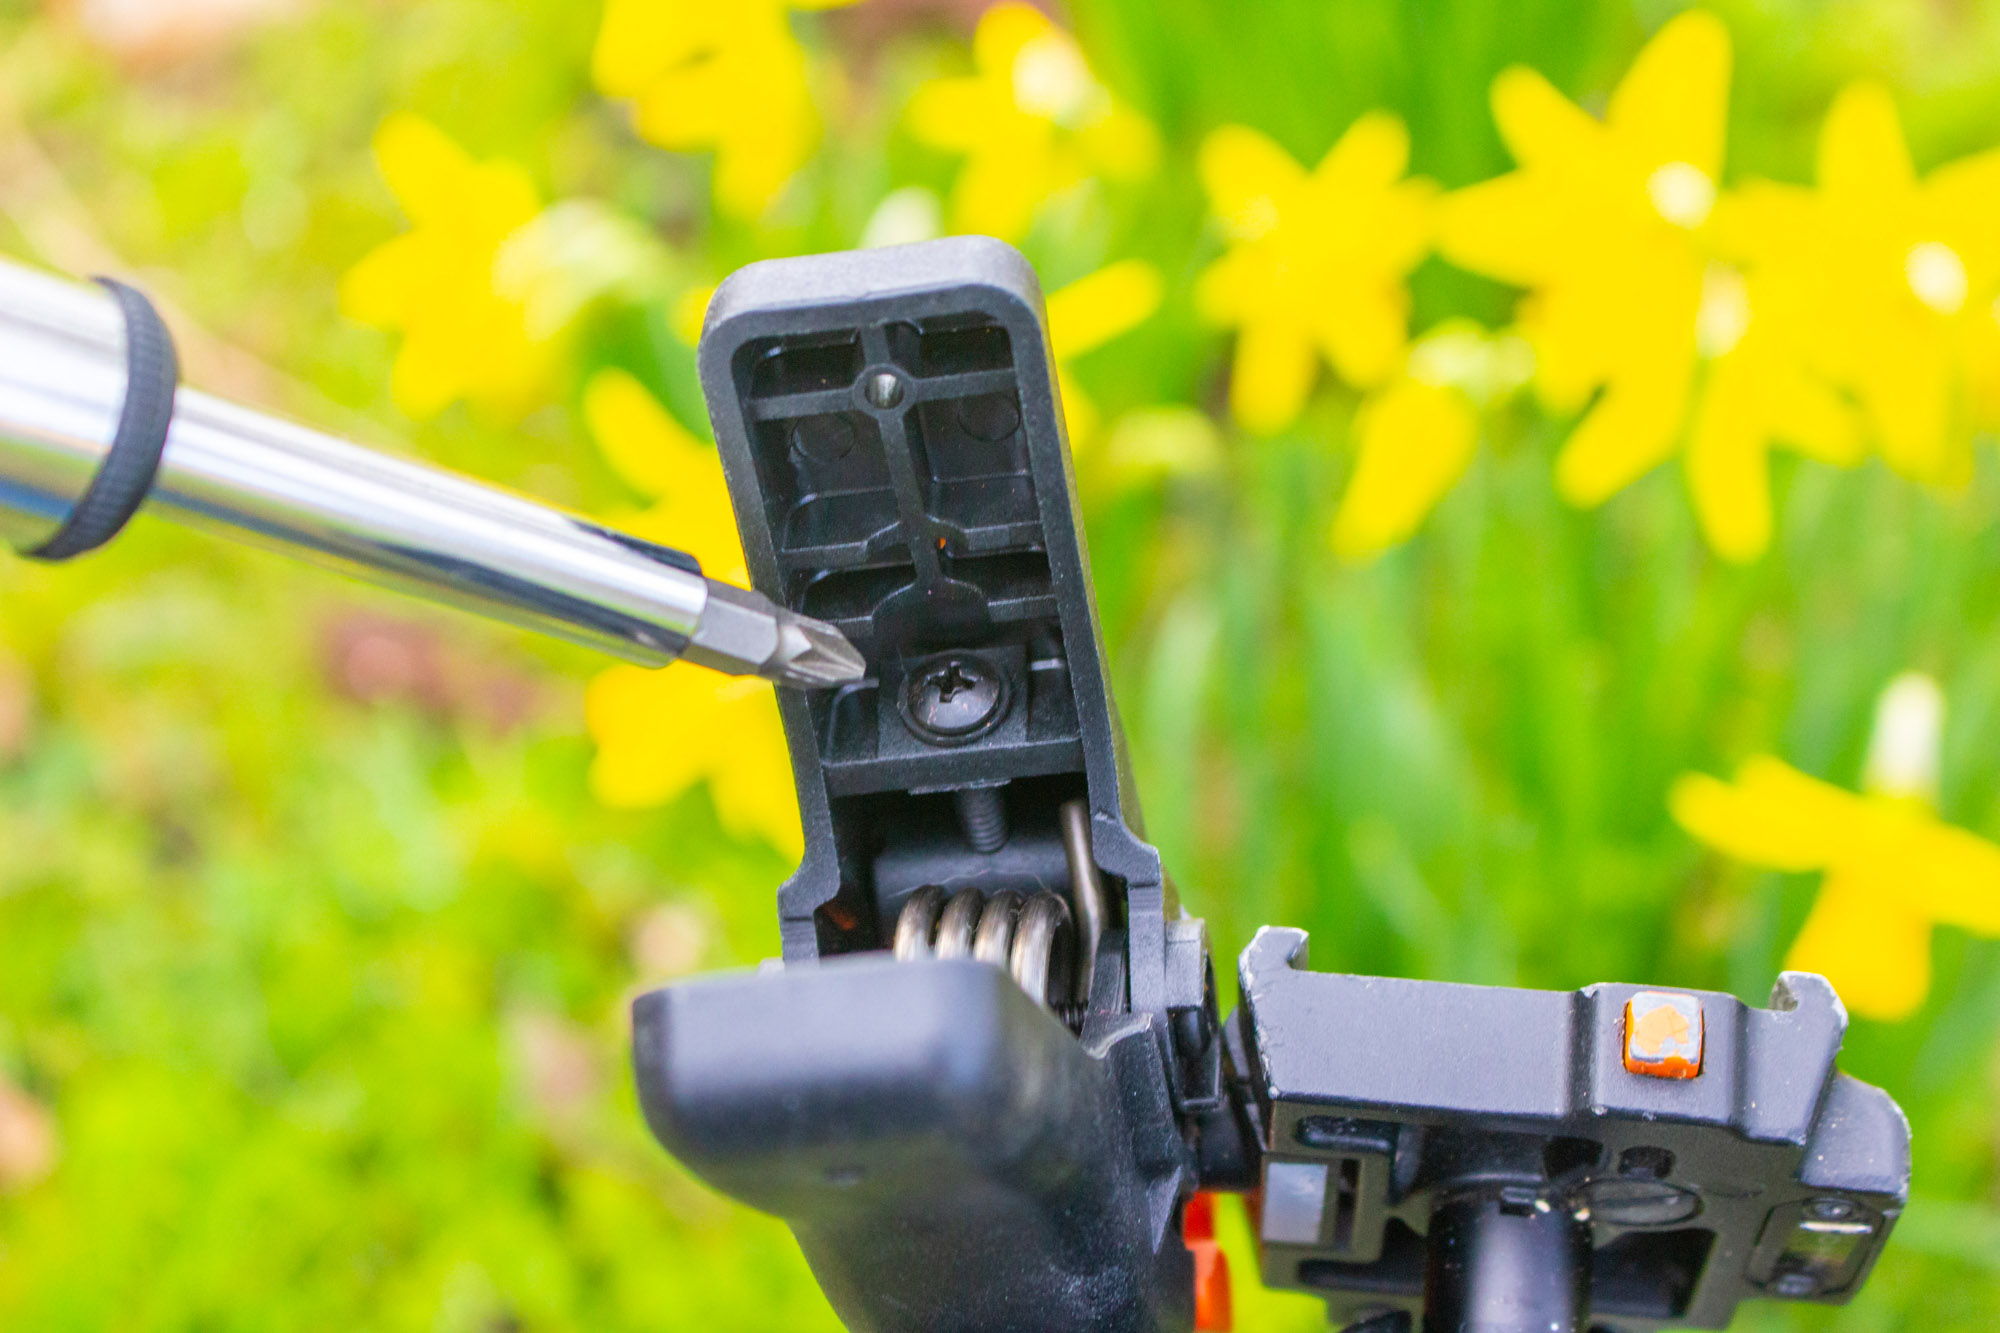
Wimberley’s The Plamp II is simple and effective, but it offers a high level of adjustability too, should you need it. On the large clamp end you can adjust the clamp’s spring tension with a screwdriver.
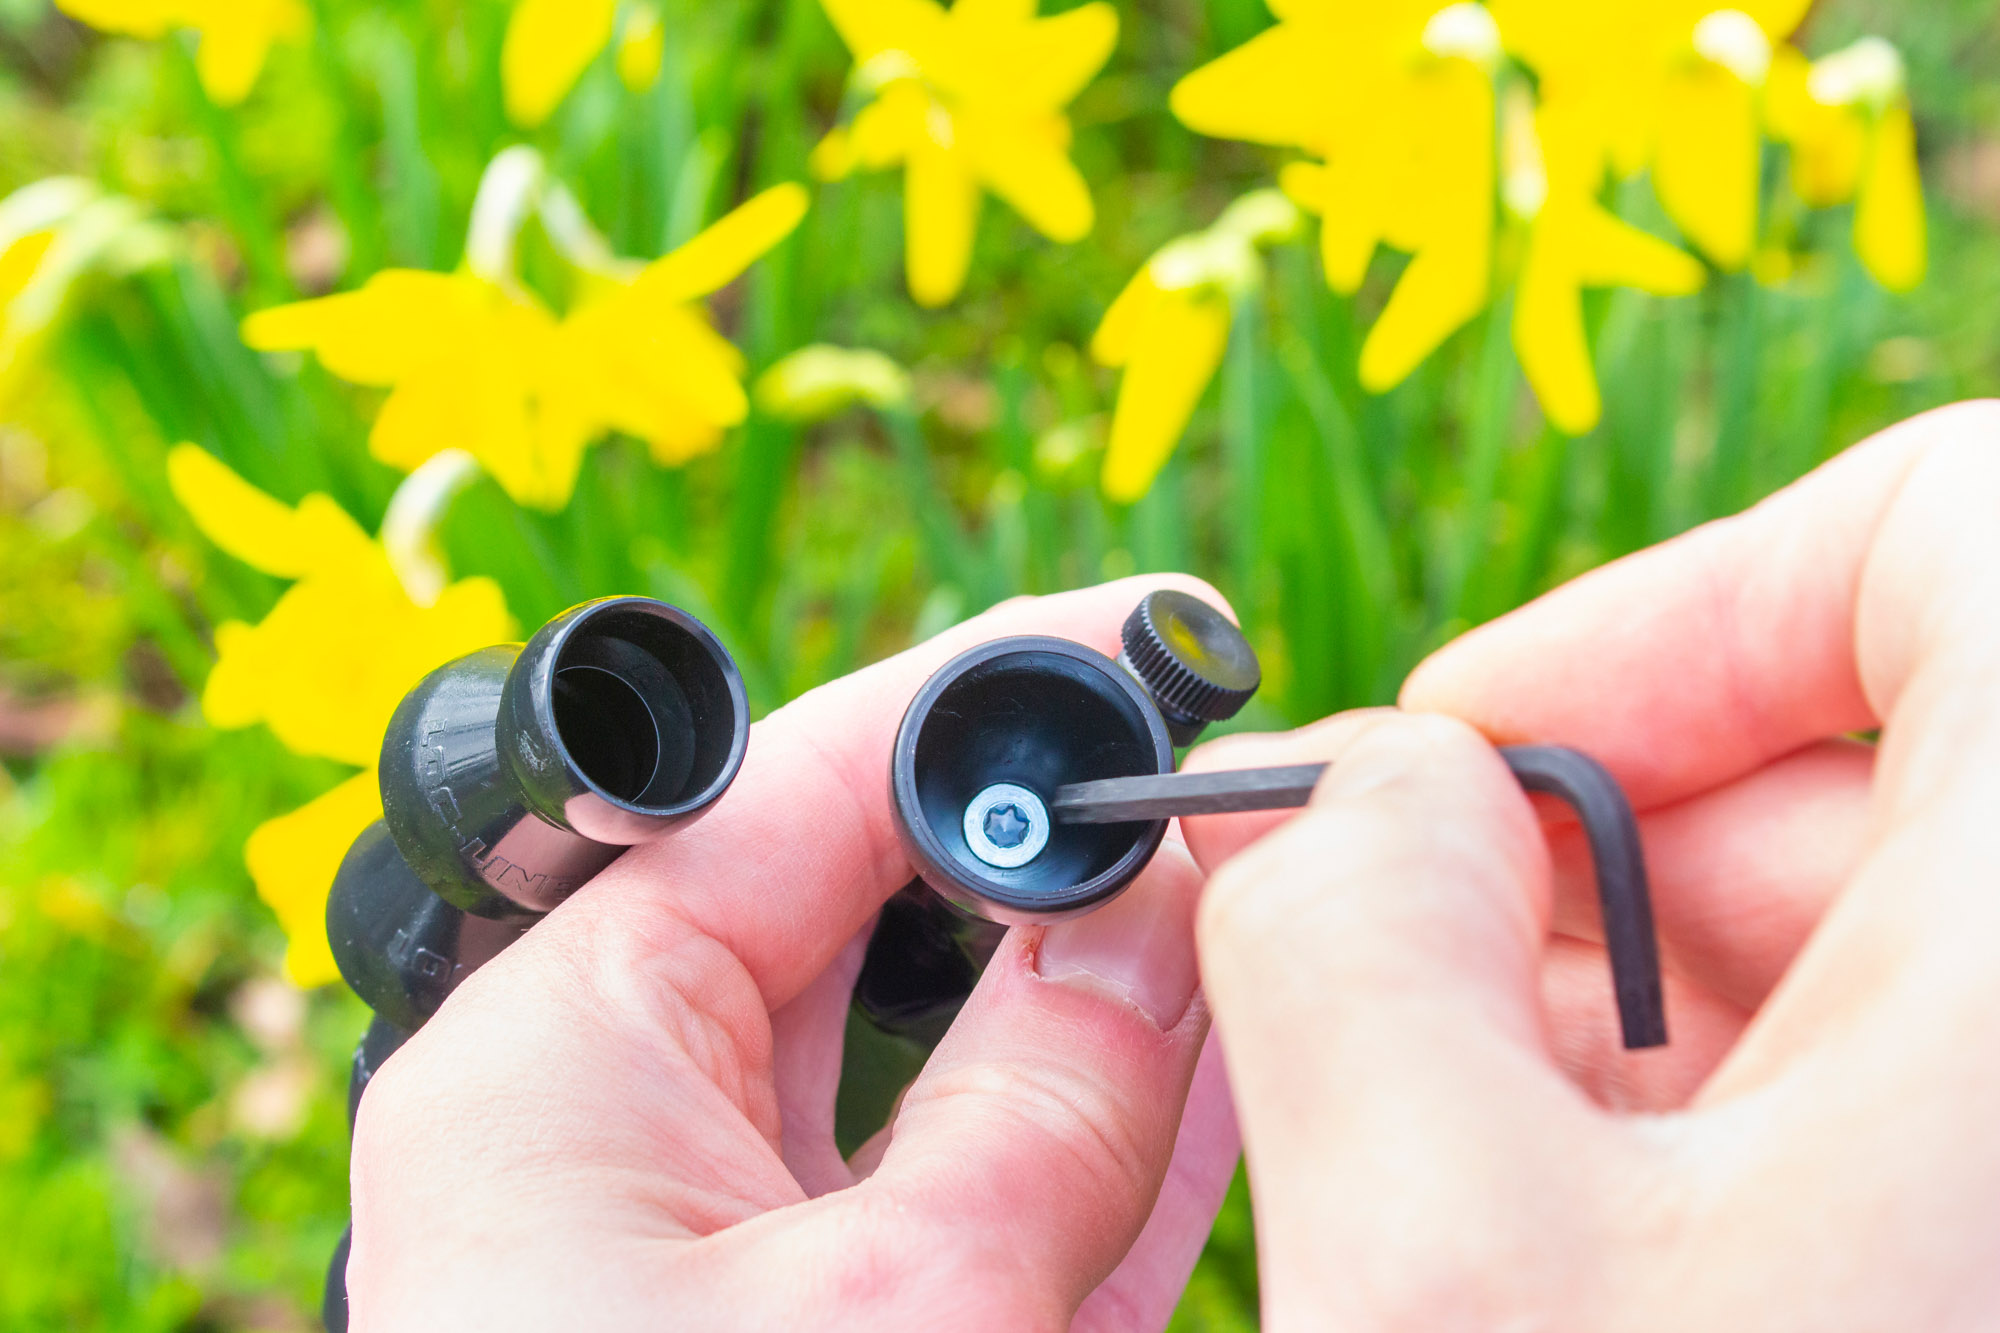
While at the smaller ‘clip’ end you can adjust the force required to rotate the clip by removing the last ball joint from the arm (we found bending it back around on itself did the trick), you can then access a Torx 20 mounting screw which you can adjust with your included hex key to make it more stiff or loose. You then need to apply a good bit of pressure to get the clip end onto the arm again. If you struggle with this last step you can warm the female end in near-boiling water to expand it a little.
The best camera deals, reviews, product advice, and unmissable photography news, direct to your inbox!
2. Attach your plamp
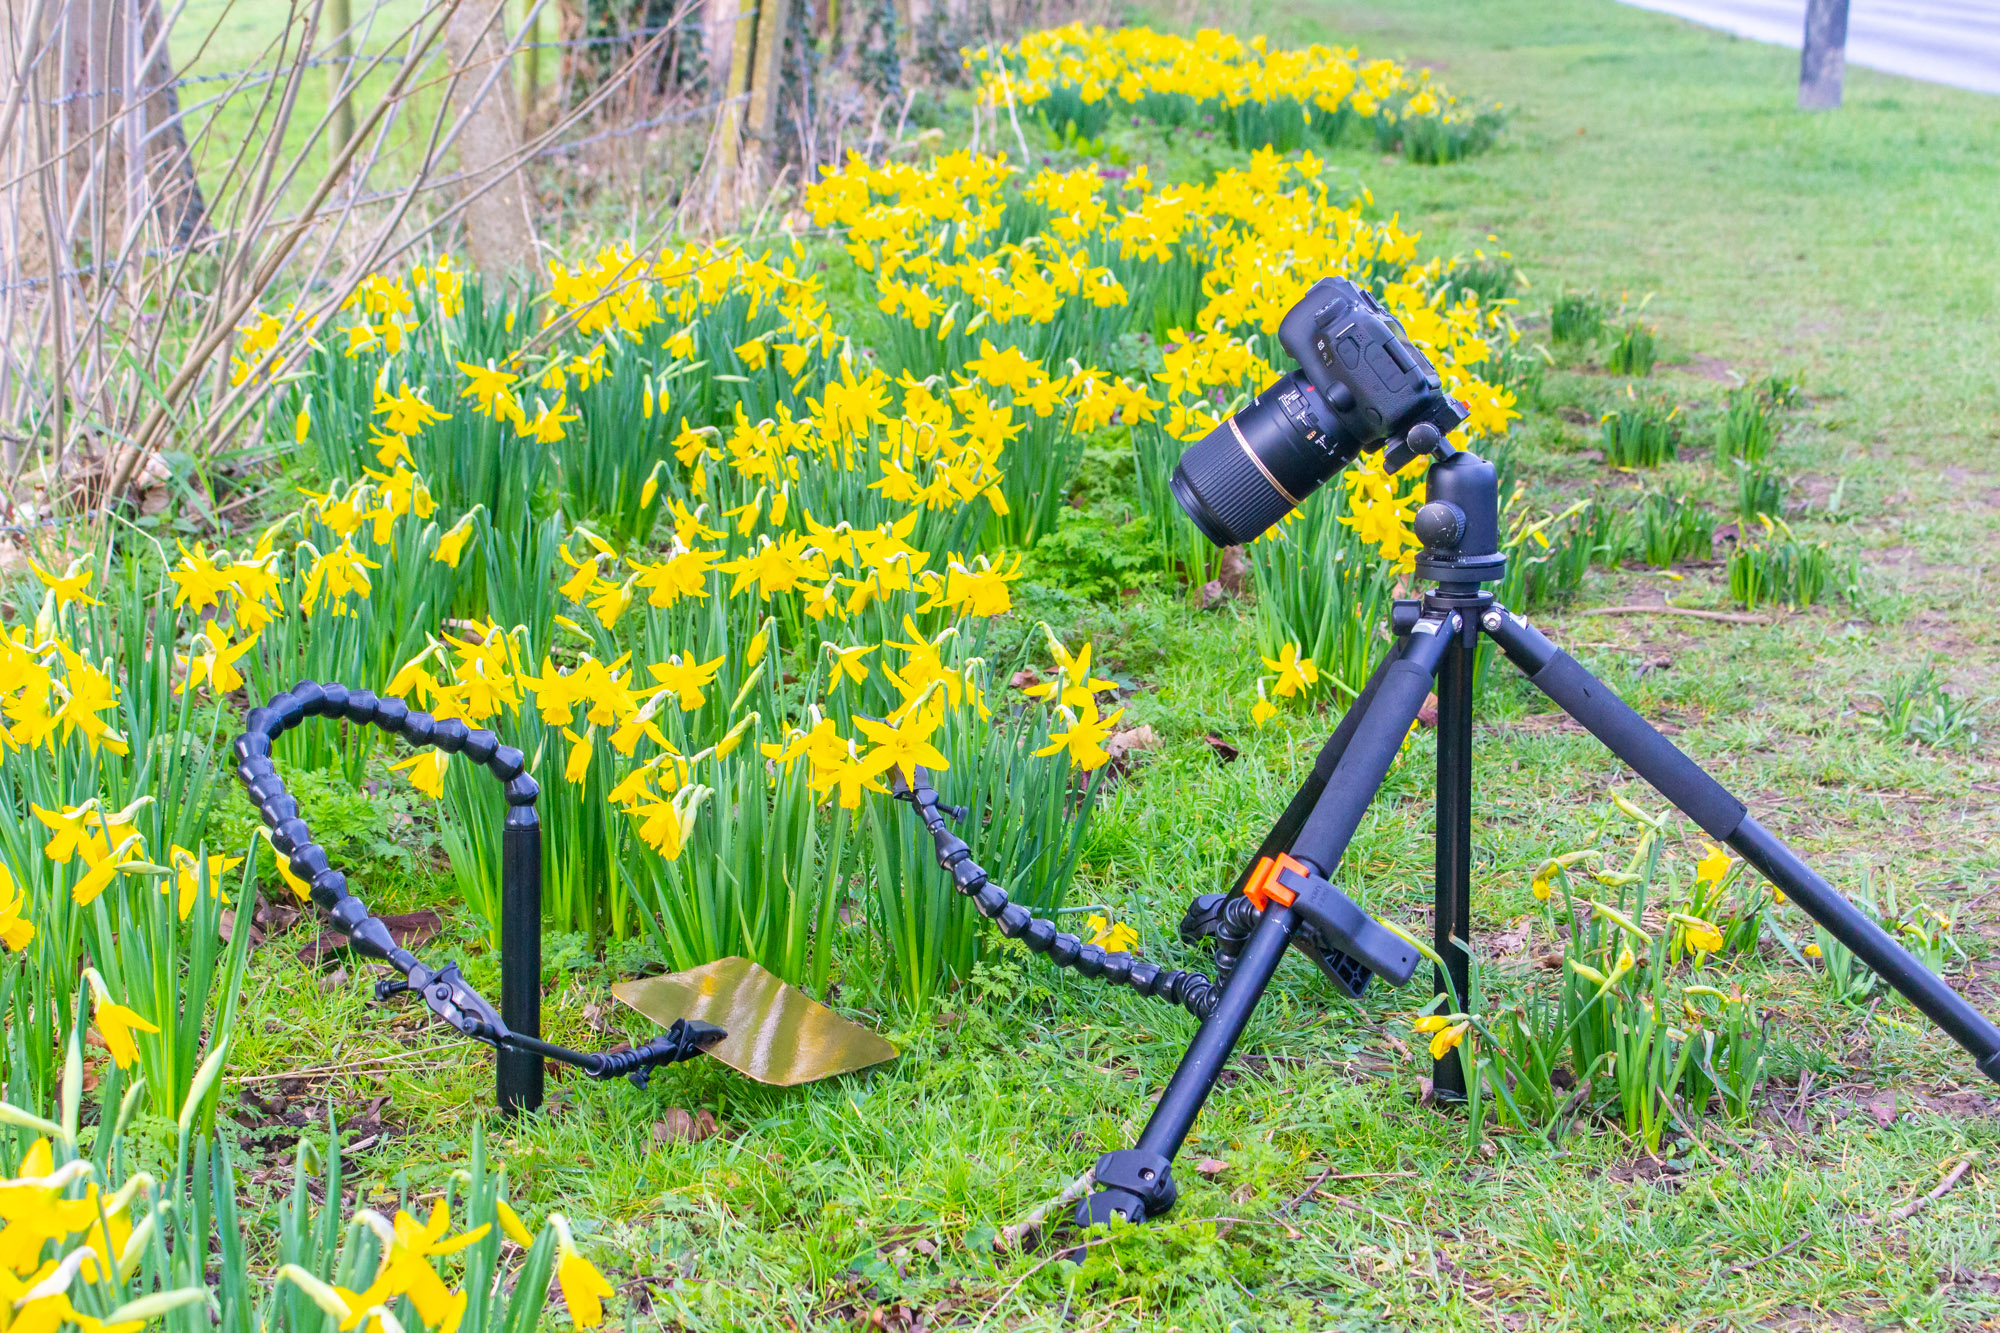
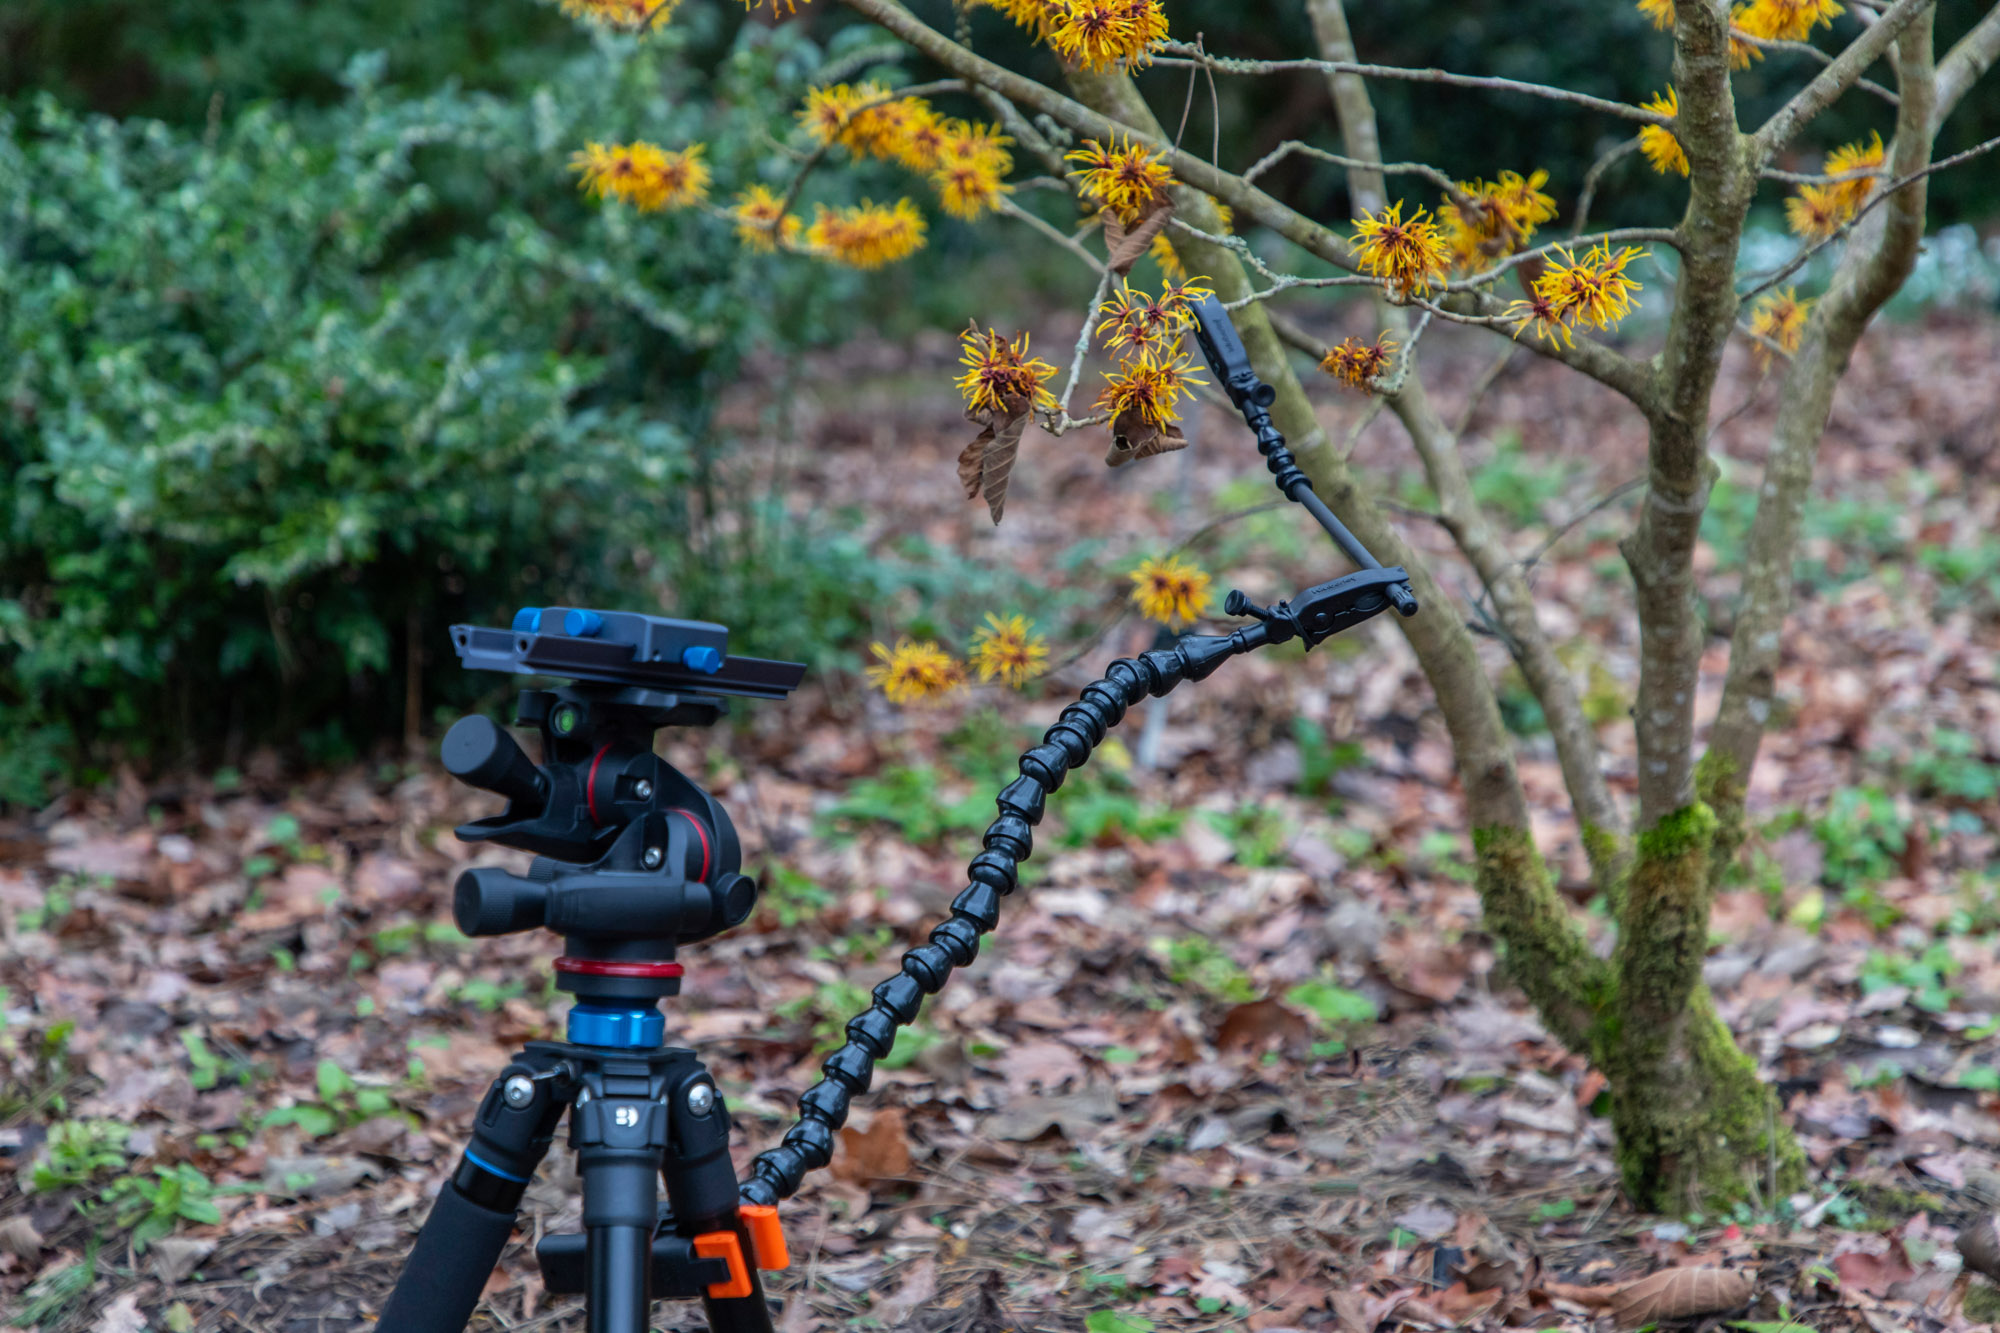
You now need to attach the large clamp end of your plamp onto a solid object to anchor it. If you’re shooting indoors a table is the obvious choice, but if you’re shooting outdoors look for tree branches or a post, or carry a second tripod with you so you can lash it to one of its leg sections.

It’s then time to carefully move the articulating arm into place by manouevering the ball and socket joints of the arm, these can be quite stiff but they are very sturdy. Now loosen the thumbscrew at the clip end to open the jaws of the smaller clamp, you can then insert items like a 30cm reflector into the notch designed to hold them, or use the foam padded jaws to hold delicate subjects like a flower stem steady to stop it moving around in windy conditions.
3. Stake your plamp
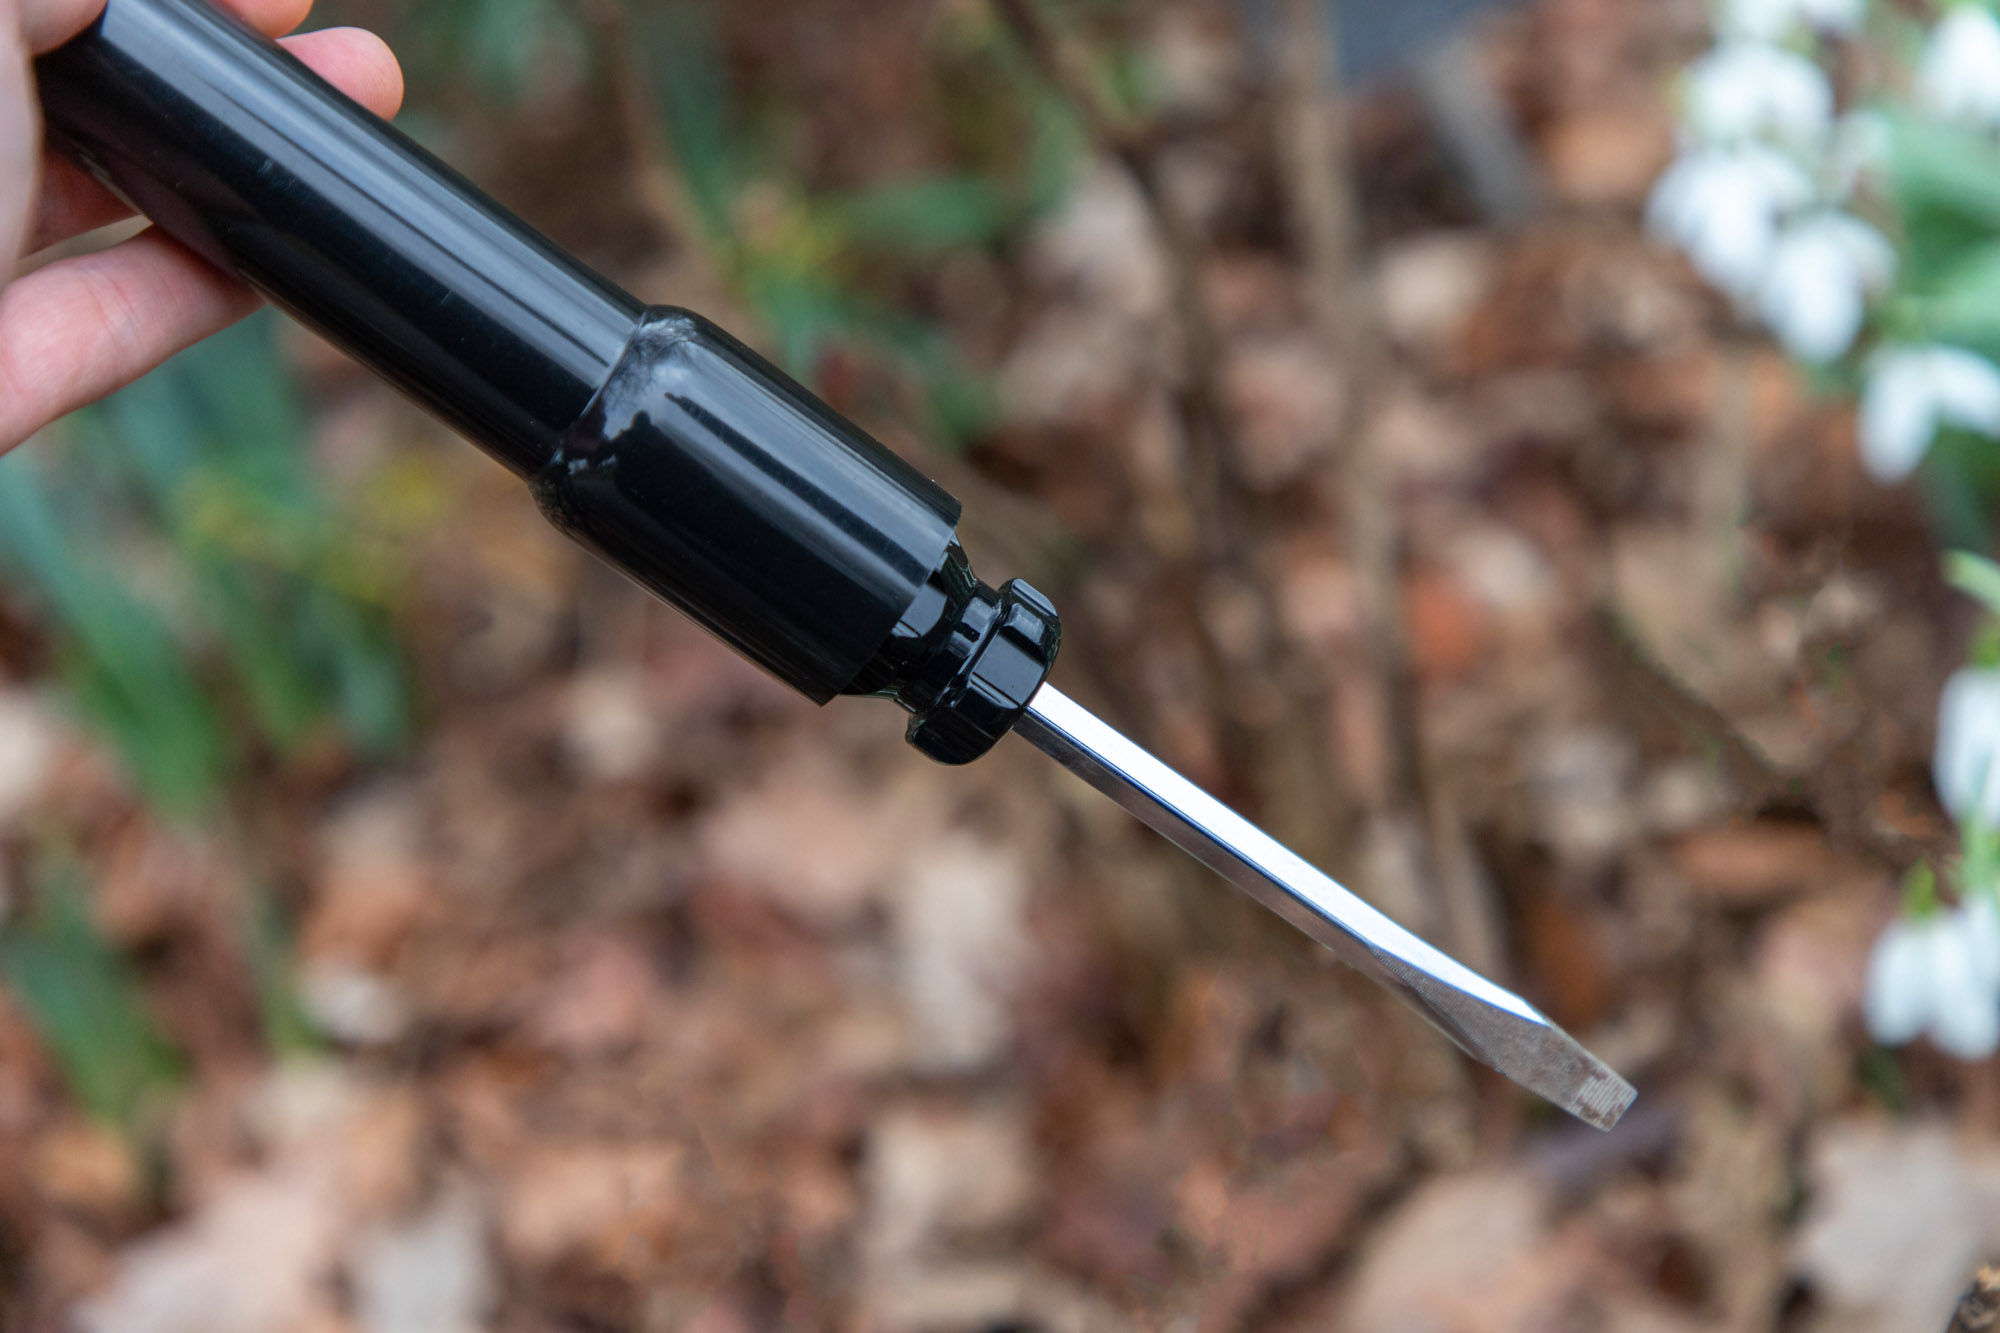
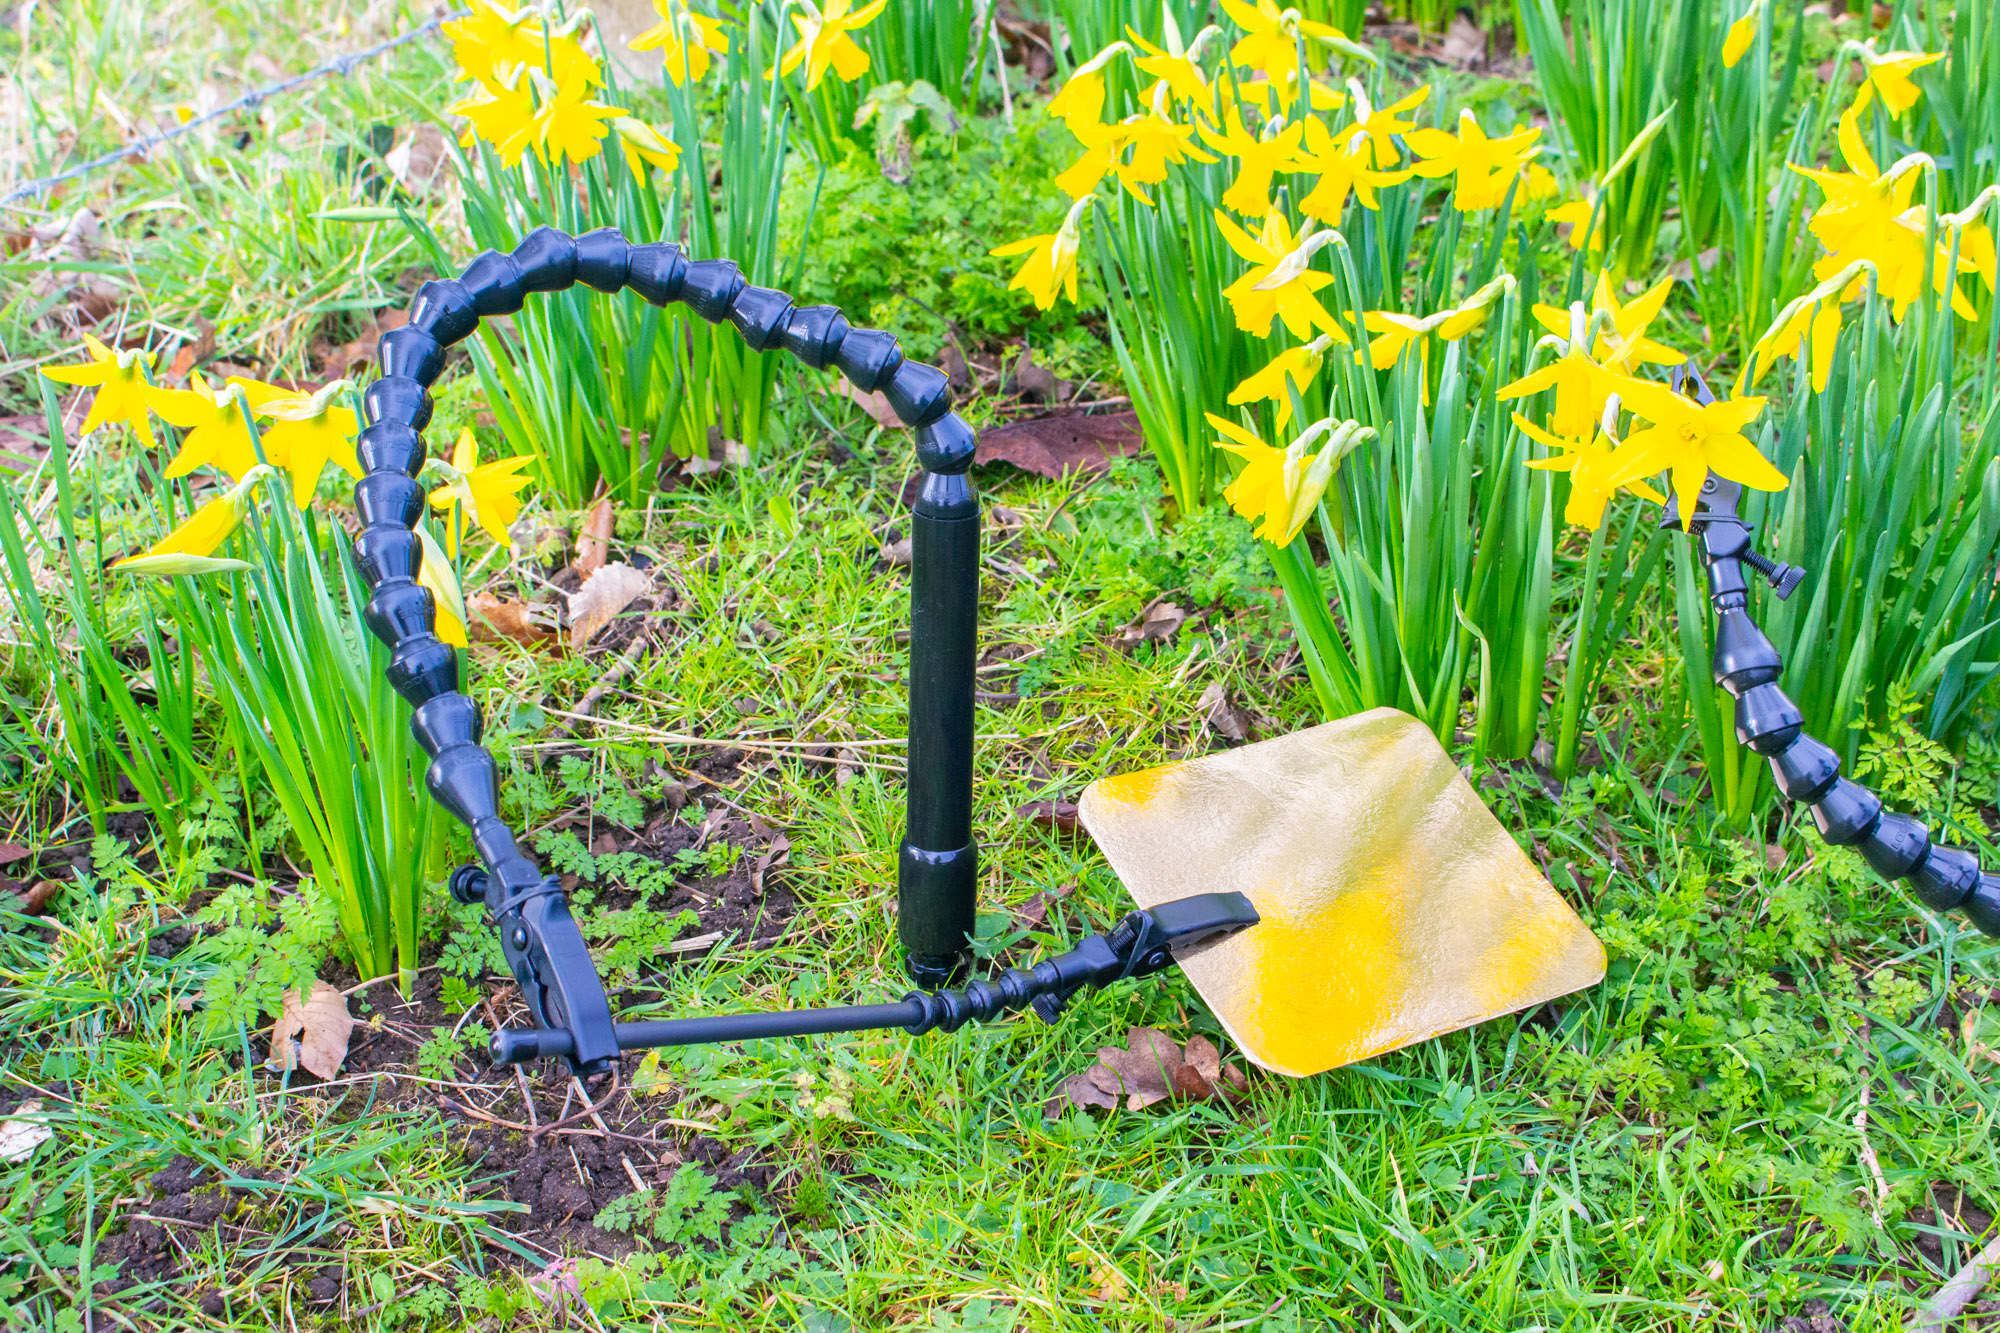
Staking your Plamp into the ground is ideal when there isn’t an obvious anchor point for the clamp on a conventional plamp. You can either use the Plamp Stake and tether your standard Wimberley The Plamp to it, or if you have the budget you could invest in the Ground Plamp which has a built-in articulating arm and Plamp end.
Both use a large flathead screwdriver which is driven into the ground to provide stability and have a large tube that fits on to the screwdriver providing your anchor point. You can adjust how snugly the tube fits onto the screwdriver by turning a screw on the side of the driver handle. The extension tubes can also be stacked together if you need even more height.
4. Use an extension rod
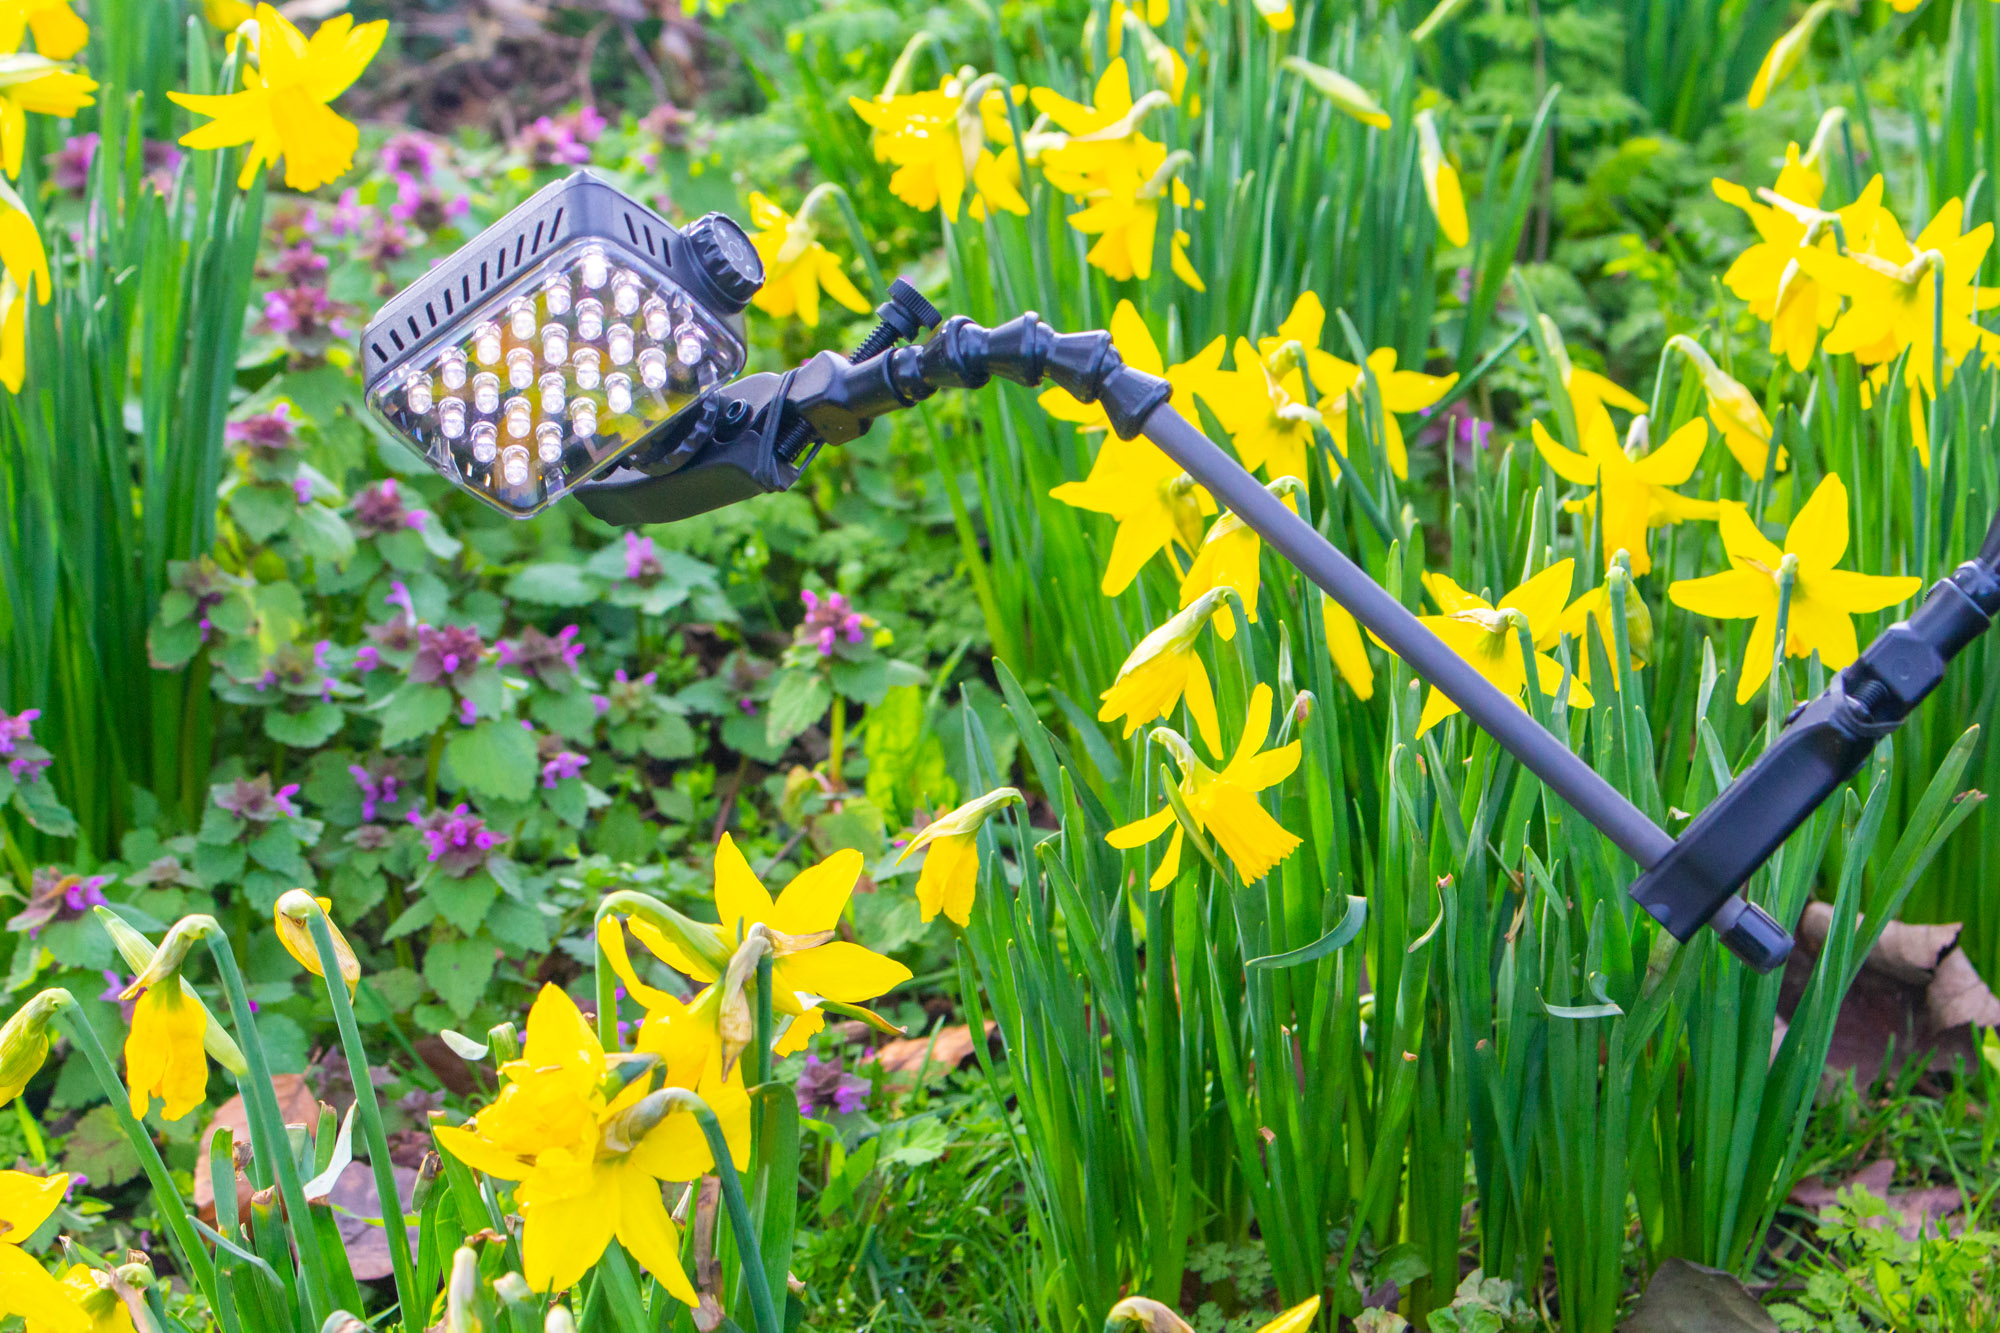
The Extension Rod from Wimberley offers an additional 35cm of reach and has articulating ball joints on one end with the plamp clip that you can use to hold items such as a delicate flower, light or reflector. The extension can be inserted into the jaws of your Plamp II, or Ground Plamp, in either series or parallel depending on how your setup requires it.
It features foam jaw inserts and a thumbscrew to tighten the jaws so you can adjust the tension gradually and apply very light pressure for delicate subjects. You’ll need a solid foundation as the added extension is a little more prone to wobble. If attaching your plamp to your tripod it’s also worth using Mirror Lock-up mode on Canon EOS DSLRs.
PhotoPlus: The Canon Magazine is the world's only monthly newsstand title that's 100% devoted to Canon, so you can be sure the magazine is completely relevant to your system. Every issue comes with downloadable video tutorials too.
These are the best cameras for portraits and the best portrait photography tips. You might also like the best photo editing software and the best photo-editing laptops.

In addition to being a freelance photographer and filmmaker, Dan is a bona fide expert on all things Canon and Adobe. Not only is he an Adobe-certified Photoshop guru, he's spent over 10 years writing for specialist magazines including stints as the Deputy Editor for PhotoPlus: The Canon Magazine, Technical Editor for Practical Photography and Photoshop Editor on Digital Photo.
