Cut out hair in Photoshop CC! Select hair like a pro with these 6 easy steps
Want to cut out hair in Photoshop? Select hair quickly and easily with this video tutorial
The best camera deals, reviews, product advice, and unmissable photography news, direct to your inbox!
You are now subscribed
Your newsletter sign-up was successful
Watch video: Cut out hair in Photoshop CC
While Lightroom, Adobe Camera Raw and other Raw editors have seen huge improvements over the past few years, they still can’t compare to Photoshop CC in terms of selection tools.
In this case, Photoshop blows away the competition with an array of hugely powerful commands that make it easy to cut out even complicated subjects, like our model here. Imagine trying to remove her original background by hand – it could take hours, maybe days to get rid of all the bits of background showing through the curly hairs. With Photoshop’s advanced selection tools, though, it takes mere minutes.
Article continues belowWe’ll begin by employing a bit of machine learning. The ‘Select Subject’ command uses artificial intelligence to analyze image content and ascertain what your subject is, then attempts to select it. It won’t always be perfect, but it often gives you a great starting point to go on and further refine the selection. This brings us to the second stage of our selection process, and it’s here where we can eradicate all those pesky gaps between the hairs using the endlessly helpful Select and Mask command.
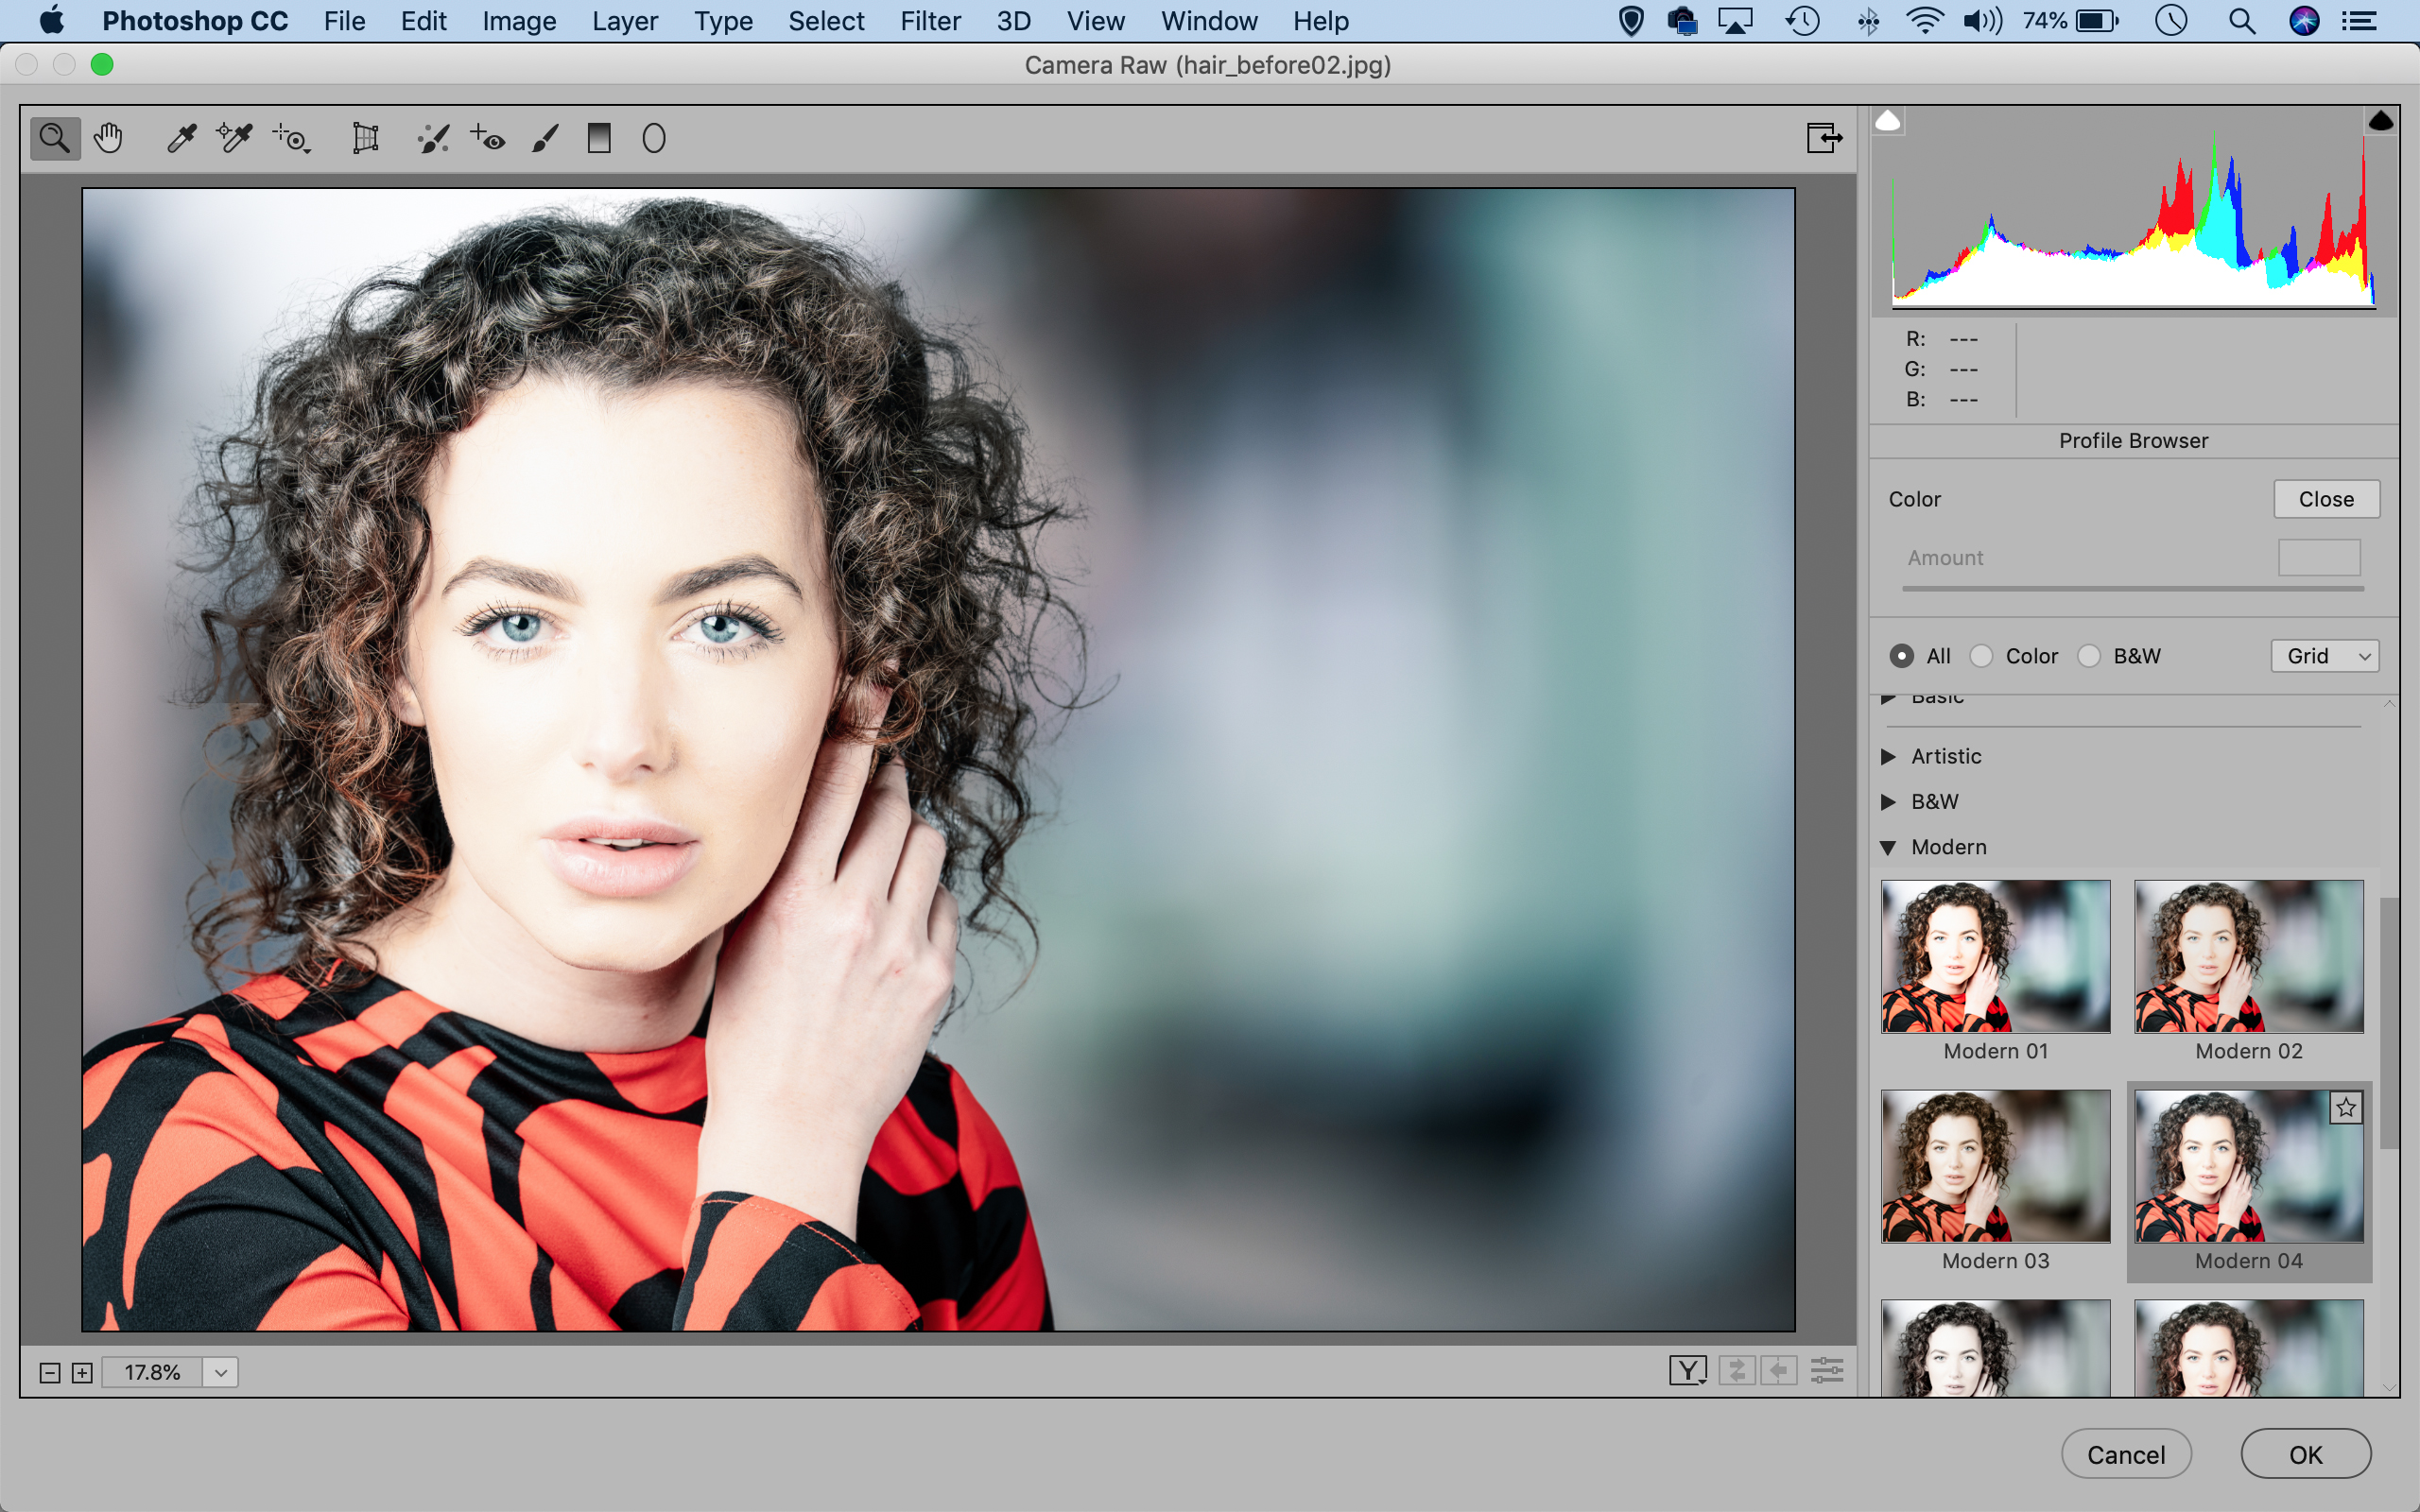
Once our cutout is perfect, we can drop in an entirely new background. The possibilities are endless; if we like, we could transport our subject to another continent, or another time period, or any scene we like. Alternatively, we might just want to change the mood of the image by altering the color of the background, or adding a blurred backdrop like this. Whatever you choose to do, the process is surprisingly quick – and much easier than you think…
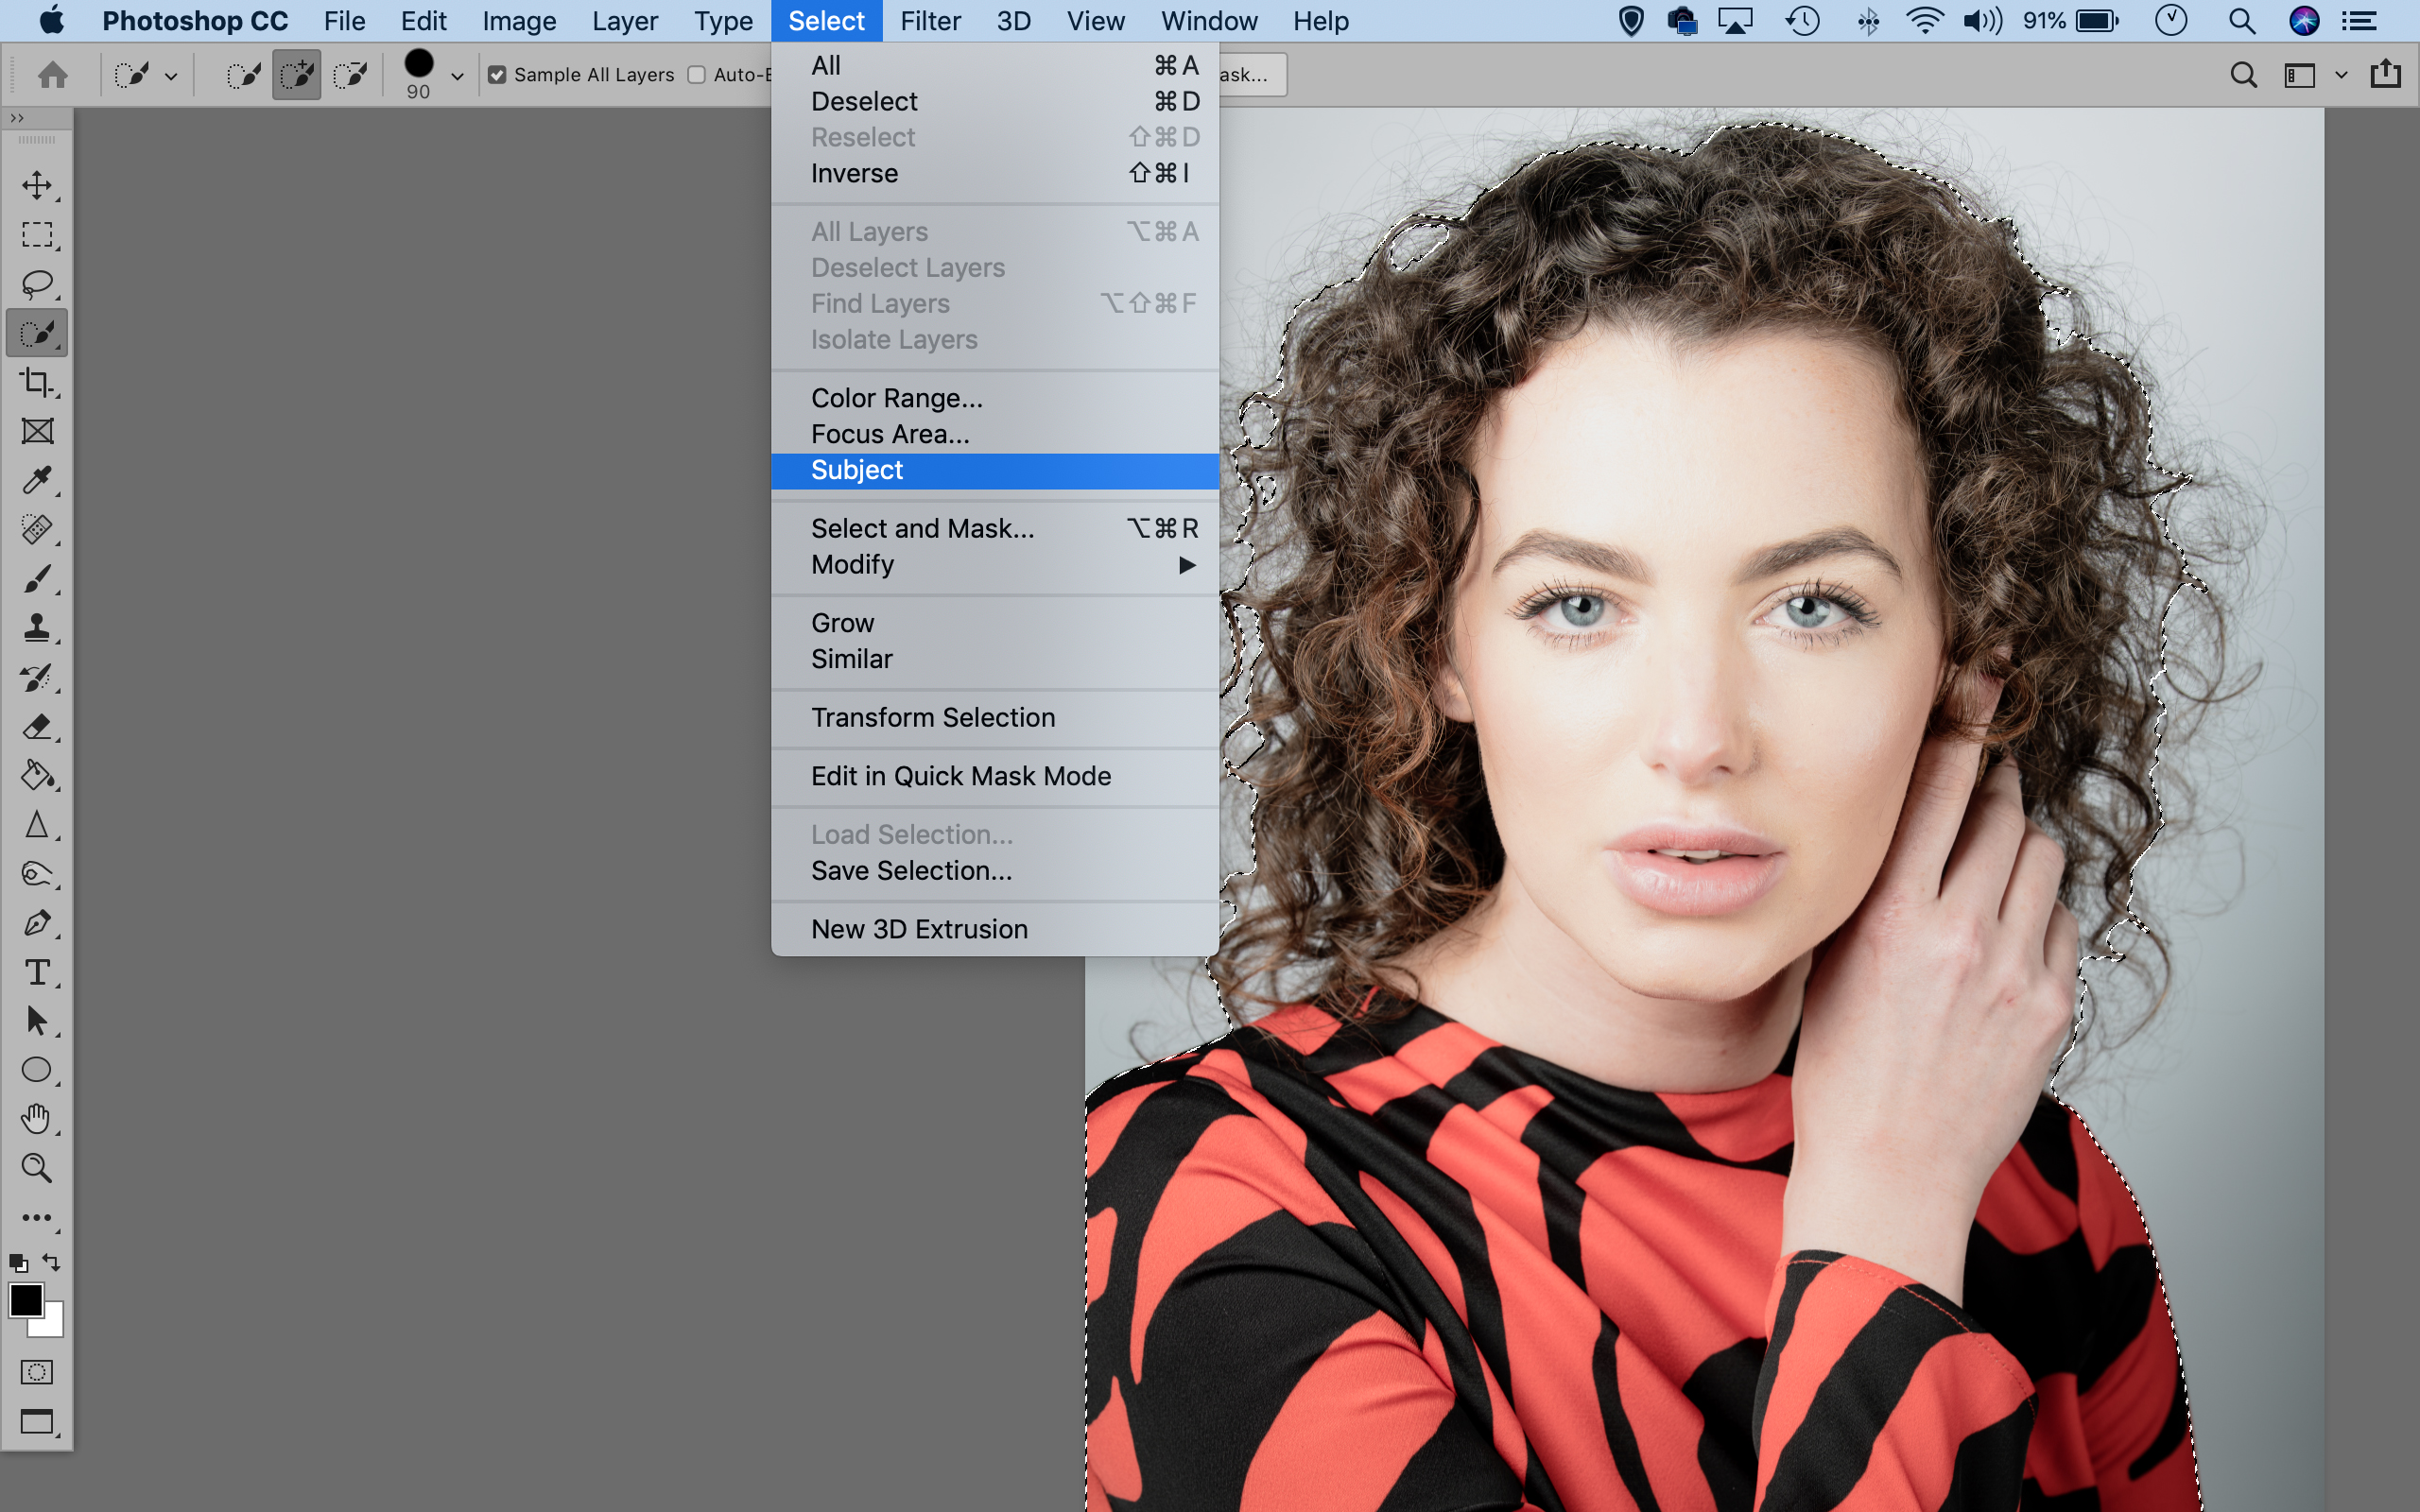
01 Use Select Subject
Open your portrait image into Photoshop CC then go to Select > Select Subject. If it needs tweaking, grab the Quick Selection tool from the toolbar and either paint to select missing areas, or hold Alt and paint to subtract parts of the initial selection. The tool will seek out and snap onto edges as you paint.
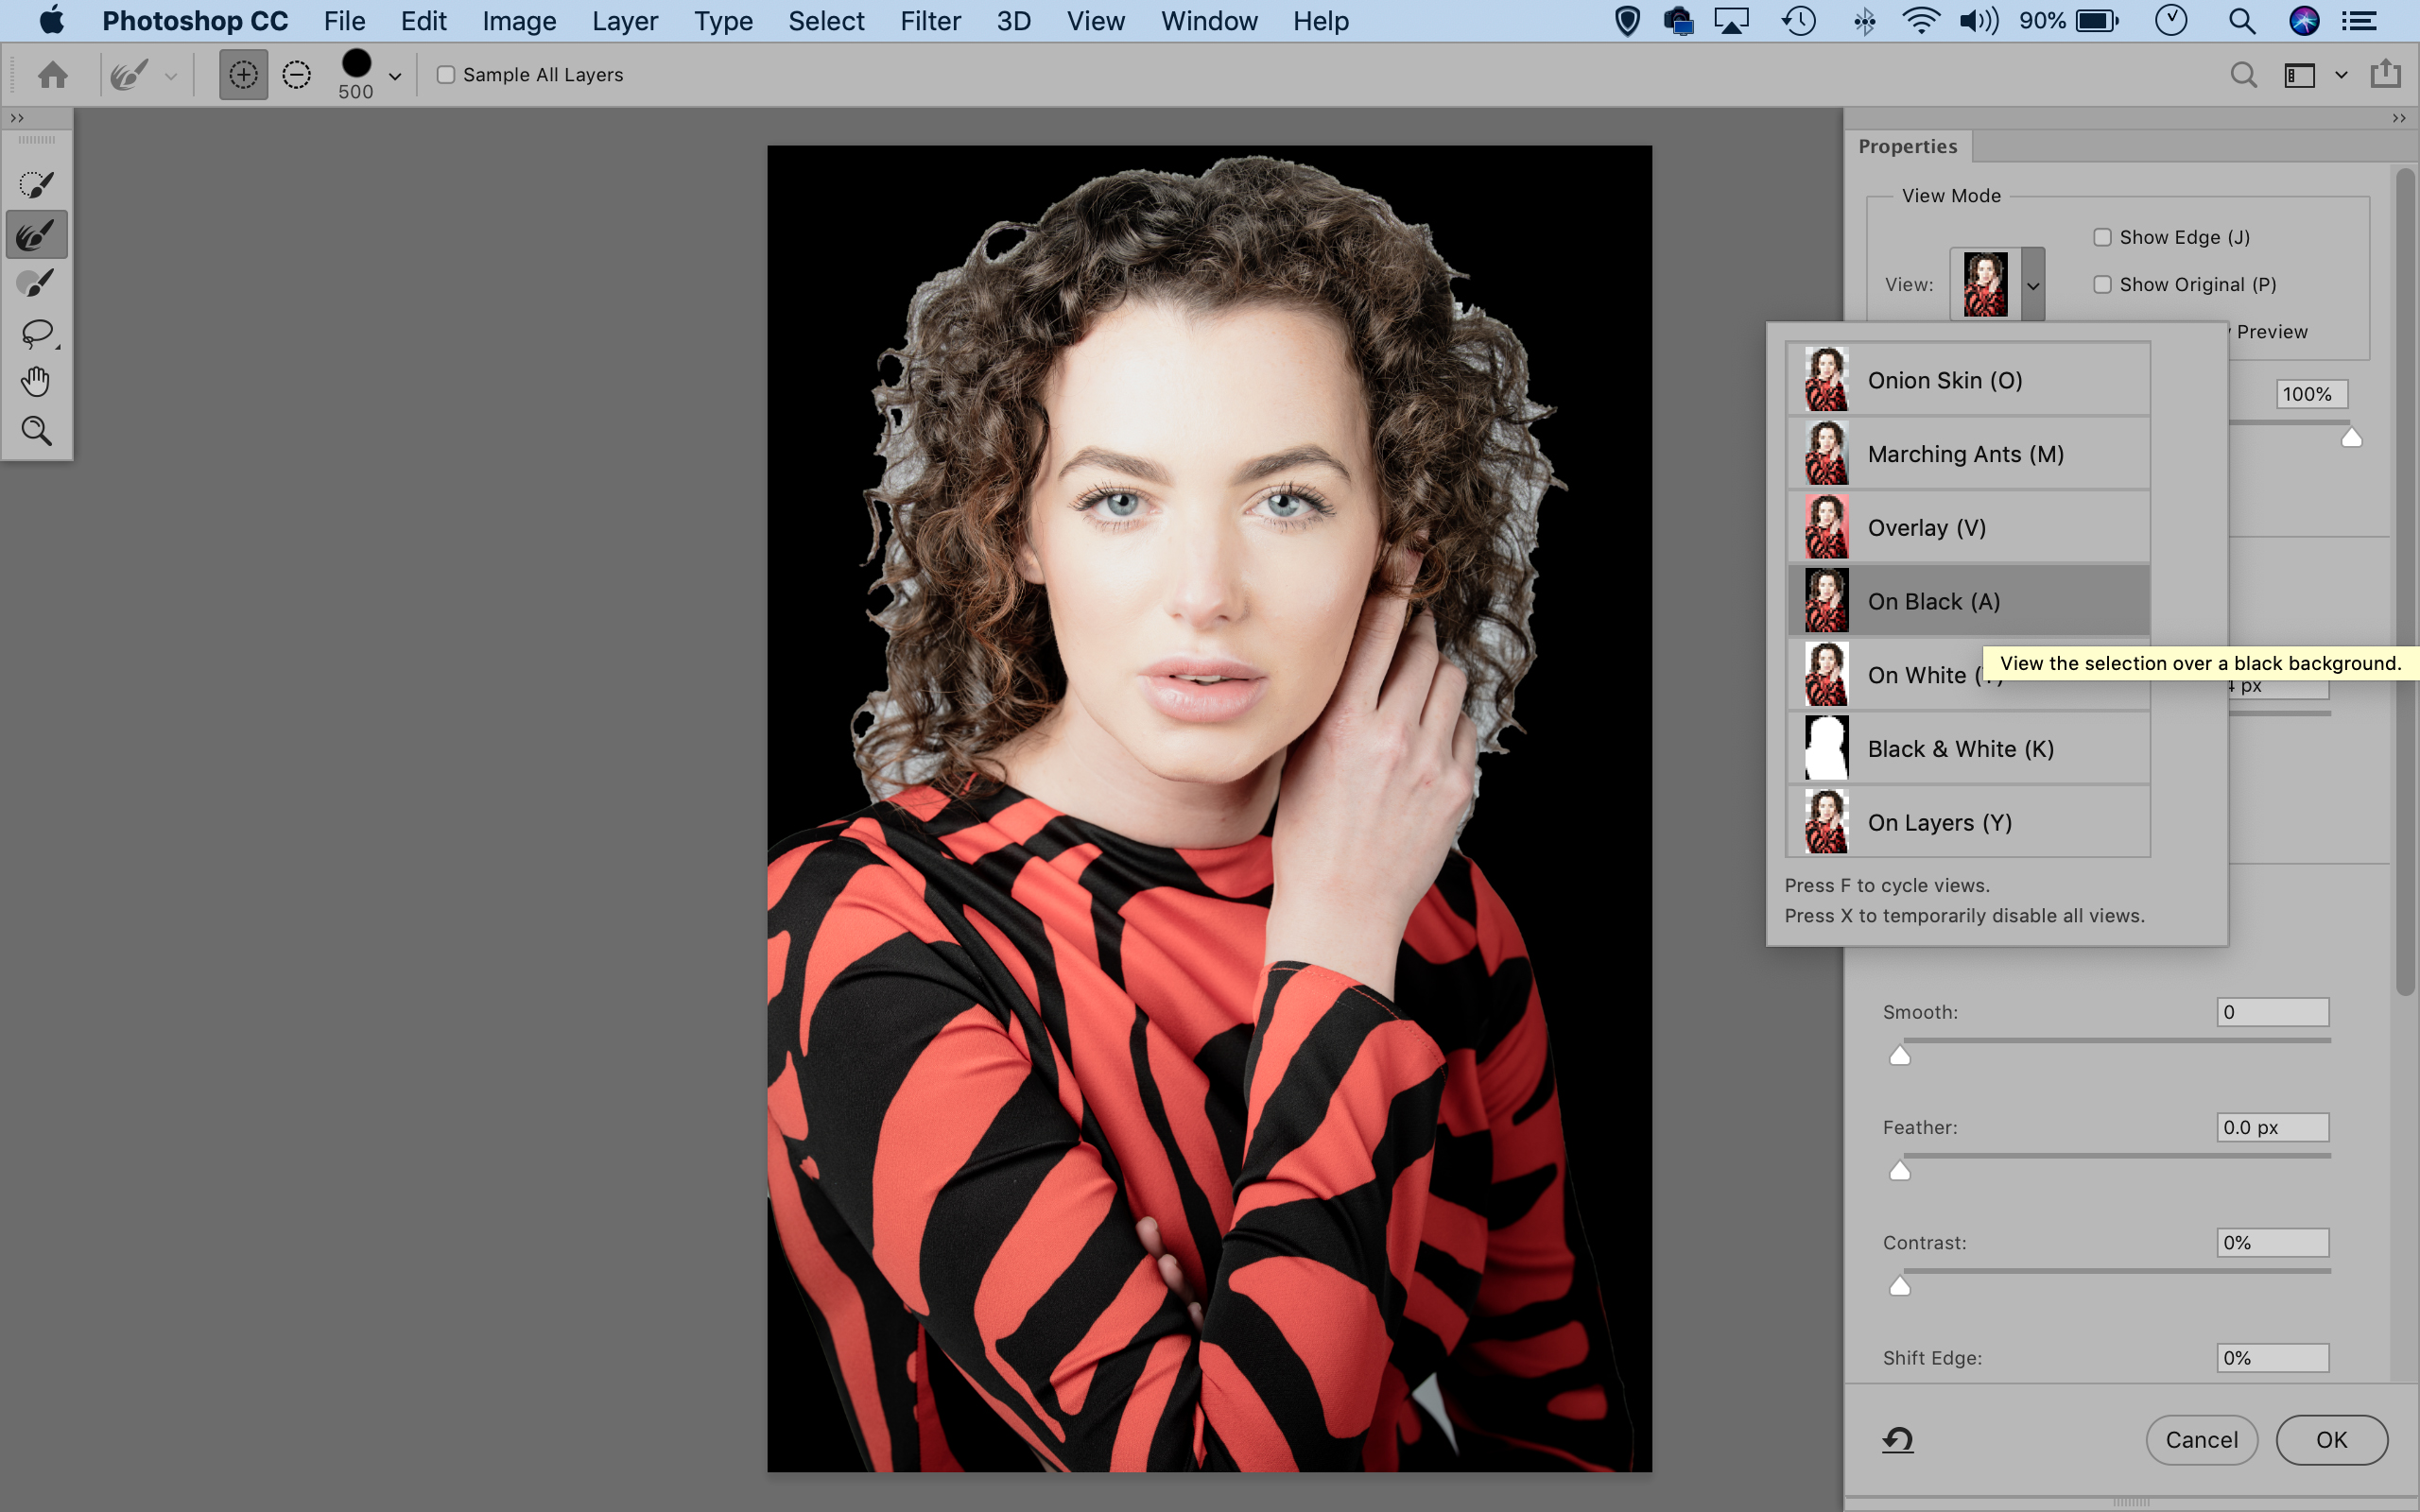
02 Enter Select and Mask
Once you have a decent selection, you can go to Select > Select and Mask to improve it. Go to the View dropdown on the right and choose the view that offers the most contrast from the original backdrop. Here the ‘On Black’ view clearly shows us the nasty edges.
The best camera deals, reviews, product advice, and unmissable photography news, direct to your inbox!
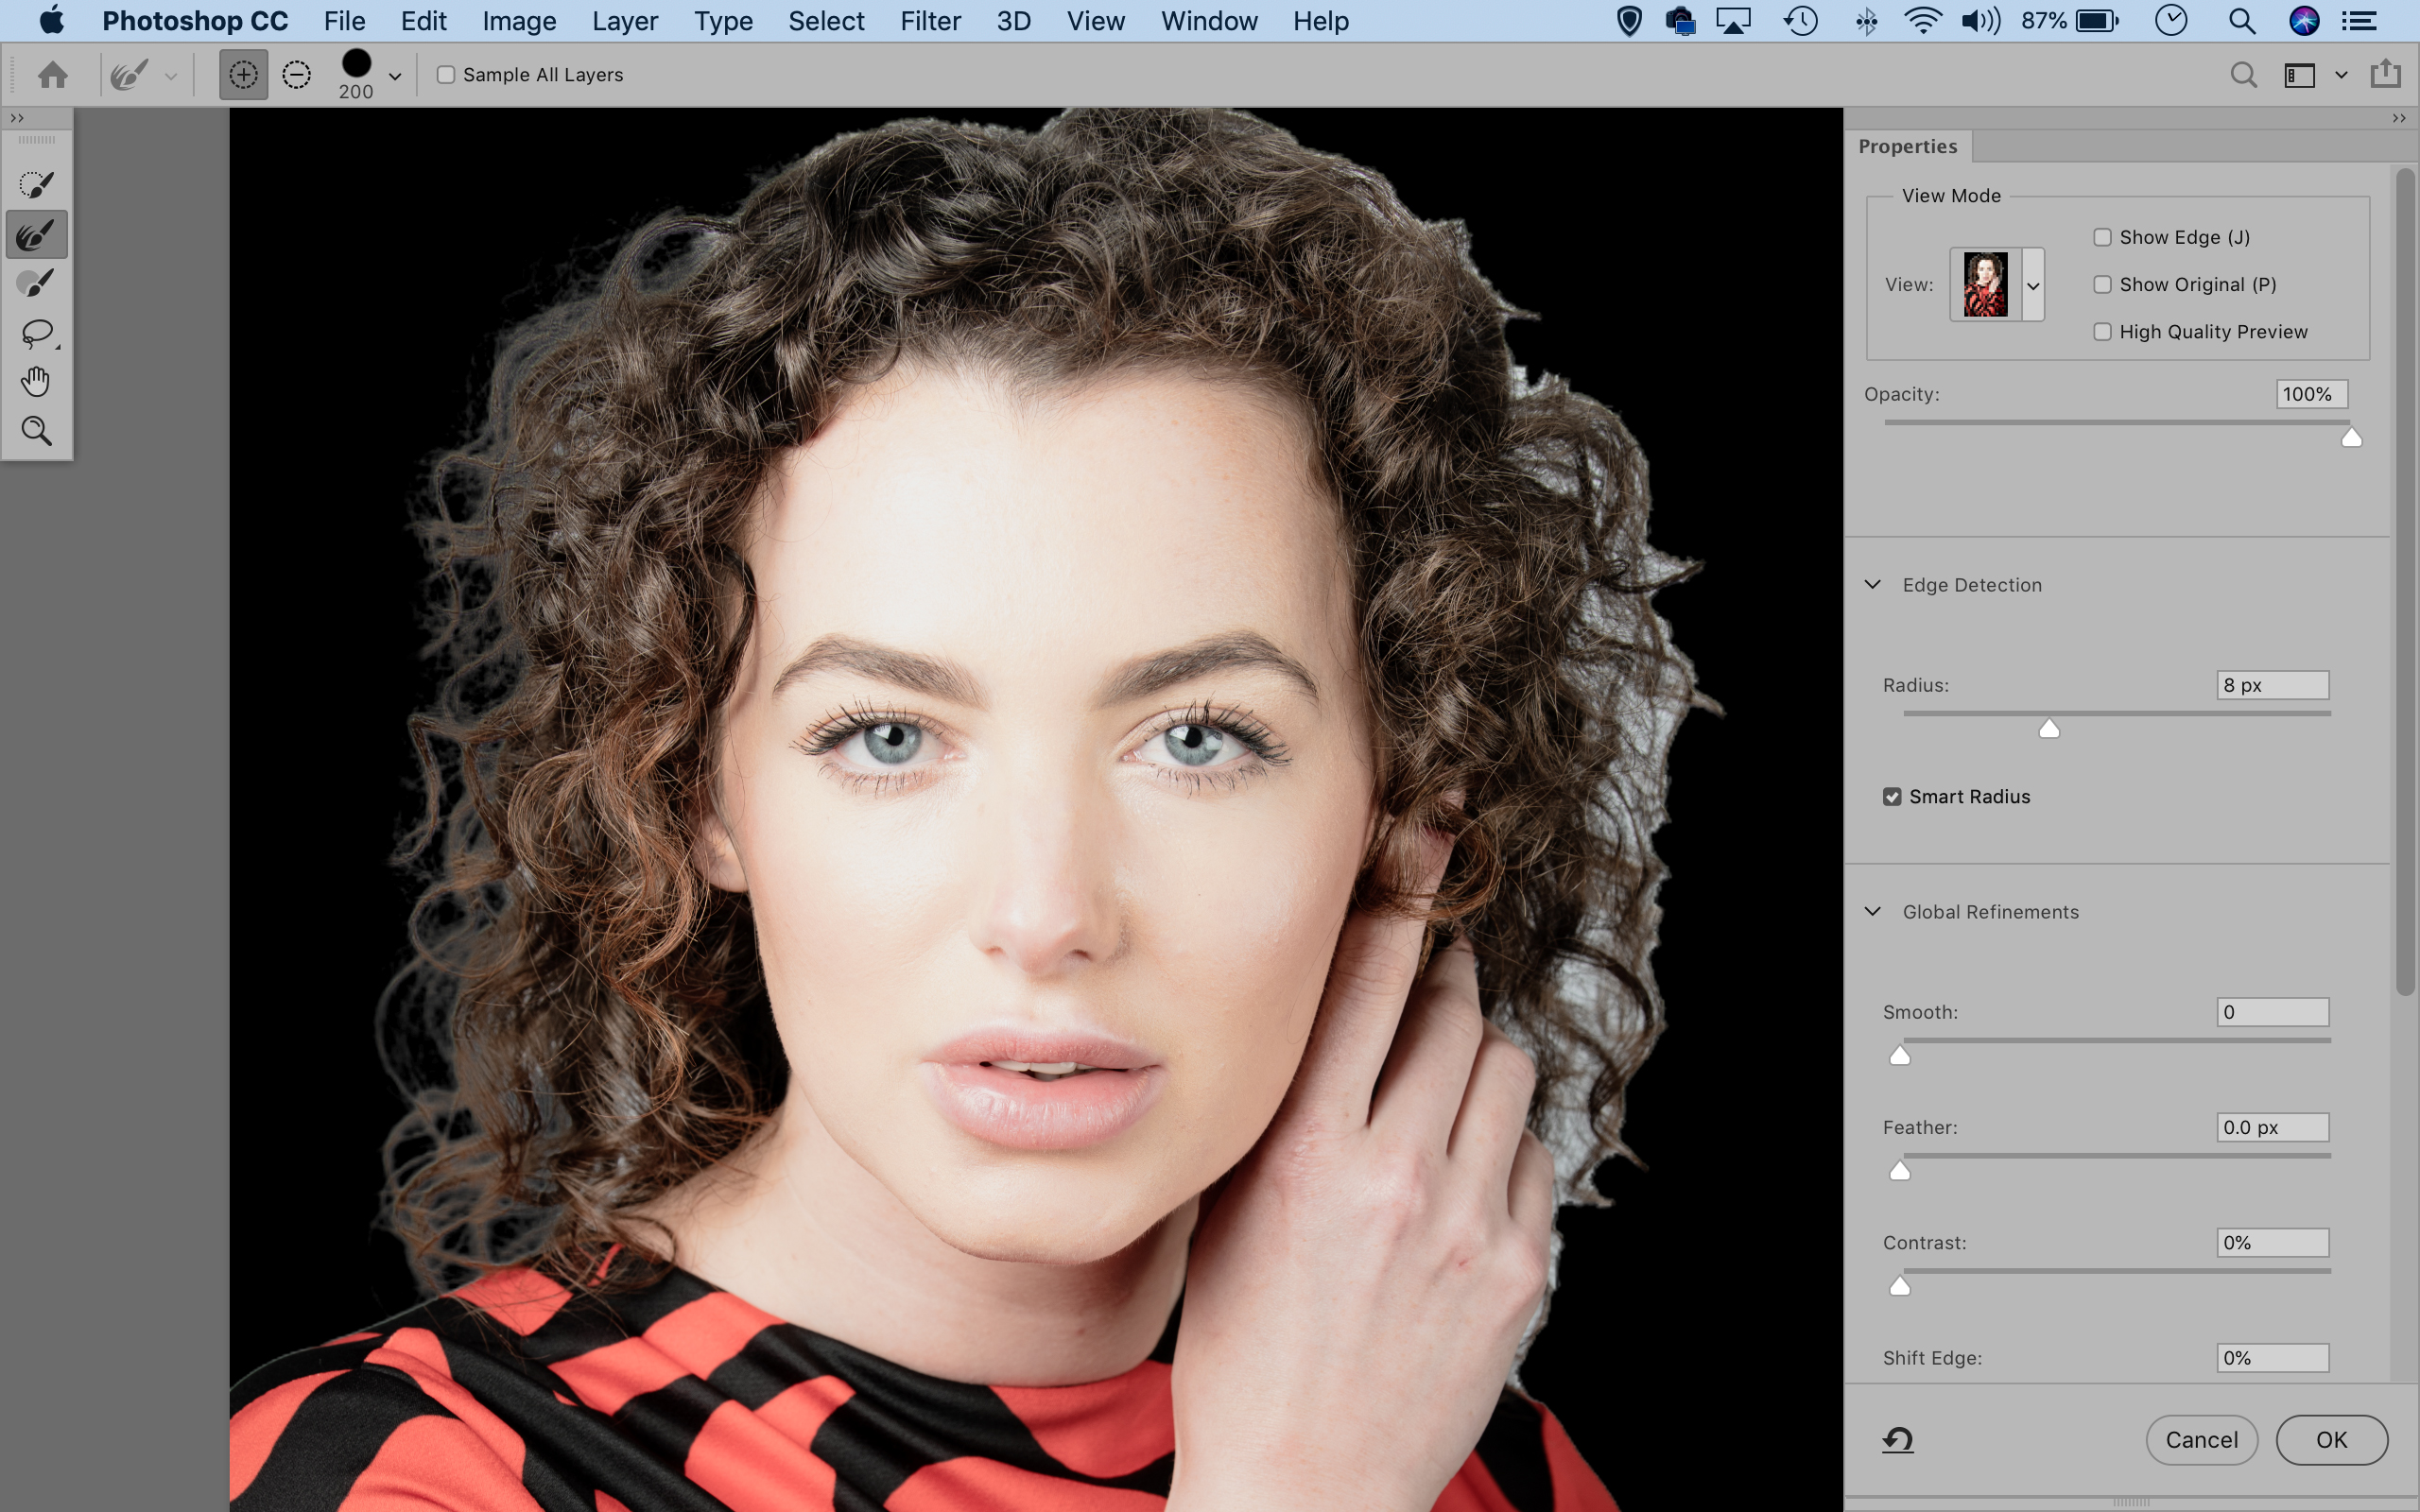
03 Increase the radius
This will better the selection along hard edges, like the body, but not the hair. Get the Refine Radius tool from the toolbar on the left and paint over the hair to up the radius. This helps the command seek out and exclude the parts of the background showing through the hair.
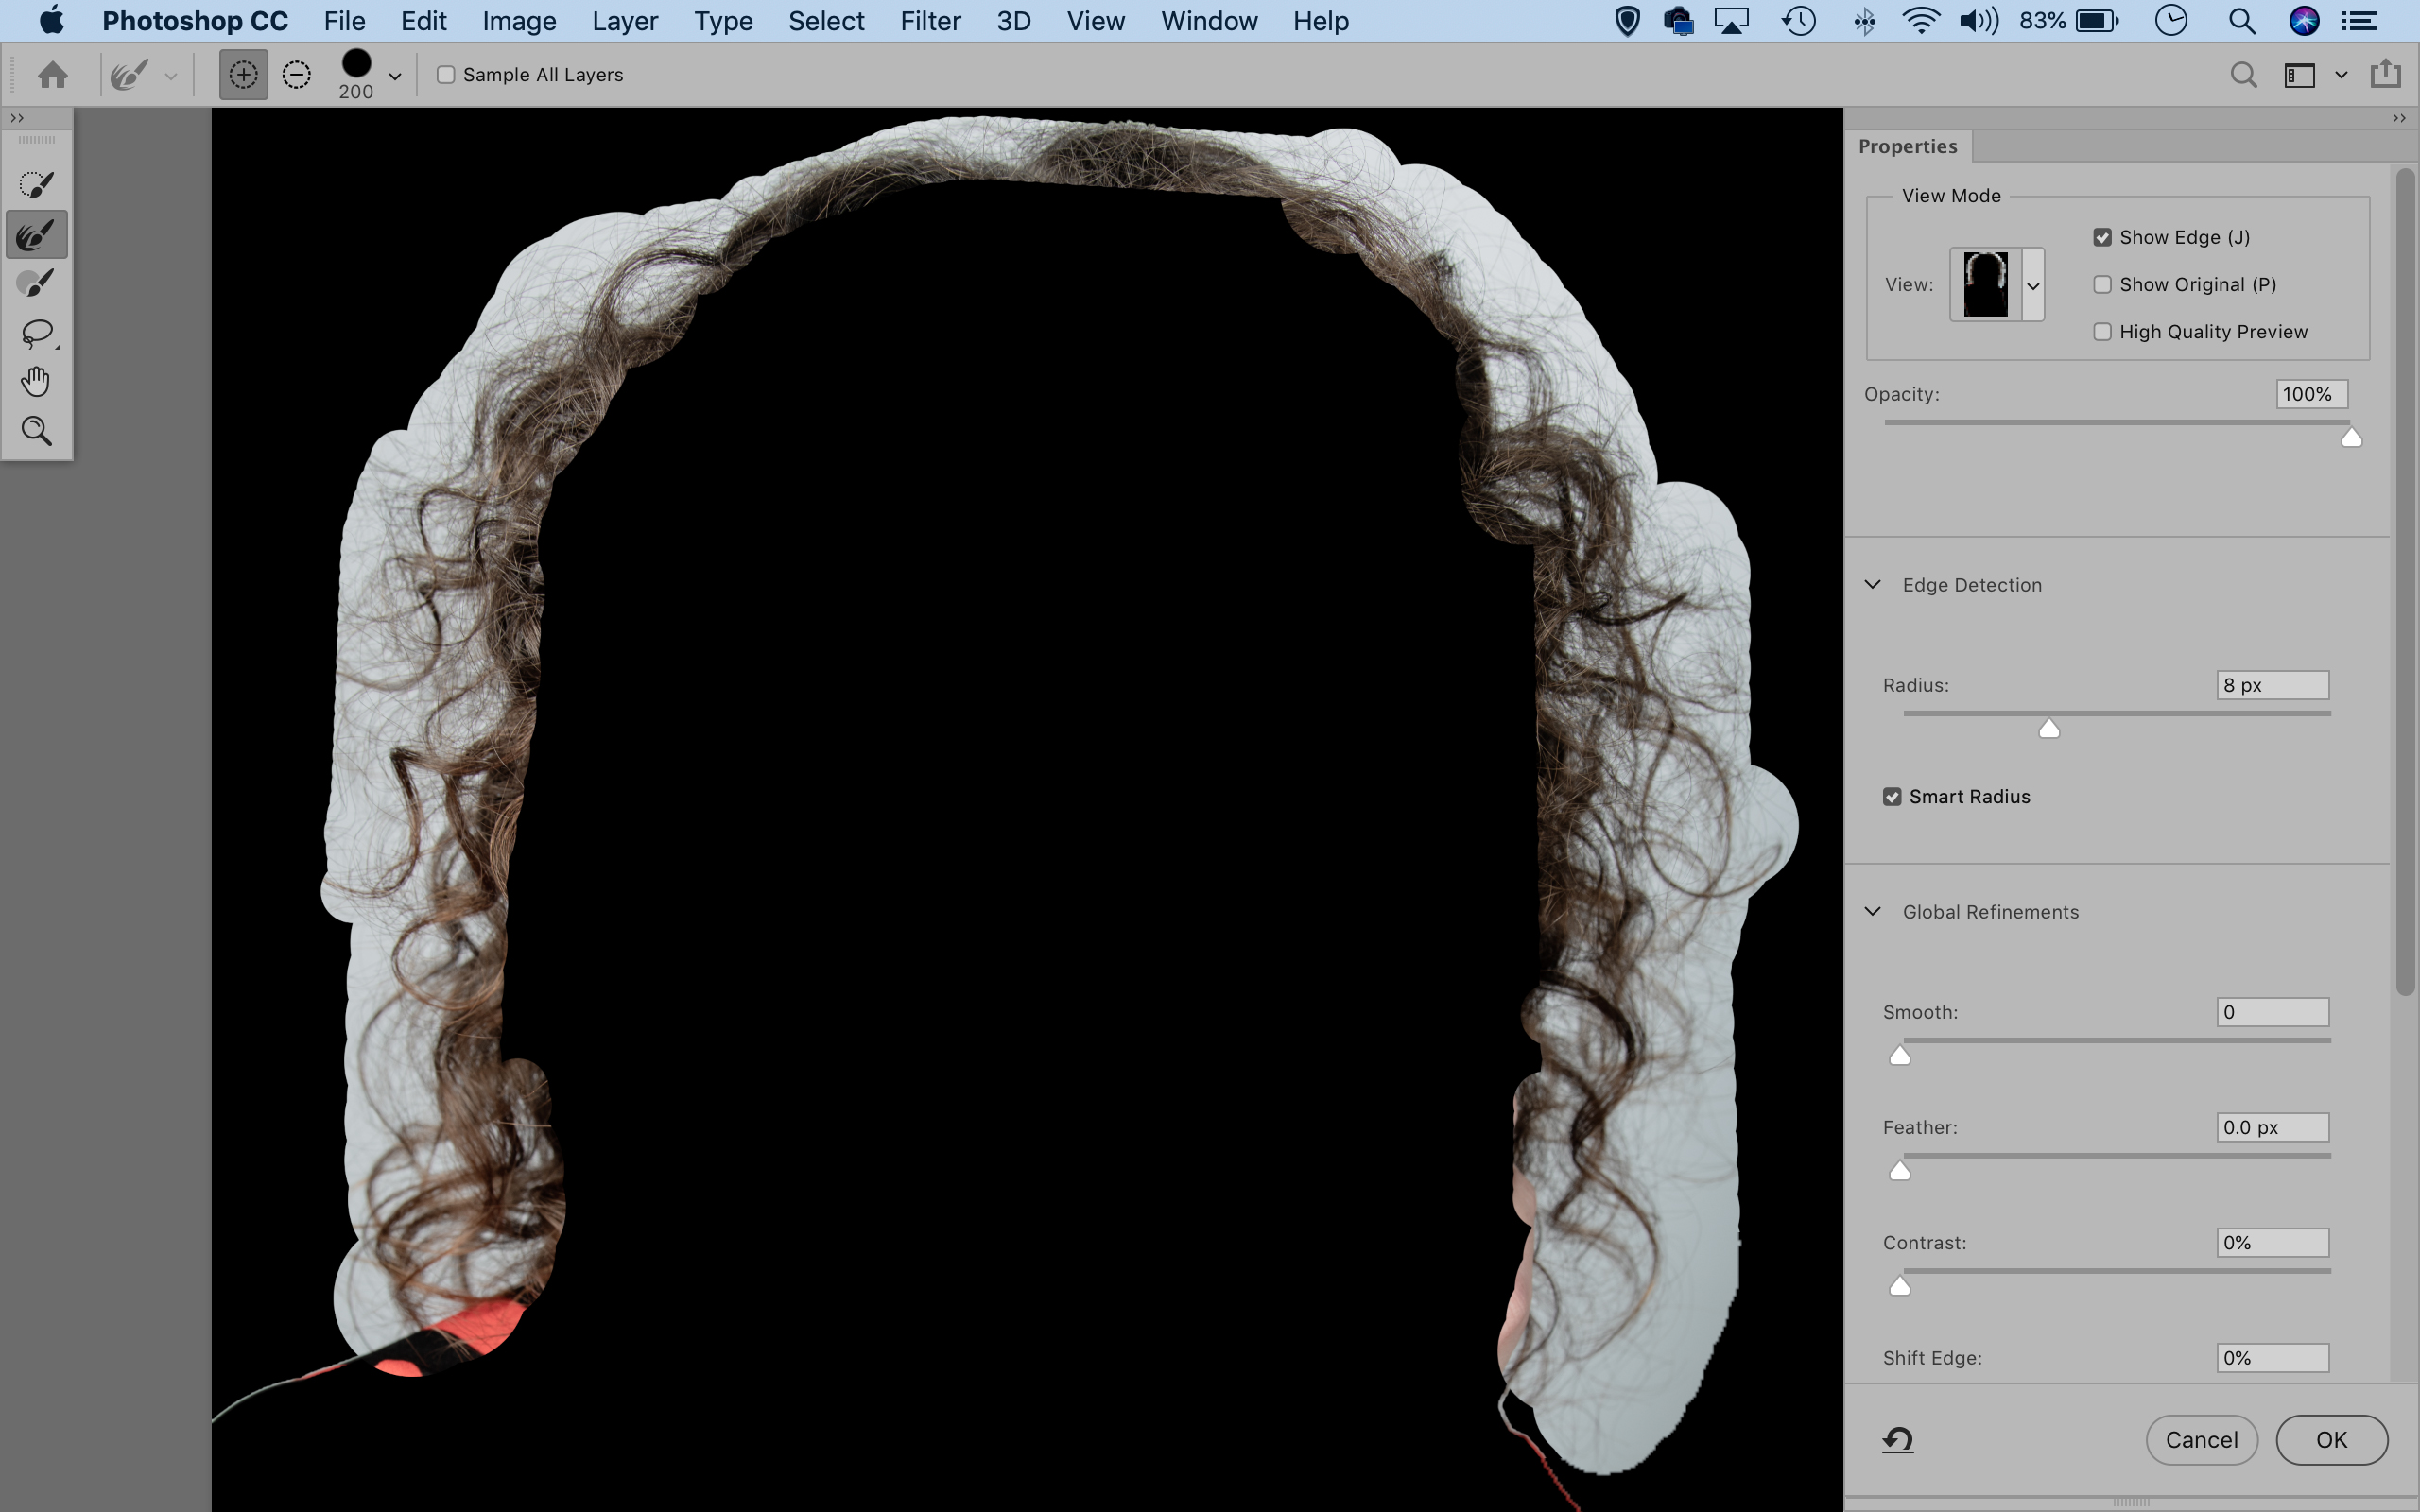
04 Check the hair
Check ‘Show Edge’ in the options to the right. This shows the radius, which is the area of refinement along the edge of the selection. Make sure the radius covers all the gaps and details. Then, uncheck ‘Show Edge’, choose Output: Layer Mask and then hit OK.
05 Replace the background
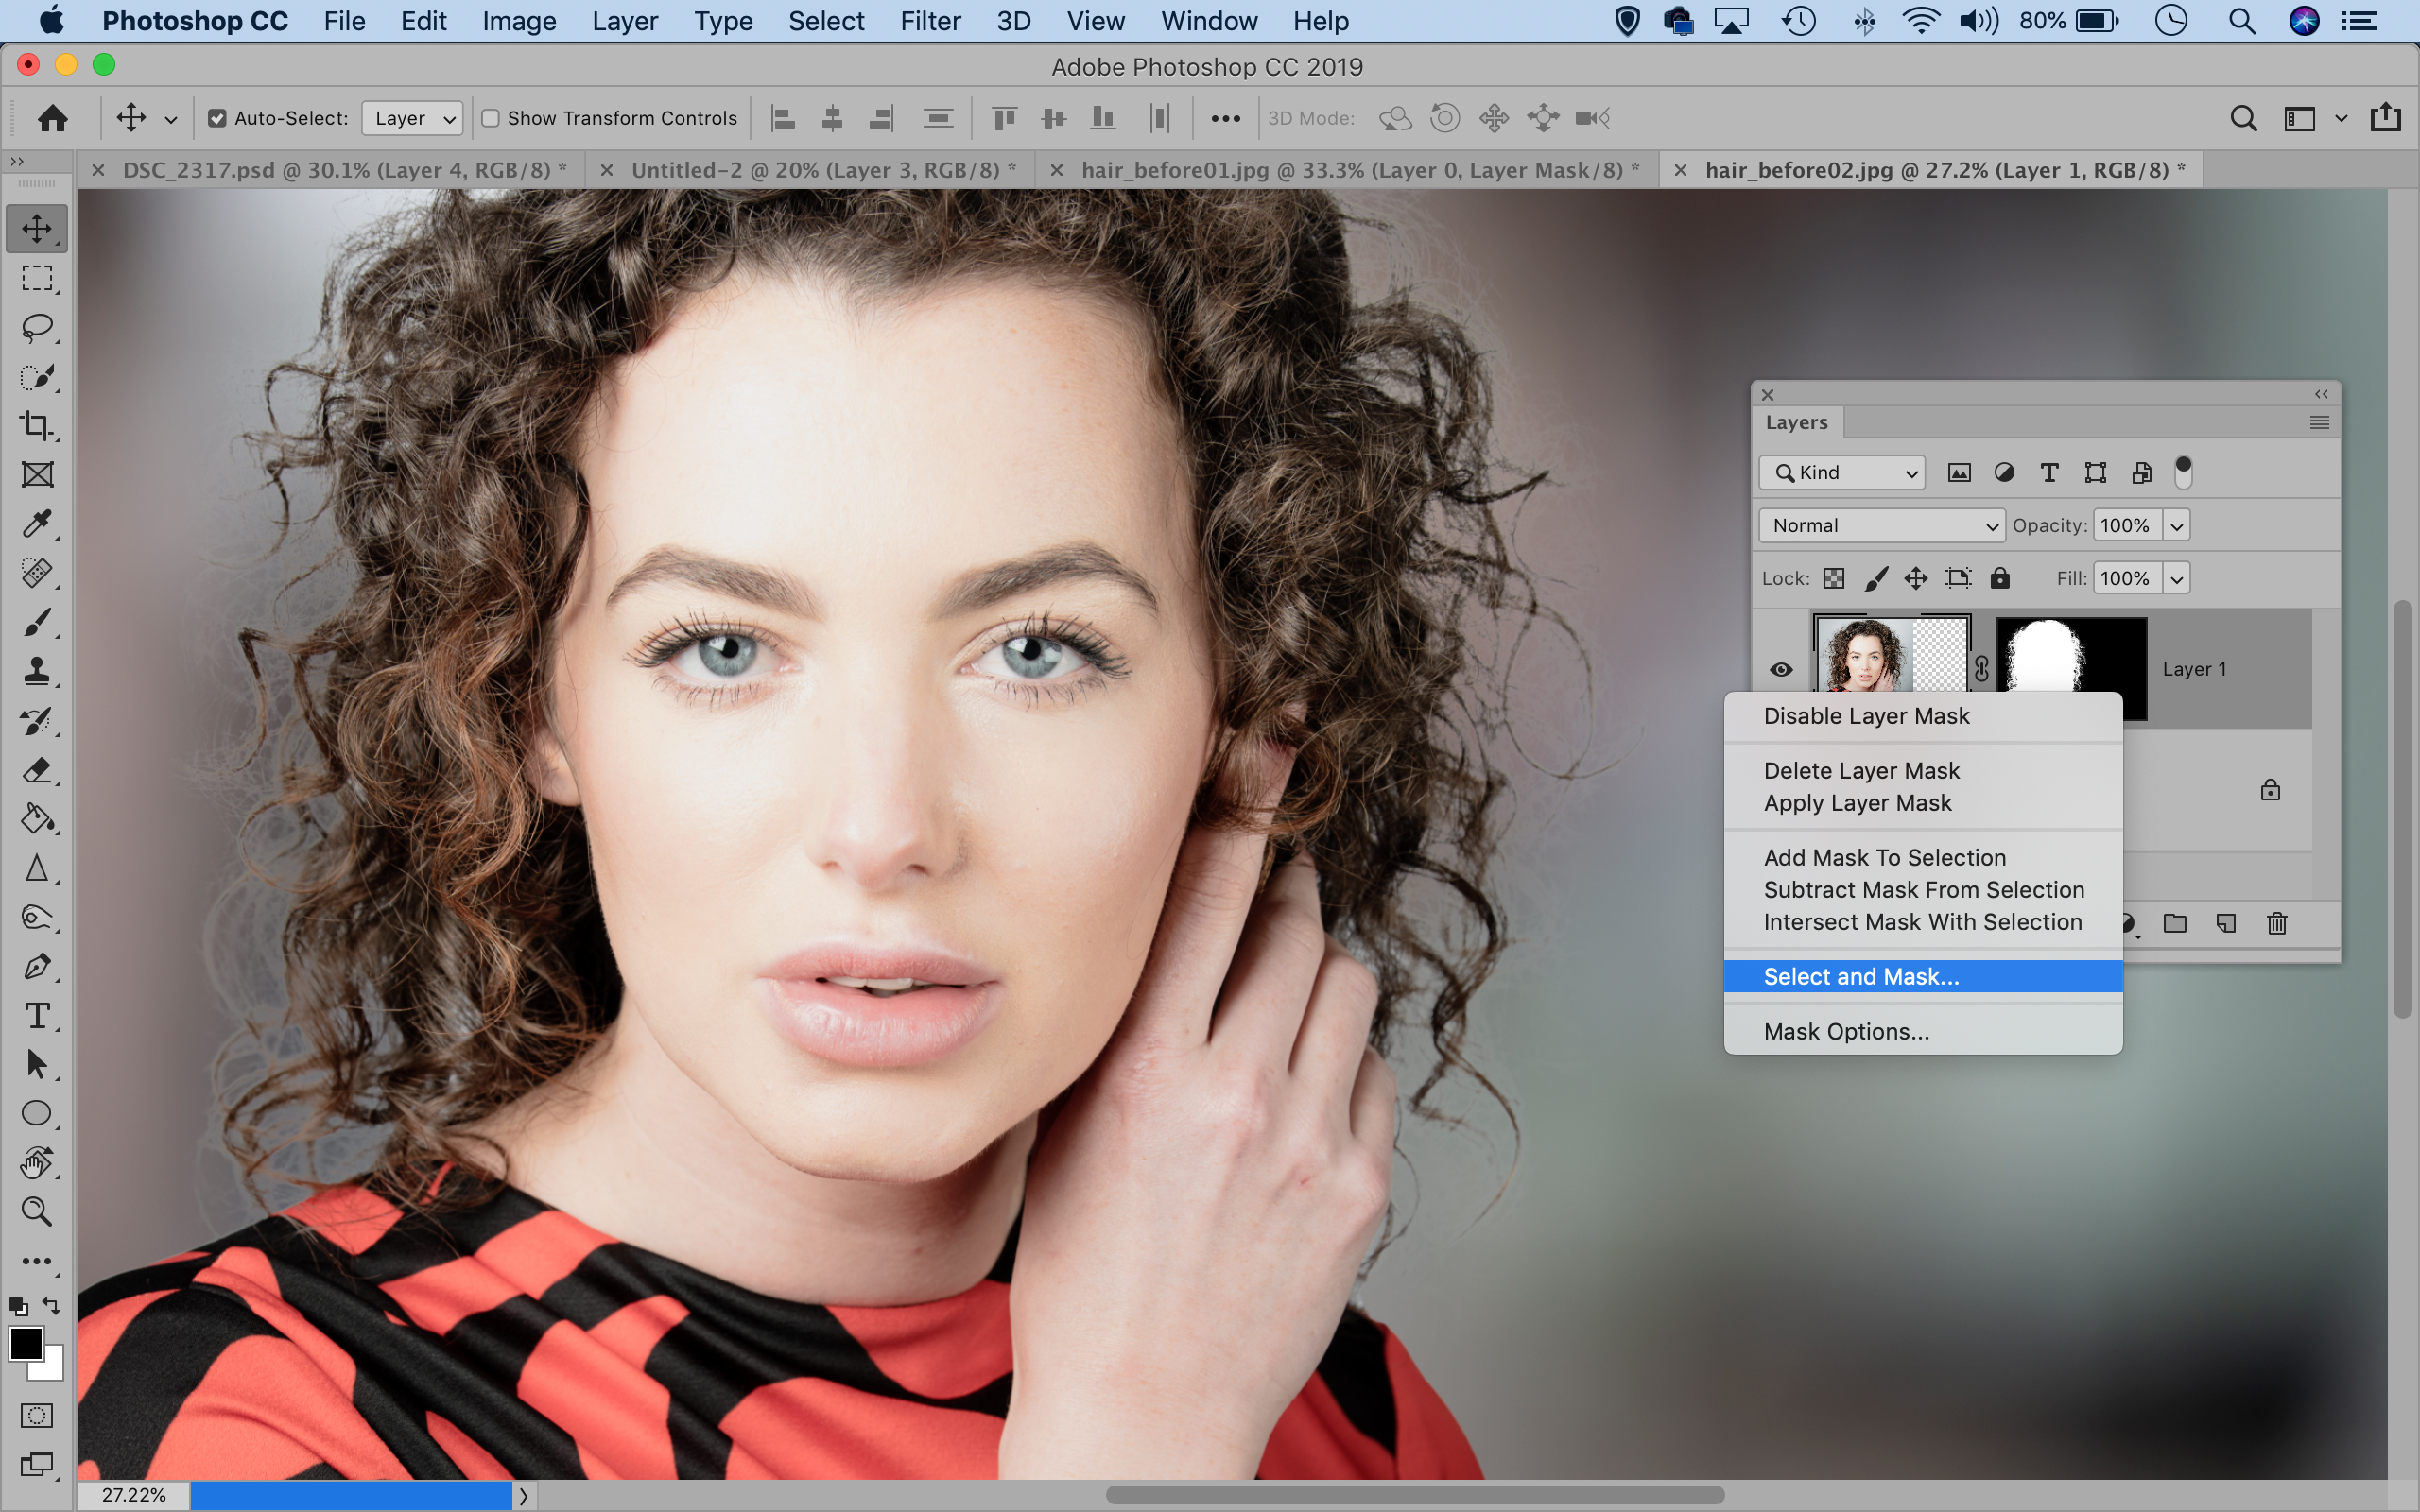
Grab the Move tool and drag the image to the second image of the blurred backdrop. Hit Cmd/Ctrl + T if you need to resize. The edges look rough in places, so next go to the Layers panel, right-click the black and white layer mask thumbnail, and choose Select and Mask.
06 Further refinements
This time check ‘Decontaminate Colors’, tweak the strength of the effect with the slider, then hit OK. This’ll create a new layer and improve the edges by bleeding in the colors of the hair. Finally, hit Cmd/Ctrl + Shift + Alt + E to create a brand new merged layer.
PhotoPlus: The Canon Magazine is the world's only monthly newsstand title that's 100% devoted to Canon, so you can be sure the magazine is completely relevant to your system.
Read more:
100 Photoshop tips
The best photo editing software: image editors for novices through to pros
The best photo-editing laptops: top laptops for photographers
10 best online photography courses – from beginner guides to masterclasses
The lead technique writer on Digital Camera Magazine, PhotoPlus: The Canon Magazine and N-Photo: The Nikon Magazine, James is a fantastic general practice photographer with an enviable array of skills across every genre of photography.
Whether it's flash photography techniques like stroboscopic portraits, astrophotography projects like photographing the Northern Lights, or turning sound into art by making paint dance on a set of speakers, James' tutorials and projects are as creative as they are enjoyable.
He's also a wizard at the dark arts of Photoshop, Lightroom and Affinity Photo, and is capable of some genuine black magic in the digital darkroom, making him one of the leading authorities on photo editing software and techniques.

