5 creative techniques you have to try now
Discover new ways to shoot that will spark your imagination and expand your photographic skills – even in lockdown
The best camera deals, reviews, product advice, and unmissable photography news, direct to your inbox!
You are now subscribed
Your newsletter sign-up was successful
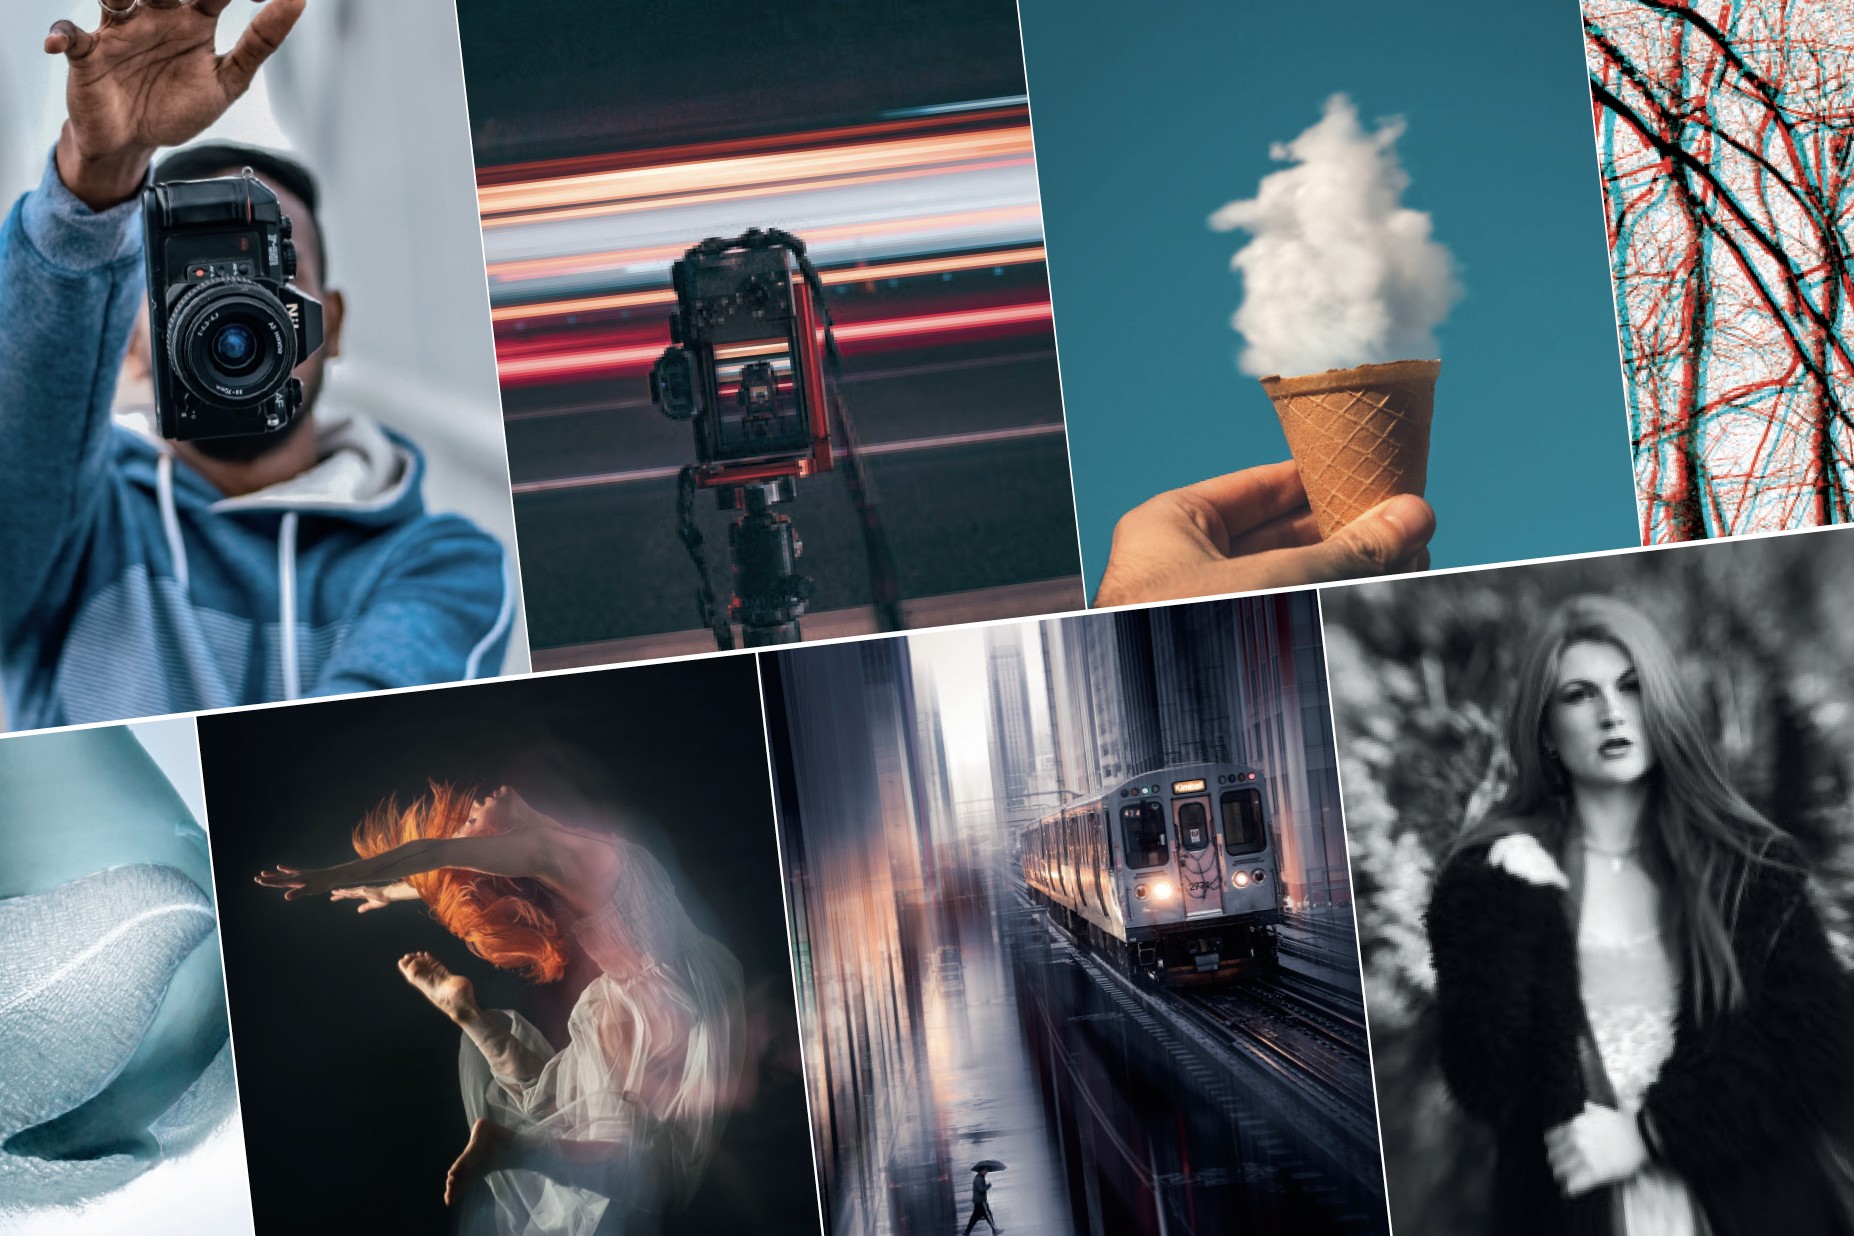
The term ‘creative photography’ is used so often now that it’s not only a cliché, but it’s become hard to know what creative actually is or means. Some photographers might call a blurred ‘abstract’ shot creative, while others might simply see it as a badly exposed image.
We’d define 'creative' as a shot that intentionally uses or adds extra elements – such as light trails, layered exposures or editing effects – to change the image from what was originally shown in the scene. It's adapting or enhancing reality, if you like.
Sometimes feeling or being creative is anything but straightforward. It’s not a state that we can will ourselves into, and we all need a little nudge of inspiration from time to time.
With that in mind, here's 5 creative techniques to try; some can be captured with nothing more than your camera and a kit lens, while a few require specific lighting kit, filters or software.
This isn't meant to be an in-depth tutorial, but designed to give you some quick-fire explanations, handy hints, and project ideas to spark off that little light in your imagination and embolden you to try shooting something new.
1. Forced perspective
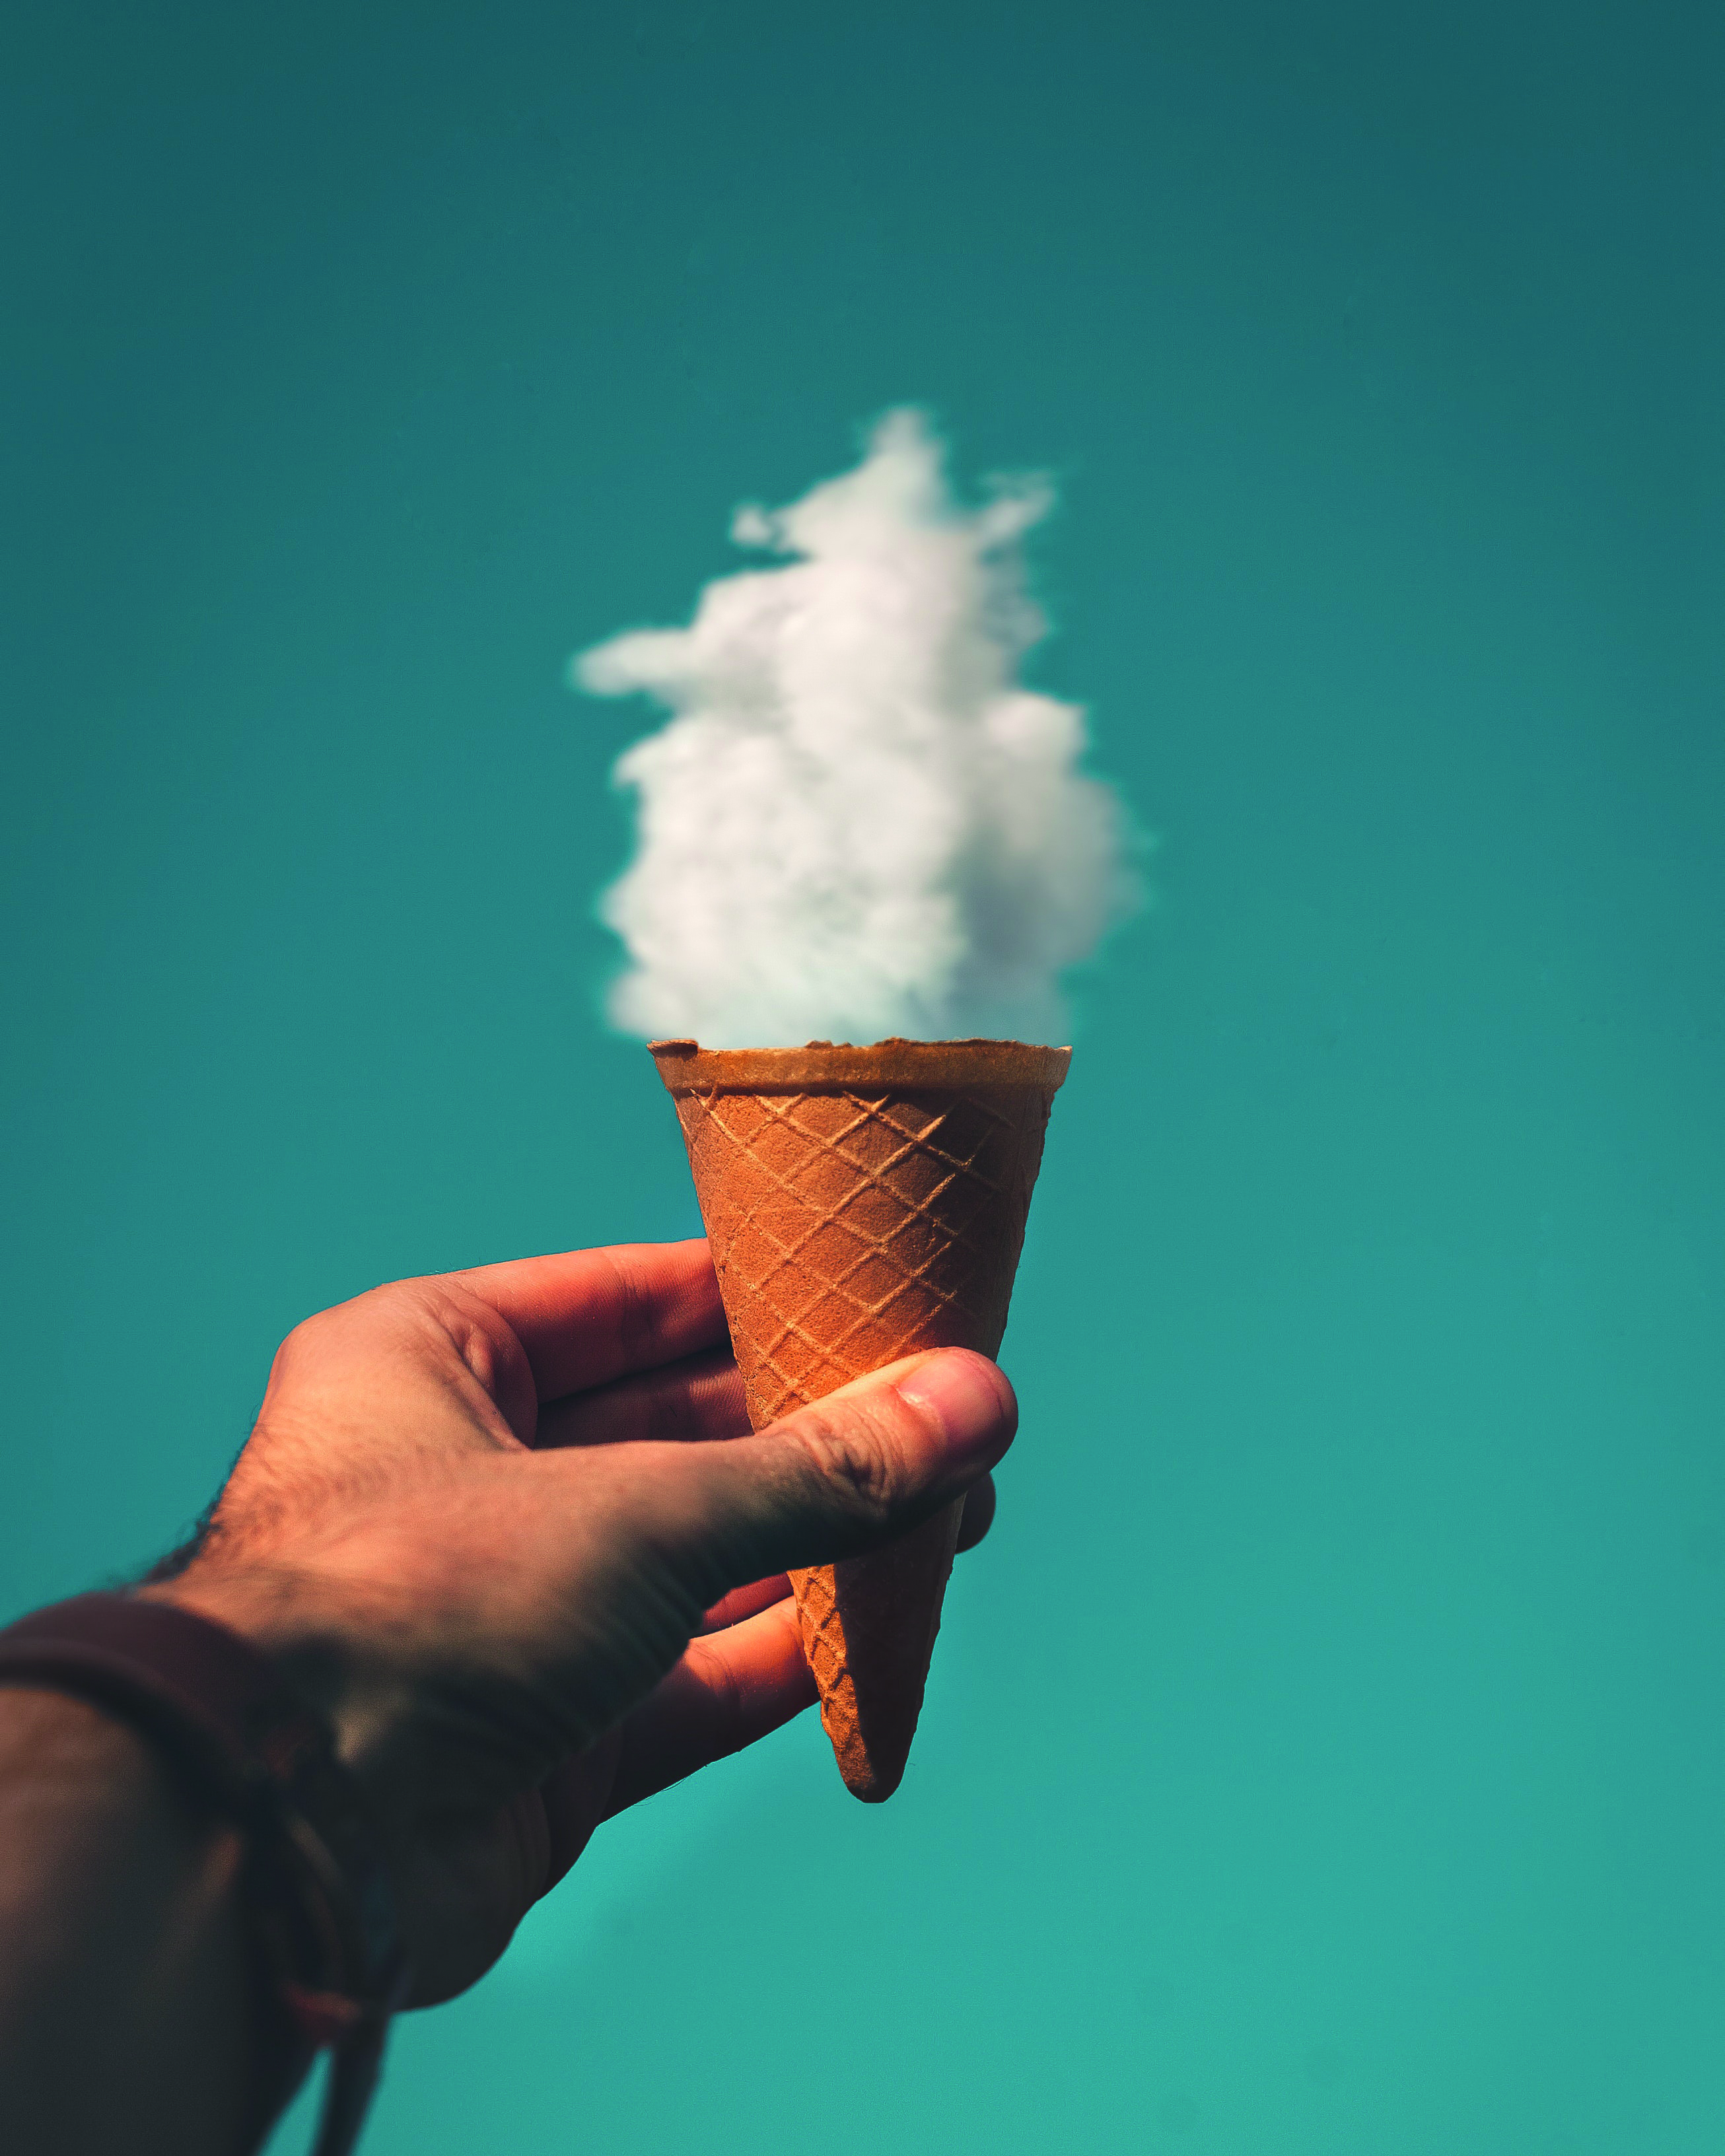
In the current climate, you don’t always need to look for ground-breaking new ways to shoot. Forced perspective works when objects in your frame look like they’re a different size than they really are, because of the distance or camera angle that you shoot them from.
Start by finding two points of interest – in the foreground and background – which work together to create an illusion of size. The foreground subject can be any object that you own, or you could use your fingers to hold buildings and subjects in the distance.
The best camera deals, reviews, product advice, and unmissable photography news, direct to your inbox!
For more dynamic results, try interacting with your environment to create a different perspective. You could lie down on a flat surface but shoot the scene as if you were running, for example.
In terms of kit, use a zoom lens to re-frame your composition without having to move closer or further away, and set a narrow aperture of at least f/8 to ensure that both of your points of interest are sharp enough.
2. Freeze-frame action
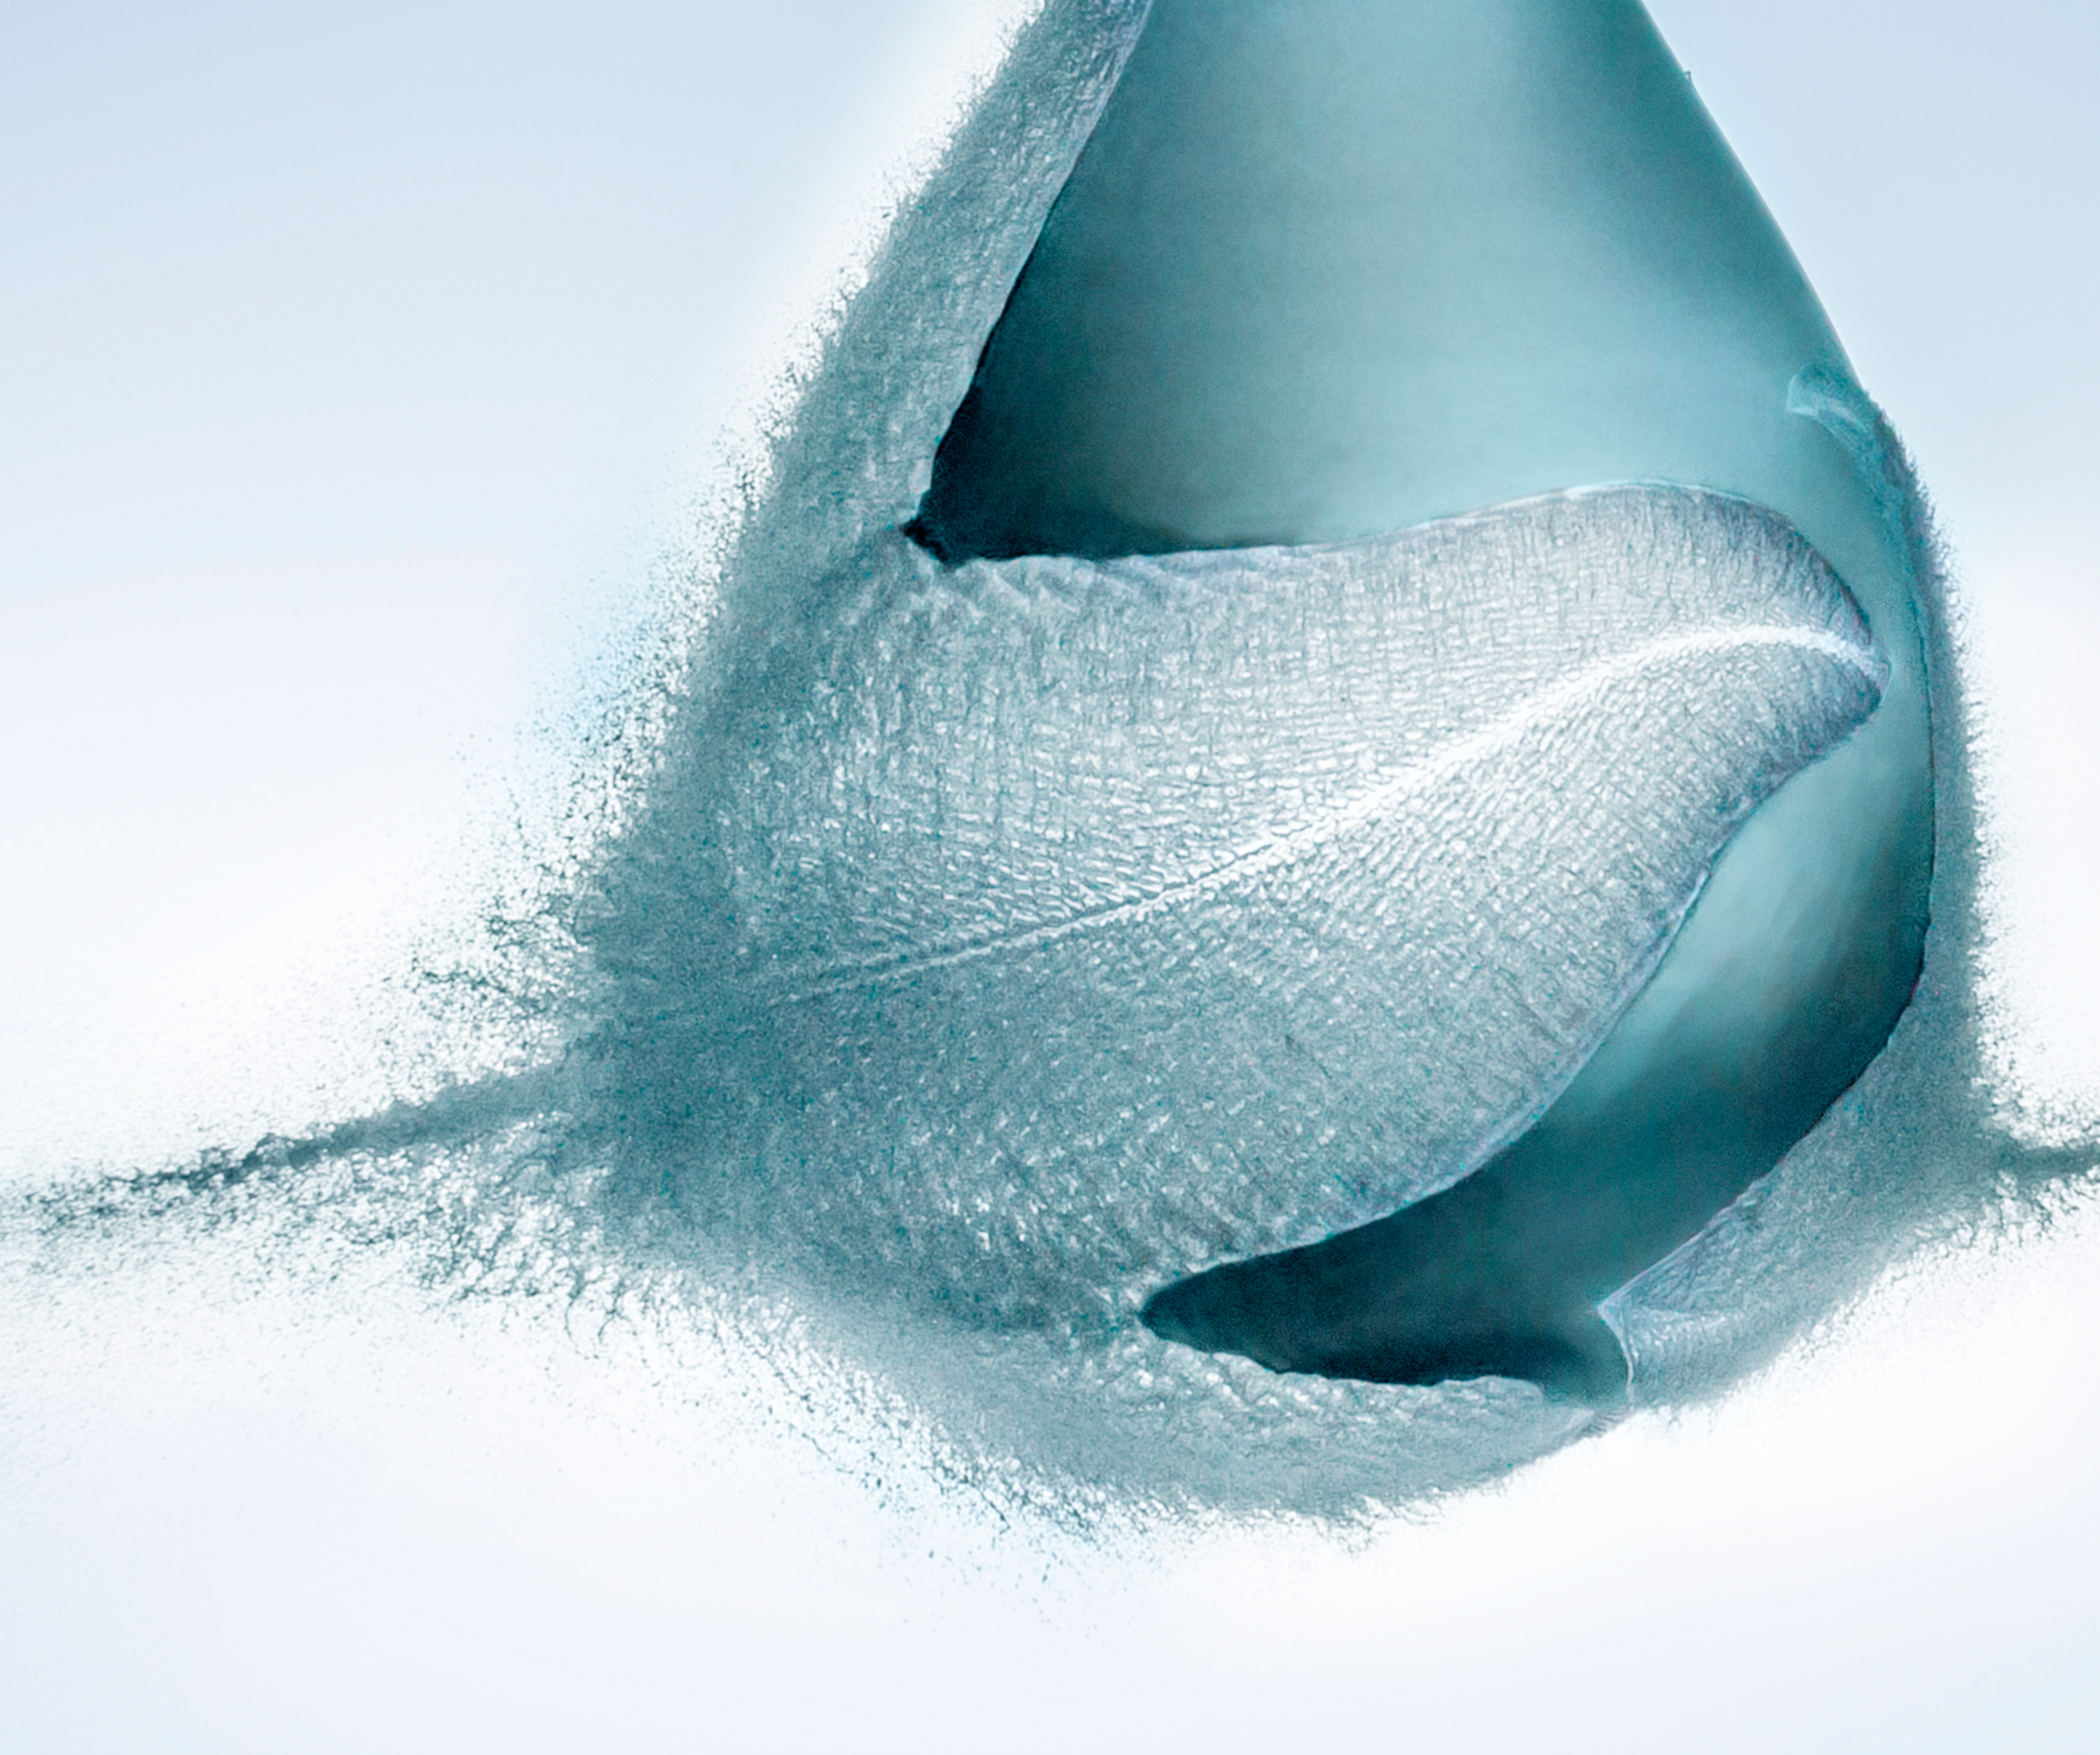
Capturing events that are usually too fast to be seen with the naked eye can create some fascinating shots. Although freezing such rapid motion requires a more technical approach, the results are well worth the effort.
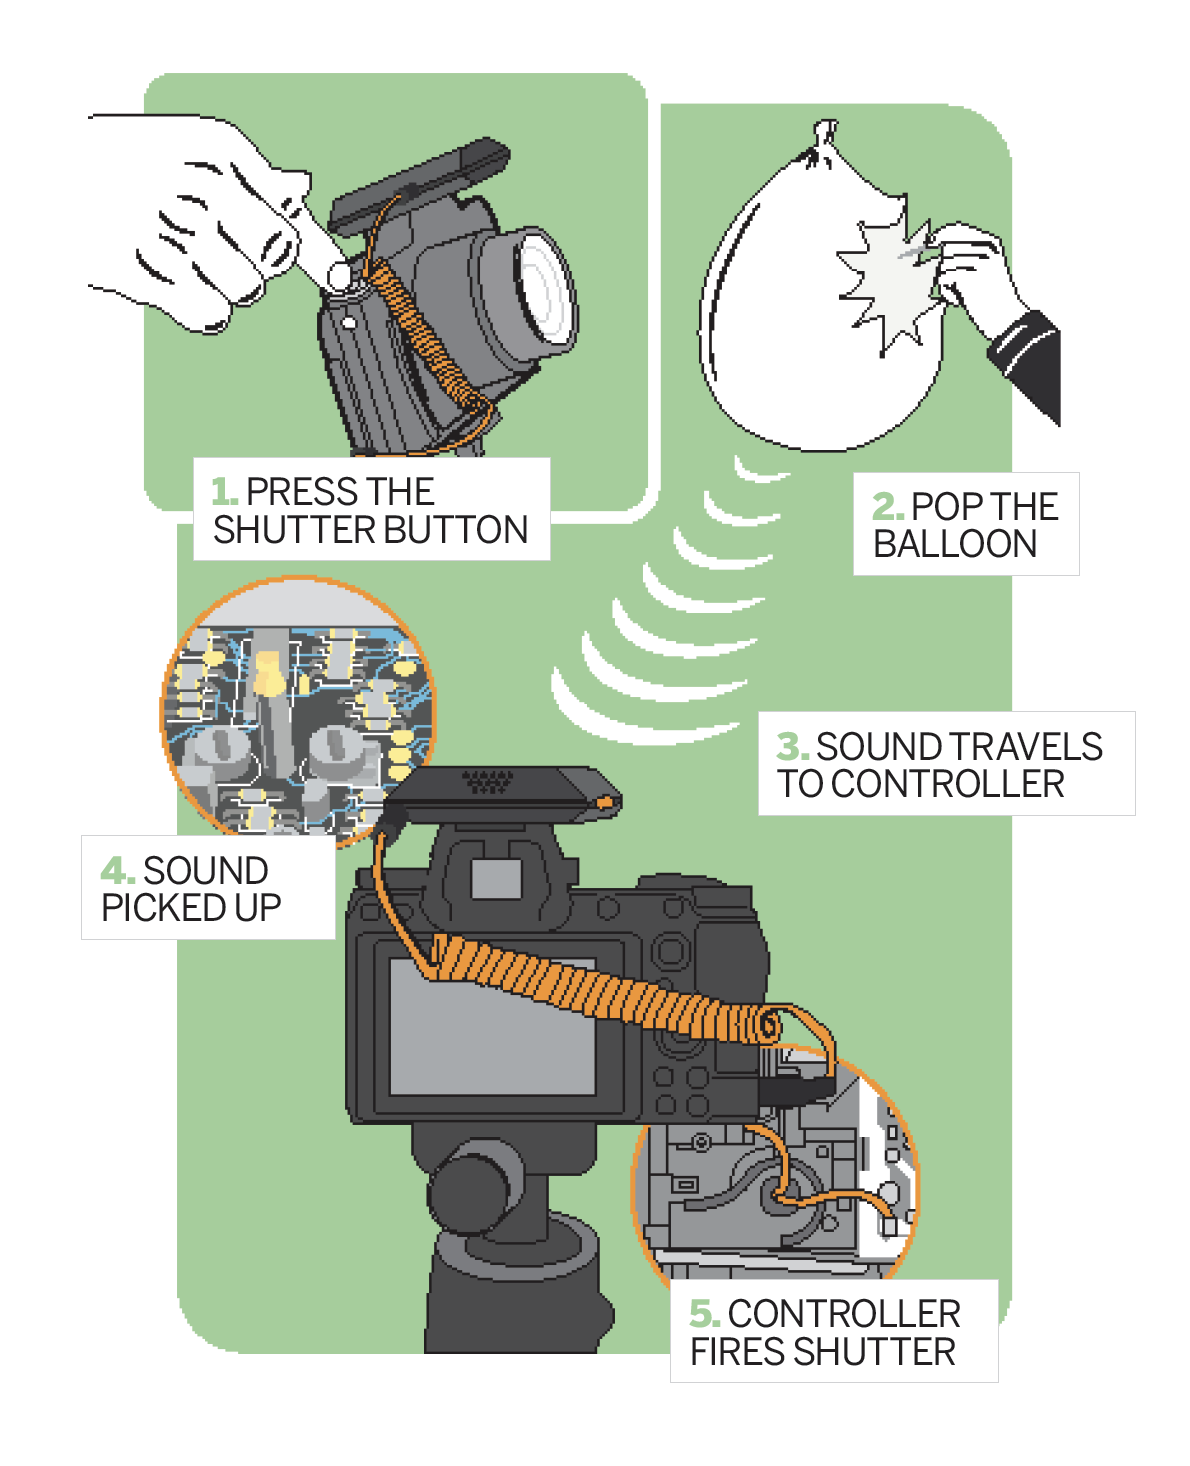
For this you’ll need to set up a subject and sound trigger in a darkened room. Set the shutter speed to a long exposure (it doesn’t matter how long the exposure is). A flash will fire just once during this exposure, triggered by the sound of the balloon burst, which will freeze the moment of action.
3. Levitating camera trick
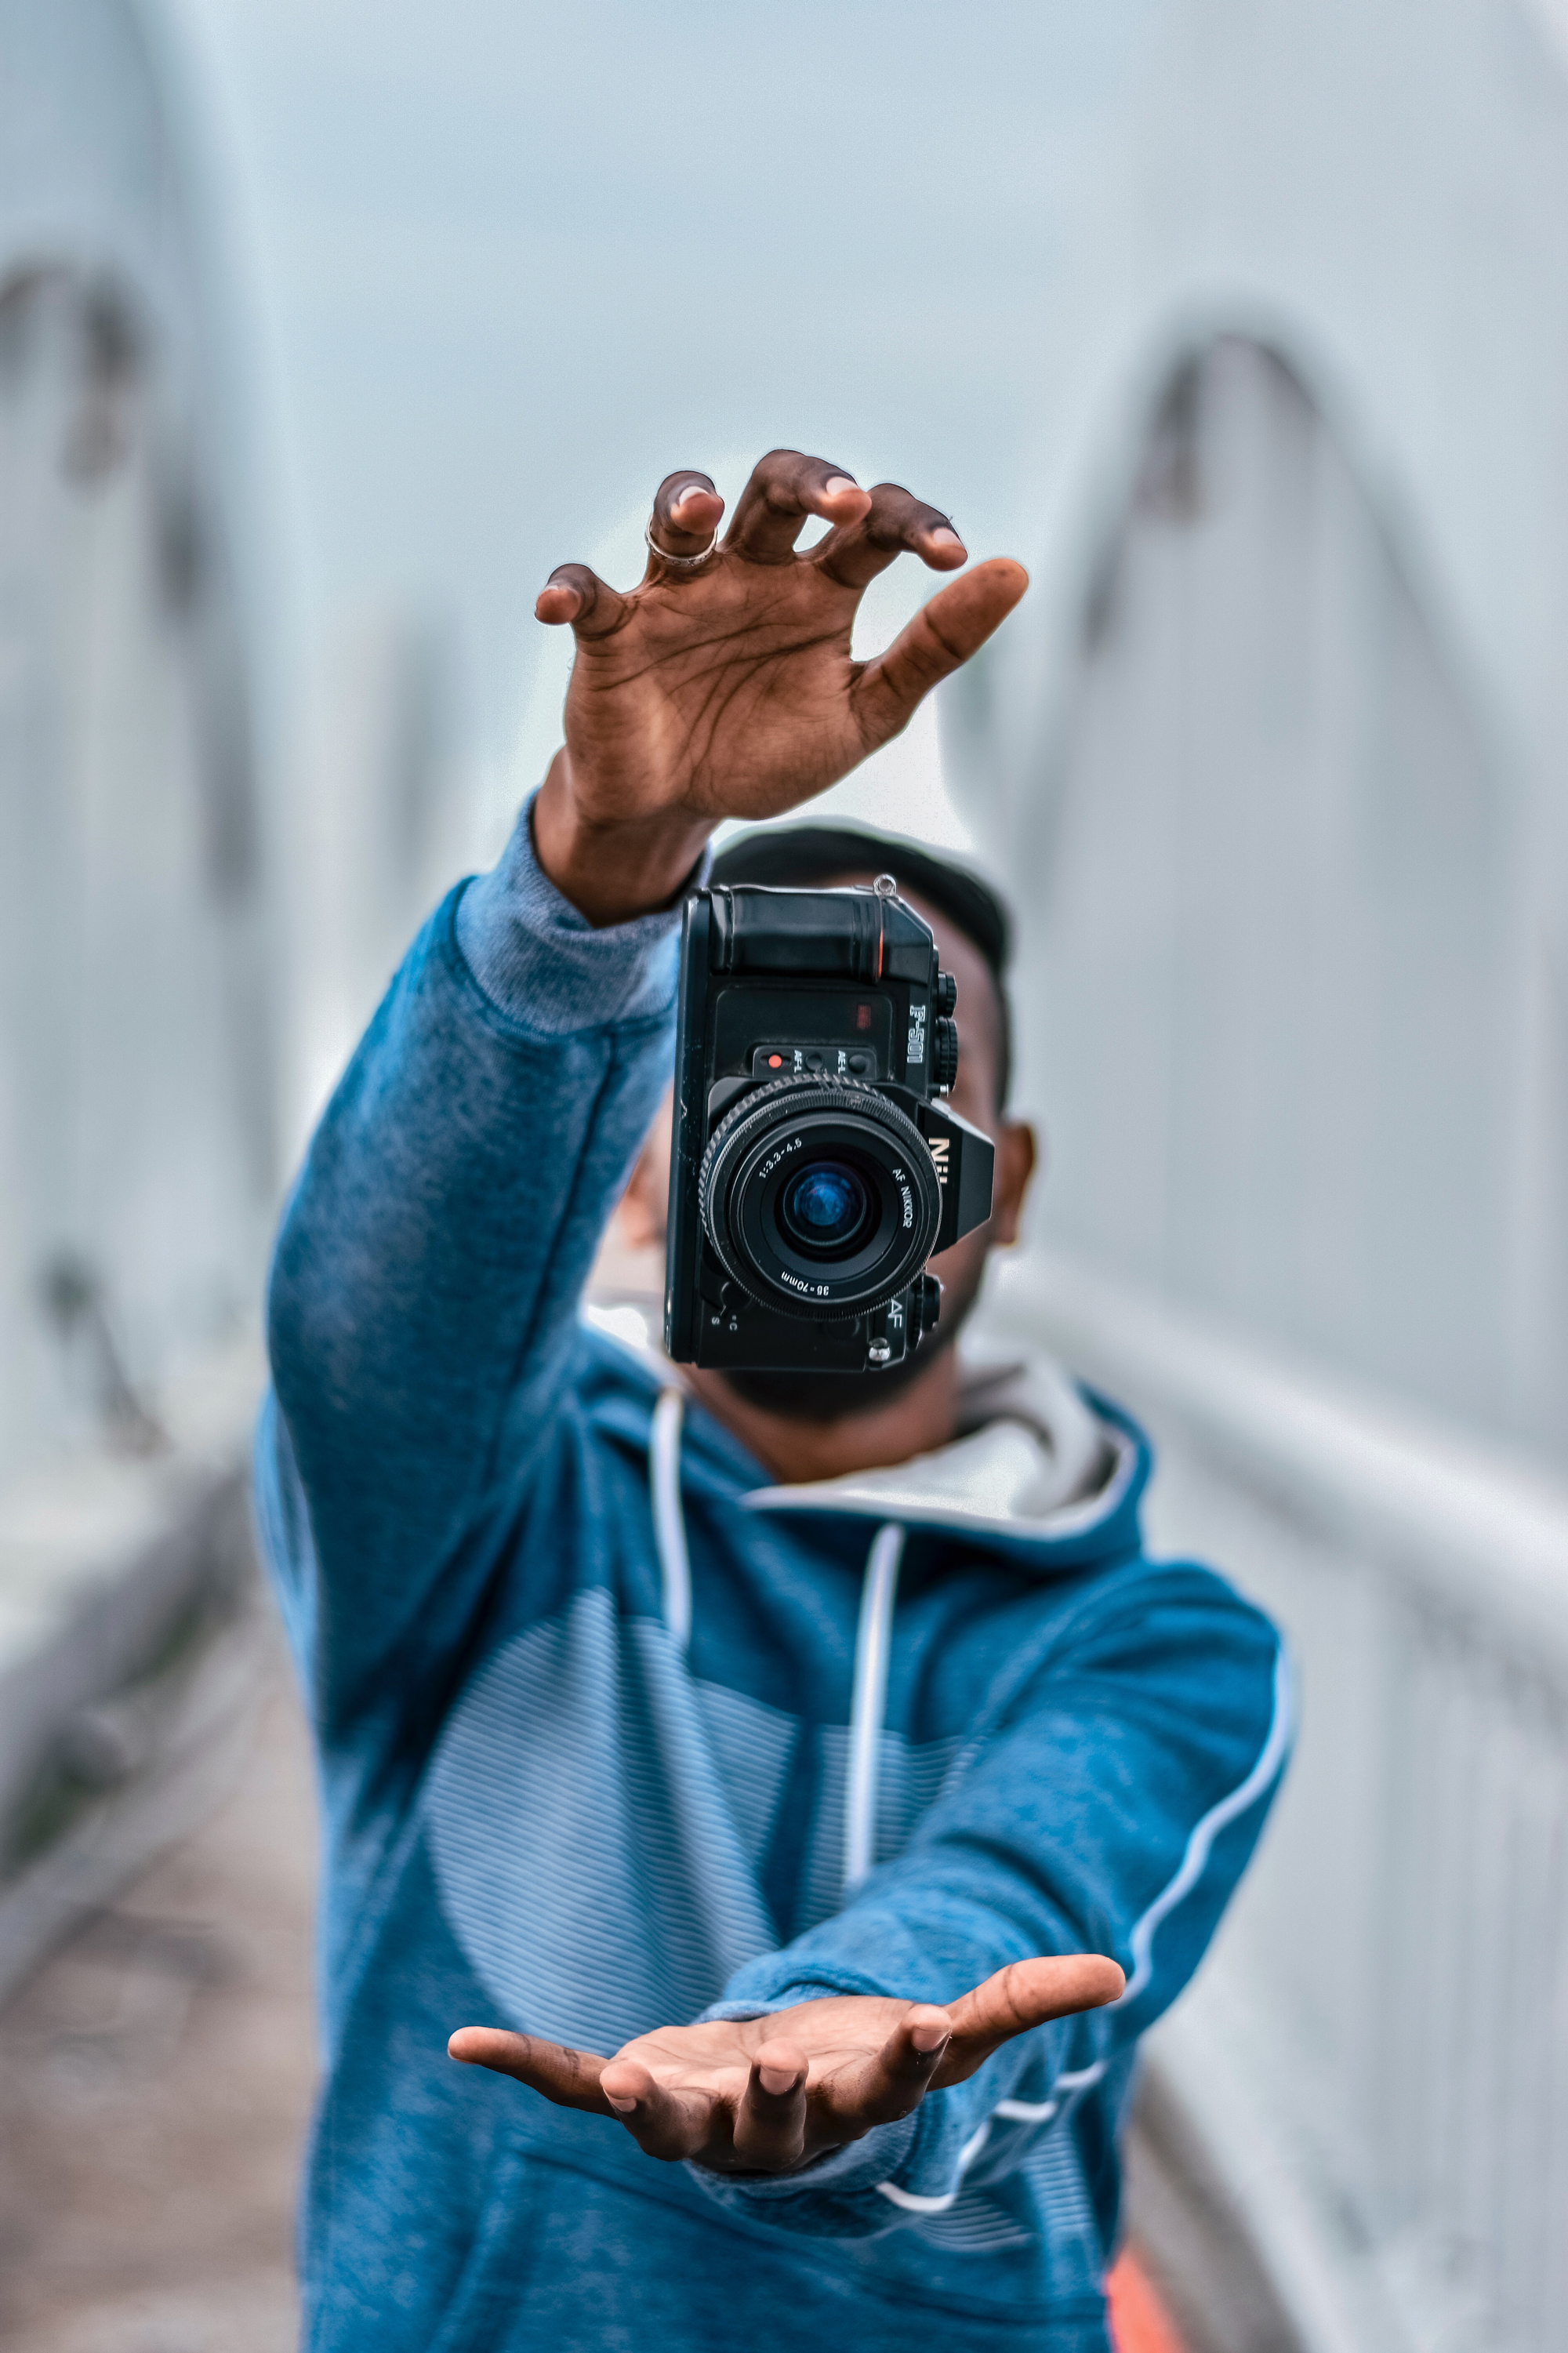
There are several different approaches that you can take to capturing an edgy levitating camera shot, but we’ve gone with the simplest here, as there are no strings or complicated edits involved. With your main camera fixed in the same position on a tripod, you’ll need to take two separate frames.
In the first frame, drop a camera in front of your main camera and lens, and freeze it in mid-air with a fast shutter speed, such as 1/2500sec.
This floating camera trick might seem like a novelty, but the principles can be applied to commercial and advertising shots, too – just substitute the camera for a product, and use plain or coloured backgrounds to complement it.
Key tip
Of course, you’ll be catching the camera again too! It can be tricky to fire the shutter and catch the dropping camera at the same time, so it’s better to ask another person to help you with one of these roles.
The second shot should be of someone (you or a helper) holding an imaginary camera between their hands. The key is to make sure your tripod doesn’t move between the two shots, so that you can merge them together seamlessly using Layer Masks in Photoshop.
If you’re giving this a go at home rather than in an urban environment, plump up a few cushions underneath the camera’s drop zone, just to be on the safe side.
4. Stroboscopic motion

This stop-motion effect is created by a pulsing flash that fires multiple times during a long exposure, freezing the action as the subject moves. All you need is a dark space (try your living room with the curtains shut and lights off), a tripod, and a speed light that has a Stroboscopic or Multi mode.
With your camera on a tripod in front of your subject, and a speedlight to their side, switch to Manual mode. A good starting point for the exposure is a shutter speed of around one second, an aperture of f/11 and ISO 100.
In terms of the flash settings, the more flashes you set per second, the lower the light’s power output will be. With a higher Hz you may need to bring the flash closer or adjust your exposure settings to compensate.
For most speedlights, the Hz (hertz) setting controls the flashes per sec, while the flash count determines total flashes. Dividing the Hz by the count provides the shutter speed. So, a flash count of 10 at 8Hz would provide 10 bursts over 0.8sec.
You’ll get varying results depending on the flash count and frequency, so take a couple of test shots, and if the background is too bright, close down the aperture a bit more. To experiment further, change the position of your speedlight in relation to your subject.
5. Repeating illusion
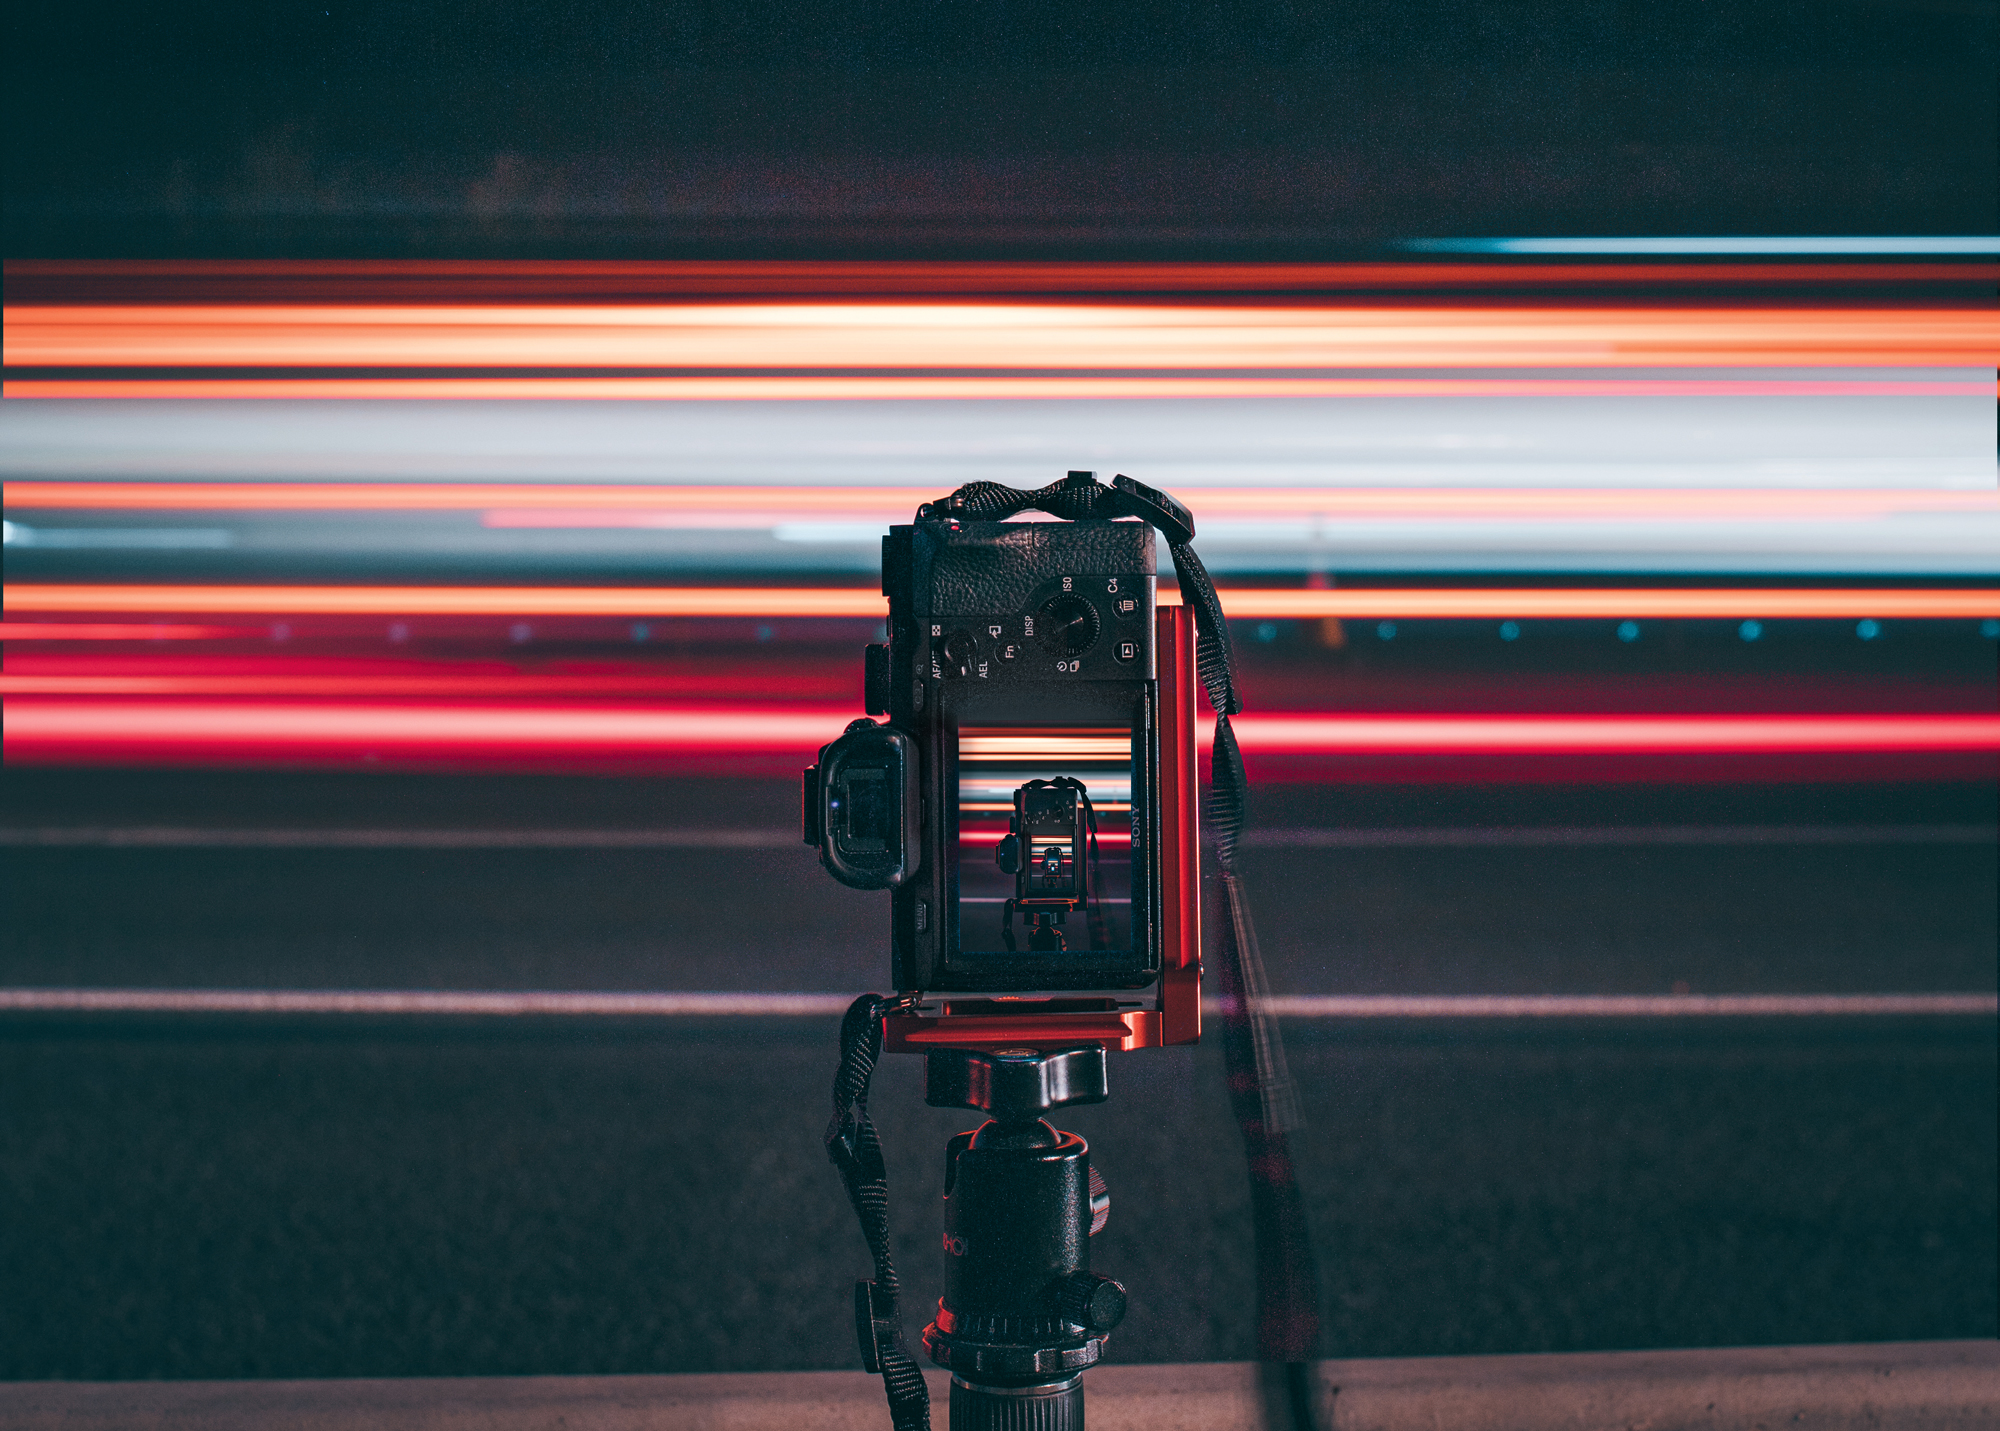
This Inception-style image of a frame within a frame is easy to create, whatever the scene. You’ll need two cameras – one as a prop and one to shoot the image with.
Once you’ve taken a starting image of the back of your camera, it’s easy to add another image onto the camera screen. Here, photographer Louis Stacey First duplicated the layers in Photoshop, then used the Pen tool and Layer Mask to cut out the camera screen. With the duplicate layer underneath, he resized the image so that you can see more of the camera on the screen.
Read more:
The latest camera tutorials
Simplifying product photography
Lensbaby spark review
Lauren is a writer, reviewer, and photographer with ten years of experience in the camera industry. She's the former Managing Editor of Digital Camera World, and previously served as Editor of Digital Photographer magazine, Technique editor for PhotoPlus: The Canon Magazine, and Deputy Editor of our sister publication, Digital Camera Magazine. An experienced journalist and freelance photographer, Lauren also has bylines at Tech Radar, Space.com, Canon Europe, PCGamesN, T3, Stuff, and British Airways' in-flight magazine. When she's not testing gear for DCW, she's probably in the kitchen testing yet another new curry recipe or walking in the Cotswolds with her Flat-coated Retriever.
