40 landscape photography rules: Take your best-ever scenic shots
Everything you need to know to take your landscape photography skills to the next level
The best camera deals, reviews, product advice, and unmissable photography news, direct to your inbox!
You are now subscribed
Your newsletter sign-up was successful
Shooting landscapes is all about capturing the great outdoors in ways that show others your vision of the world.
Whether aiming for dramatic light at golden hour or taking a more subdued documentary approach to the subject, there’s something for everyone in this varied genre of photography.
Capturing dramatic light, vivid color and interesting weather conditions are the most popular approach, and this is where we’ll focus our attention.
As Ansel Adams said, “The single most important component of a camera is the twelve inches behind it.”
So, with this idea in mind, here are 40 landscape photography tips that will ultimately help you to develop and improve as a photographer to make that 12-inches even more important.
Some tips may even surprise and excite you in ways that lead to a eureka moment where the pieces of the landscape photography puzzle finally fall into place.
• Read more: Best lenses for landscapes
The best camera deals, reviews, product advice, and unmissable photography news, direct to your inbox!
01 Never give up
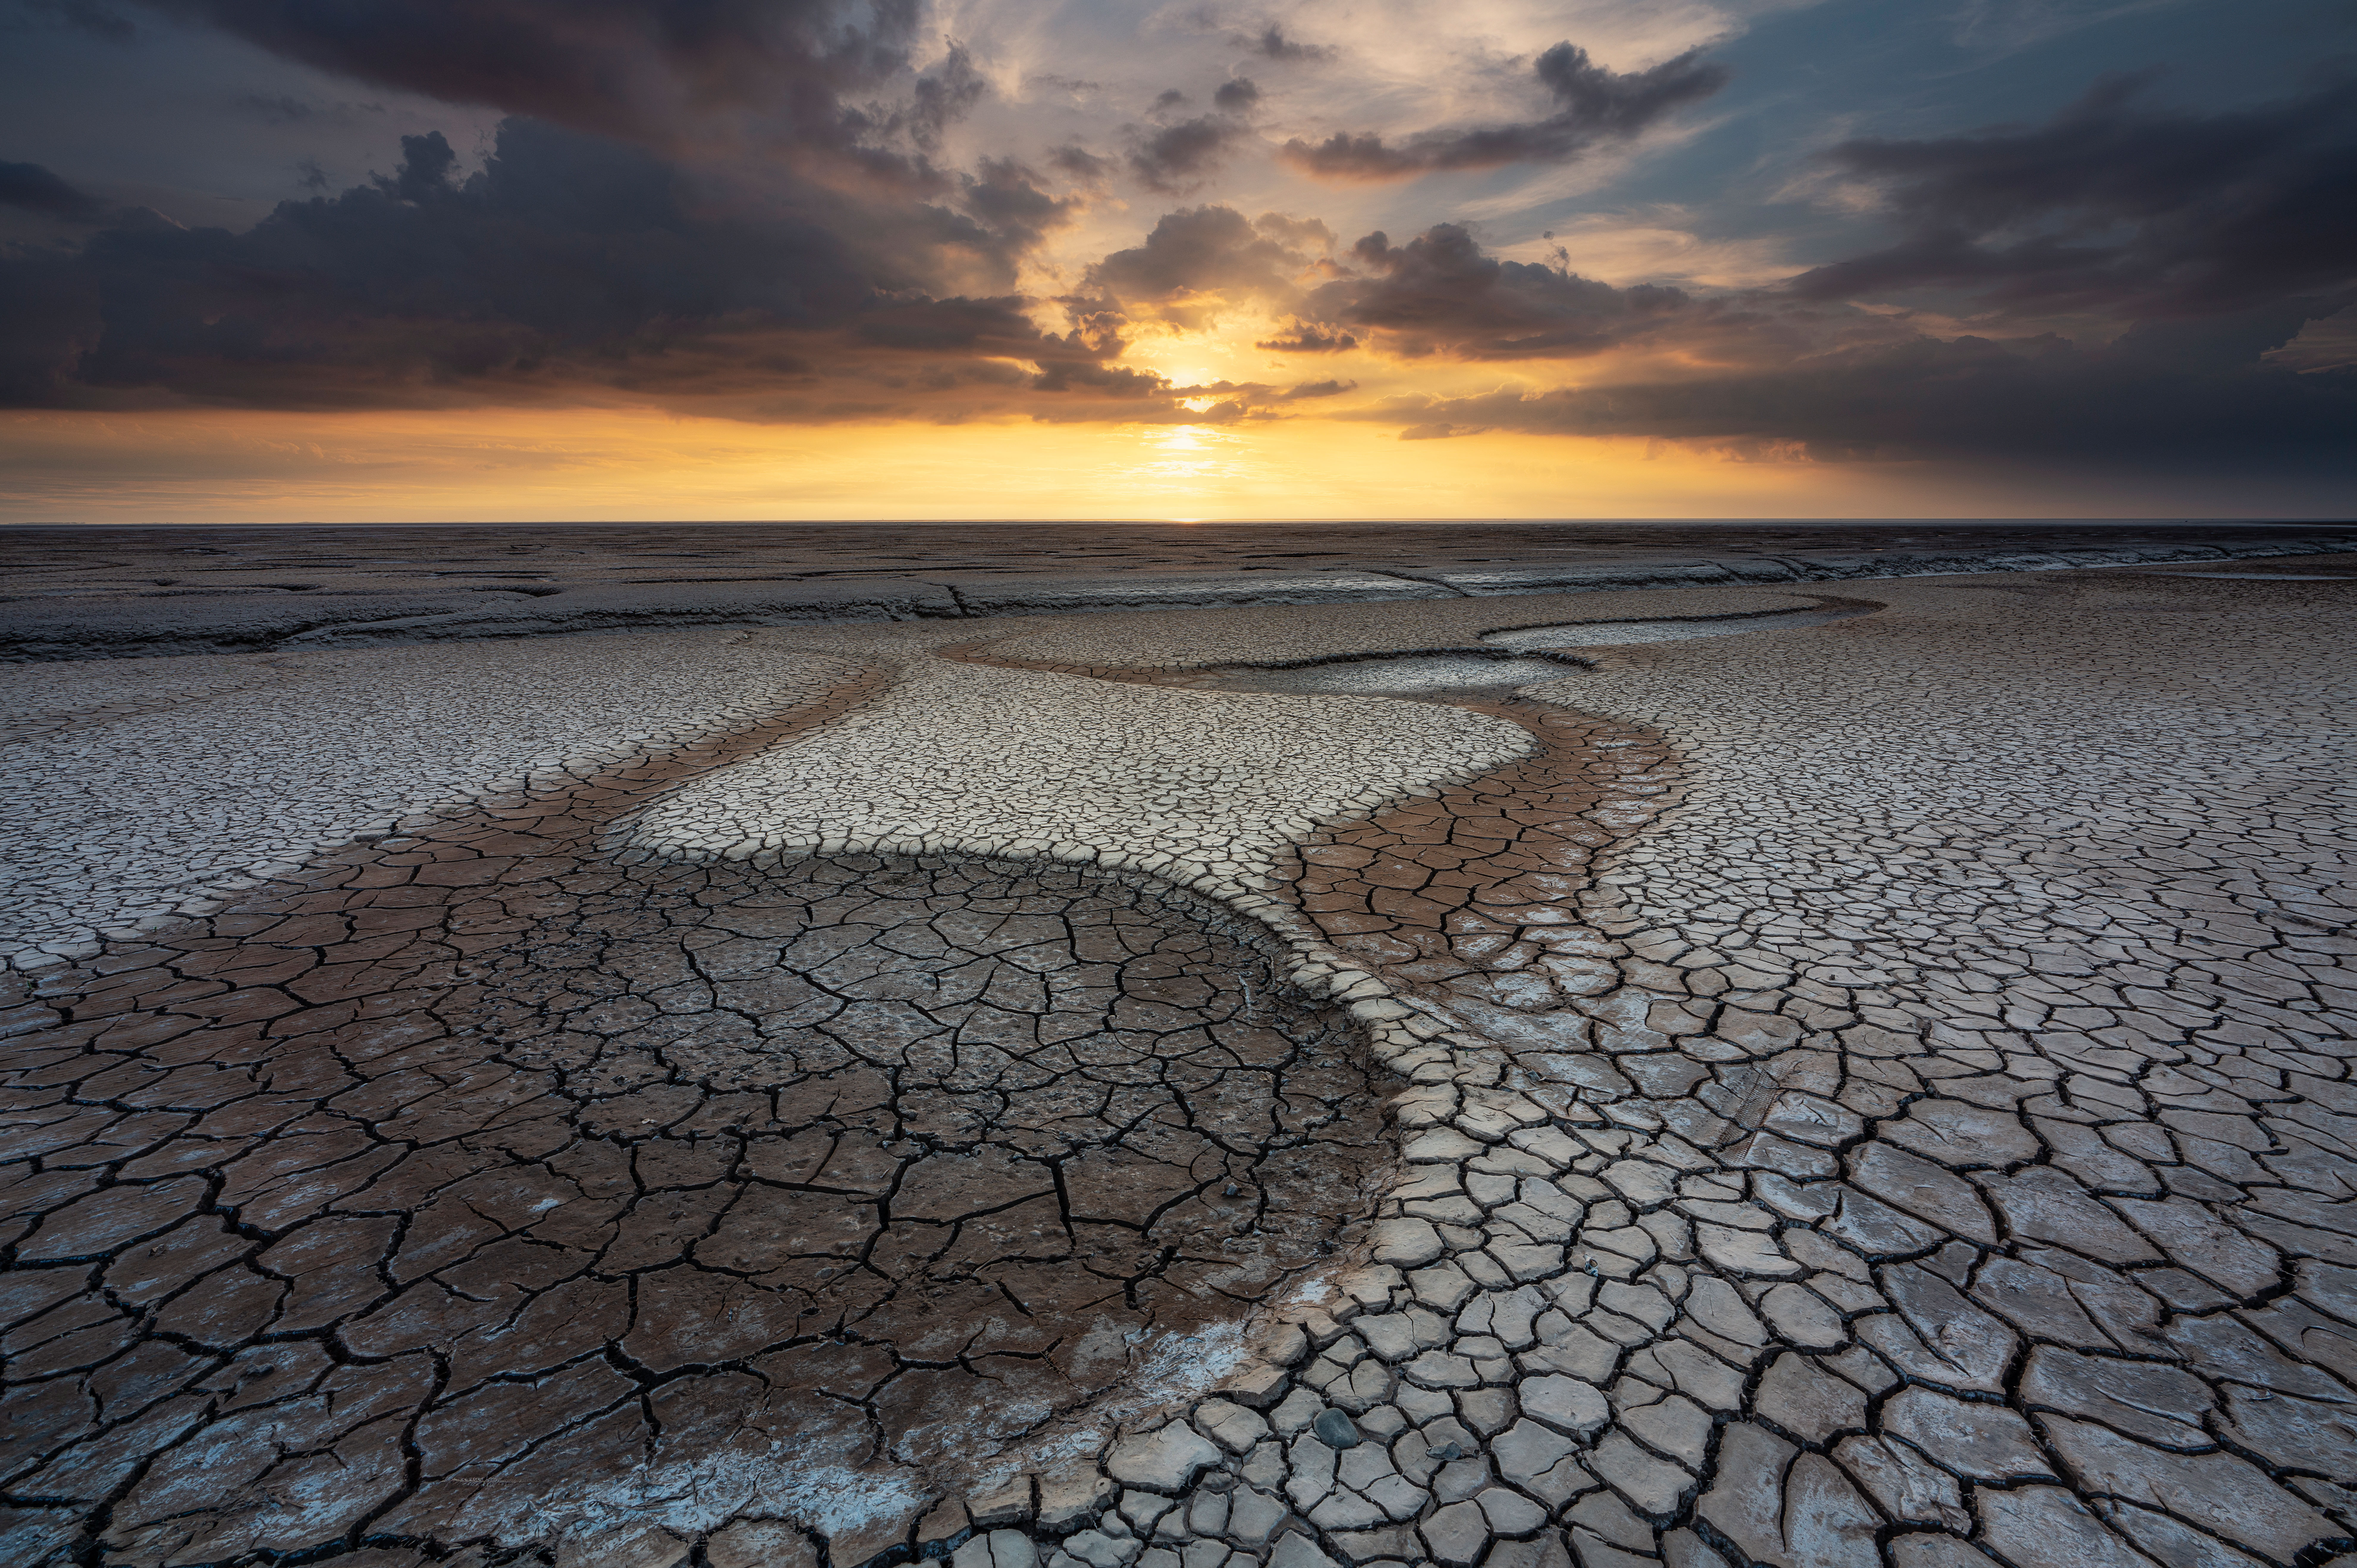
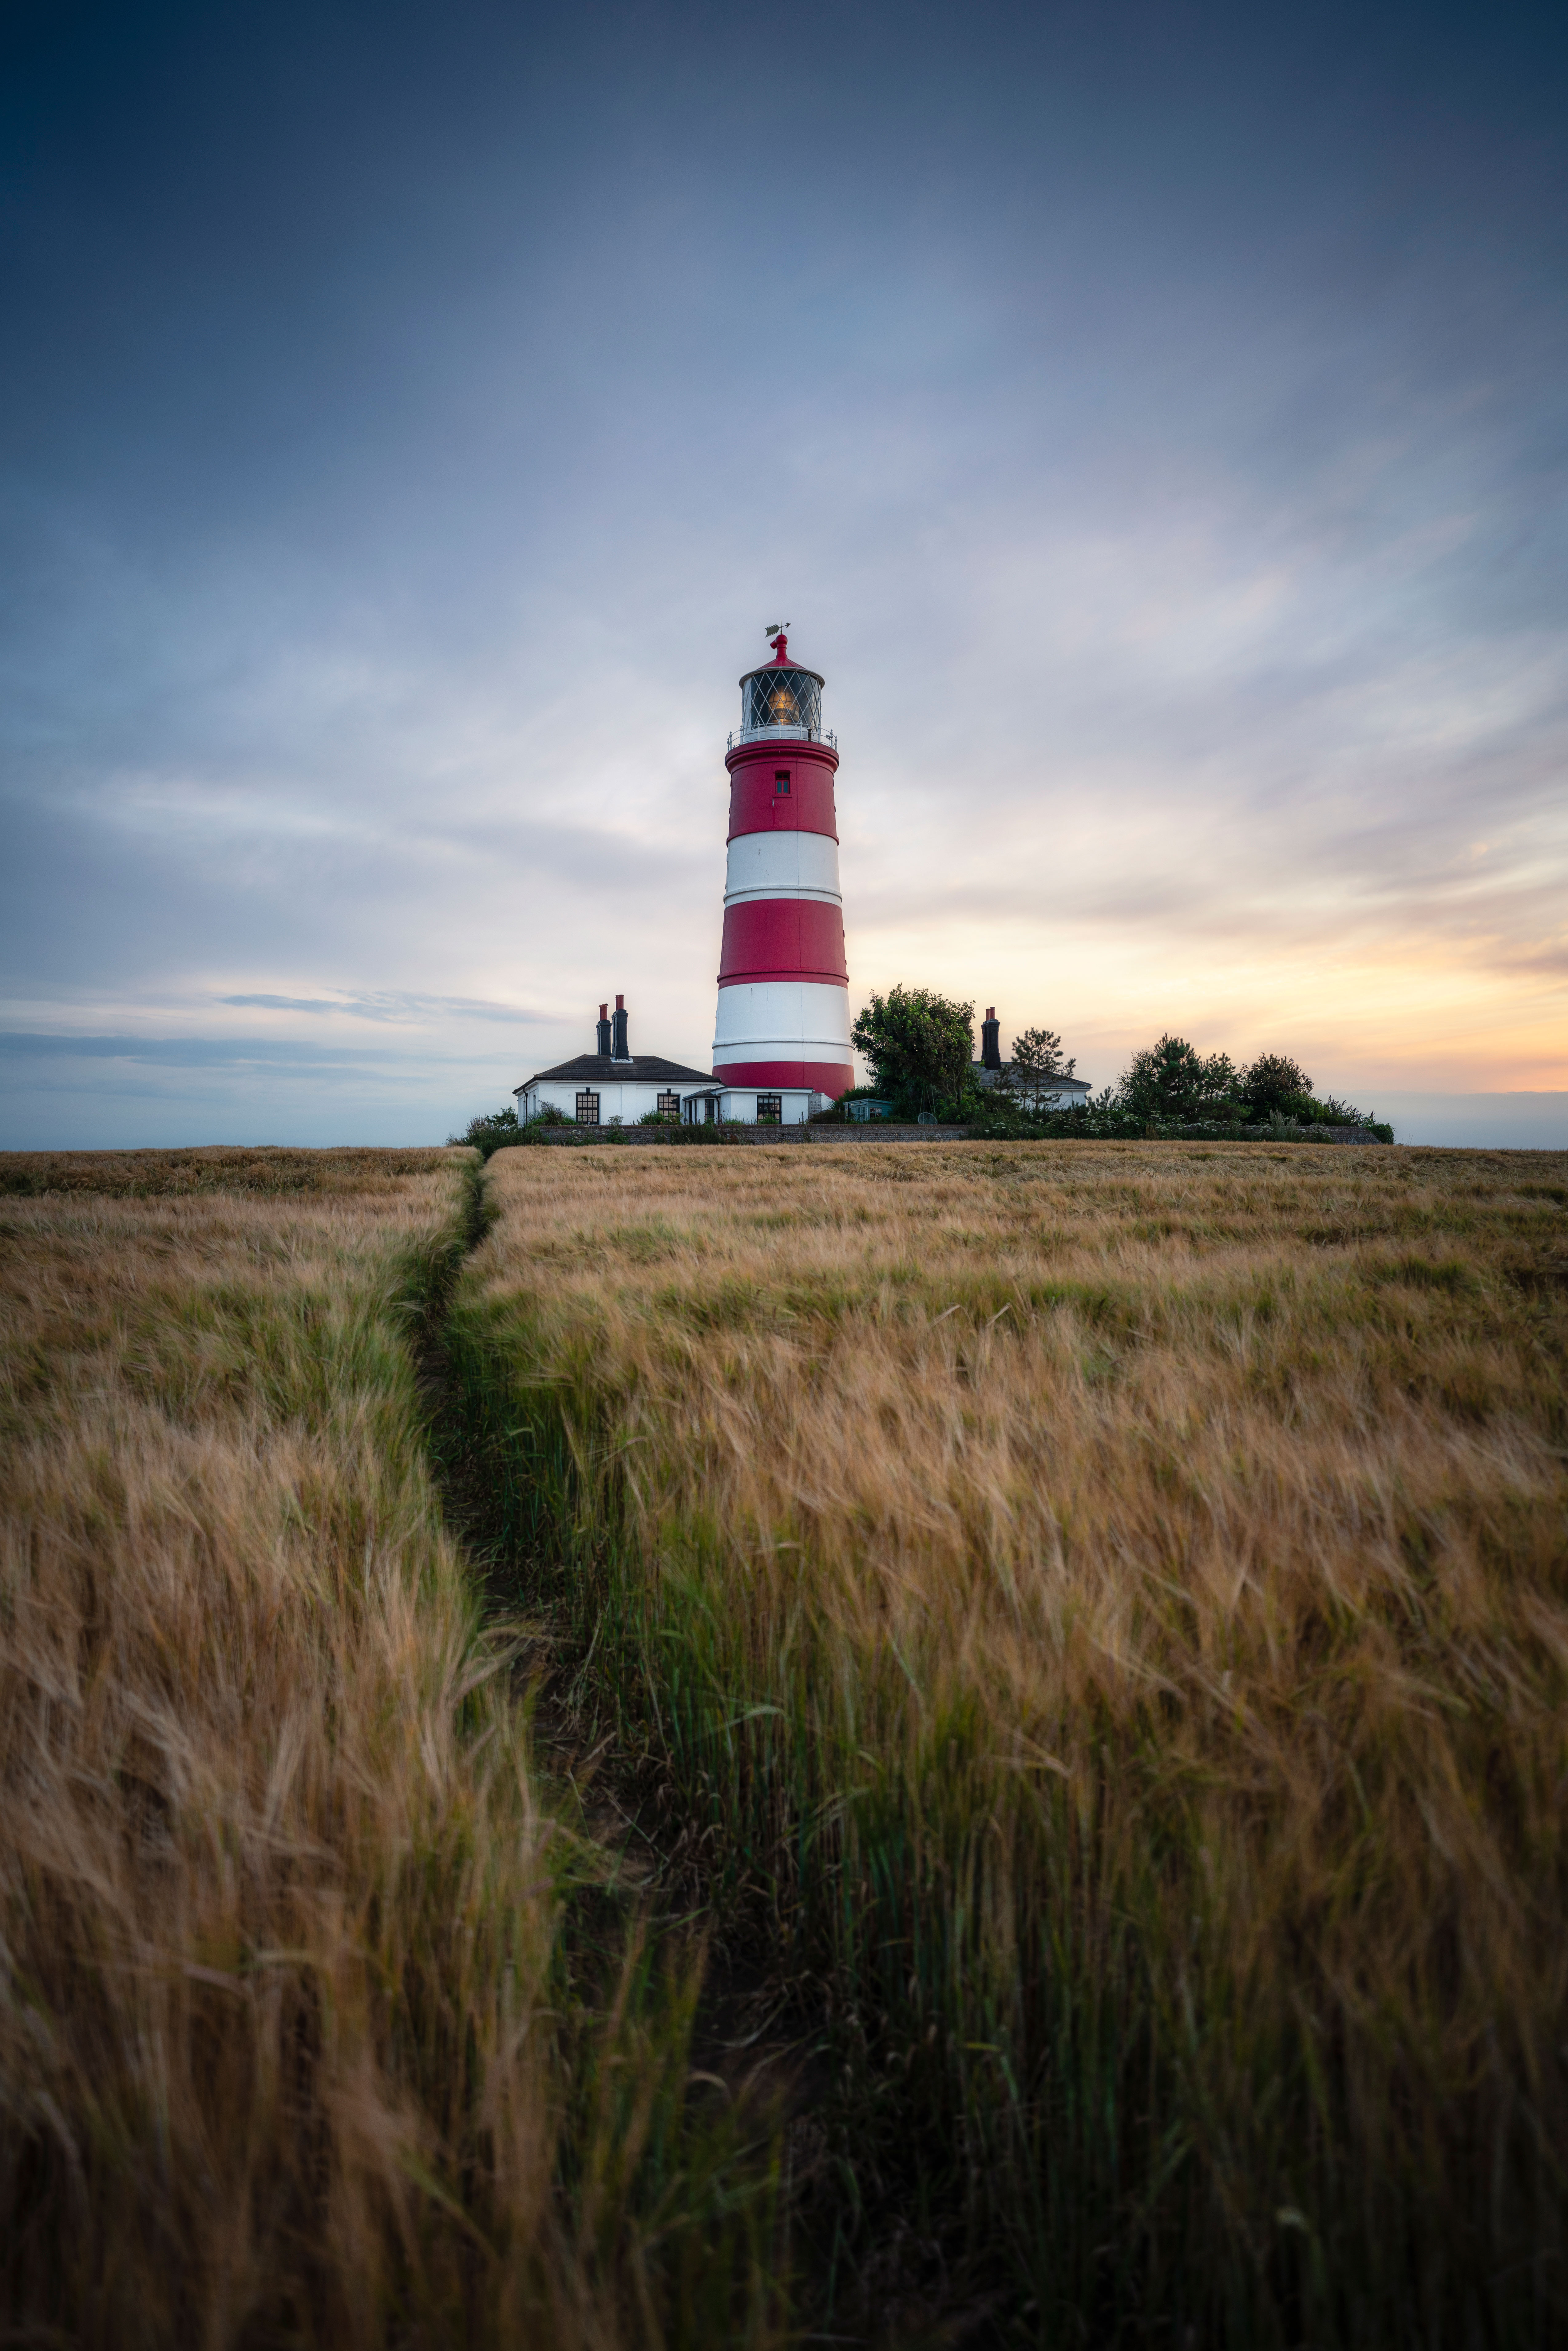
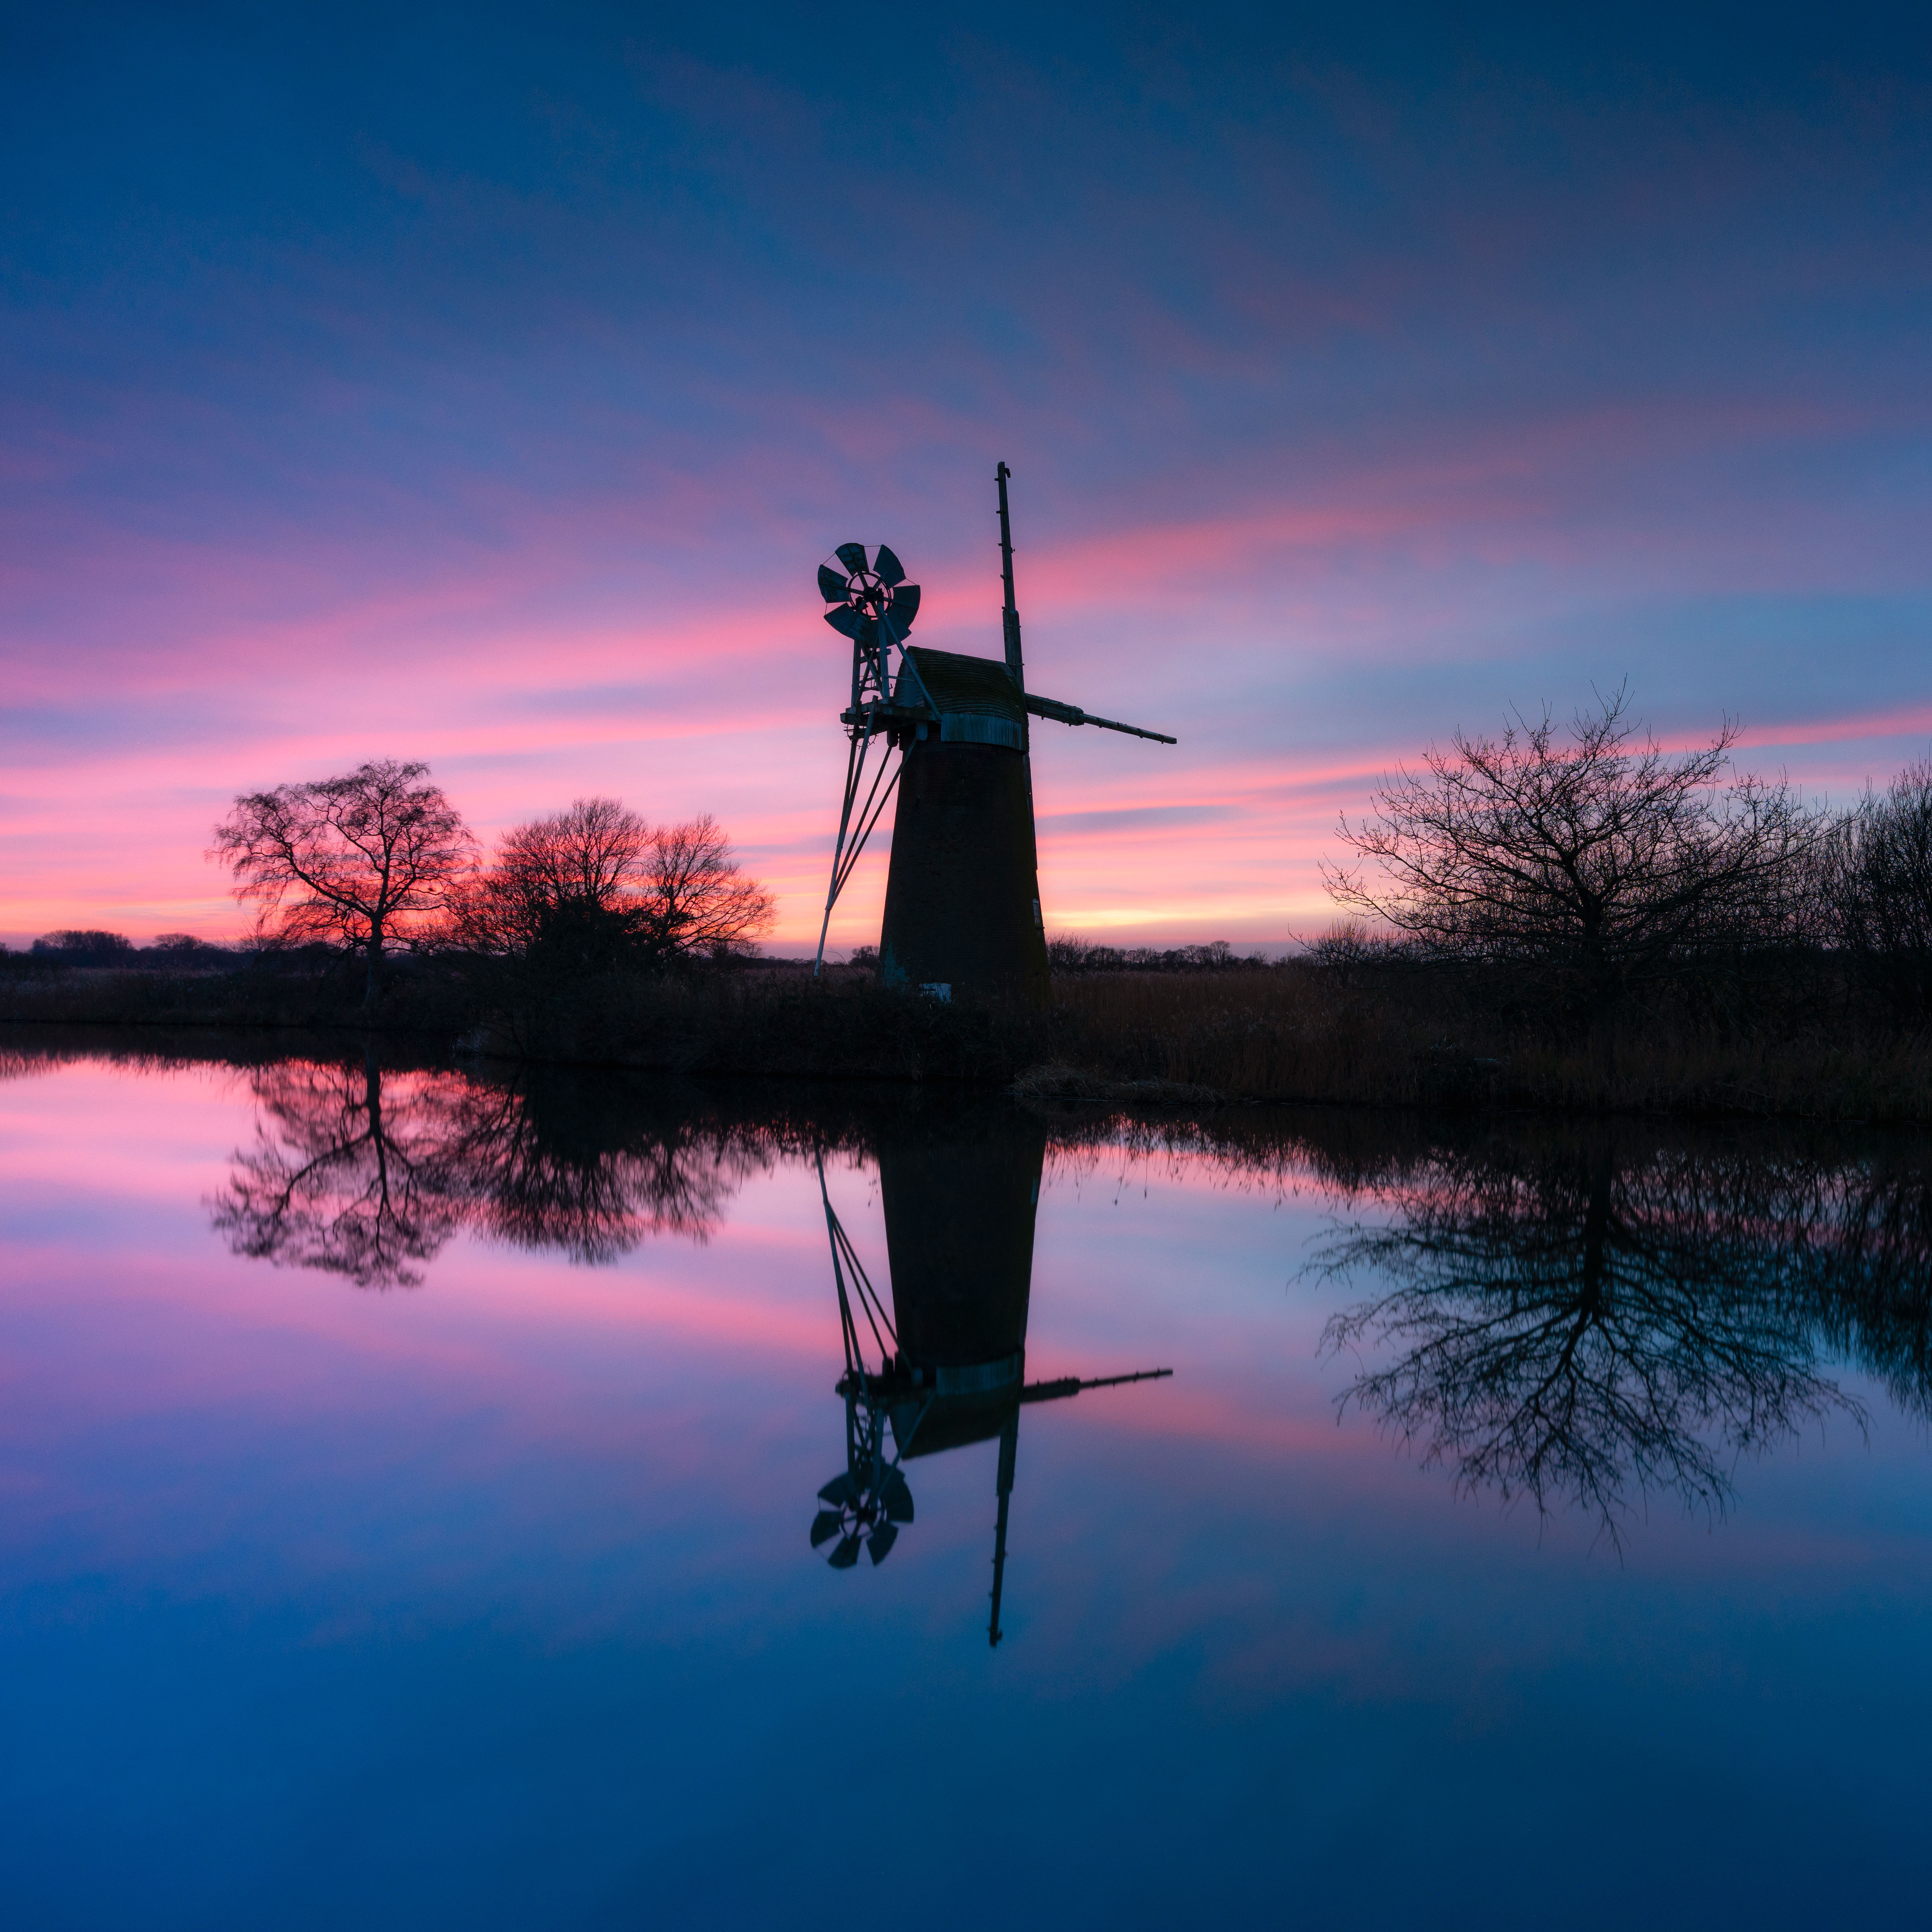
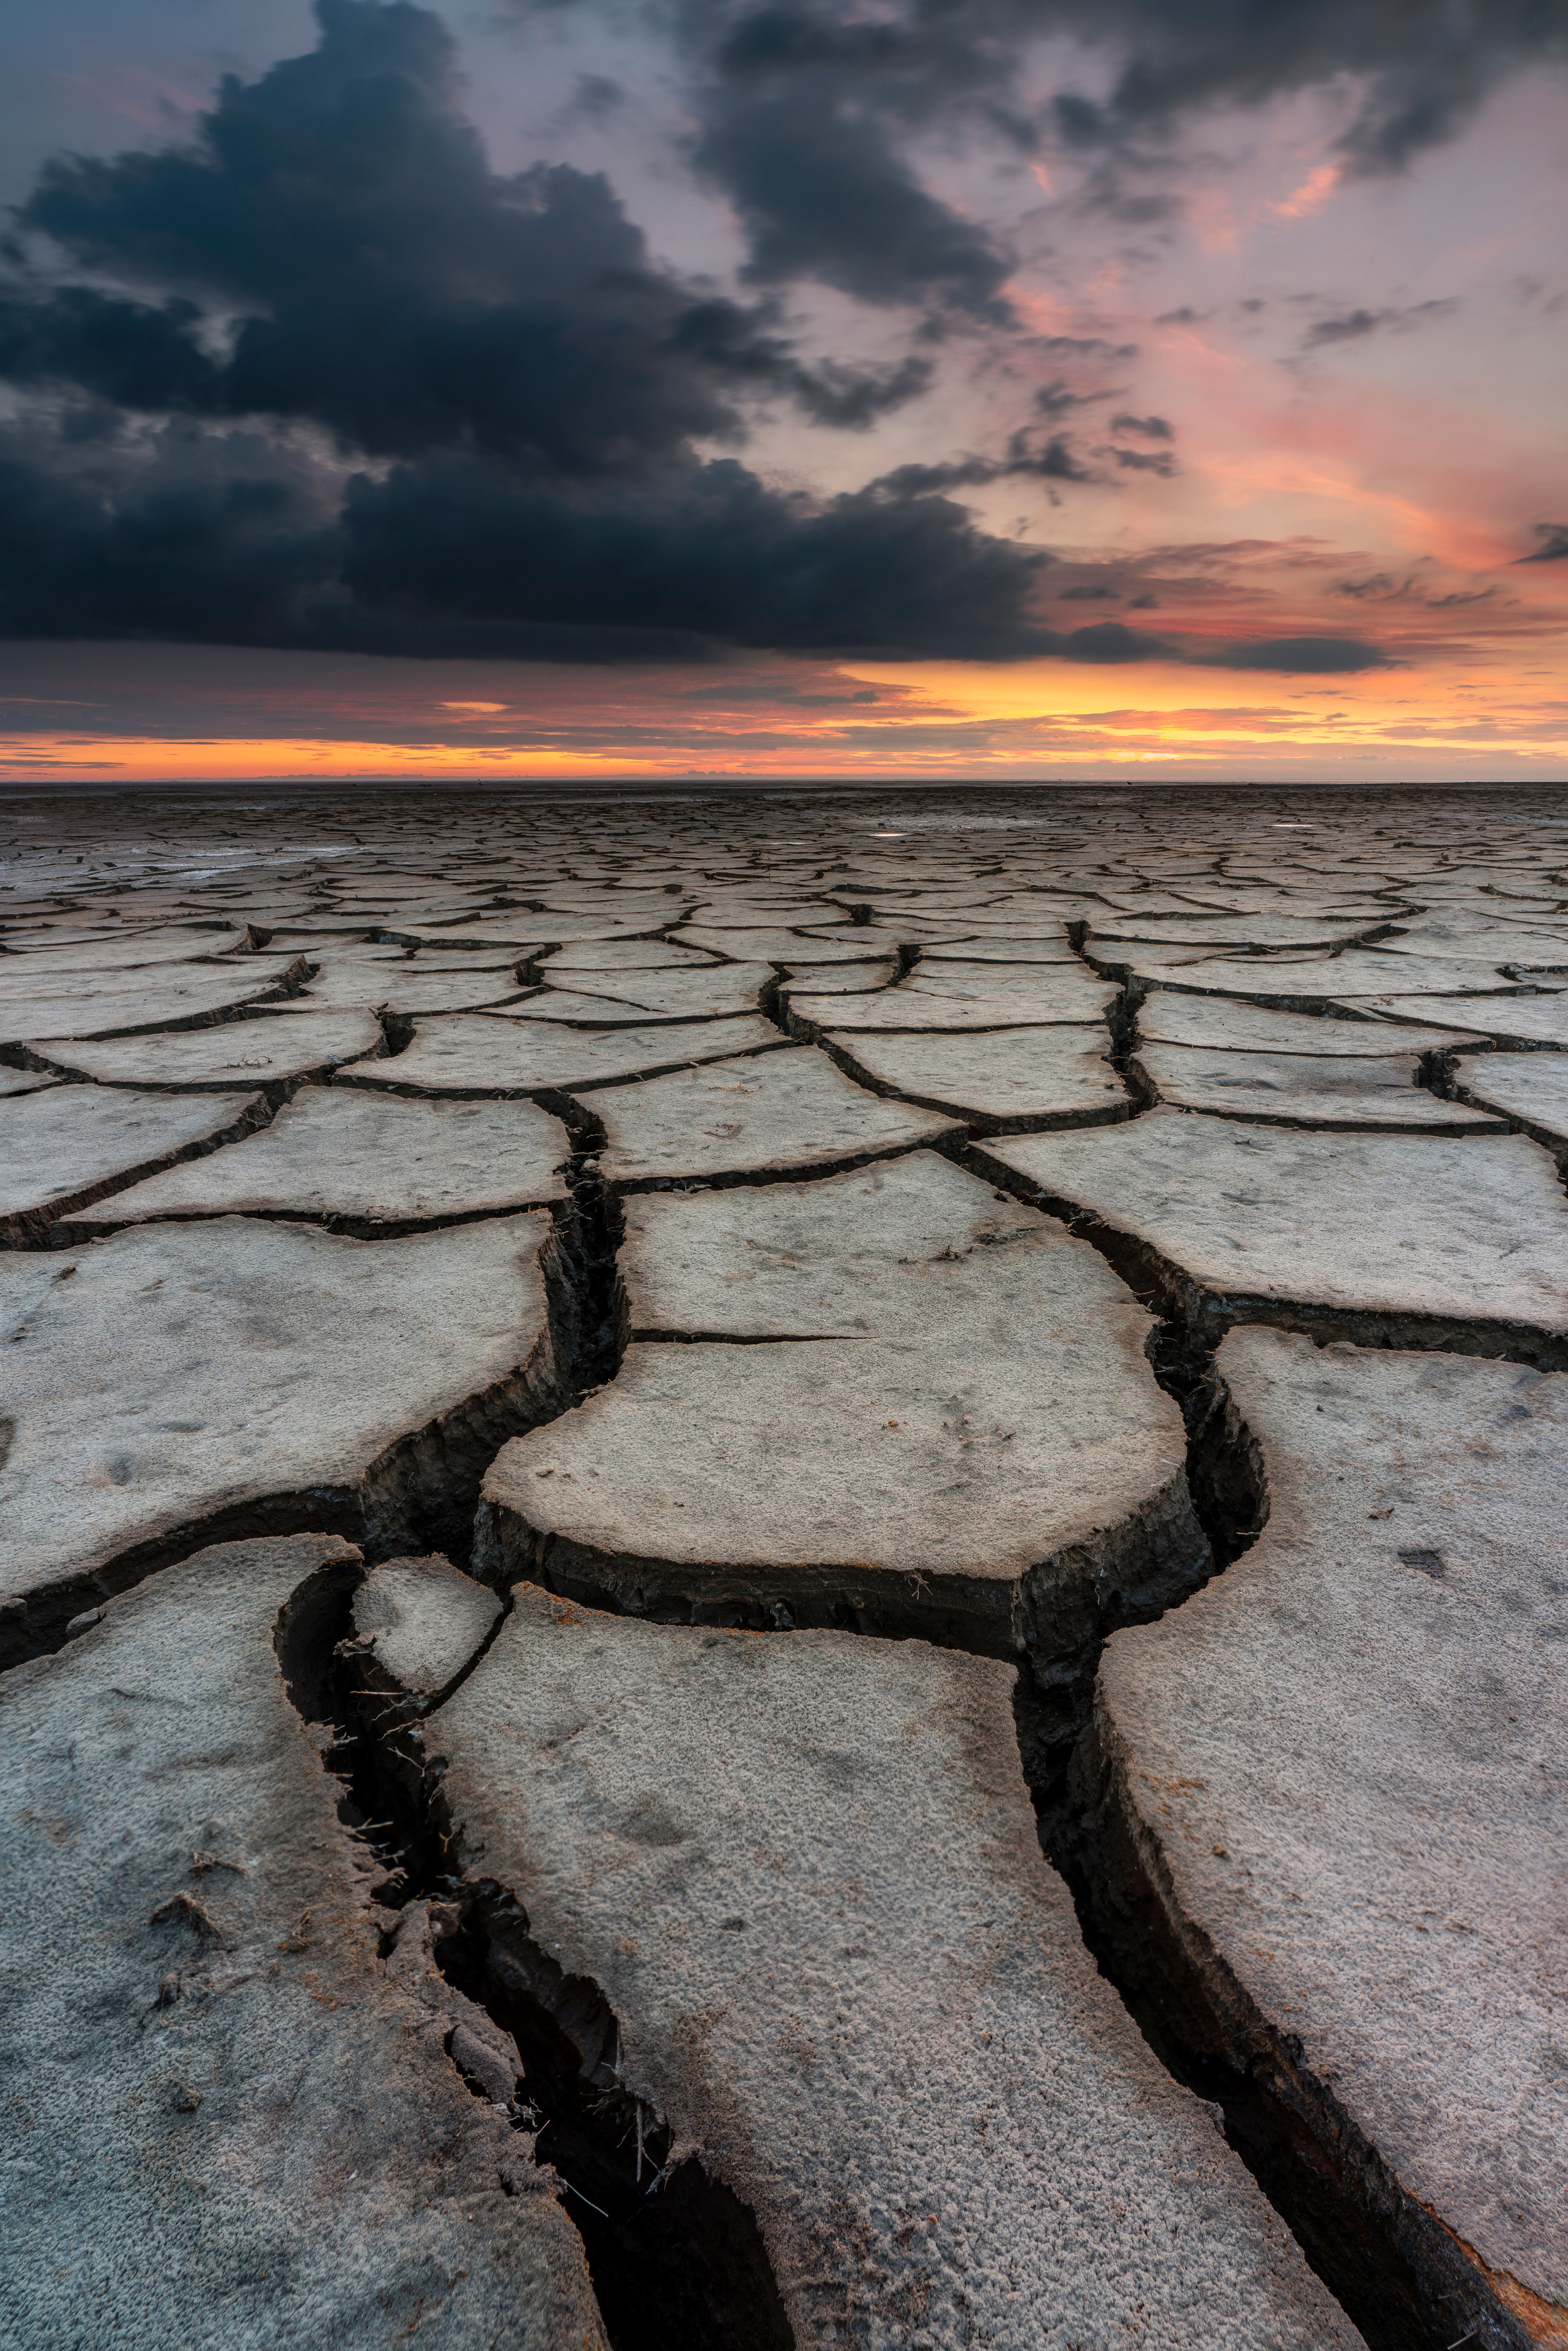
We’ve only just got started, so telling you to never give up may seem a little premature – but it’s essential for shooting the images you desire where everything looks perfect. Planning a landscape image can take days, weeks, months or even years, so you have to be prepared to wait for that perfect moment. The image above was planned for nearly a year and required the season, weather, light and tide to all be perfect to be able to capture the perfect shot.
02 Create balance
Compositional devices are the perfect way to inject your images with balance and to lead the viewer into and through your landscape images. The main three that you can use are the rule-of-thirds, foreground interest and lead-in lines.
The rule-of-thirds is where you imagine the camera frame is divided into nine equally sized rectangles by two horizontal and two vertical lines. Focal points and foreground interest are then positioned at the four points where these lines intersect, and the horizon is placed on the top horizontal line. Many cameras allow you to turn on this grid in the viewfinder and on the LCD screen to aid with composition.
03 Go wide
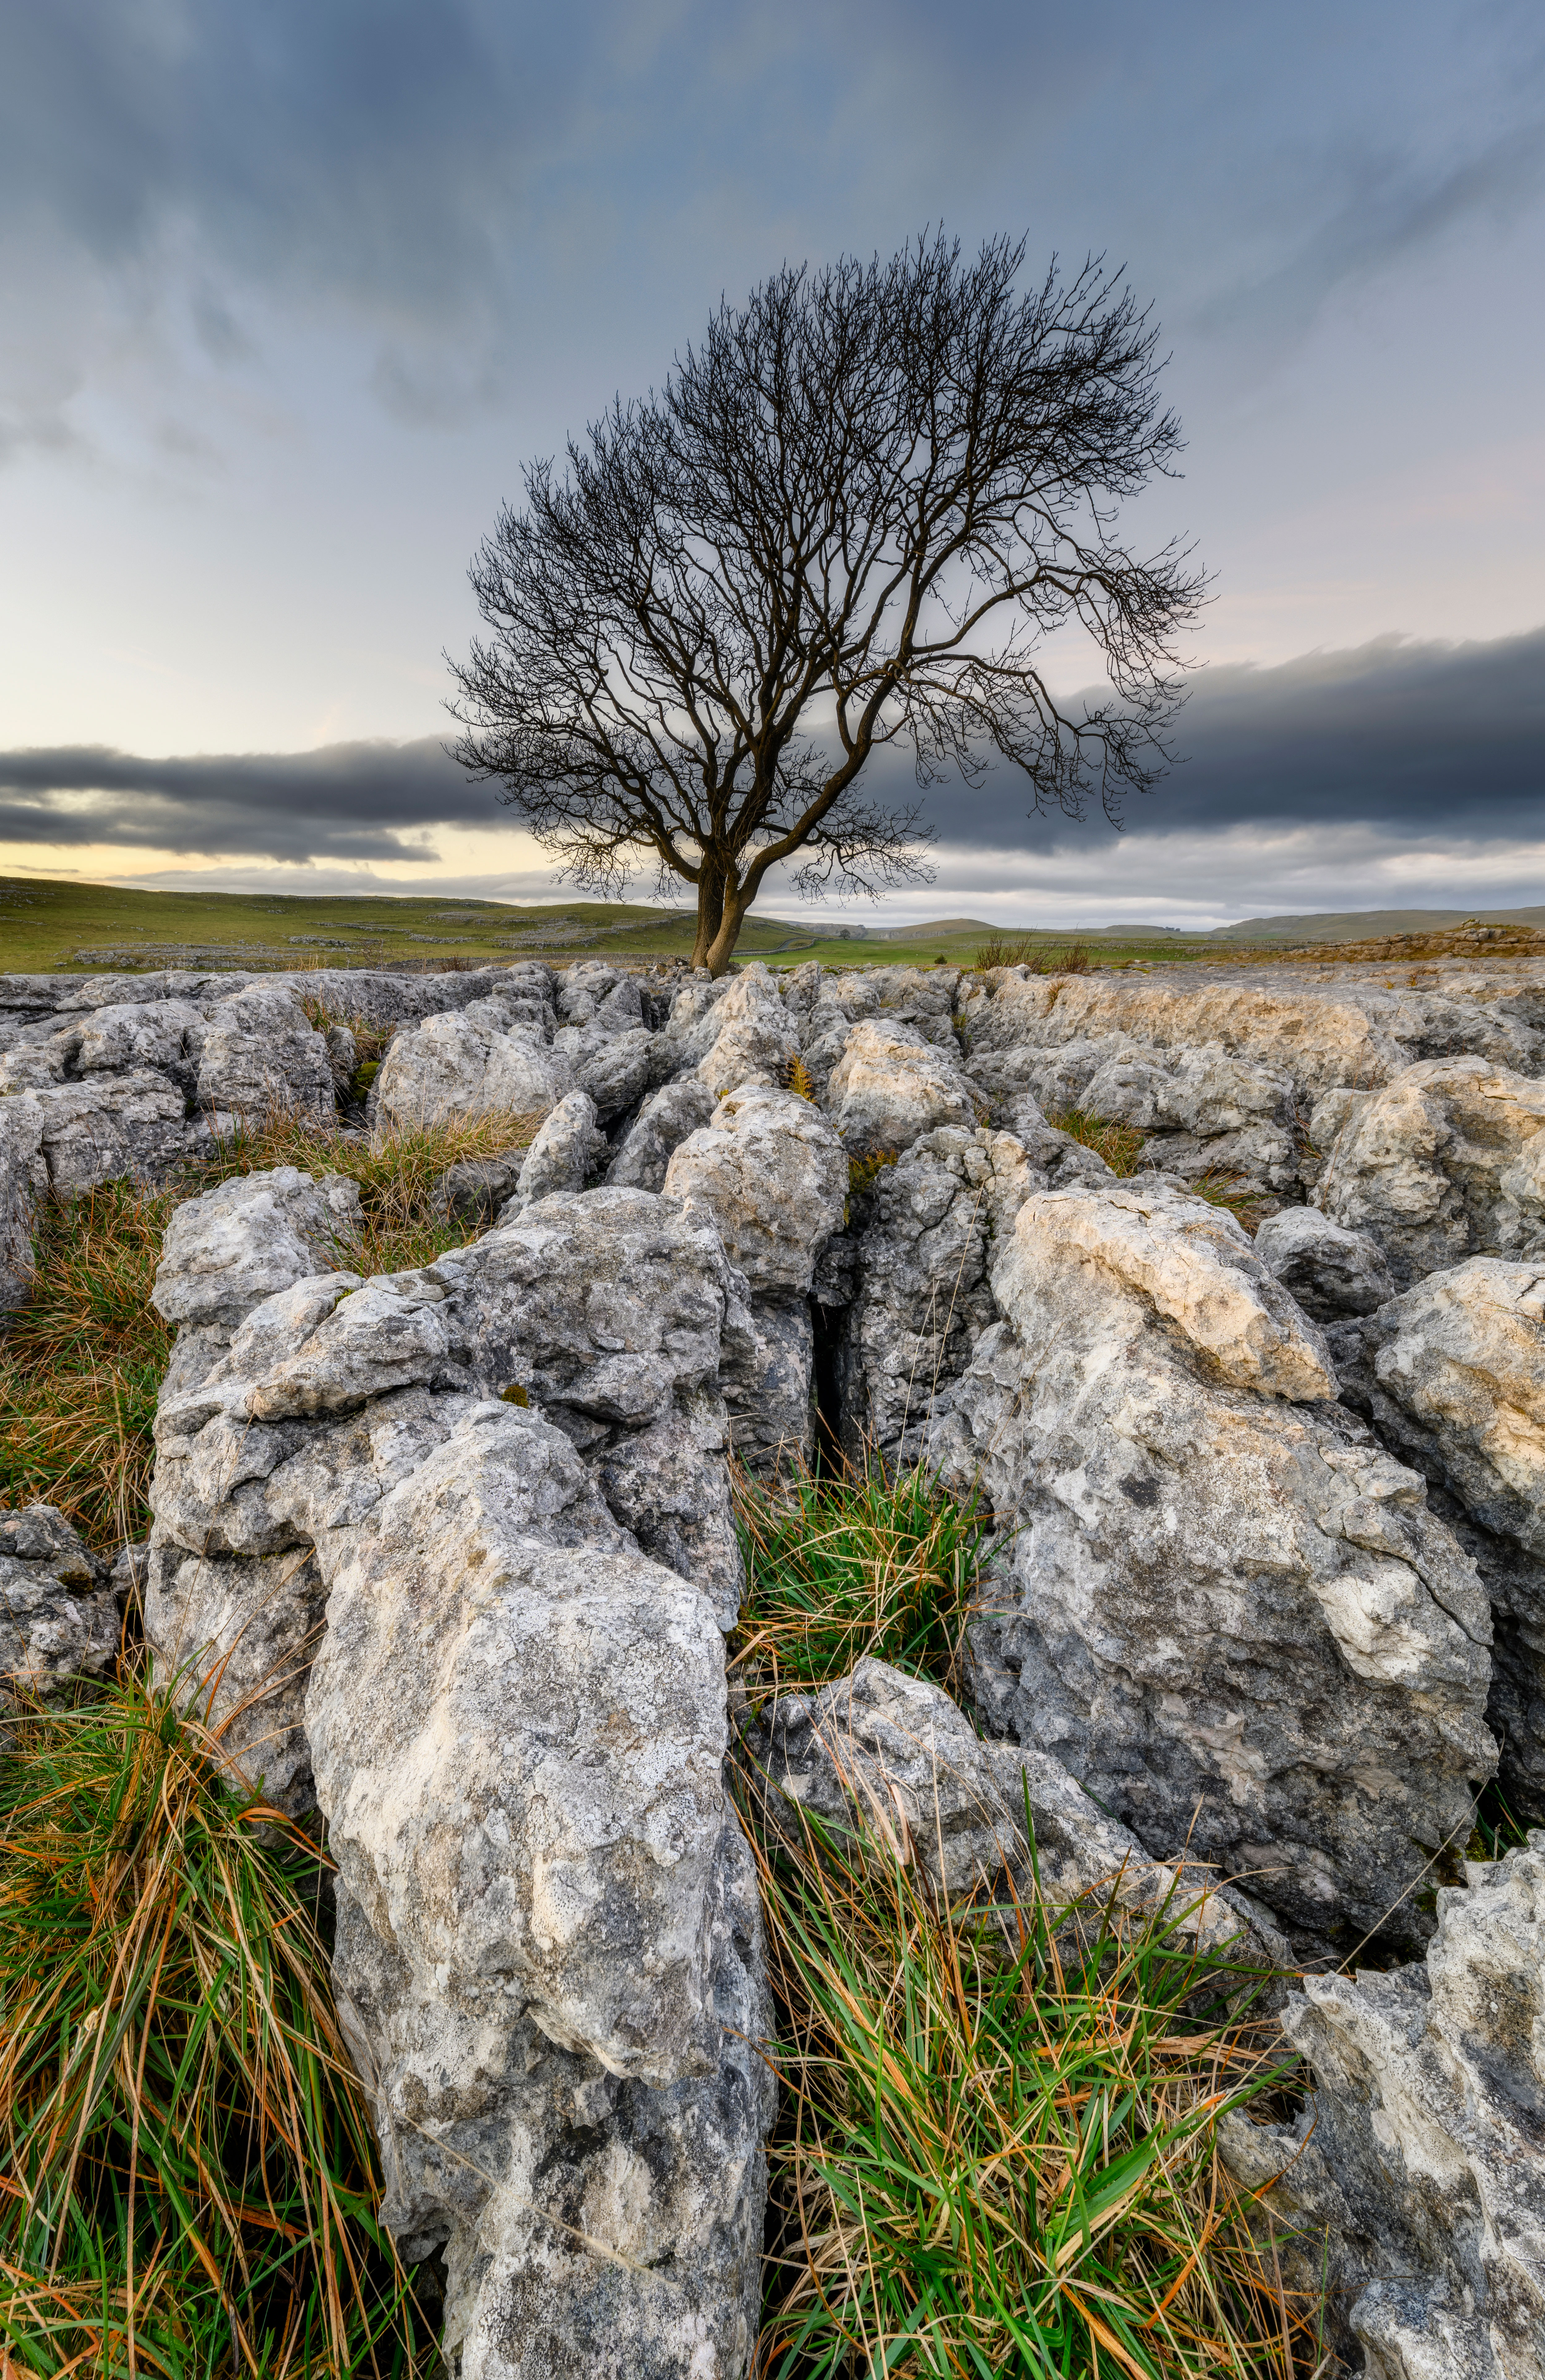
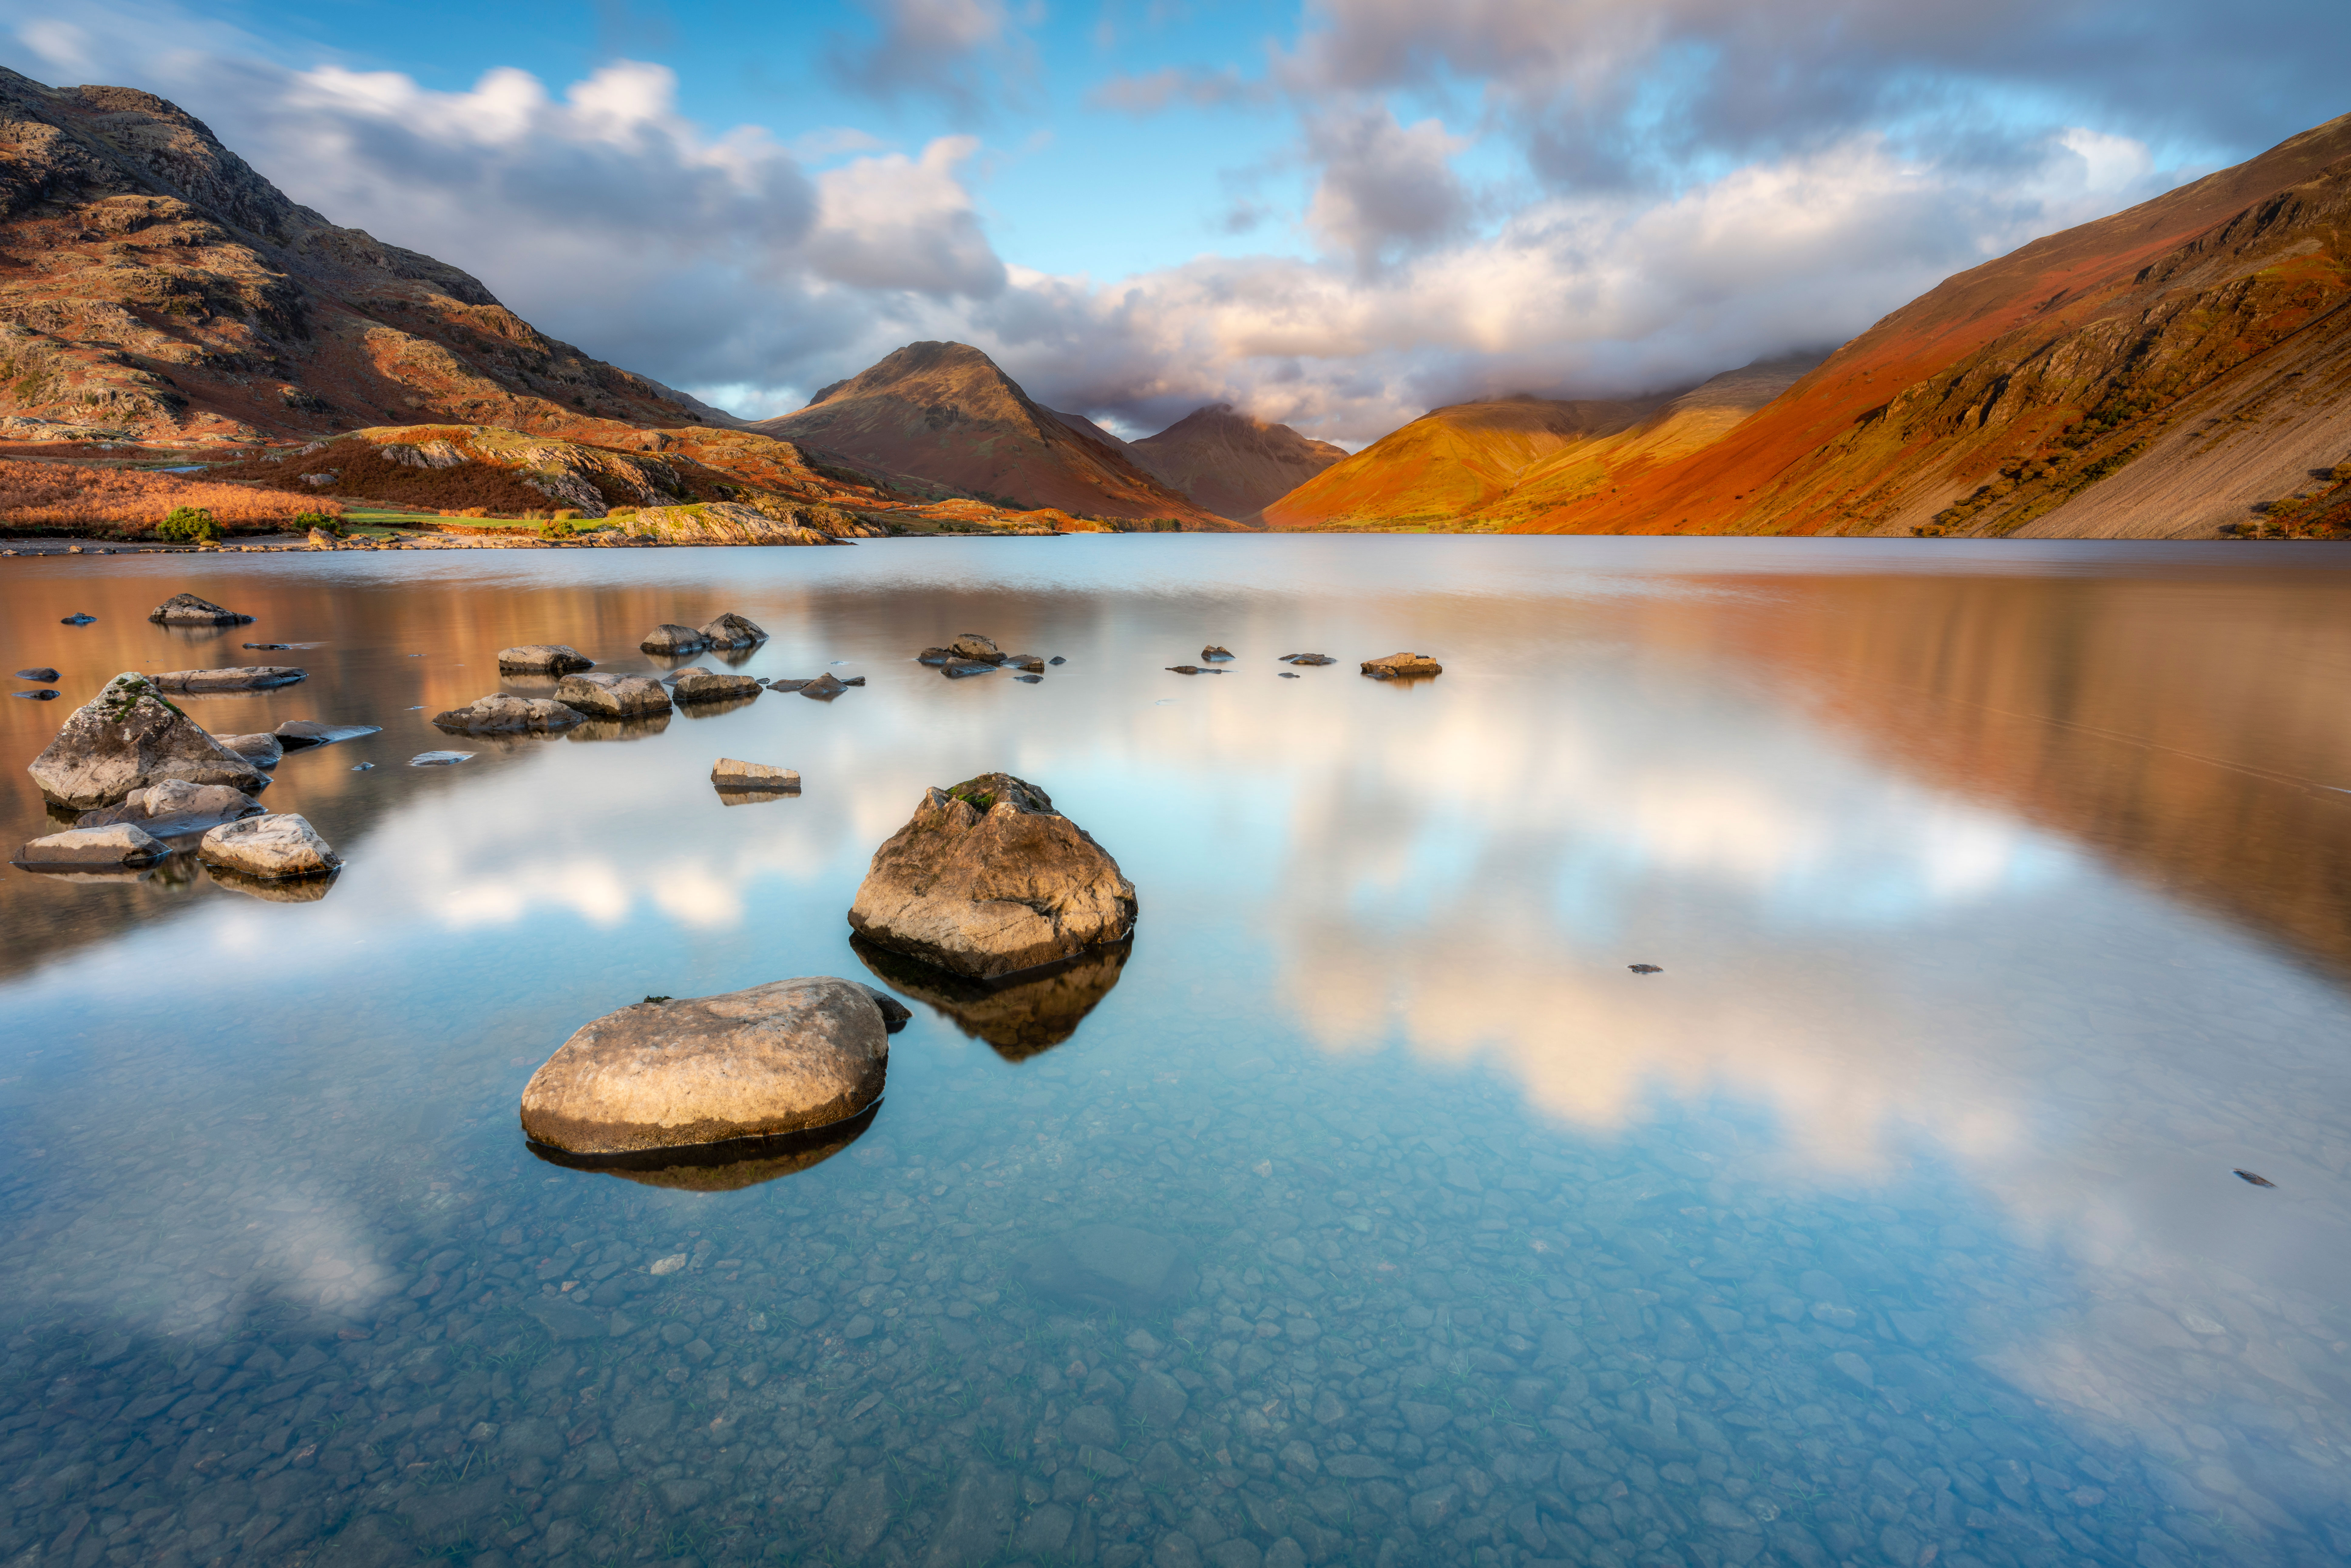
It’s not always necessary to shoot landscapes with ultra-wide-angle lenses but when you do, getting in close to the foreground interest when combined with the wide field of view creates much more dramatic images. This image was shot with a 12mm lens and the rocks were less than 30cm away.
04 Get higher: find new perspectives
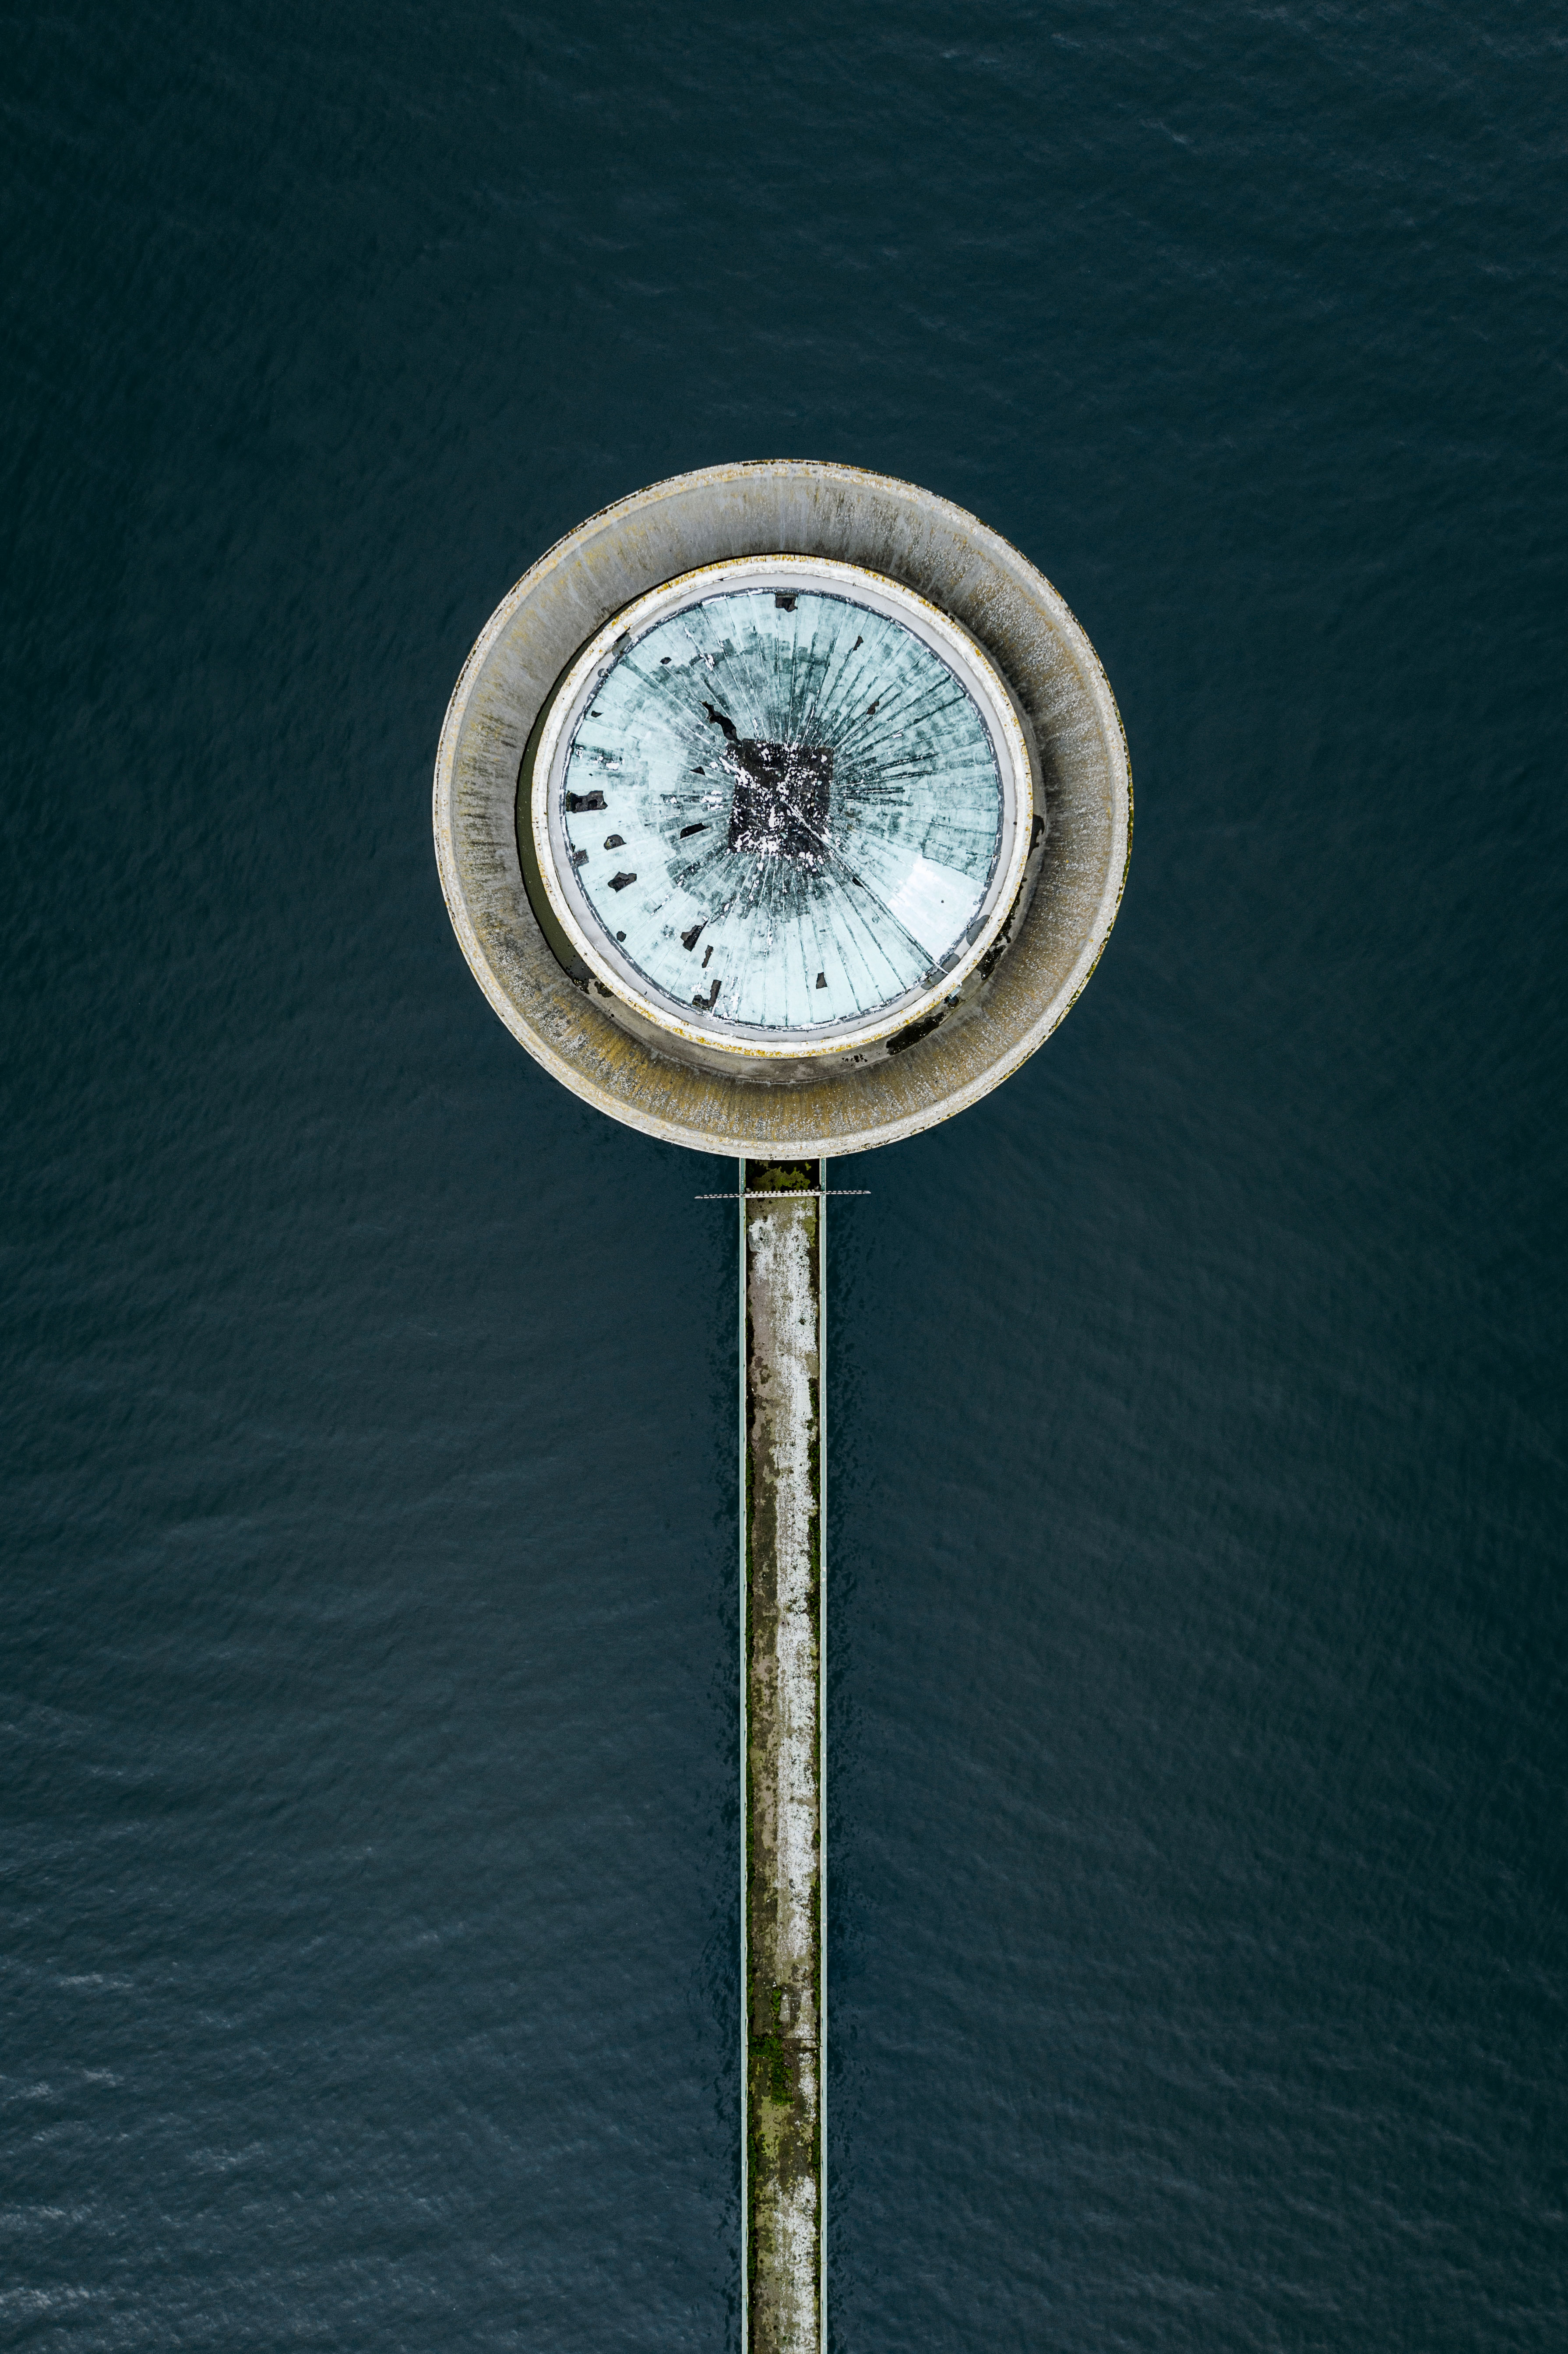
Drones have gained huge popularity in recent years because of their ability to allow photographers to shoot from high altitudes with ease. Whether shooting top-down landscapes, aerial landscapes or shots from head height in places inaccessible on foot, they’re an incredibly creative tool.
• The 10 best camera drones
05 Shoot in Raw
Capture images in Raw to give yourself more control over how your images look, as well as providing greater latitude for adjustments at the editing stage.
06 Use a tripod
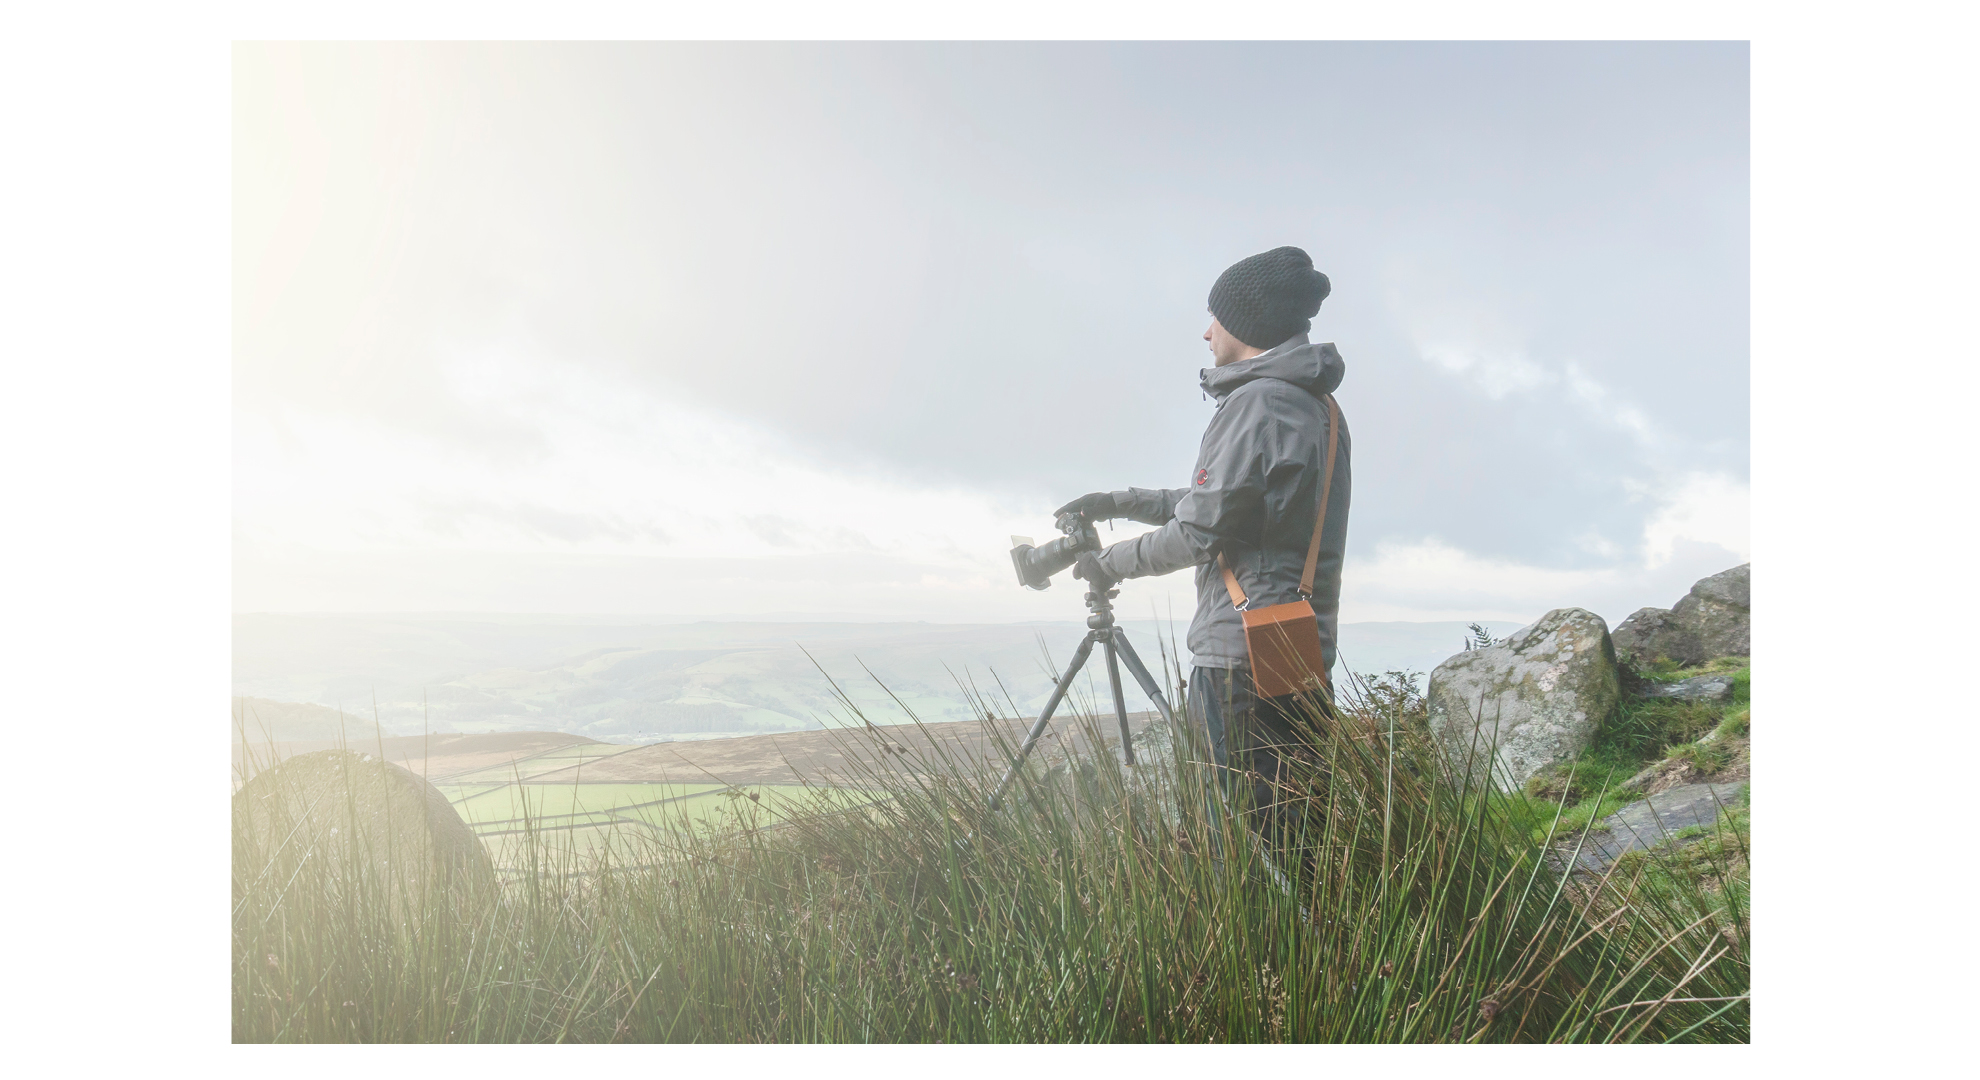
A tripod isn’t always essential, but during golden hour and in low light situations exposures will be too long for handholding the camera so a tripod is essential.
07 Choose your bag wisely
Your camera bag is just as important as your camera and lenses. Rear entry backpacks and those where kit can be accessed without putting them down are great options.
• Best camera bags for photographers
08 Less is more
It’s often tempting to carry everything on shoots, but being ruthless and only carrying your camera, a couple of lenses and essential accessories will save your back.
09 Gain control with filters
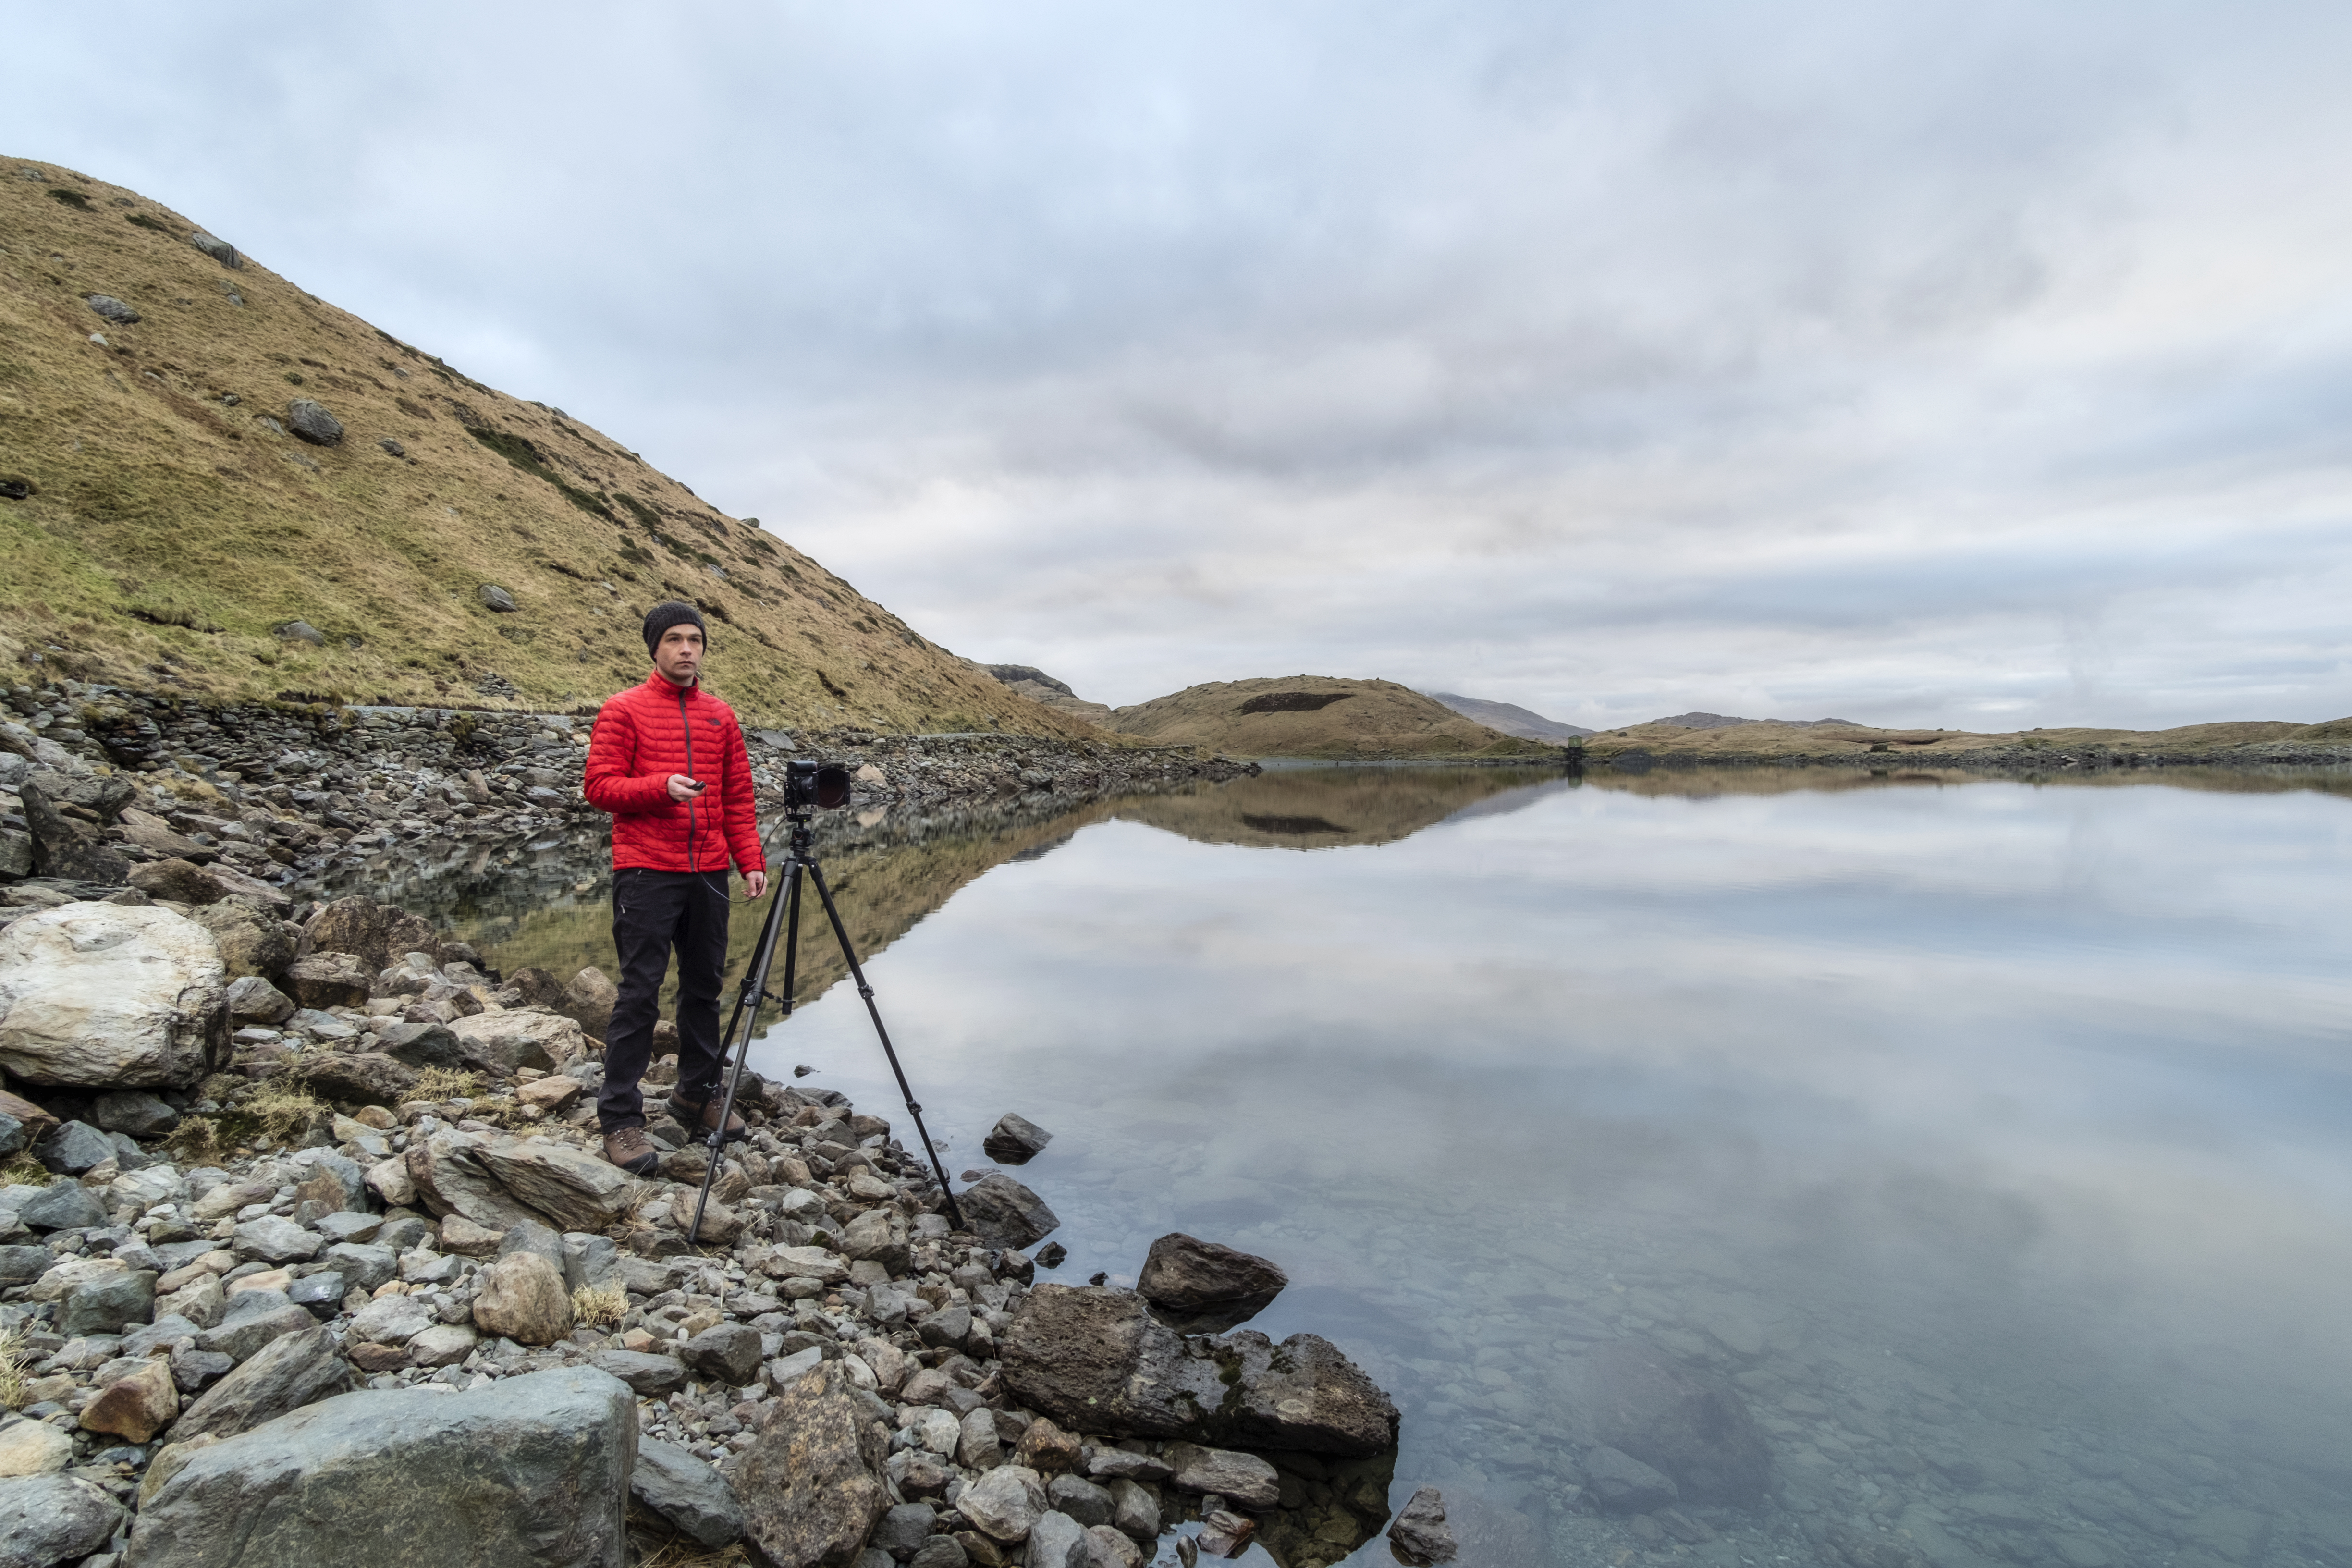
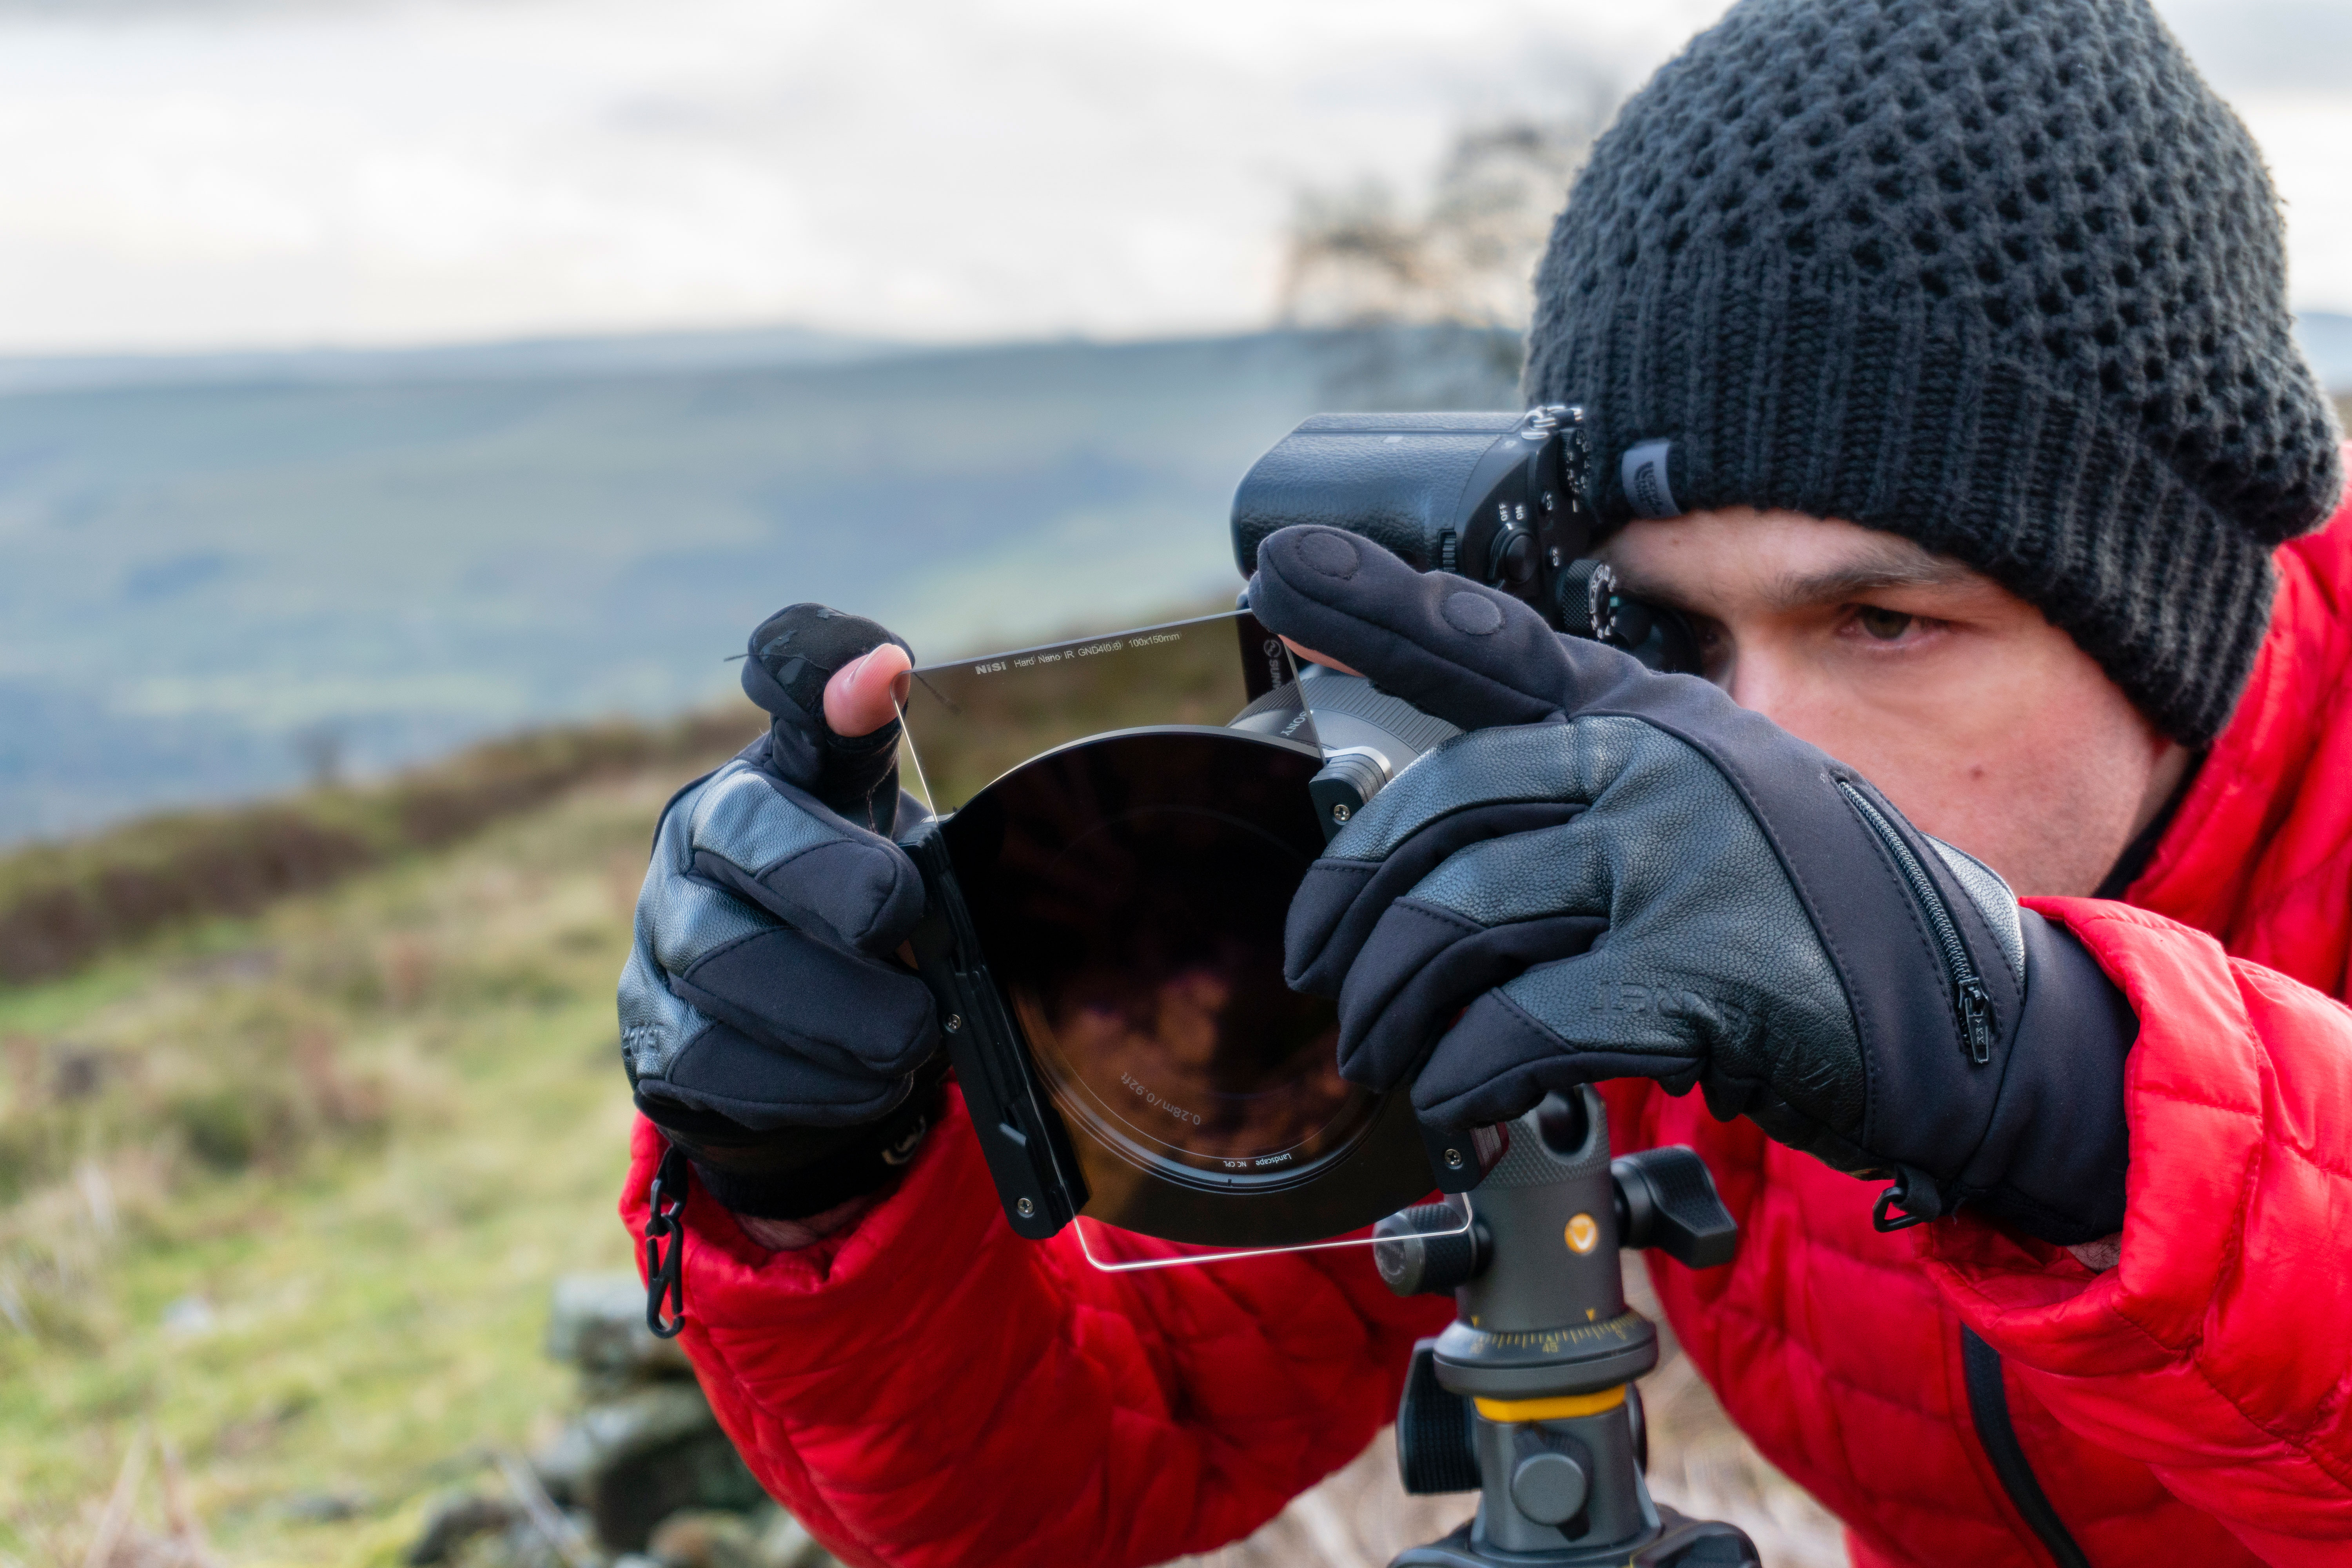
Filters are a landscape photographer’s best friend. A polarizer performs several functions, ND filters help to shoot longer exposures and ND grads help to maintain sky detail.
• Best filters for photography
10 Shoot wide open
We’re often told that landscapes need to be pin-sharp from the foreground interest all the way to the background.
This is indeed the best approach for many scenes, but it’s not the only way and shooting at the maximum aperture of your lens can produce interesting results in certain situations. By focusing on the focal point, you can allow the foreground to blur in a pleasing way which can help to add a sense of depth and three-dimensionality to the image.
The 20mm f/1.8 is a fantastic lens for shooting shallow depth-of-field landscapes. It’s also perfect for landscapes generally because of the wide field of view and the fact that they’re so small and lightweight. Not to mention, they’re also excellent for astrophotography so they’re hugely versatile.
11 Bad weather can be good weather
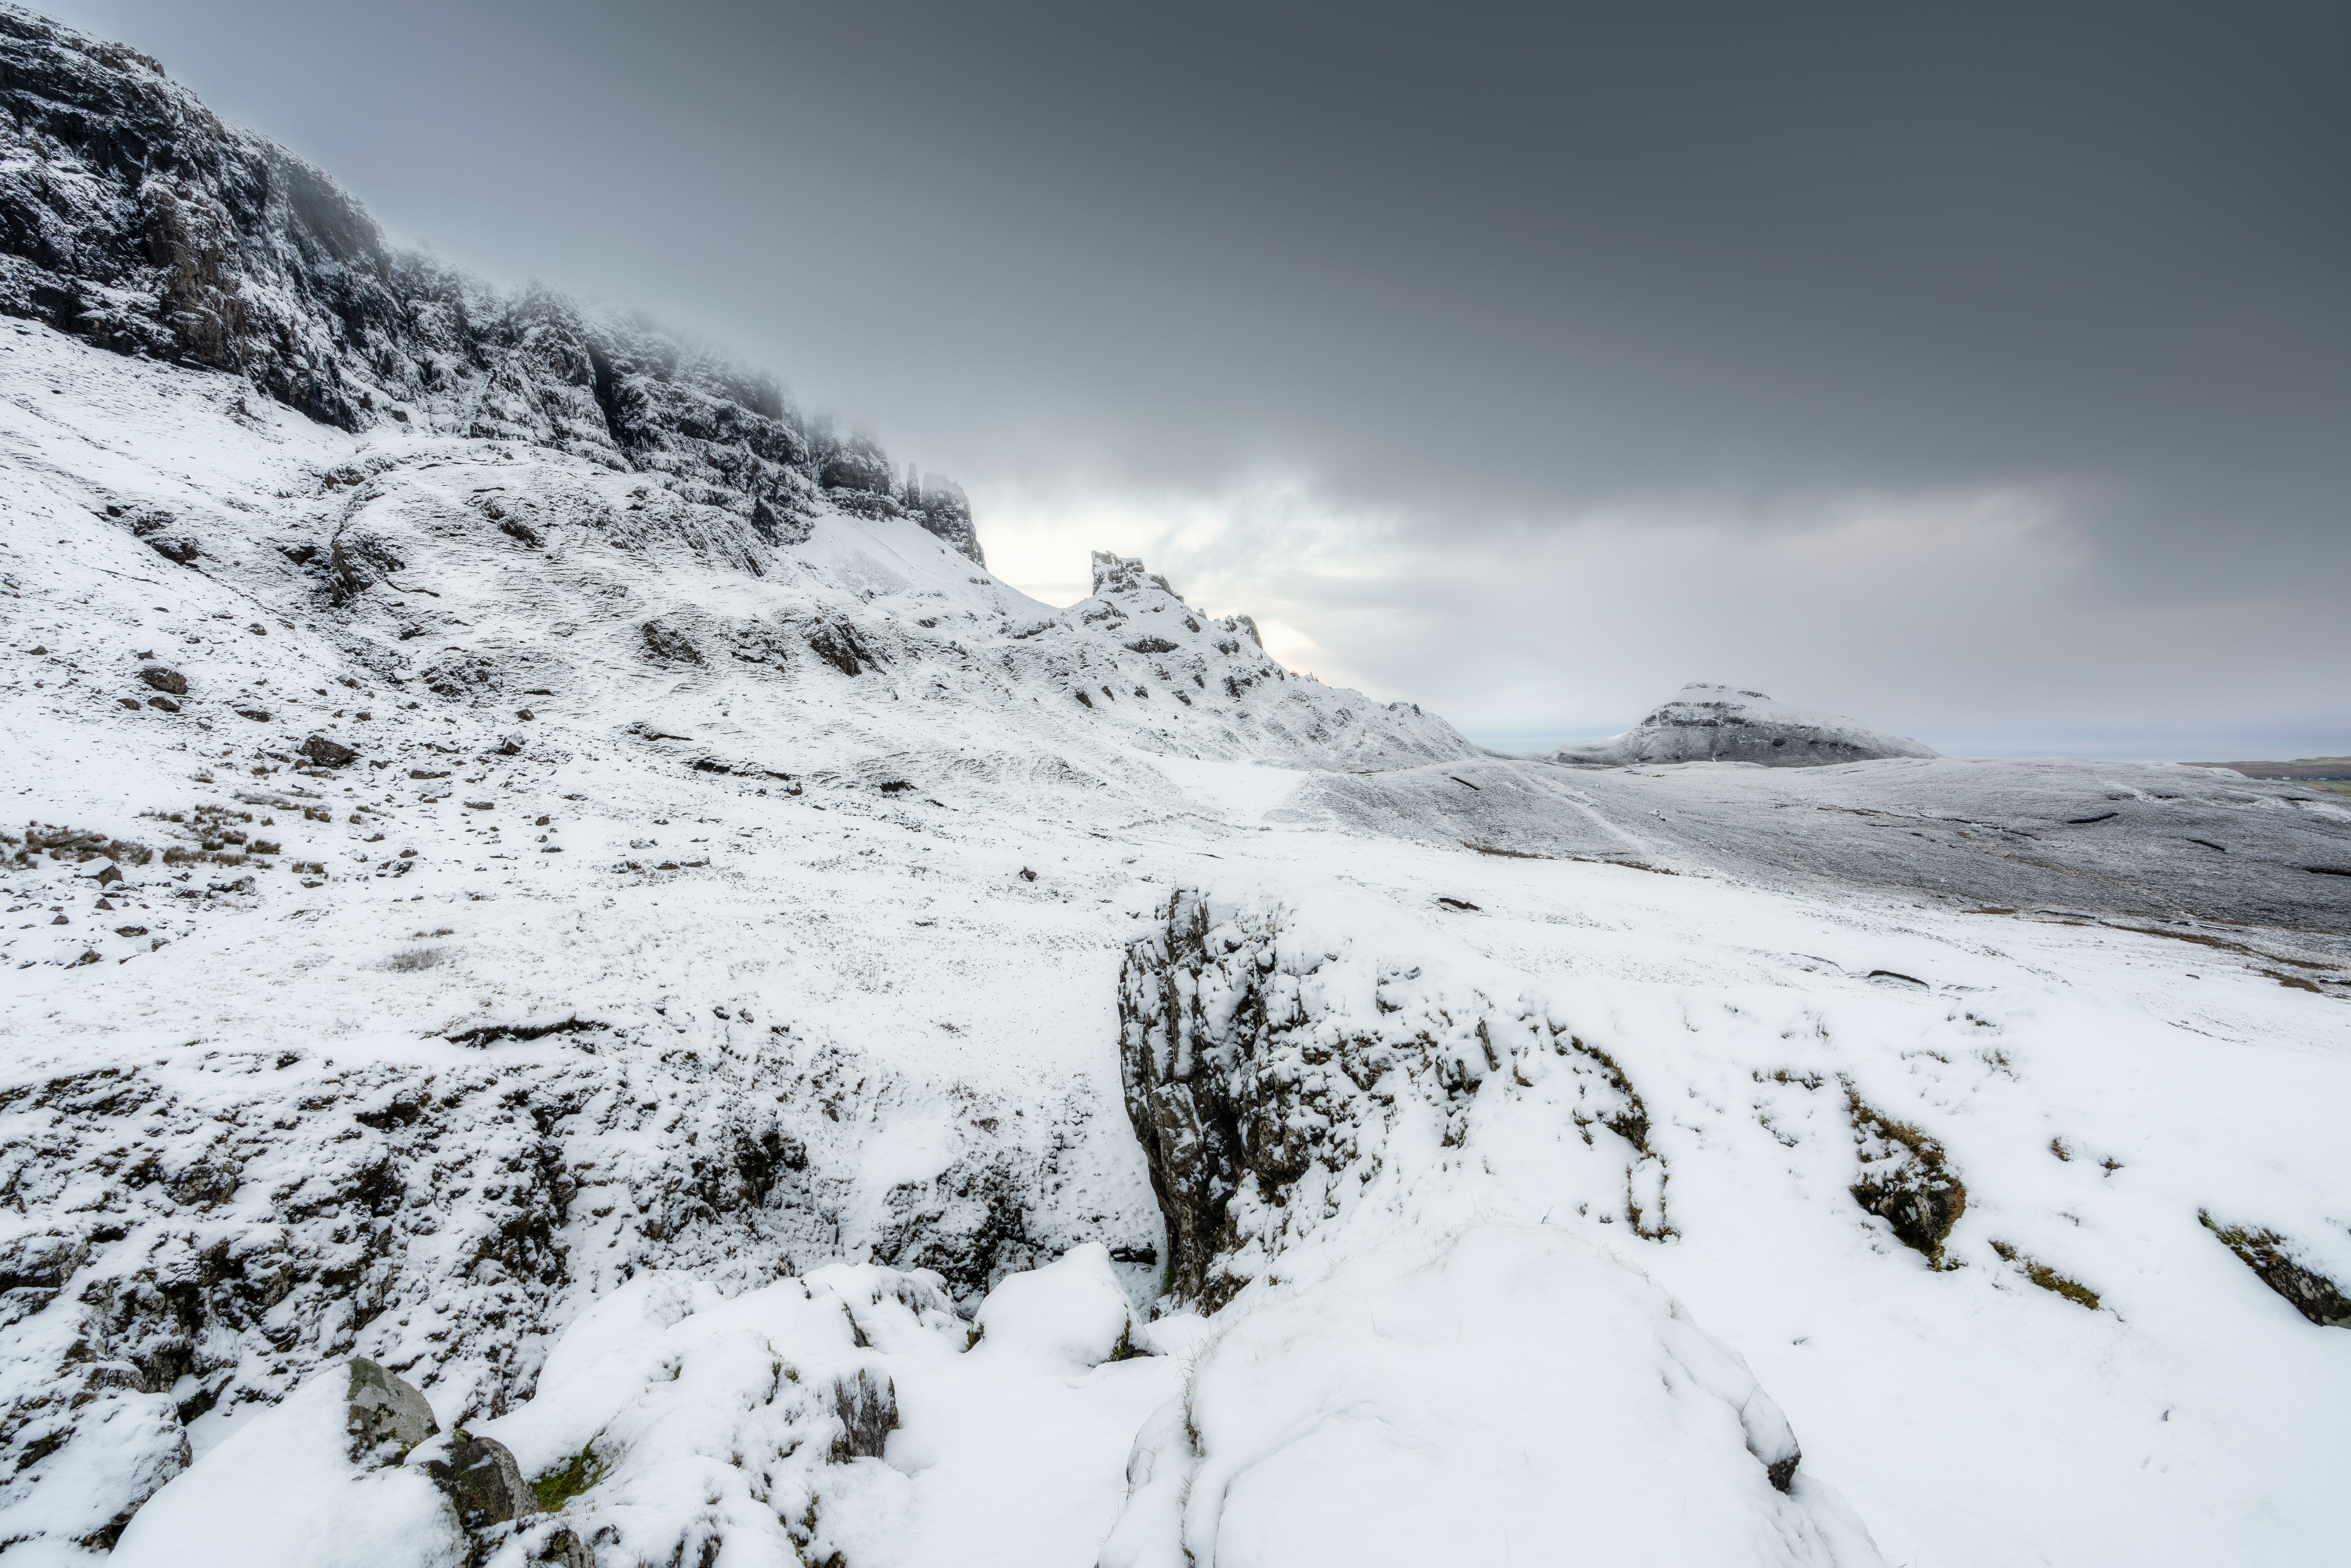
There’s almost no such thing as bad weather in landscape photography. Of course, when the weather forecast says it will be raining torrentially all day your chances of success are slim. But in changeable weather, the point of change between stormy and fine weather can produce some of the most dramatic results.
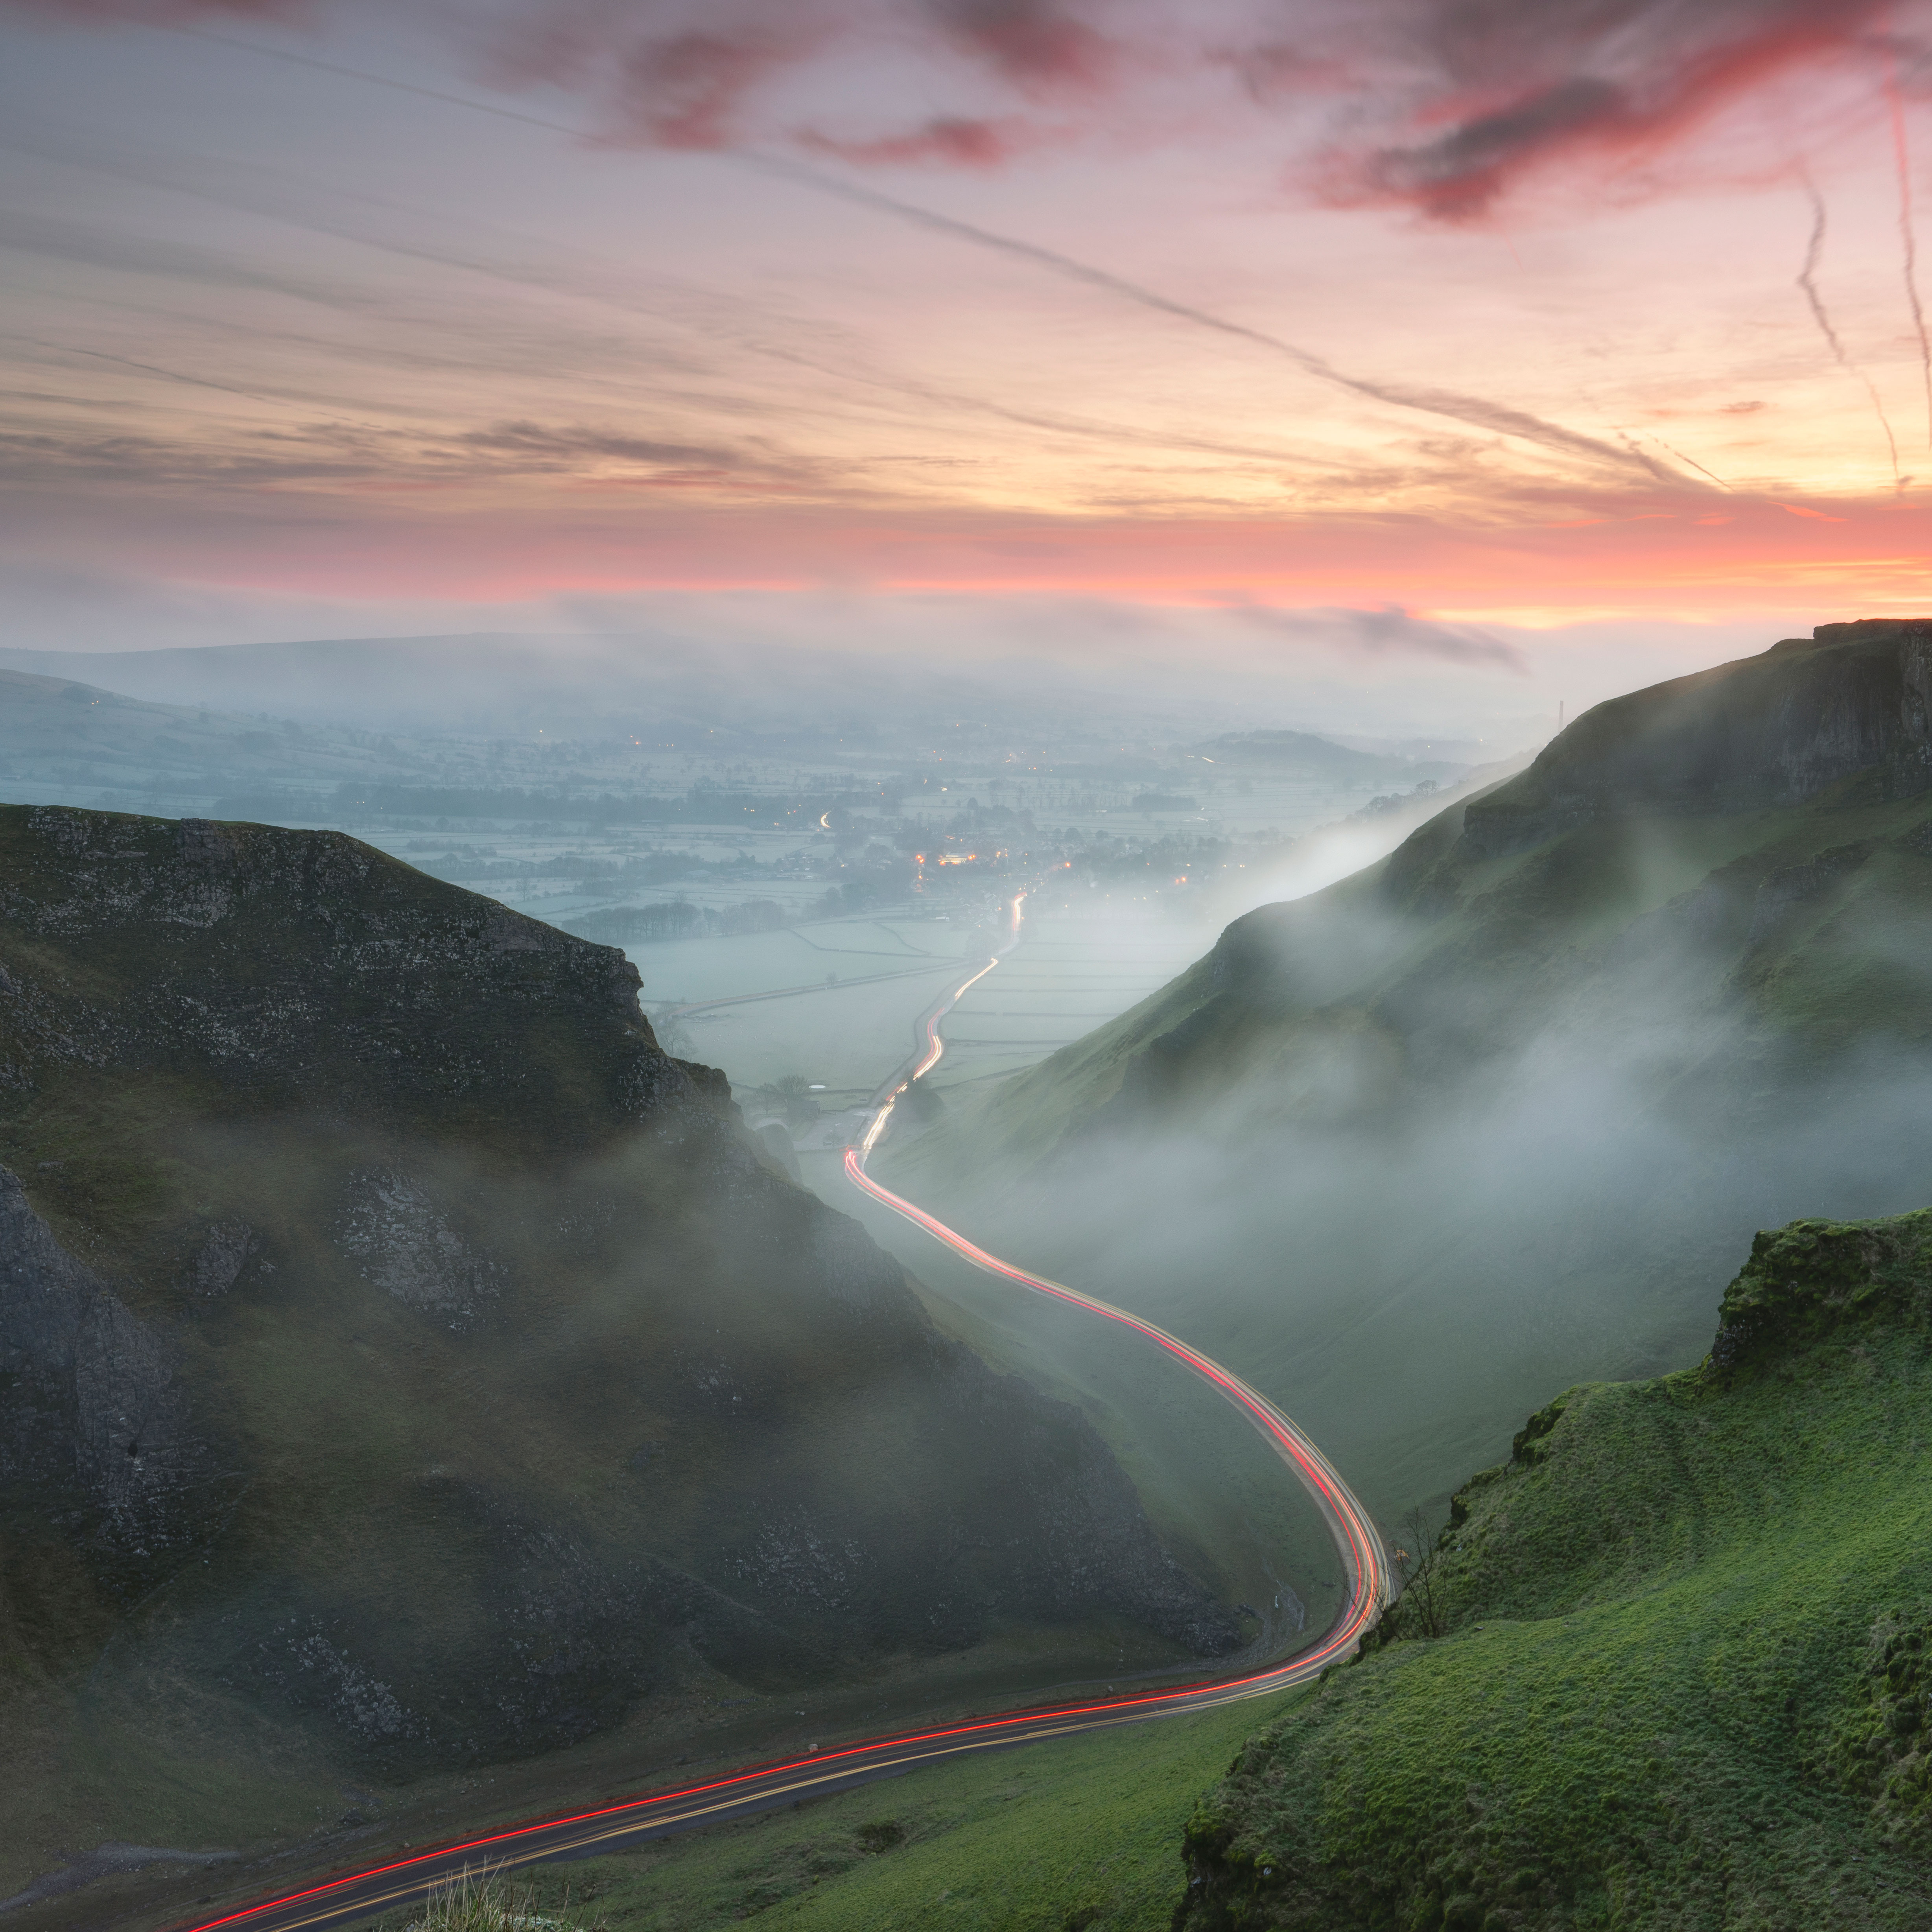
This image was taken at sunrise as a snowstorm started to blow over the camera and towards the horizon. If it wasn’t for the bright light out to sea on the horizon the image would be extremely dull, but the combination of the light and moodiness helped to make the shot work.
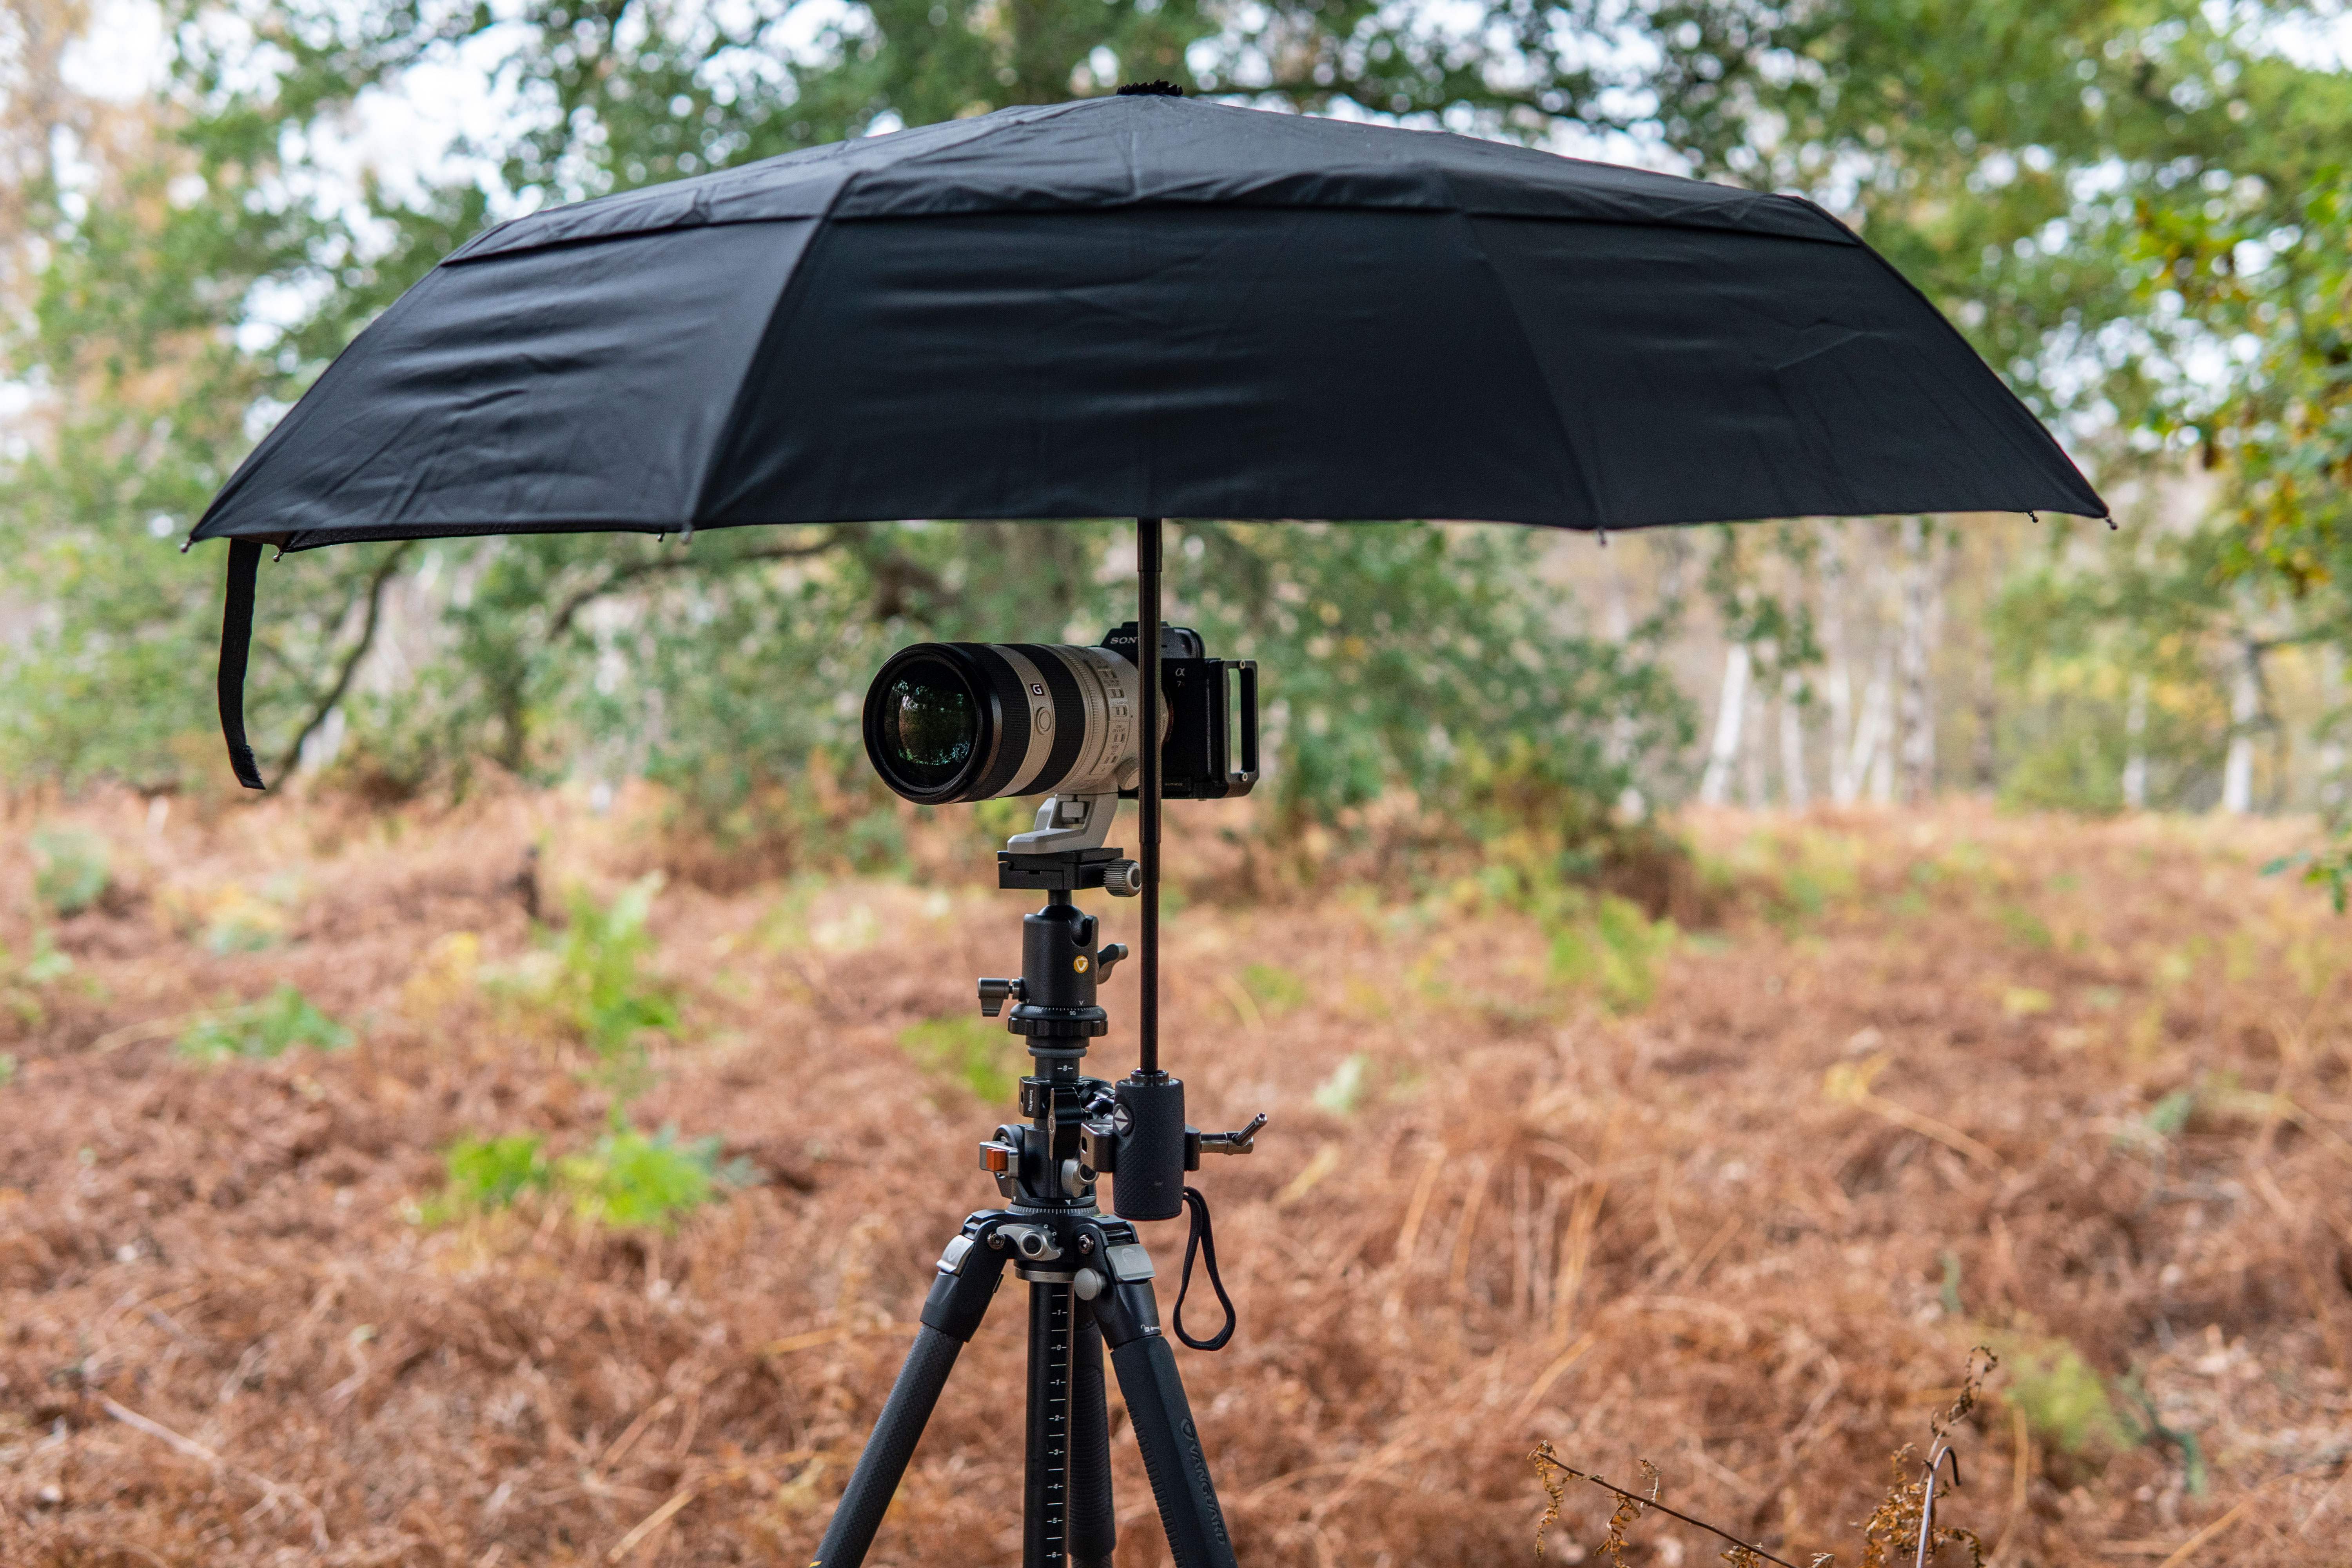
12 Carry an umbrella and clamps
Putting your kit away when it starts to rain can be a hassle, so one way around this is to carry an umbrella and attach it to your tripod with a clamp. Just make sure it doesn’t get blown over!
13 Arrive early, leave late
The point at which the sun passes the horizon isn’t necessarily the best time to shoot. Aim to be on location an hour before sunrise and up to an hour after sunset to enjoy many more opportunities.
14 Do it for yourself
Shoot the kinds of landscape images you enjoy purely for your own enjoyment. It’s easy to say, but don’t get caught up in the quest for likes on social media because these aren’t important.
15 Forget about gear
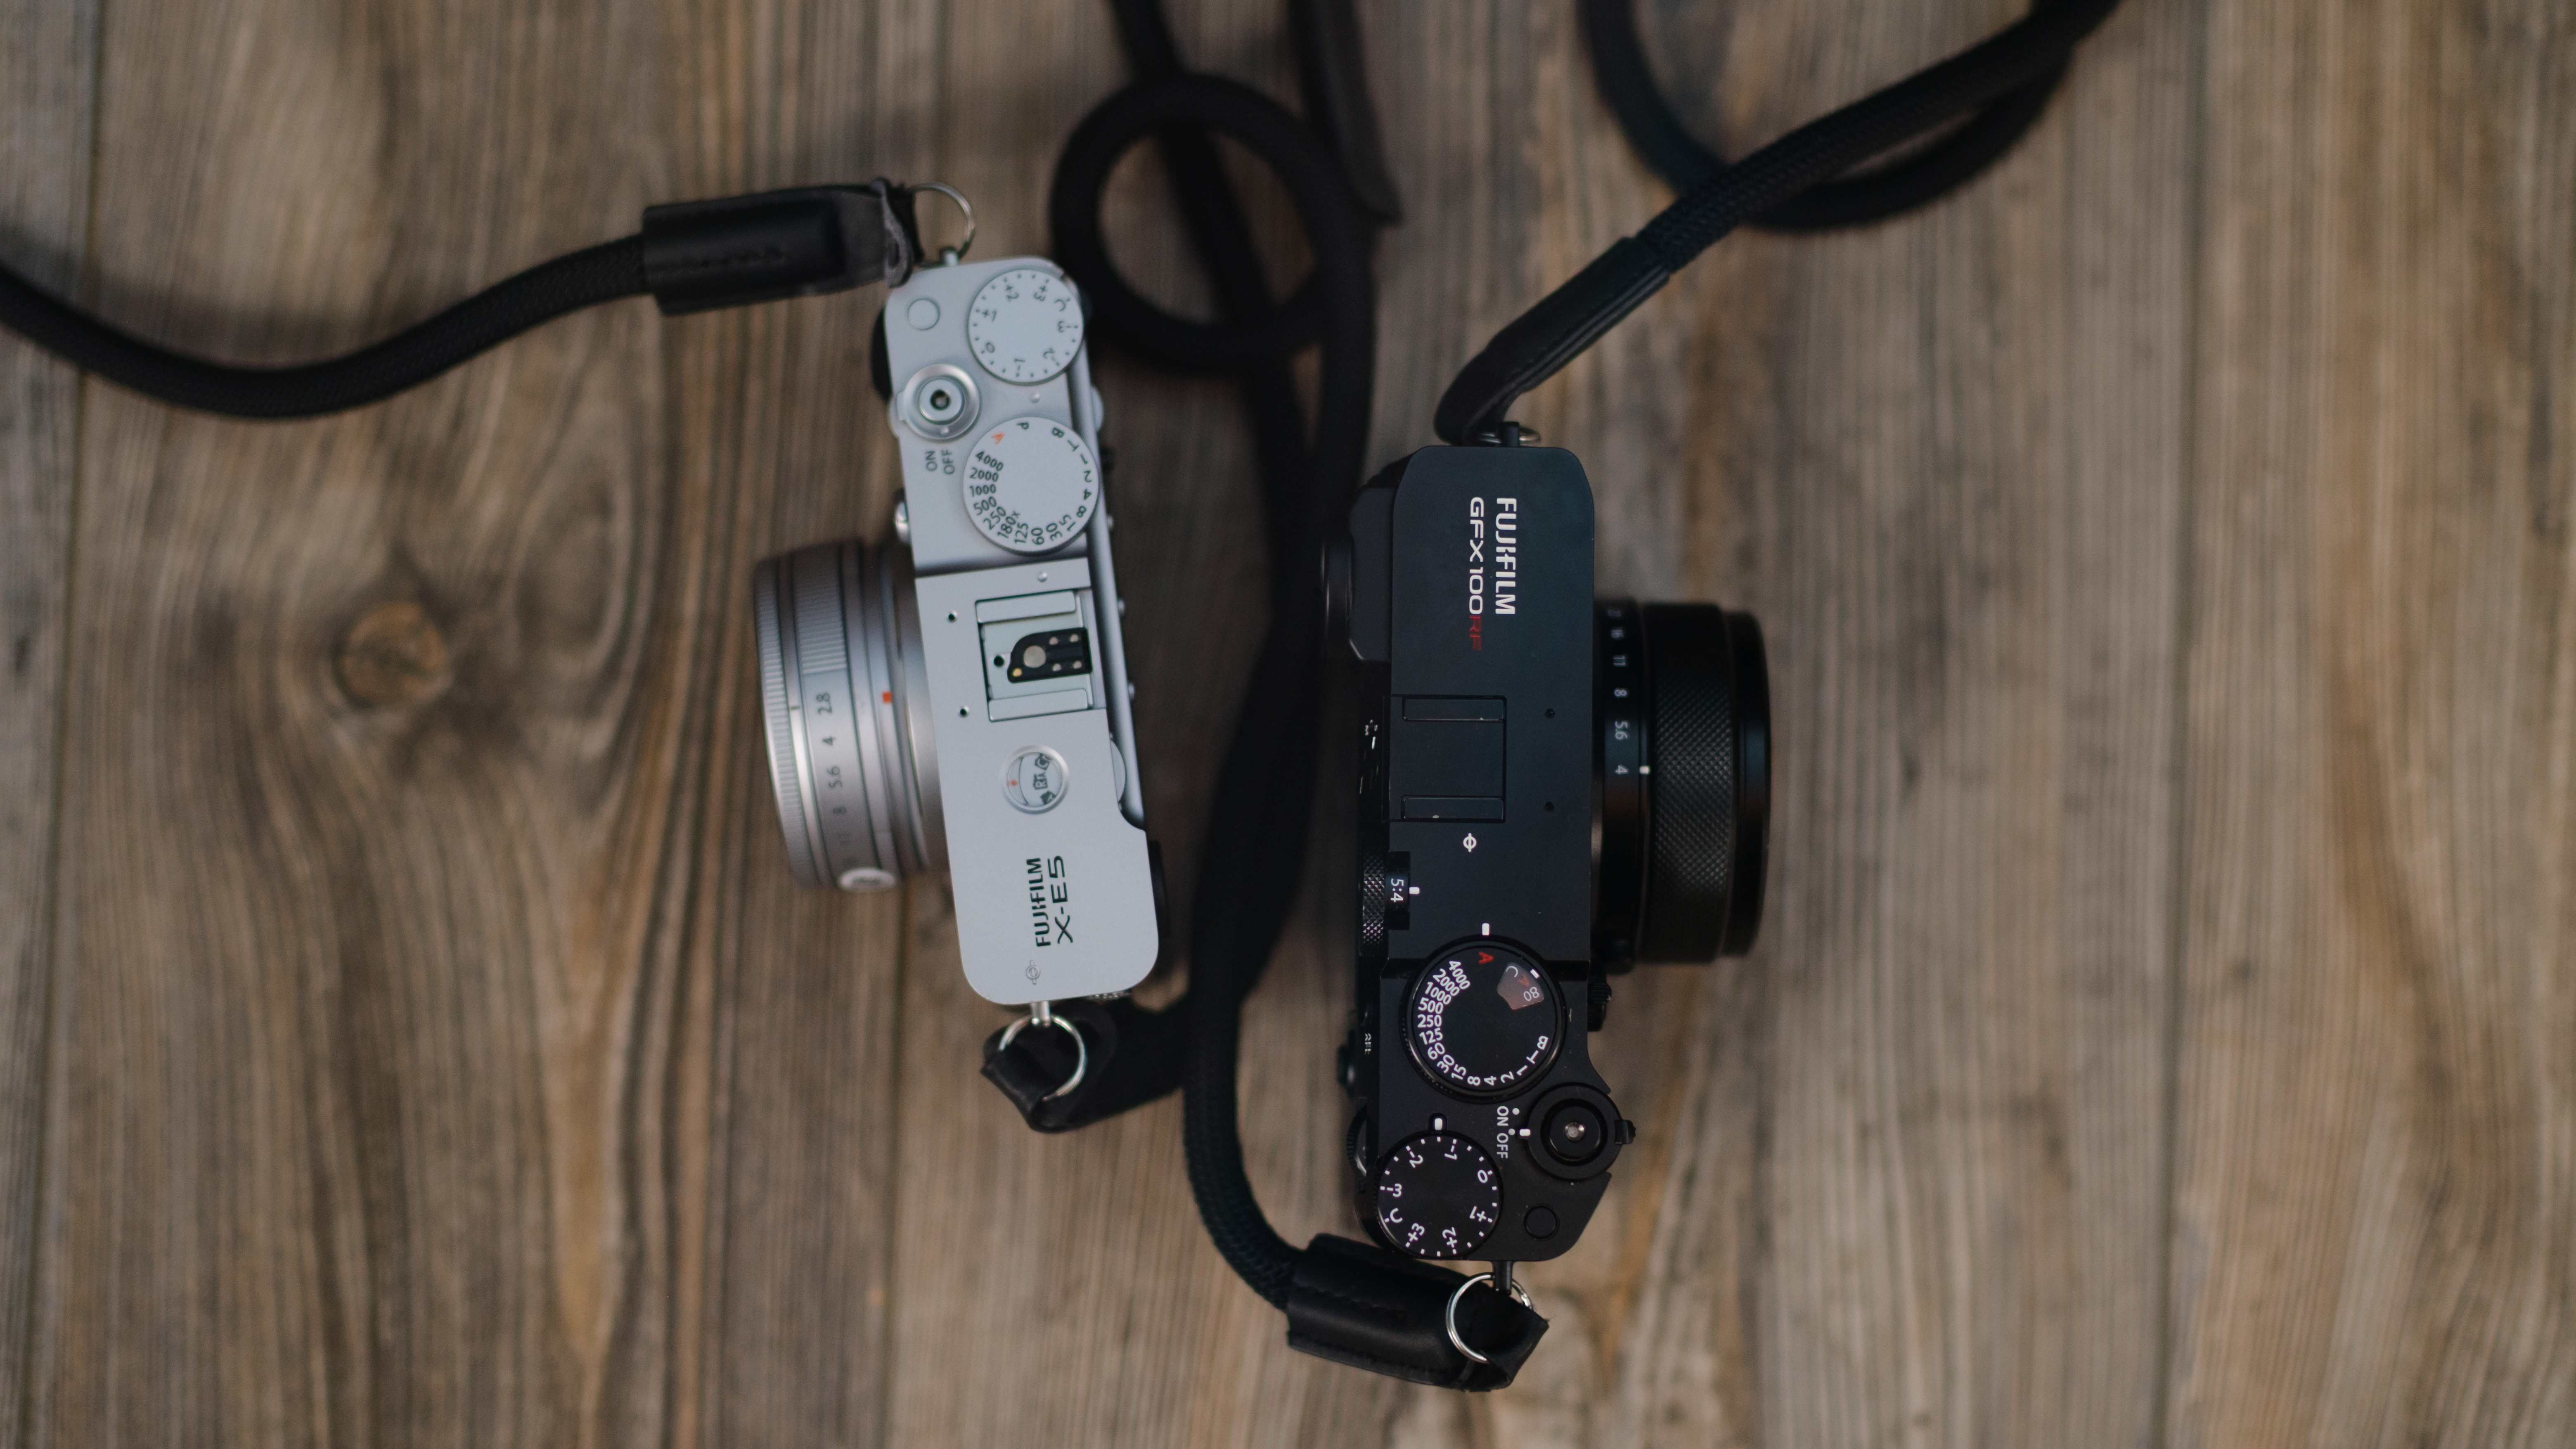
Getting new gear is always exciting, but it won’t necessarily guarantee better landscape images. Focus on what you have and overcome limitations that can lead to highly creative workarounds.
16 Shoot as often as possible
You know what they say, practice makes perfect. Shoot as often as possible to refine your skills, hone your eye, learn to work more efficiently and get to know your kit inside out.
17 Take a workshop
Taking a group or one-to-one workshop with a professional photographer you admire is the perfect way to improve your skills. What’s more, you’ll be able to pick up skills unique to that photographer.
18 Take risks and break the rules
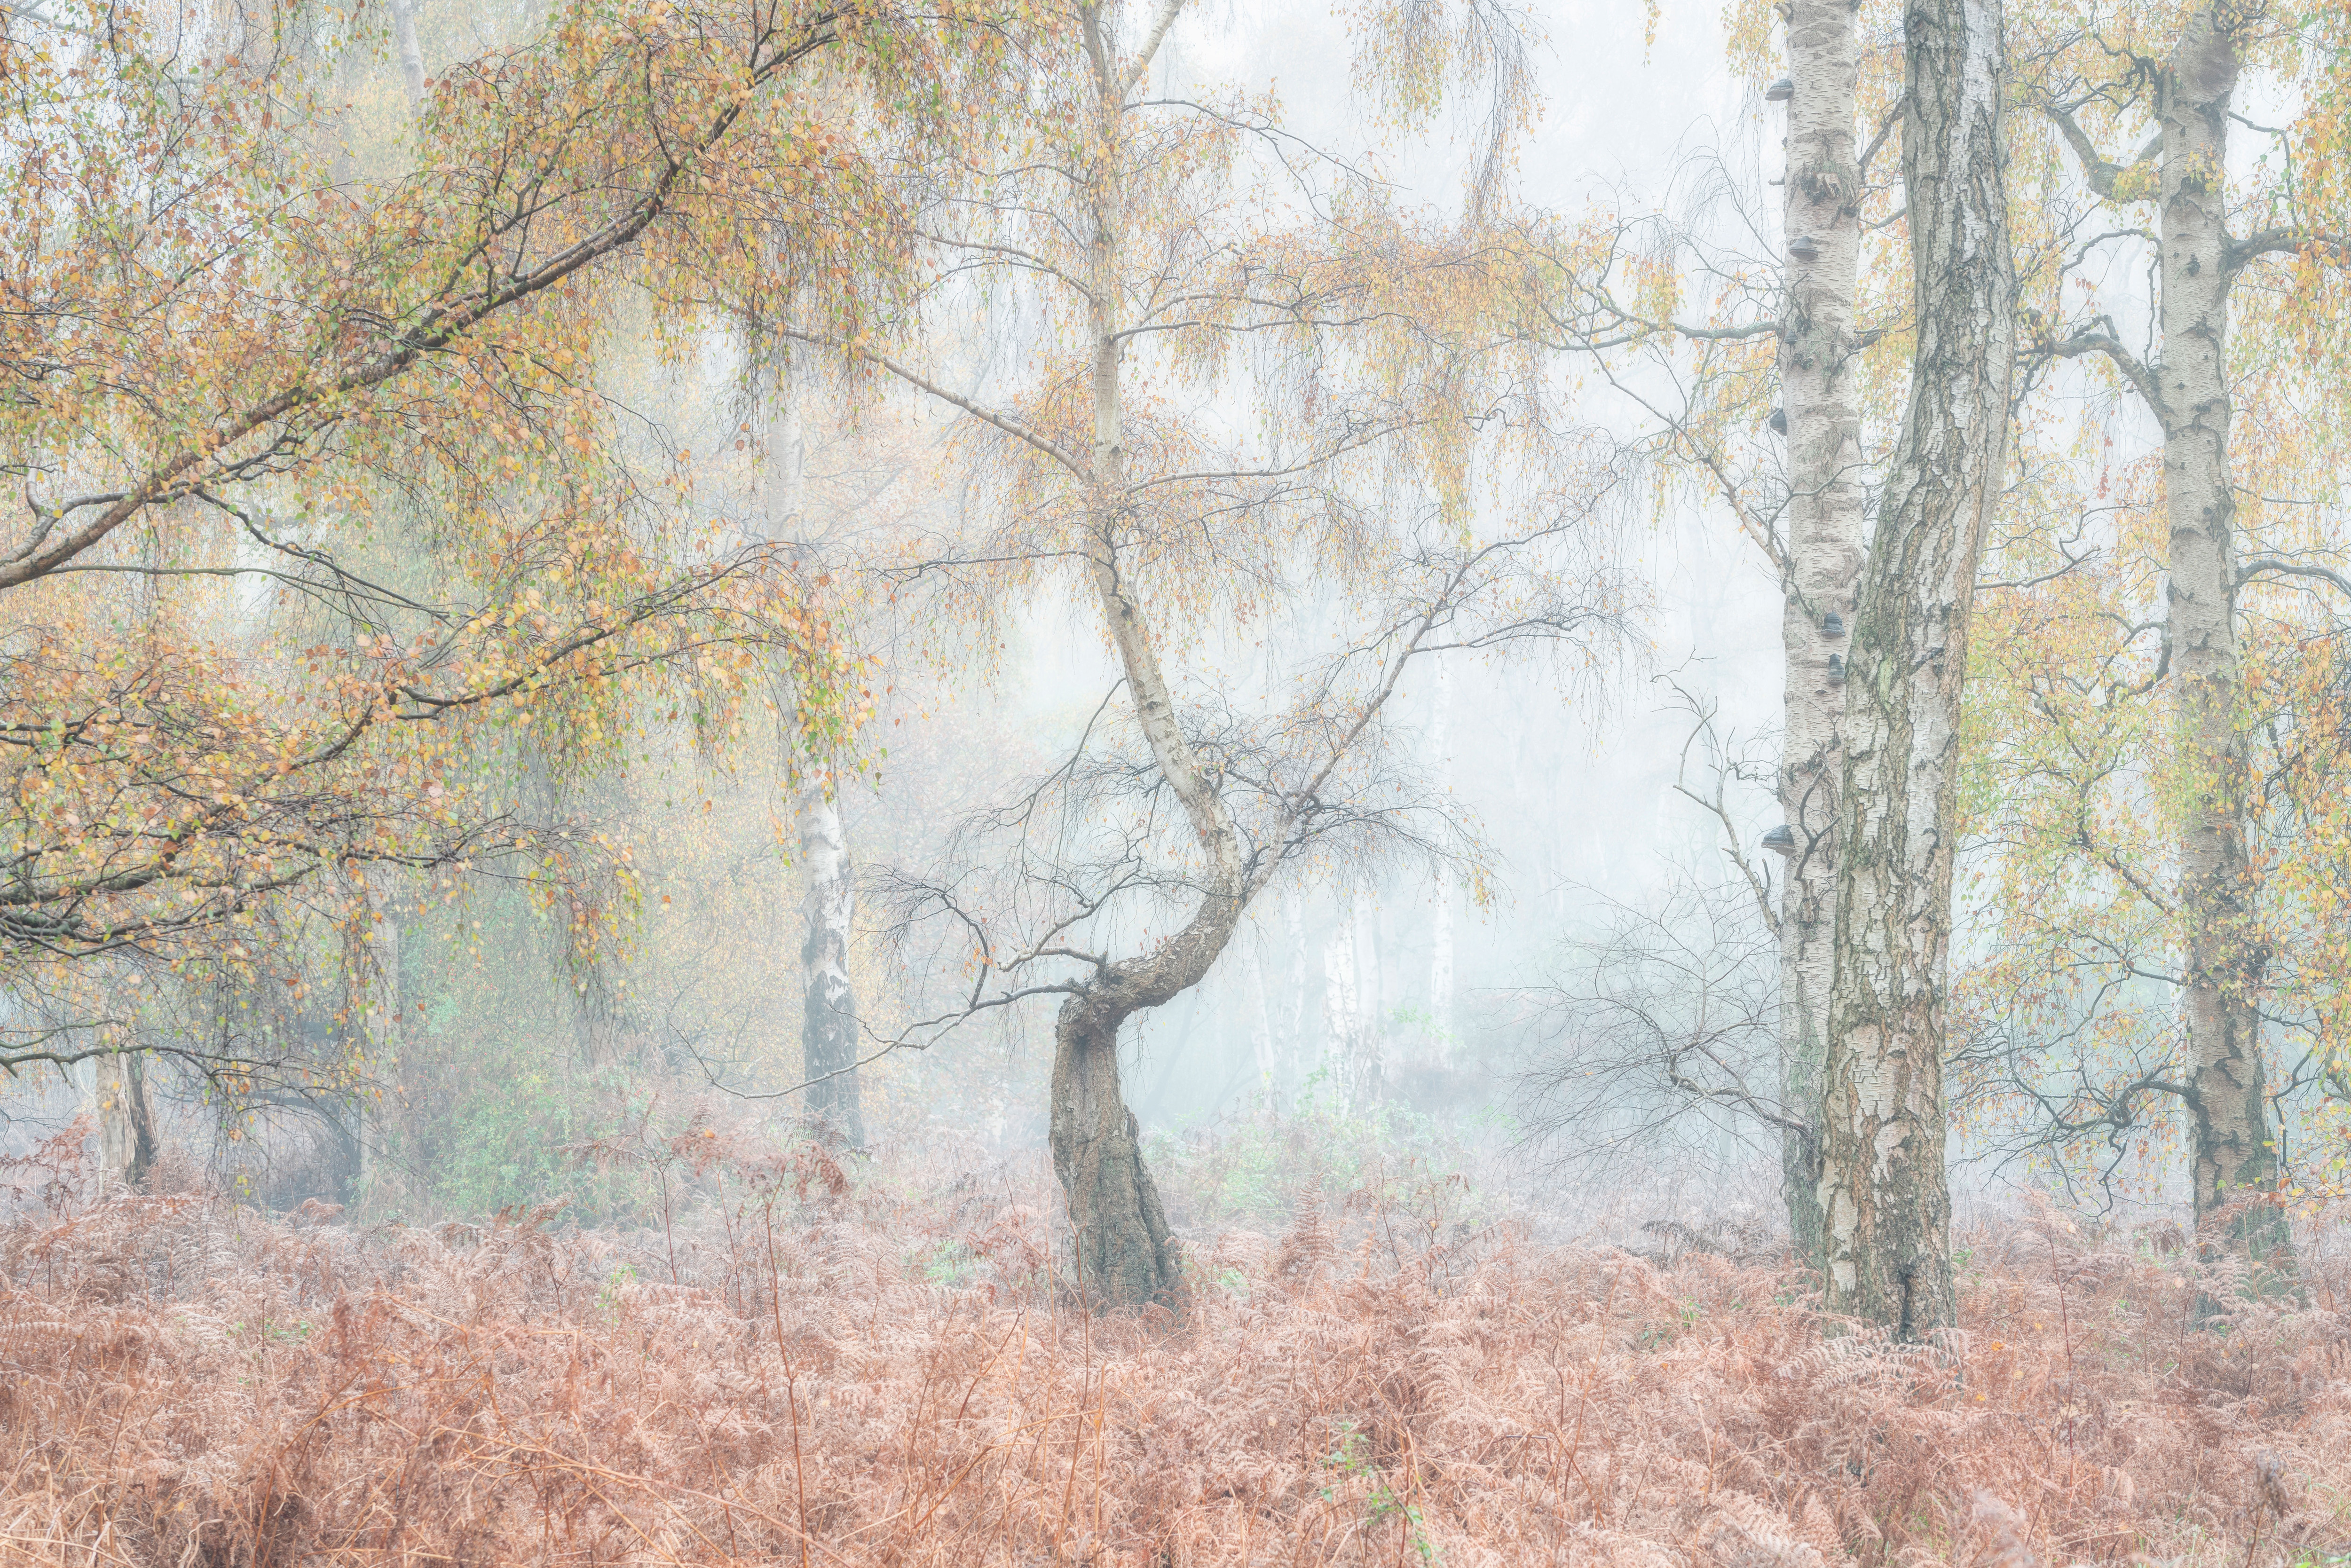
The rules of composition are a guide rather than a law that you must always adhere to. But before you begin experimenting with weird and wonderful compositions that go against these rules, make sure that you understand how and why they’re so effective in the majority of situations. Once you’re confident with the rules, you can then break them meaningfully, and indeed creatively, rather than accidentally.
The same goes for camera settings such as shutter speed and aperture; certain types of landscape images typically use specific settings, but that doesn’t mean you have to slavishly follow them once you understand why they’re used.
19 Explore viewpoint
Not all shots are best taken from head height, so before setting up your tripod try different viewpoints around your main subject including different heights from ground level to head height, and in between. Exploring the possibilities will help you to shoot the most interesting shots possible.
20 Capture details
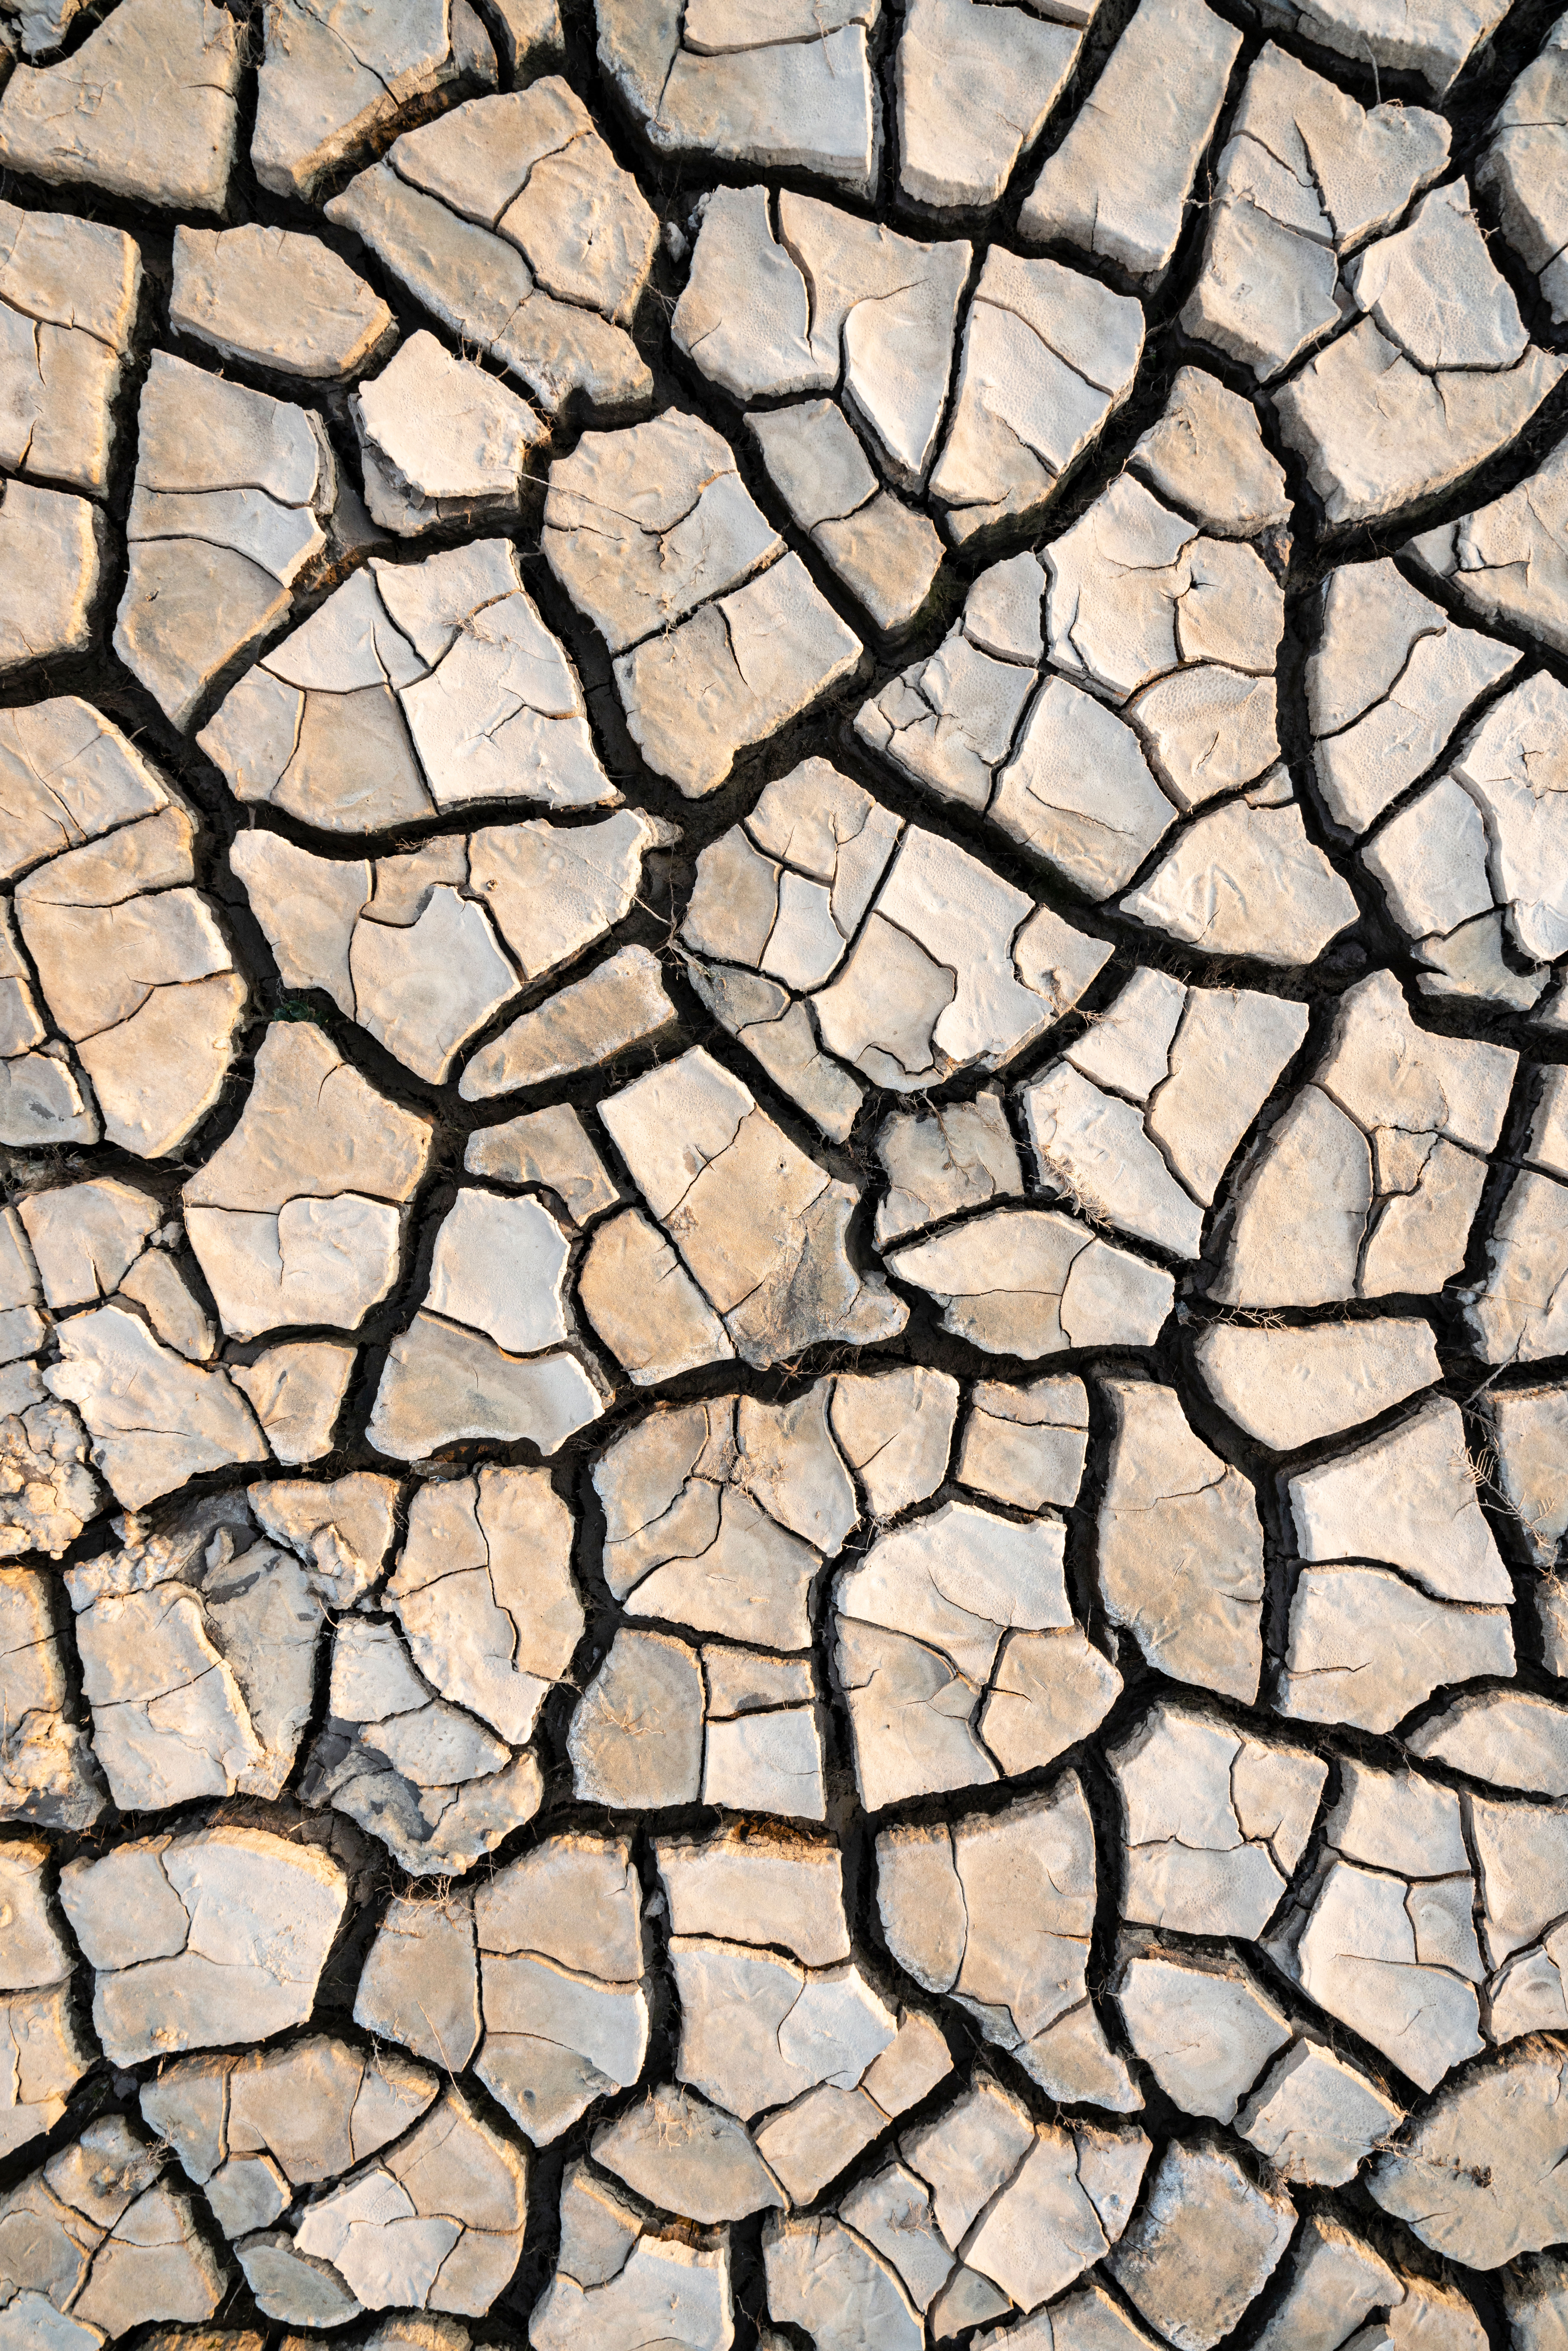
The wider scene is most often the main reason you visit any location, but while waiting for the optimal light for your main shot look for interesting details. Whether cracked earth, rocks, seaweed or moss-covered drystone walls, there’s so much more to locations than just scenic images.
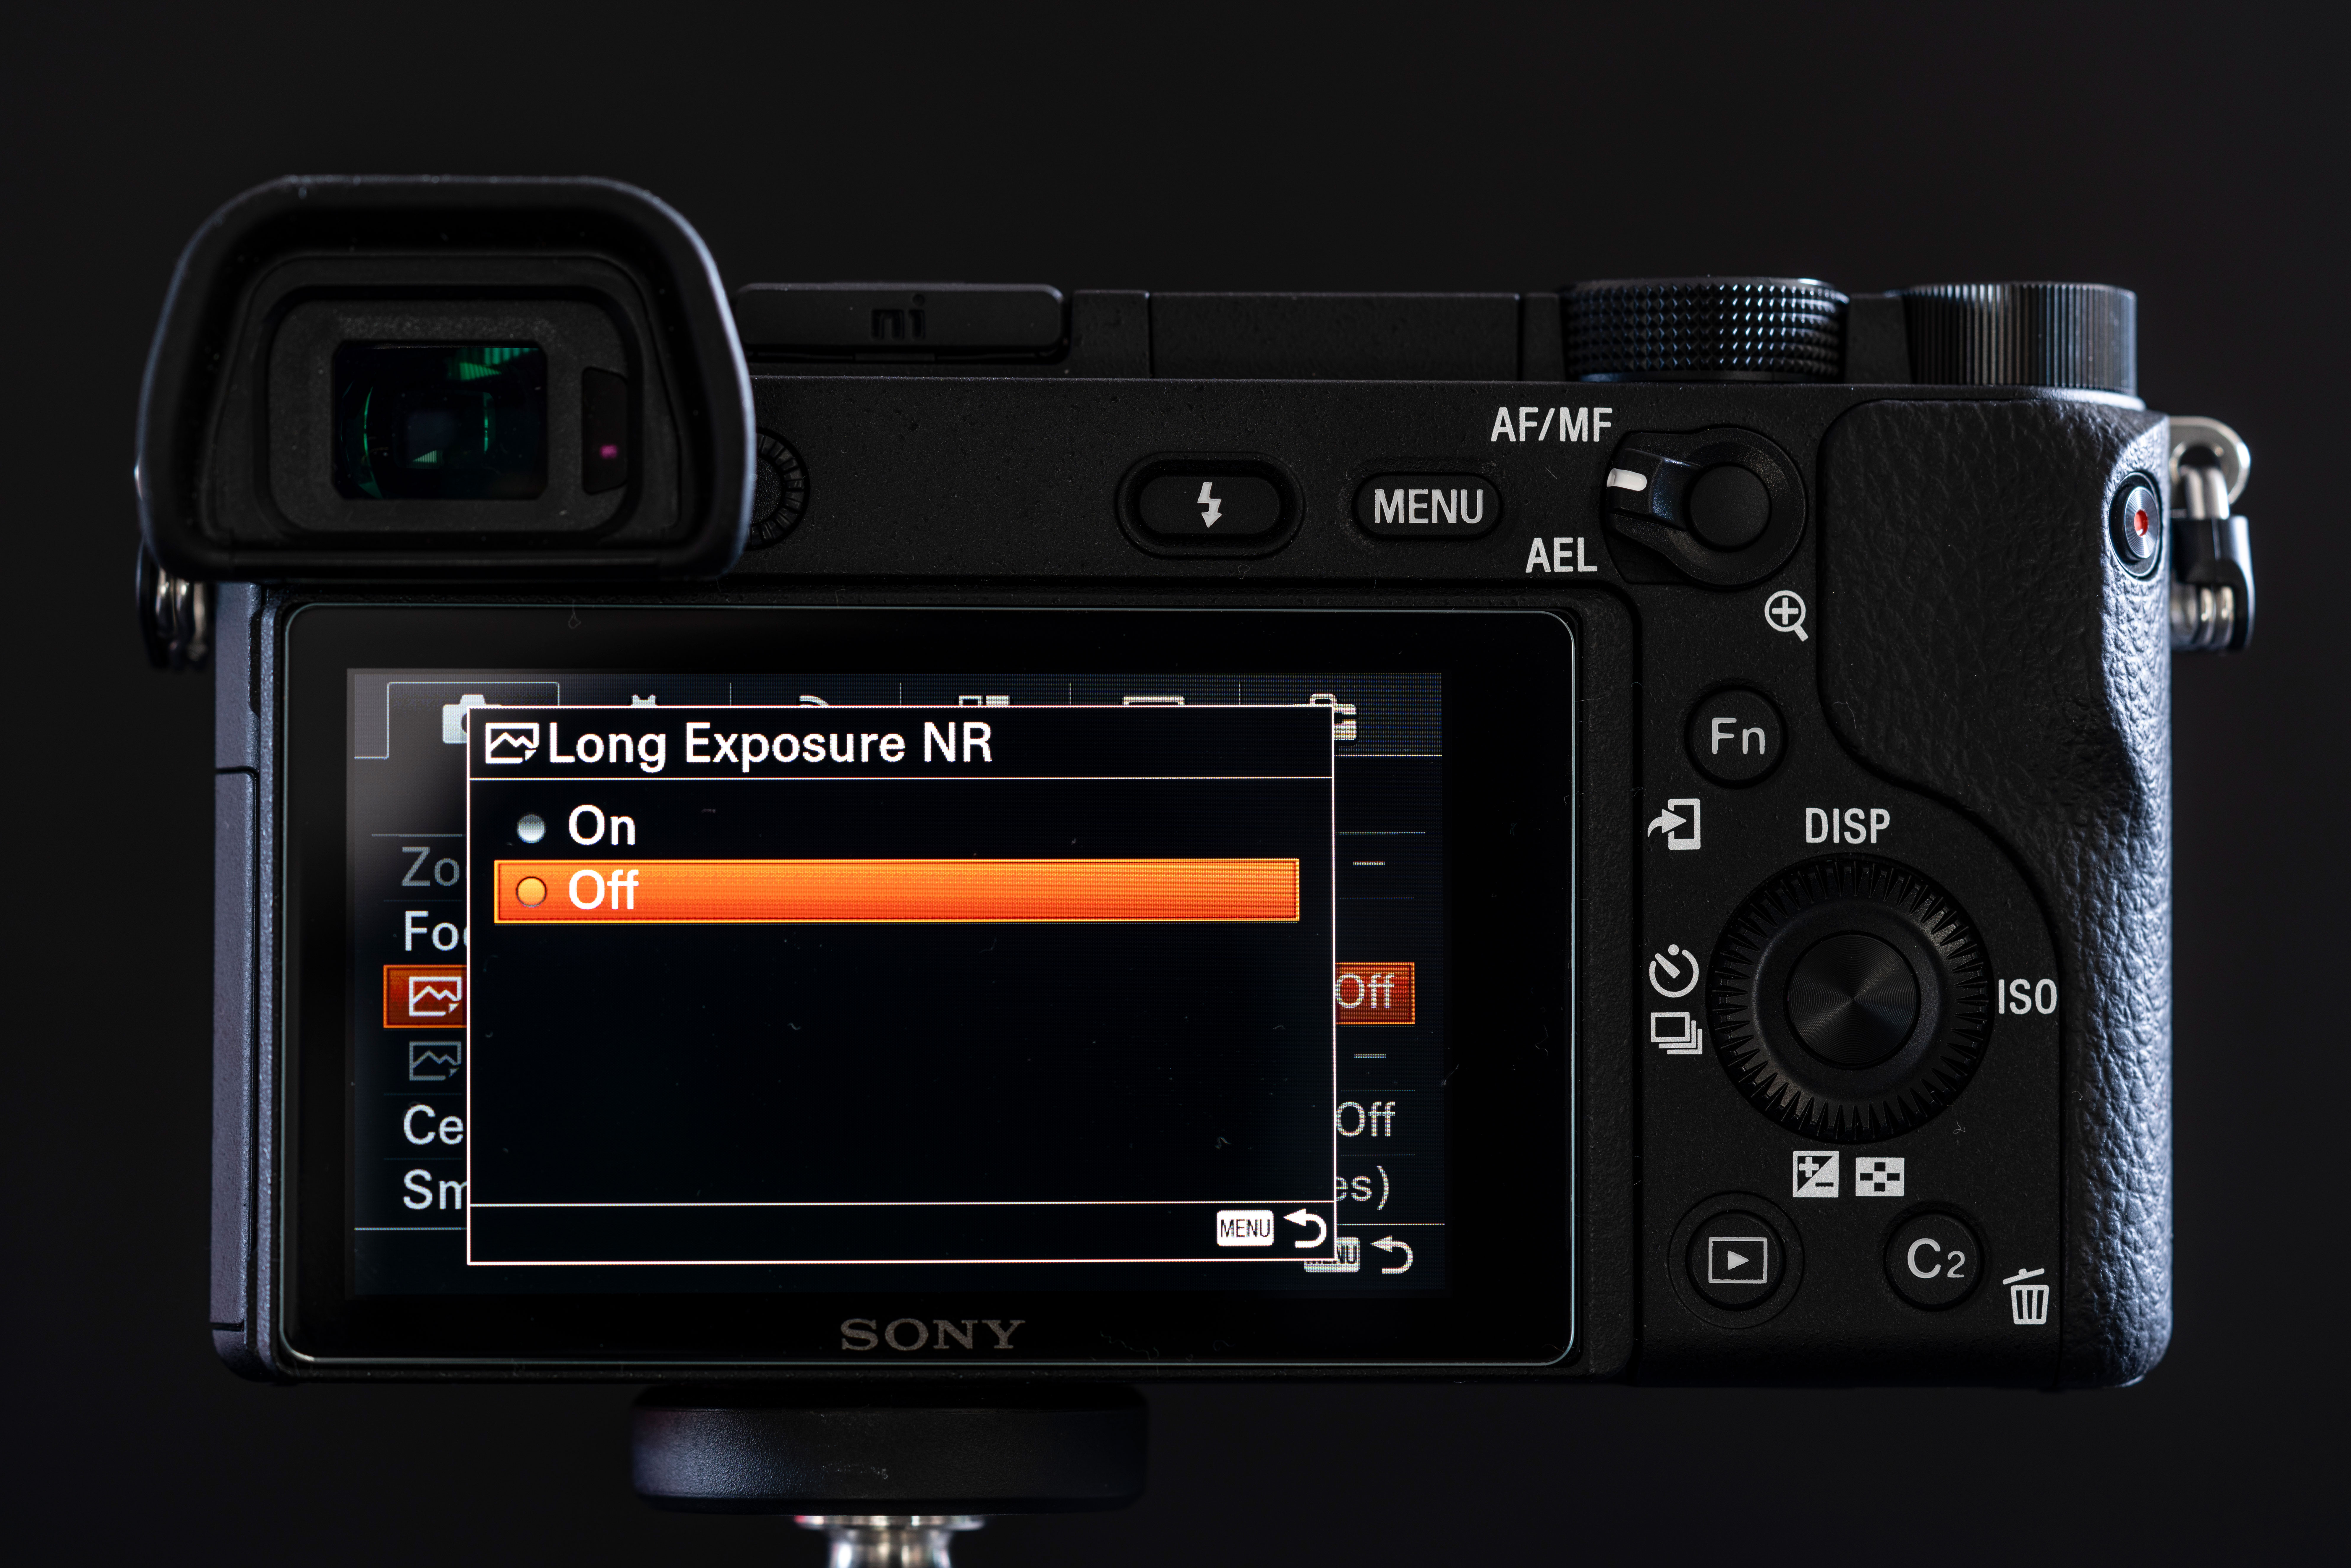
21 Turn off noise reduction
Long exposure noise reduction is often turned on by default, but when you’re shooting in Raw there’s no need to have it switched on because you can apply noise reduction during post-processing. The problem with long exposure noise reduction is that it takes as long as the exposure to process, so a two-minute exposure will require two minutes of in-camera processing.
22 Try a telephoto lens
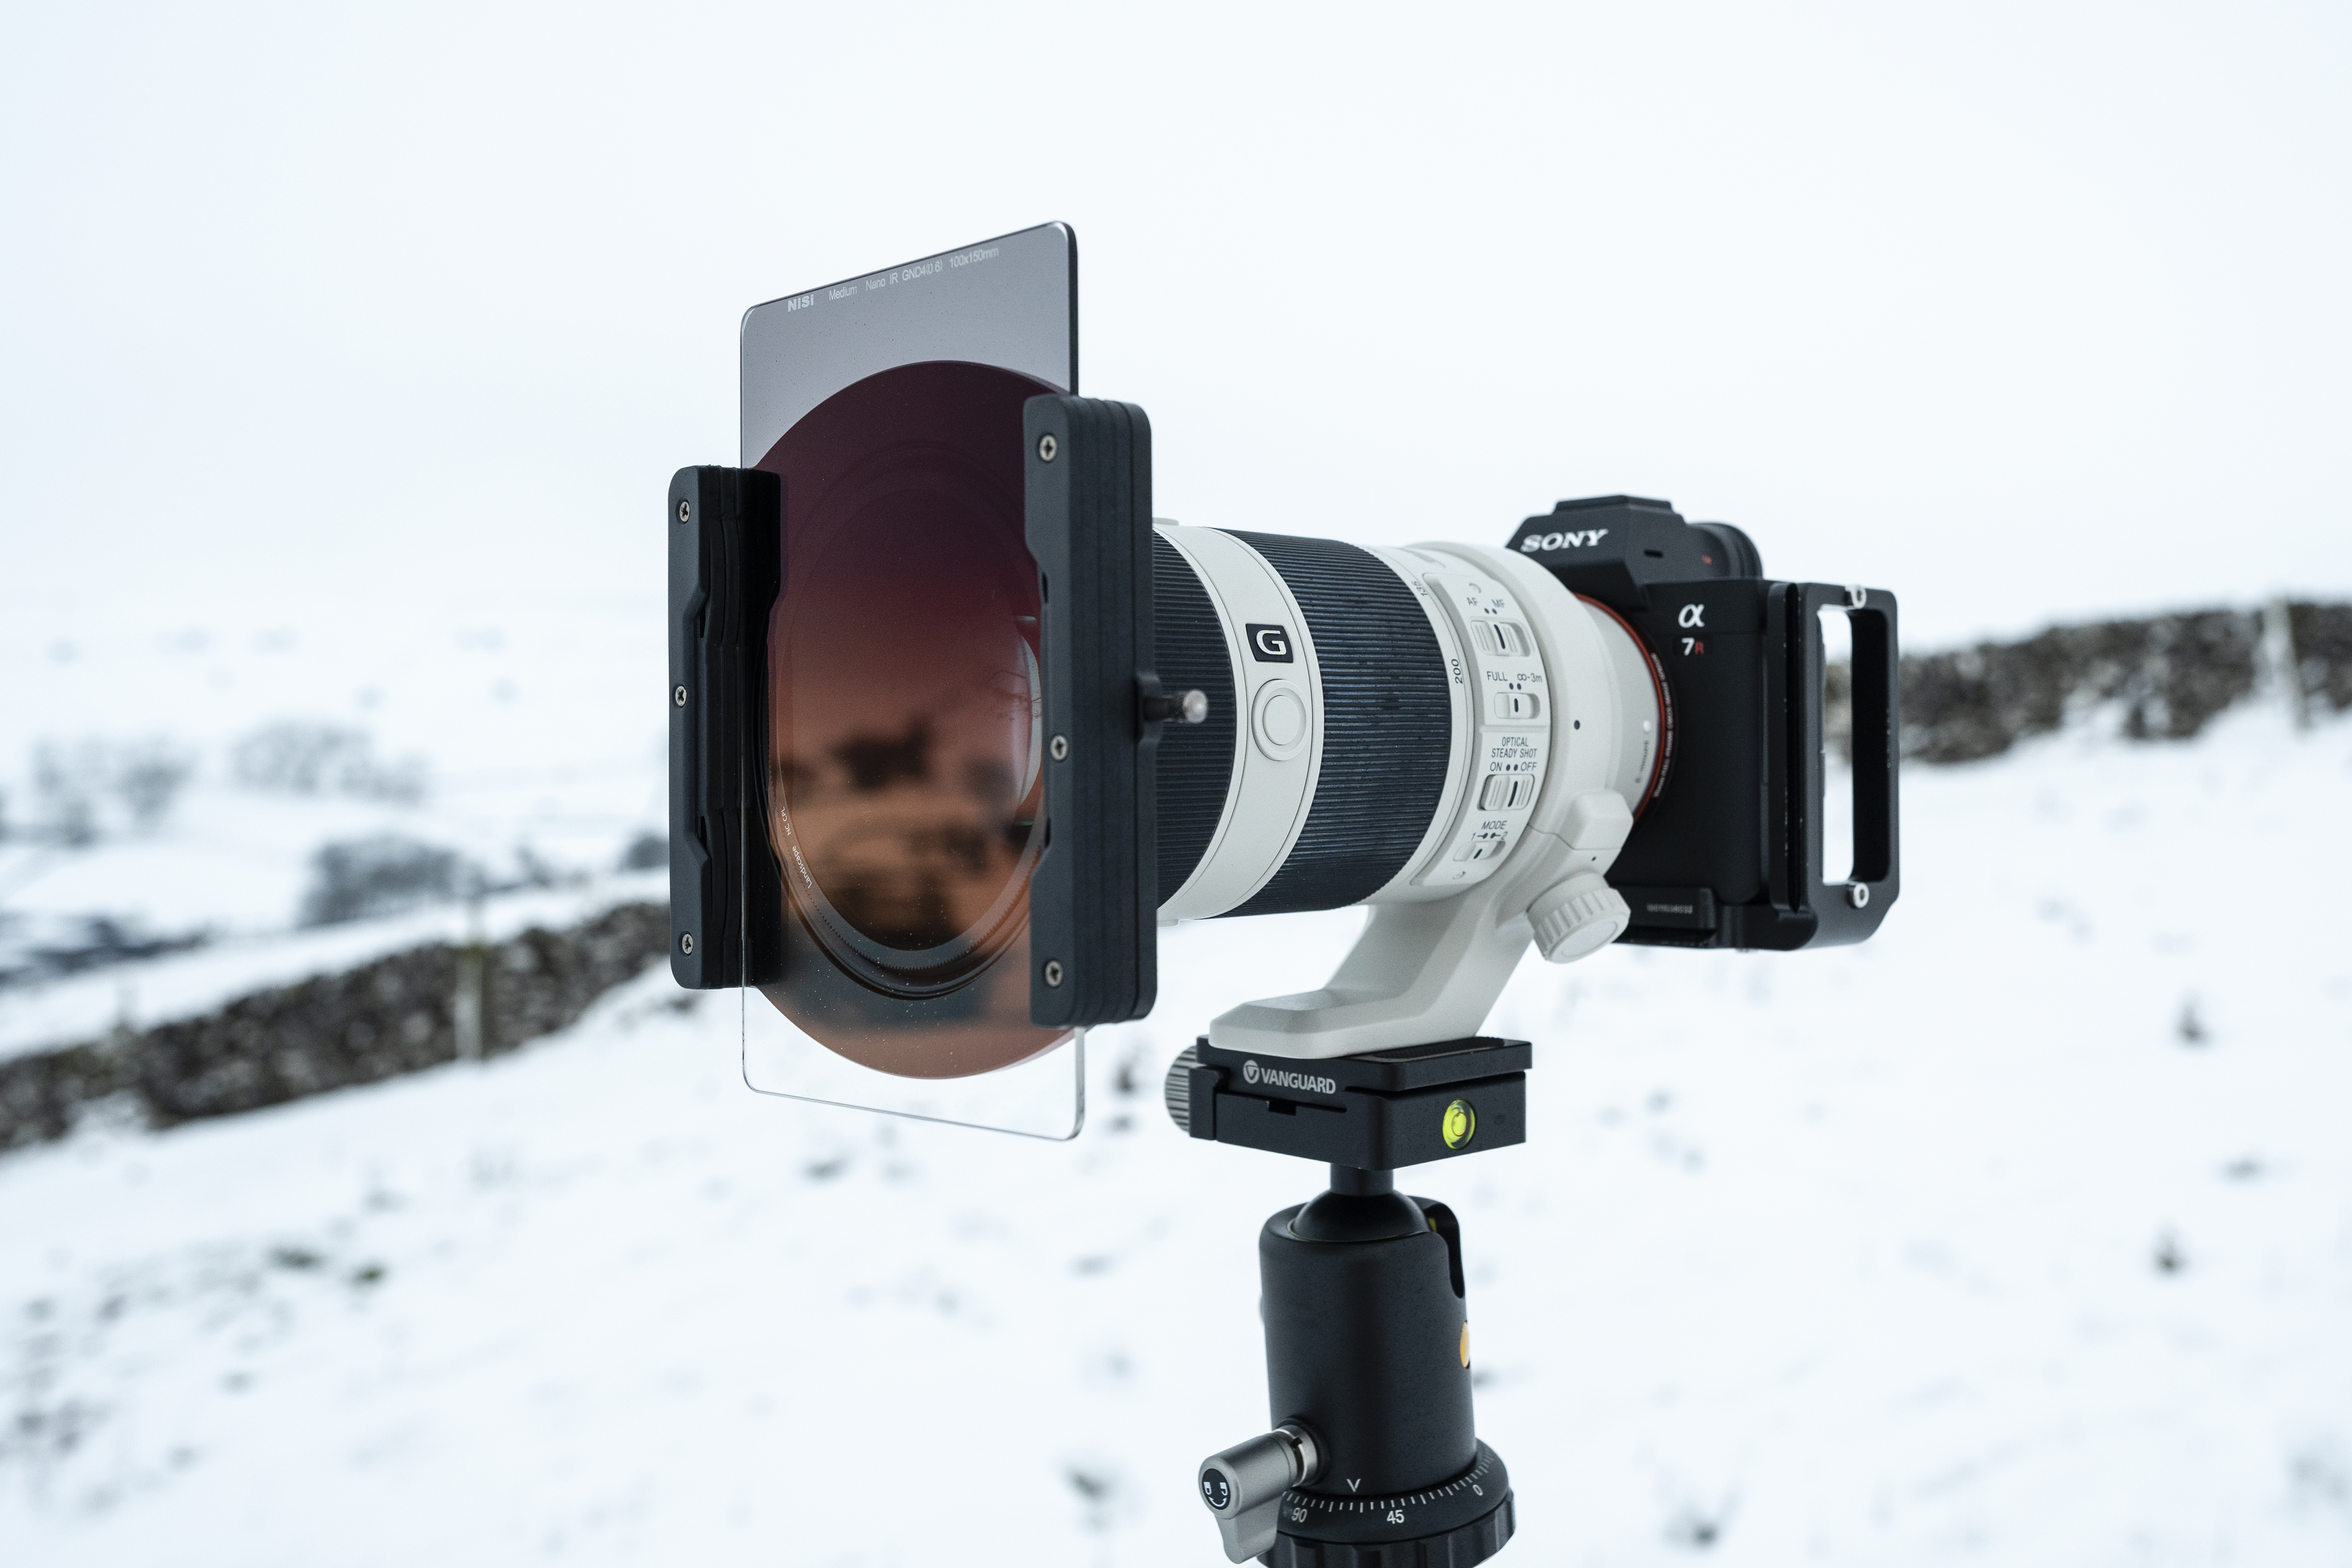
Not all landscapes require the use of a wide-angle lens, so carrying a telephoto such as a 70-200mm is always recommended. Telephotos are essential for woodland photography to avoid converging verticals because they force you to shoot from further away which means the camera doesn’t need to be tilted back. Plus, they’re useful for mountain photography and shooting into valleys.
• Best 70-200mm lenses in 2022
23 Use a rain cover
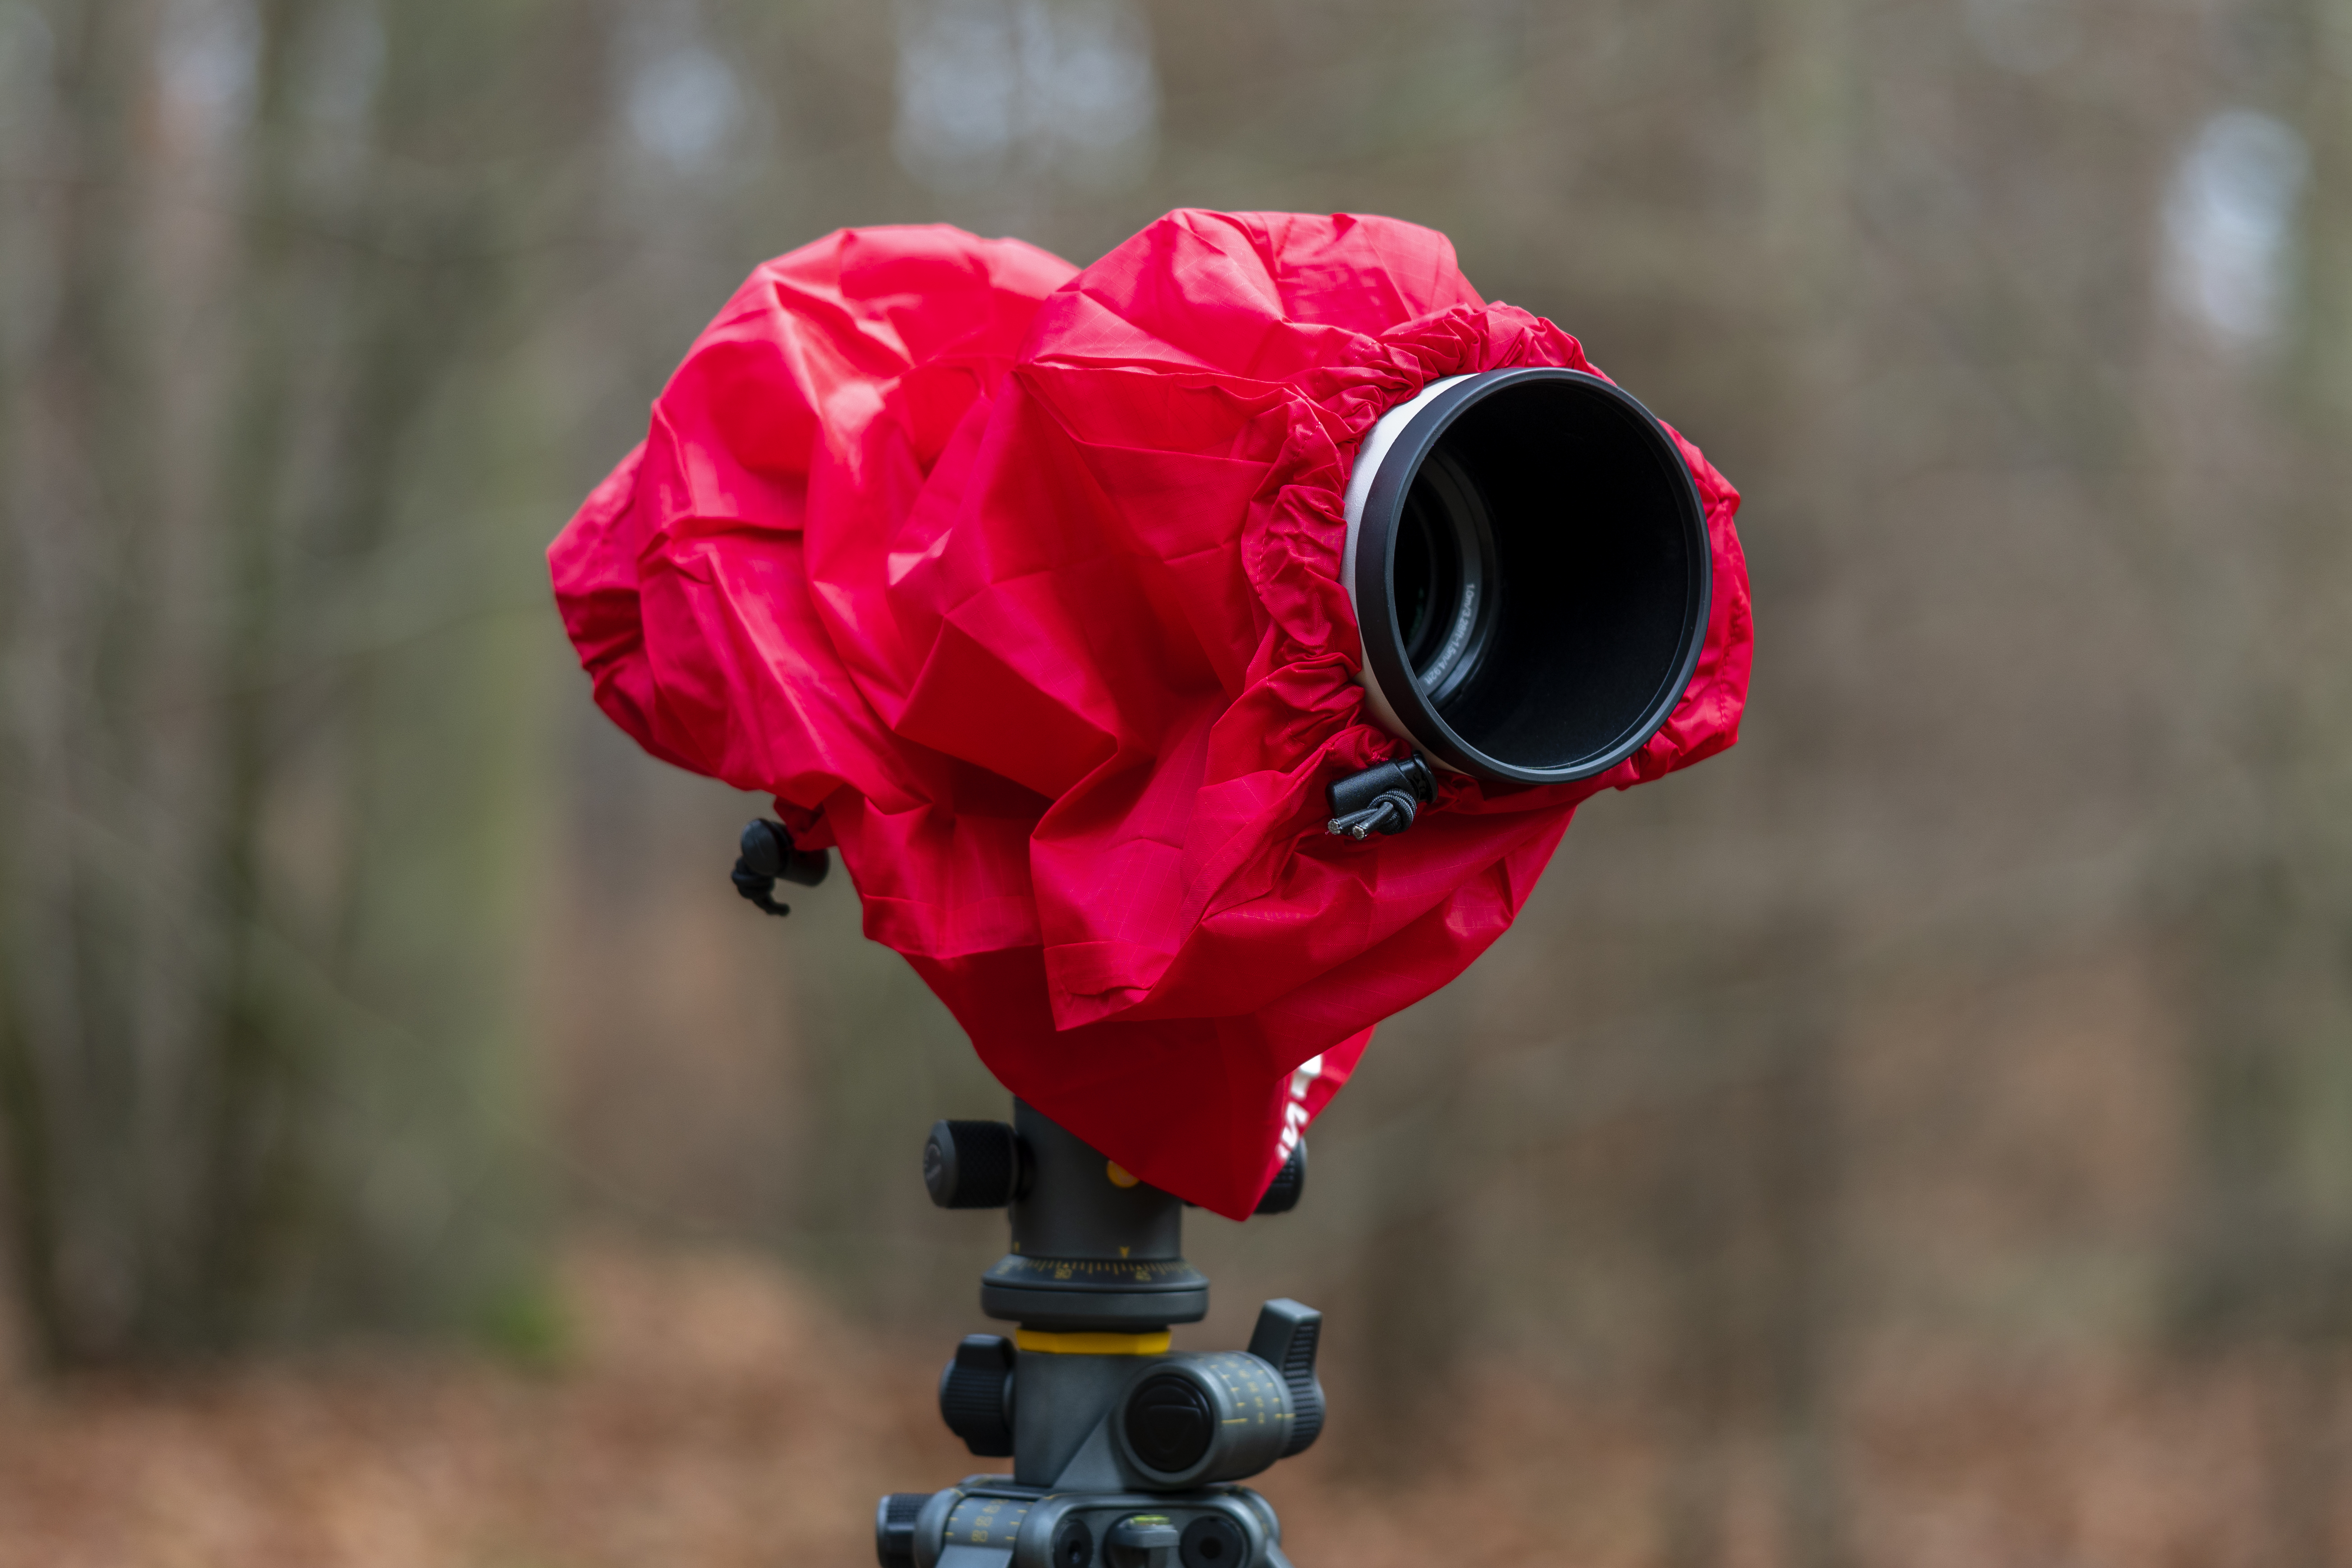
Many cameras these days offer a degree of weather sealing, which is great because you don’t have to worry about getting caught out in rain. The problem with a wet camera, even if it is weather sealed, is that it will need to be dried before you put it back in your kit bag. Use a rain cover, a large microfibre cloth or even a shower cap to keep the camera dry so you can put it away quickly.
24 Shoot mono with intention
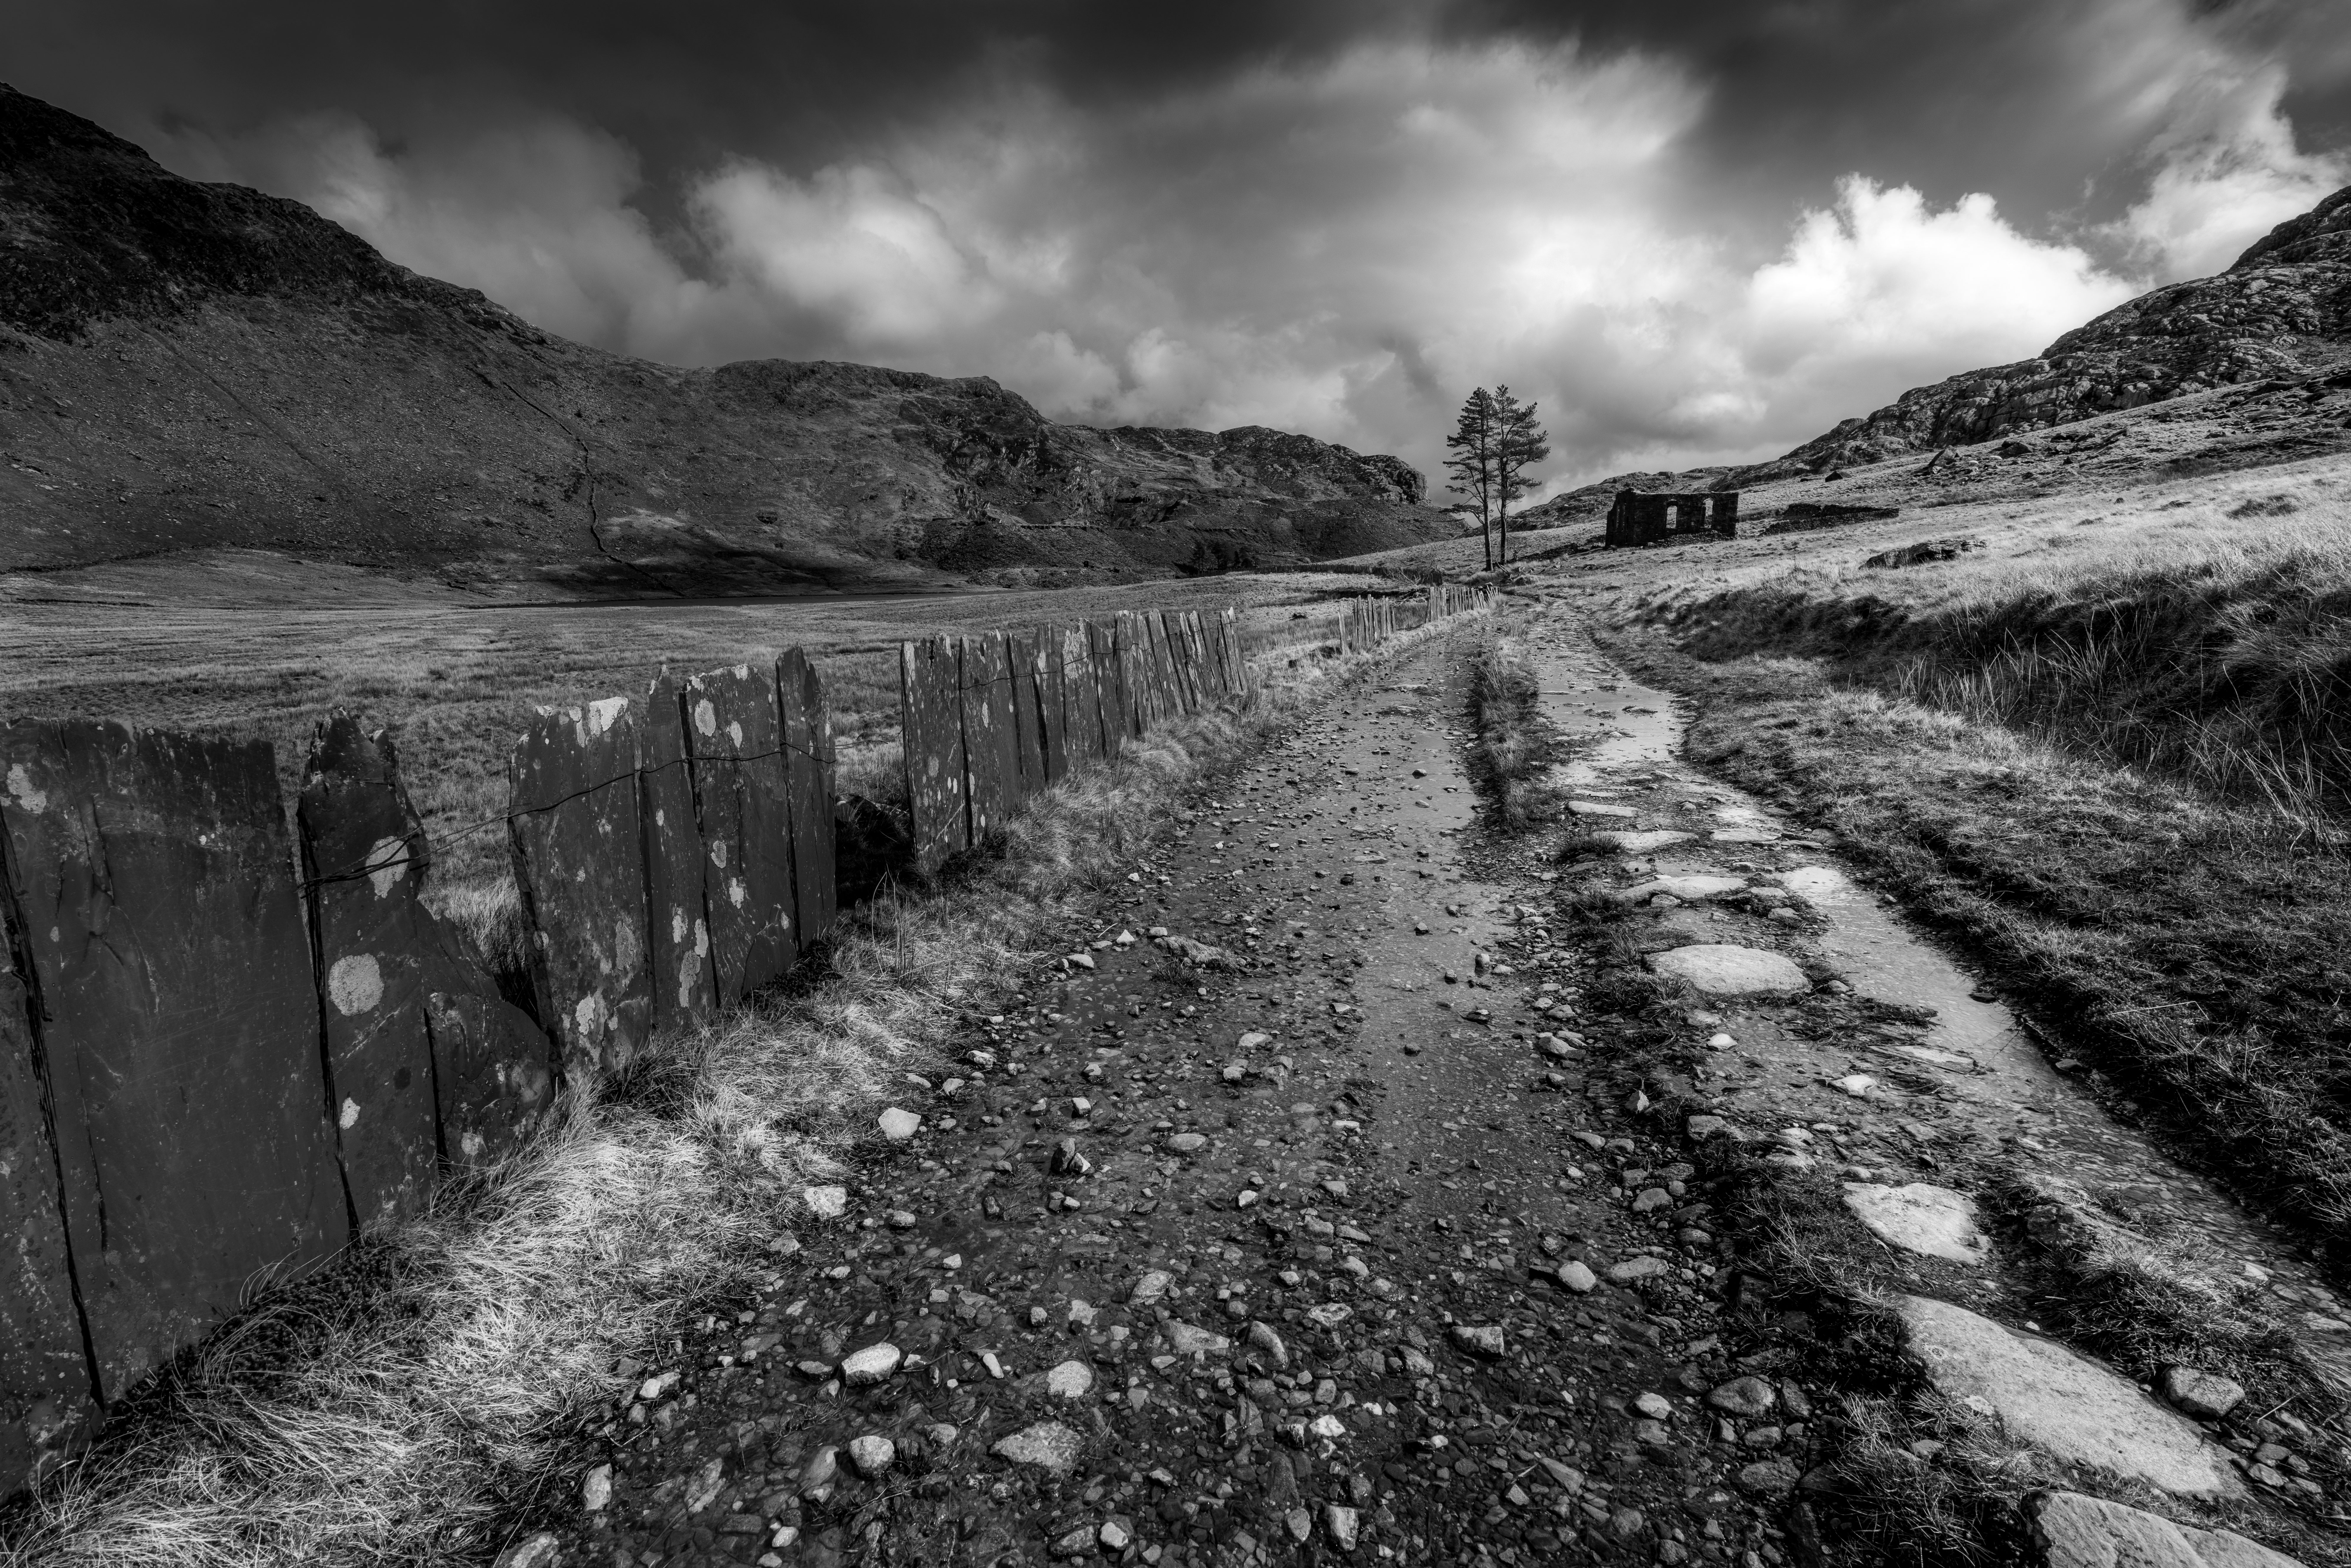
Black and white is a photographic finish that’s as popular as ever, and the abstraction from color forces us to focus on the tones, textures and shapes in landscapes. Black and white works well in many situations, but not necessarily when it’s used to hide poor weather conditions or incorrect white balance. Go out with the intention of shooting mono, and you’ll find the results are much more effective.
25 Get it right in camera
Shoot in Raw and aim to capture the best possible exposure in-camera. This will give you the best starting point where images require less aggressive processing.
26 Calibrate your monitor
Failure to calibrate your monitor can result in incorrect brightness, contrast and colours when images are viewed on other devices and in print, which will cause an unnecessary headache.
27 Use local adjustments
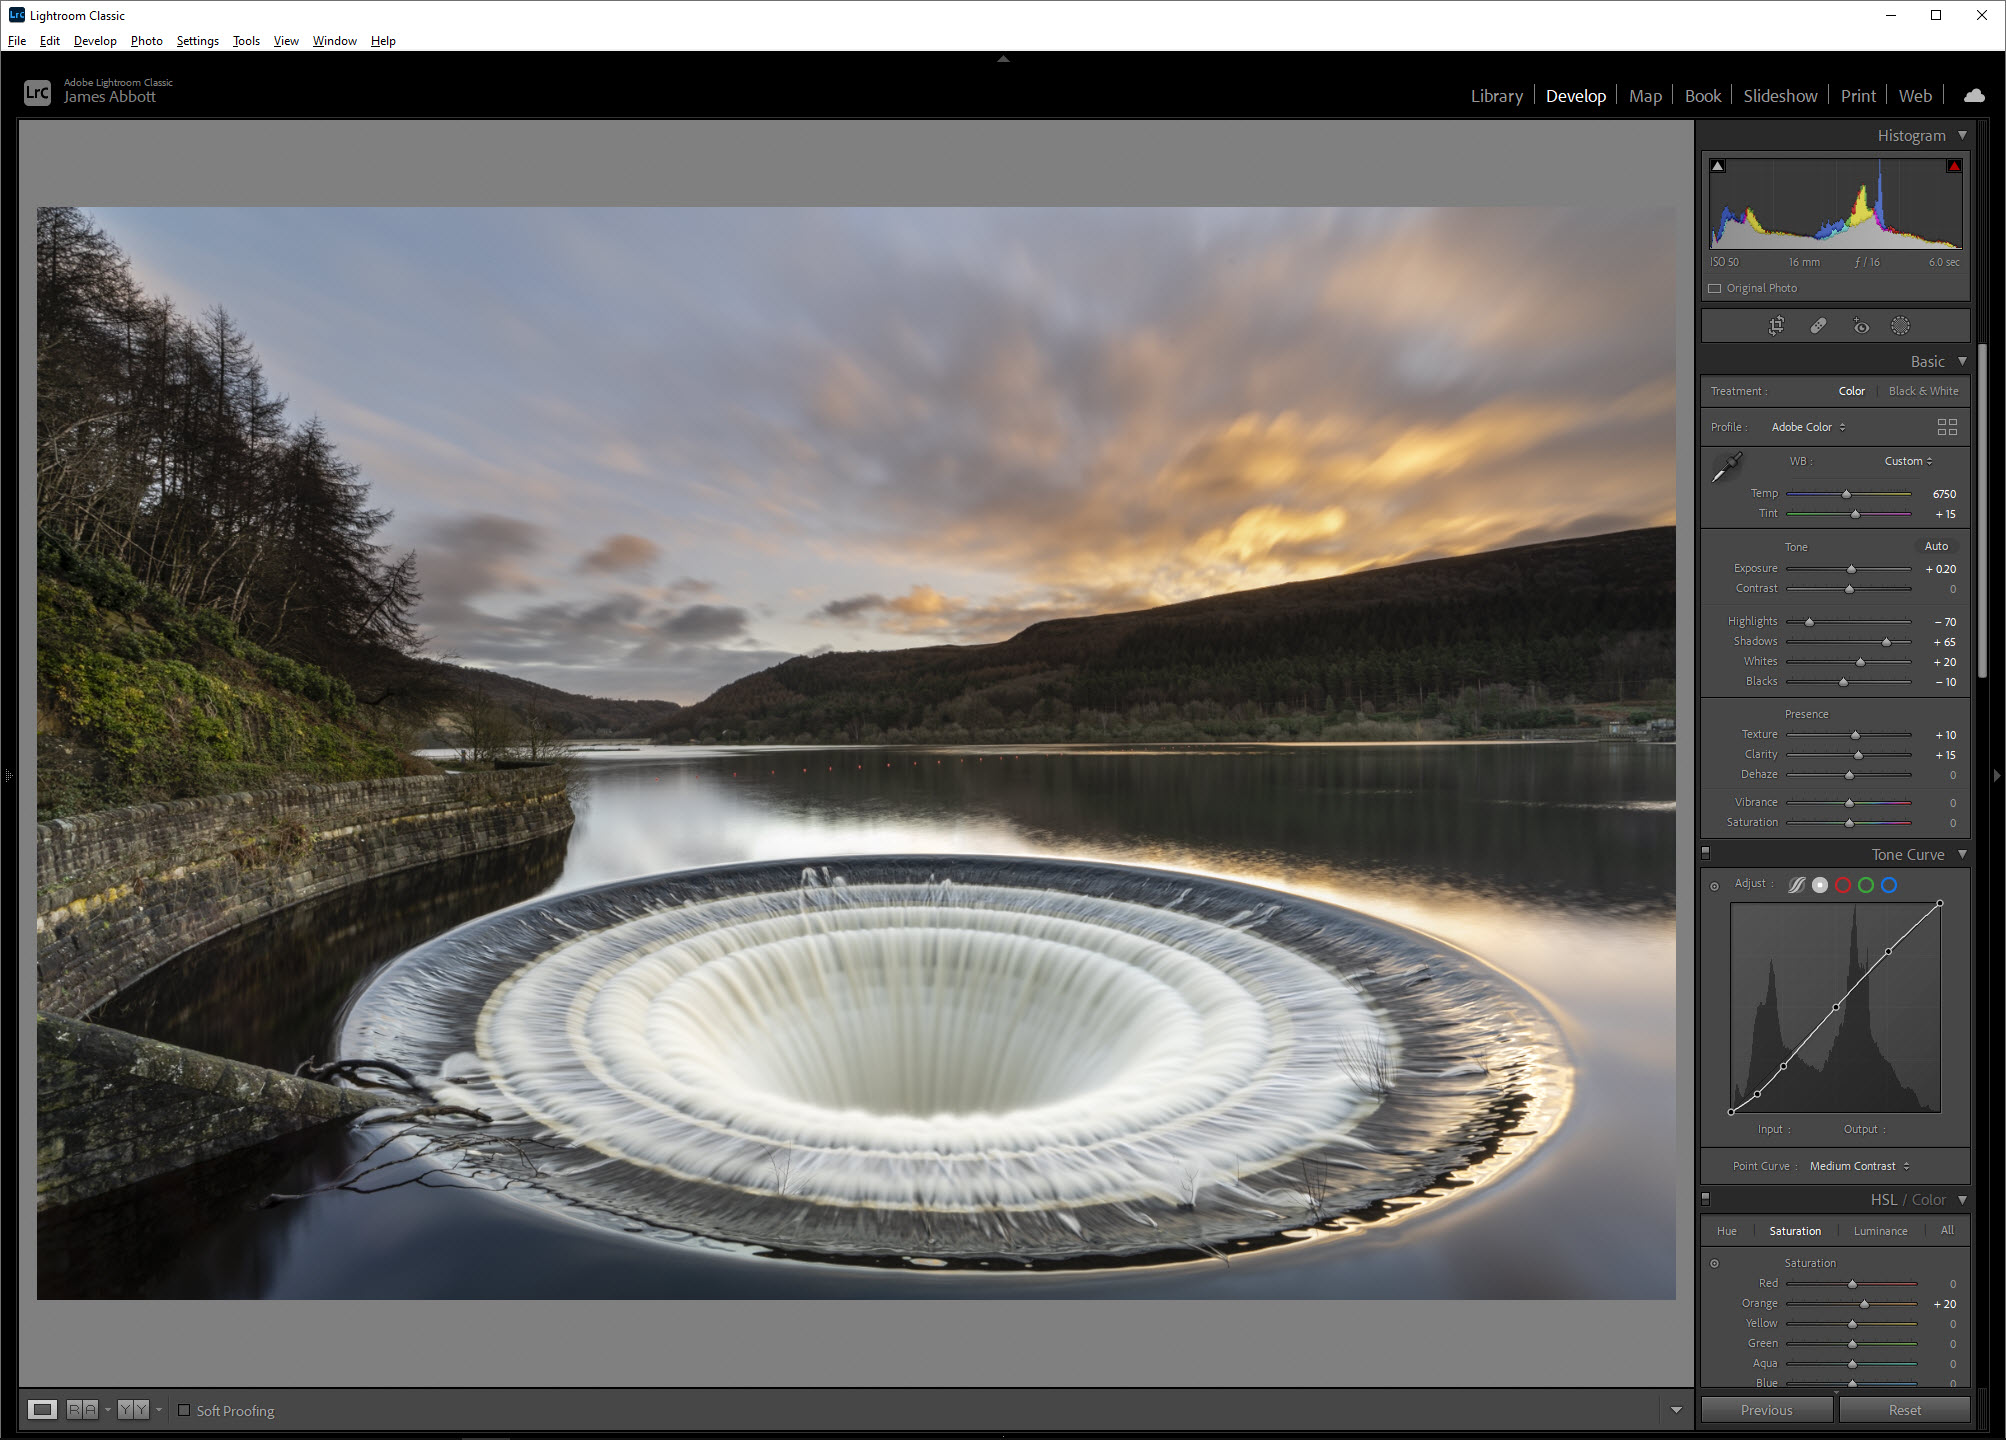
When editing in Lightroom, Photoshop and other software, take advantage of localised adjustments to make your images look their best by only adjusting the areas that need to be altered.
28 Apply lens corrections
Raw editing software allows you to remove lens distortions using specific lens profiles with the ability to remove chromatic aberration when present at the touch of a button.
29 Keep it natural
Less can often be more and when it comes to editing landscapes, it can be all too easy to go too far making images look over-processed and unreal. Process with care and aim for a natural finish.
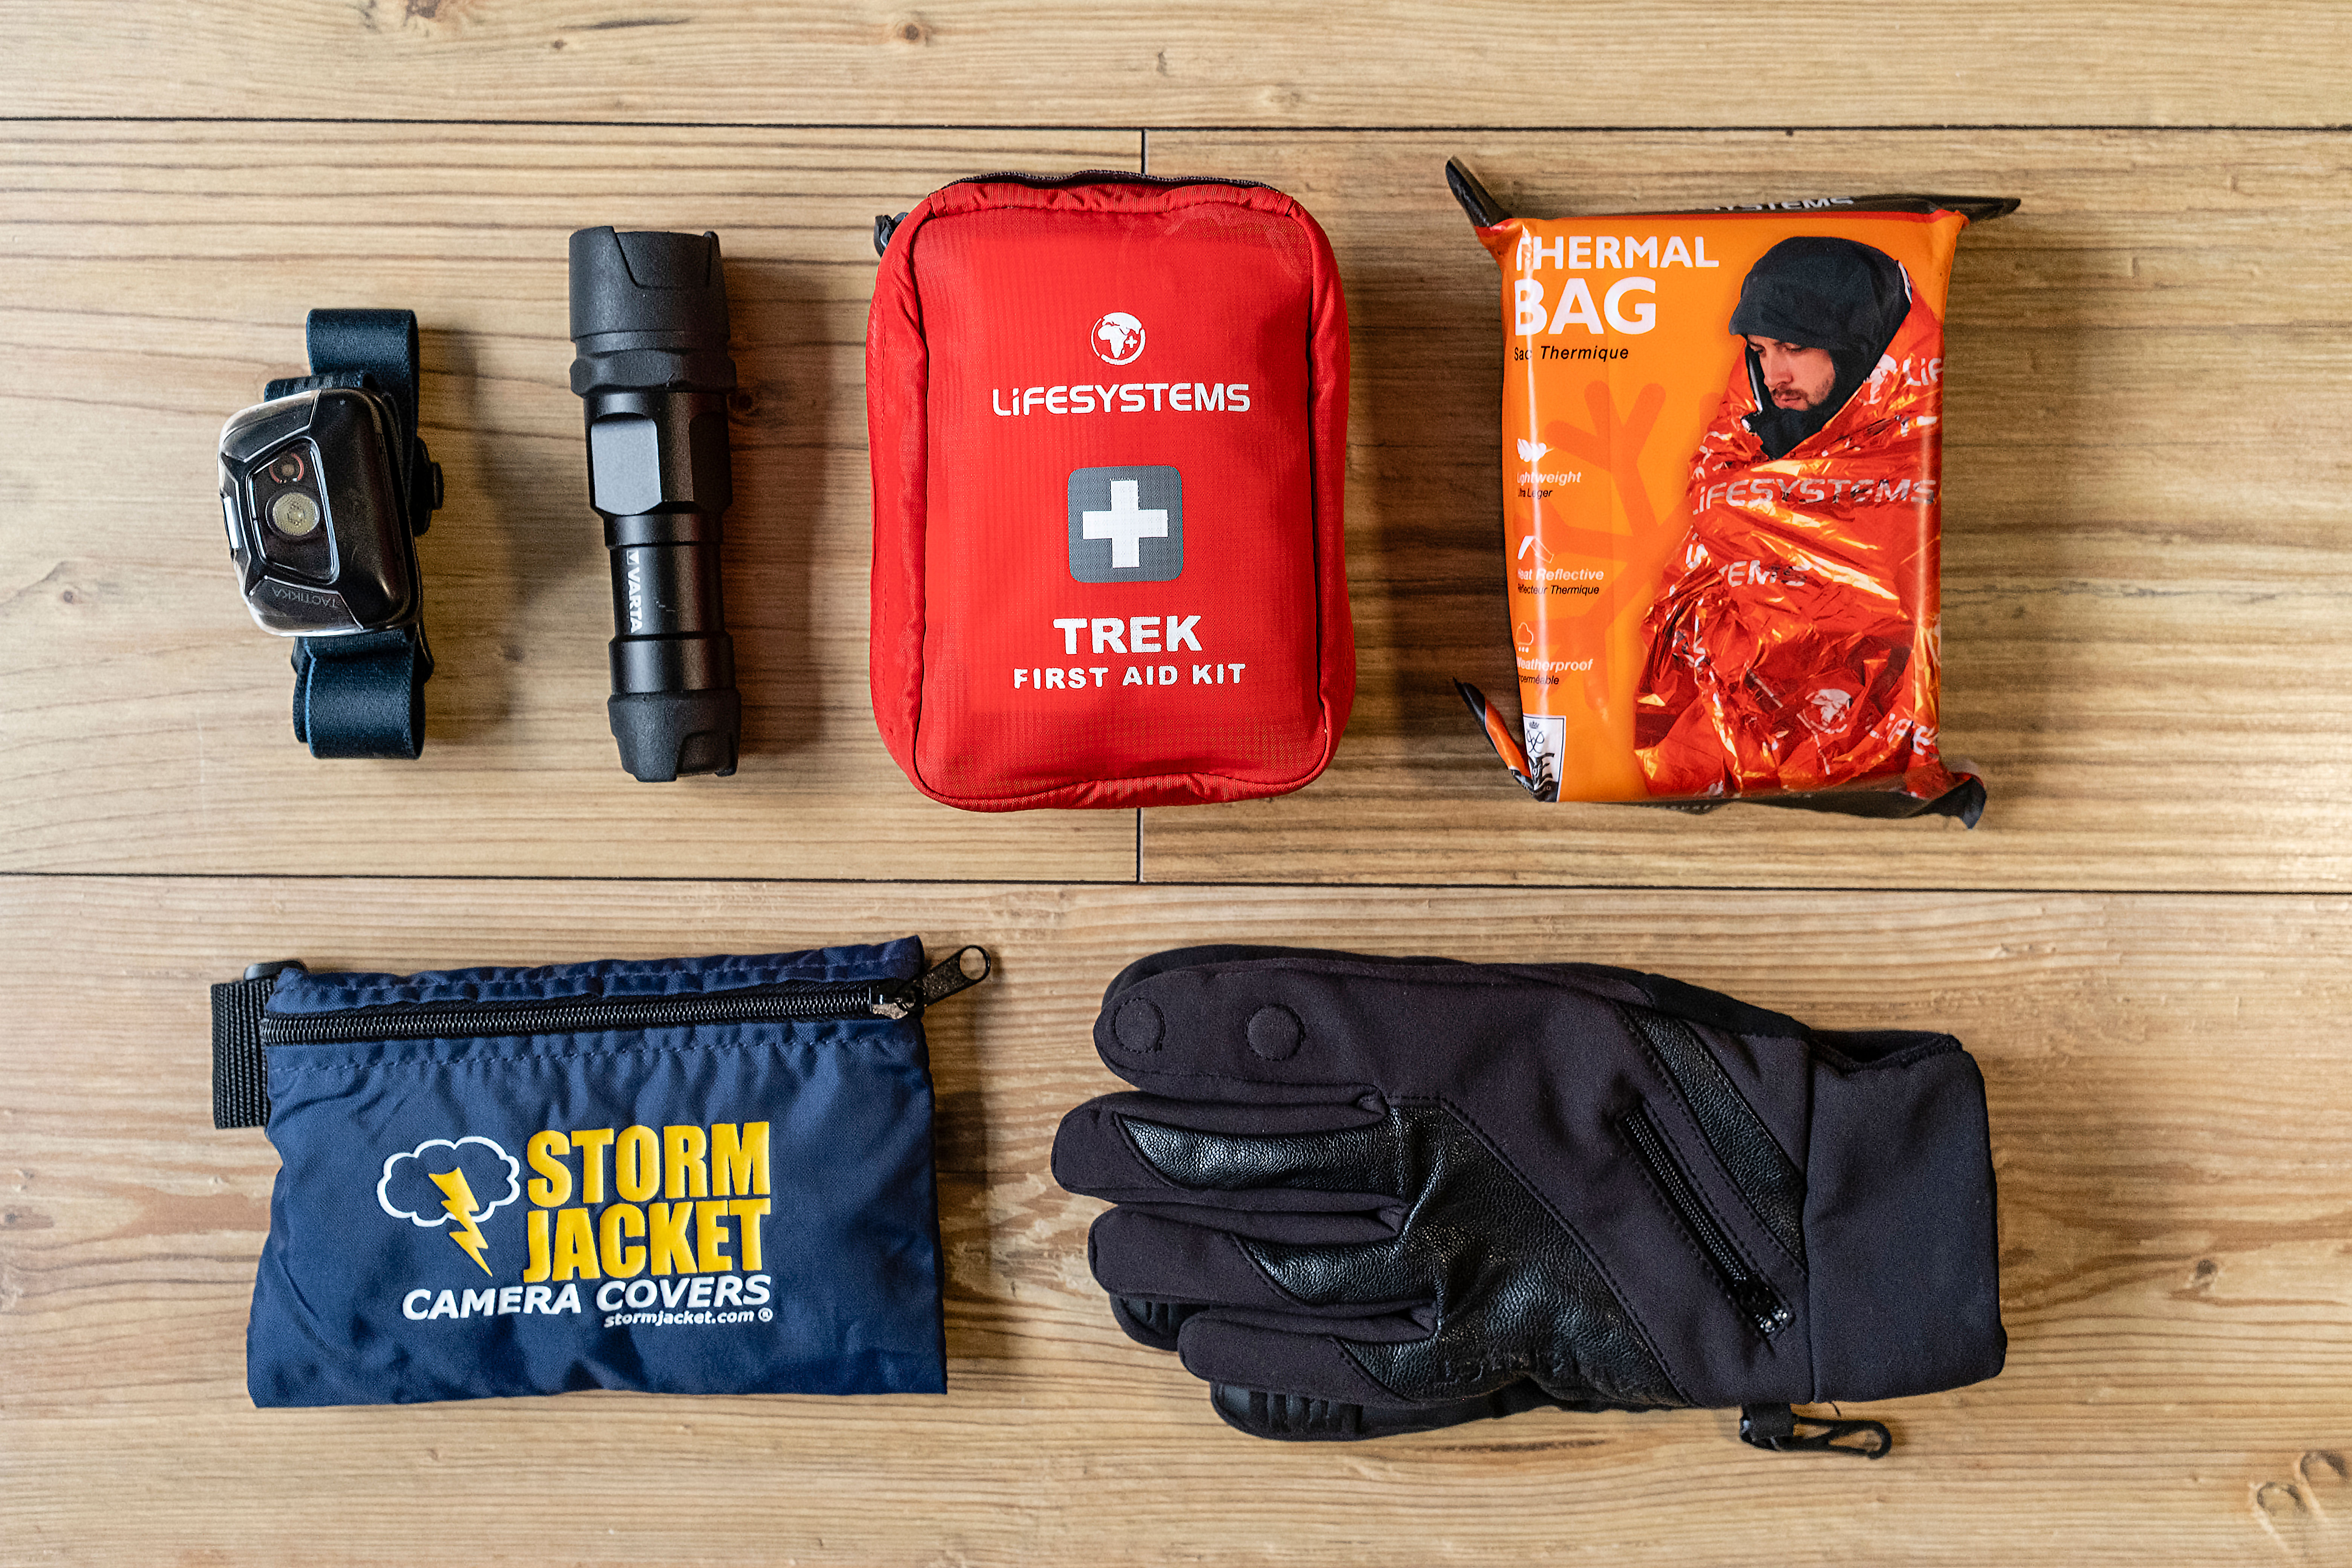
30 Always be prepared
Shooting landscapes can often be a solitary pursuit that sees you essentially in the middle of nowhere by yourself. And even if you regularly shoot with other people, planning and being prepared will help to make your shoots more successful, and ultimately safer.
Being prepared for all types of weather is essential so unless wall to wall sunshine is forecast, it’s often worth carrying waterproofs and warm clothing. And whether you’re visiting new locations, or even revisiting old ones, there are some where it’s essential to use a map to navigate from your car to the location.
Smartphones and apps such as ViewRanger, OS Maps and even Google Maps are incredibly useful for navigation, but you should still carry a traditional map and compass in case of running out of power, damaging or even losing your phone.
31 Be original
Honeypot locations are popular because they’re, well, great locations. When visiting these locations grab the archetypal shot, but also try to find more unique shots, too.
32 Revisit locations
Even if you visit a location and all the elements fall into place allowing you to capture the perfect shot, revisit in different seasons and weather conditions to grow your portfolio.
33 Embrace luck
Planning is incredibly important for increasing your chances of success, but there’s no denying that landscape photography often relies on a huge burst of good luck.
34 Be patient
Waiting can be boring, but if you arrive at a location and the conditions aren't what you hoped for set up and wait to see if things change. You only need a few seconds to get the shot.
35 Be friendly
You’ll inevitably meet other photographers when shooting and rather than shying away, start a conversation. You may make a new friend or pick up some invaluable knowledge.
36 Read the histogram
The histogram is a useful tool for assessing exposure, especially for checking the highlights haven’t blown. If the right side of the histogram graph is touching the side, it means highlights have blown. Shadow detail can be recovered, but blown highlight detail is lost forever.
• What is a histogram and when would you use it?
37 Expose to the right
Exposing to the right is where you use the histogram to assess exposure and increase shutter speed so the histogram moves to the right as much as possible without blowing the highlights. You then reduce exposure during post-processing, with cleaner shadow detail naturally captured.
38 Understand exposure
Understanding the exposure triangle and how ISO, aperture and shutter speed are related by reciprocity is fundamental for quick thinking and problem-solving. Not to mention, understanding how different settings affect your images will ultimately increase your creativity.
• Learn how to understand the exposure triangle
39 Seek out local locations
What you consider to be local will often depend on how far you’re willing to travel for a sunrise in the summer months, but finding locations that are close to home is a great way to get to know them intimately and shoot them throughout the seasons.
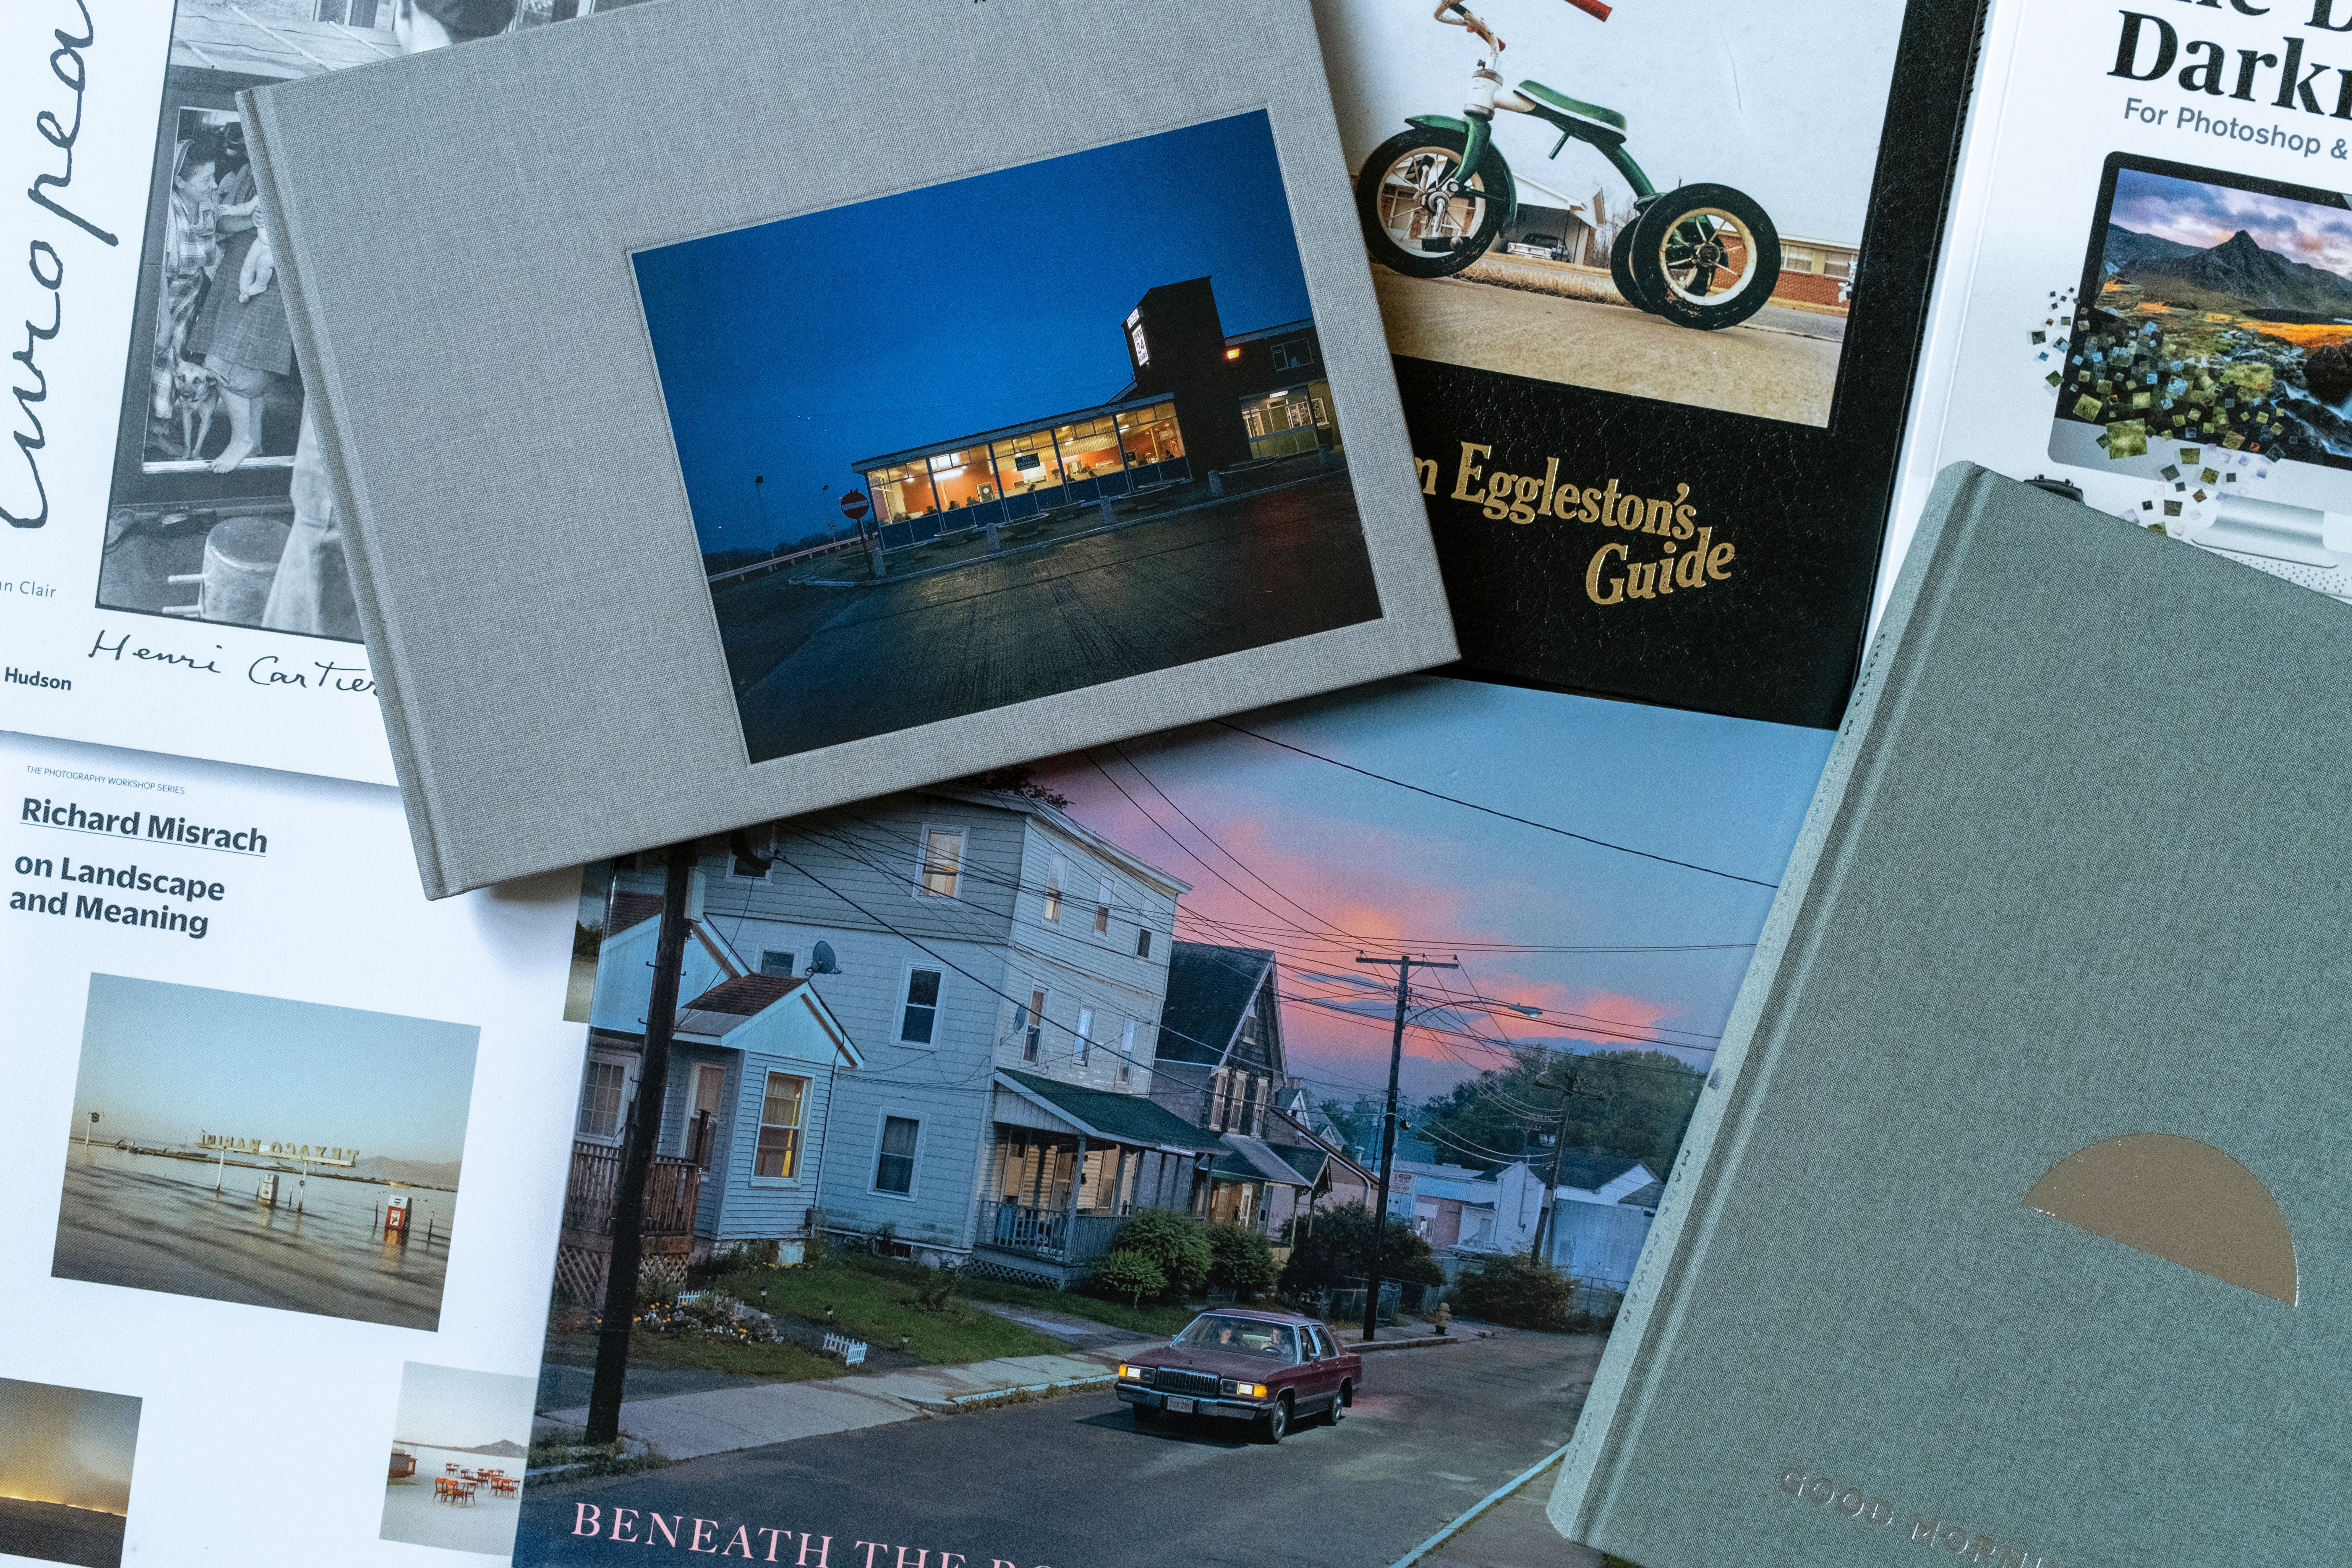
40 Use books for inspiration
Social media can be a vacuum where people copy one another resulting in what you might call an ‘Instagram aesthetic’. Look at photography books by the photographers whose work you enjoy for inspiration, and use movies and TV for ideas for a more unique creative edge.
Digital Camera Magazine is the definitive guide to digital photography. Every issue comes packed with expert advice, in-depth tutorials, free gifts and inspirational images. Digital Camera’s sole aim is helping you to become a better photographer.
Read more:
Landscape photography tips
Best cameras for landscape photography
Best lenses for landscapes
Canon EOS R5 review
James Abbott is a landscape and portrait photographer based in Cambridge. He’s also an experienced photography journalist specializing in camera skills and Photoshop techniques. He is also a CAA-approved drone pilot and professional aerial photographer.
