The best camera deals, reviews, product advice, and unmissable photography news, direct to your inbox!
You are now subscribed
Your newsletter sign-up was successful
Landscapes and photography go hand-in-hand, and it's a brilliant way to get into the great outdoors, stay fit and hone your camera skills all at the same time. As with all photography genres, landscape has it's ups and downs, from unpredictable lighting conditions to obtaining a perfectly balanced image from bright skies to dark foregrounds.
With so many buttons and settings on modern cameras nowadays it can be difficult to know where to start, that's why this month we teamed up a reader of PhotoPlus: The Canon Magazine, Robert Cronk, for a masterclass in landscape photography with legendary landscape pro David Noton in Sherborne.
David is a landscape and travel photographer based in Somerset with over 35 (and counting!) years of experience as a professional. During his photographic career, he’s traveled to just about every corner of the globe. Despite now being considered a veteran in many ways David still feels as if he’s only just getting started. He believes that he is only just scratching the surface of his understanding of the subtleties of light. For more info visit his website.
Before you get started, you might also like to look at the best lenses for landscape photography – ultra-wide lenses to help you squeeze stunning vistas into frame.
1. Av mode
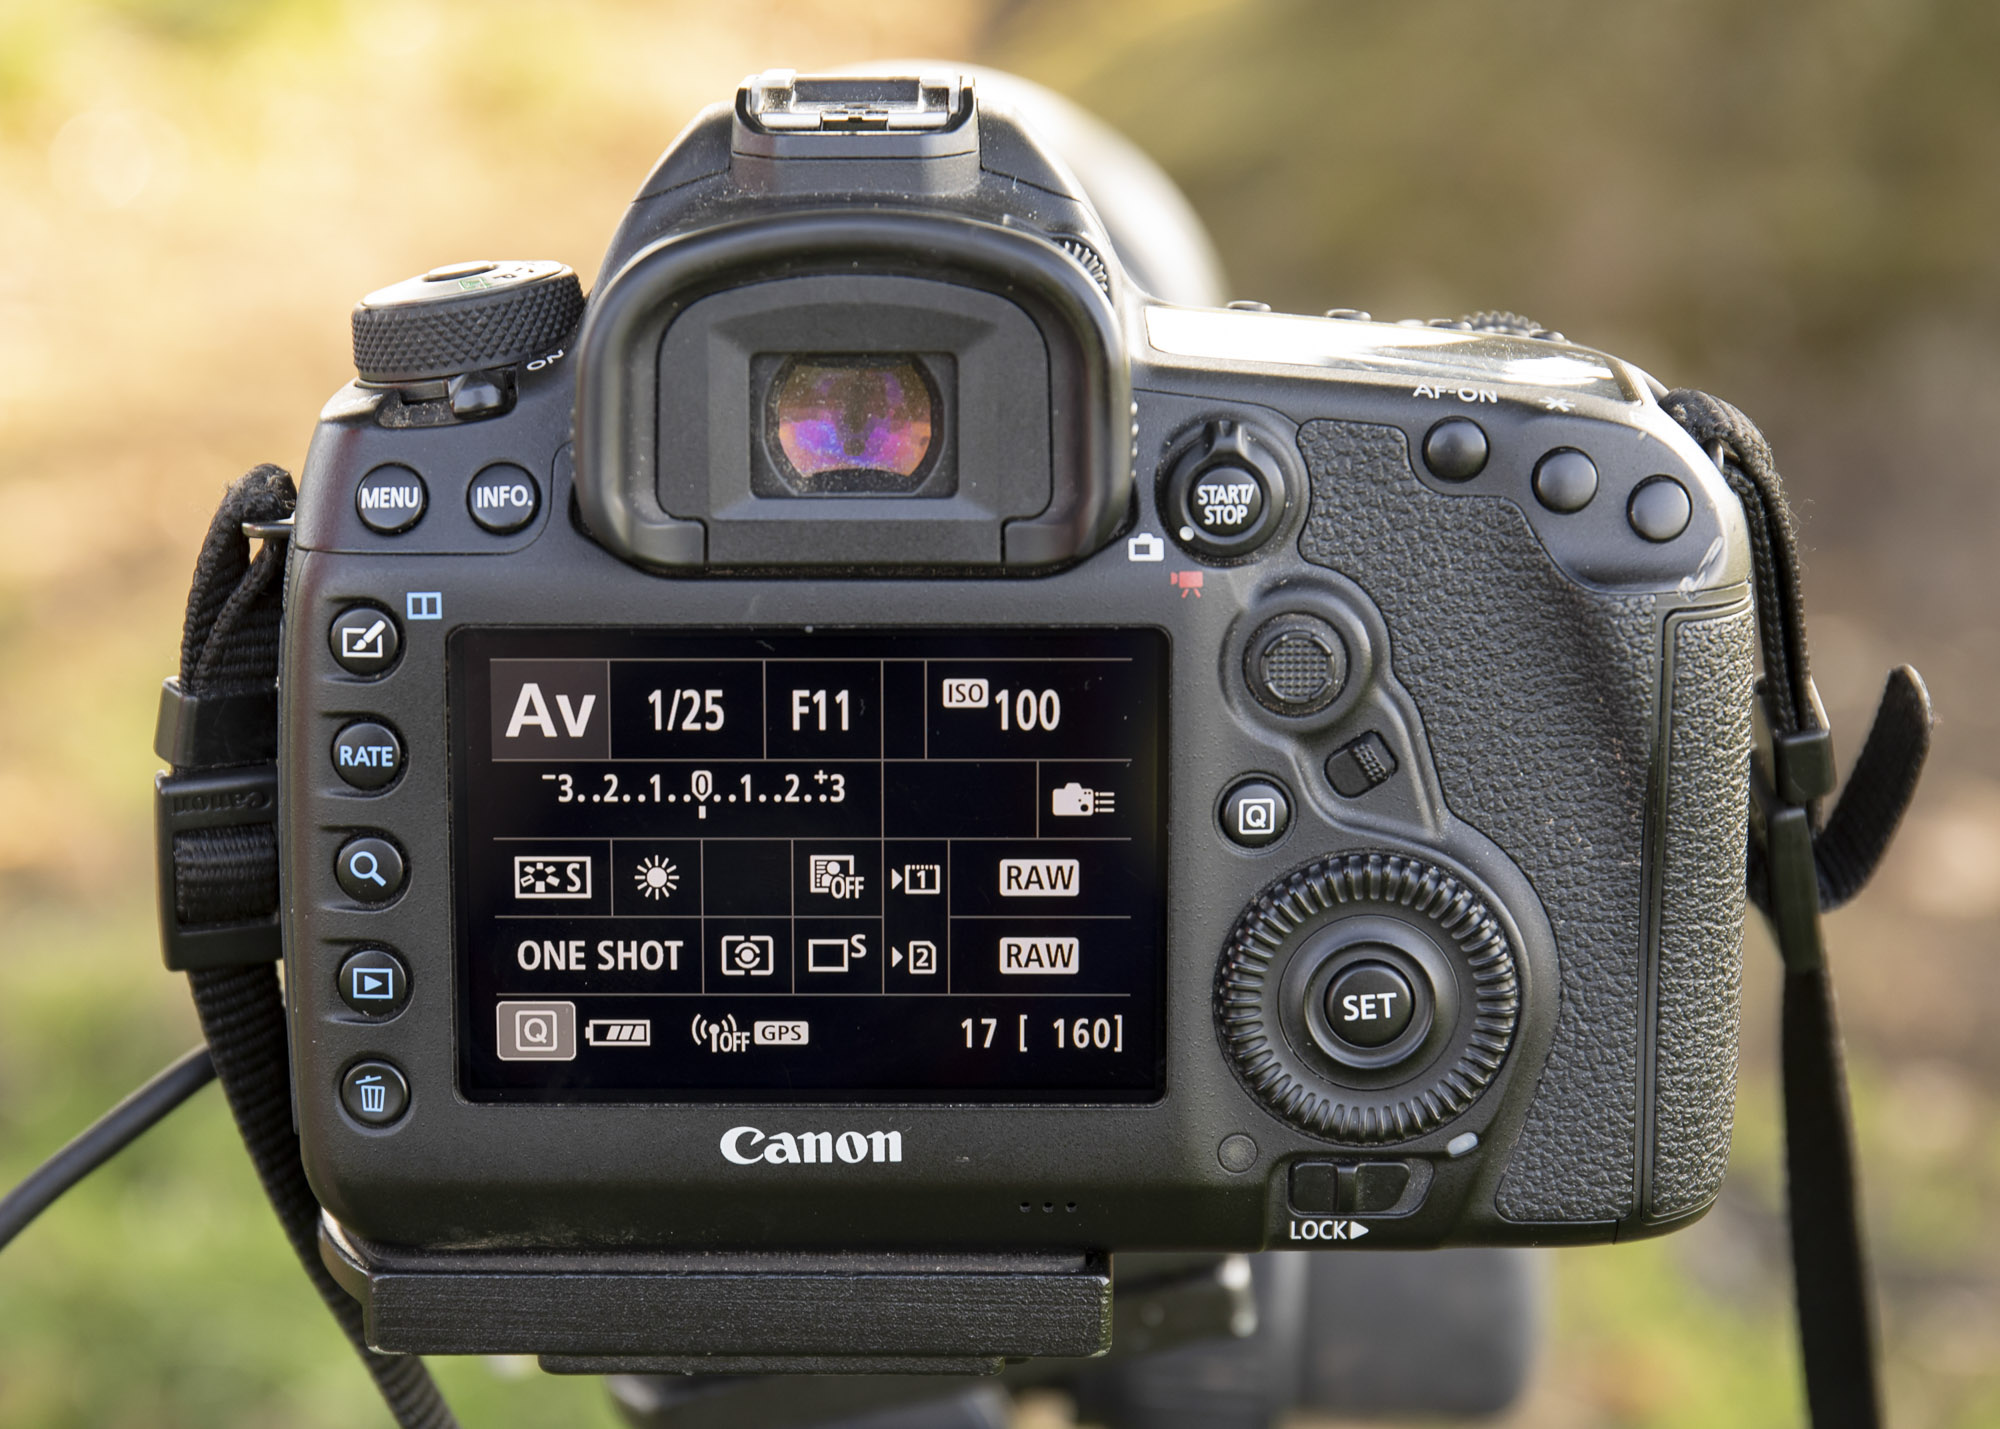
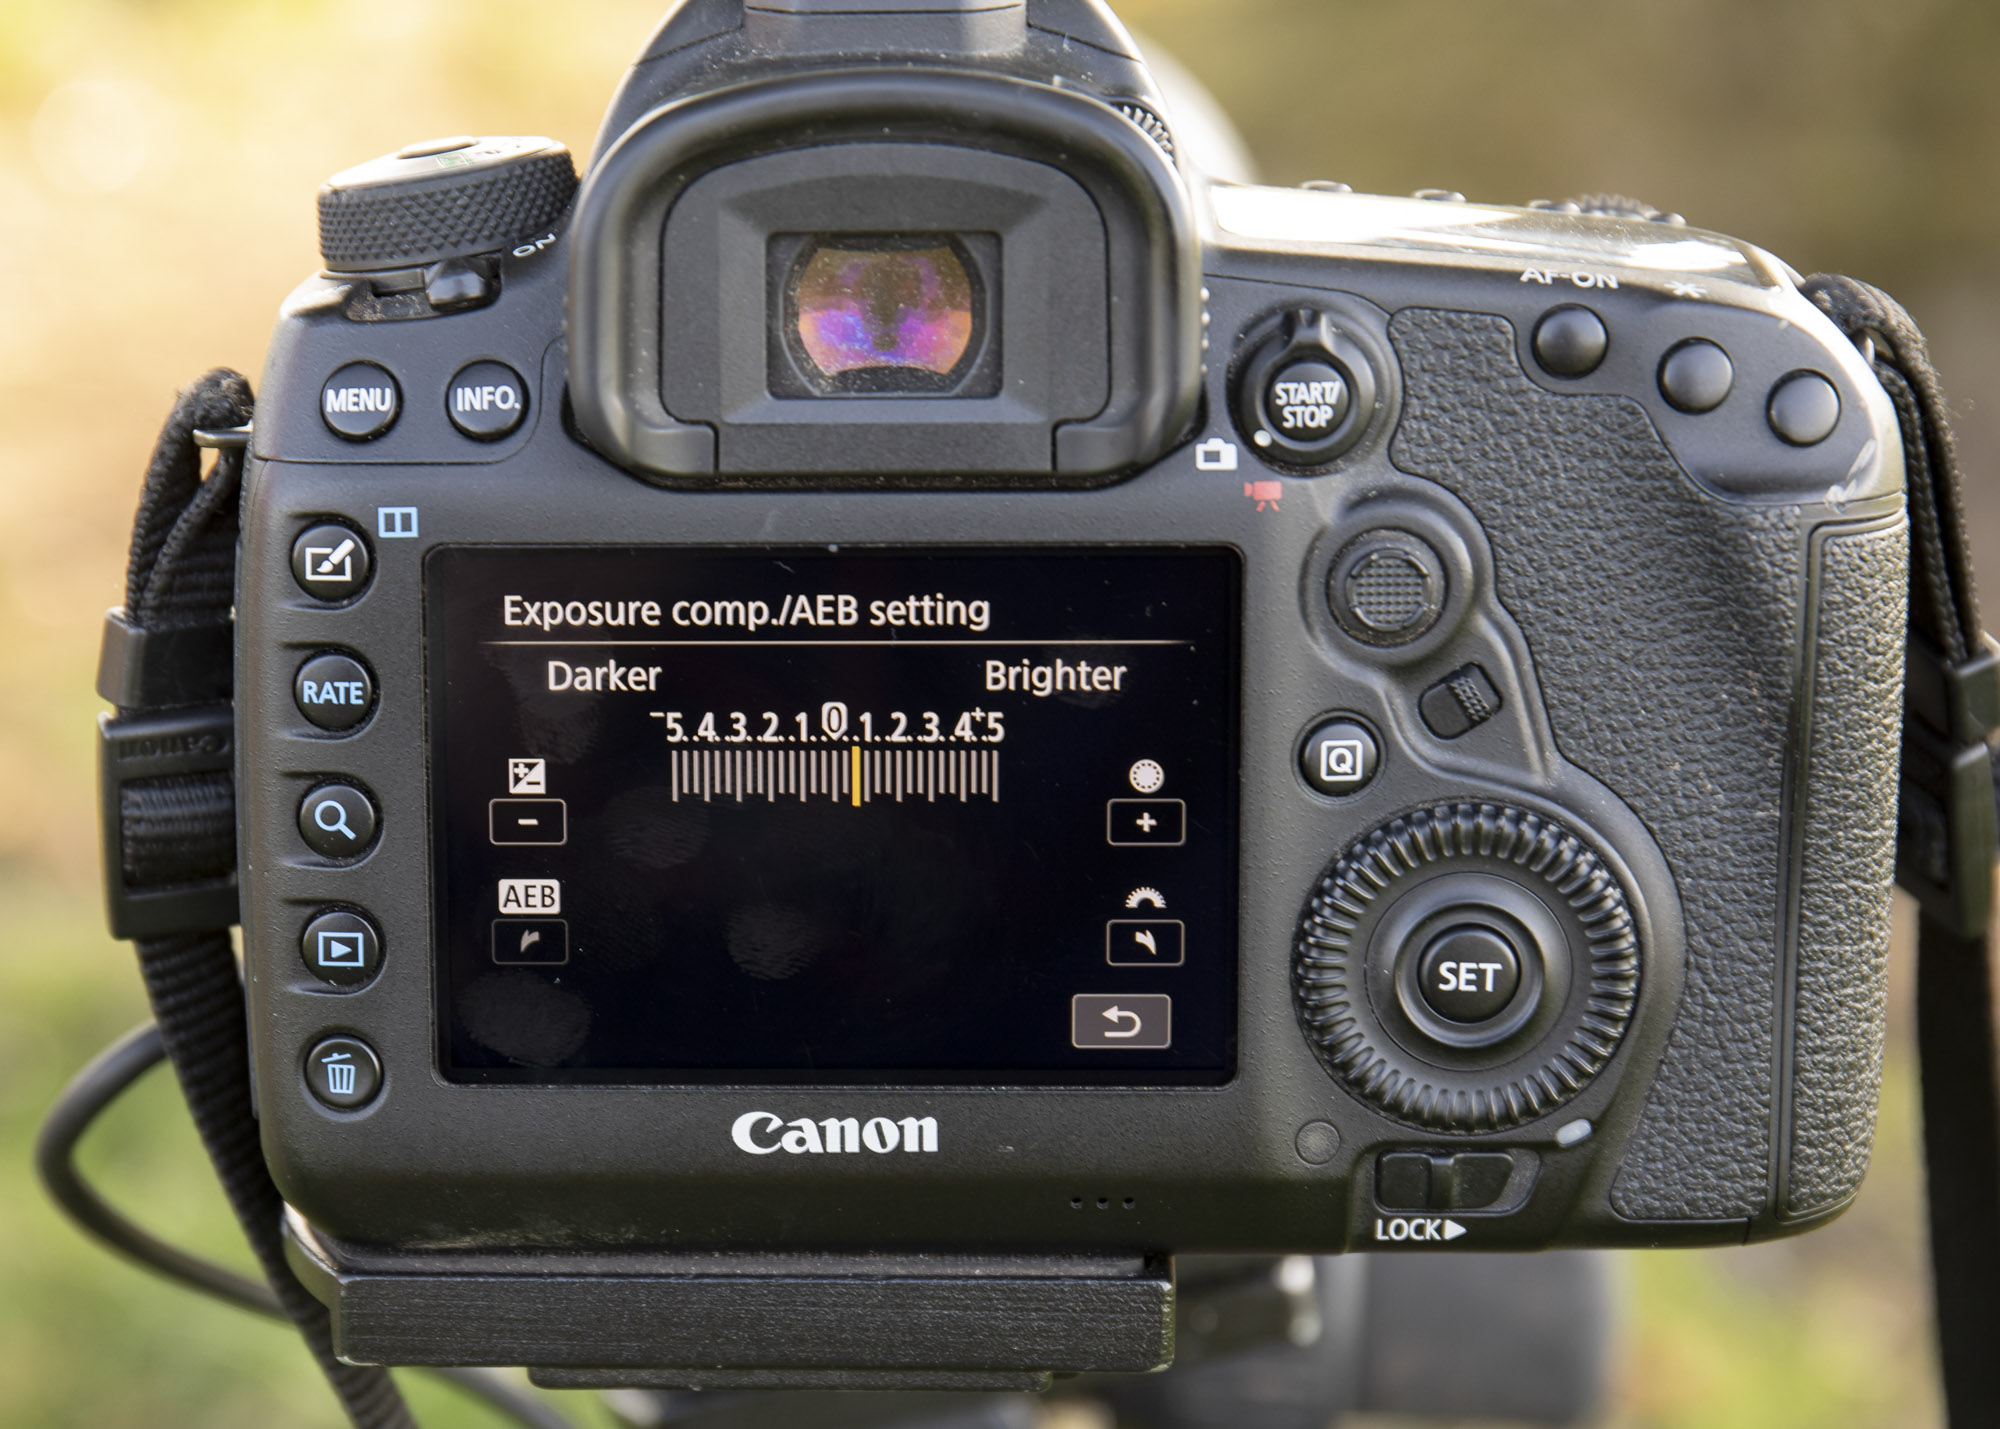
“I use Av mode as I’m only concerned with using an aperture around f/11 to f/16 – for optimal sharpness across the frame, and also this will capture a good DoF, so the whole scene is in focus from foreground to the horizon. If my shots are too bright or dark, I leave the ISO at 100, and just ride exposure comp to adjust the shutter speed. As I always shoot using a tripod, it’s not a problem if the shutter speed slows, I still get sharp shots.” Find out how to use Aperture priority mode.
2. Daylight White Balance
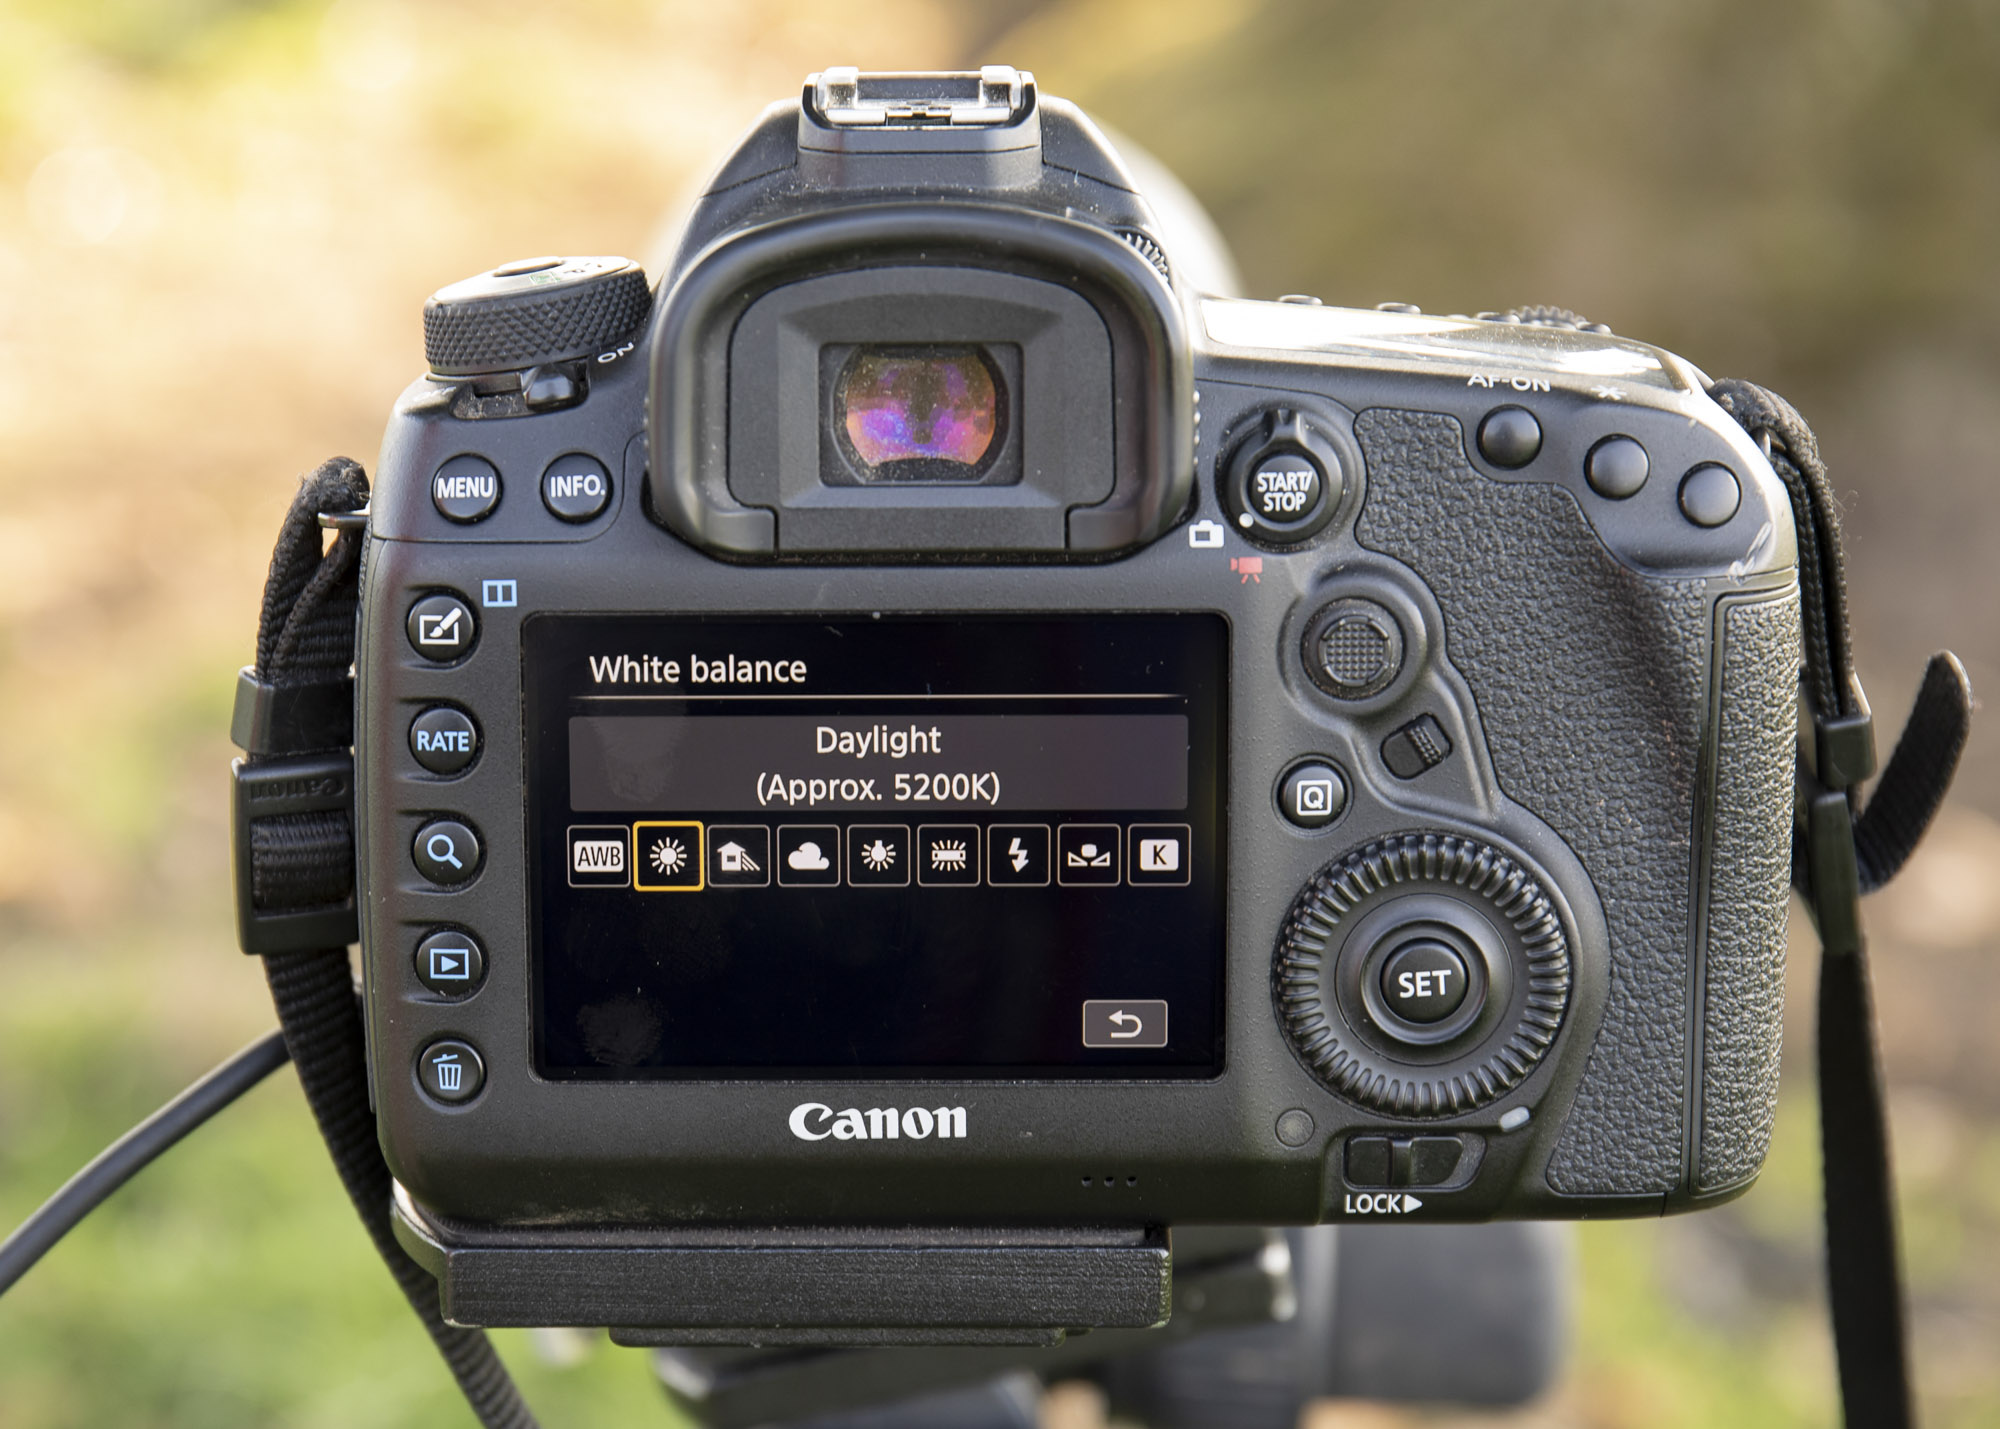
David uses the preset Daylight white balance setting on his Canon EOS R5 to ensure that his images have a consistent color temperature. The preset white balance options on your Canon camera allow you to change the color balance of your shots for more accurate results. If you set your camera to AWB (Auto White Balance), you can end up with sunrise or sunset colors that are too cool. Here's more on White Balance.
3. Plan your shoot
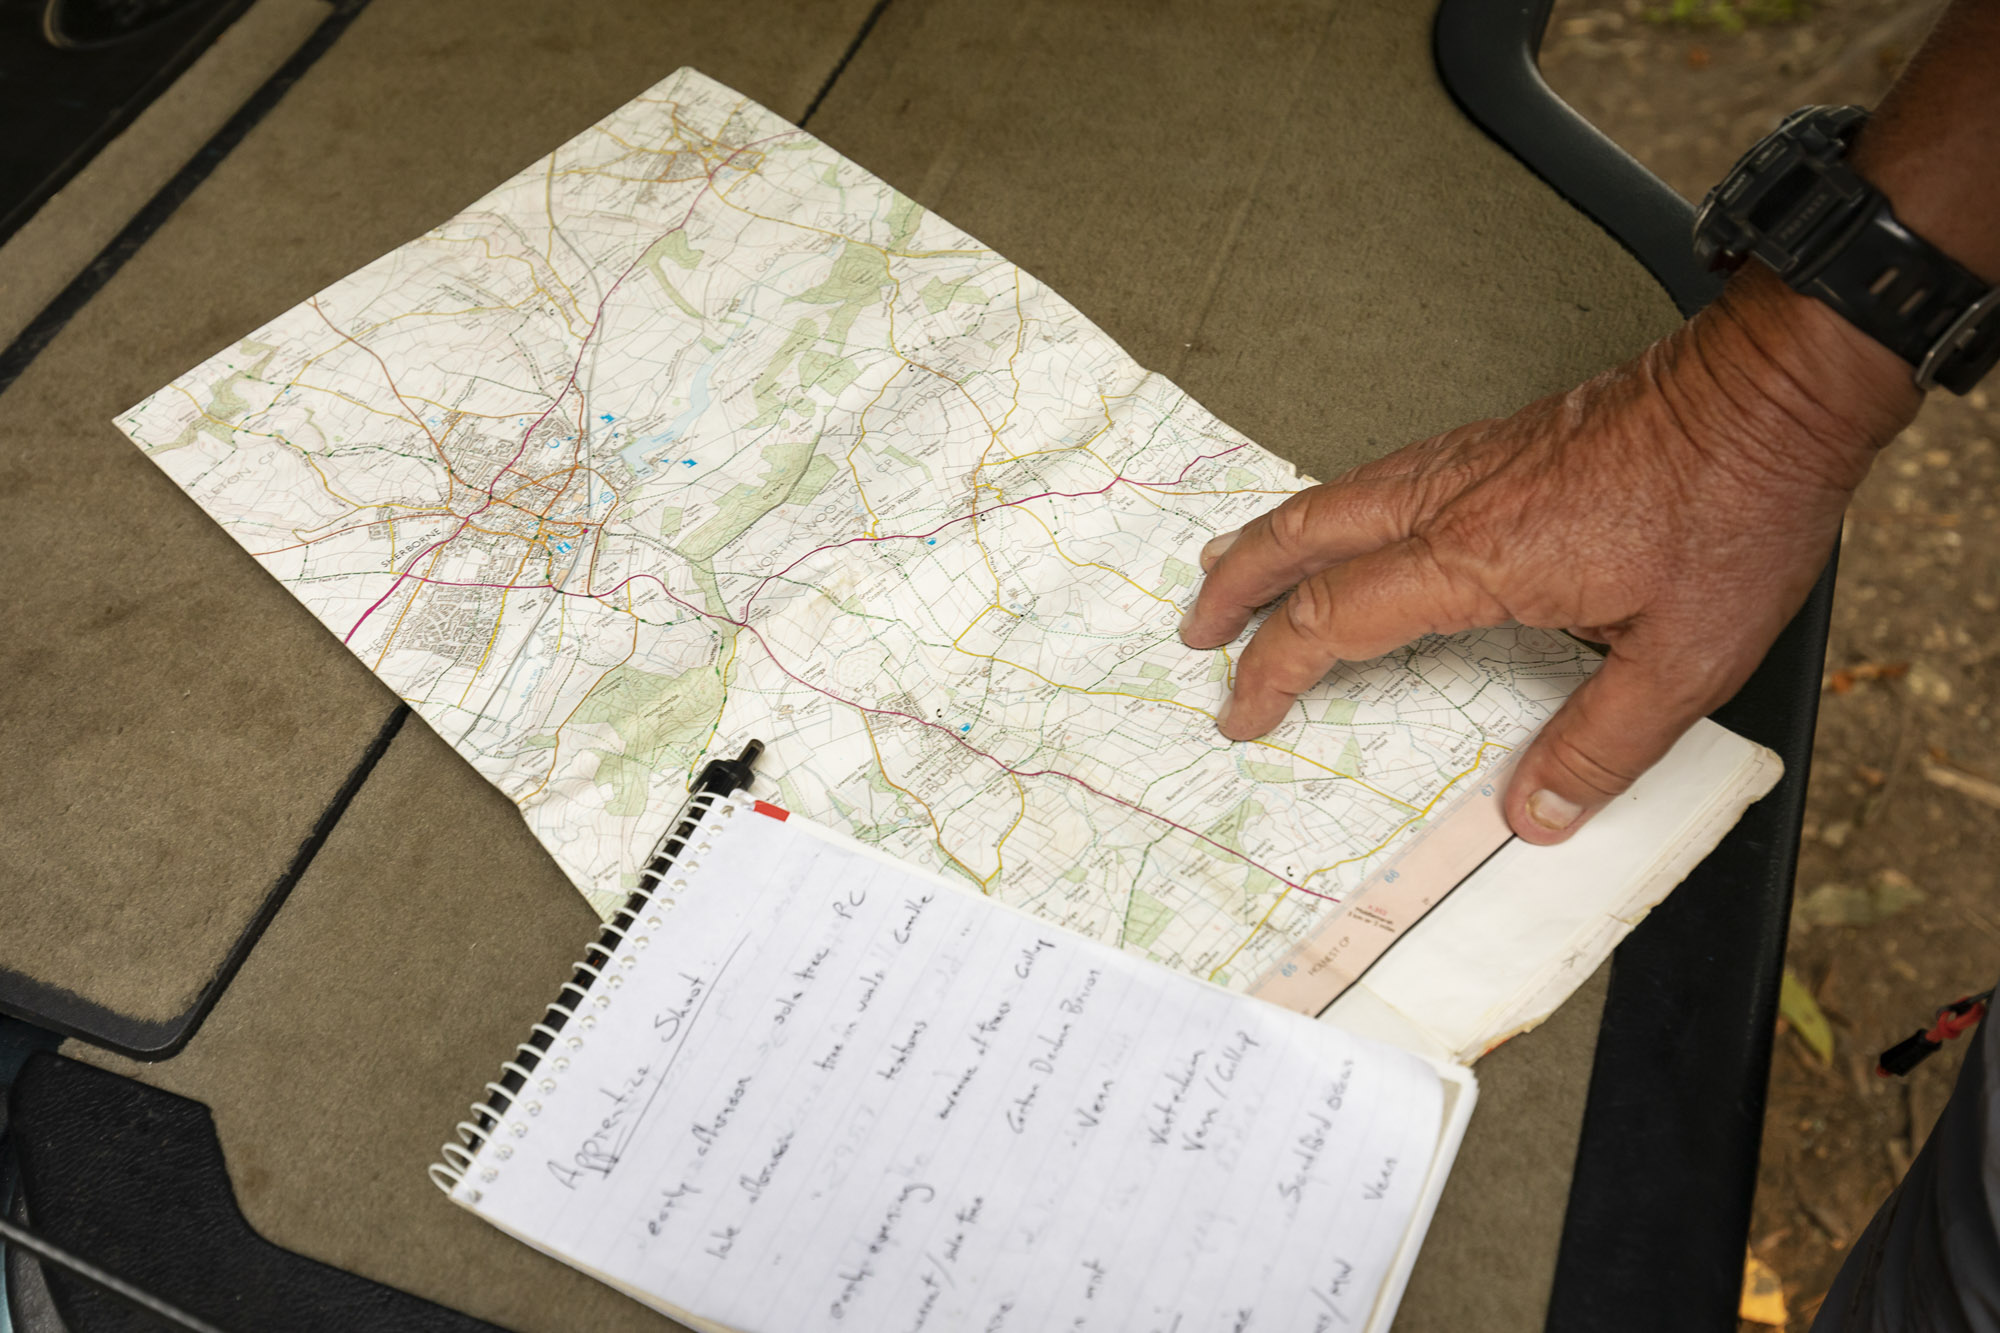
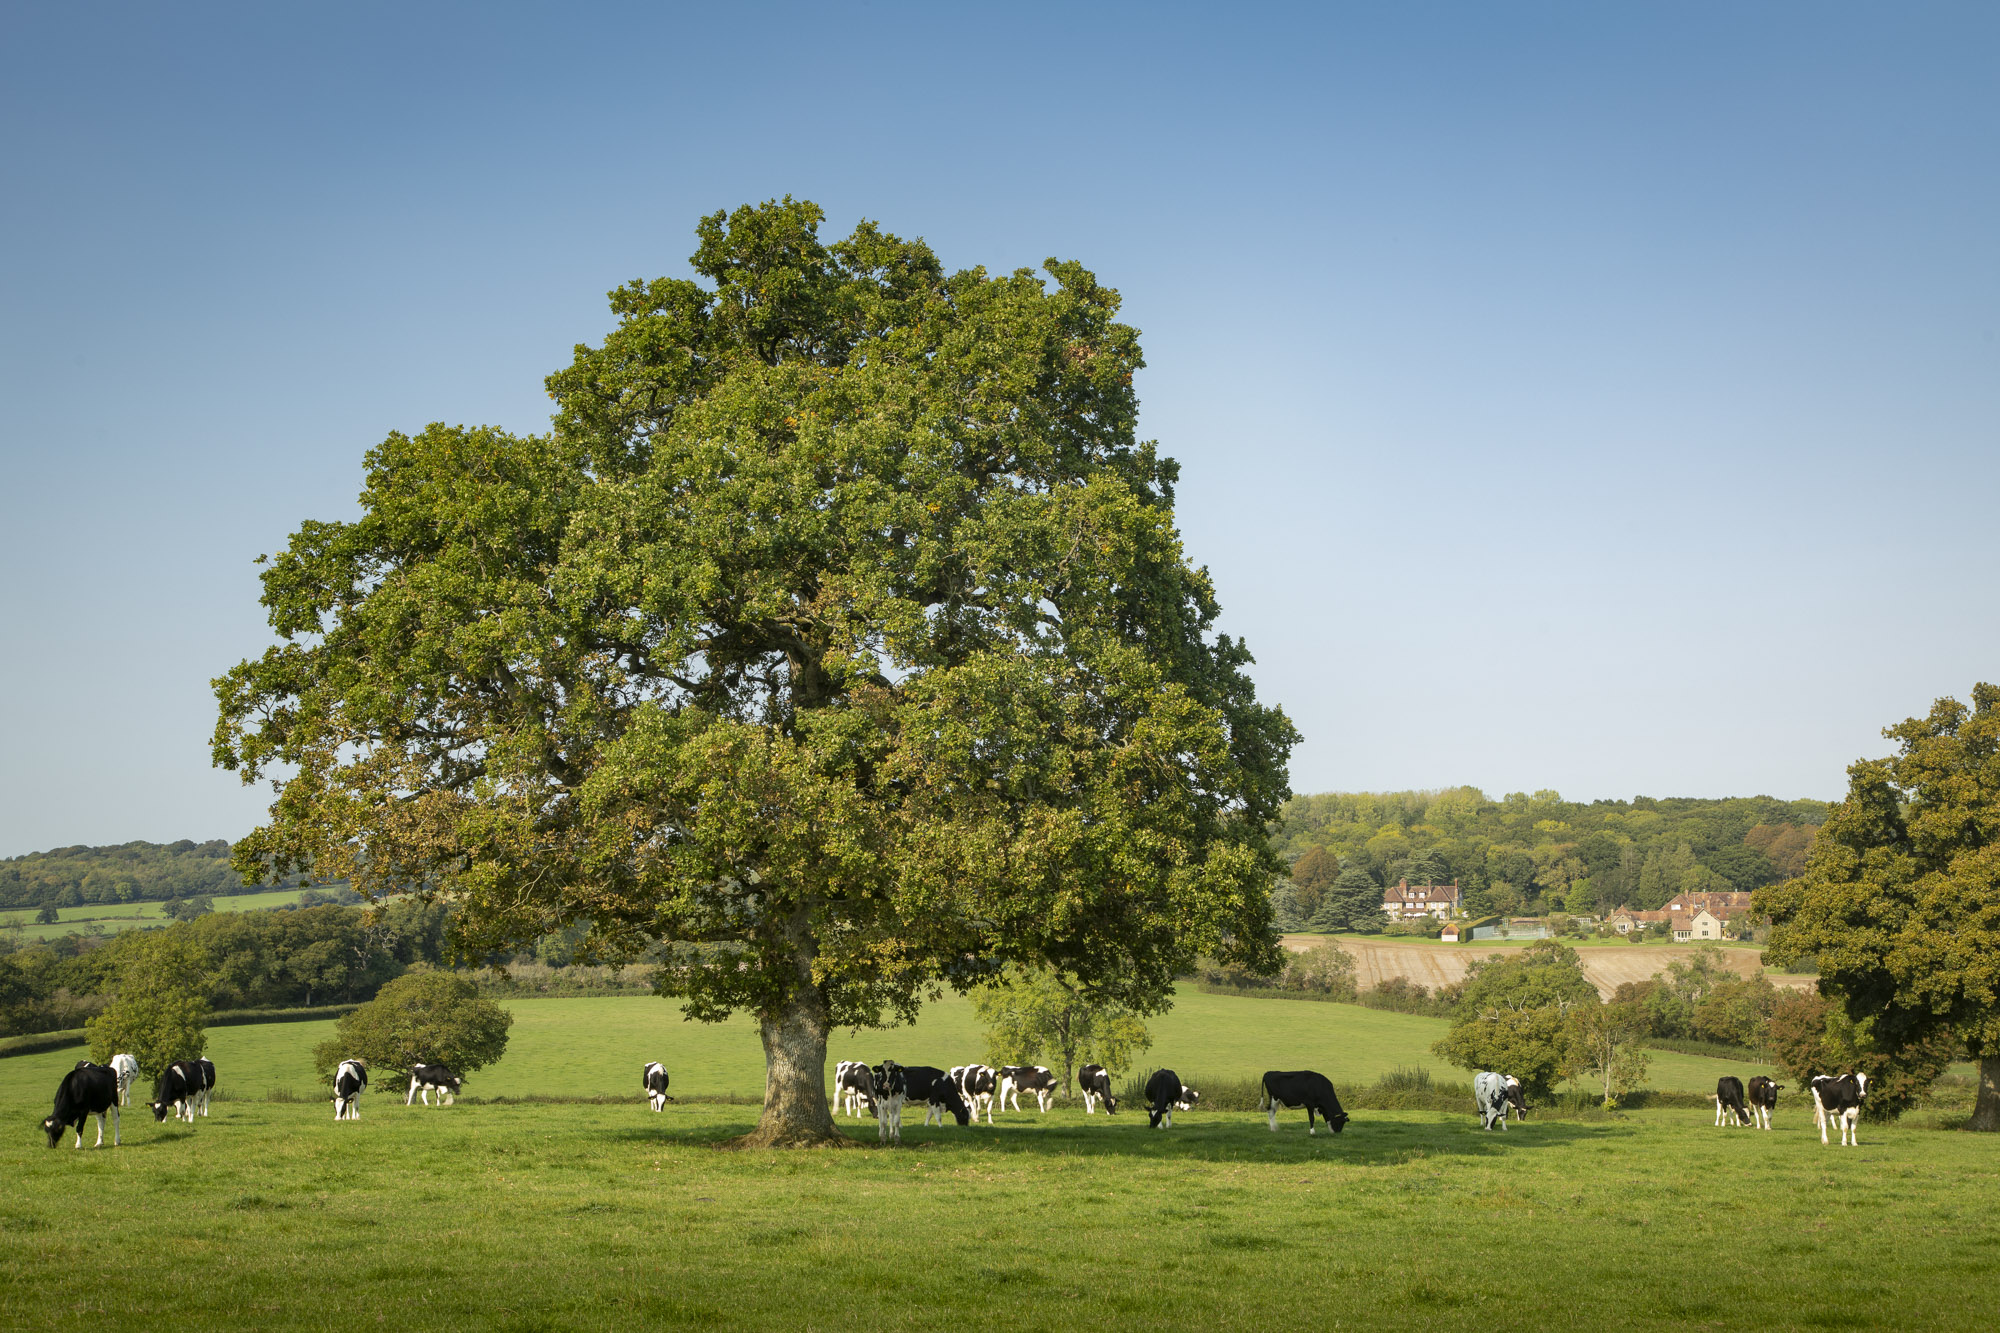
You don’t need to travel far when planning locations to photograph, in fact David planned a good trip with some photogenic trees, all within a few miles of his local area around Sherborne, in Dorset. This is also ideal in these times when we aren’t allowed to or don’t want to be going too far outside our local area.
The best camera deals, reviews, product advice, and unmissable photography news, direct to your inbox!
4. Polariser filter
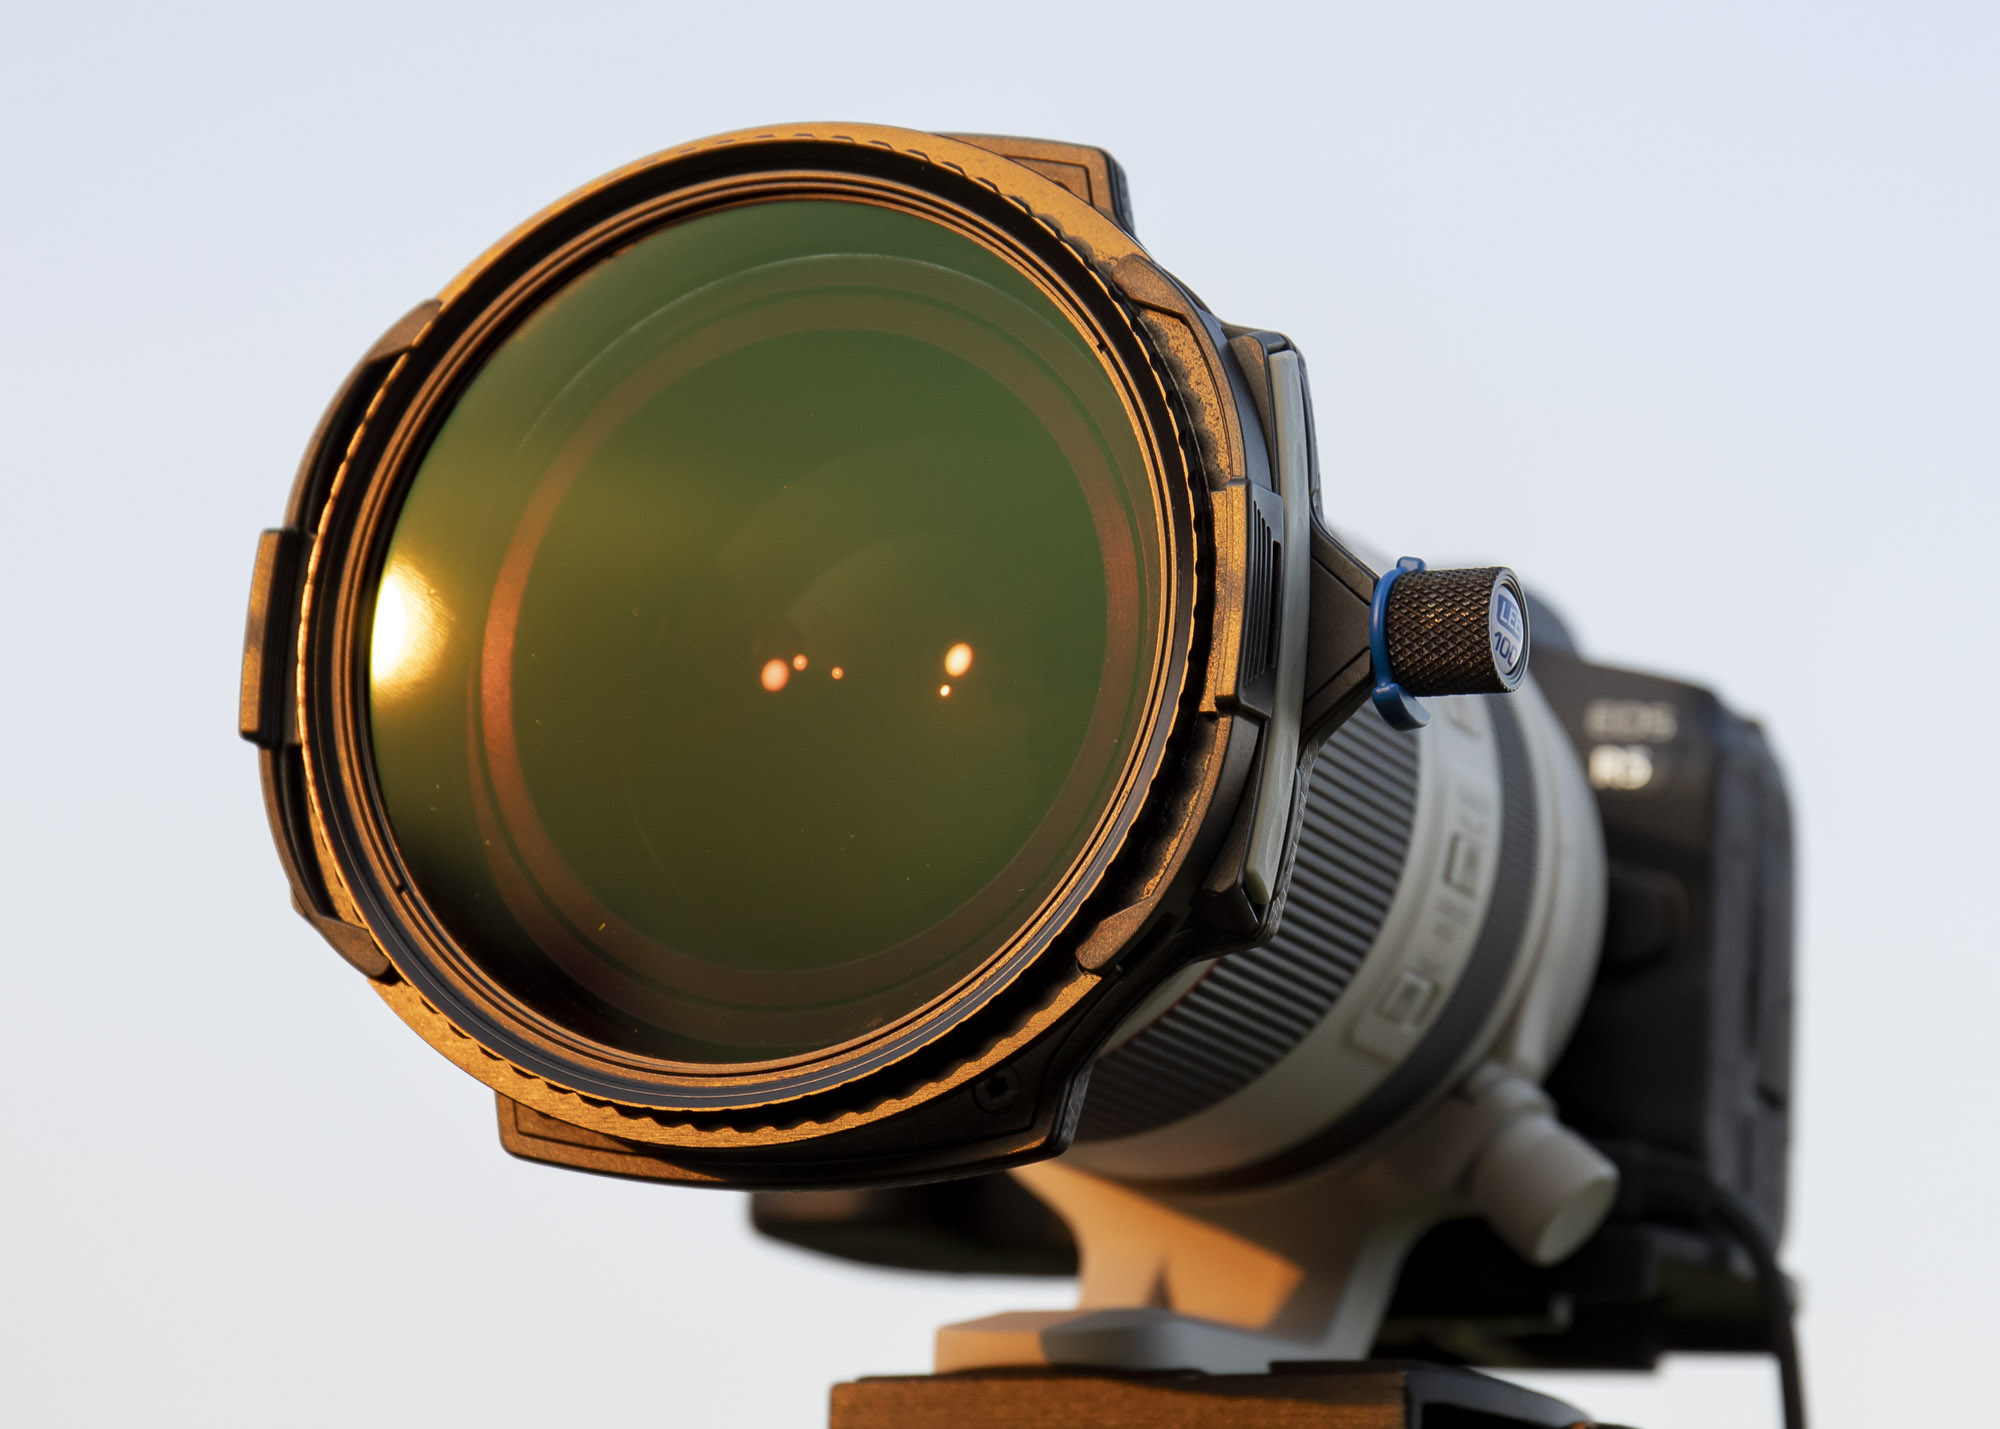
“Although I’d mostly use a polarizer when it’s sunny with fluffy white clouds in the scene to boost the blue skies and contrast, I will use one even if there’s no blue sky with clouds as it helps to reduce the haze – a problem we had on the days we were shooting – and add a little contrast,” says David. These are the best polarizing filters.
5. AF points touch screen
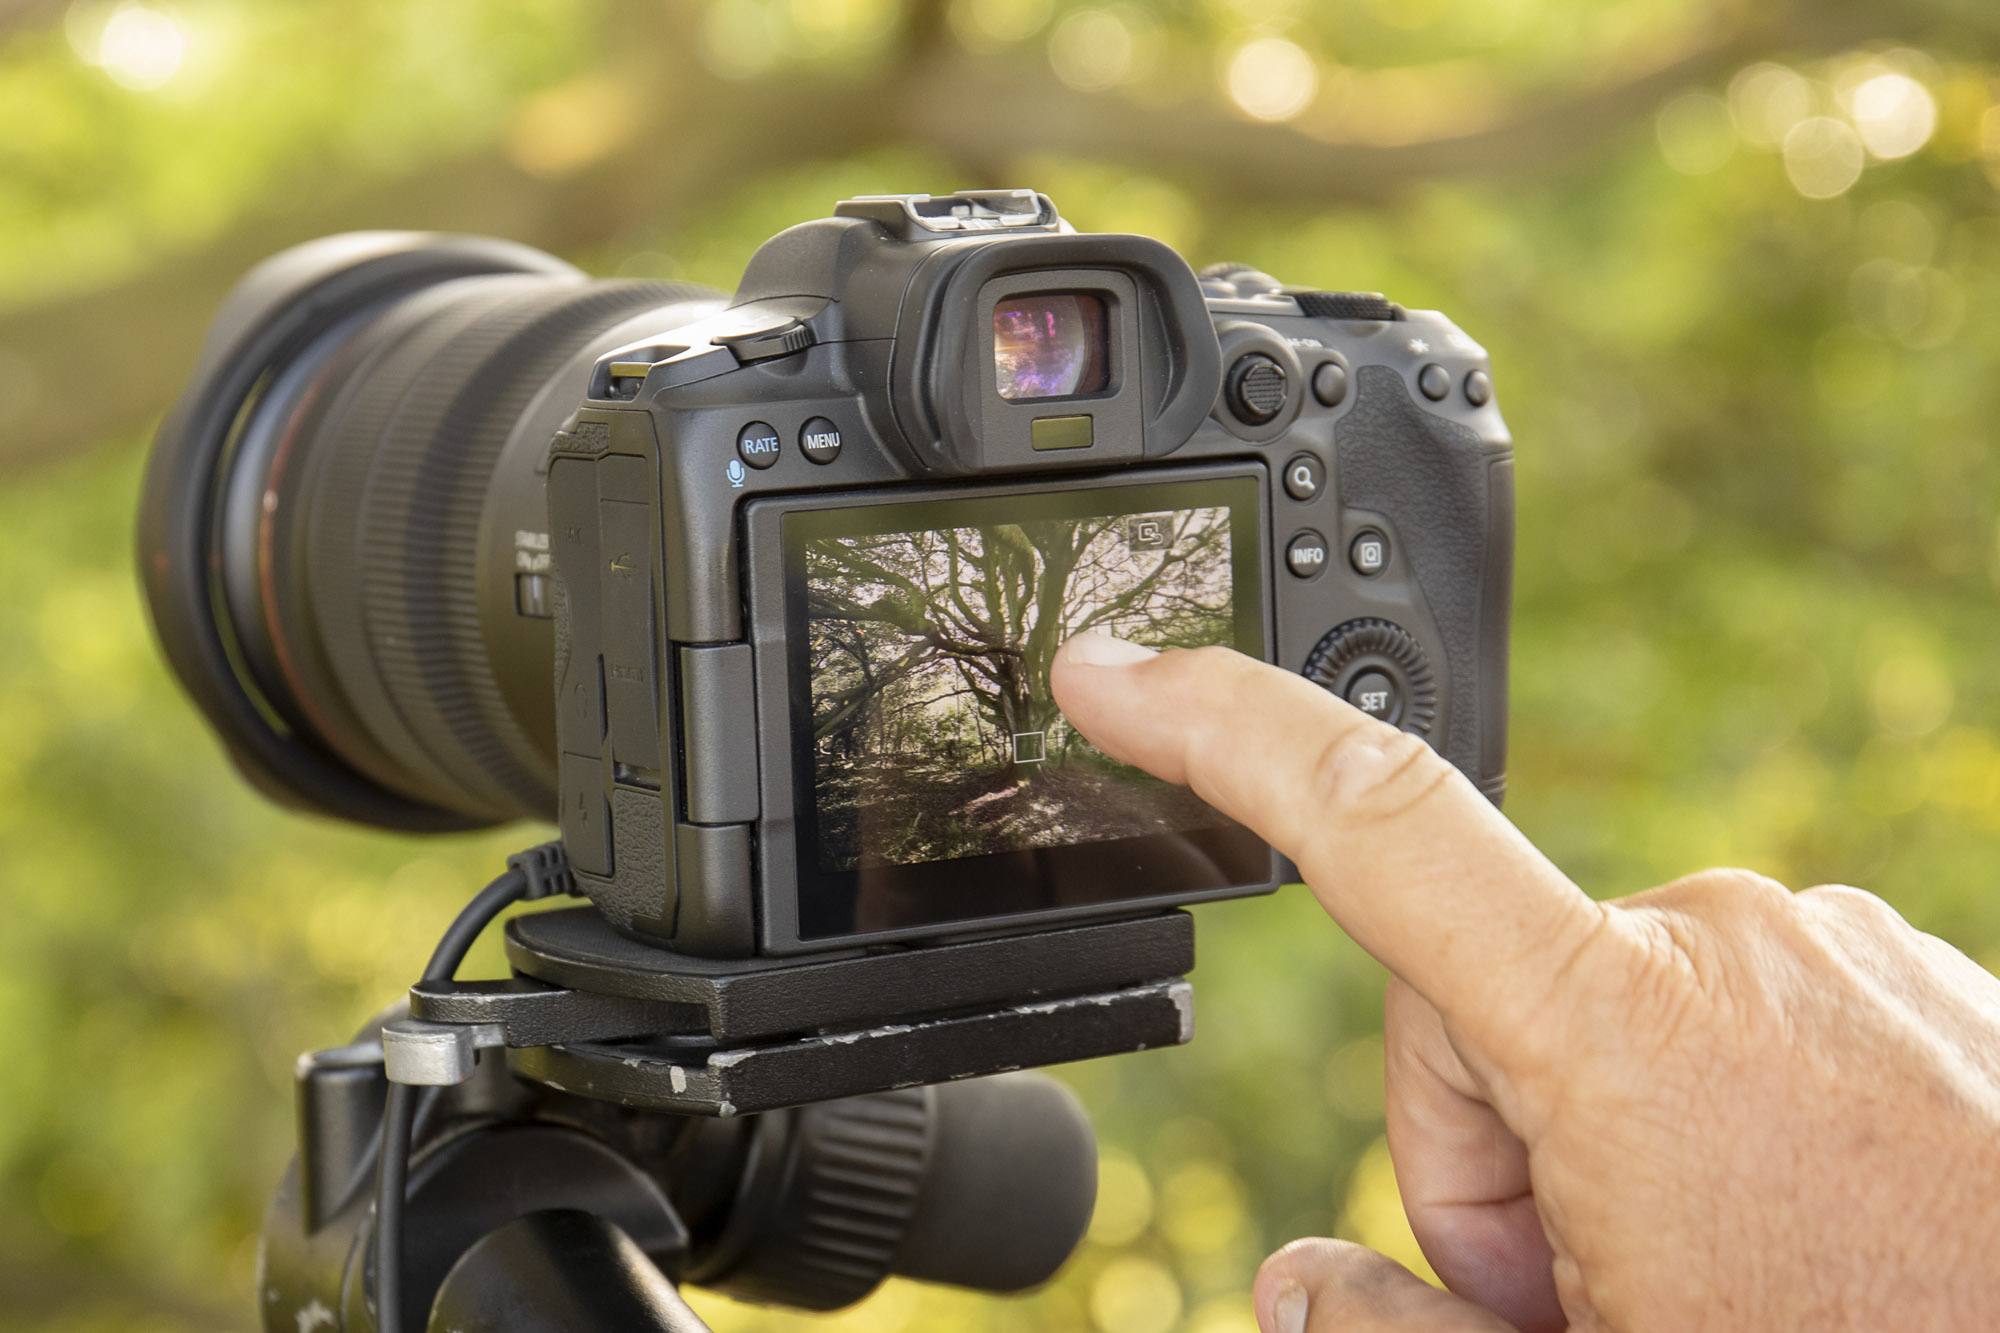
One of the big benefits of using an EOS mirrorless camera is the ability to touch anywhere on the LCD screen and you can lock the focus. Whereas when shooting with EOS DSLRs, depending on the model, you can be restricted to how many AF points they have to either focus through the viewfinder or a smaller area to focus using the LCD Live View. “My Canon EOS R5 mirrorless has 5940 autofocus positions across the whole screen for easier focusing and sharper scenic shots,” explains David.
6. Auto Exposure Bracketing
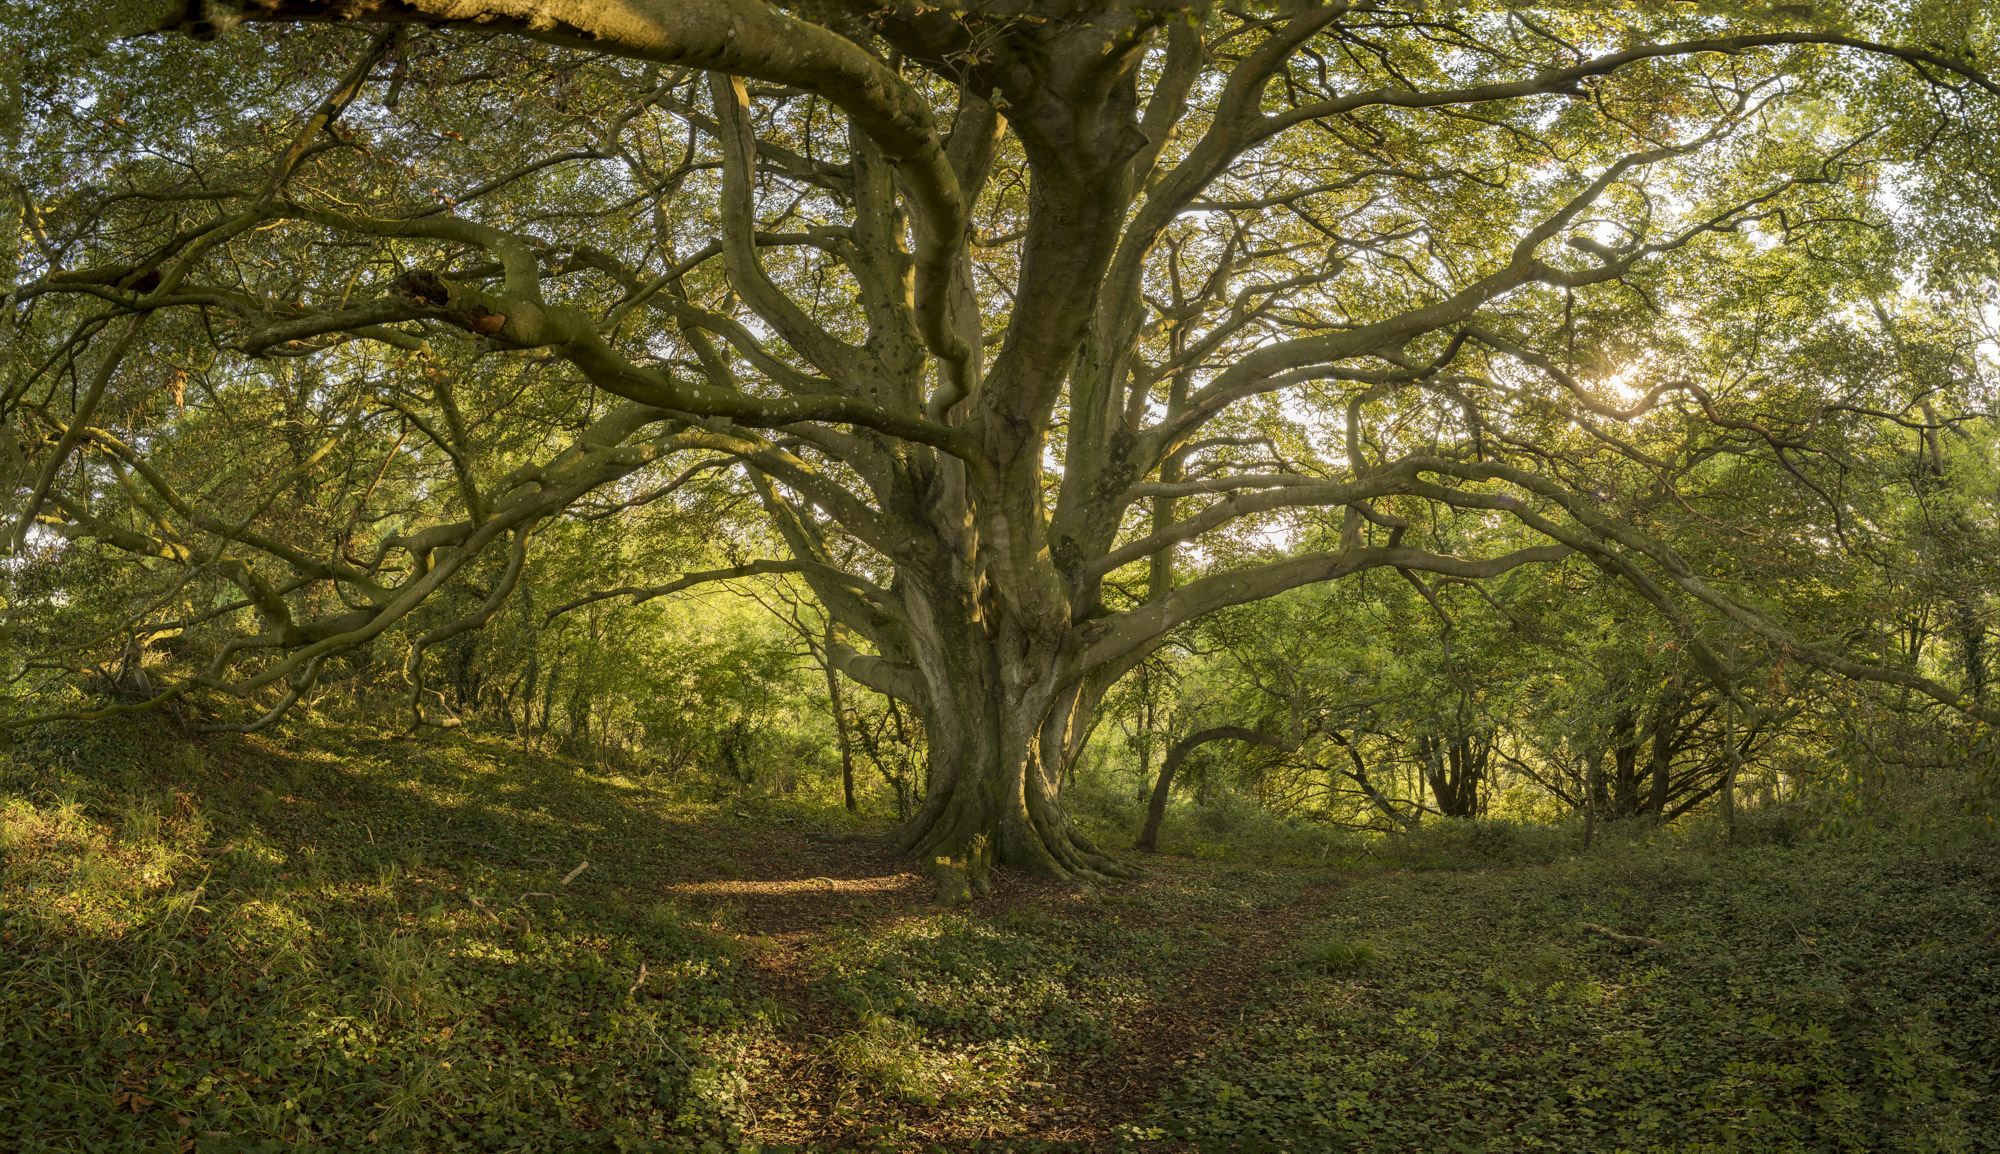
When photographing high-contrast scenes in the forest, with bright highlights and dark shadows, you won’t be able to capture all the tones in a single shot. Instead, take a sequence that brackets the entire tonal range using your camera’s Auto Exposure Bracketing (AEB) feature; setting your camera to 3 to 5 exposures bracketing of -2 and -1 stops, level and +1 and +2 stops. Always shoot with AEB on a tripod to make it easier to merge and align the images together as an HDR image in Photoshop later.
7. Canon EOS full-frame
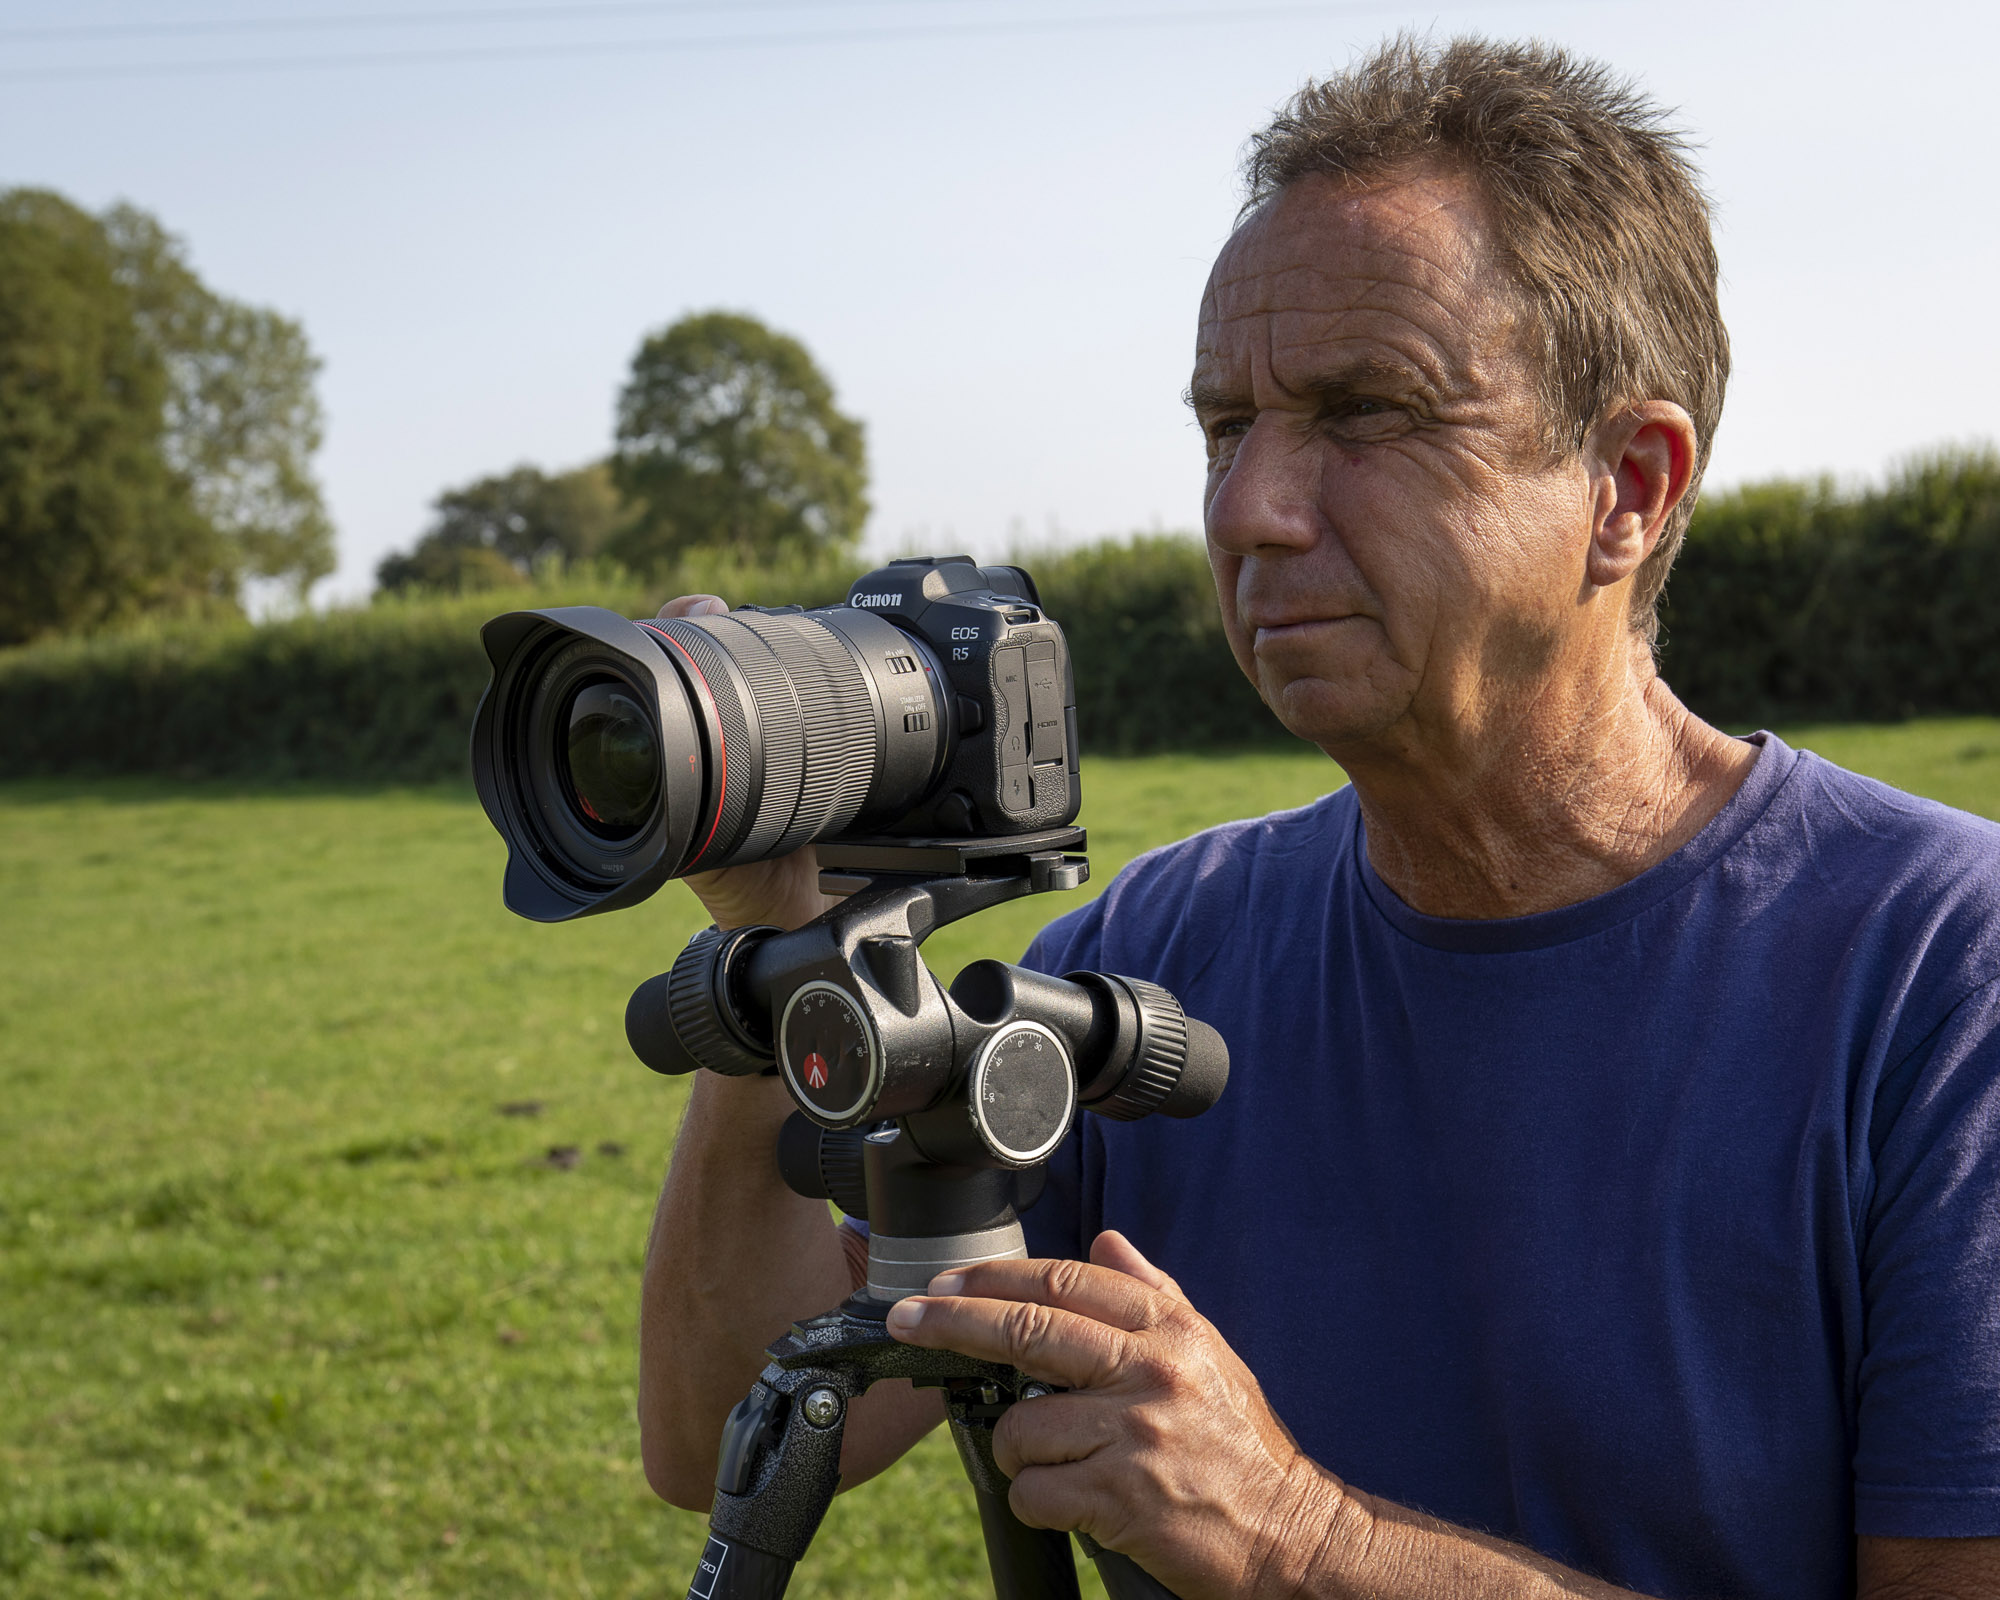
“I switched to a Canon EOS full-frame mirrorless system from EOS DSLRs for a more compact setup. This means I can take all I need comfortably in one bag on my adventures. I did have the EOS R, but the brilliant EOS R5 is a real step up in tech specs and image quality. The R5 is noticeably smaller than an EOS-1D X body, but it’s the RF lenses that, as well as being sharper, are both smaller and more compact so I can carry the RF 15-35mm, RF 24-105mm, and RF 70-200mm in my bag without breaking my back!” reveals David. These are the best mirrorless cameras.
8. Telephoto zooms for treescape shots
“Many people on my workshops used to say, ‘I’ve only brought my wide-angle landscape lens as we are shooting landscapes!’ However I often use my longer lenses to photograph wide spanning vistas, so I can zoom in to more interesting parts of the scene, rather than just trying to capture one big wide shot with no clear focal point. Long lenses are also great for compressing perspective, which can help bring far away elements within a scene closer together for a denser composition. I use the super-sharp RF 70-200mm, which is also very compact when set to 70mm so it fits easily in my bag,” smiles David.
9. Histogram for better exposures
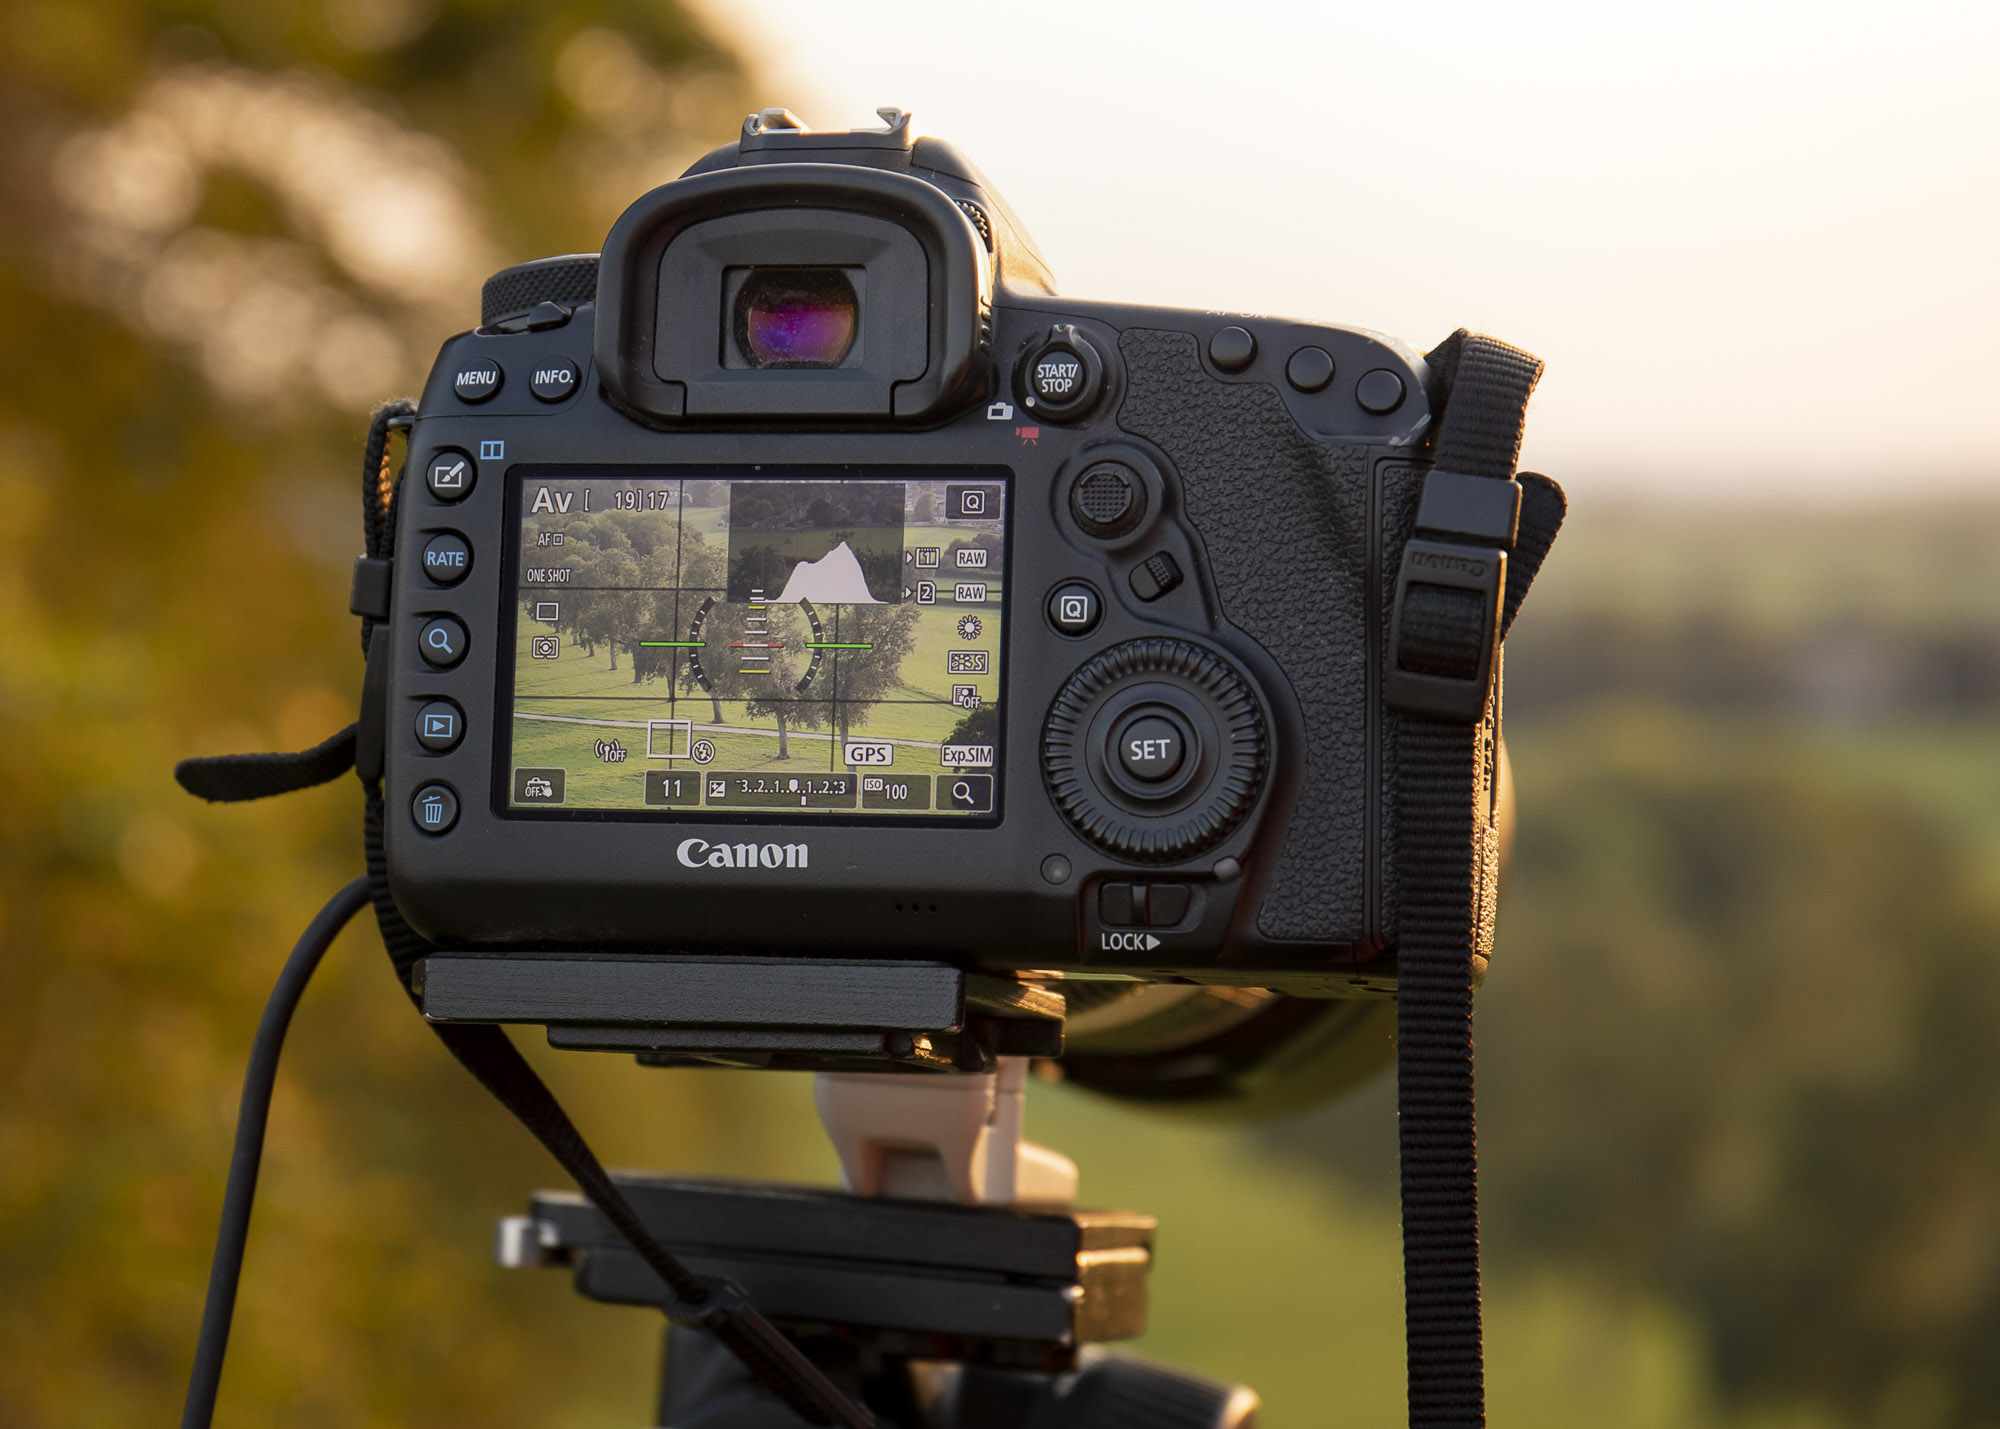
The histogram is a graph on your Canon camera’s LCD showing the brightness level on the horizontal axis; darker shadow tones on the left, and brighter highlights on the right, while the vertical axis indicates the brightness level. If tones are ‘clipped’ off either end of the graph, you will need to increase or decrease your exposure compensation to retain detail. Bear in mind, though, the histogram is based on the tones in a JPEG, so when shooting in Raw, your image will capture slightly more detail in the shadows and highlights than the graph shows on your camera’s LCD.
10. Set-up for sharper shots
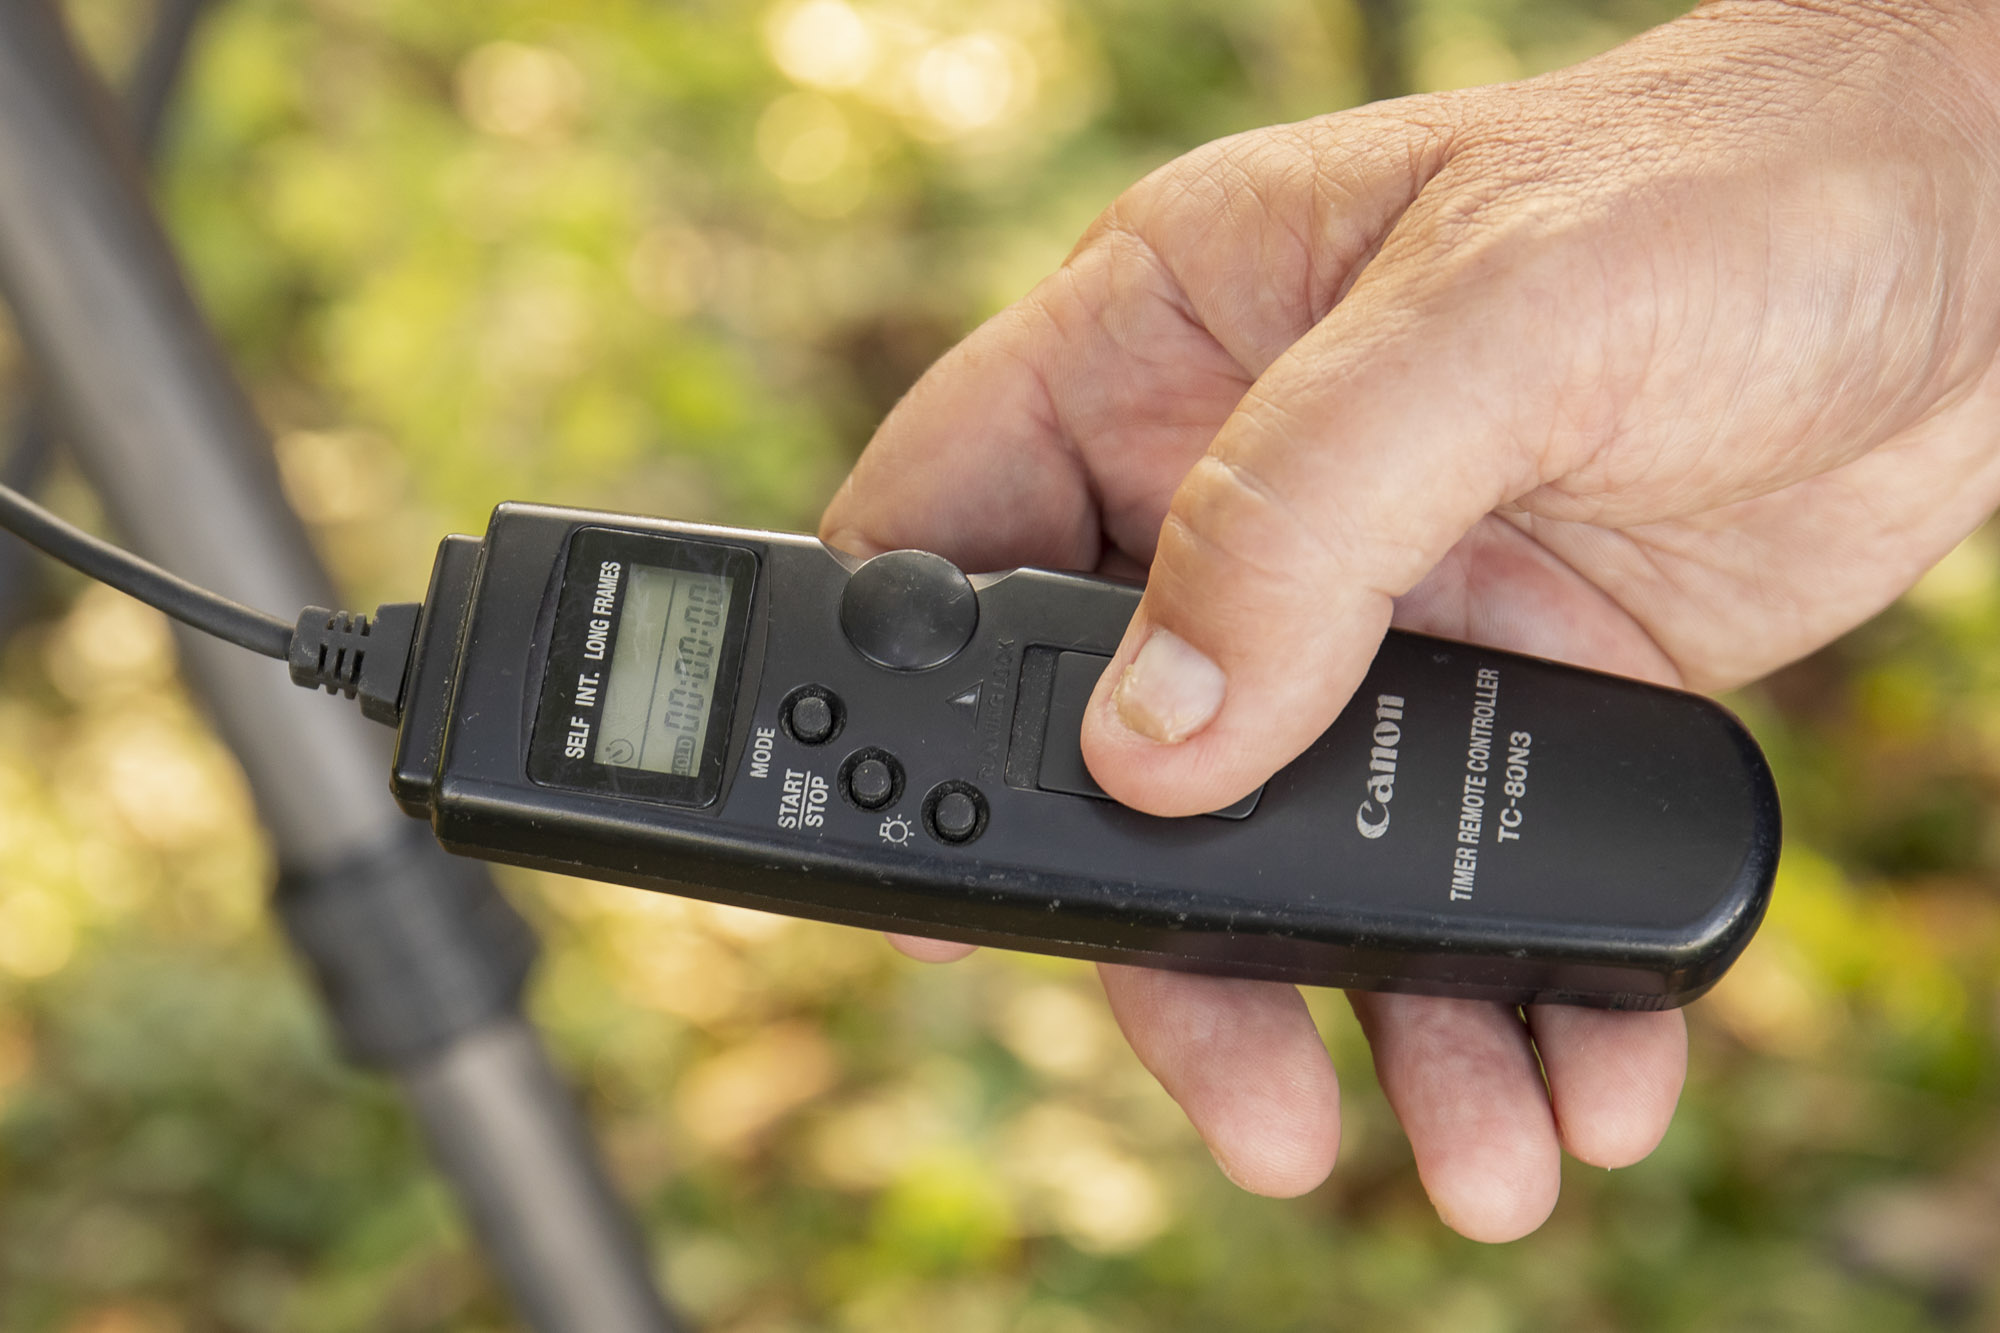
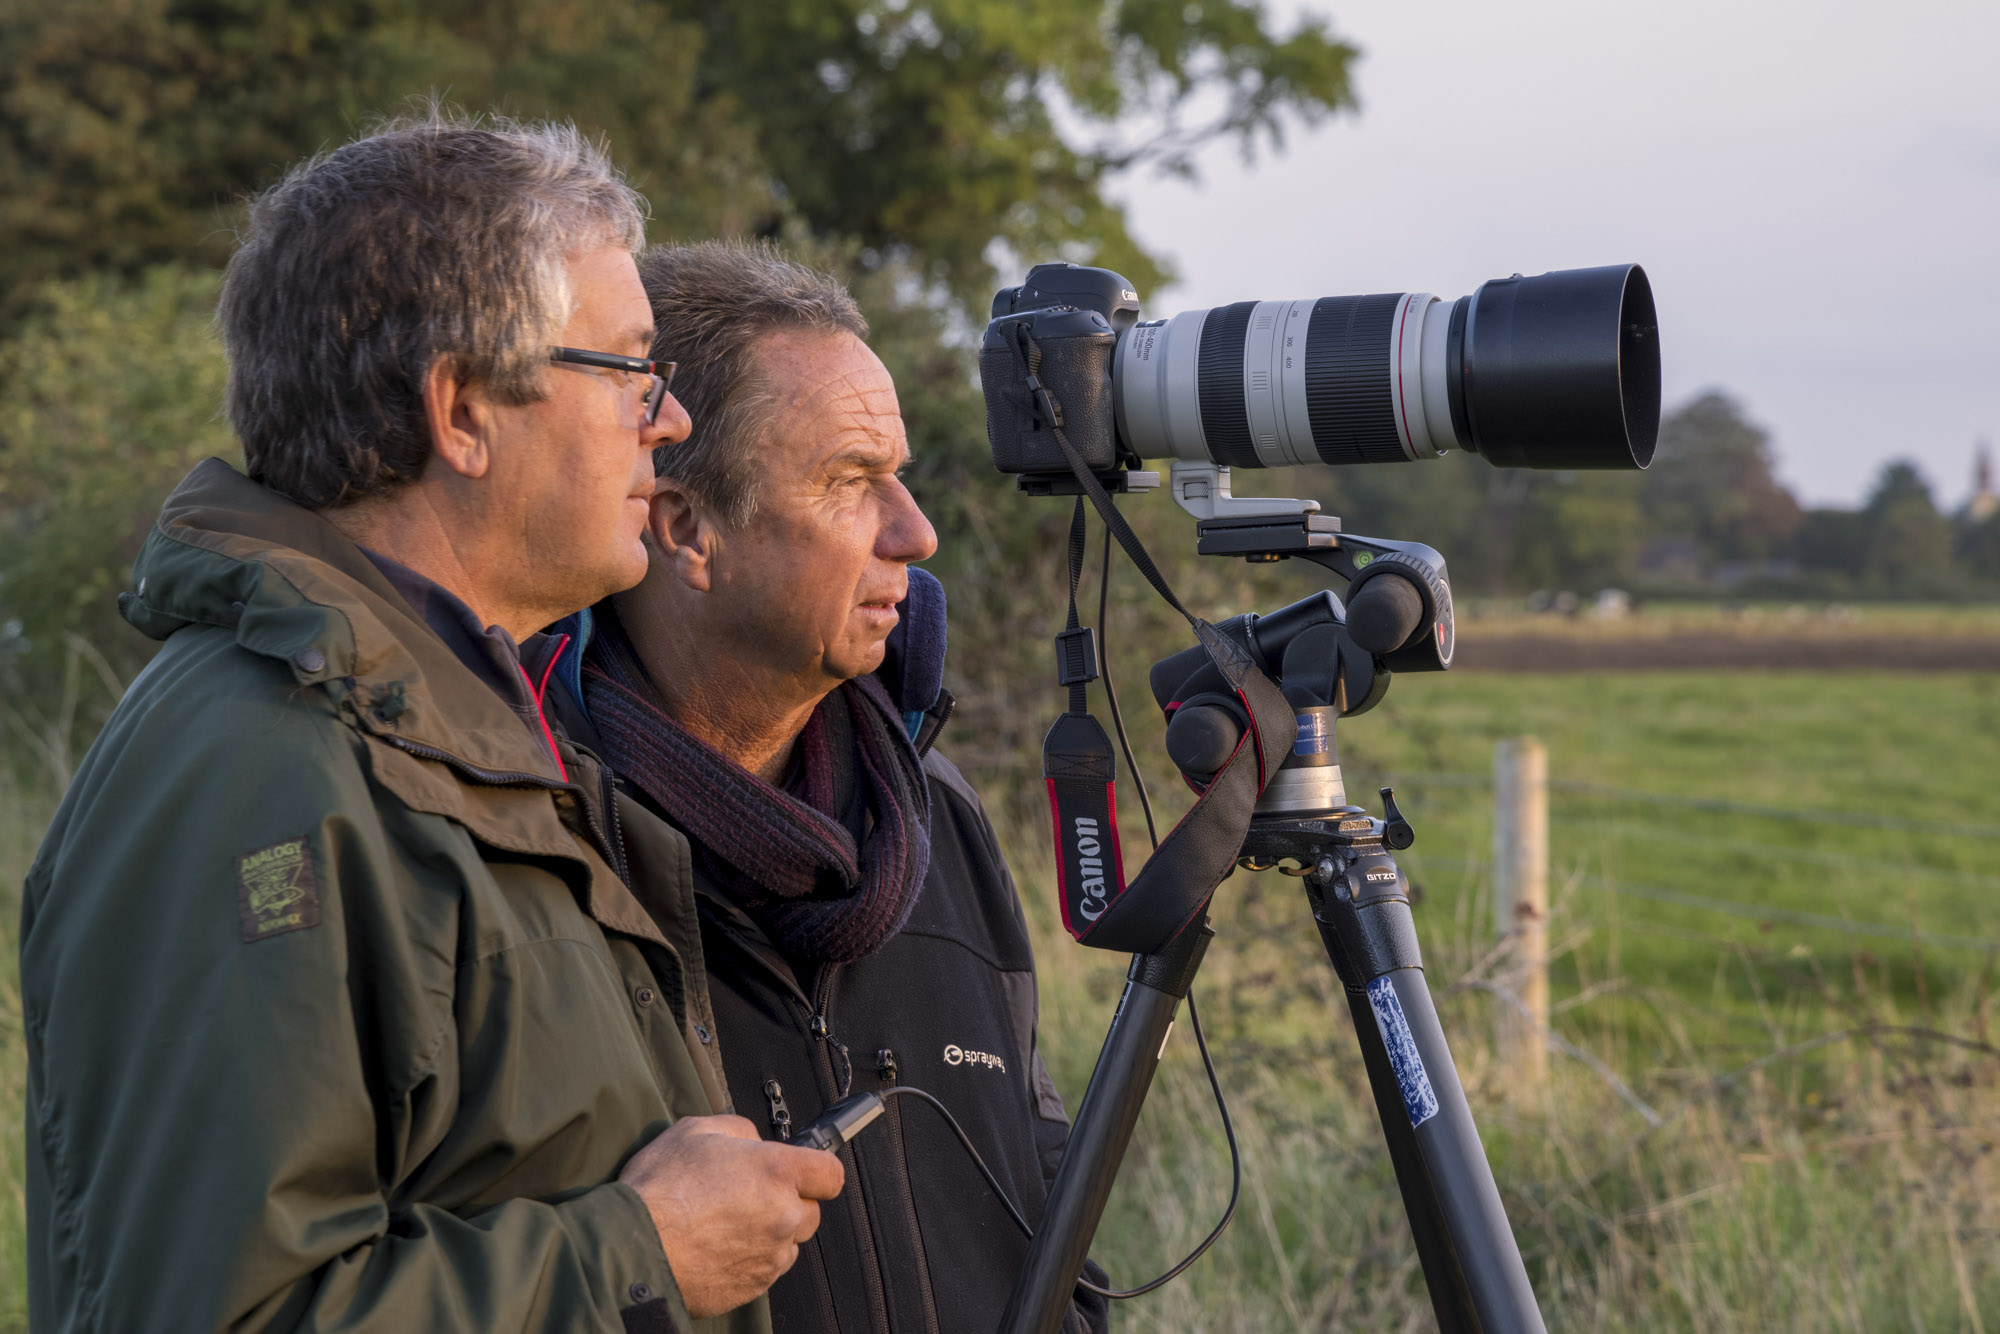
“As well as always using my Canon camera and lens on my solid Manfrotto three-way head, with sturdy Gitzo GT3533LS big carbon-fibre legs, I also used my trusty and well-used Canon TC-80N3 remote control – this set up means my Canon gear remains rock-solid, plus I don’t need to touch the camera to take the shot. This is important with longer exposures as pressing the shutter button can be enough to nudge the camera, which equals blurry shots. With the remote, it’s also very easy to take the bracketed exposures quickly, again without touching the camera,” says David.
This article originally appeared in PhotoPlus: The Canon Magazine:
PhotoPlus: The Canon Magazine is the world's only monthly newsstand title that's 100% devoted to Canon, so you can be sure the magazine is completely relevant to your system. Every issue comes with downloadable video tutorials too.
PhotoPlus: The Canon Magazine is the world’s only 100% Canon-focused title on the newsstand. Launched in 2007, for 14 years it has delivered news, reviews, buying guides, features, inspirational projects and tutorials on cameras, lenses, tripods, gimbals, filters, lighting and all manner of photography equipment.
Aimed squarely at enthusiast photographers who use the Canon DSLR or mirrorless camera systems, all content is tailored to Canon users – so everything from techniques to product tests are tailored to those using the EOS camera system.
Editor Peter Travers brings 14 years of experience as both a journalist and professional photographer, with Technique Editor Dan Mold shoring up the magazine with his 6 years of expertise.
