The best camera deals, reviews, product advice, and unmissable photography news, direct to your inbox!
You are now subscribed
Your newsletter sign-up was successful
Wildlife photography can be one of the most challenging genres the medium has to offer, and add to that macro – where close focusing amplifies any minor vibrations or movements – and you have no easy task on your hands.
That said, wildlife photography can be incredibly rewarding and there's no better feeling than when you've finally got the shot after long days waiting for the right moment, or even weeks, months and years in some cases!
• To shoot stunning wildlife close-up shots of your own, check out the best lenses for macro photography
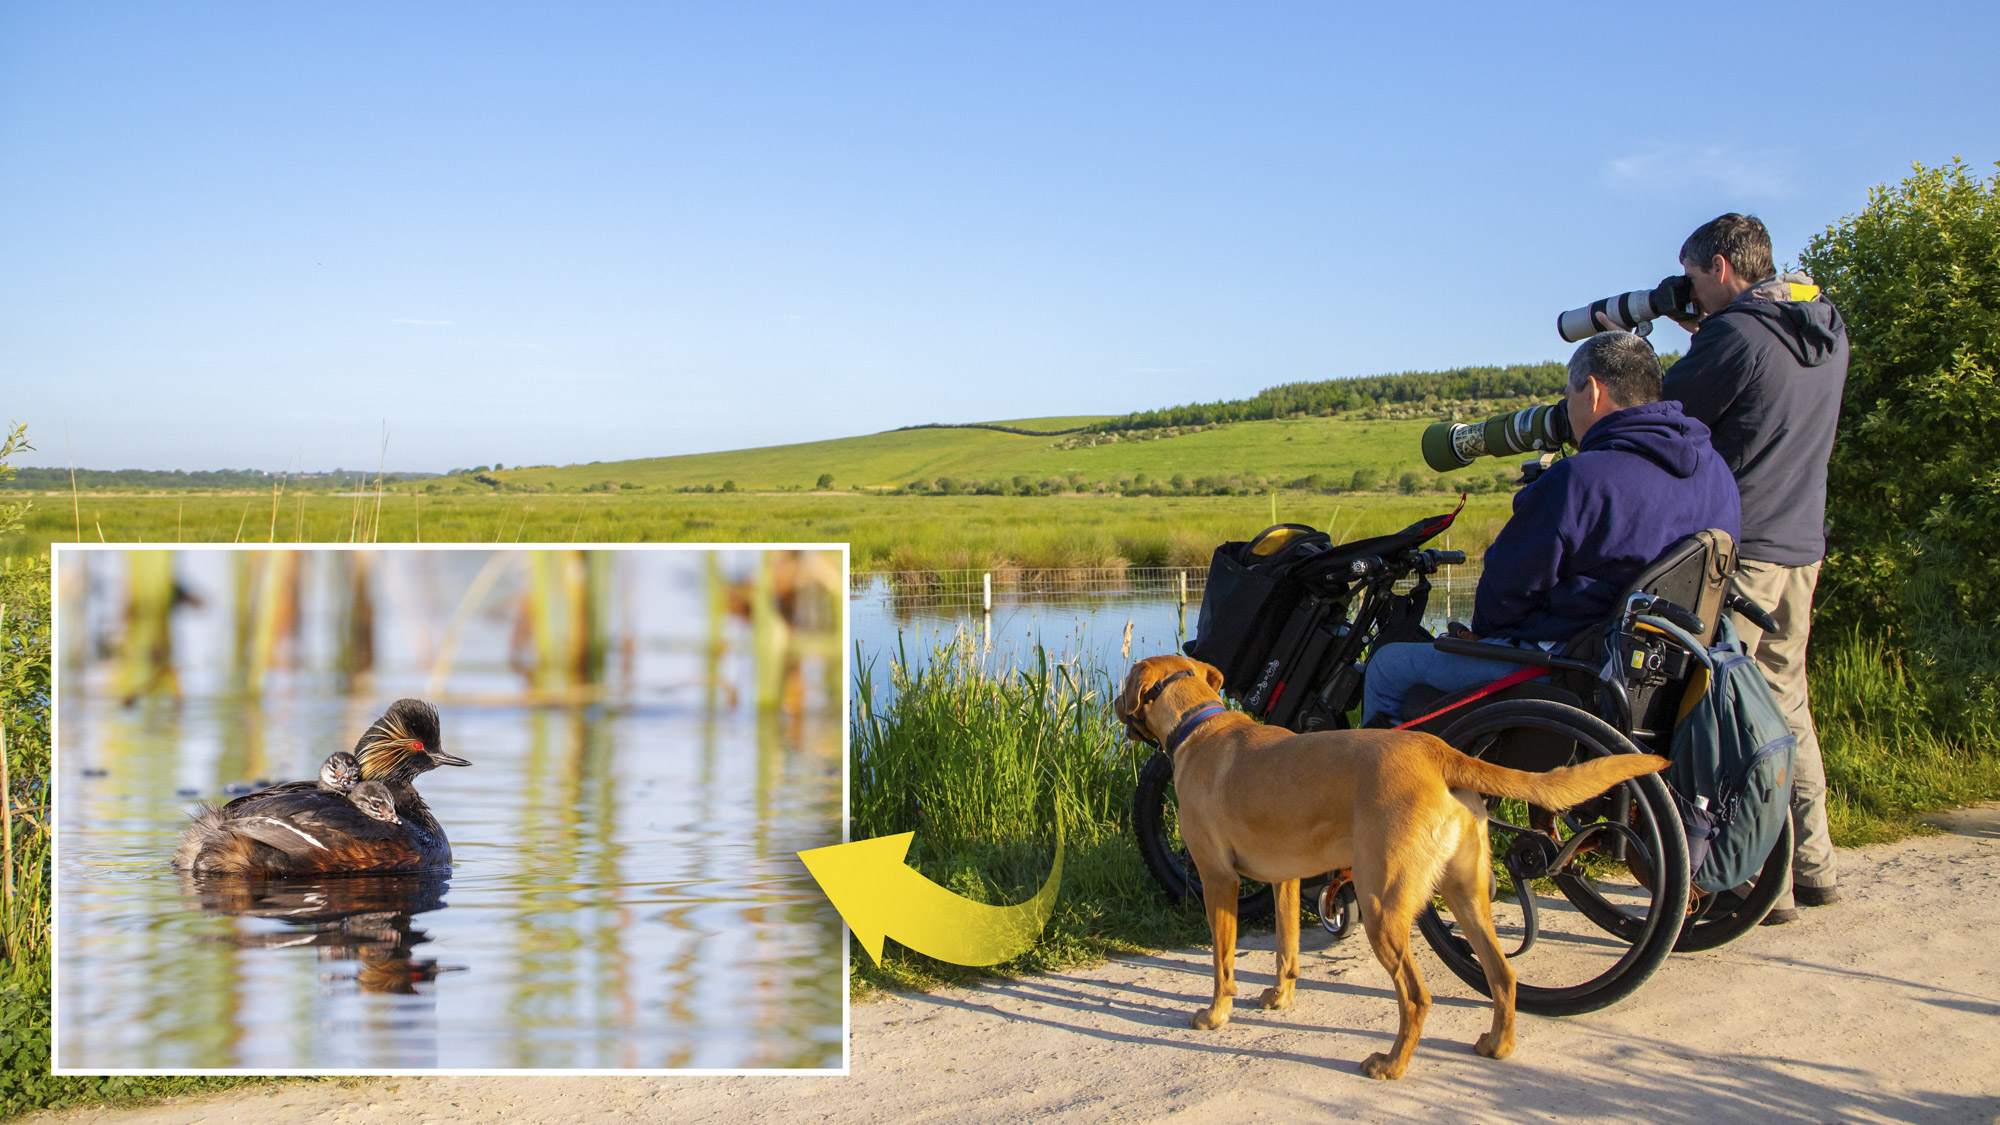
Photographing wildlife becomes even harder when you're in a wheelchair, like reader of PhotoPlus: The Canon Magazine, Peter Lau. Peter has a passion for nature, stemming from an active outdoor lifestyle, and was a firefighter for 25 years. In 2014 a mountain bike accident left him paralyzed from the chest down, but ever since he’s been determined to prove that photography is a hobby everyone can enjoy.
He uses an electric Triride to go into environments you wouldn’t think would be possible on a wheelchair. Peter is also a wildlife support officer with the Yorkshire Wildlife Trust and works with Accessible Nature UK to improve access to outdoor places. This month we paired him up with Canon professional, Oliver Wright, for a wildlife and macro masterclass around some of his favorite accessible nature spots around Leeds, UK, including RSPB St Aidan's and Skipwith Common.
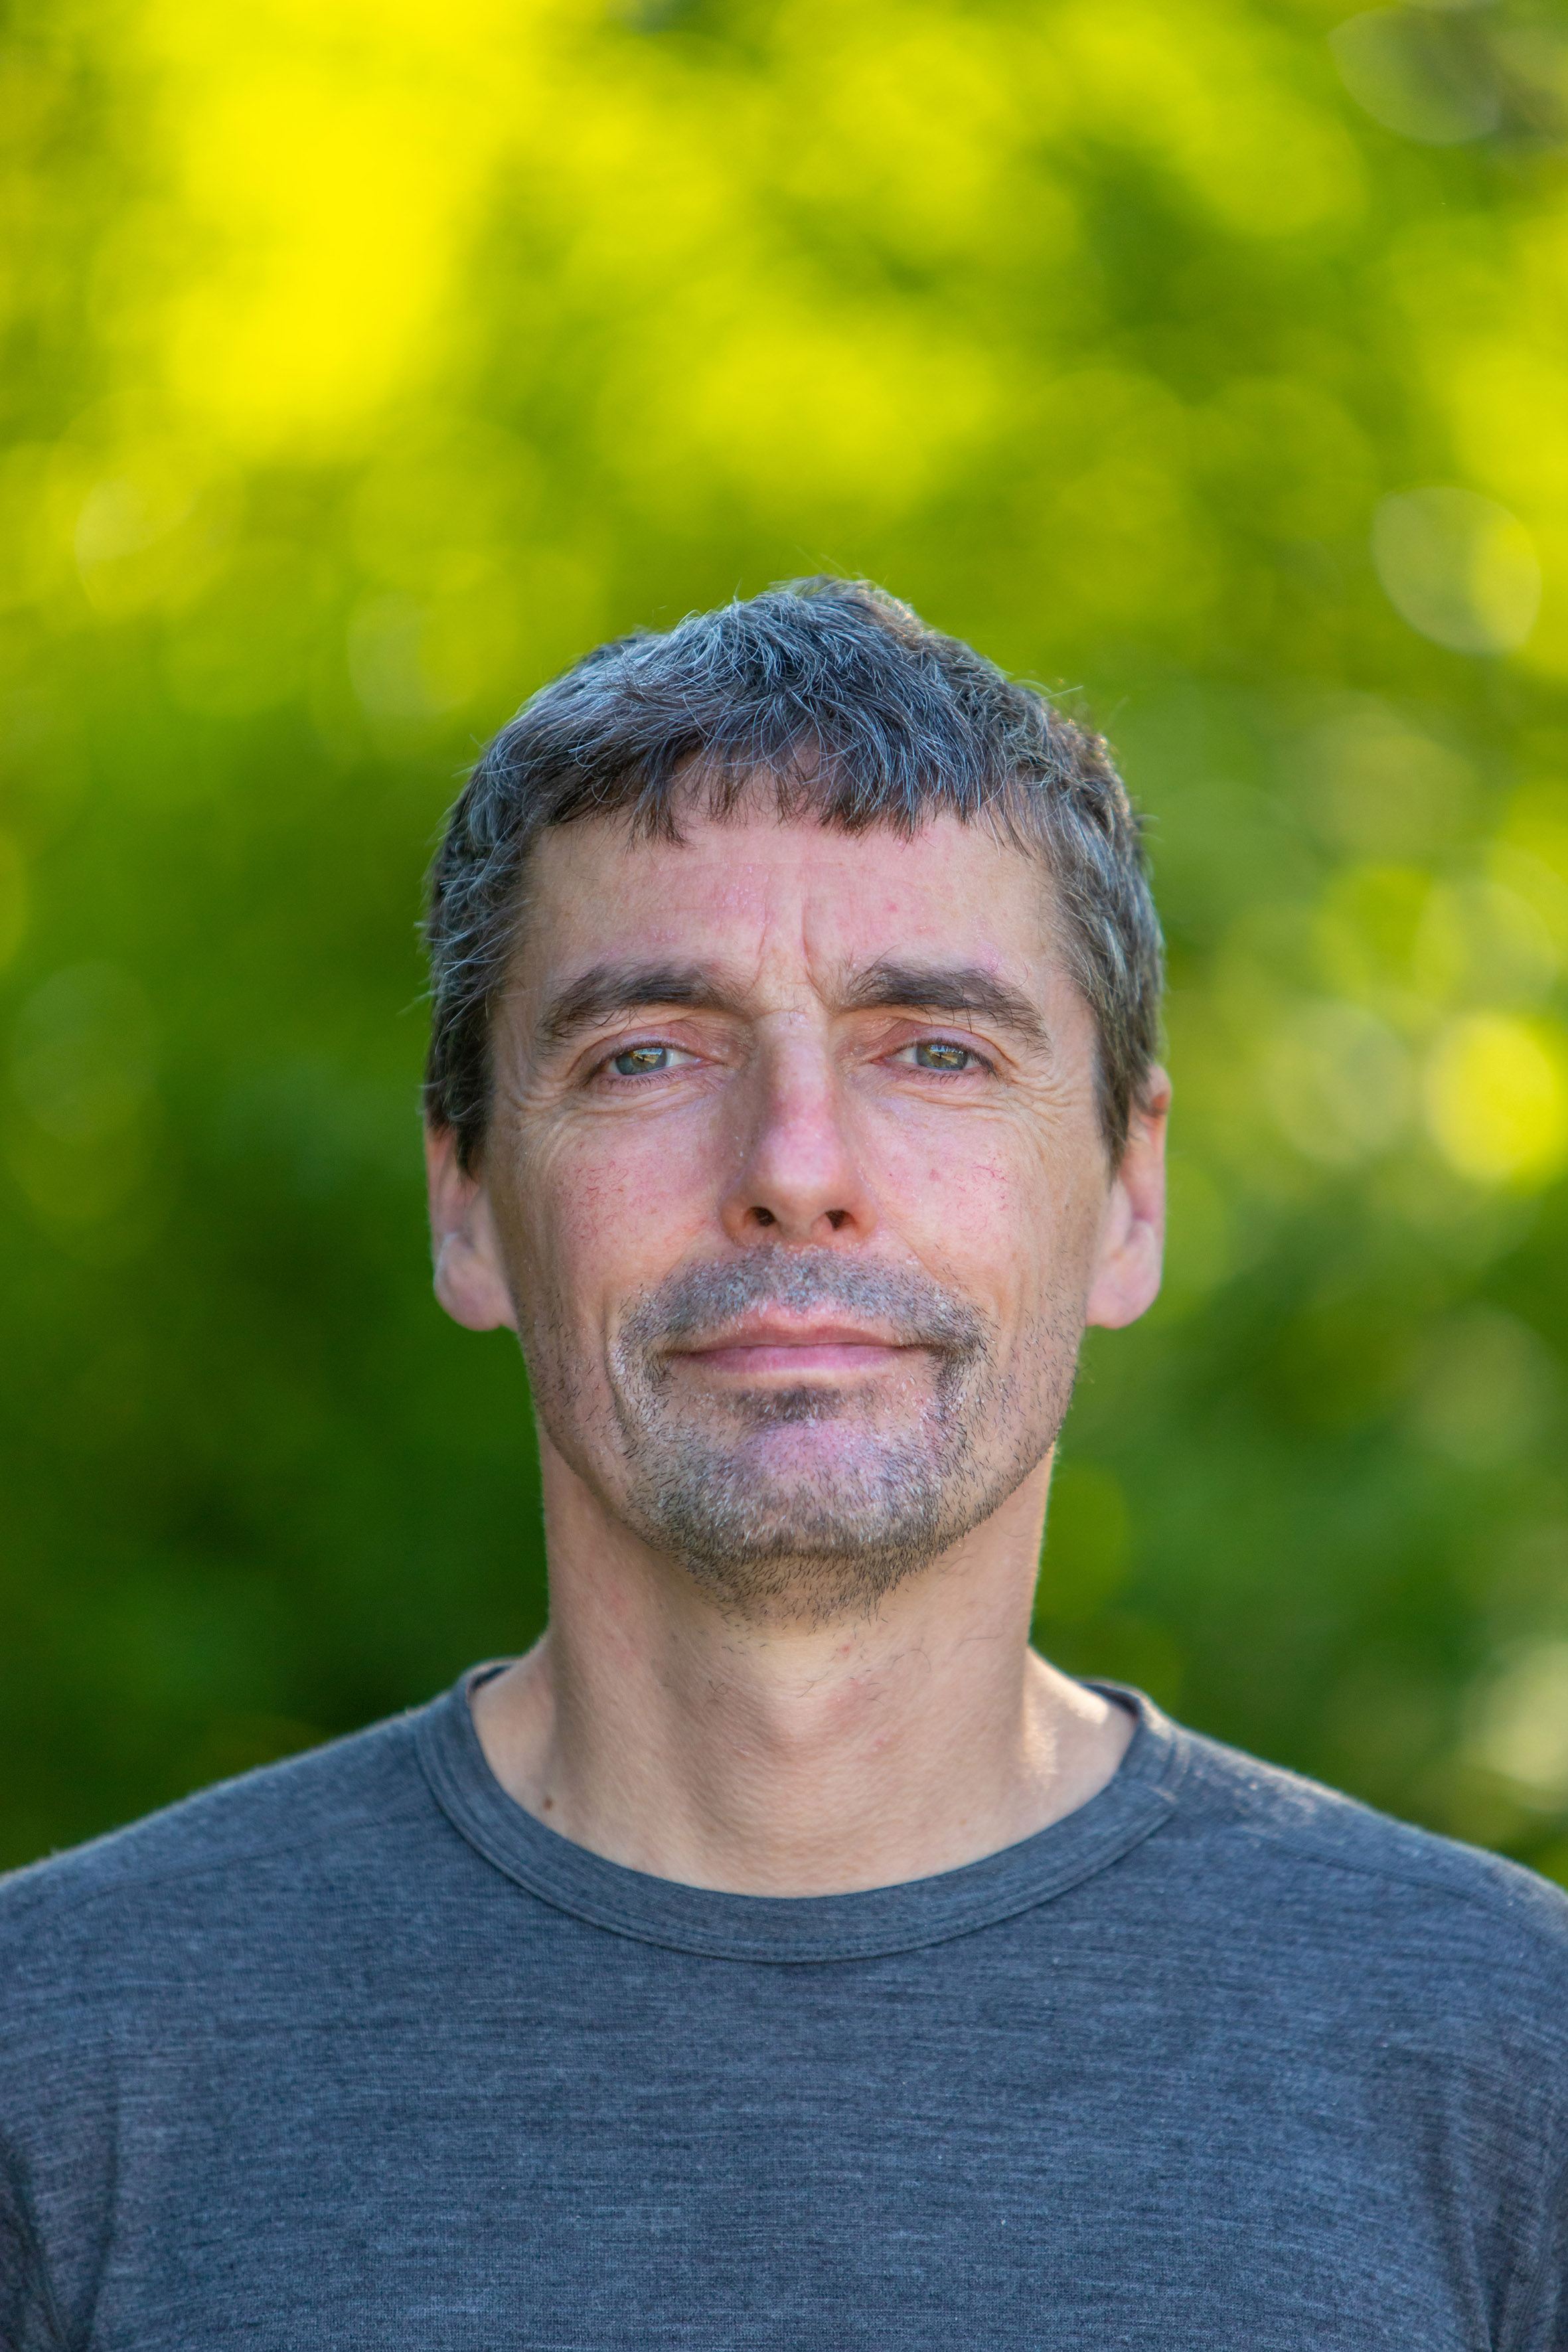
Based in Garforth, Leeds, England, Oliver has embraced Canon’s latest mirrorless full-frame cameras, now shooting fantastic macro imagery of wildlife, plants and flowers with his EOS R5. A climbing accident back in 2010 was the catalyst for Oliver realizing his passion for photography, in particular wildlife. Oliver now runs events with Canon and promotional videos. He’s the perfect pro to teach Peter about macro and wildlife photography.
1. Manual mode
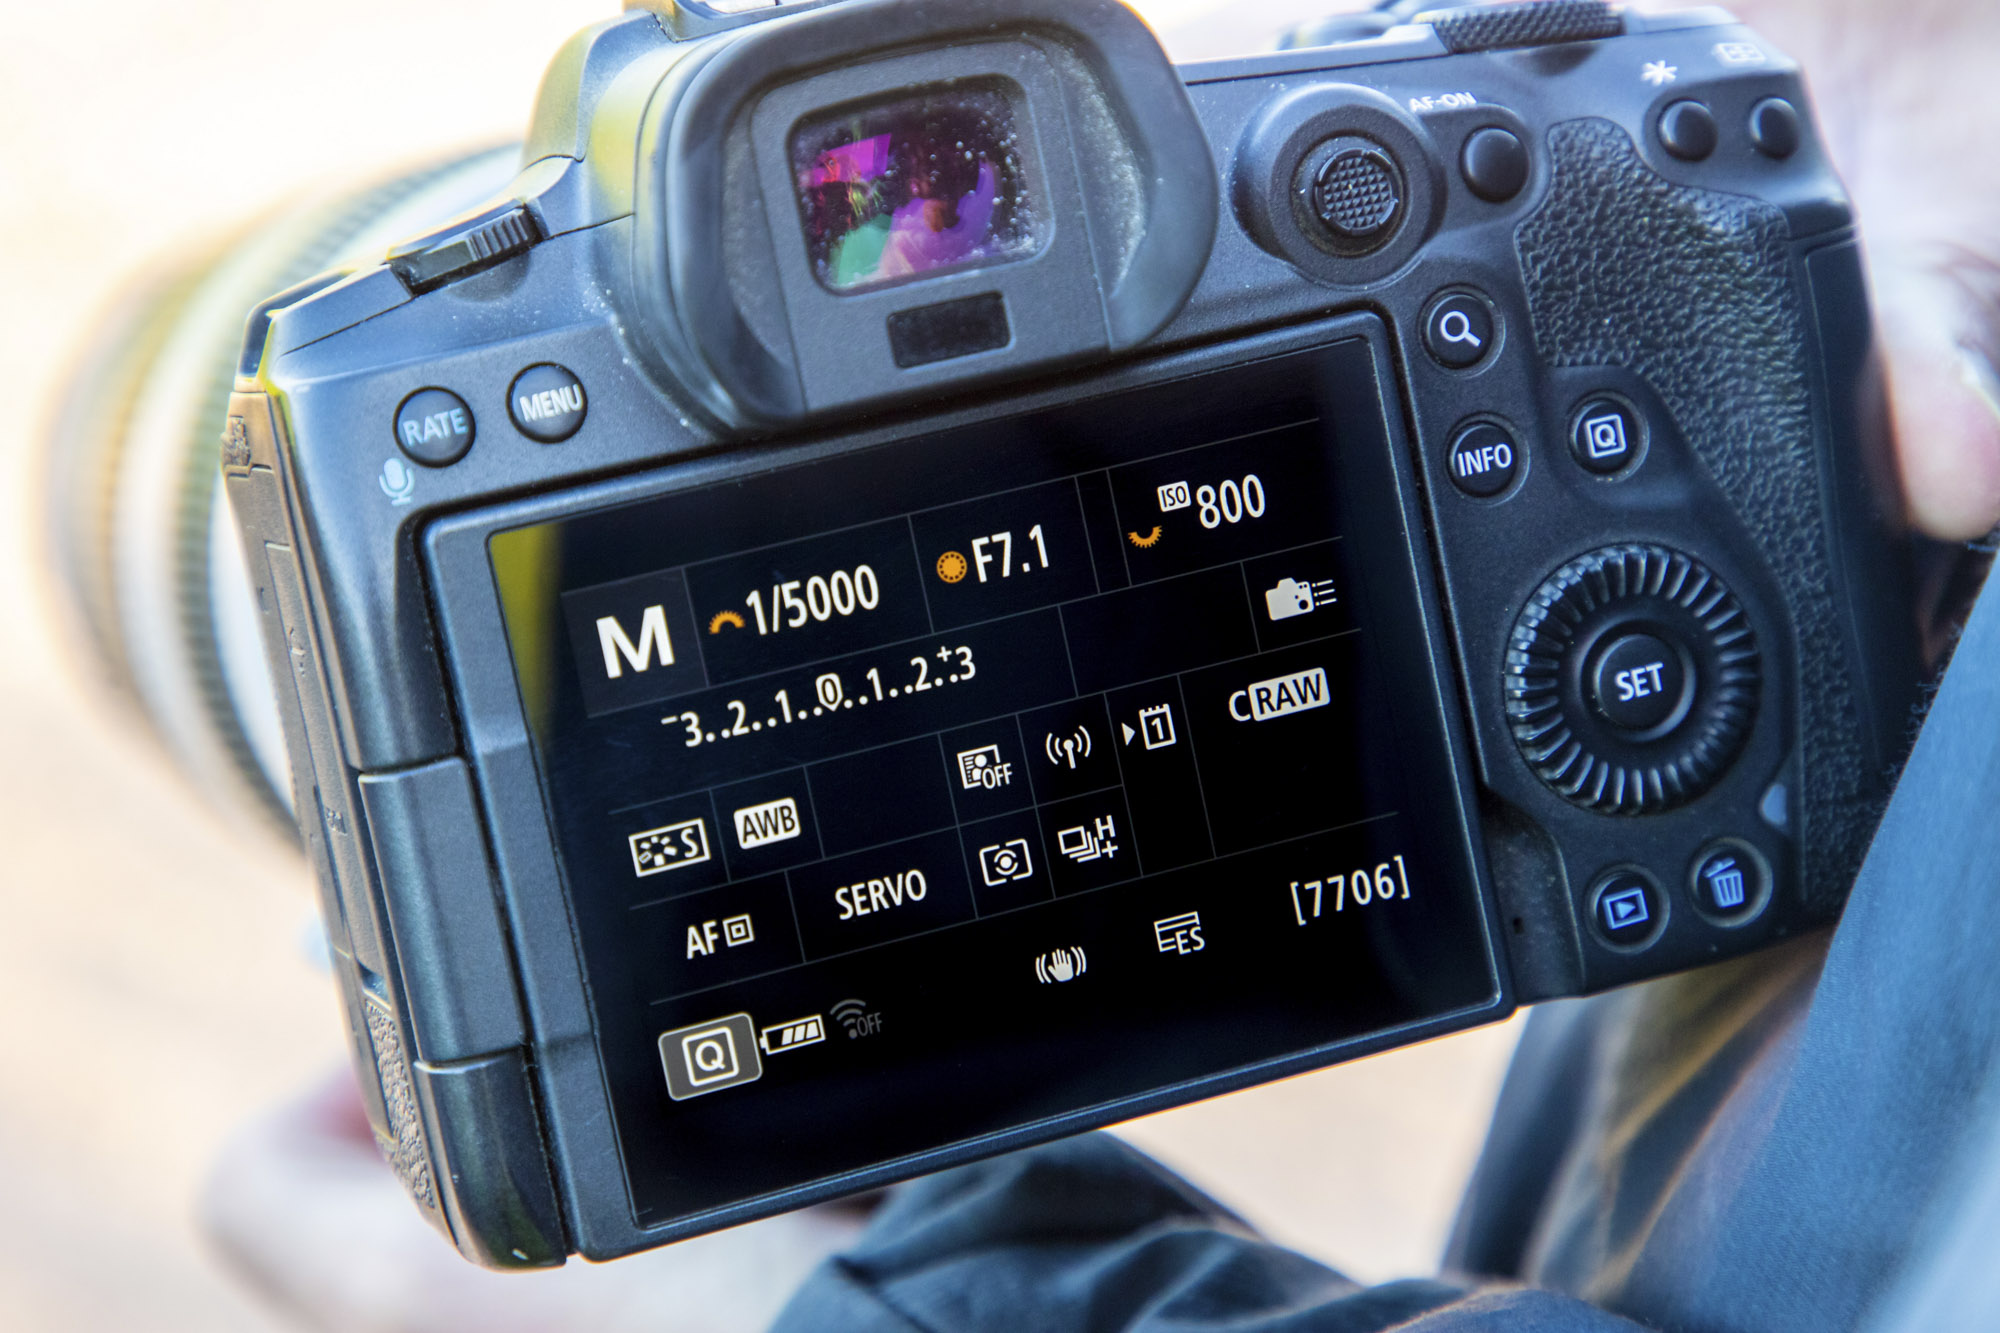
Oliver and Peter both shoot on Canon EOS R5s, so Oliver suggested Peter input his camera settings so he could follow along. To begin, he put his R5 into manual mode and set the aperture to f/7.1 for decent sharpness. Though a clear morning, light levels were still a little low so switched to ISO800 which gave him a rapid shutter speed of 1/5000 sec – fast enough to freeze any birds in motion, and eliminate camera shake.
2. Binoculars
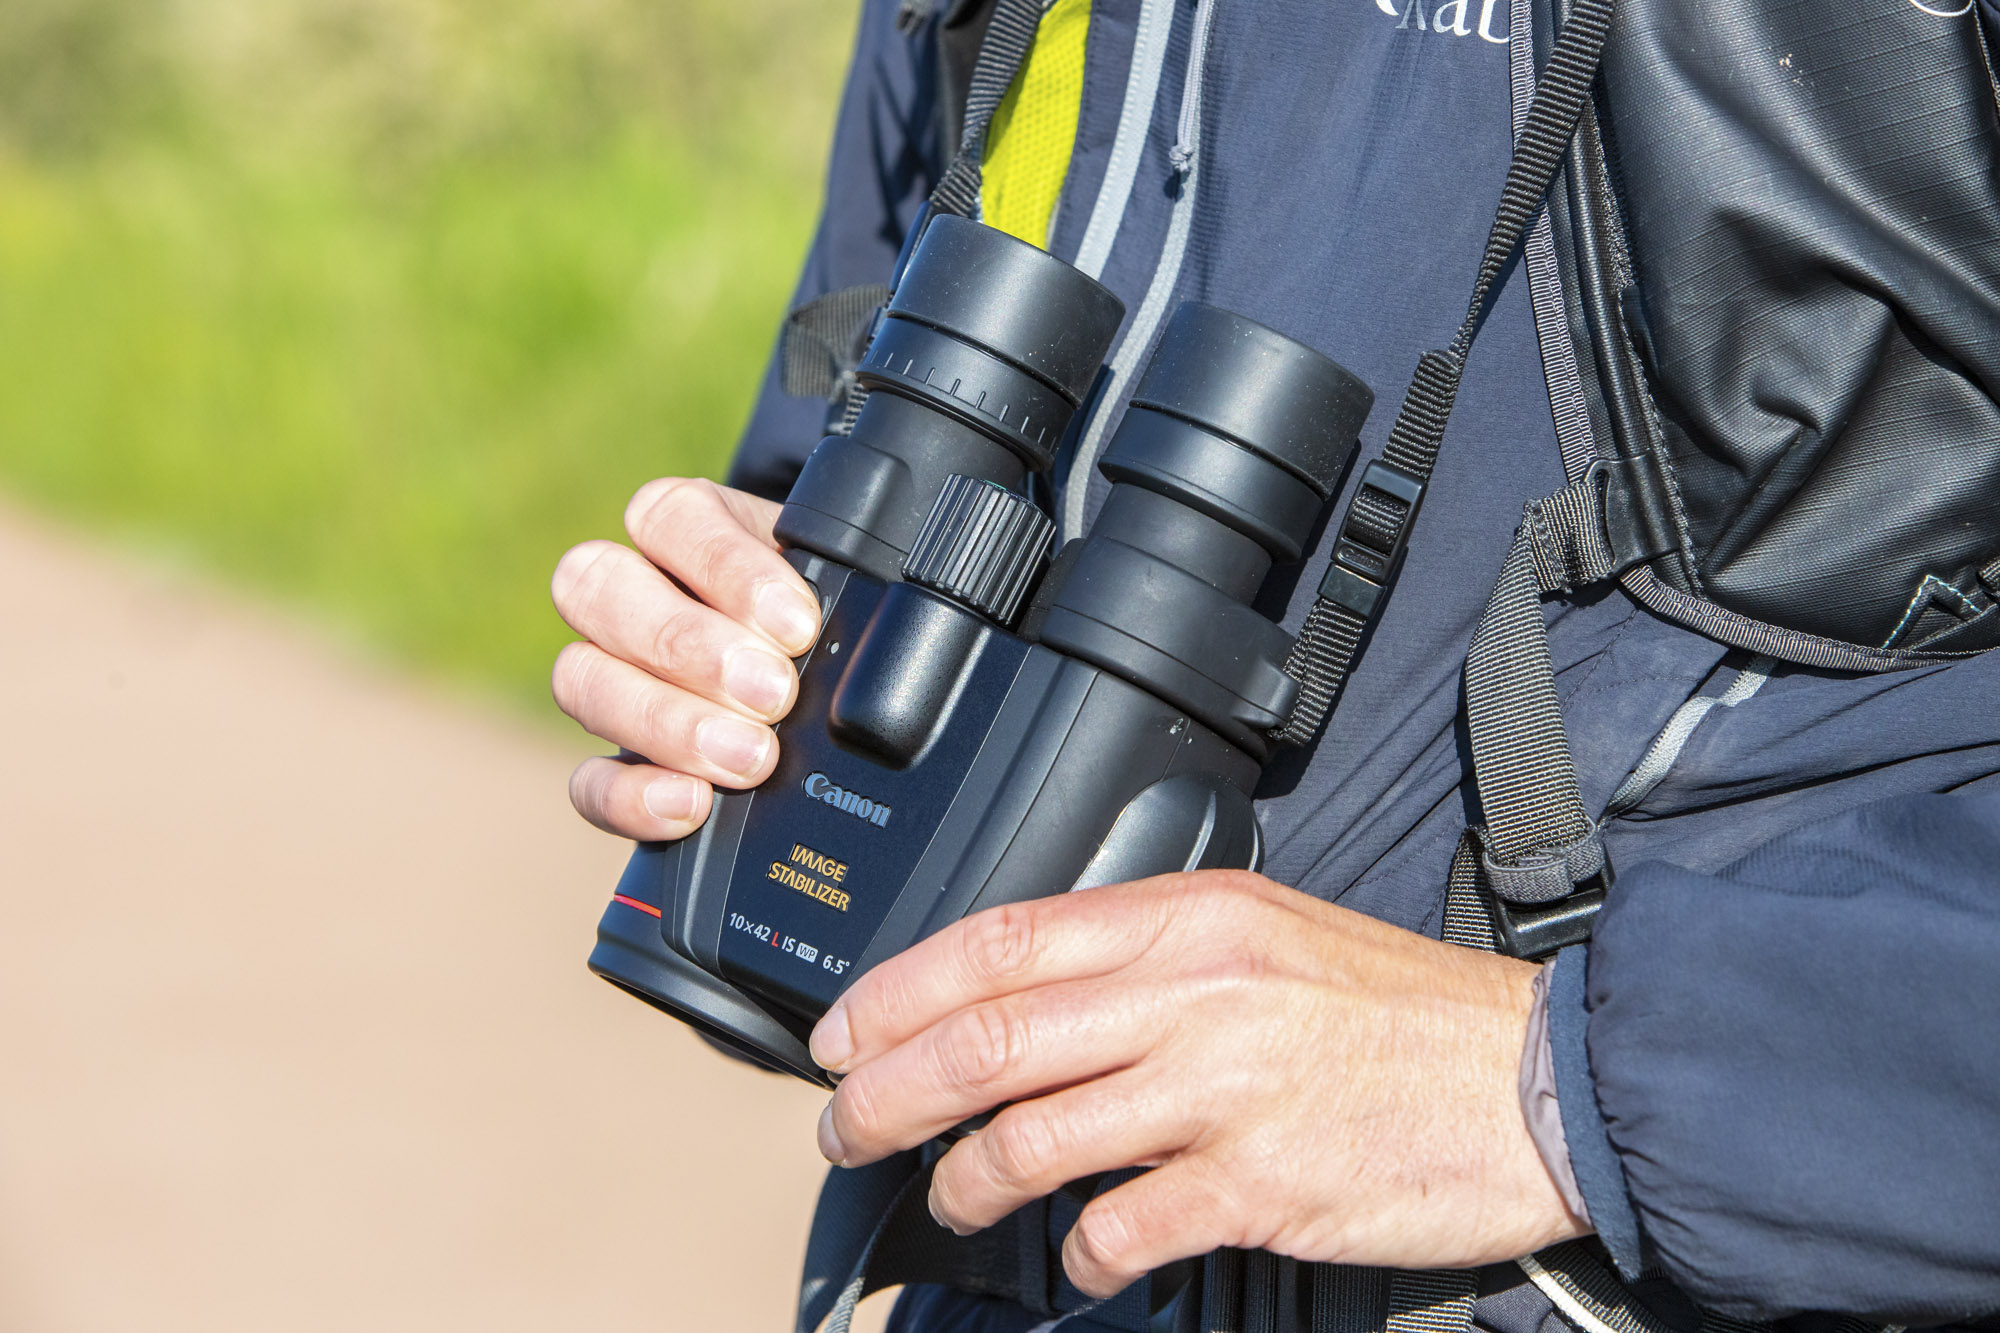
A pair of binoculars are essential for spotting far away or small wildlife from a distance, and watching their behavior before moving closer. In addition to his Canon camera kit, Oliver uses a pair of Canon 10x42L IS WP 6.5-inch binoculars. These employ top-quality L-series glass, and also boast Image Stabilization to steady the vibrations in your hands.
The best camera deals, reviews, product advice, and unmissable photography news, direct to your inbox!
• Take a look at the best binoculars
3. High-speed burst
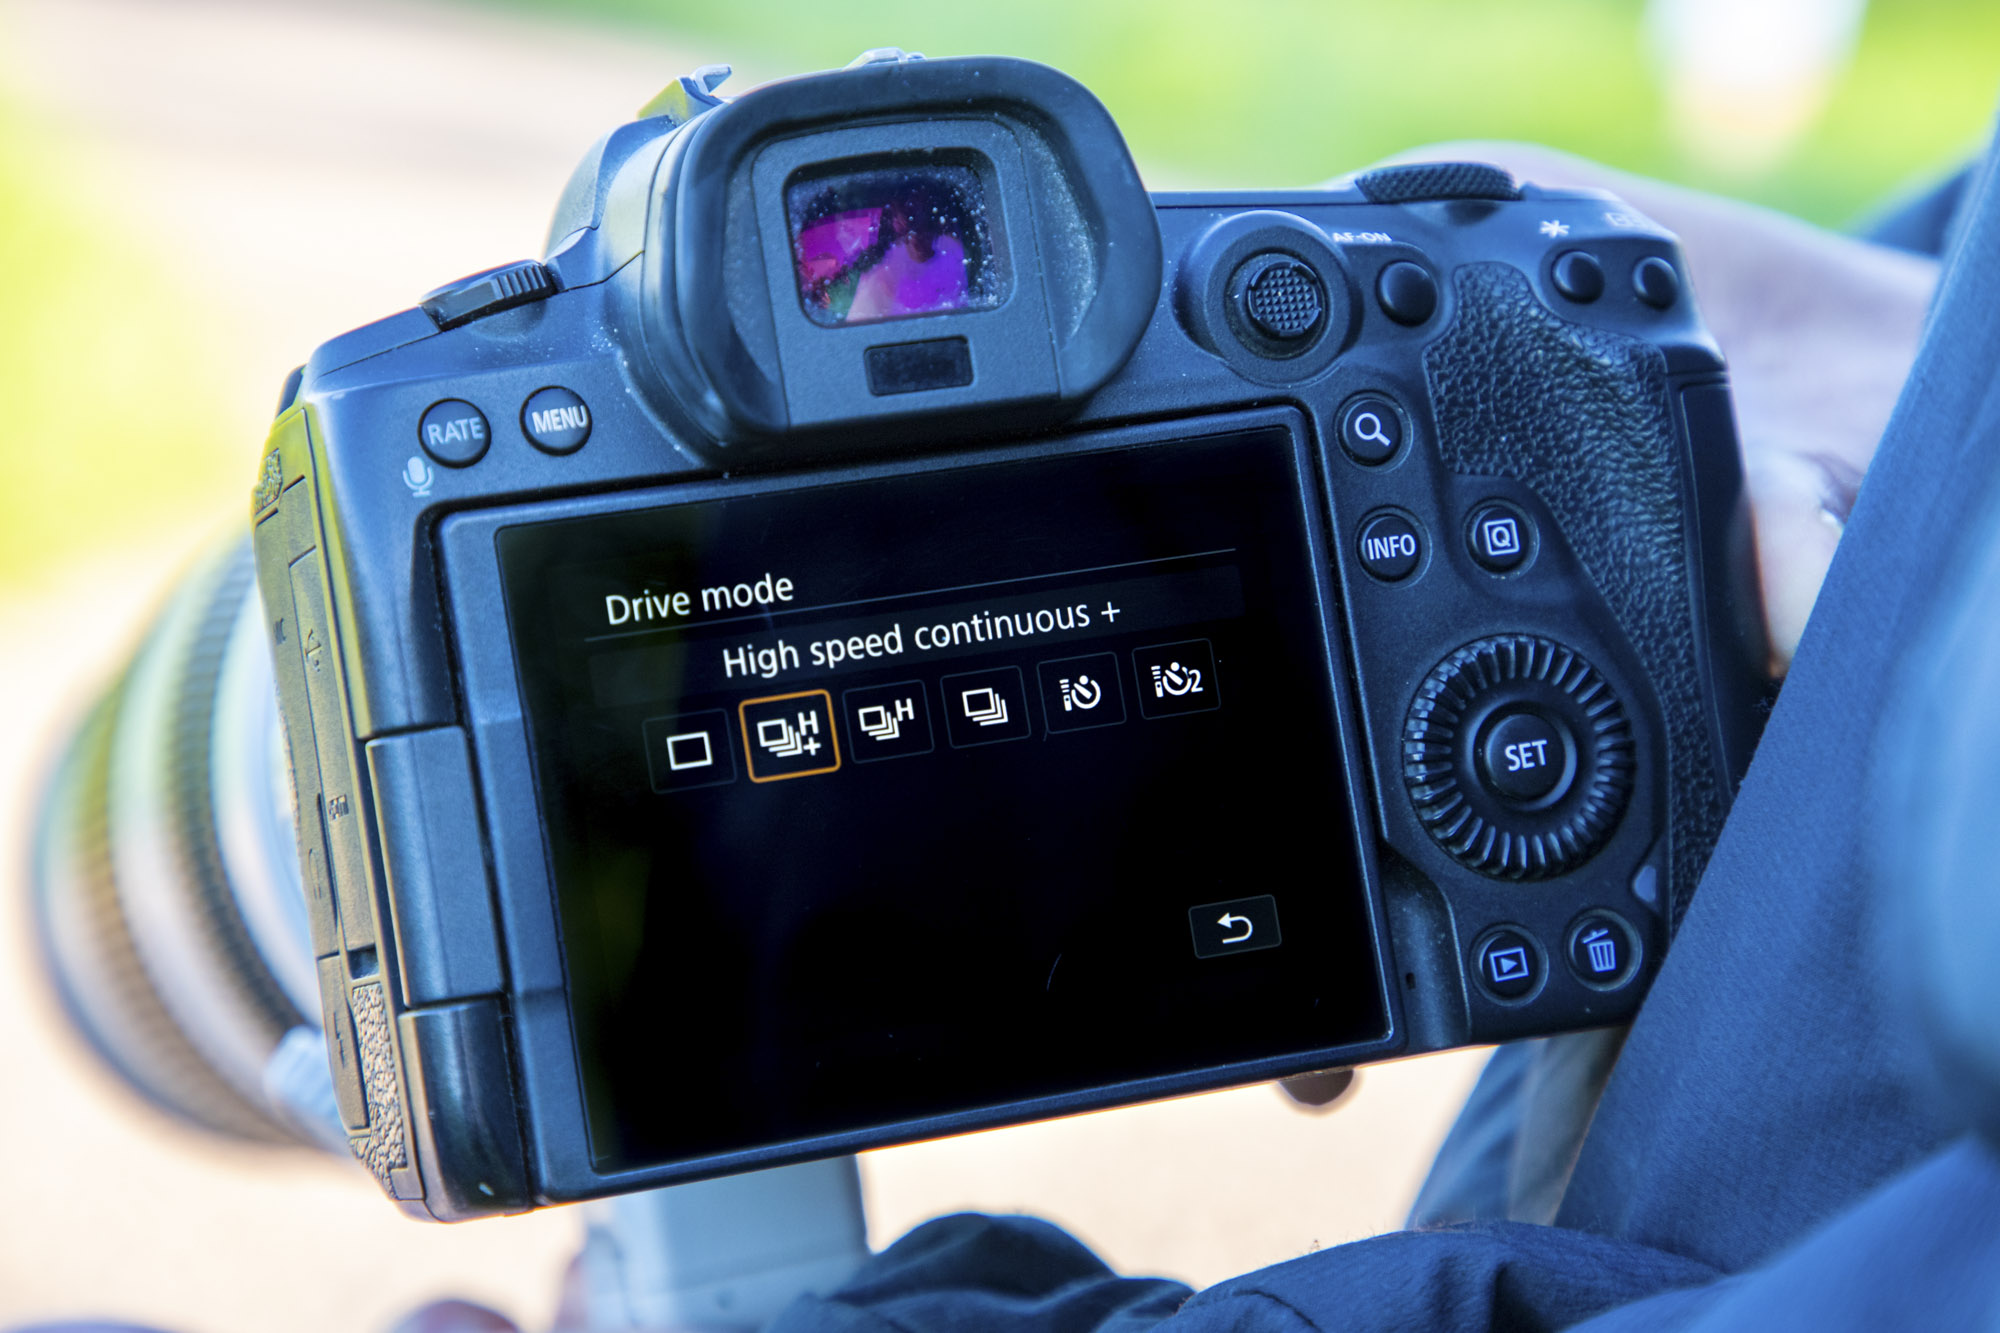
Whether it’s birds in flight or tiny macro insect subjects, Oliver uses the High Speed Continuous burst mode on his EOS R5 to make use of the blisteringly quick frame rates, so he doesn’t miss the moment. He also uses the High Continuous Burst+ mode, which uses a fully electronic shutter for totally silent shots and enables the fastest 20fps burst. Oliver noted that he tries not to use it when birds are flying past buildings, as the rolling shutter effect can make them look odd.
4. Super telephoto lens
You don’t always need a macro lens to take incredible close-up shots. A long telephoto zoom, such as Oliver’s Canon EF 100-400mm f/4.5-5.6L IS II USM, and Peter’s Canon RF 100-500mm F4.5-7.1L IS USM, let you zoom right in on the distant nature.
They're ideal for shooting animals such as birds on a nearby tree branch, and they’re also great for larger insects like dragonflies, and provide a longer working distance so you don’t have to get as close, which could scare off skittish wildlife. Peter also balanced his lens on a monopod, which rested on his wheelchair to take some of the strain away and help him achieve sharper shots.
• These are the Best telephoto lenses
5. Watch the background
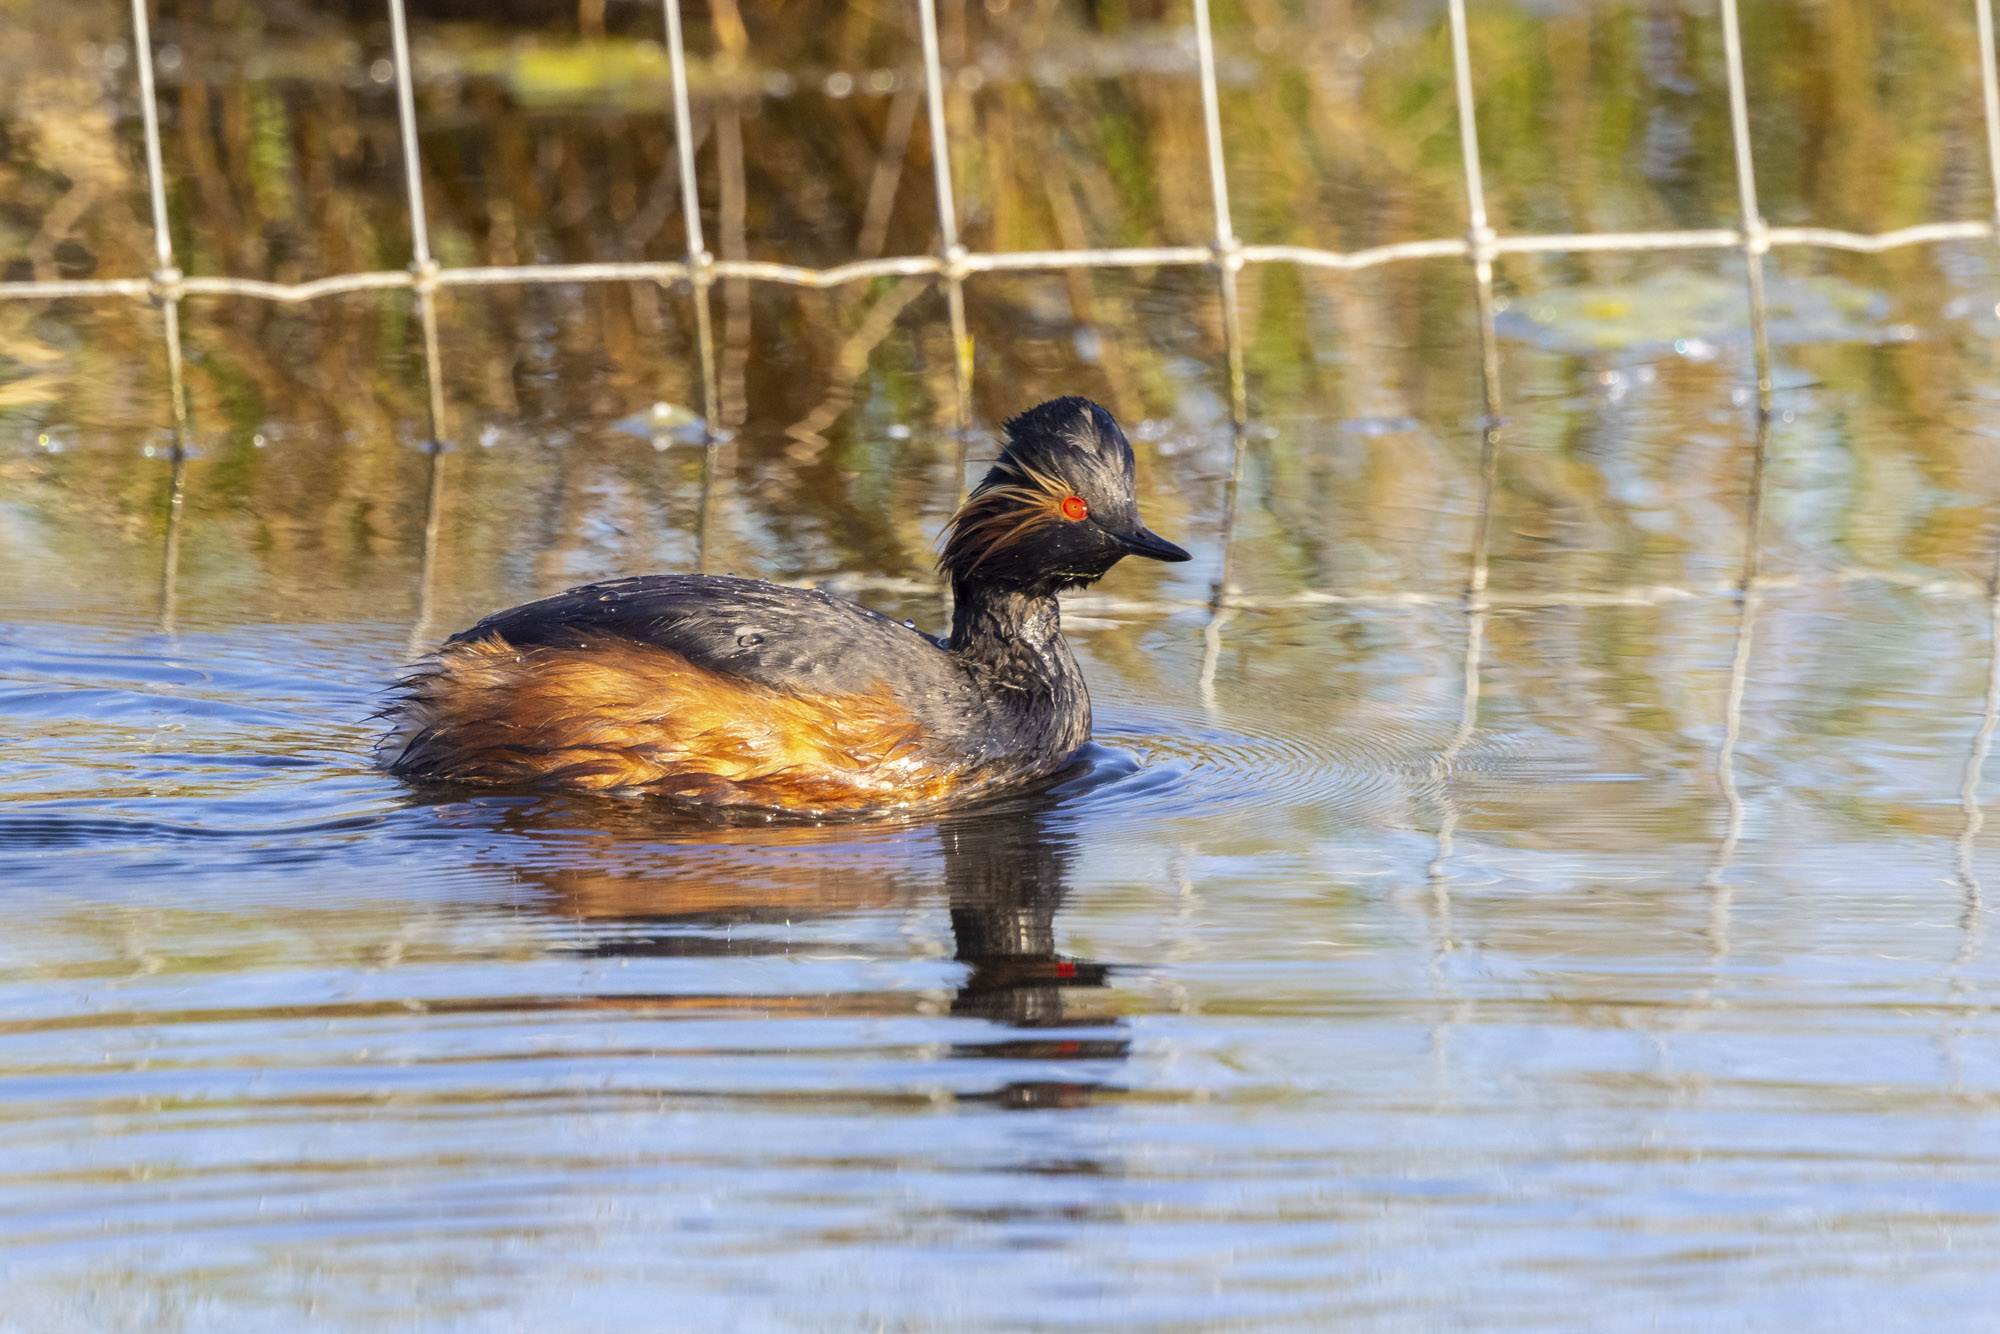
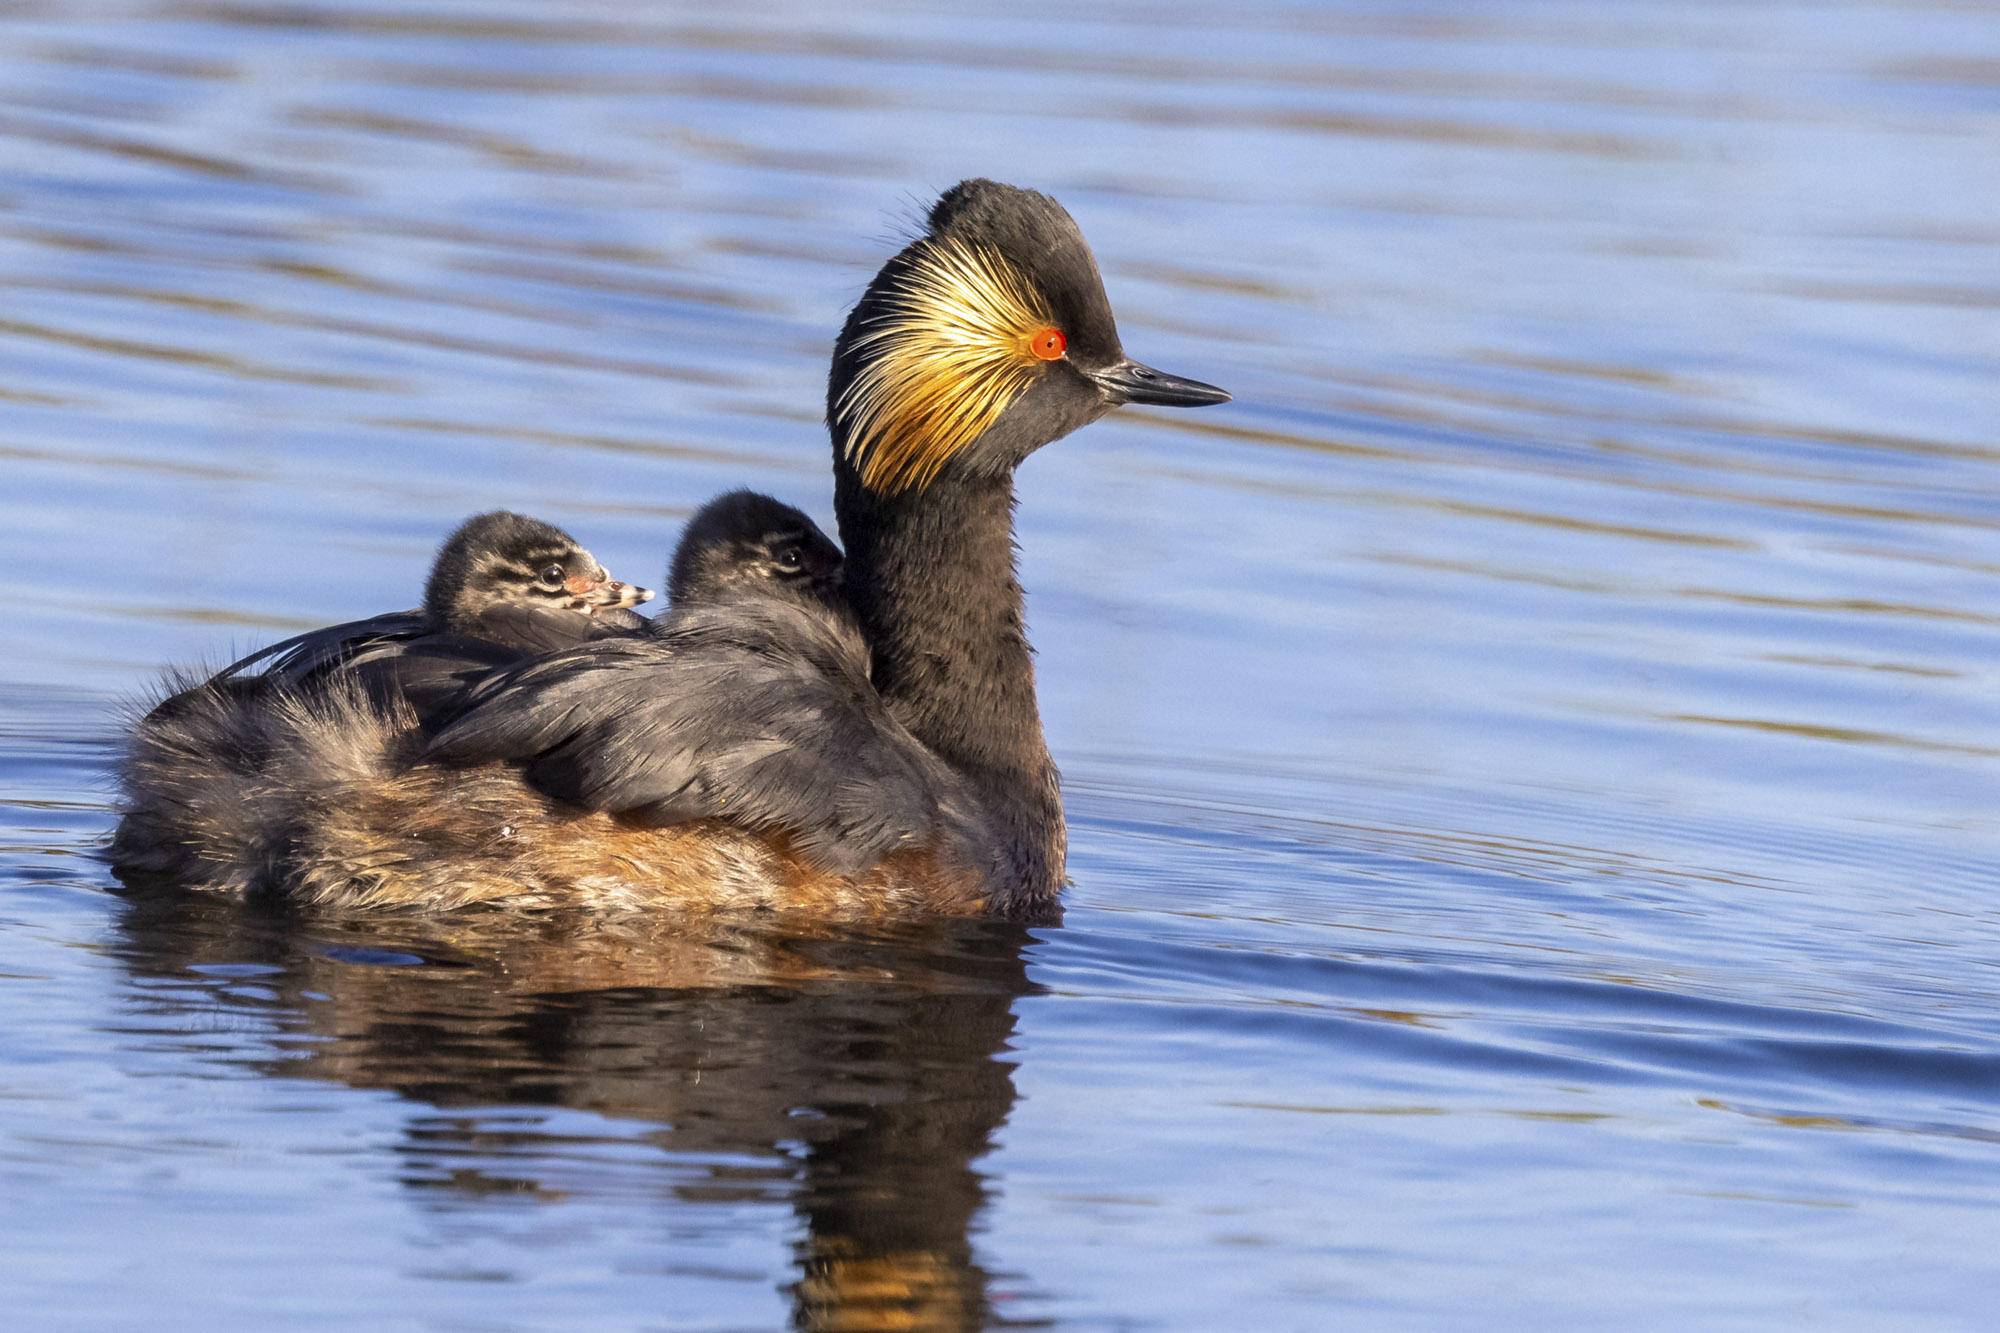
One of the easiest ways to improve your wildlife photos is to keep a keen eye on the background. Peter took two shots of the black-necked grebes here, but the one above has a fence in the background that makes it a bit scrappy and distracting.
His second image, above, is free of fences and grass, and has a much cleaner composition that gives the beautiful birds the full undivided attention from the viewer they deserve.
6. Appy days
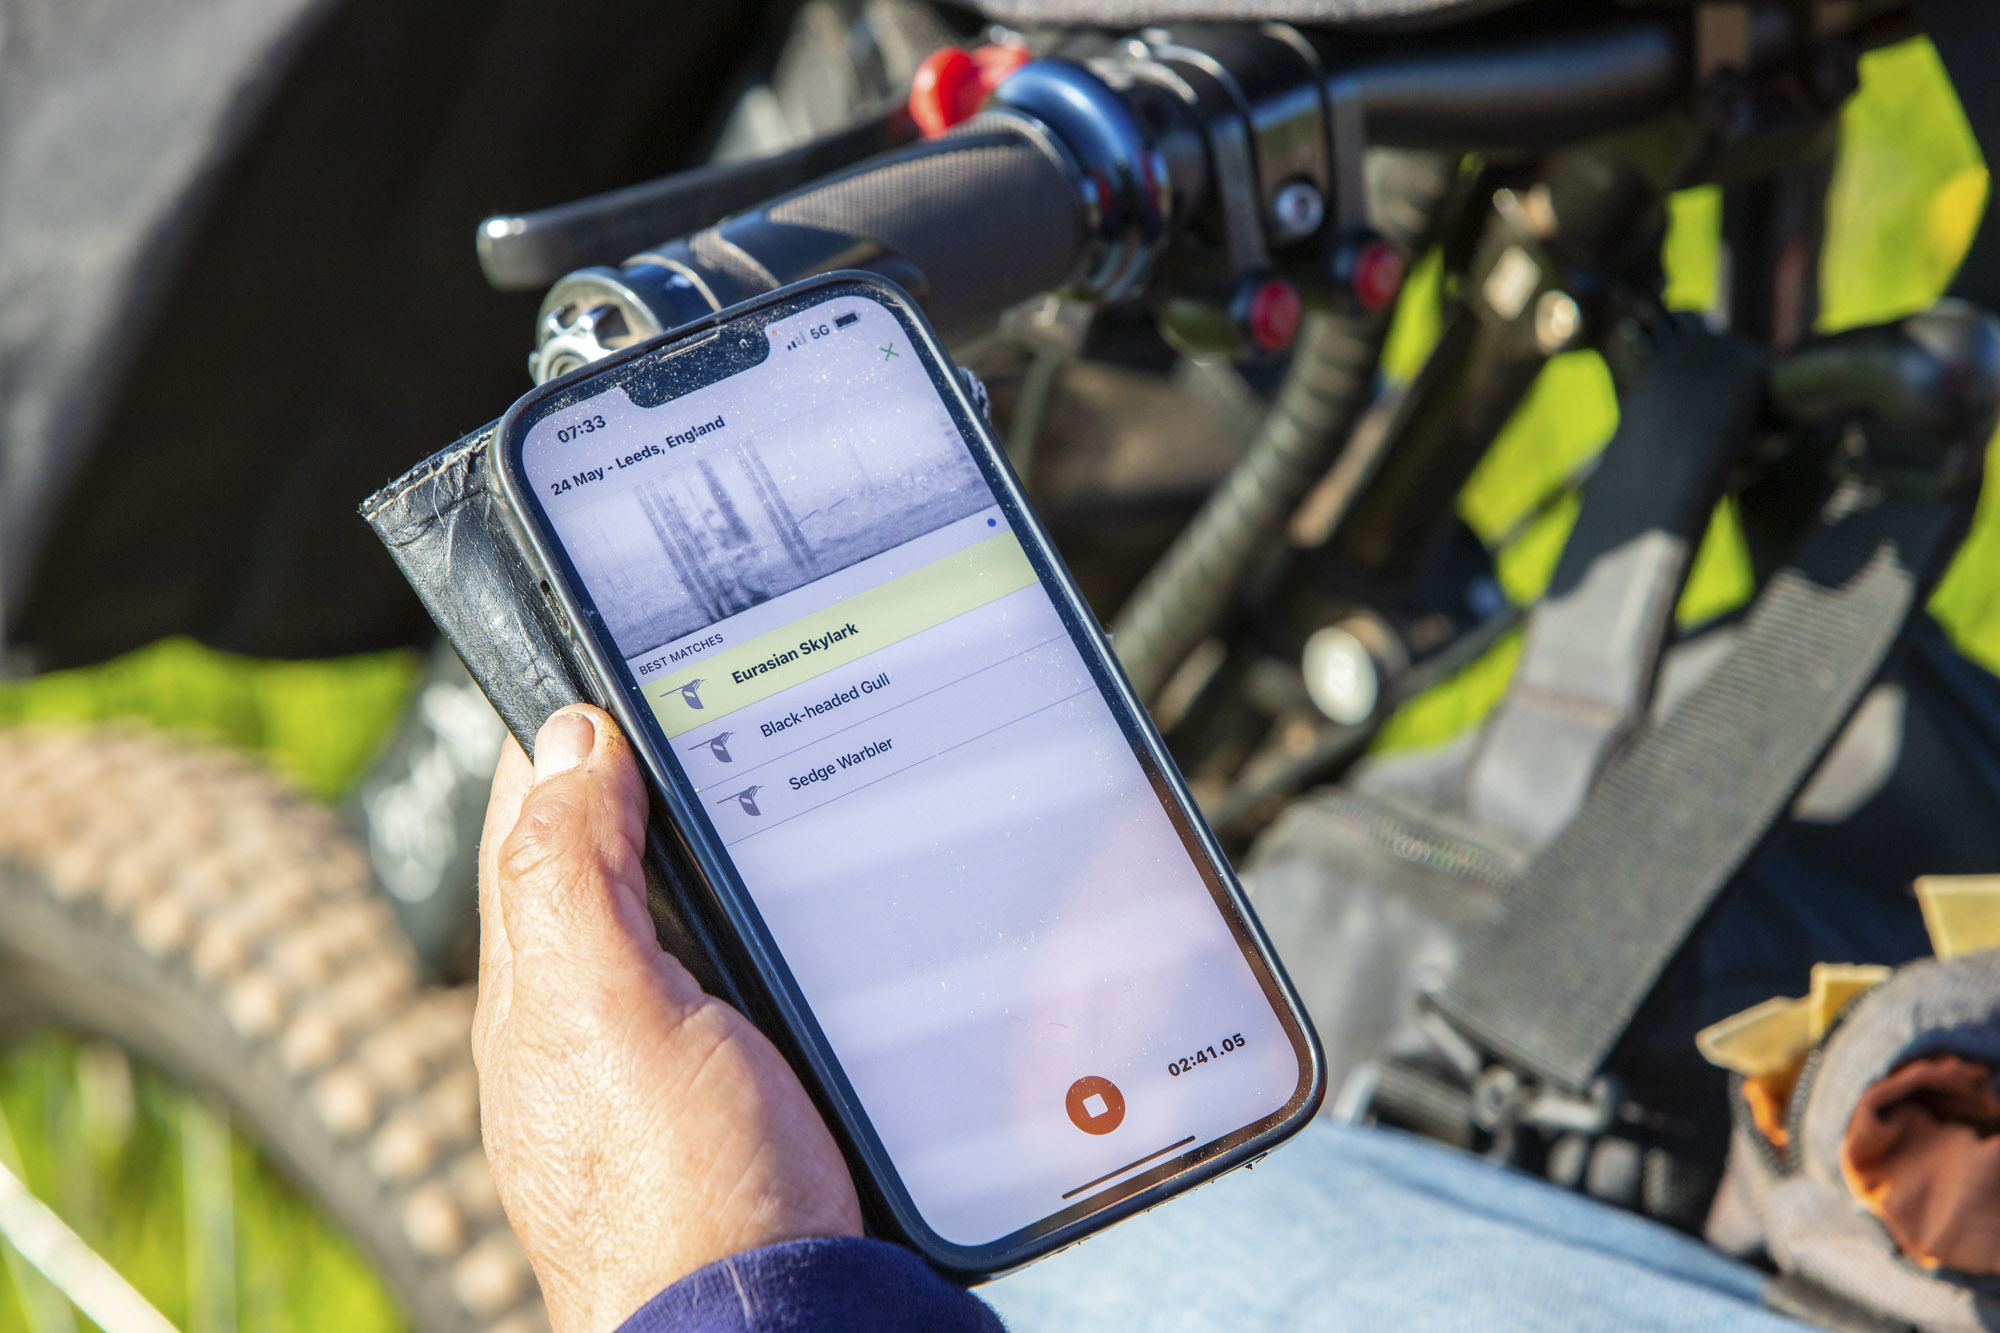
Oliver uses photography apps such as PhotoPills to help him work with the direction of light throughout the day, which helps him to plan shoots. He also uses the Merlin Bird ID app (pictured here) which enables him to record birdsong, the app will then try to identify the bird and suggest what species it could be.
7. Macro lens settings
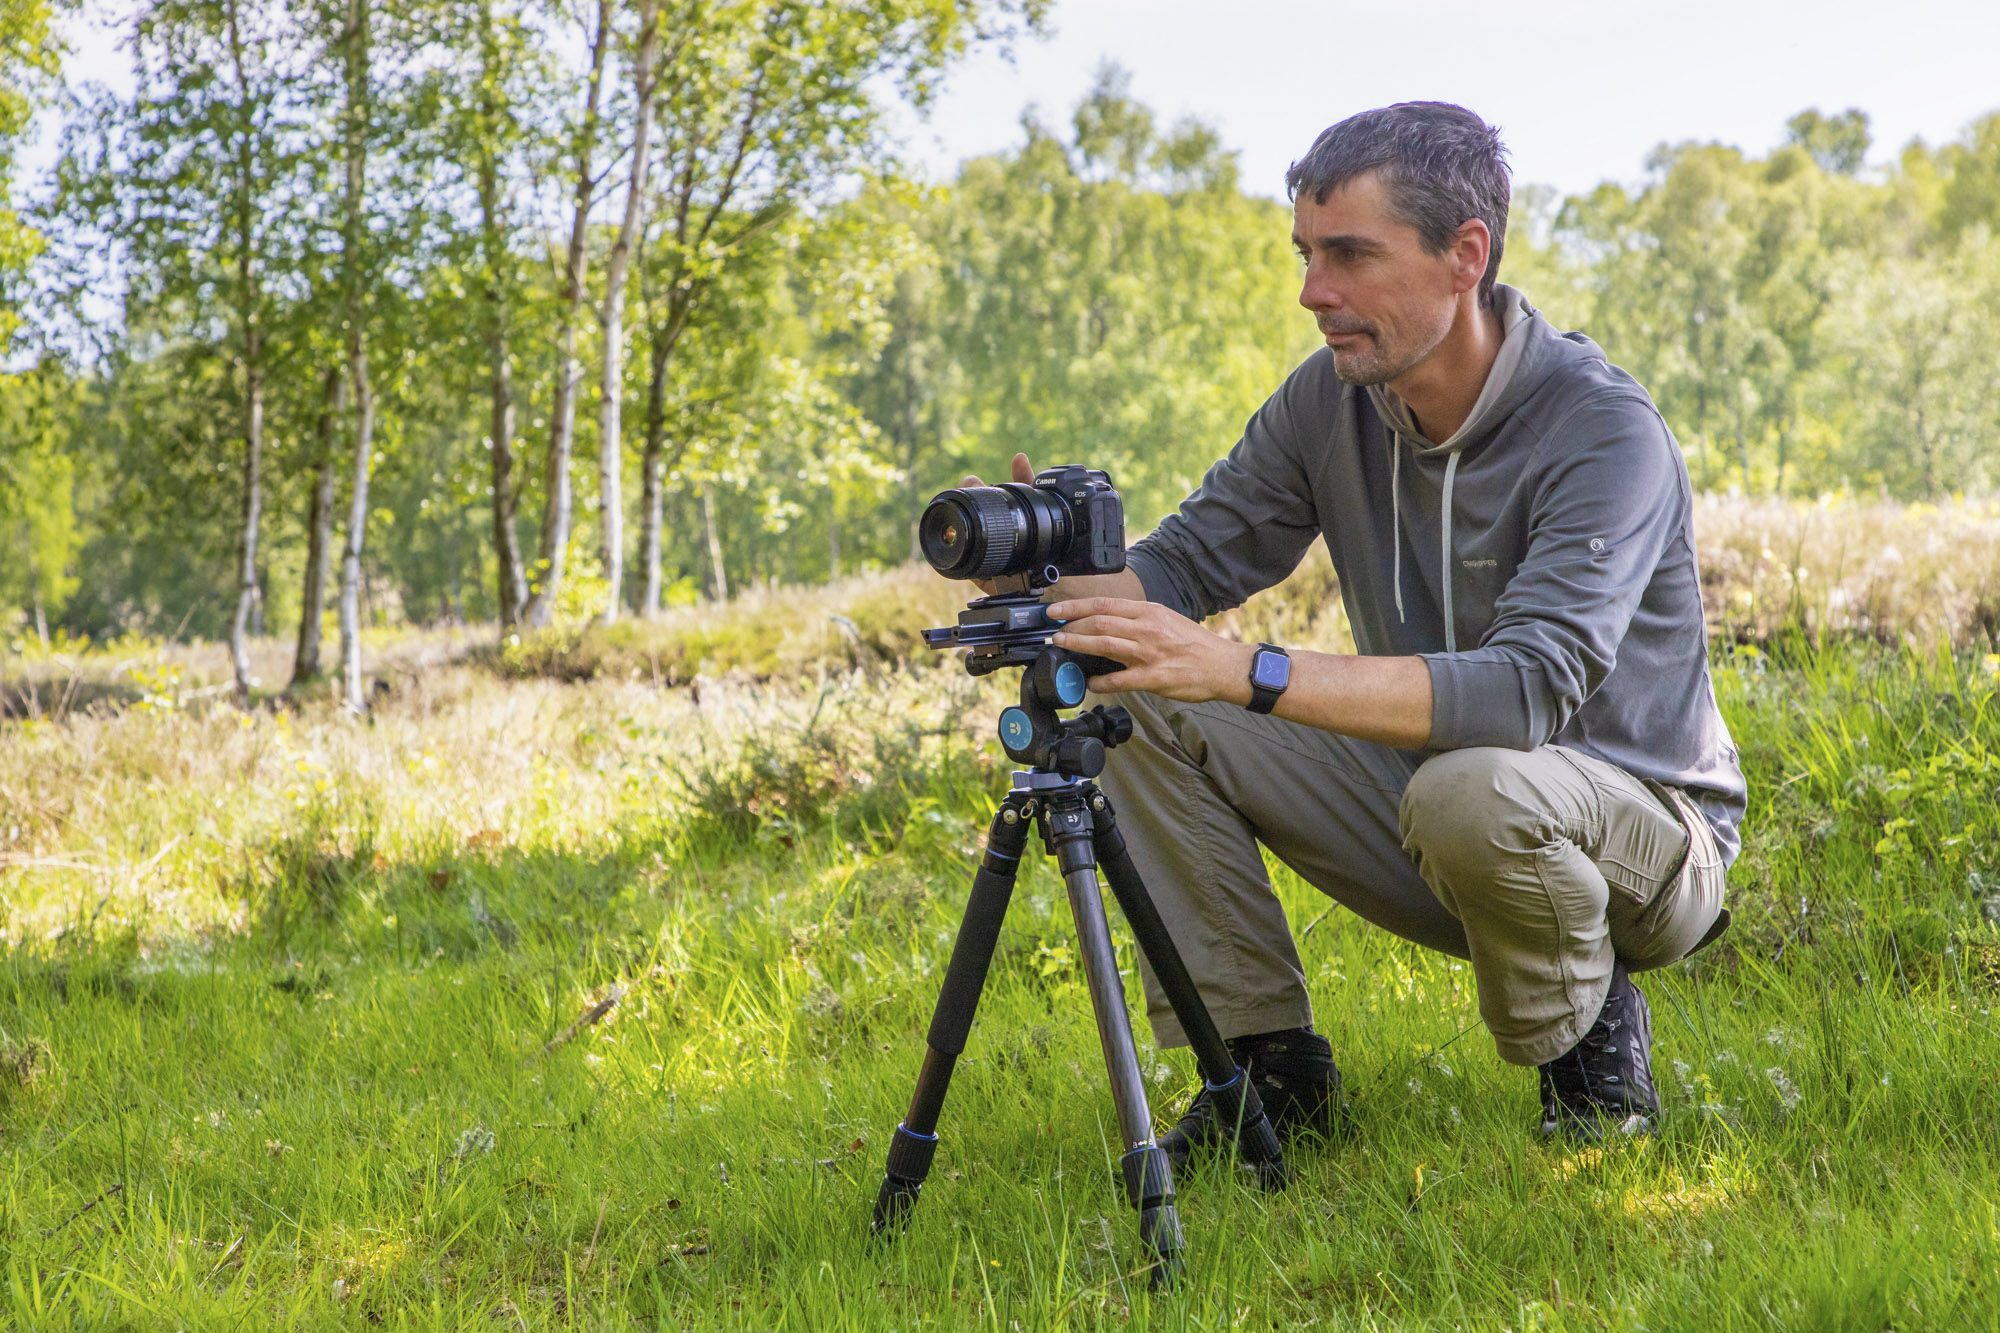
At first light, Oliver can shoot on a tripod as the bugs are a lot less active during this cold part of the day. But as the insects start to warm up they become more active and a tripod isn’t viable.
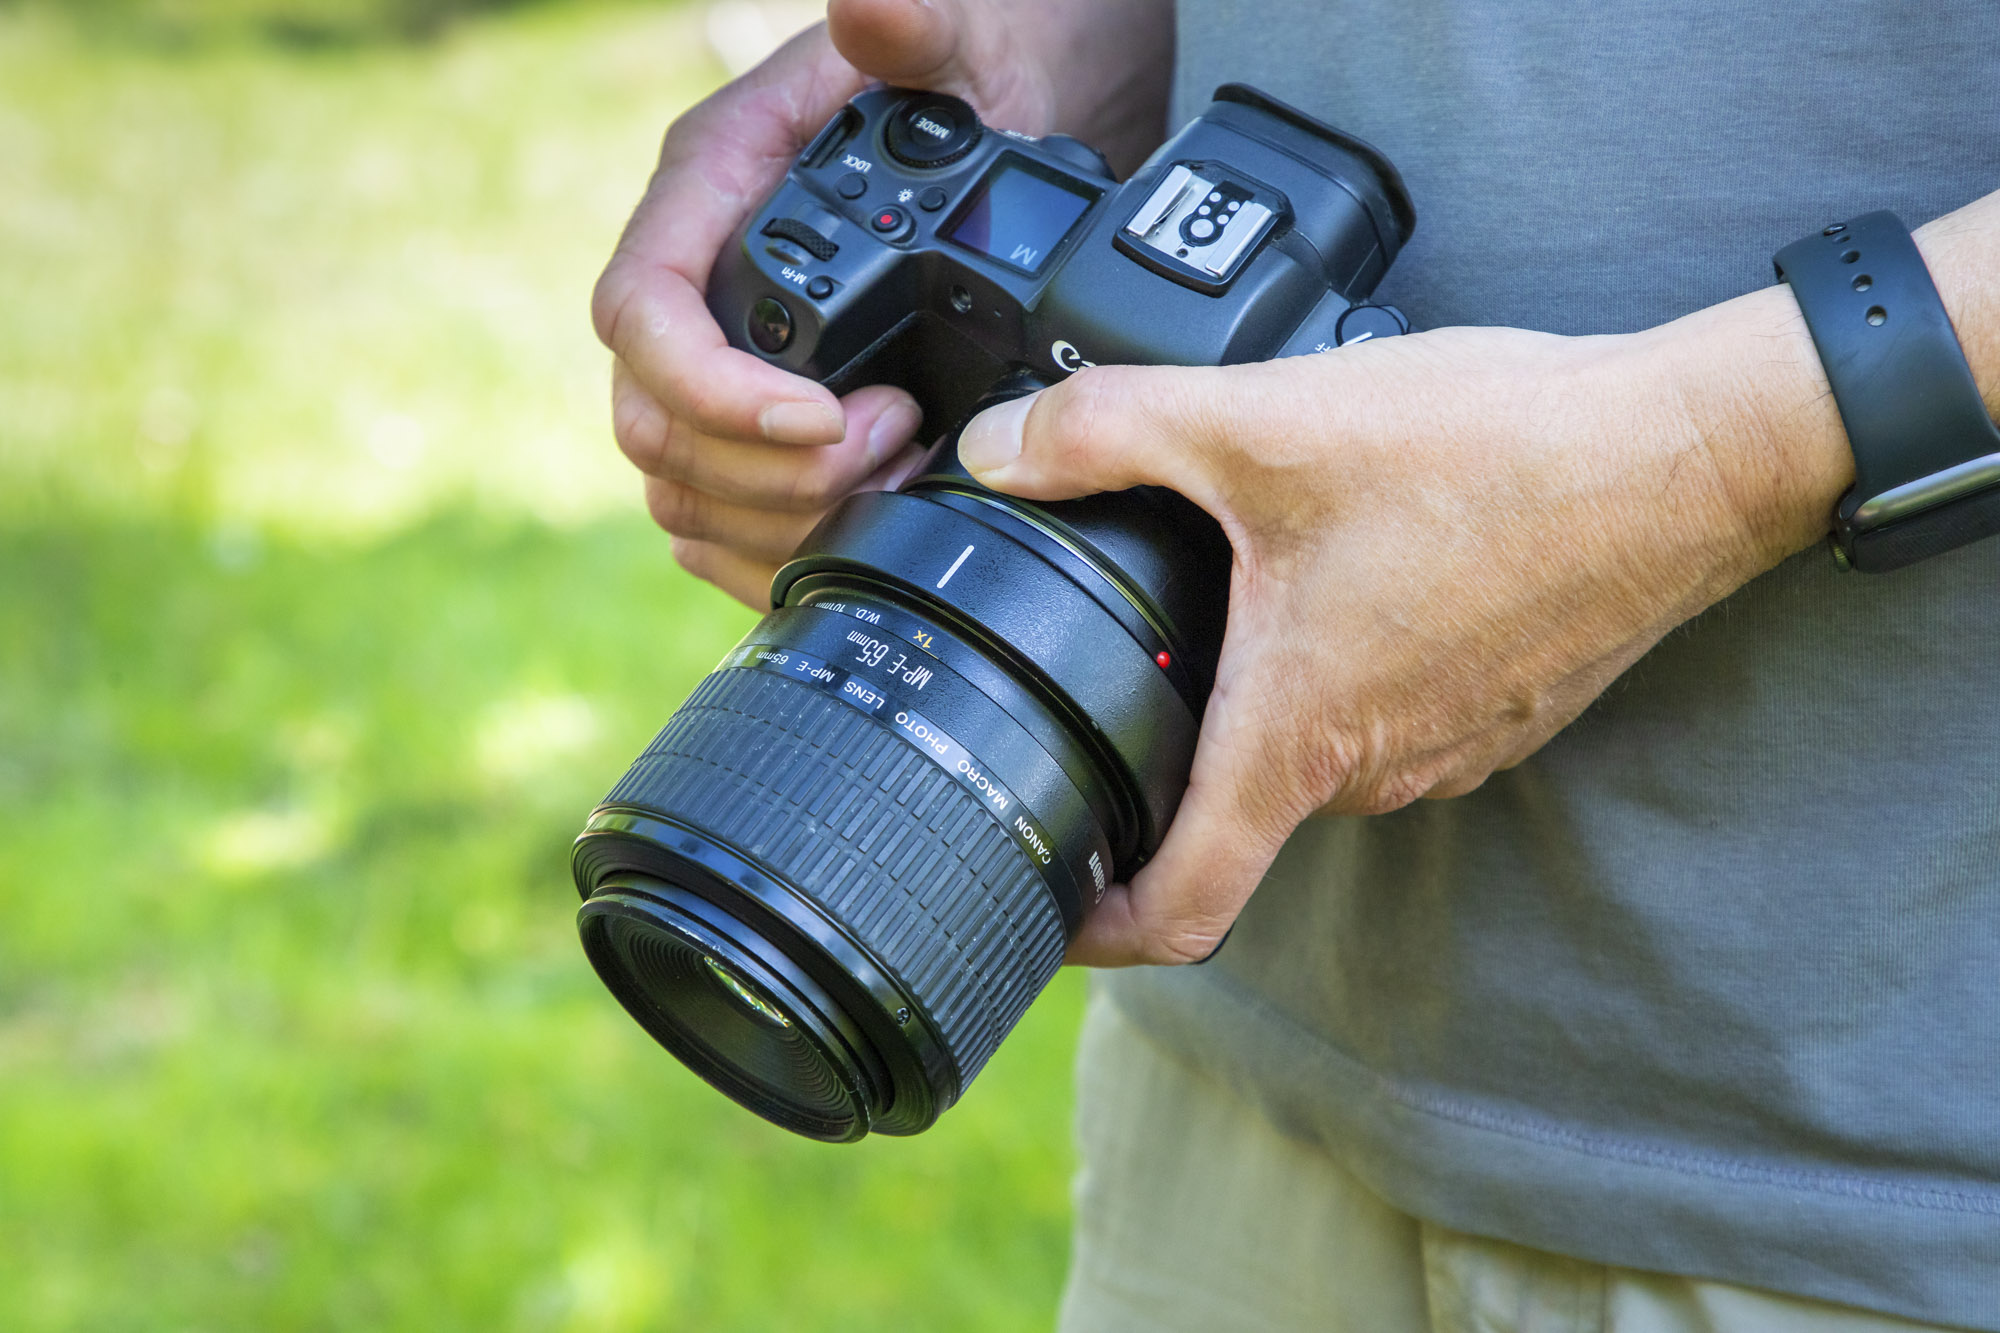
Later in the day Oliver ditches the tripod and takes his macro shots handheld. He often switches the lens to manual focus and manually sets the lens to its 1:1 reproduction ratio, as well as enabling Image Stabilization to help reduce vibrations from handholding his camera.
• Check out the best tripods for photography
8. Pro tripod and focus rail
Oliver uses a Novoflex Castel-L focusing rail, this is mounted on a Benro Mach3 carbon fiber tripod with an Induro PHQ 5-way head, giving him an astonishing amount of control when composing. The focusing rail allows him to precisely move the camera and lens forward or back a little to adjust the band of sharp focus.
• The best carbon fiber tripods
9. Use a scrim
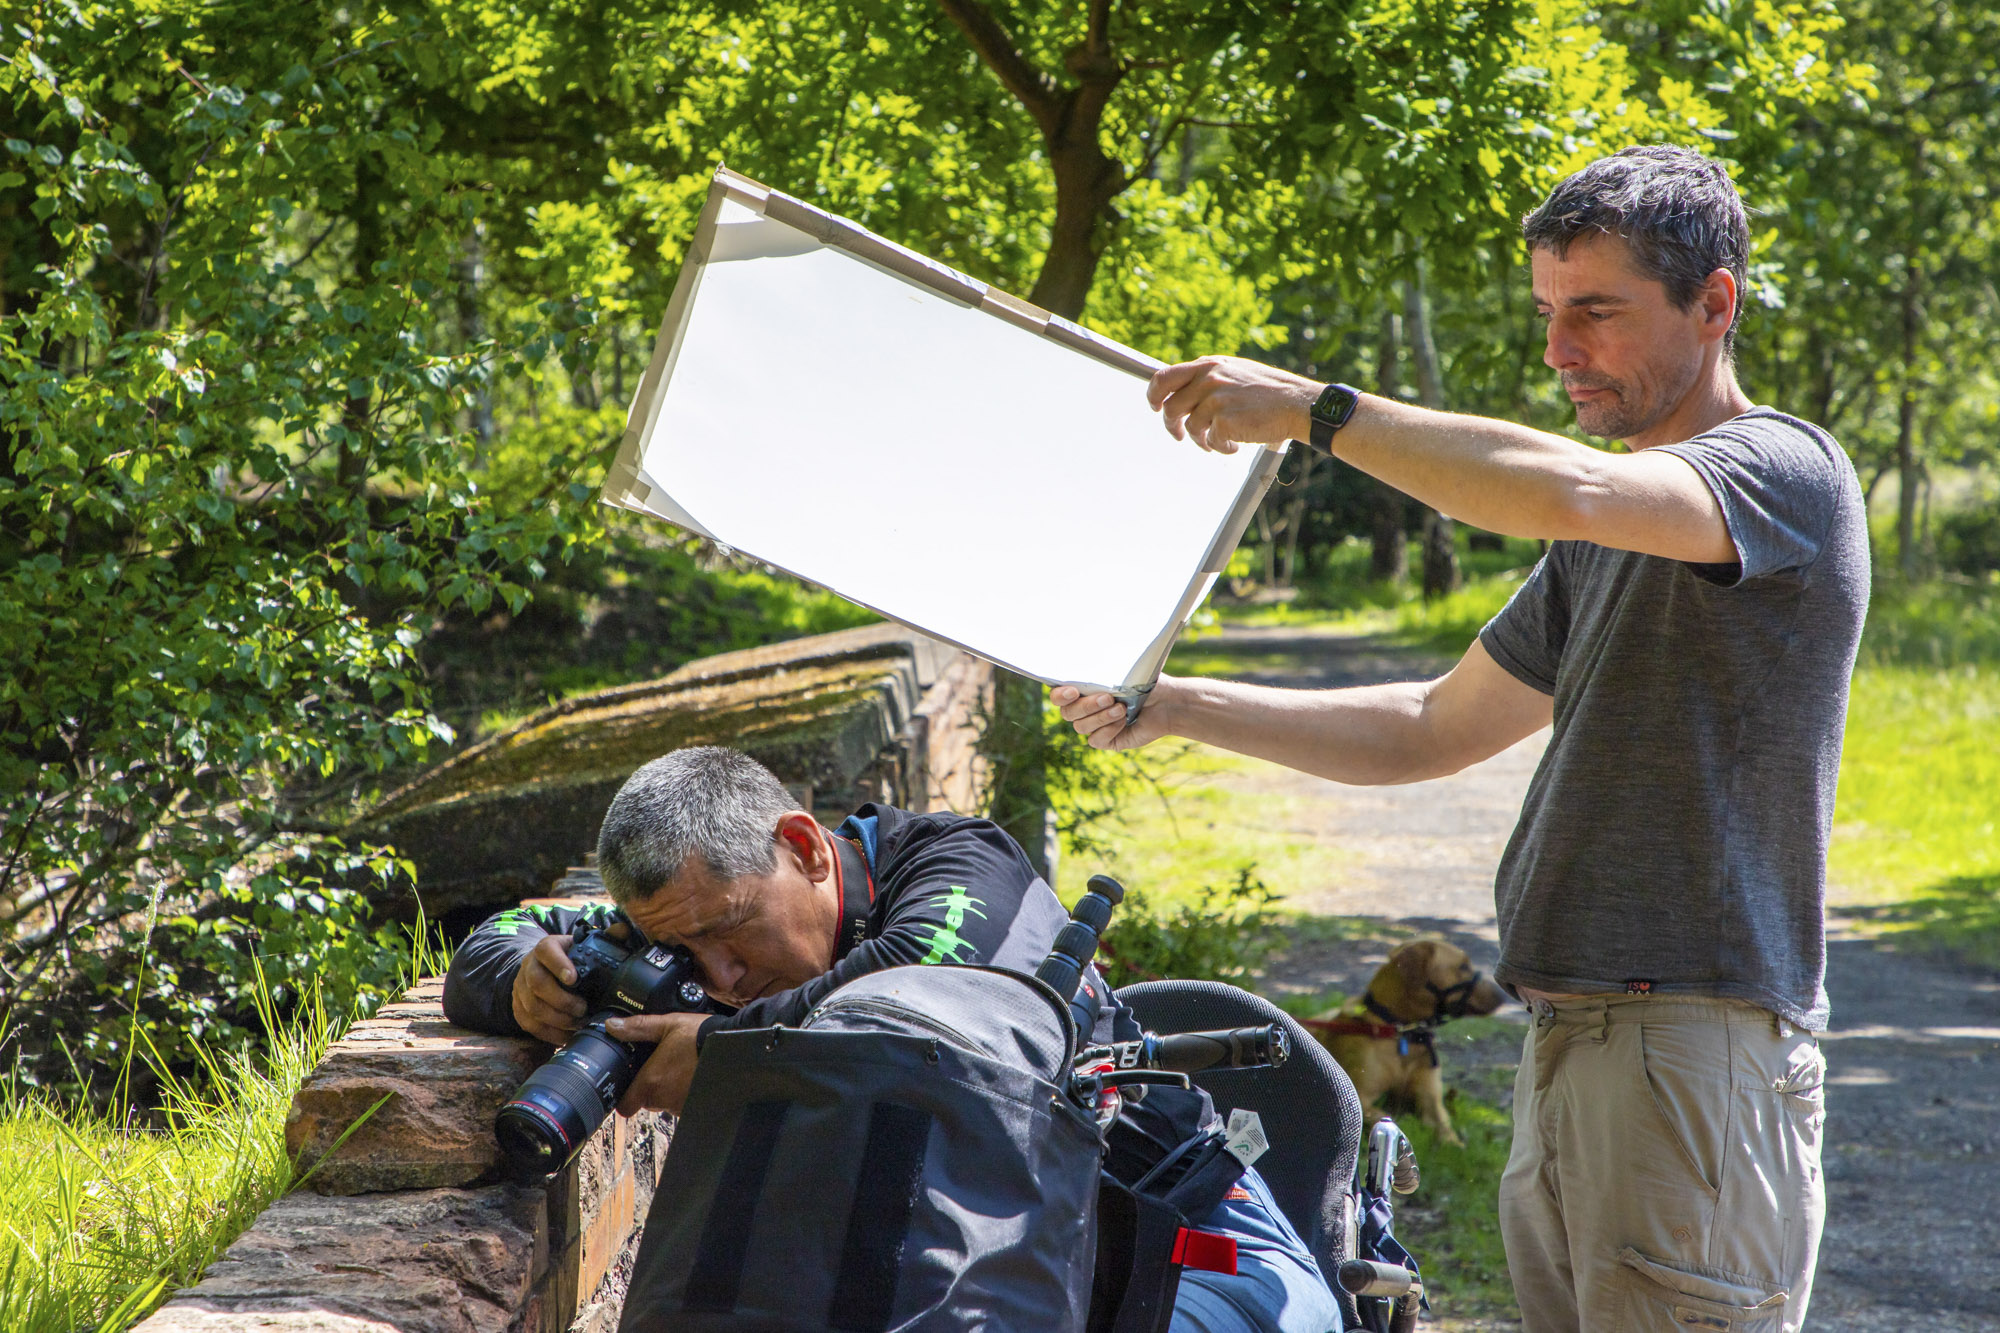
We were shooting on a bright sunny day with no cloud cover. While this may sound great, as lots of light means that faster shutter speeds can be achieved with lower ISOs, it means that you get rather harsh lighting and bright hotspots may appear on the insects – so highlight details can easily burn out. Oliver uses a scrim, a wooden frame with LEE diffusion paper taped to it, so he can soften the direct sunlight on subjects for more even lighting.
10. Extension tubes
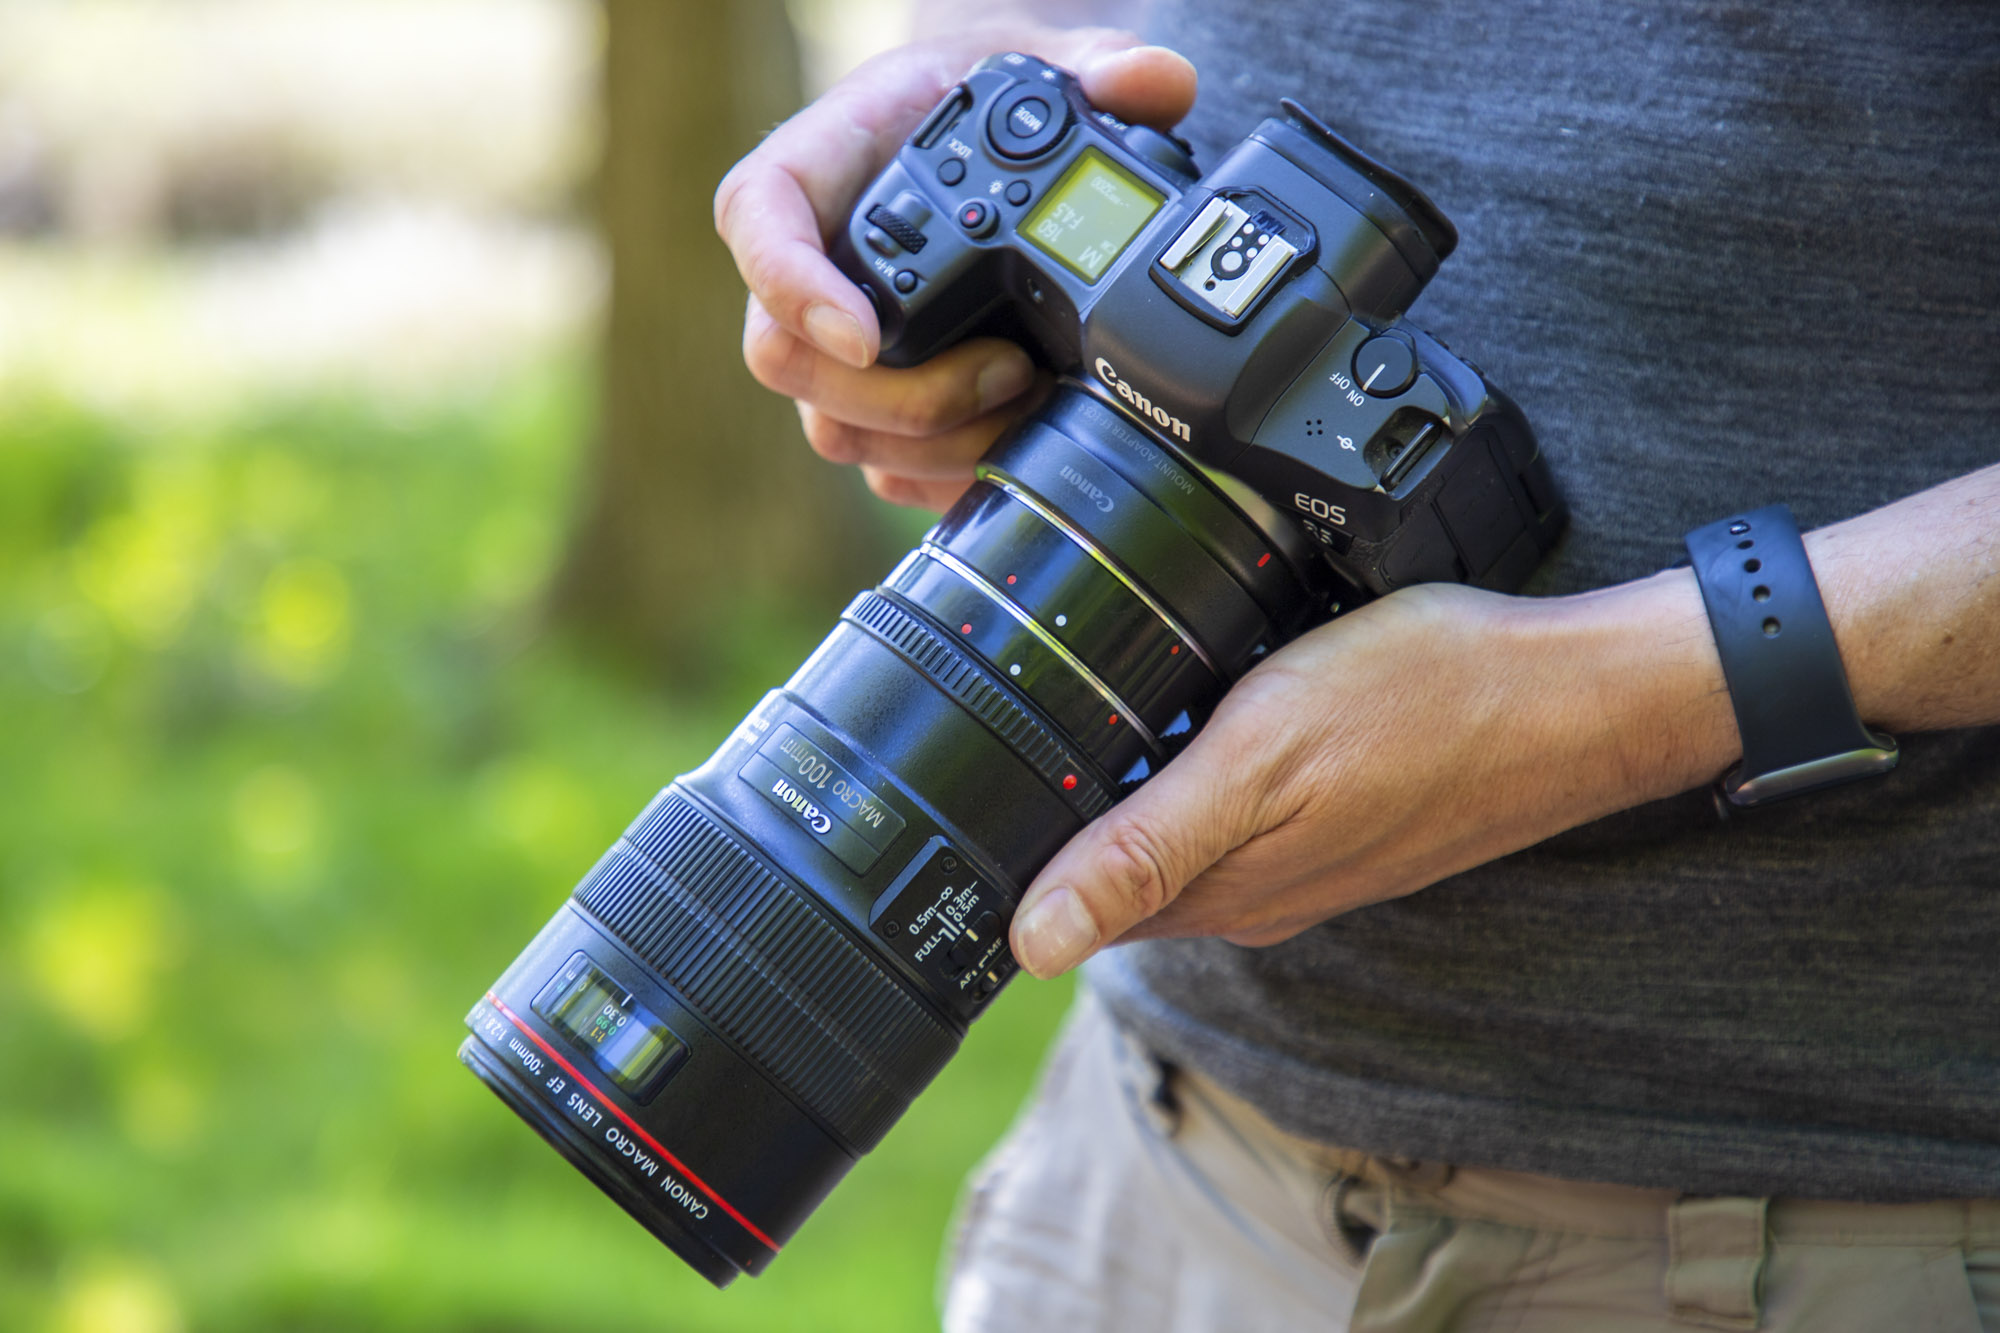
Extension tubes fit between your camera and your lens, and will imbue a standard lens with macro capabilities – or when attached to a macro lens, will turn it into a super macro optic capable of focusing even closer than 1:1.
Oliver uses a set of Kenko extension tubes that come in a set of three adapters: 12mm, 20mm and 36mm. These can be used individually or stacked together for even closer focusing capabilities, and they have electronic contacts so that autofocus remains intact.
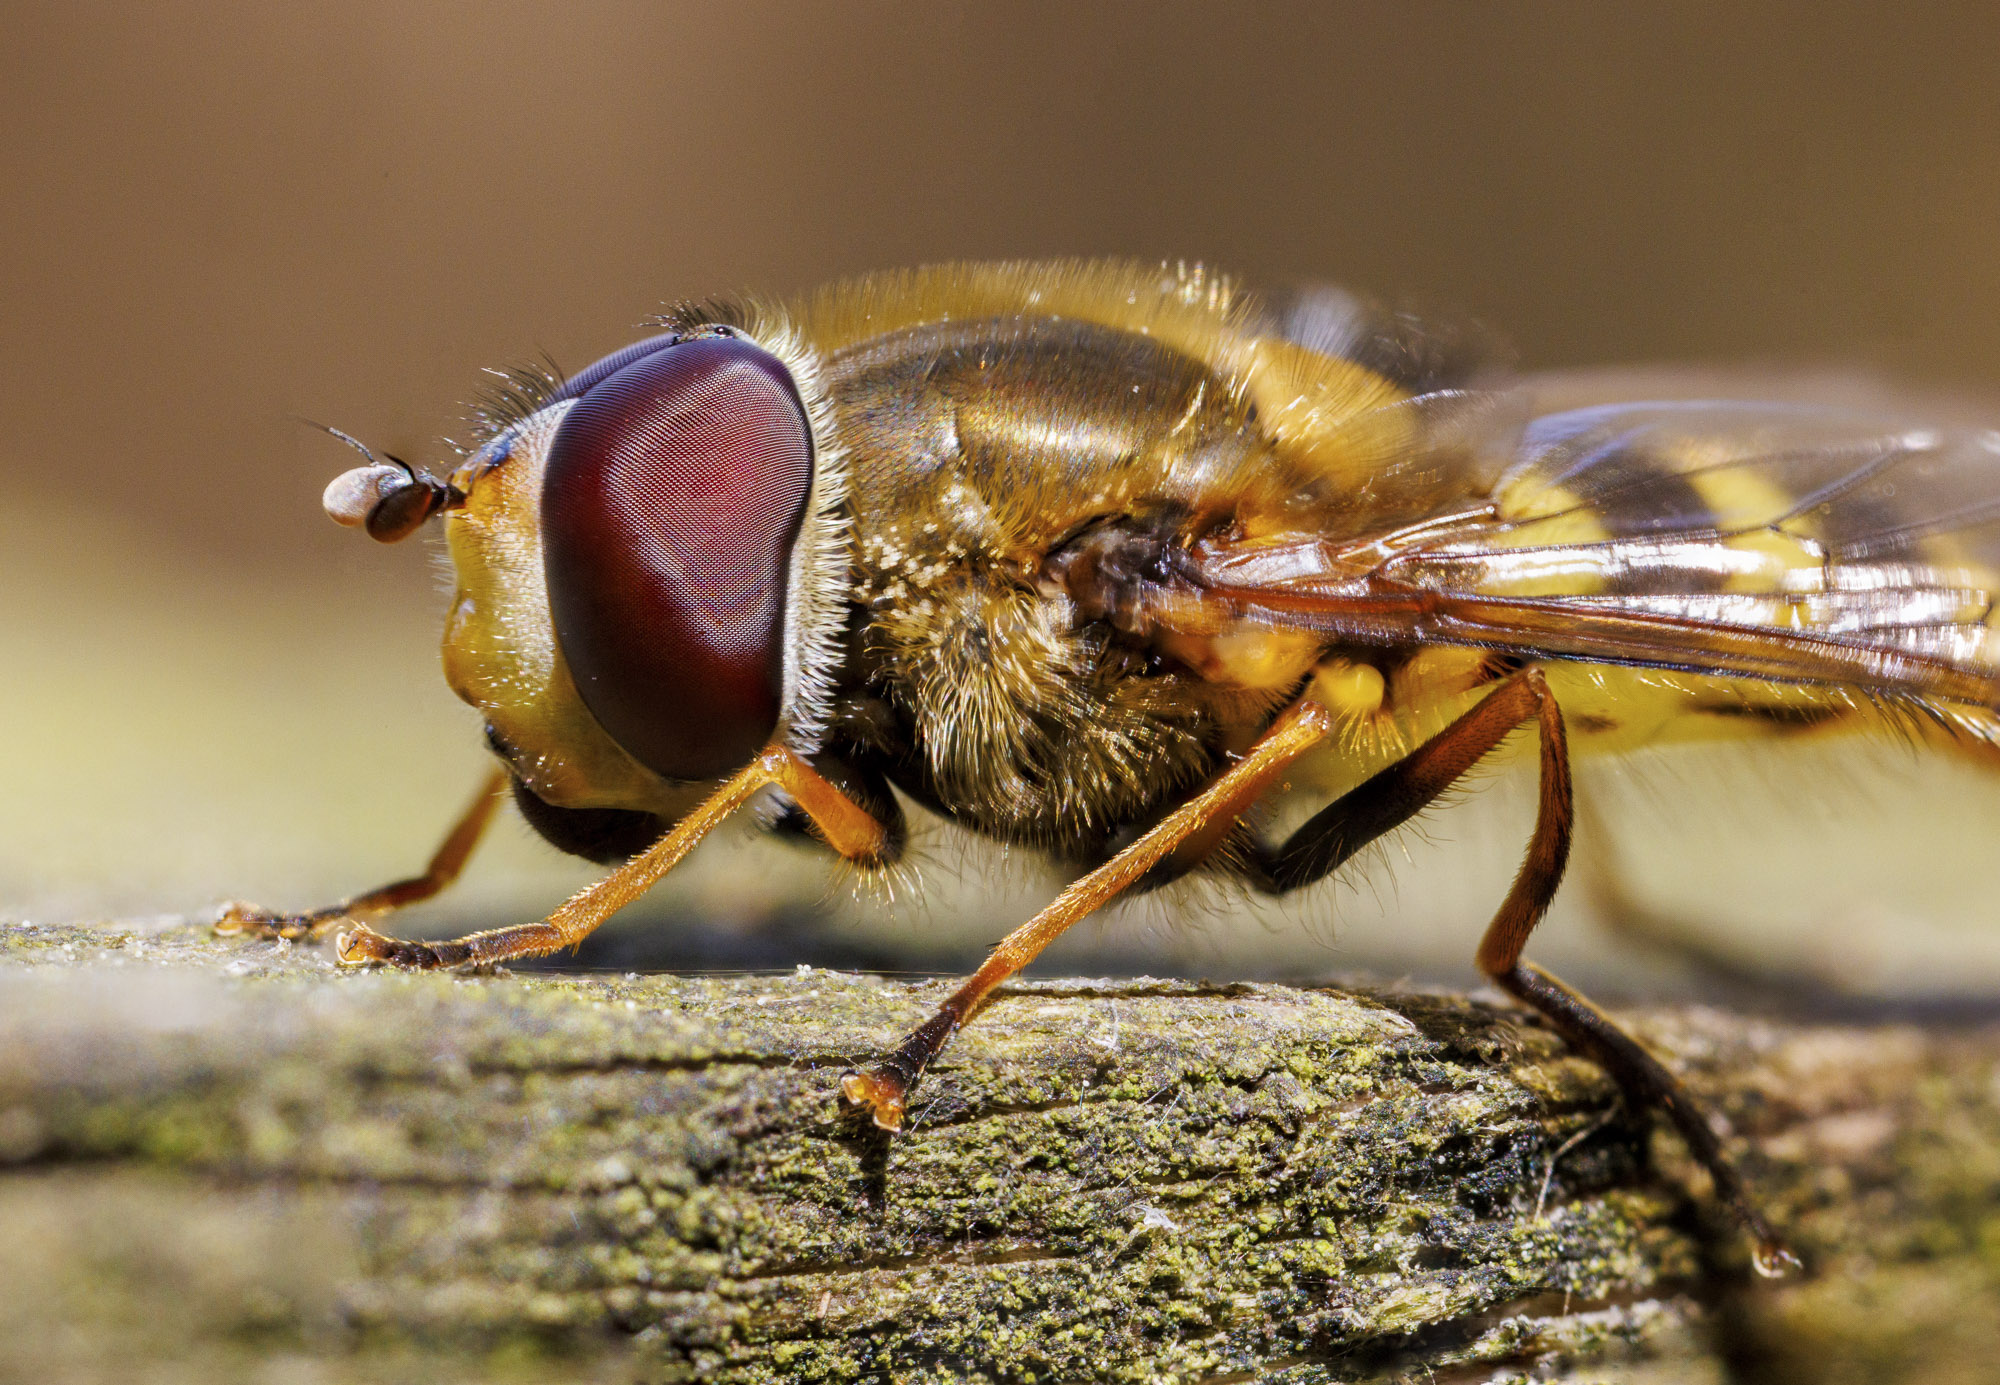
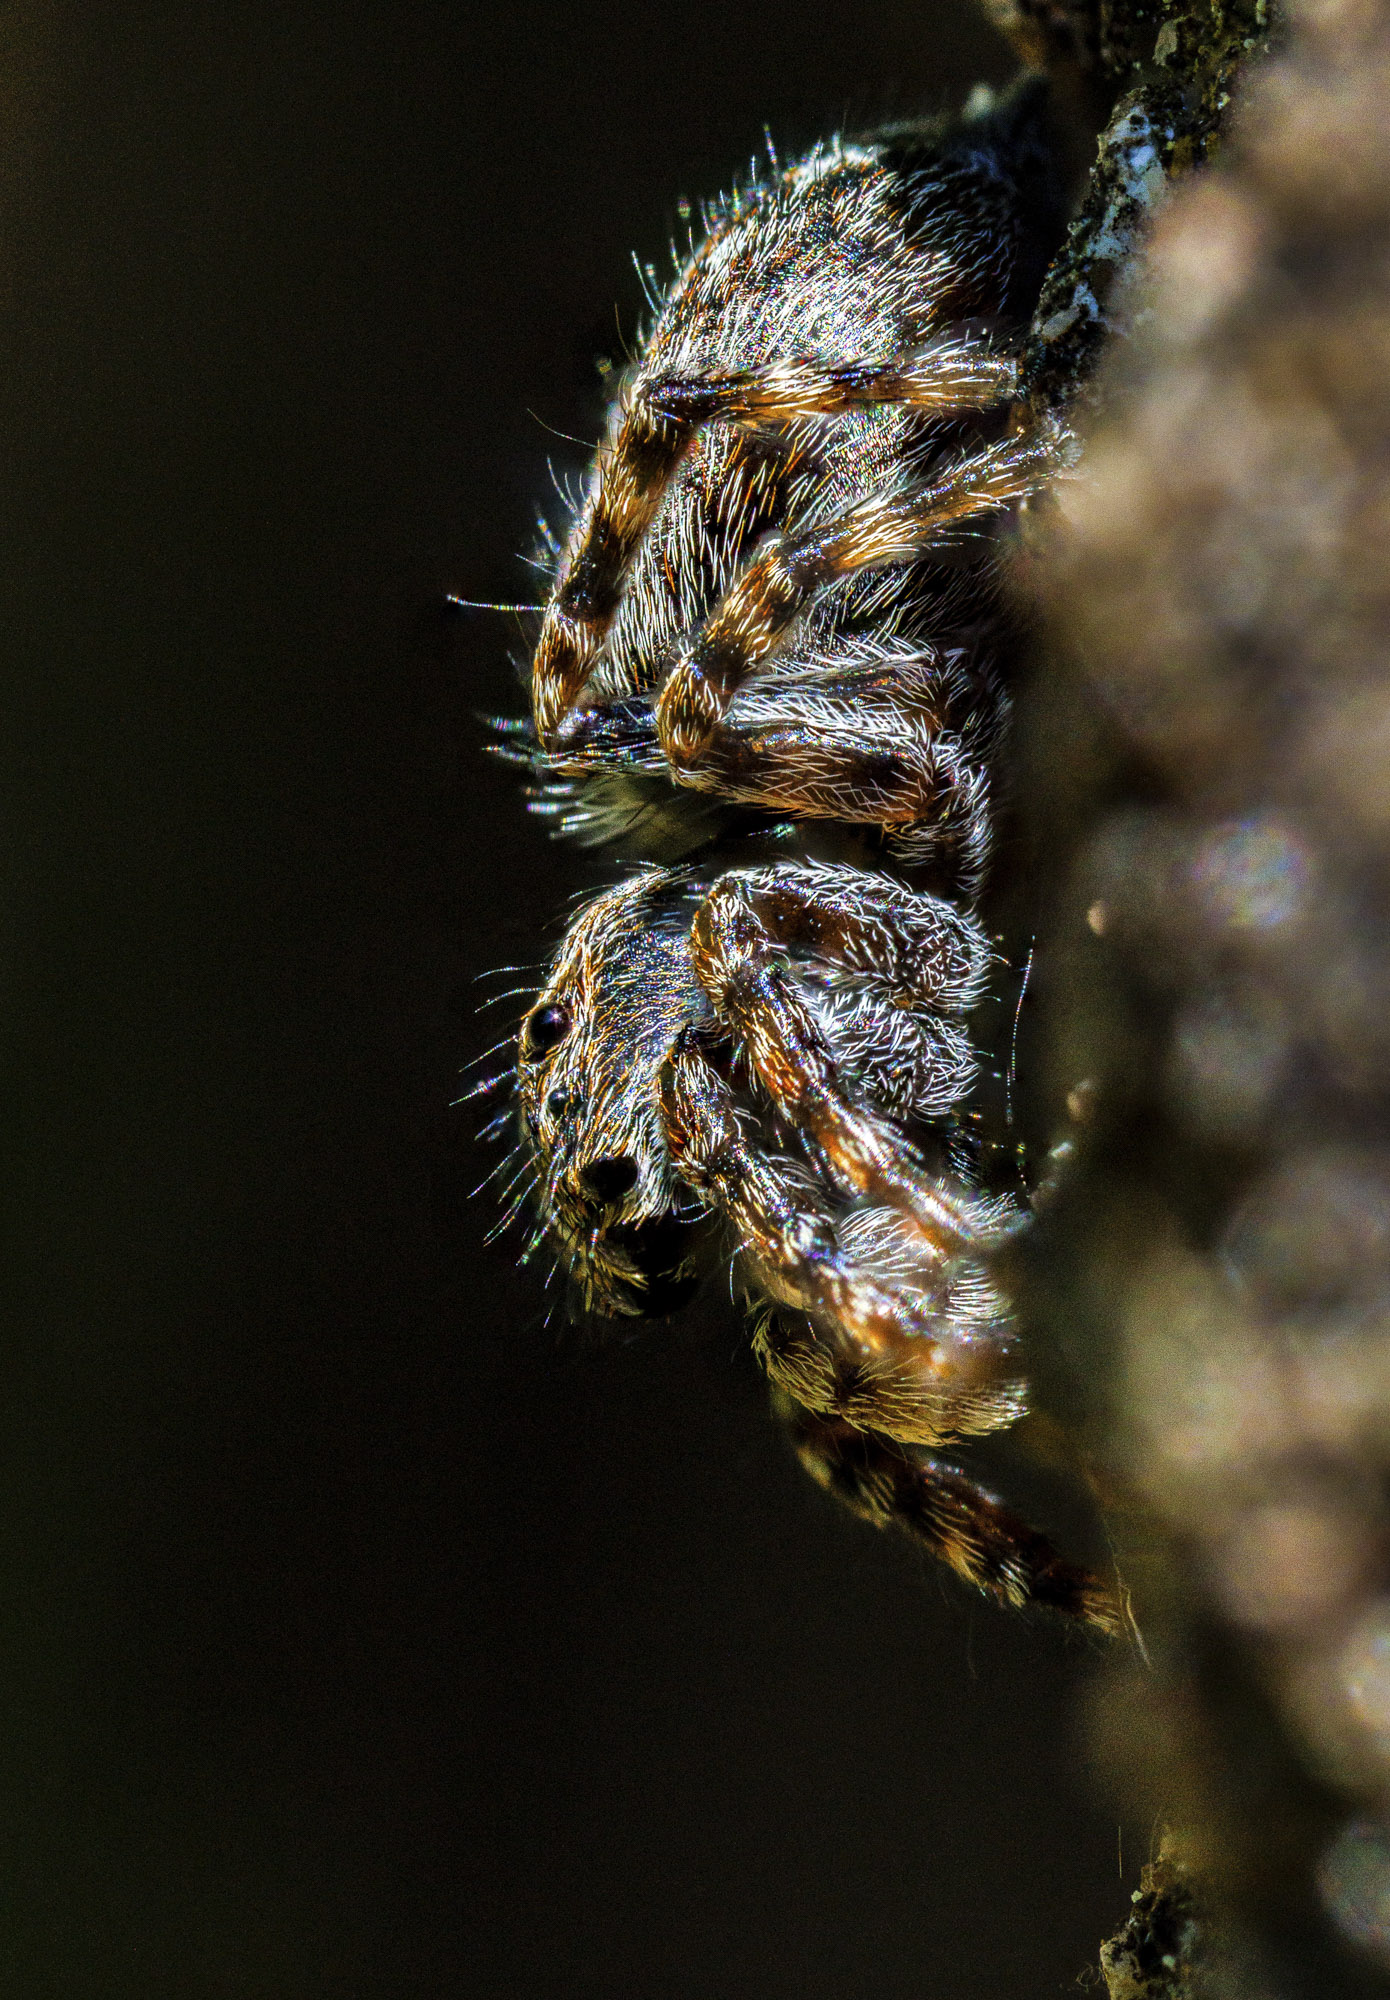
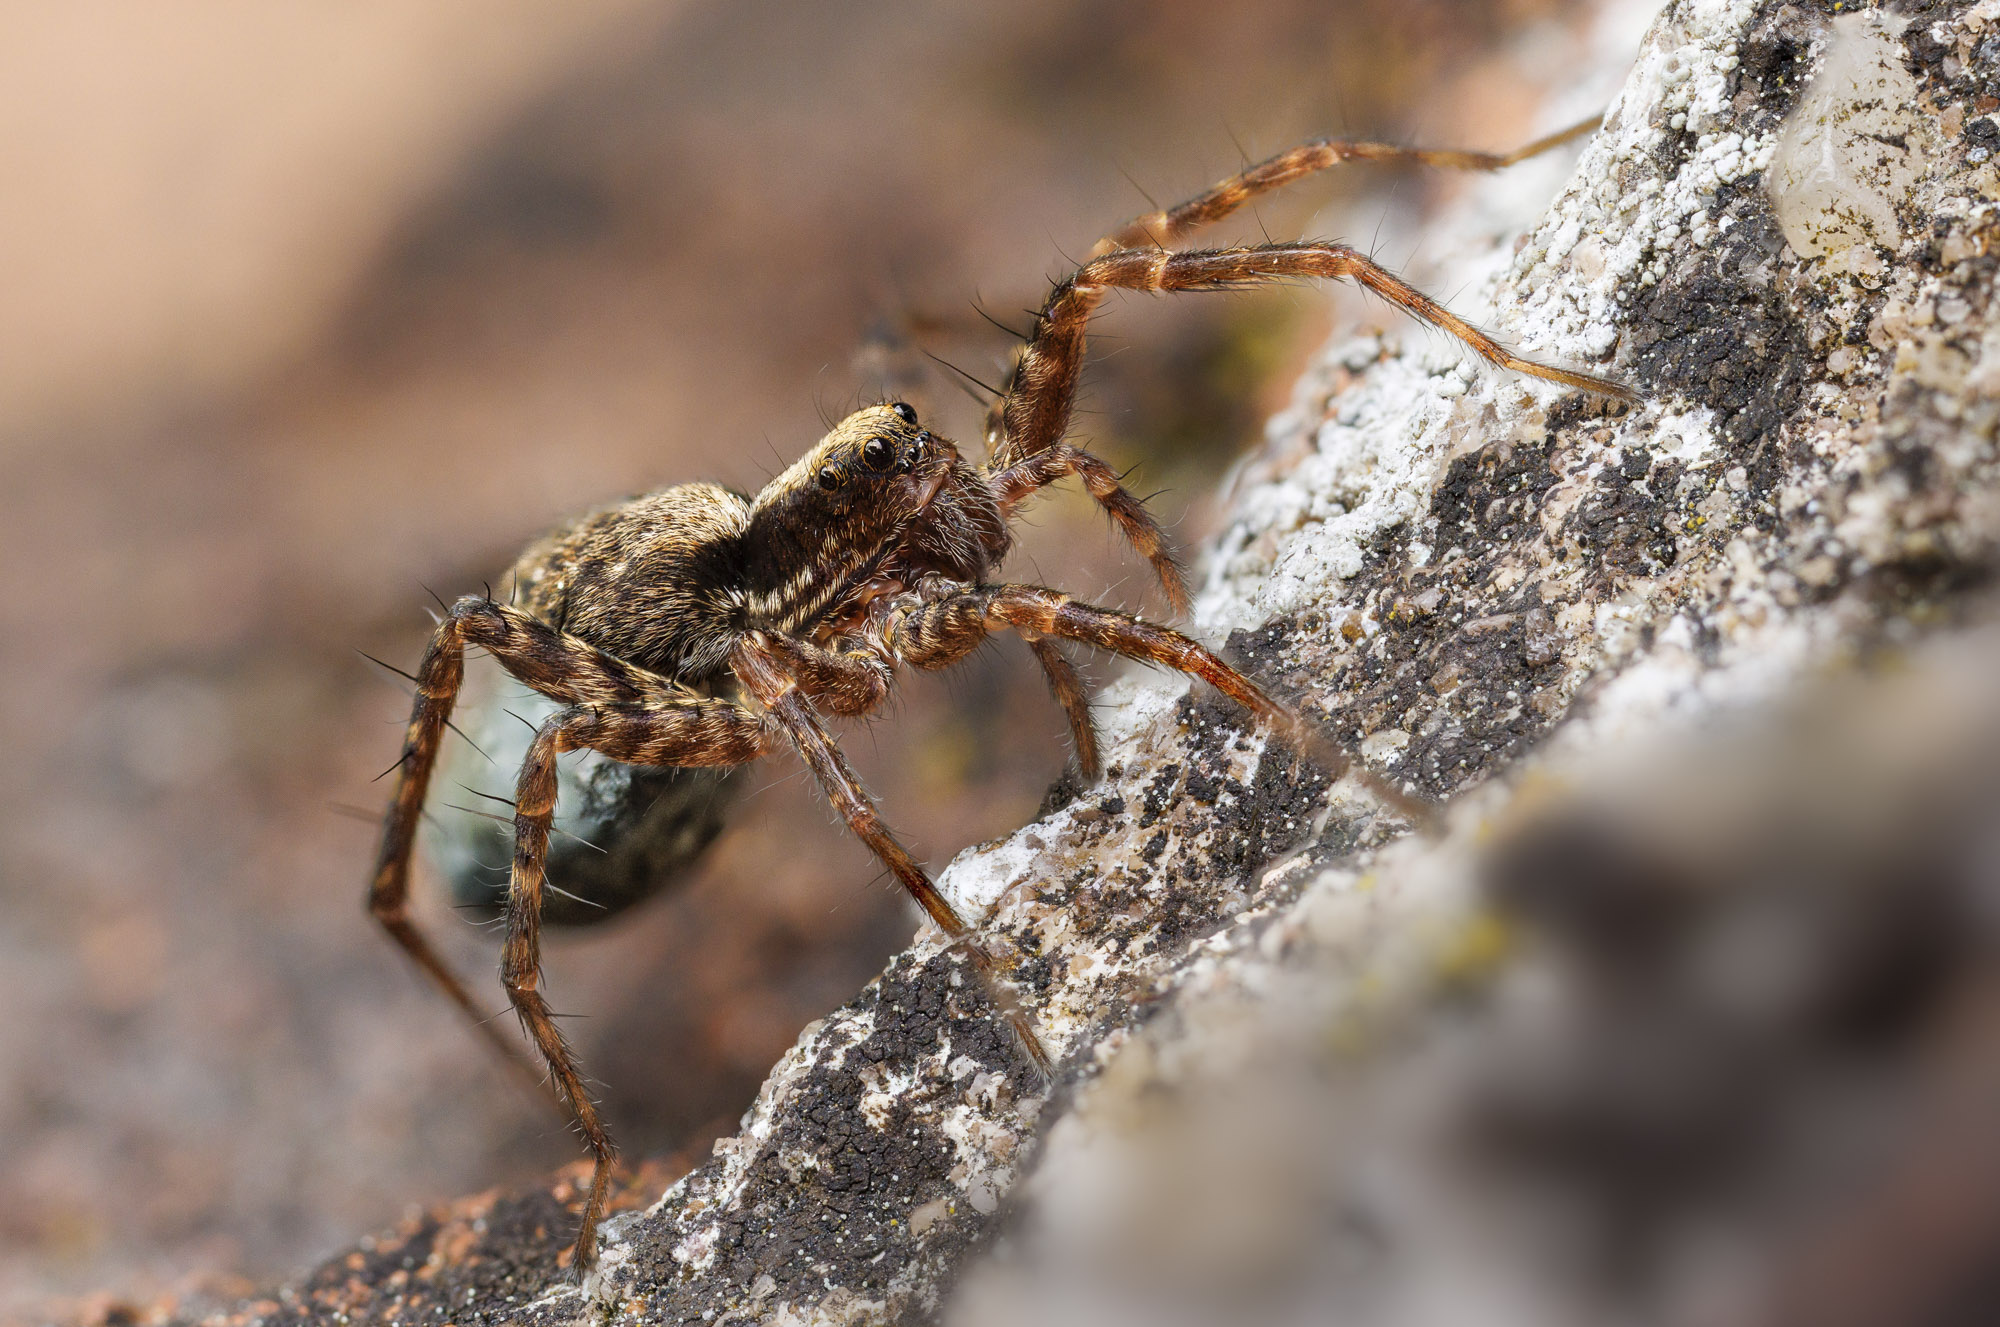
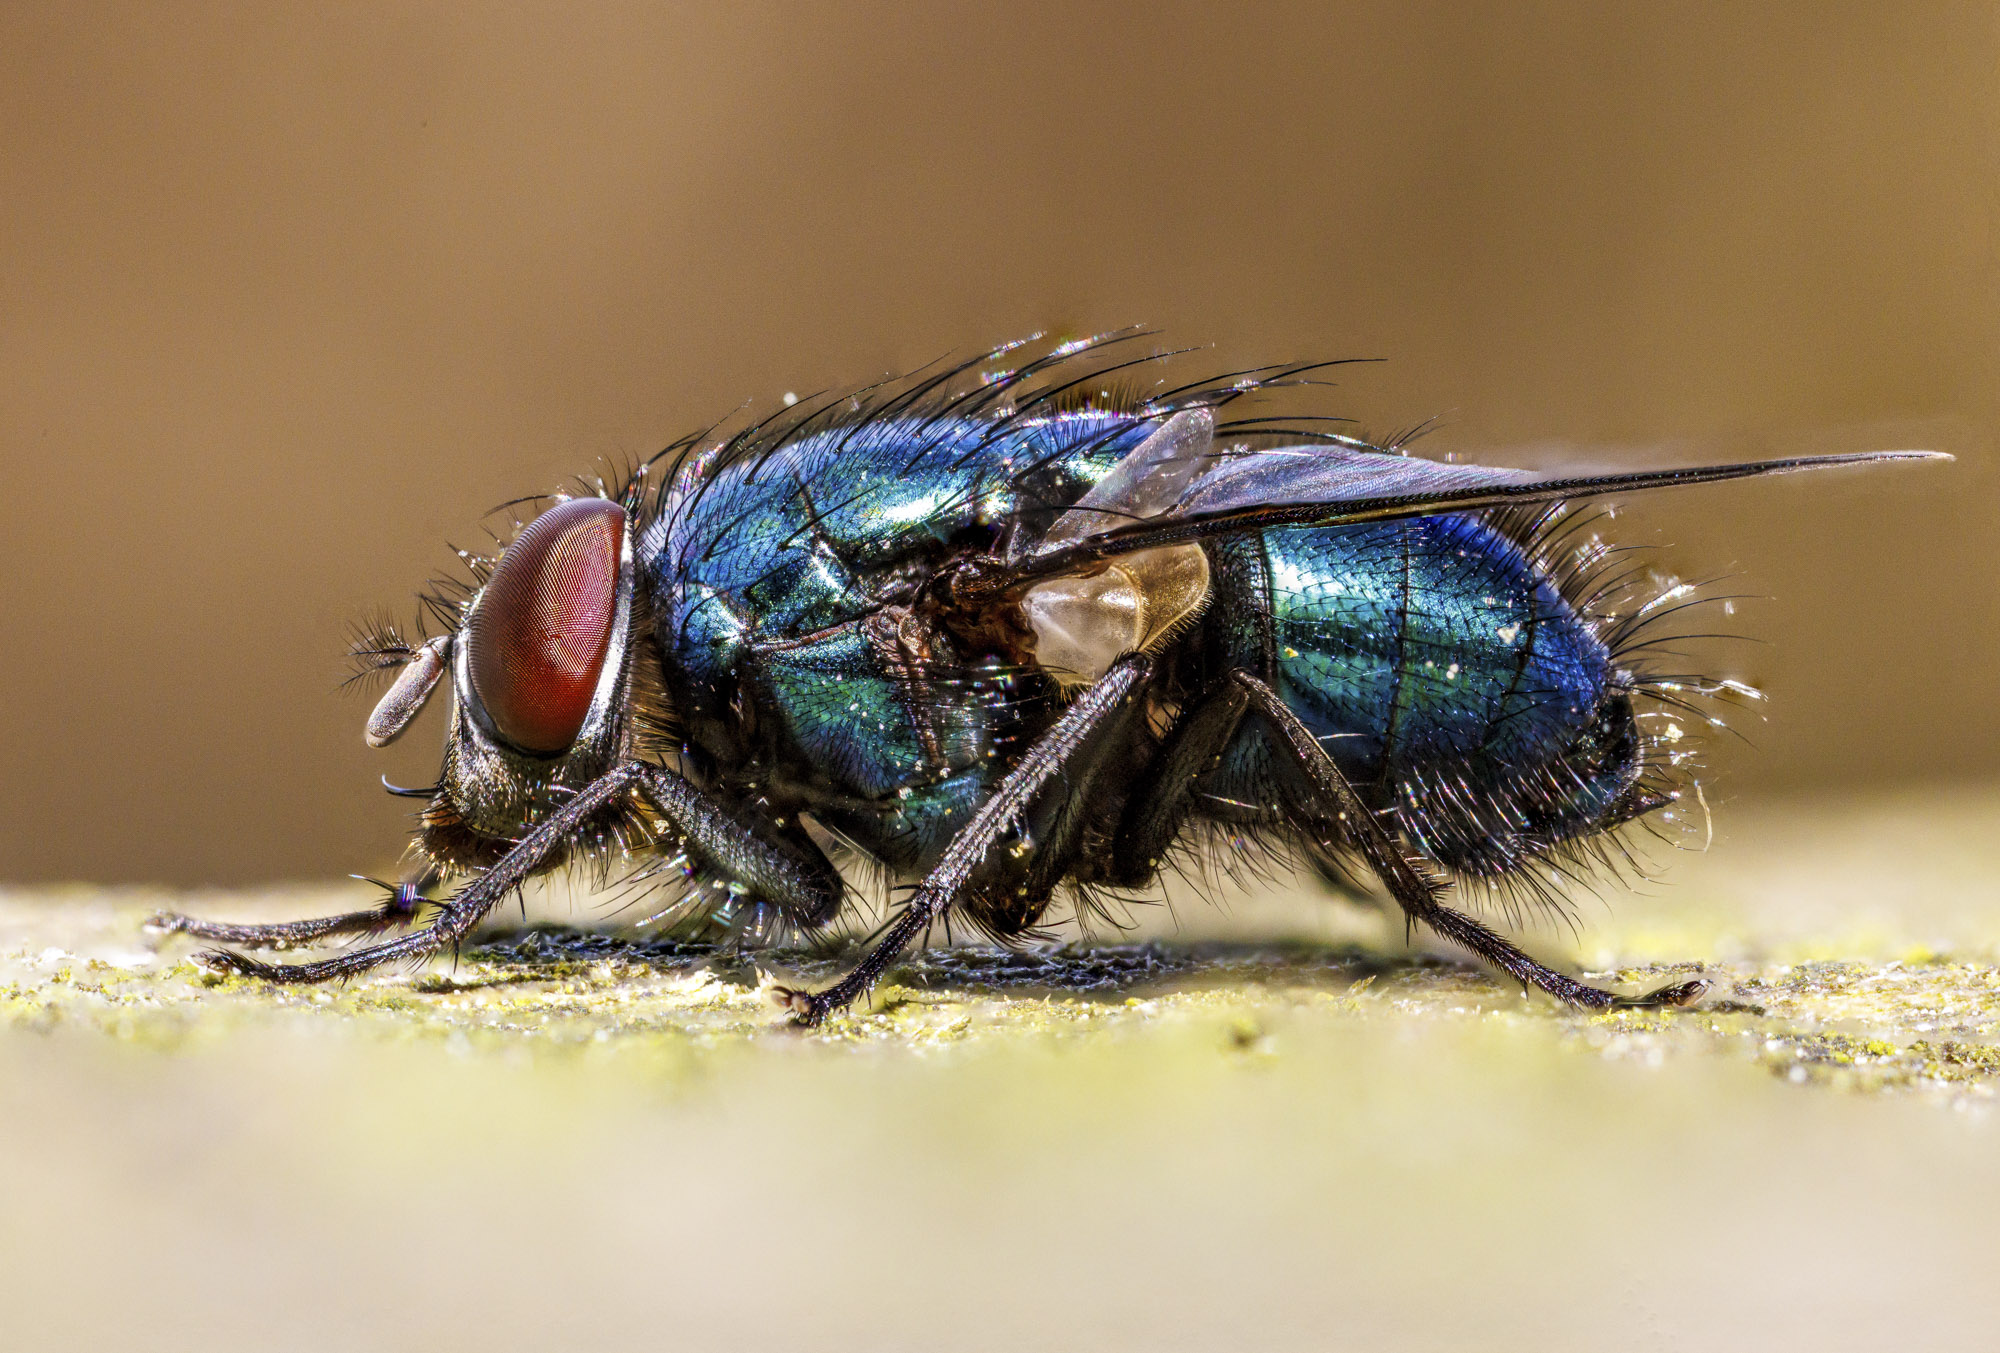
If you're really into close-up photography, you'll want to check out the best macro lenses. Oliver uses a Canon EOS R5. To see his stunning portfolio check out his Instagram, or to book a workshop visit his website.
PhotoPlus: The Canon Magazine is the world's only monthly newsstand title that's 100% devoted to Canon, so you can be sure the magazine is completely relevant to your system. Every issue comes with downloadable video tutorials too.

In addition to being a freelance photographer and filmmaker, Dan is a bona fide expert on all things Canon and Adobe. Not only is he an Adobe-certified Photoshop guru, he's spent over 10 years writing for specialist magazines including stints as the Deputy Editor for PhotoPlus: The Canon Magazine, Technical Editor for Practical Photography and Photoshop Editor on Digital Photo.
