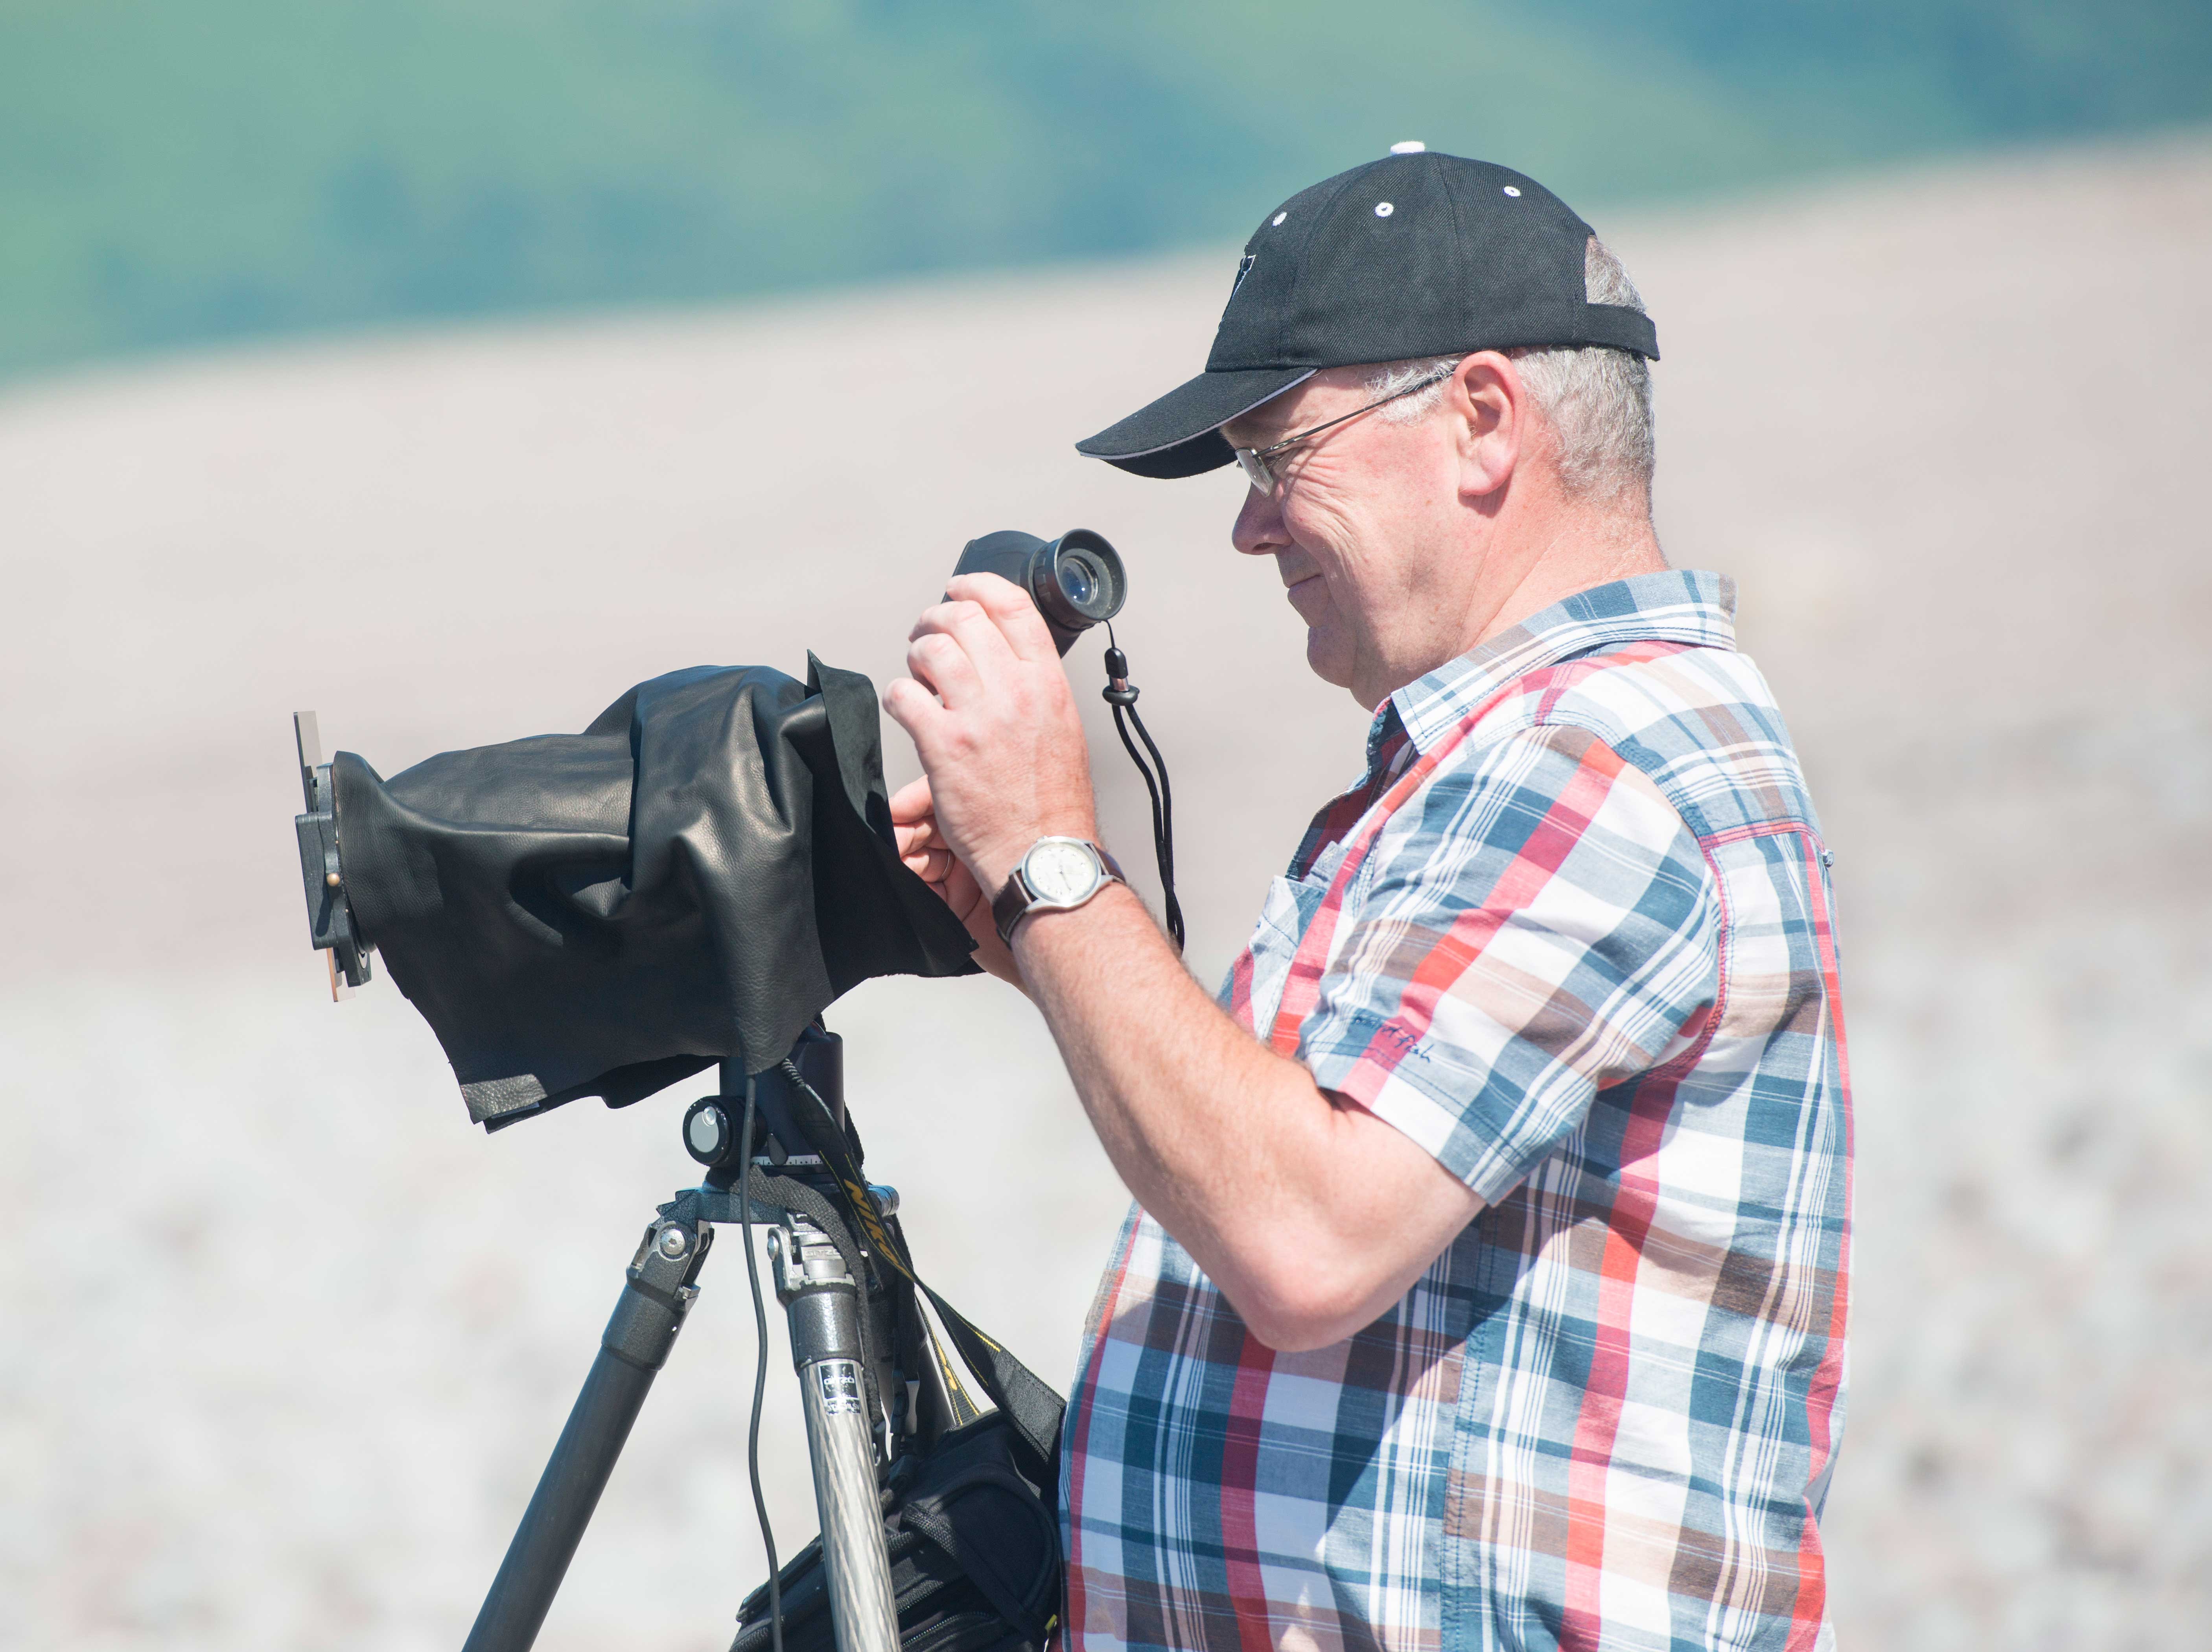
A day in the life of pro landscape photographer Jeremy Walker
We join a top pro on location in Somerset to see how a landscape photographer uses filters to get great scenic shots
The best camera deals, reviews, product advice, and unmissable photography news, direct to your inbox!
You are now subscribed
Your newsletter sign-up was successful
As we drive along the twisting Exmoor road that leads down to Porlock Weir, Jeremy Walker explains why he has chosen this spot for our one-day shoot.
“I have been to Porlock Weir about three times before, and there are a couple of spots here that I still want to recce,” he explains.
“This location is not as well-known as the Jurassic Coast, which I shoot a lot, but that is best photographed at a different time of year. Most of the cliffs and beaches are south-facing, so are in shade at sunset.”
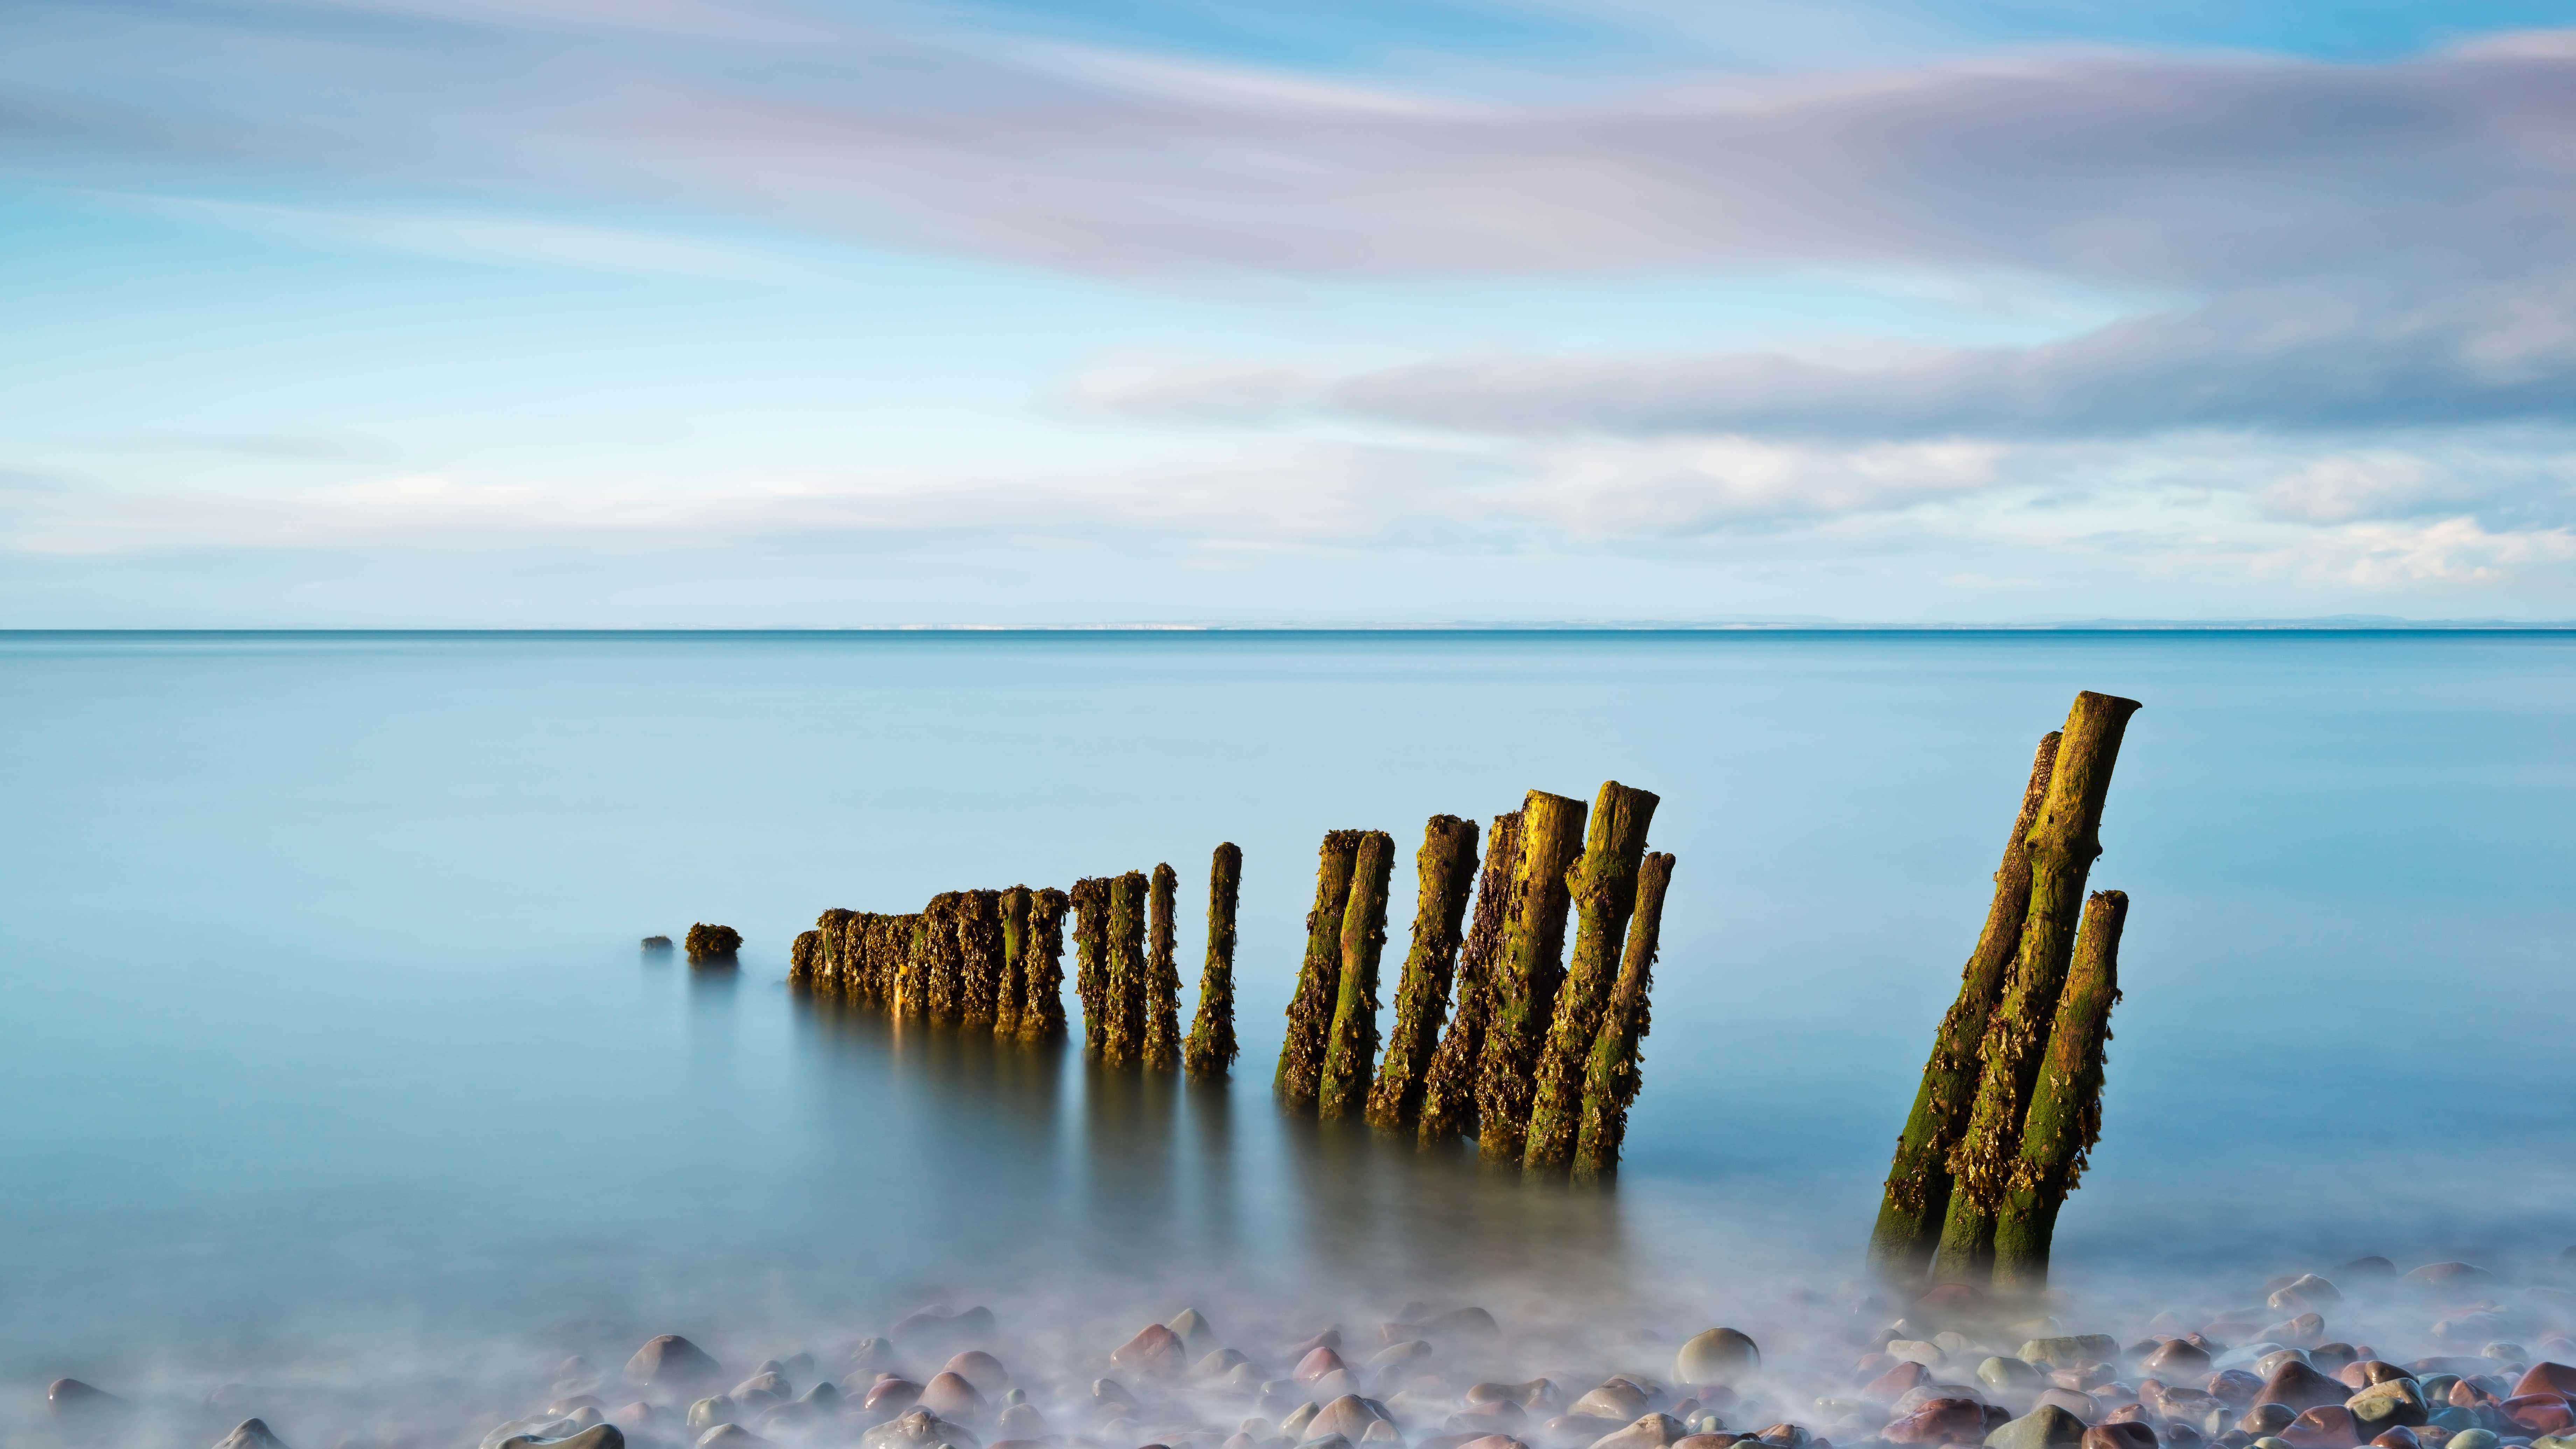
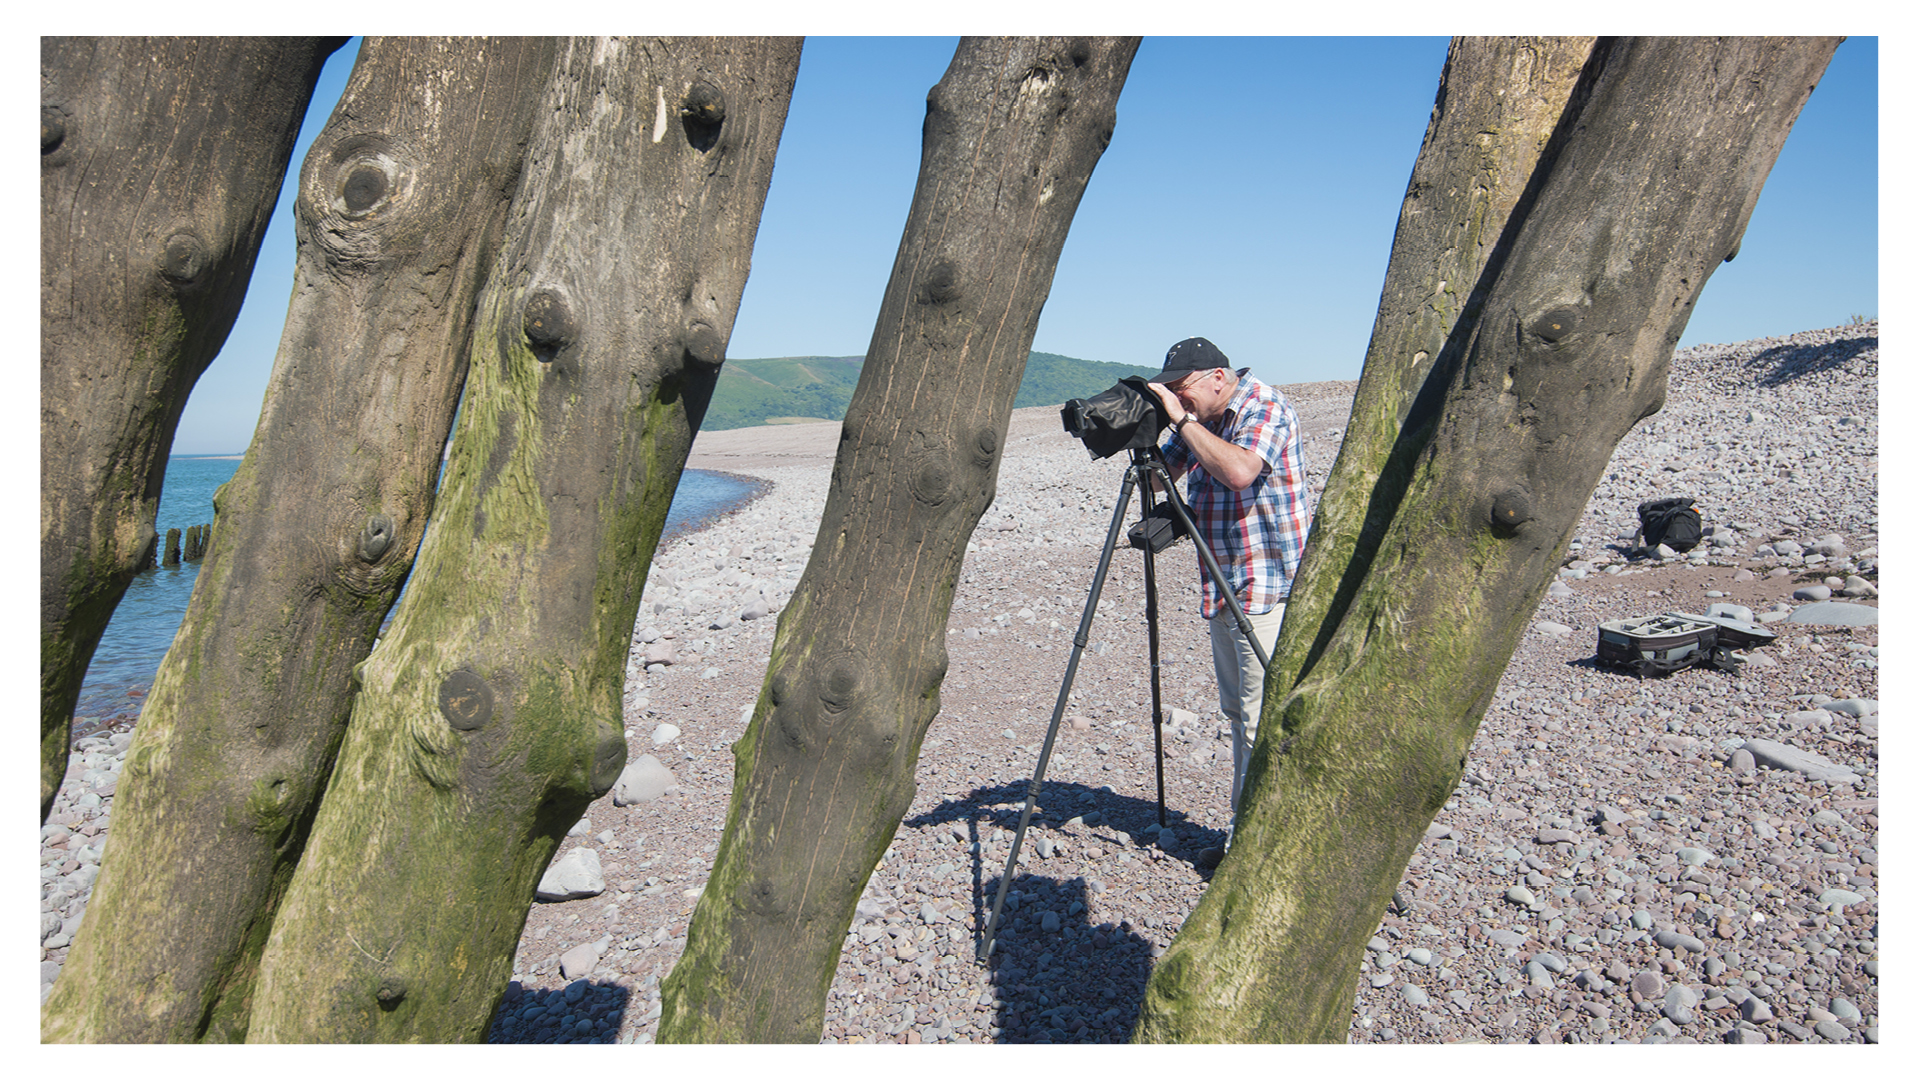
“The small harbor here is picturesque, and the pebble beach has some beautiful wooden groynes that suit Big Stopper long exposures. With the beach facing north-west, it is lit the whole day at this time of year. It is not overrun with tourists, even in the height of summer, which is another bonus.”
• More photography tips
• Landscape photography tips and techniques
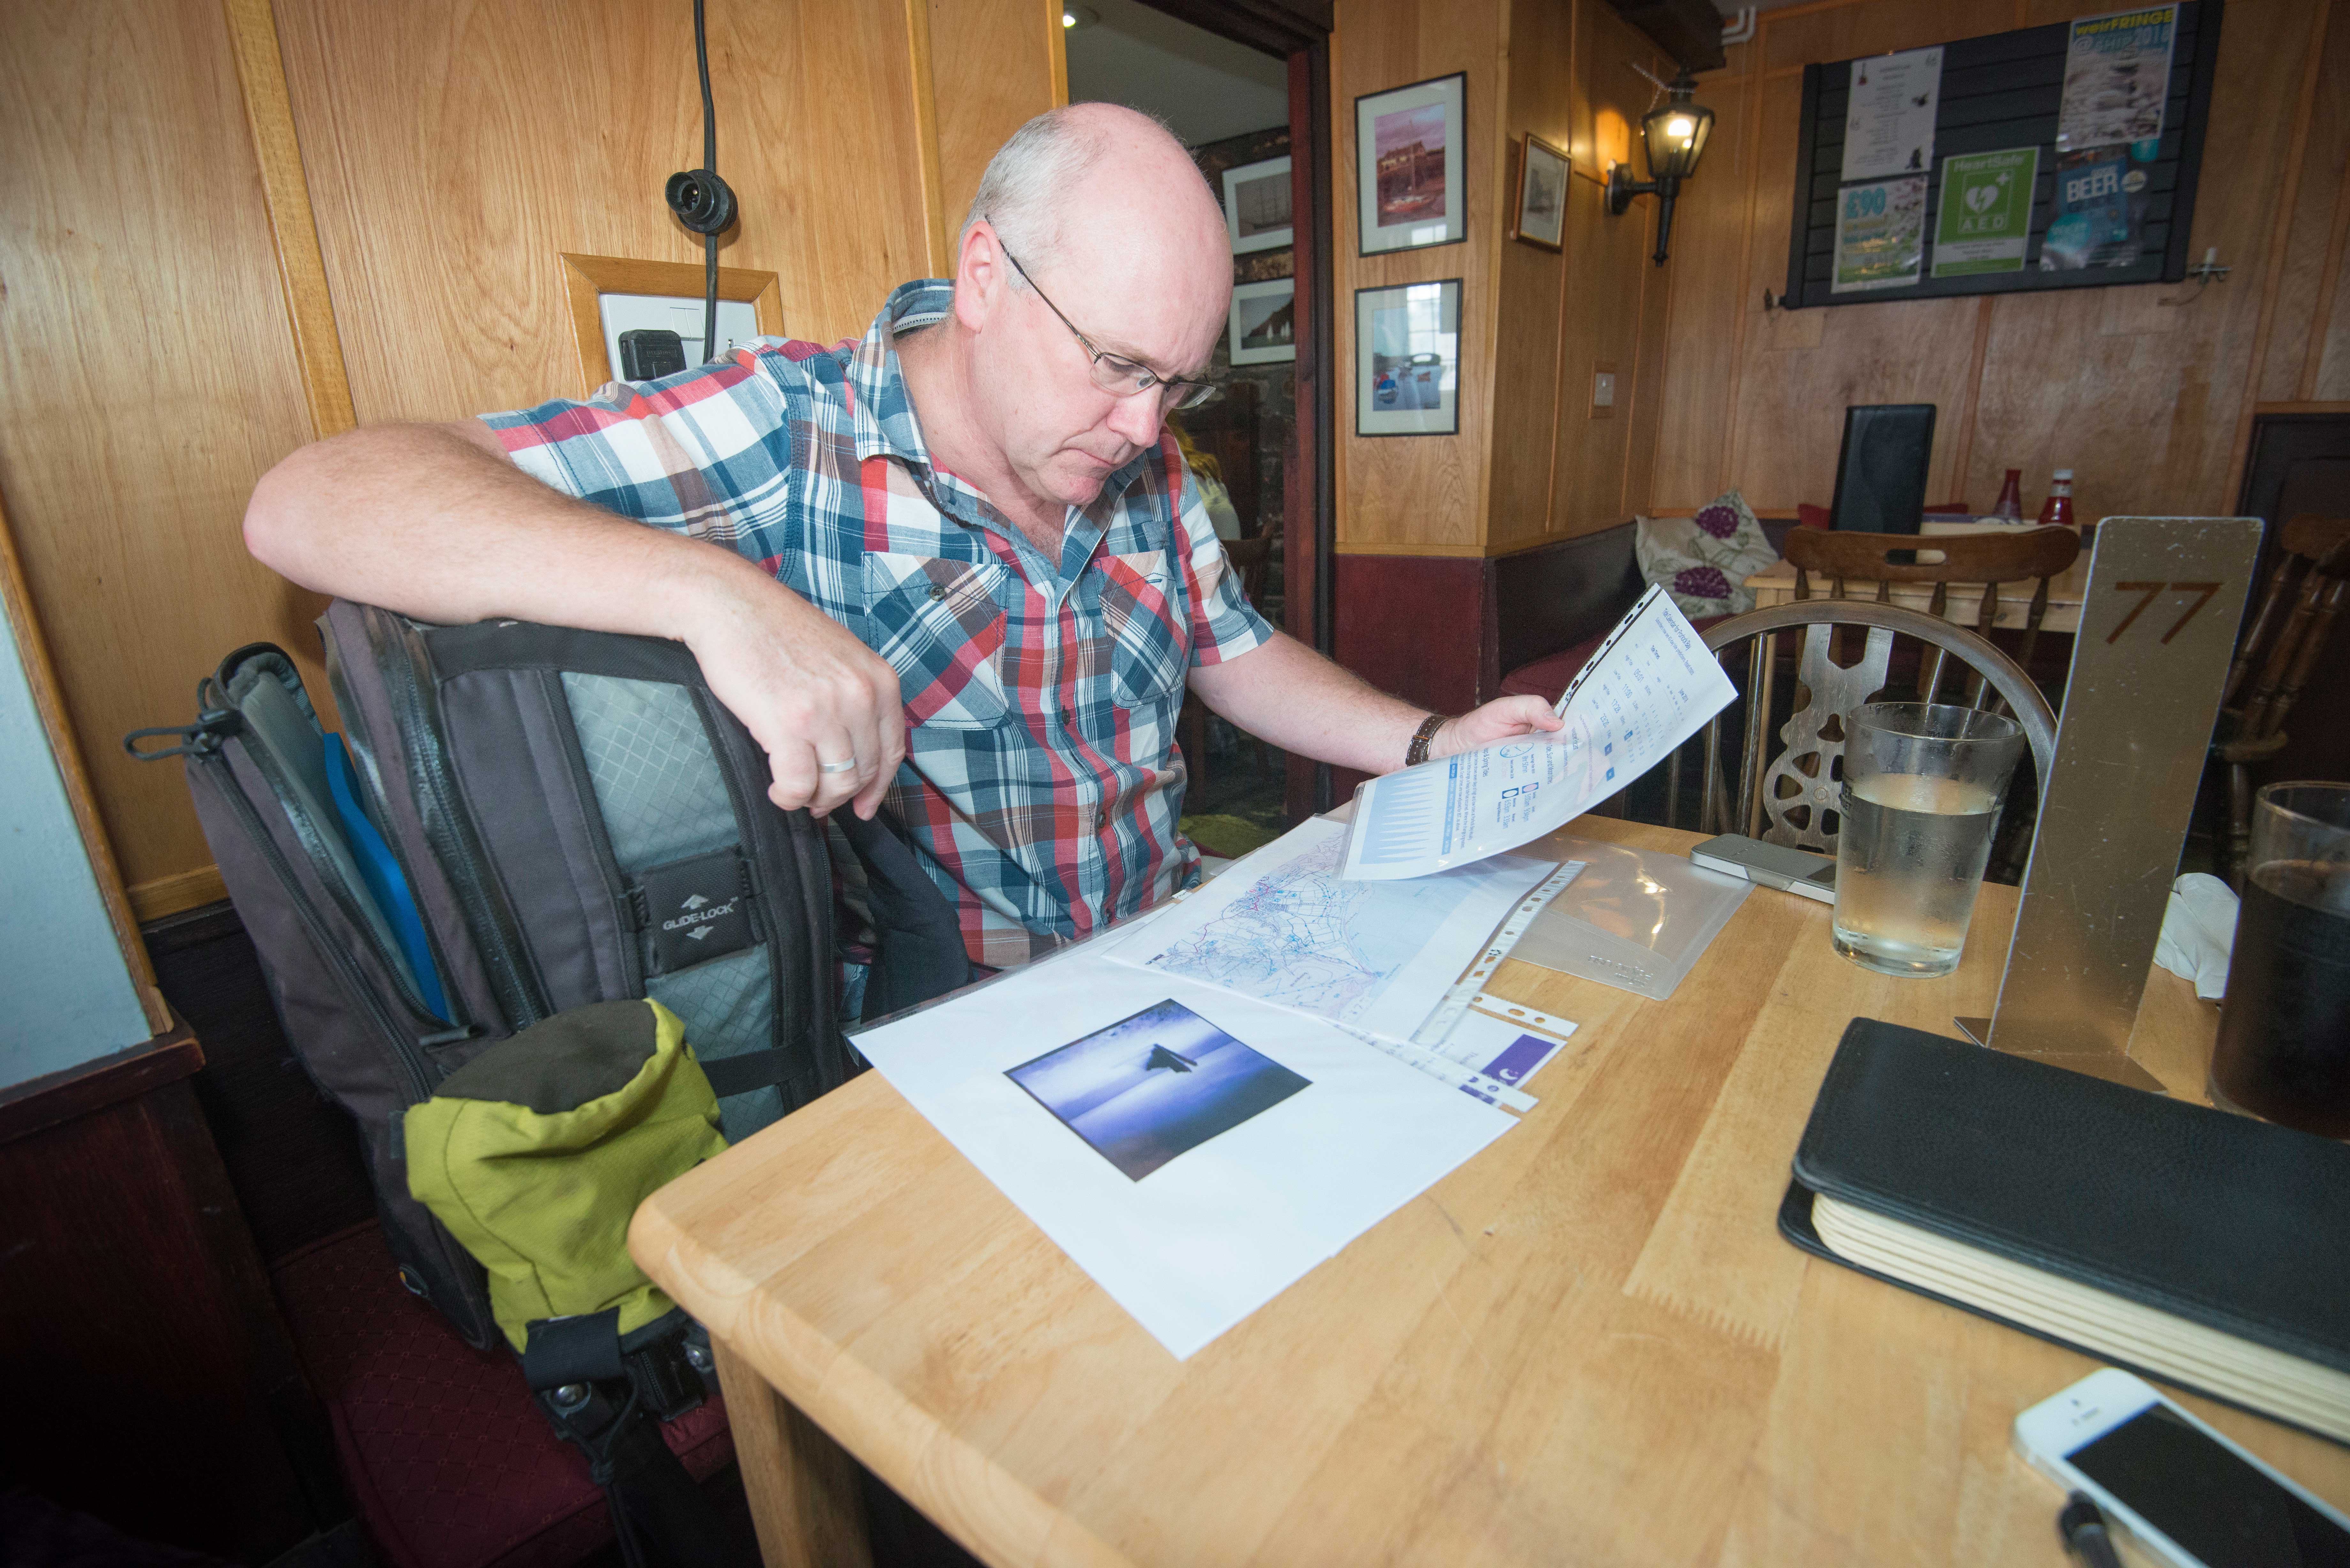
Tide times are the most crucial factor for this location – this part of the Bristol Channel has one of the biggest differences between high and low tide in the world. We needed to be set up on the beach for the hour or two before high tide, which today was at 5.28pm. (Jeremy uses Tide Times.)
The best camera deals, reviews, product advice, and unmissable photography news, direct to your inbox!
It was now 1pm, so we had plenty of time to explore, and talk technique.
Although he’s best-known for his landscapes, Jeremy has not always been a scenic specialist. After studying photography at Gloucester College of Art, his aim was to become an advertising photographer.
The reality was that he ended up shooting commercial and industrial subjects. “I shot lots of shoes, photographed plenty of college prospectuses, and toured the country photographing countless bus shelters,” he reminisces.
When Jeremy set up on his own, he diversified into shooting landscapes and, when times were quiet, stock images for big picture libraries.
Although shooting stock used to make up a significant proportion of Jeremy’s commercial work, more than half of his income now comes from workshops and private tuition. “This is supplemented by private sales of prints and commissioned work.”
His latest venture is a book of images of ruined castles and other buildings shot within their landscape – it will combine around 100 old and new images.
Behind the scenes on a landscapes shoot with Jeremy Walker
Sunset was not until 9.34pm – and as the previous evening had produced a spectacular sunset, we were hoping that today would be the same.
“Professional landscape photographers have a reputation for just shooting at dusk and dawn, but as long as you avoid the middle of the day, you can still should be able to get good shots in the morning and afternoon,” says Jeremy.
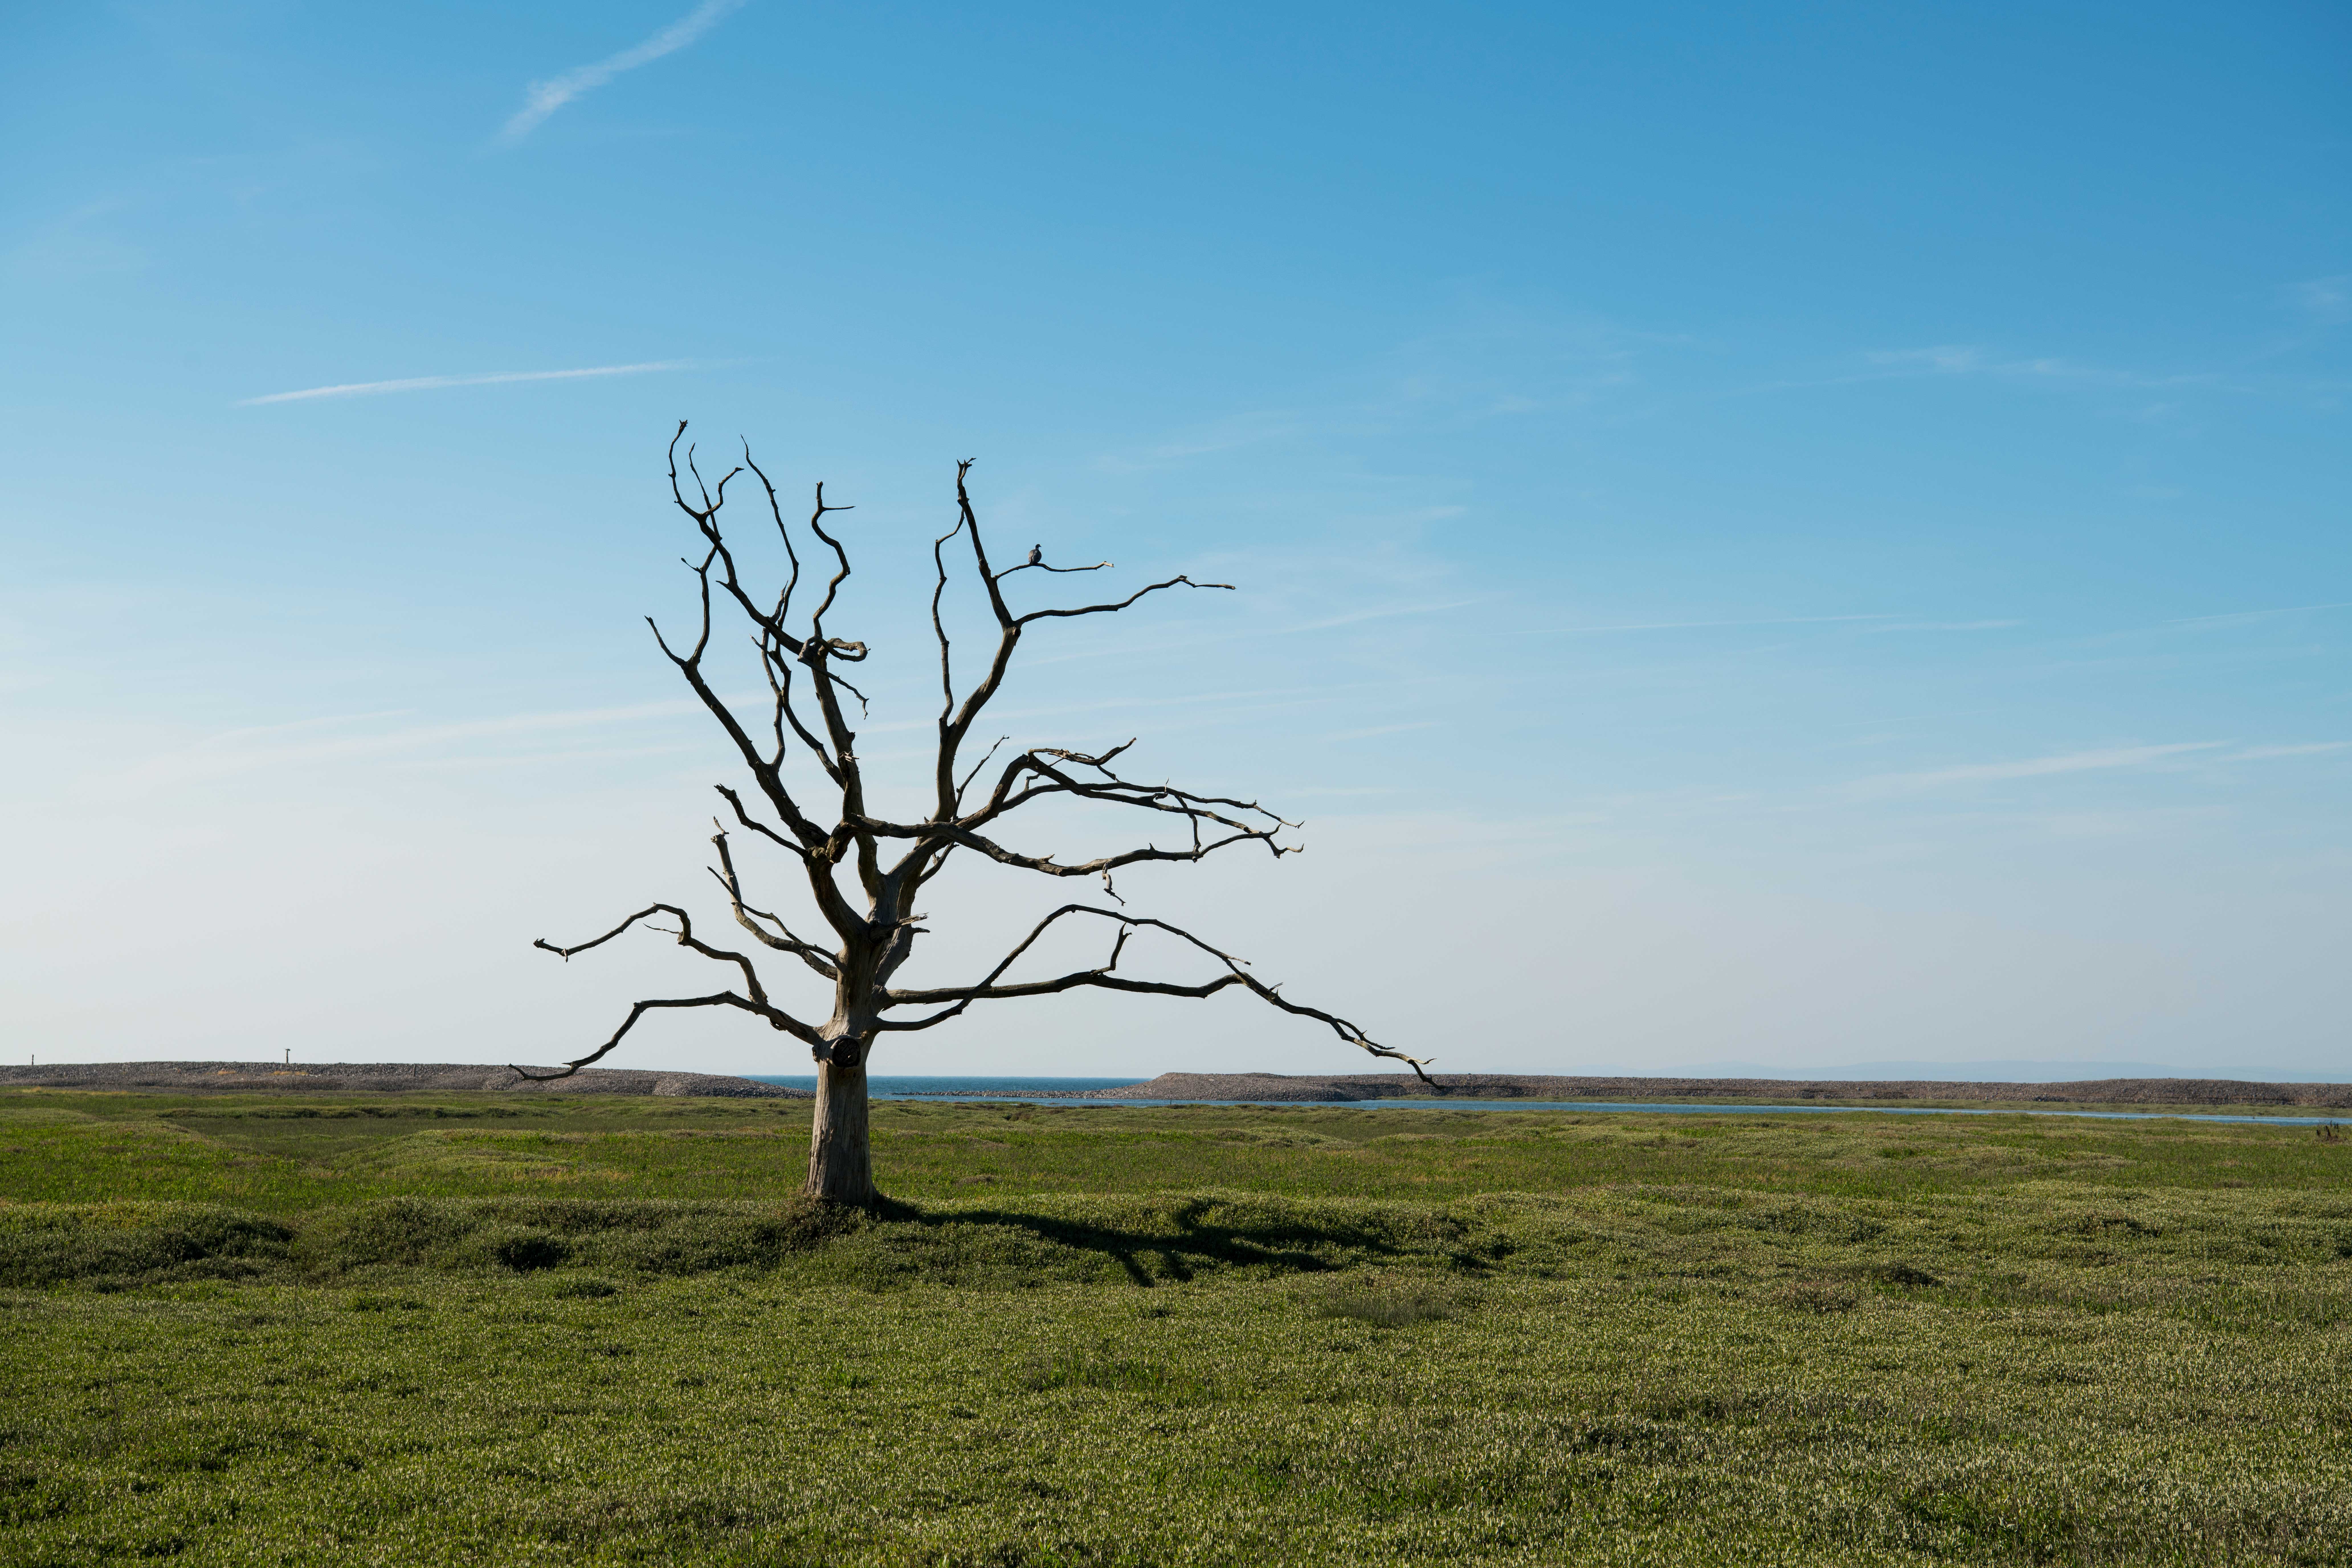
But with a windless heatwave of a day supplying endless blue sky and no clouds, nothing was going to be easy.
After a tour around the boats in the harbour, made possible by the low tide, and a check through everything in the shade of the local hostelry, it was time to head to the beach.
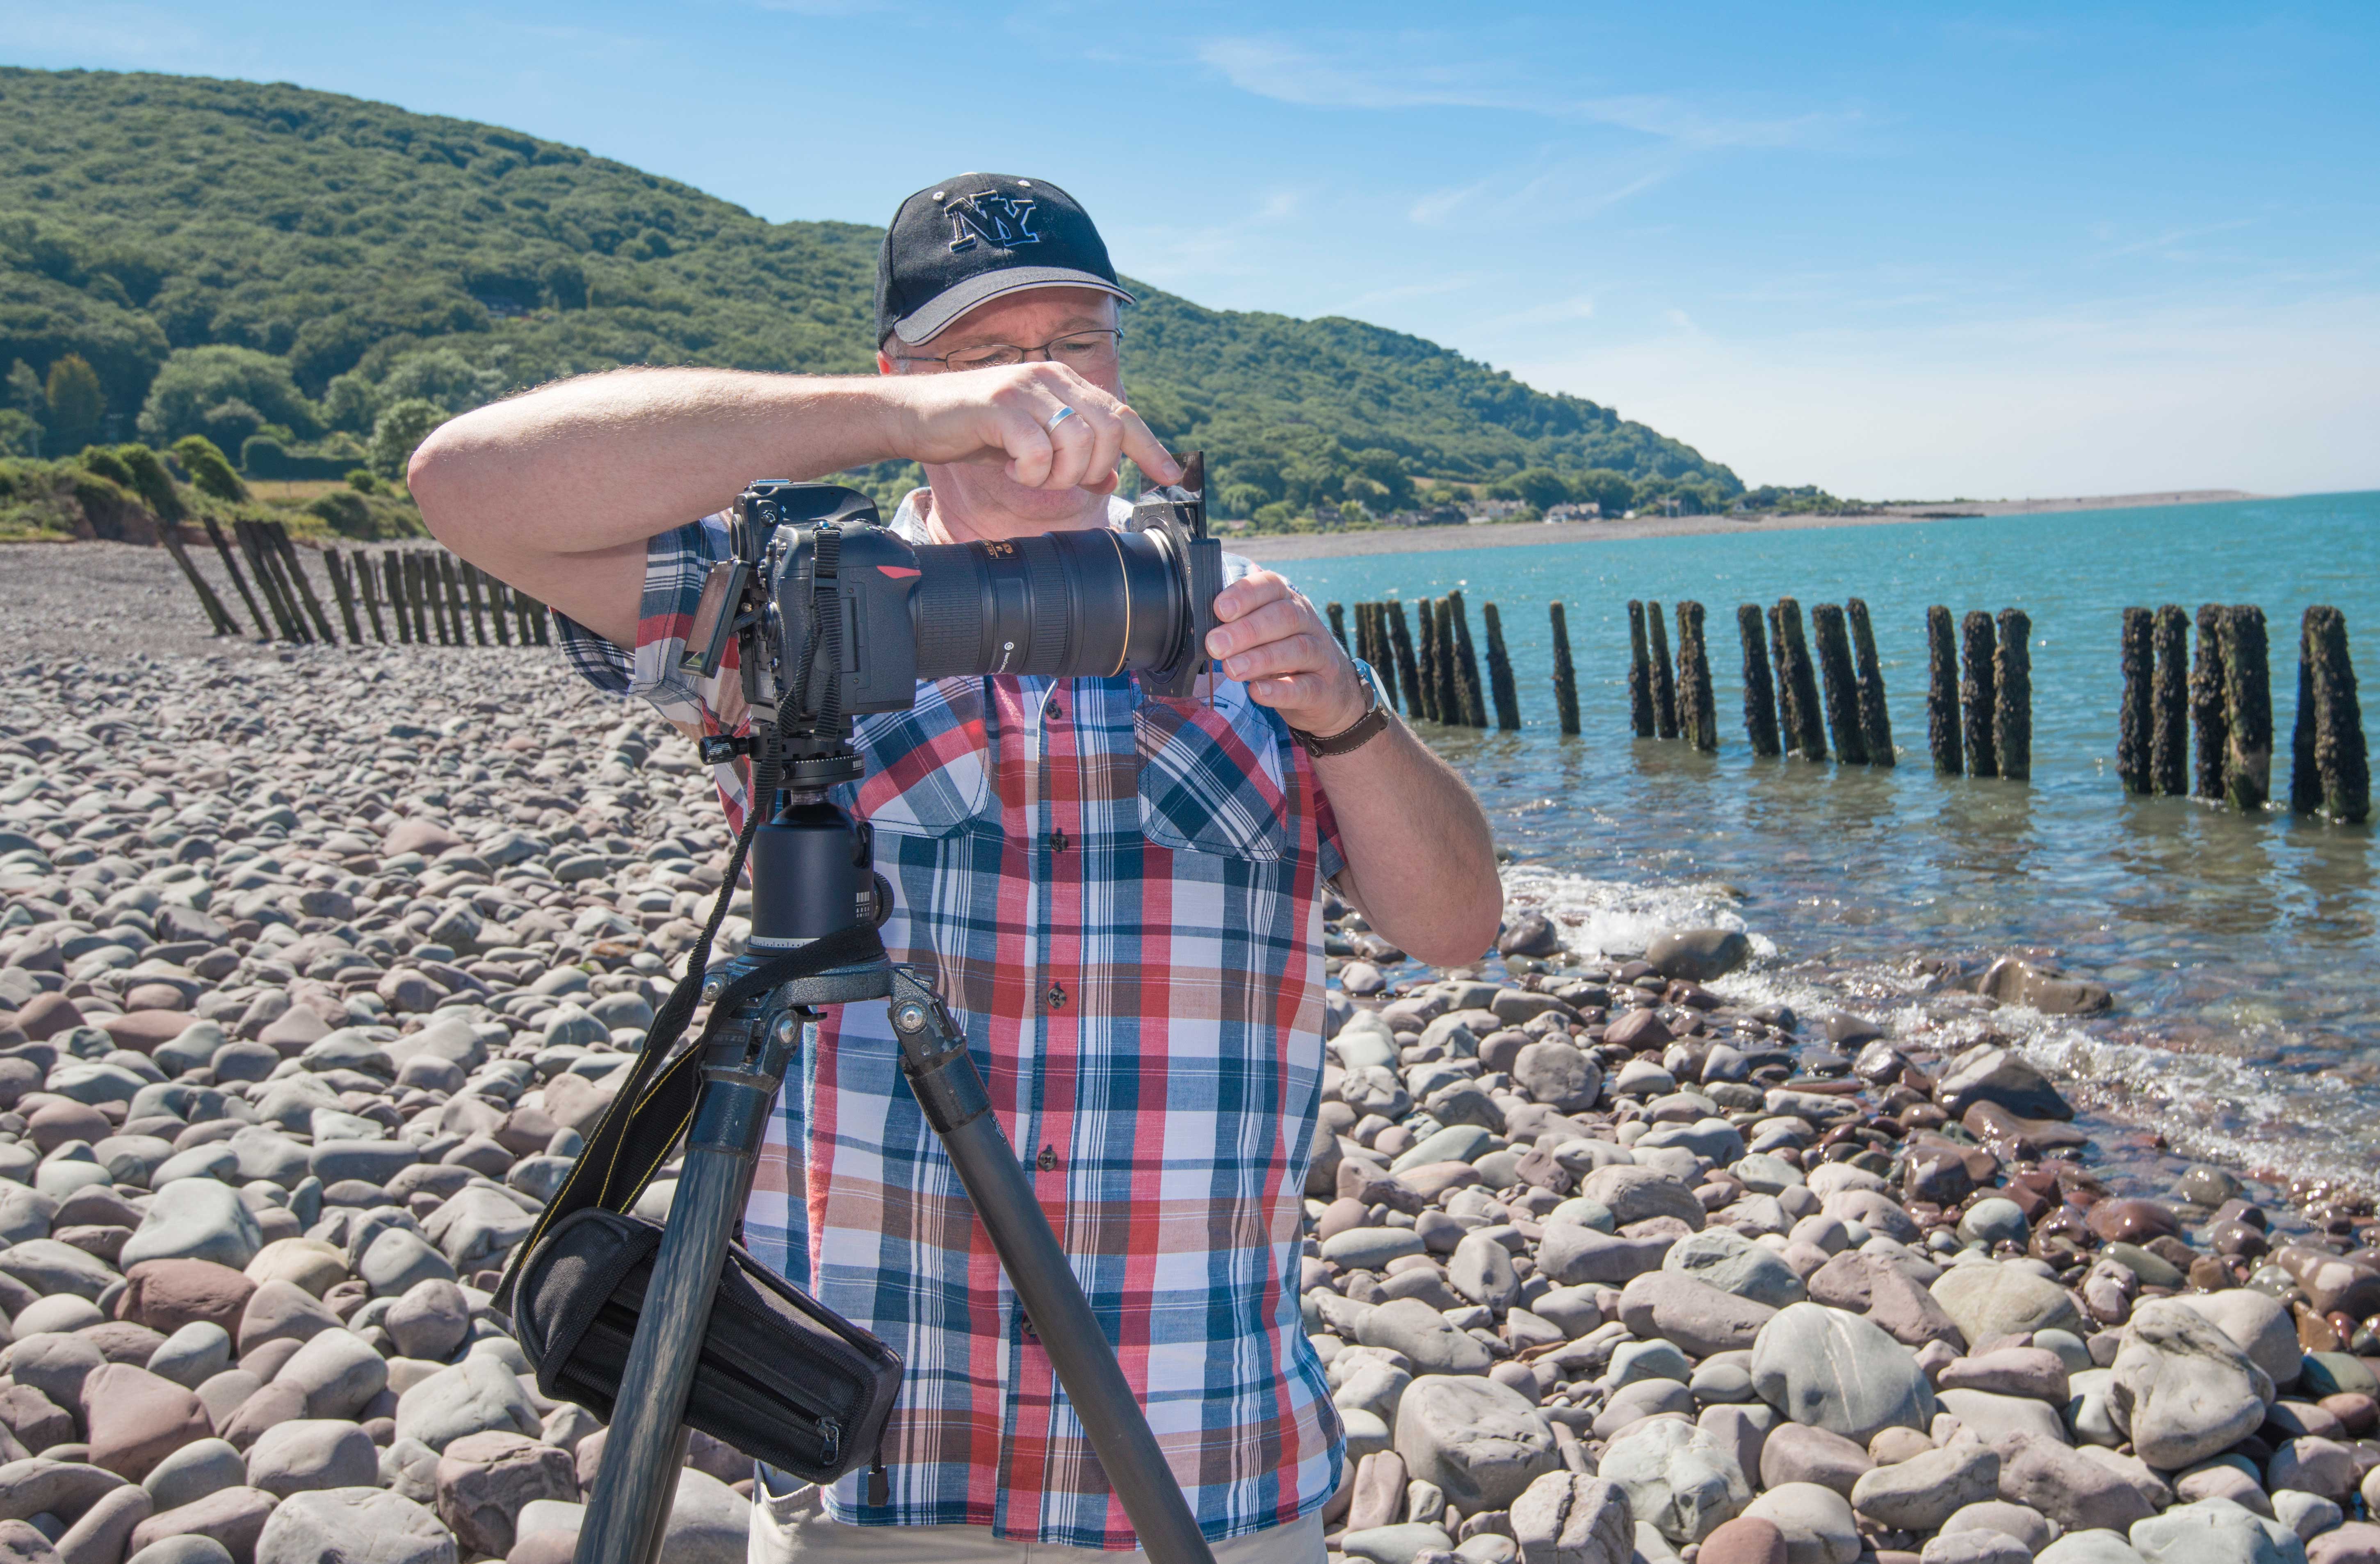
Despite the heat, Jeremy recommended wearing walking boots to make it easier to walk across the large, click-clacking pebbles of Porlock Bay. Several lines of groynes make it possible to move from one set to the next as the tide comes in, covering one series of posts, and pushing up the stone bank to the next set of pillars.
Using a medium-edged three-stop 0.9 graduated filter, as well as the 15-stop Super Stopper ND, each exposure took four minutes, allowing Jeremy to maximise the amount of blur he could get in the water, and from the occasional cloud.
With in-camera noise reduction adding a further four minutes to the processing of the exposure, we had to move and recompose after every shot.
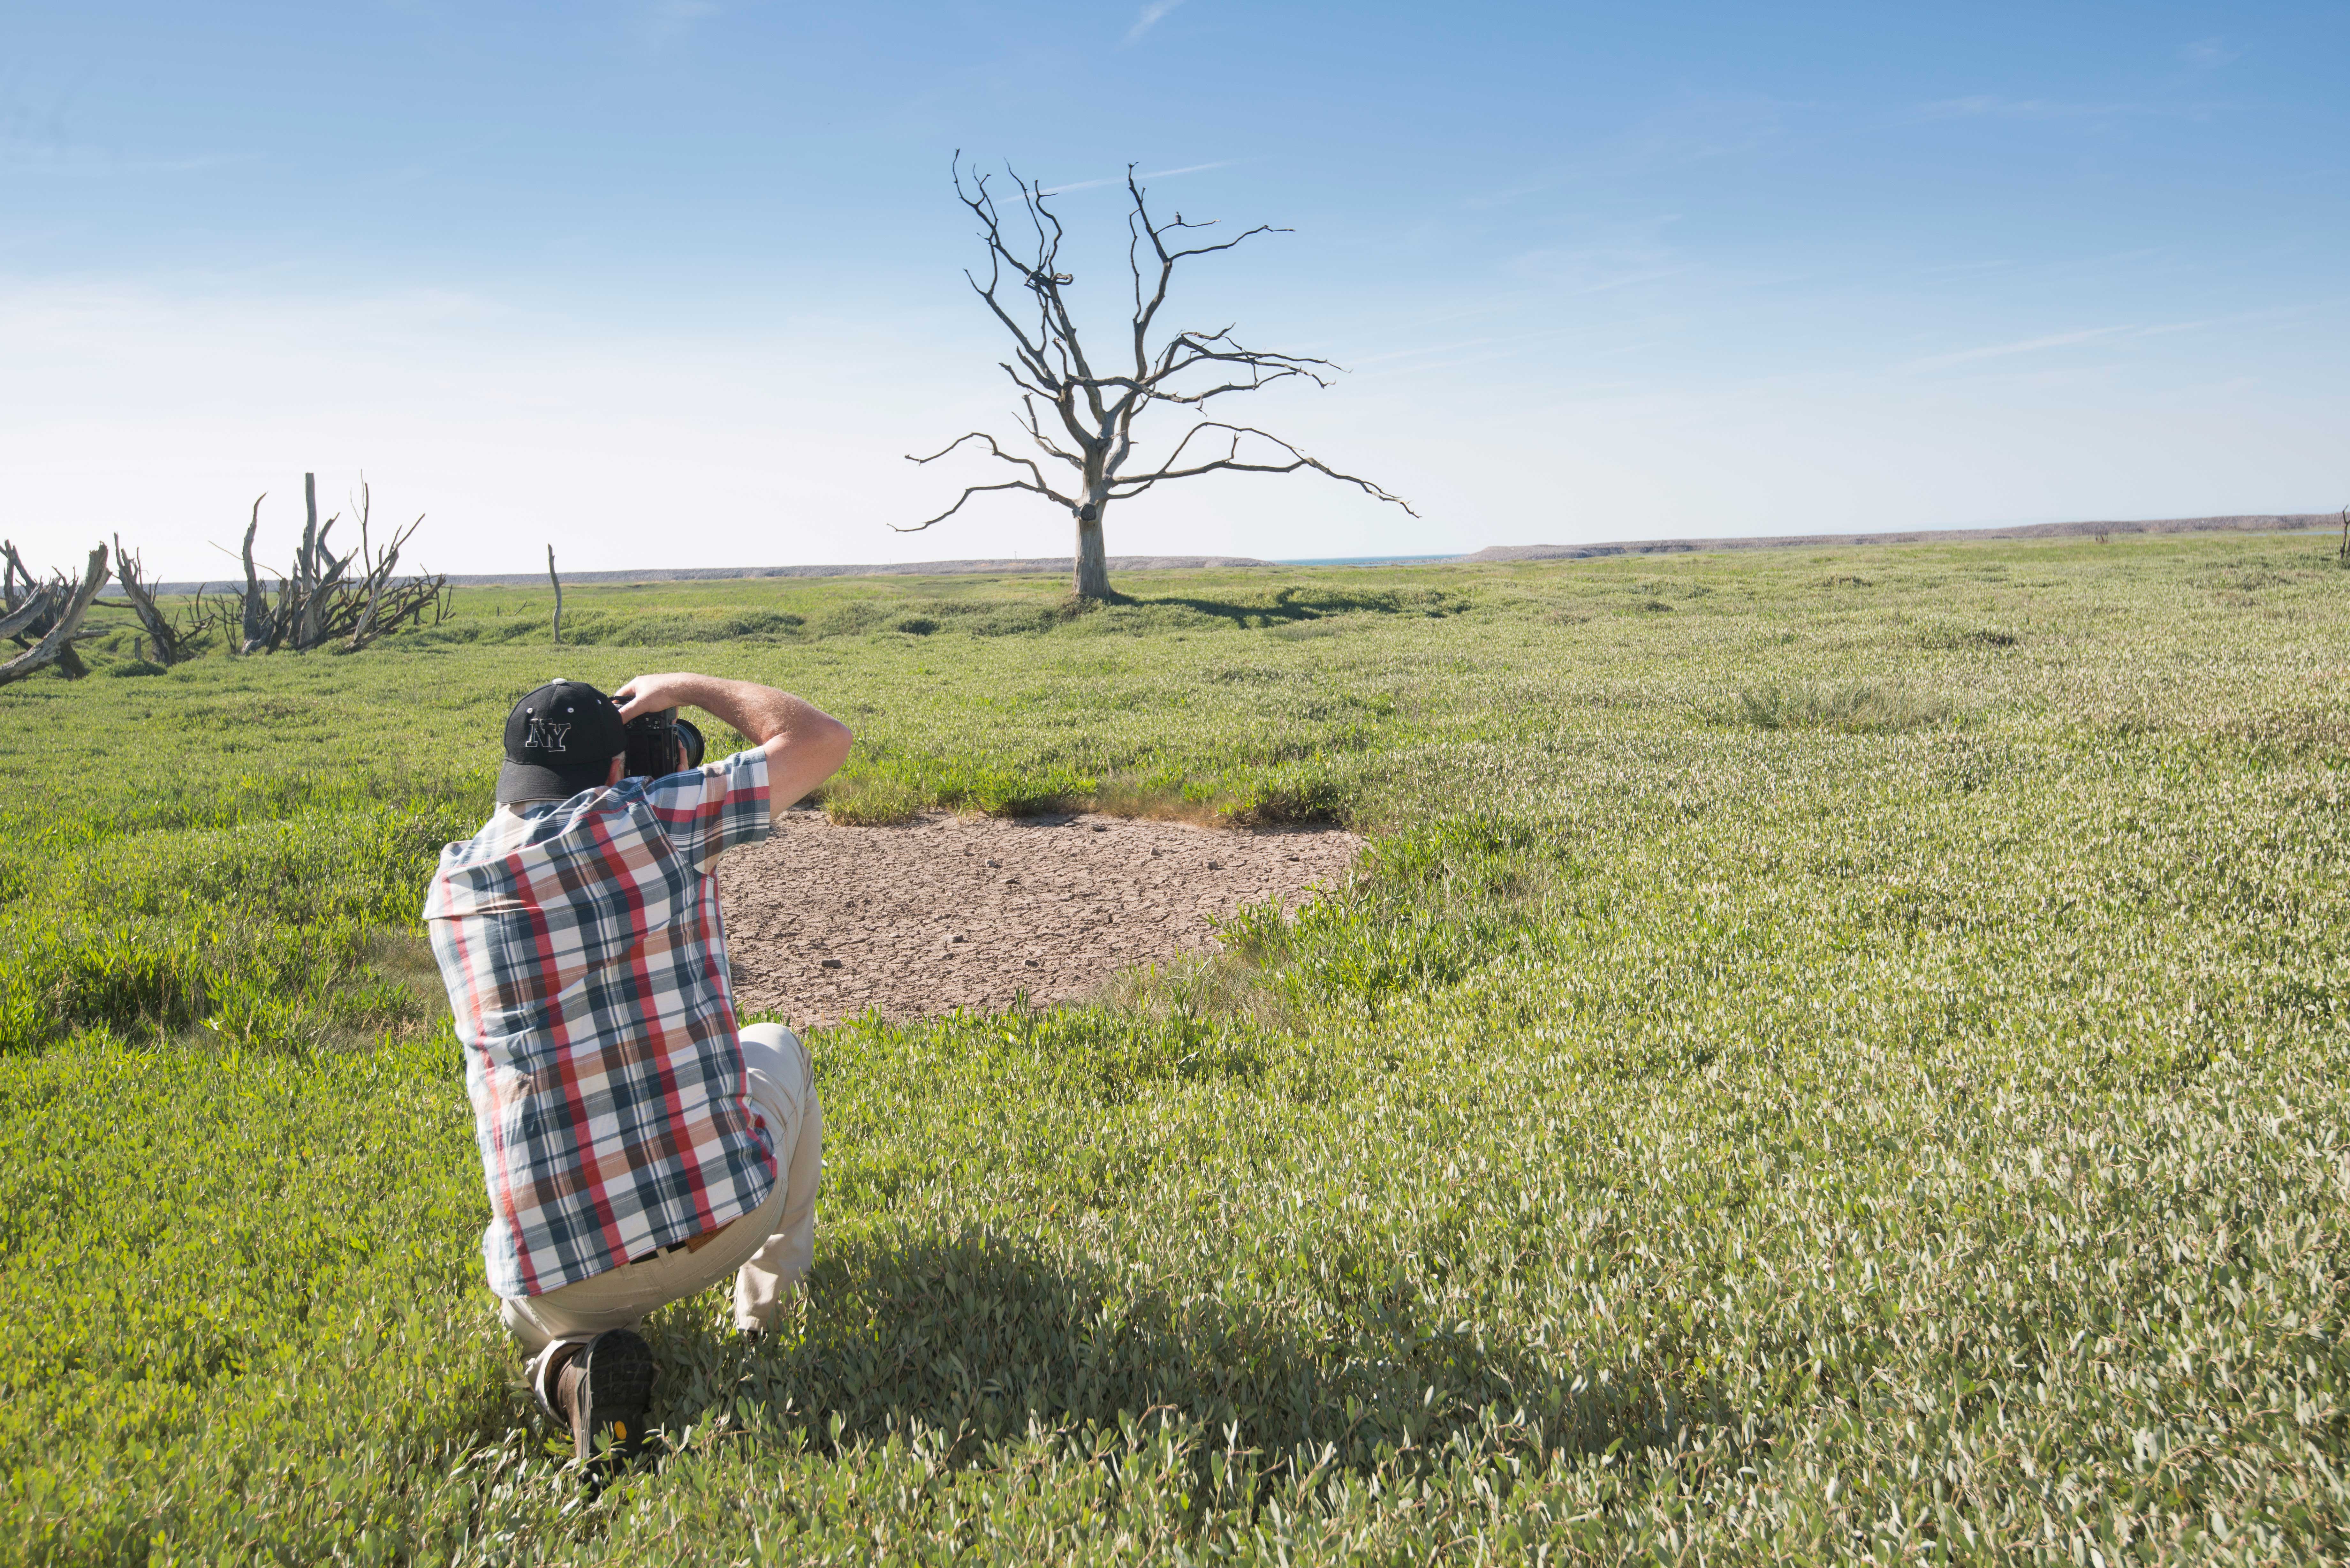
After yomping back to the village to pick up torches, we were back at the salt marsh with just under an hour to sundown. It was an anxious time – on several occasions we were certain that the sun would disappear behind a bank of cloud that was beginning to build on the horizon.
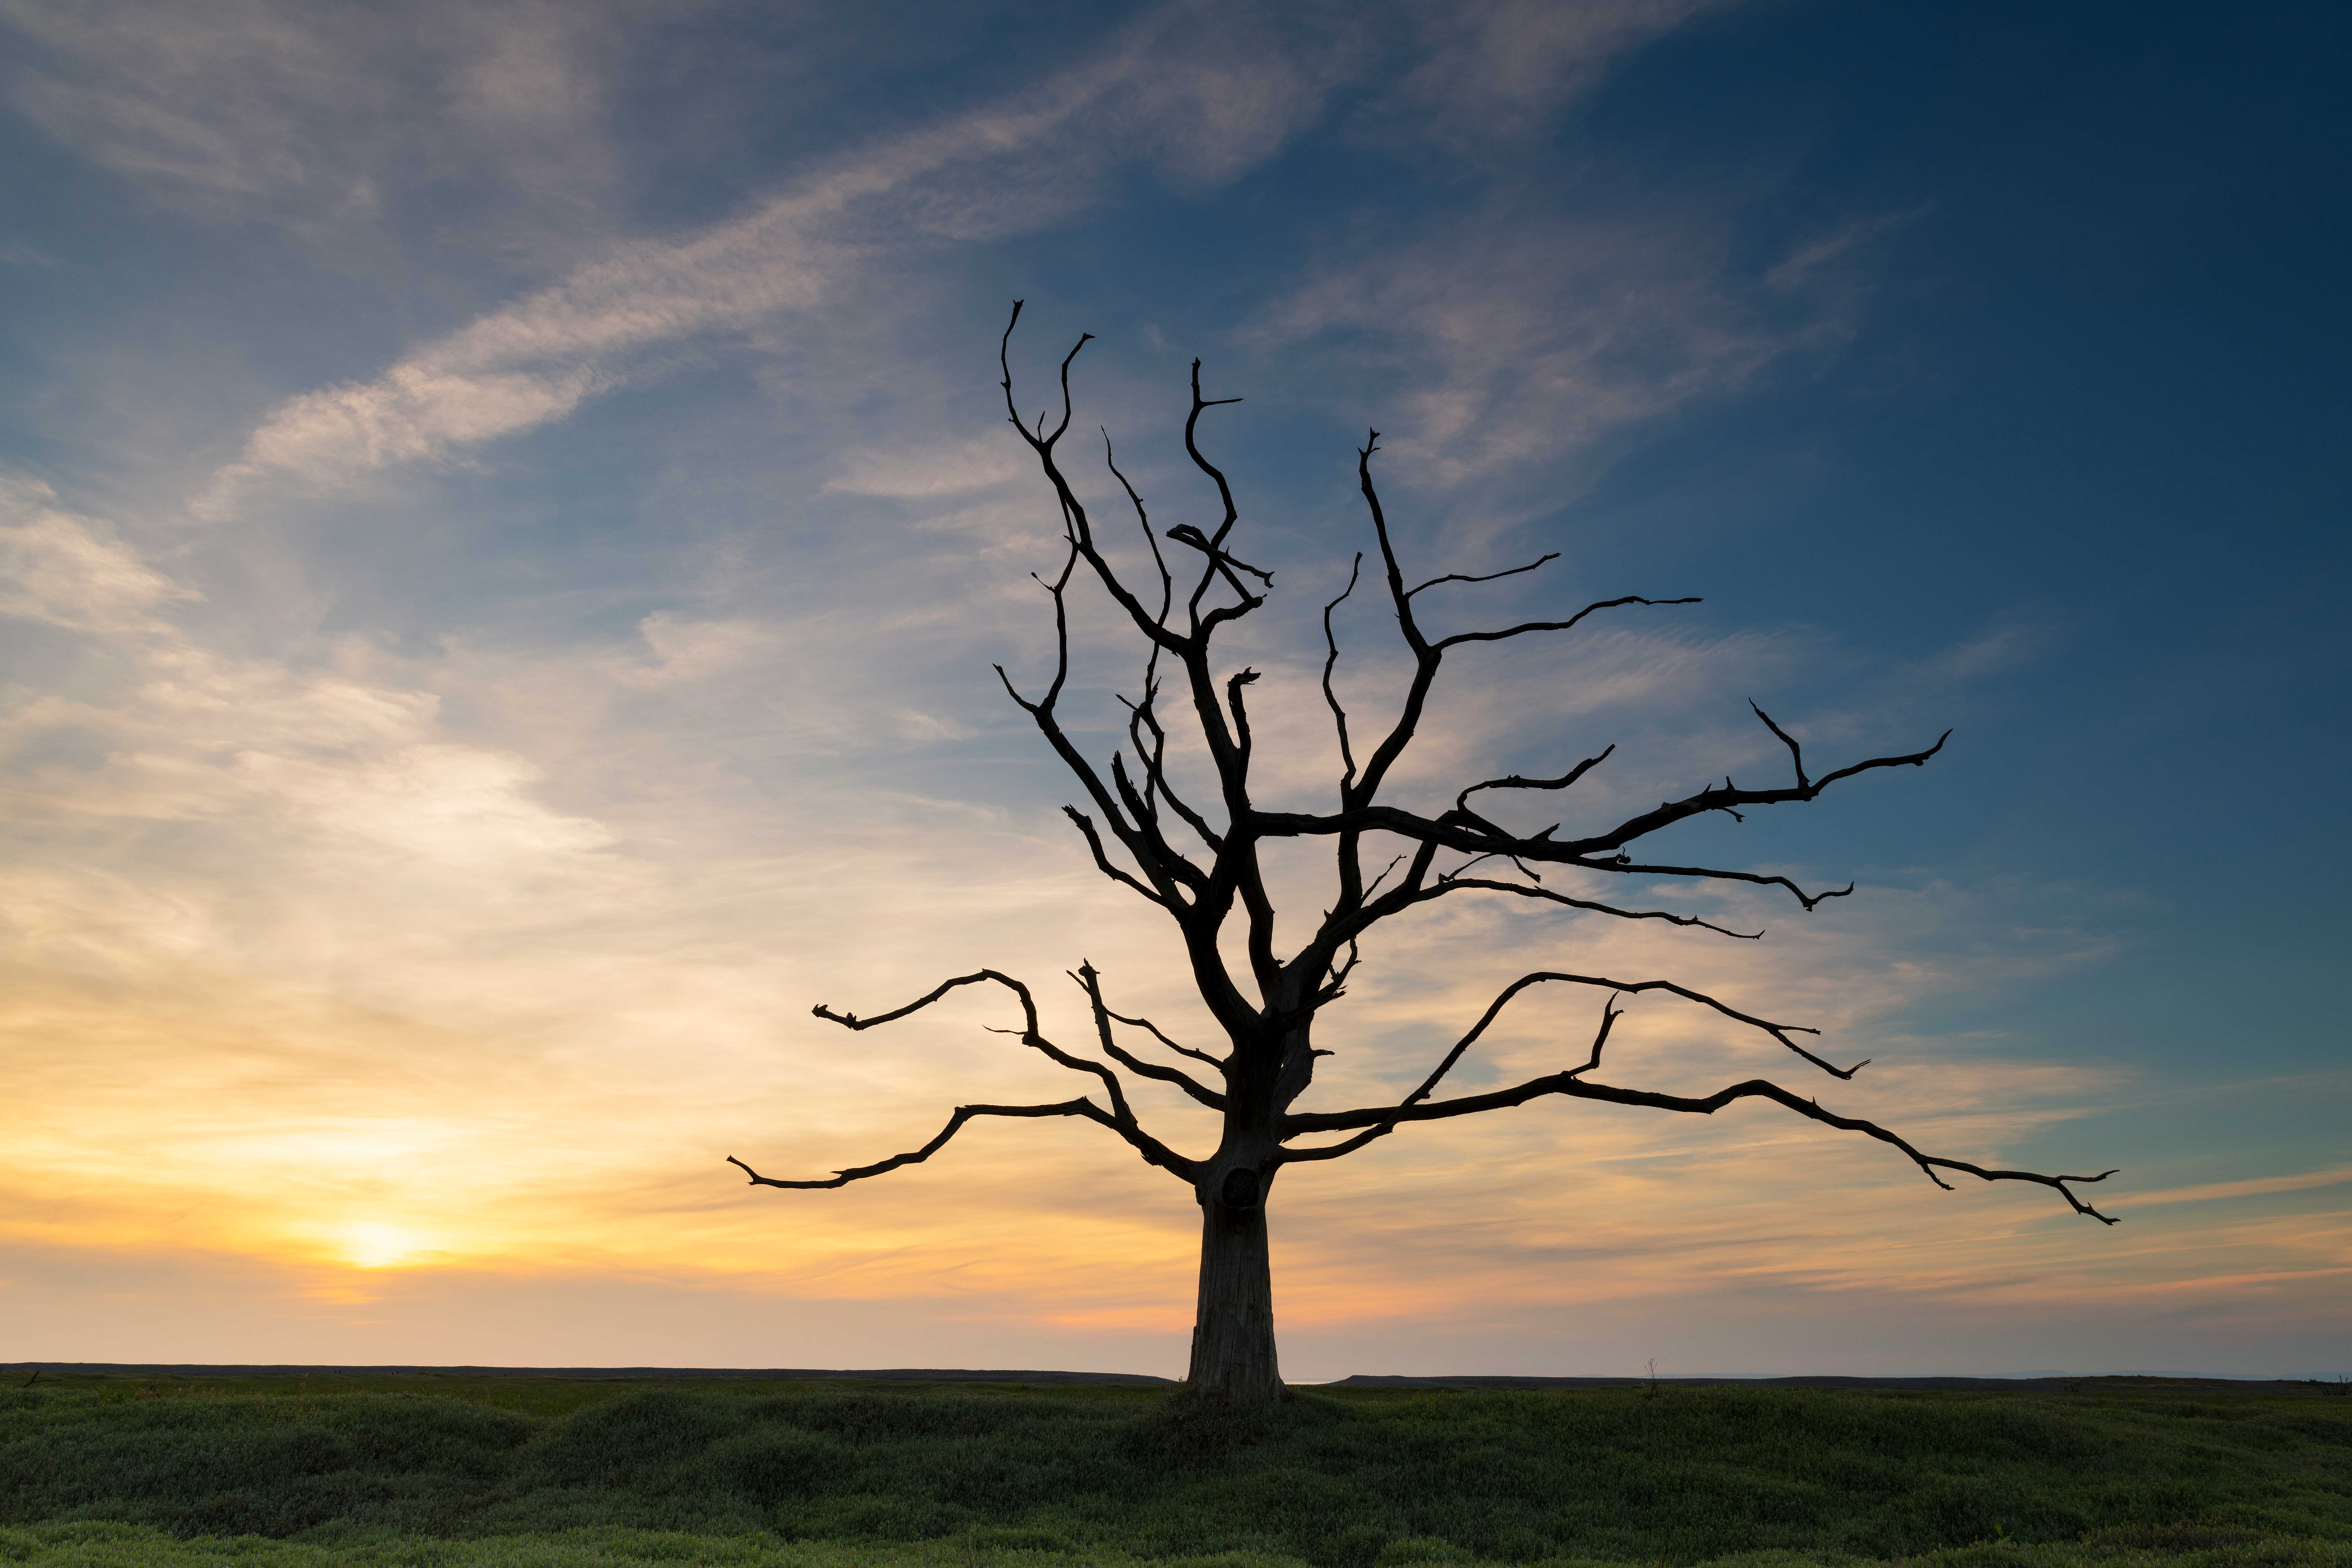
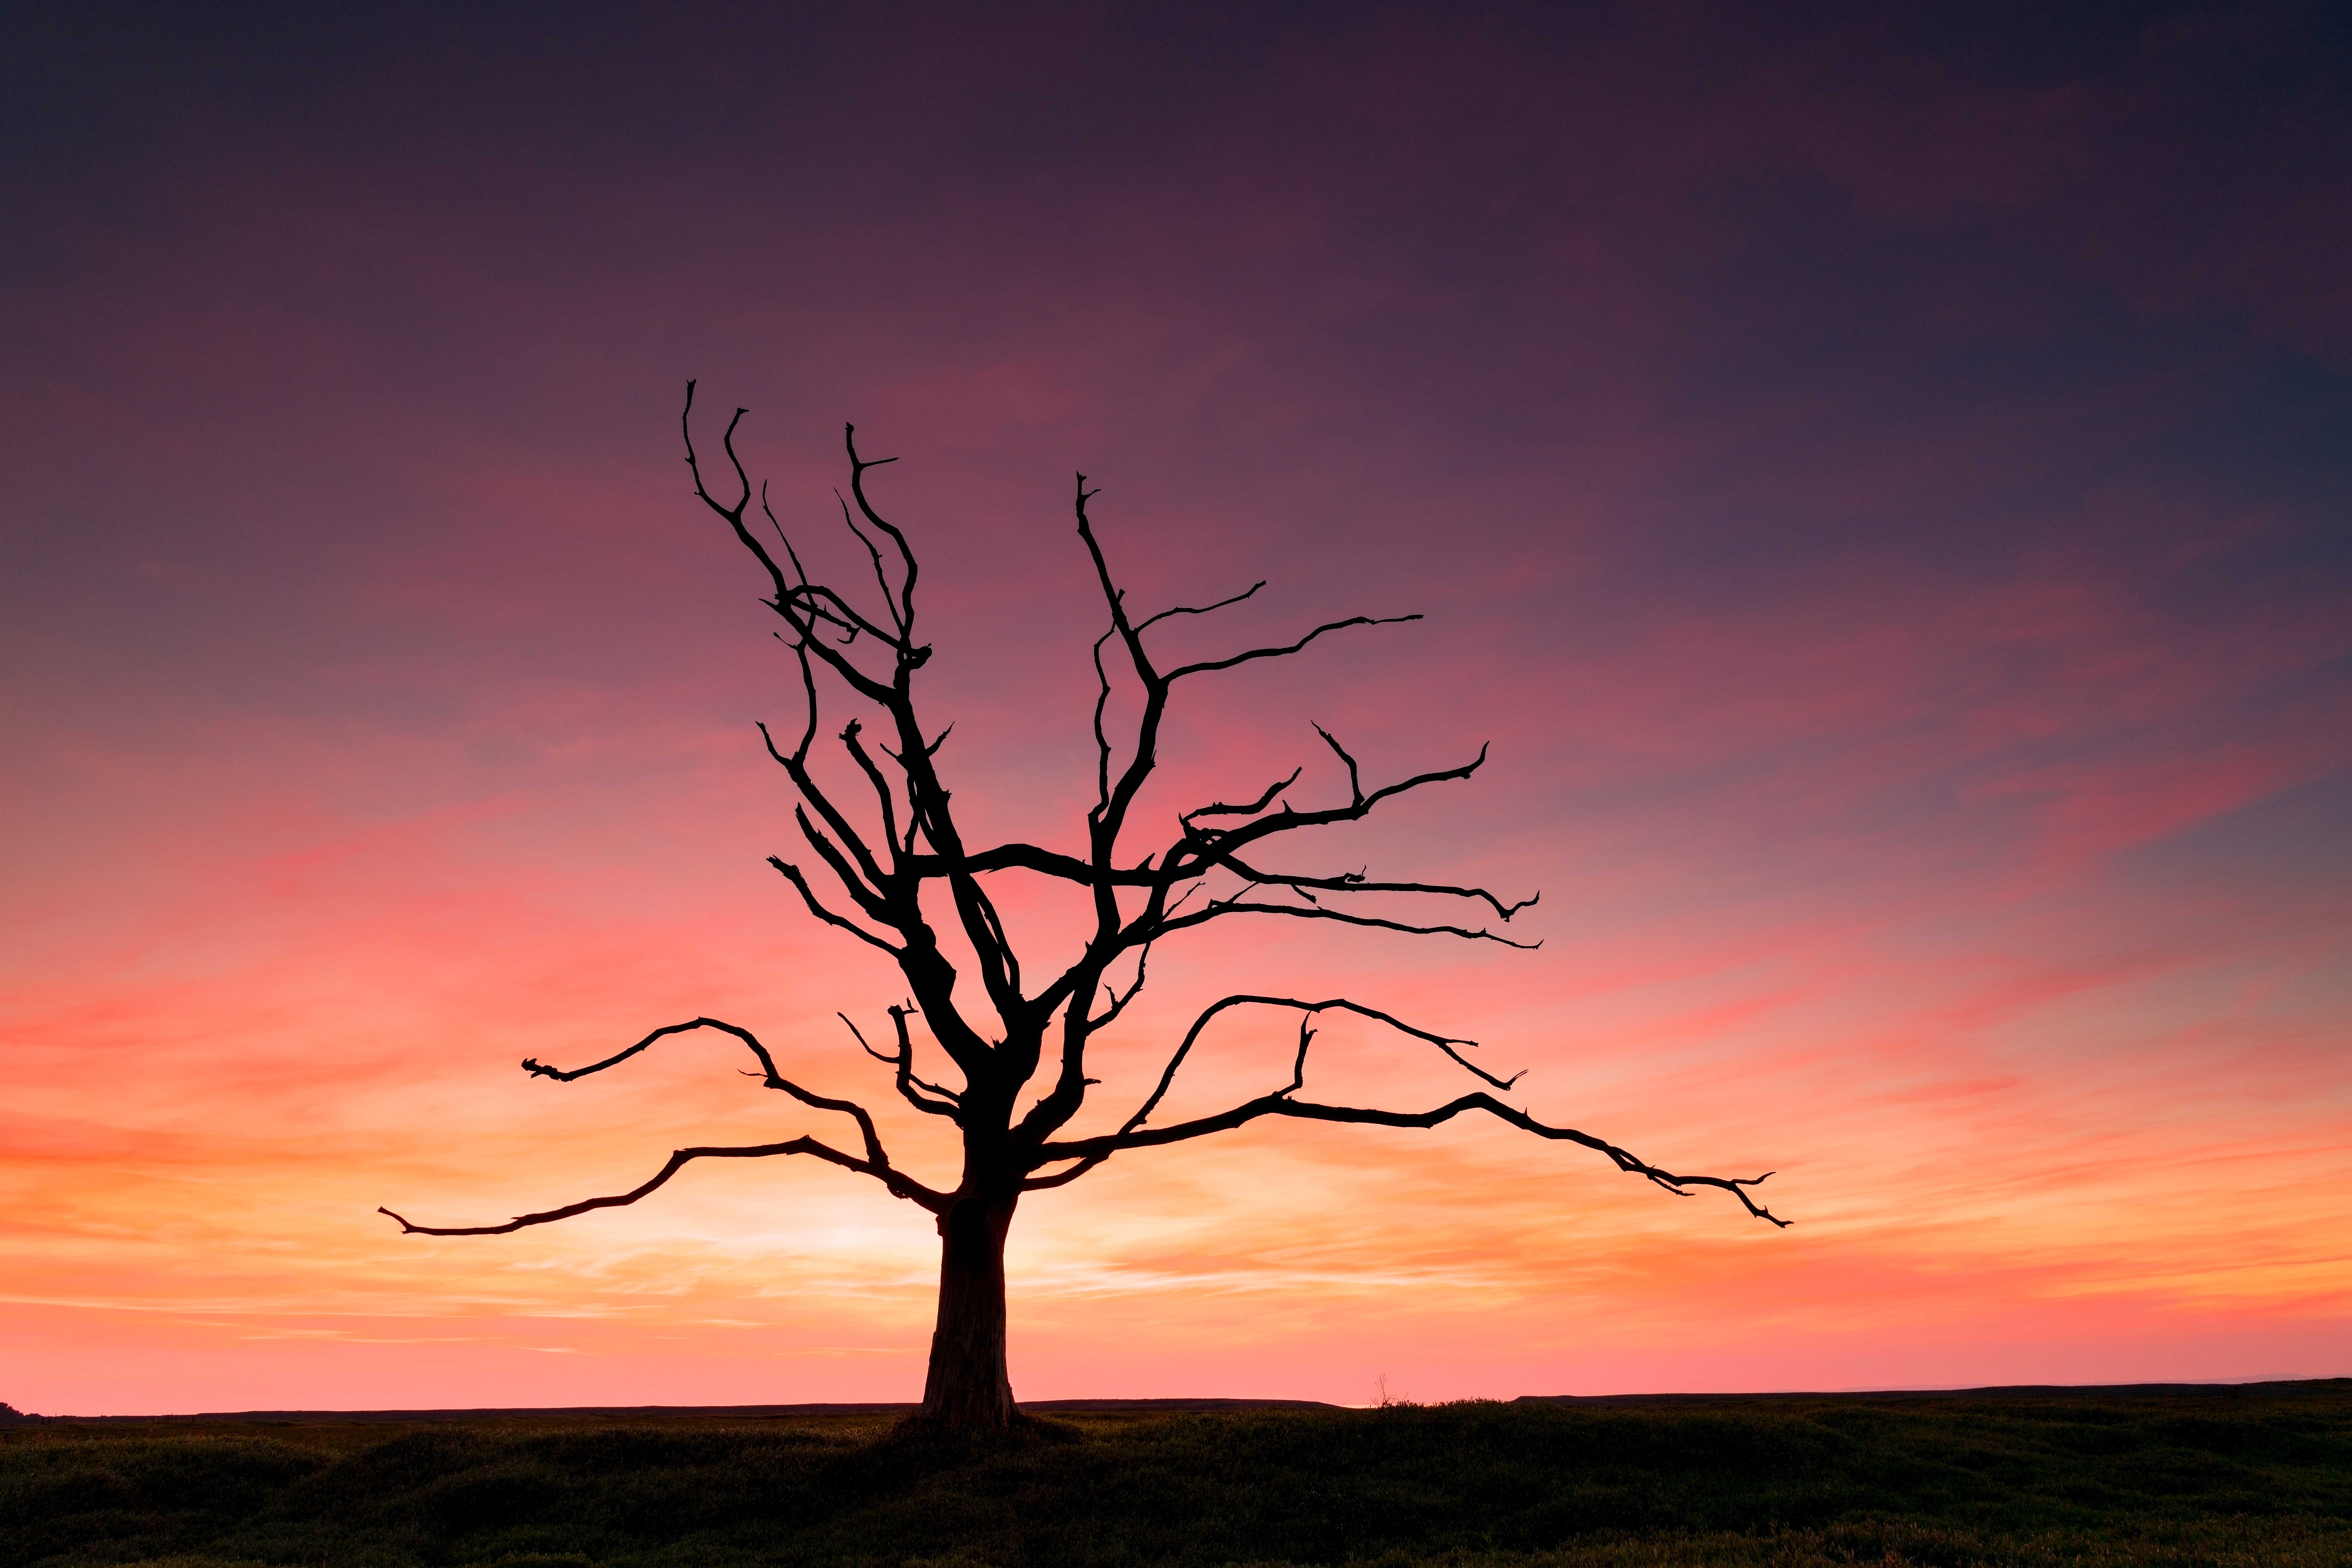
At 9.15, however, we got the first signs of a decent orange glow in the sky, and by 9.20pm things were richening up nicely. It felt like all our effort had been nicely rewarded – particularly as the cloud was blurring beautifully with the eight-minute exposures that Jeremy was setting up with the help of his Big Stopper.
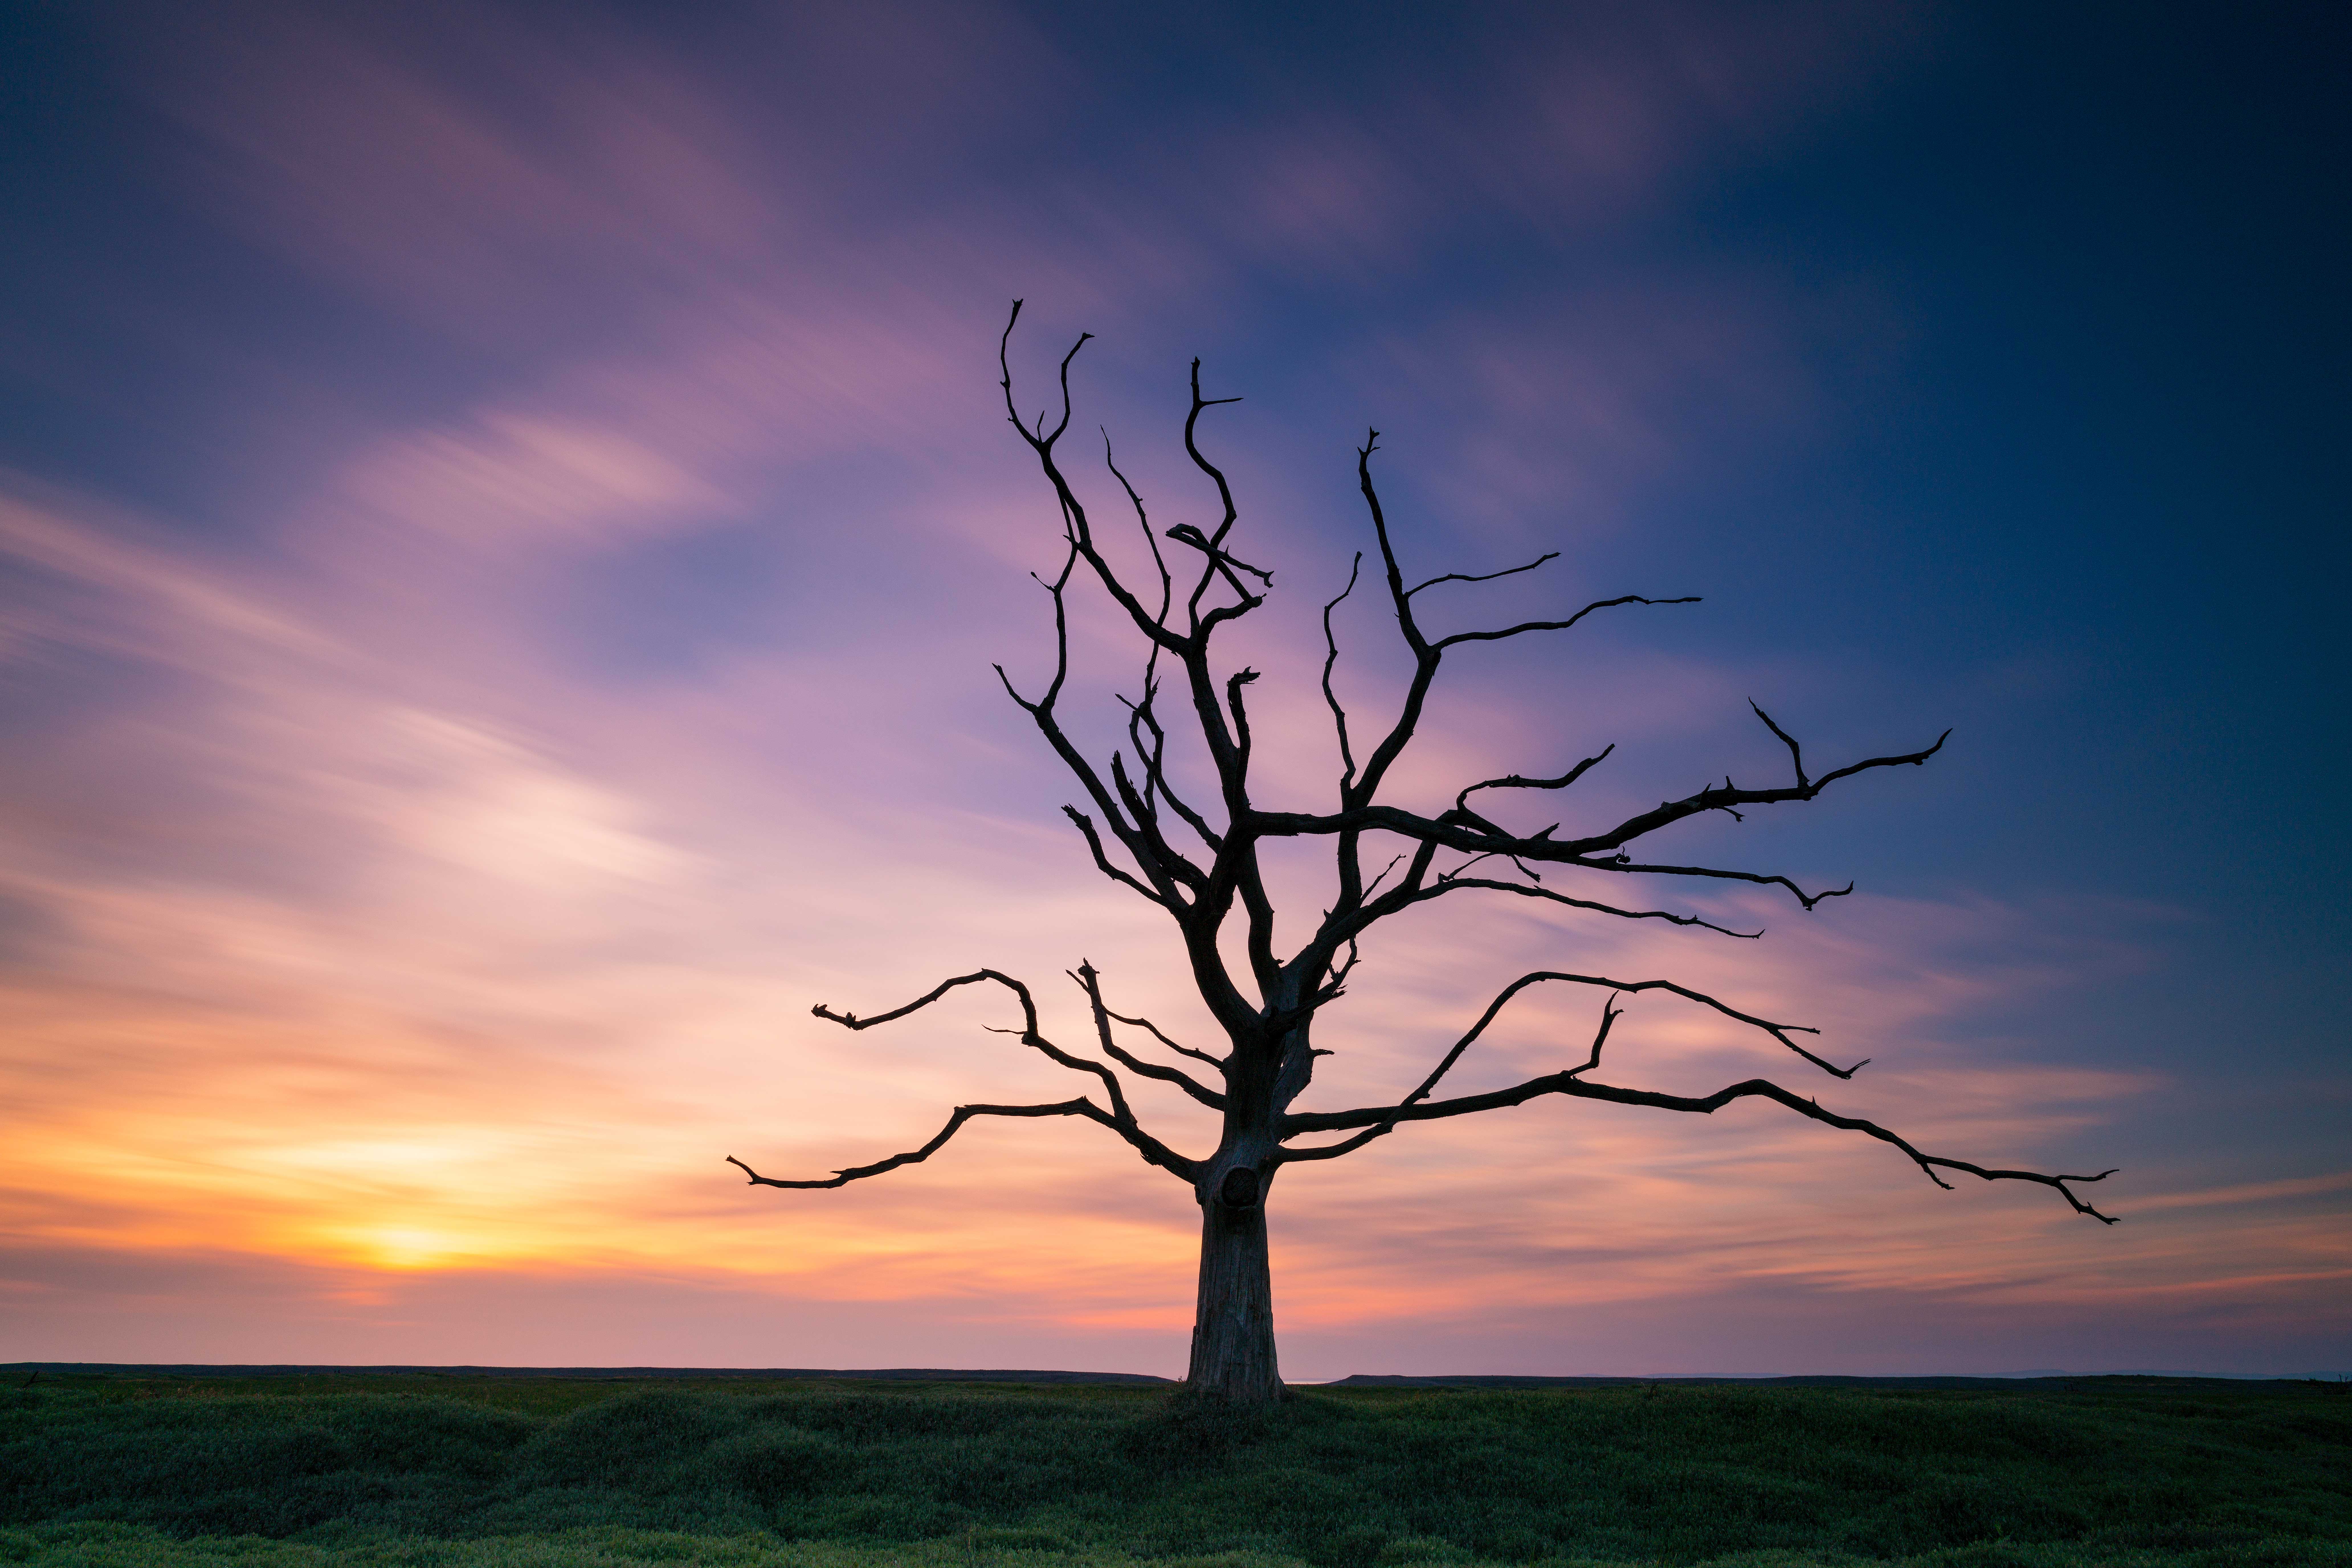
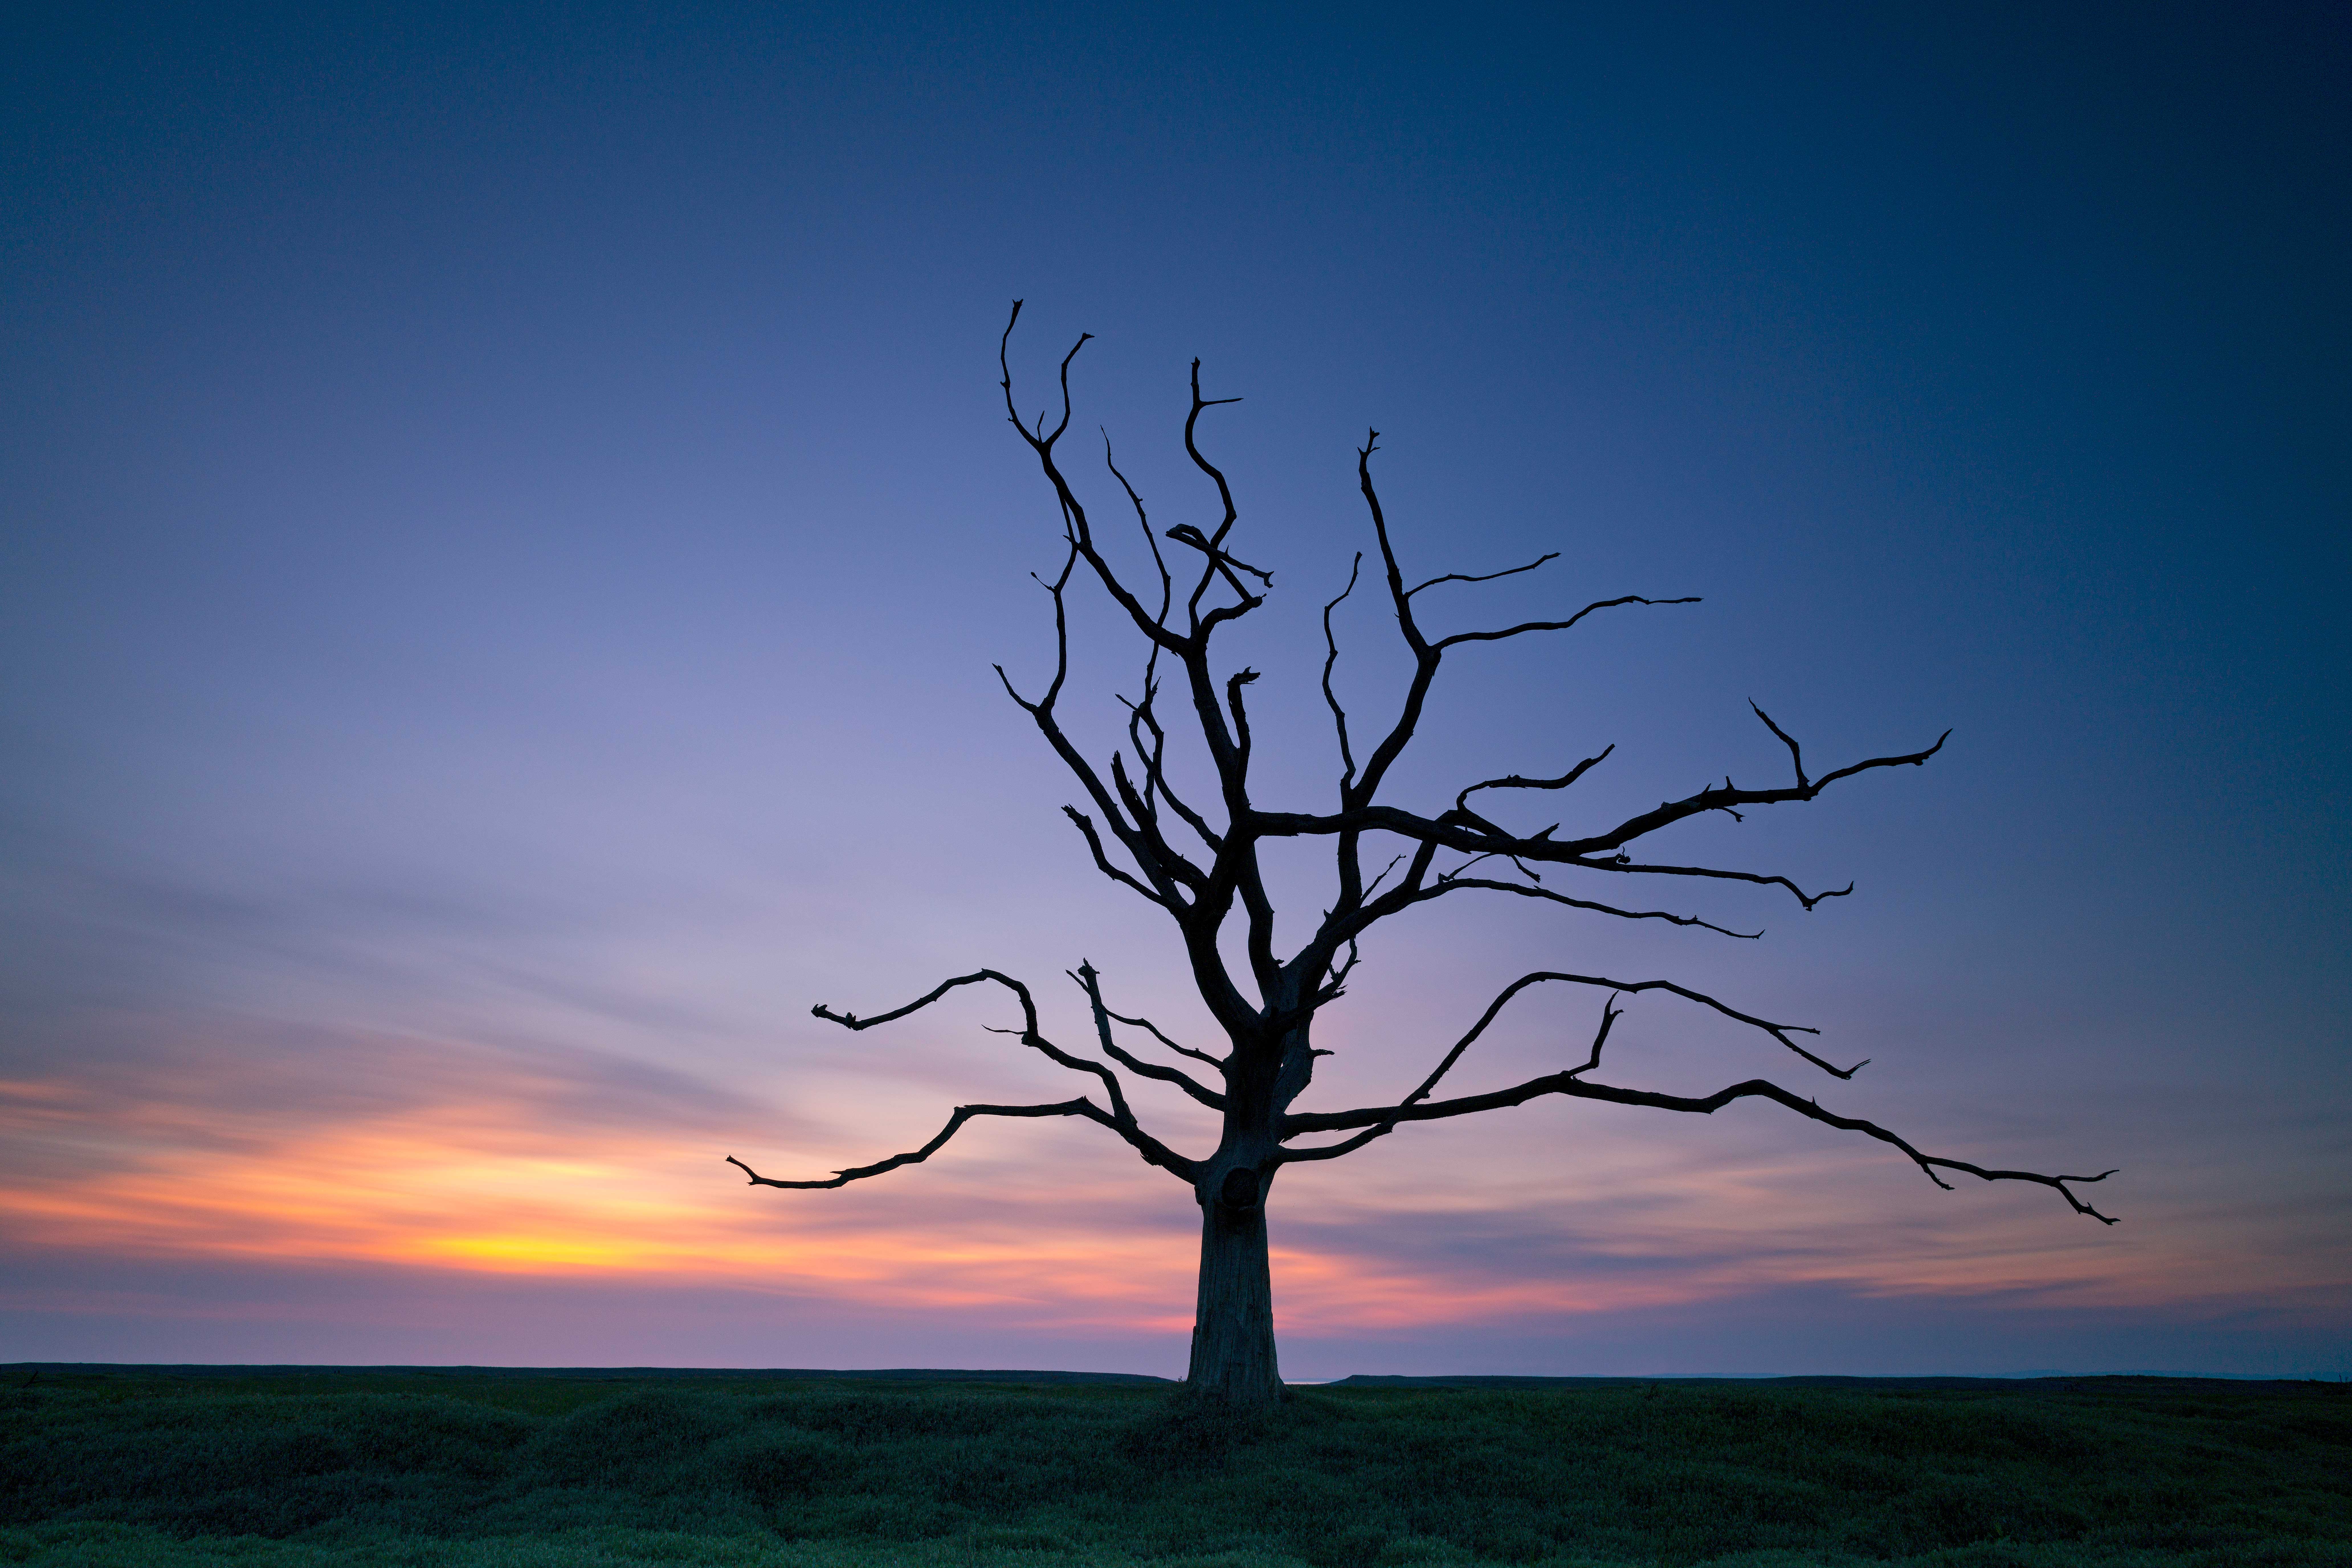
How time makes a difference to filtered images
Time to pack up, then. But just as we were about to set off back to the car in the twilight, we noticed a new purple patch in the sky… And what’s more, this colour was now being reflected in the clouds behind us.
Jeremy scurried to get back in position, as the sky turned an amazing psychedelic mauve. No Big Stopper was needed now – just a 0.9 hard ND grad to ensure that there was still some detail in the marshy foreground as he shot.
As we headed back up the country lane out of Porlock Weir, it was 11pm. But we had found a new location, and used it with great success, in the same summer’s day. Result.
Read more: 16 essential landscape photography tips
Jeremy Walker’s kit list for shooting landscapes
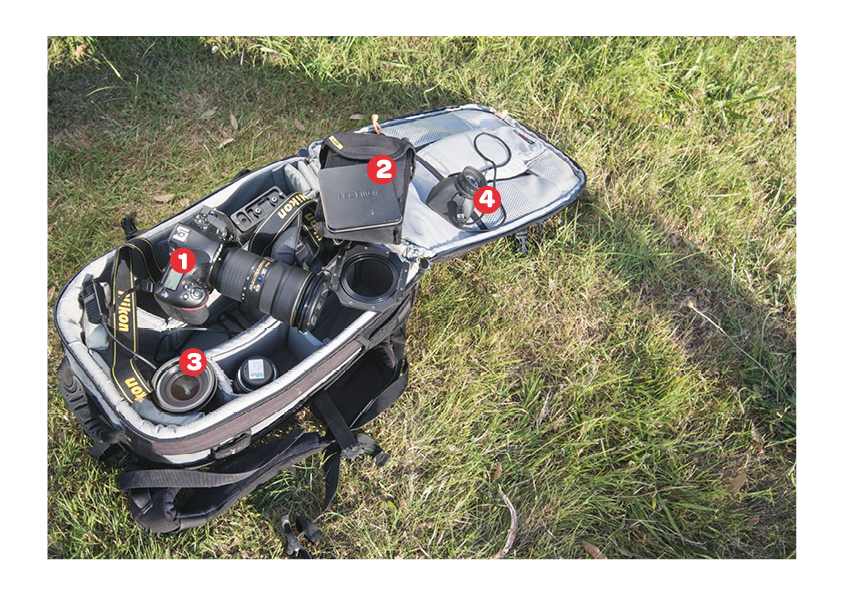
1. Nikon D850. “This is my main camera nowadays, but I also carry a Nikon D810 as a backup. Each body has a Kirk L-bracket on it – for fast attachment to my Arca Swiss tripod head, and allowing me to quickly change from landscape to portrait formats. I carry four spare batteries with me, so tend to leave the charger at home.”
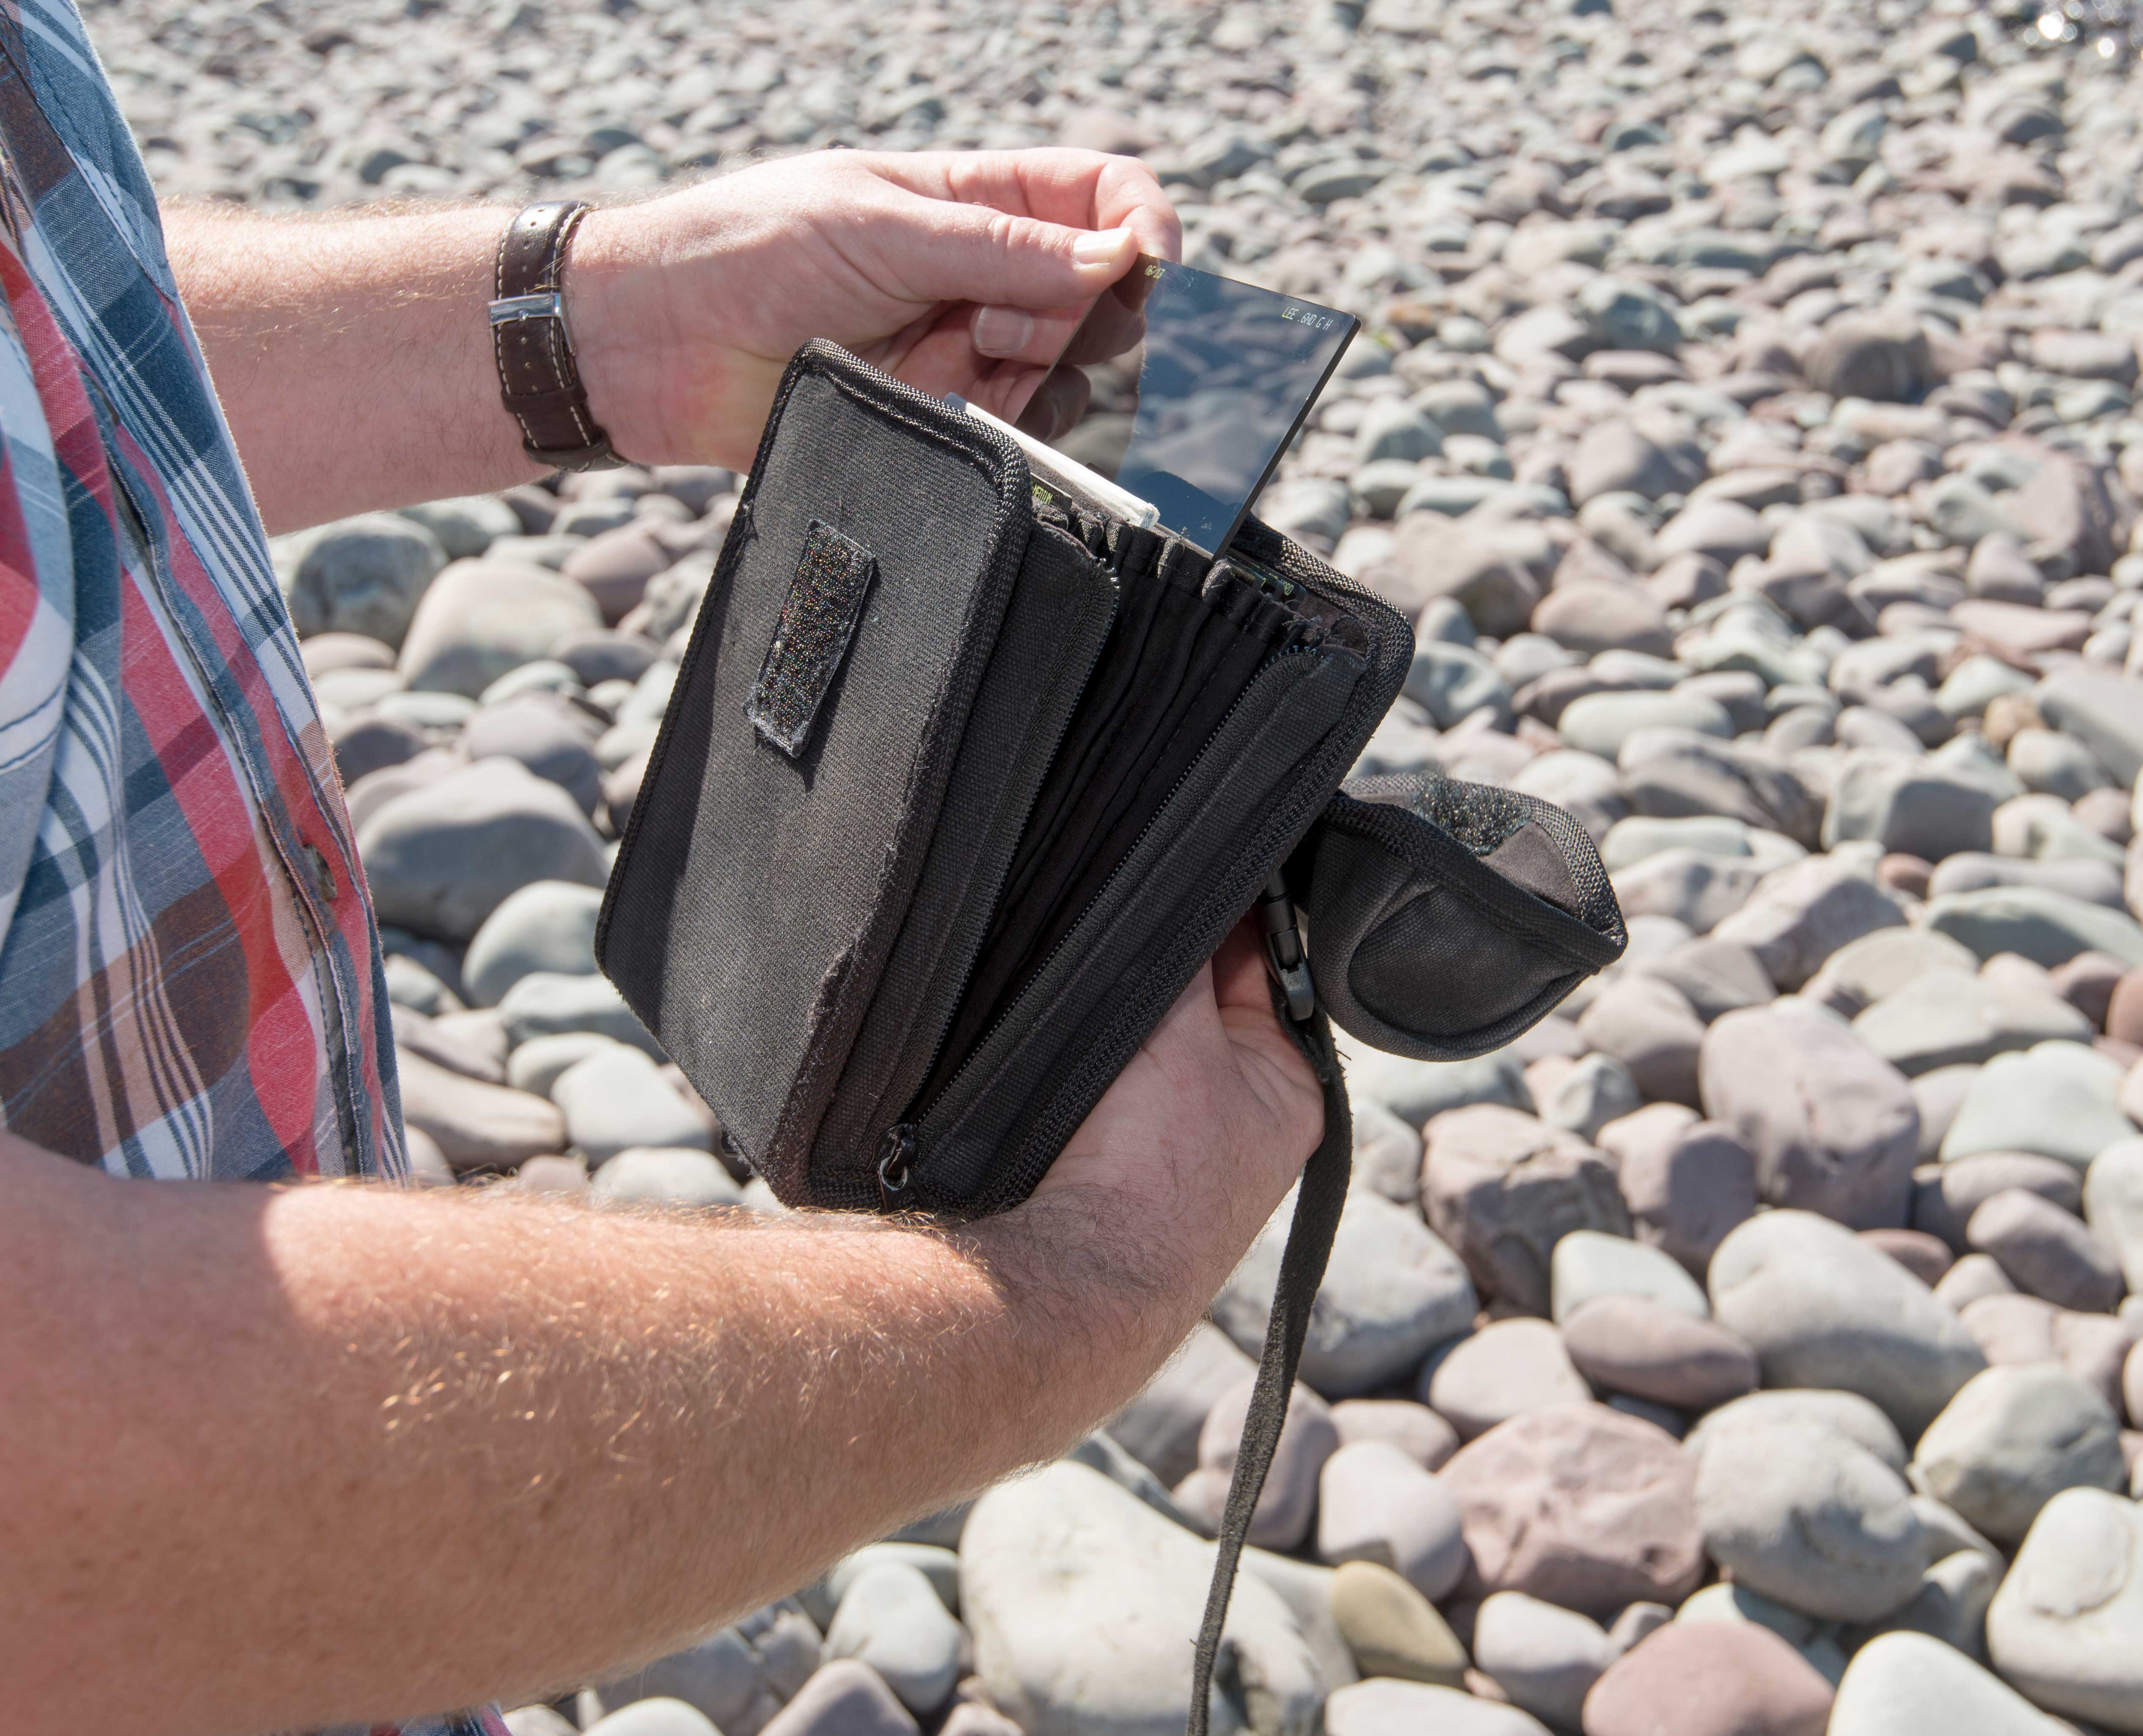
2. Lee Filters. “I have 11 filters with me today… including eight neutral-density grads. I have 0.6, 0.9 and 1.2 medium grads; I don’t use soft grads for landscapes, but have one for cityscapes. I also have 0.6, 0.75, 0.9 and 1.2 hard grads.
I use the 0.6 grad the most, so I carry a spare: it is easier to swap than clean if it gets covered in salt spray.
I carry three NDs: the 10-stop Big Stopper, the six-stop Little Stopper, and the 15-stop Super Stopper.”
3. Zeiss Distagon 21mm f/2.8 ZF.2. “This is the widest lens in my backpack today – but I do have a Nikon 14-24mm in the car. Also with me are my three favourite Nikon lenses: a 24-70mm f/2.8, a 70-200mm f/2.8, and a 50mm f/1.4. In the car (just in case) I keep a 300mm f/4, and a 45mm TS/E tilt-shift.”
4. Matin LCD Viewfinder loupe. “This is essential on a day like today. It allows me to check my shots on the LCD screen in bright sunlight. It has a neckstrap, and offers a 2x magnification."
Getting all set for a Big Stopper
With ND filters you need to have a disciplined approach, to ensure you do everything right so that your super-long exposures come out right first time.
With each shot requiring minutes to take, you don’t want to waste one with a careless mistake. These are the steps Jeremy uses…
- “Set up the shot as if it was a normal exposure. Use a grad if necessary. Set exposure in Manual, and set the focusing.”
- “Take a test shot to double-check exposure and focusing.”
- “Turn autofocus off if you are using an AF lens.”
- “Turn optical image stabilisation off on the lens, if it has it.”
- “Insert the Big Stopper (or other ND) in the filter slot nearest the lens.”
- “Cover up the eyepiece of your DSLR (not necessary if using a CSC).”
- “Set the shutter speed to the Bulb (or B) setting.”
- “Calculate the increased exposure necessary with the ND filter you are using. I do the sums in my head using my fingers to count – but there is a free Lee Filters Stopper Exposure app that will do the sums for you.”
- “Use a cable release to start the exposure – I use a Nikon MC-30A.”
- “Time the exposure. I use the timer on my mobile phone – so I get an audible alarm for when to end the exposure. The Lee Filters Stopper Exposure app has a built-in timer.”
Jeremy Walker's tips for choosing a filter
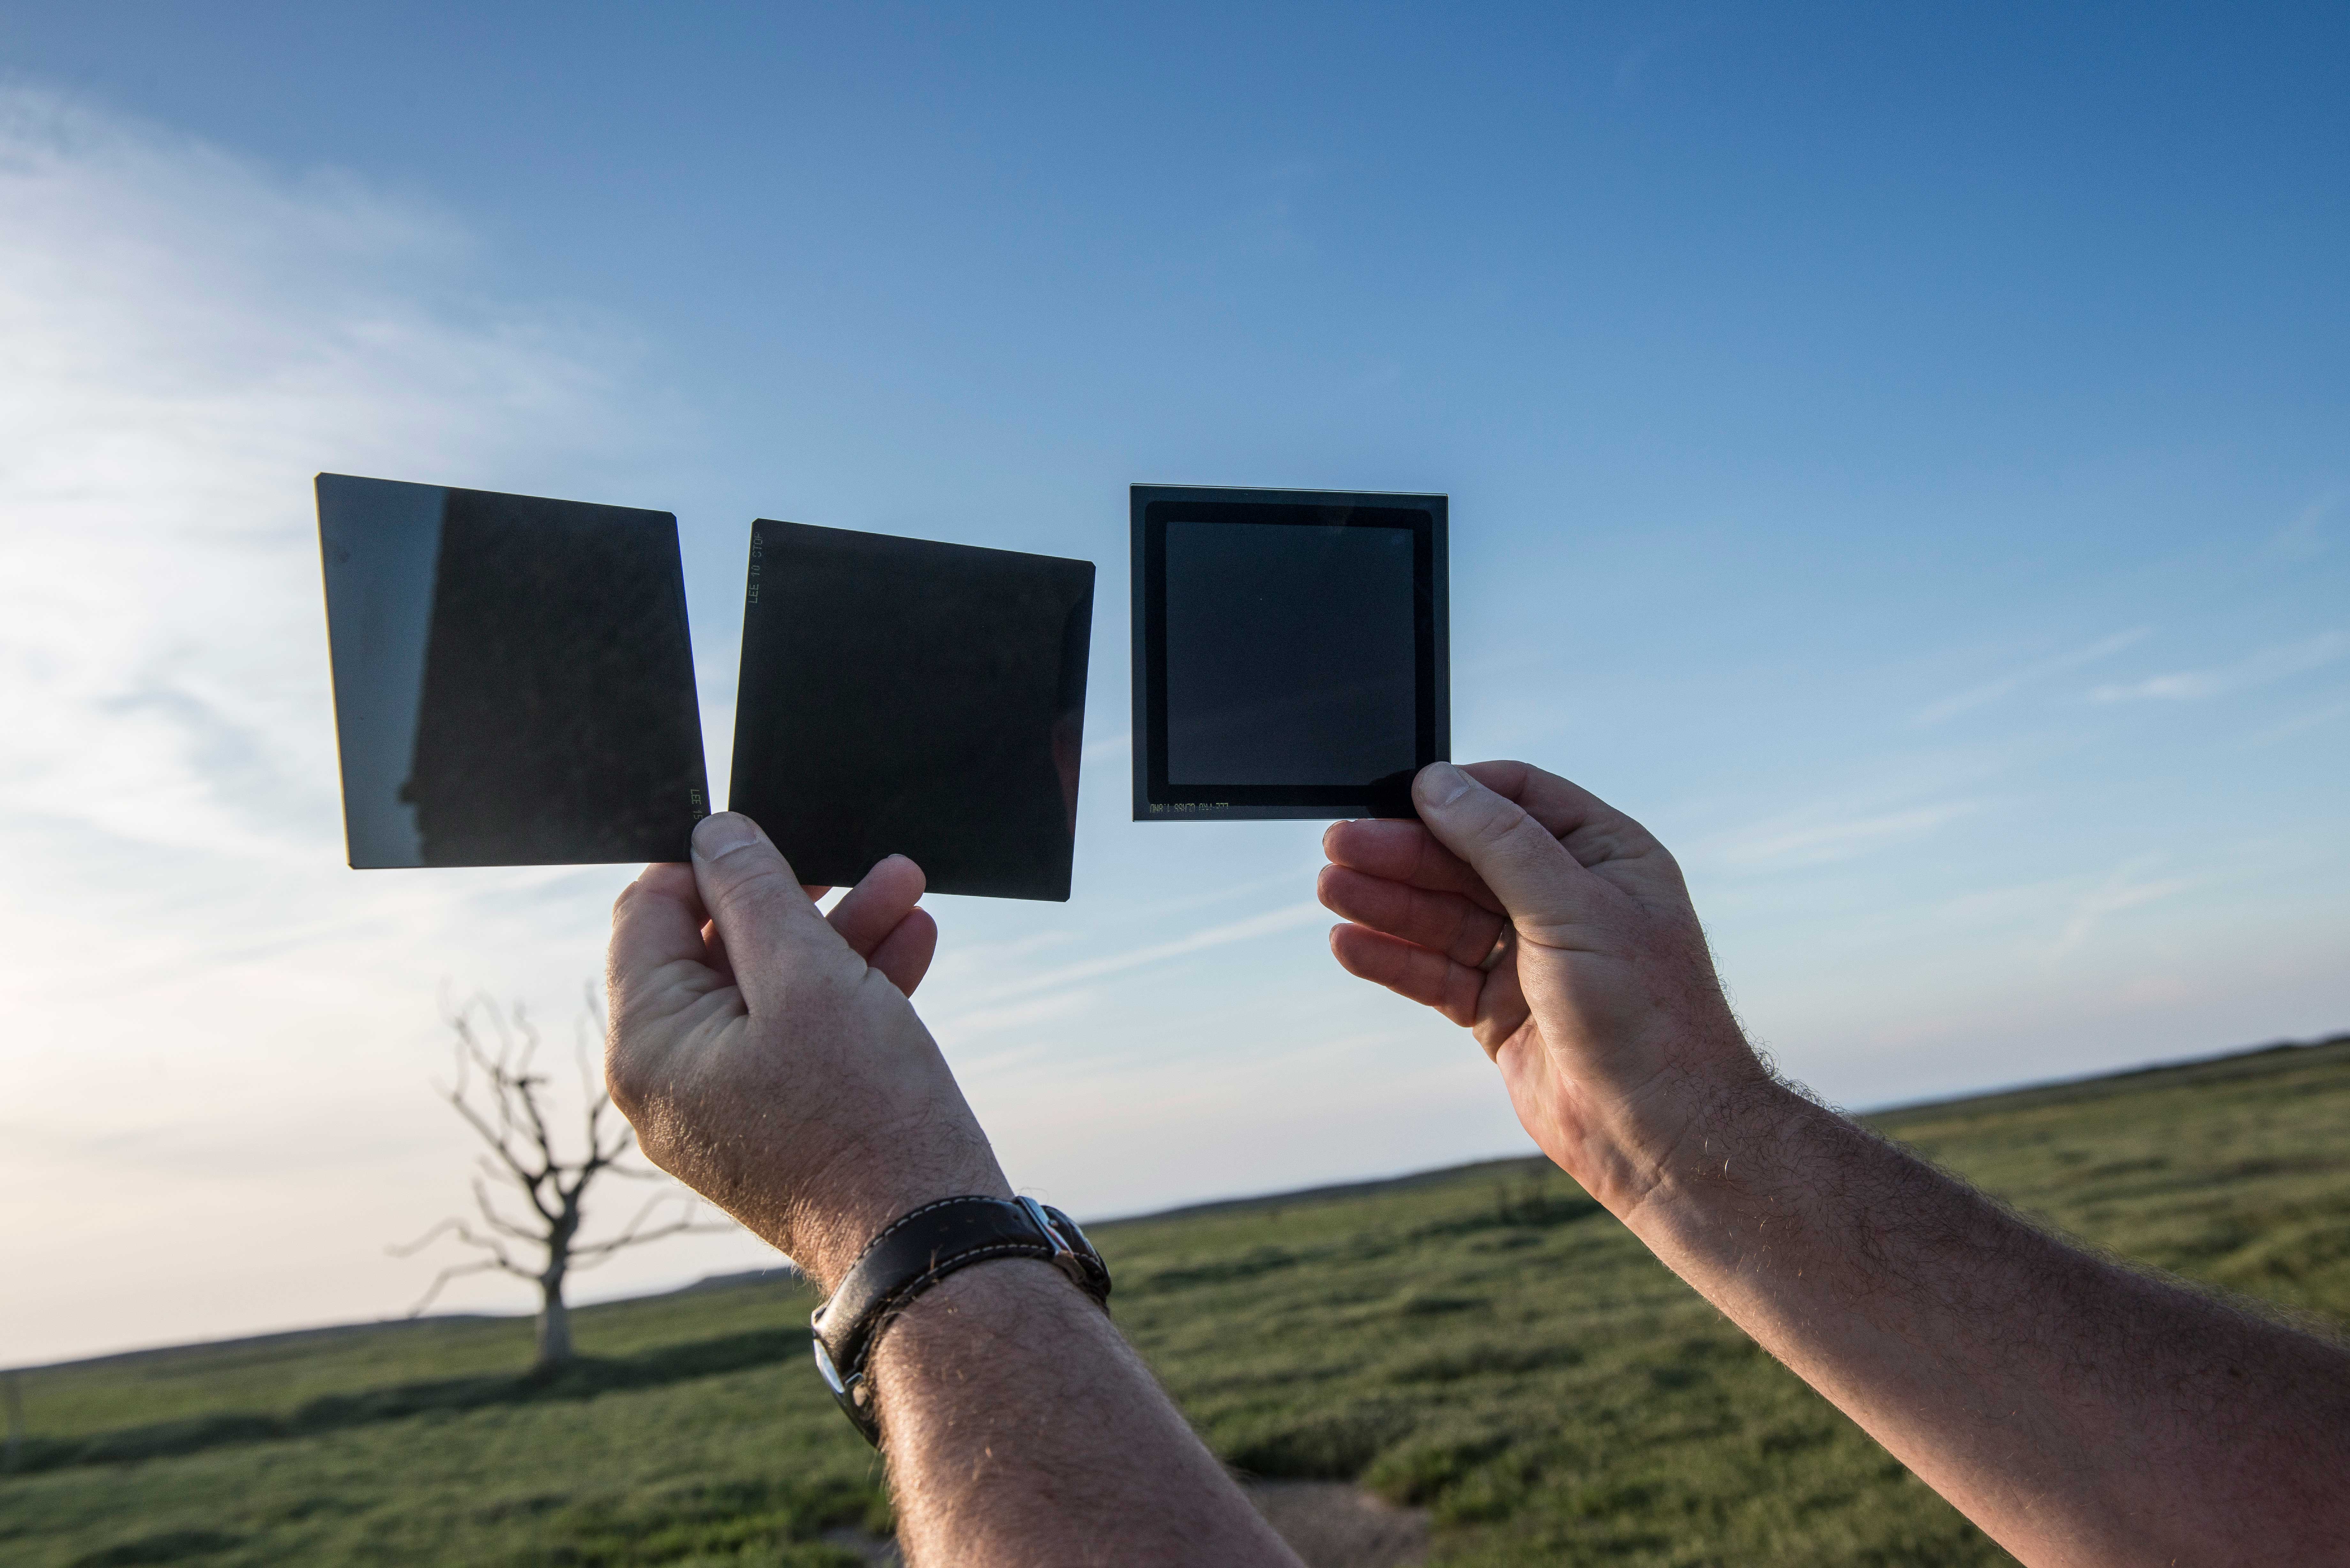
Lee Filters makes three densities of ND filter, and Jeremy carries all of them around for him to create his signature long-exposure shots. But which does he use and when?
Big Stopper – increases exposure by 10 stops
“This is my first choice for long exposures – ideal for creating milky water and blurring skies”.
Super Stopper – increases exposure by 15 stops
“I use this when it is a very bright sunny day – such as today – so I can still get exposures that are minutes long”.
Little Stopper – increases exposure by six stops
“I use this for fast-moving water – for waterfalls, or when there are waves crashing right in front of you – so that the water is not too milky”.
Top technique tip: how to avoid light leaks
The long exposures needed with a Big Stopper can mean light leaking in places that you don’t usually expect. Jeremy has found that the focus distance window on some lenses can even leak in light.
To cover everything, Jeremy now uses a custom-made dark cloth – a piece of leather with Velcro fastening, which he can wrap around the lens and camera. Not only does this stop light leaks, it protects the setup from salt spray.
Read more
• A day in the life of professional car photographer Amy Shore
• A day in the life of professional bird photography Tesni Ward
• A day in the life of professional landscapes photographer Jim Cossey
• A day in the life of astrophotographer Alyn Wallace
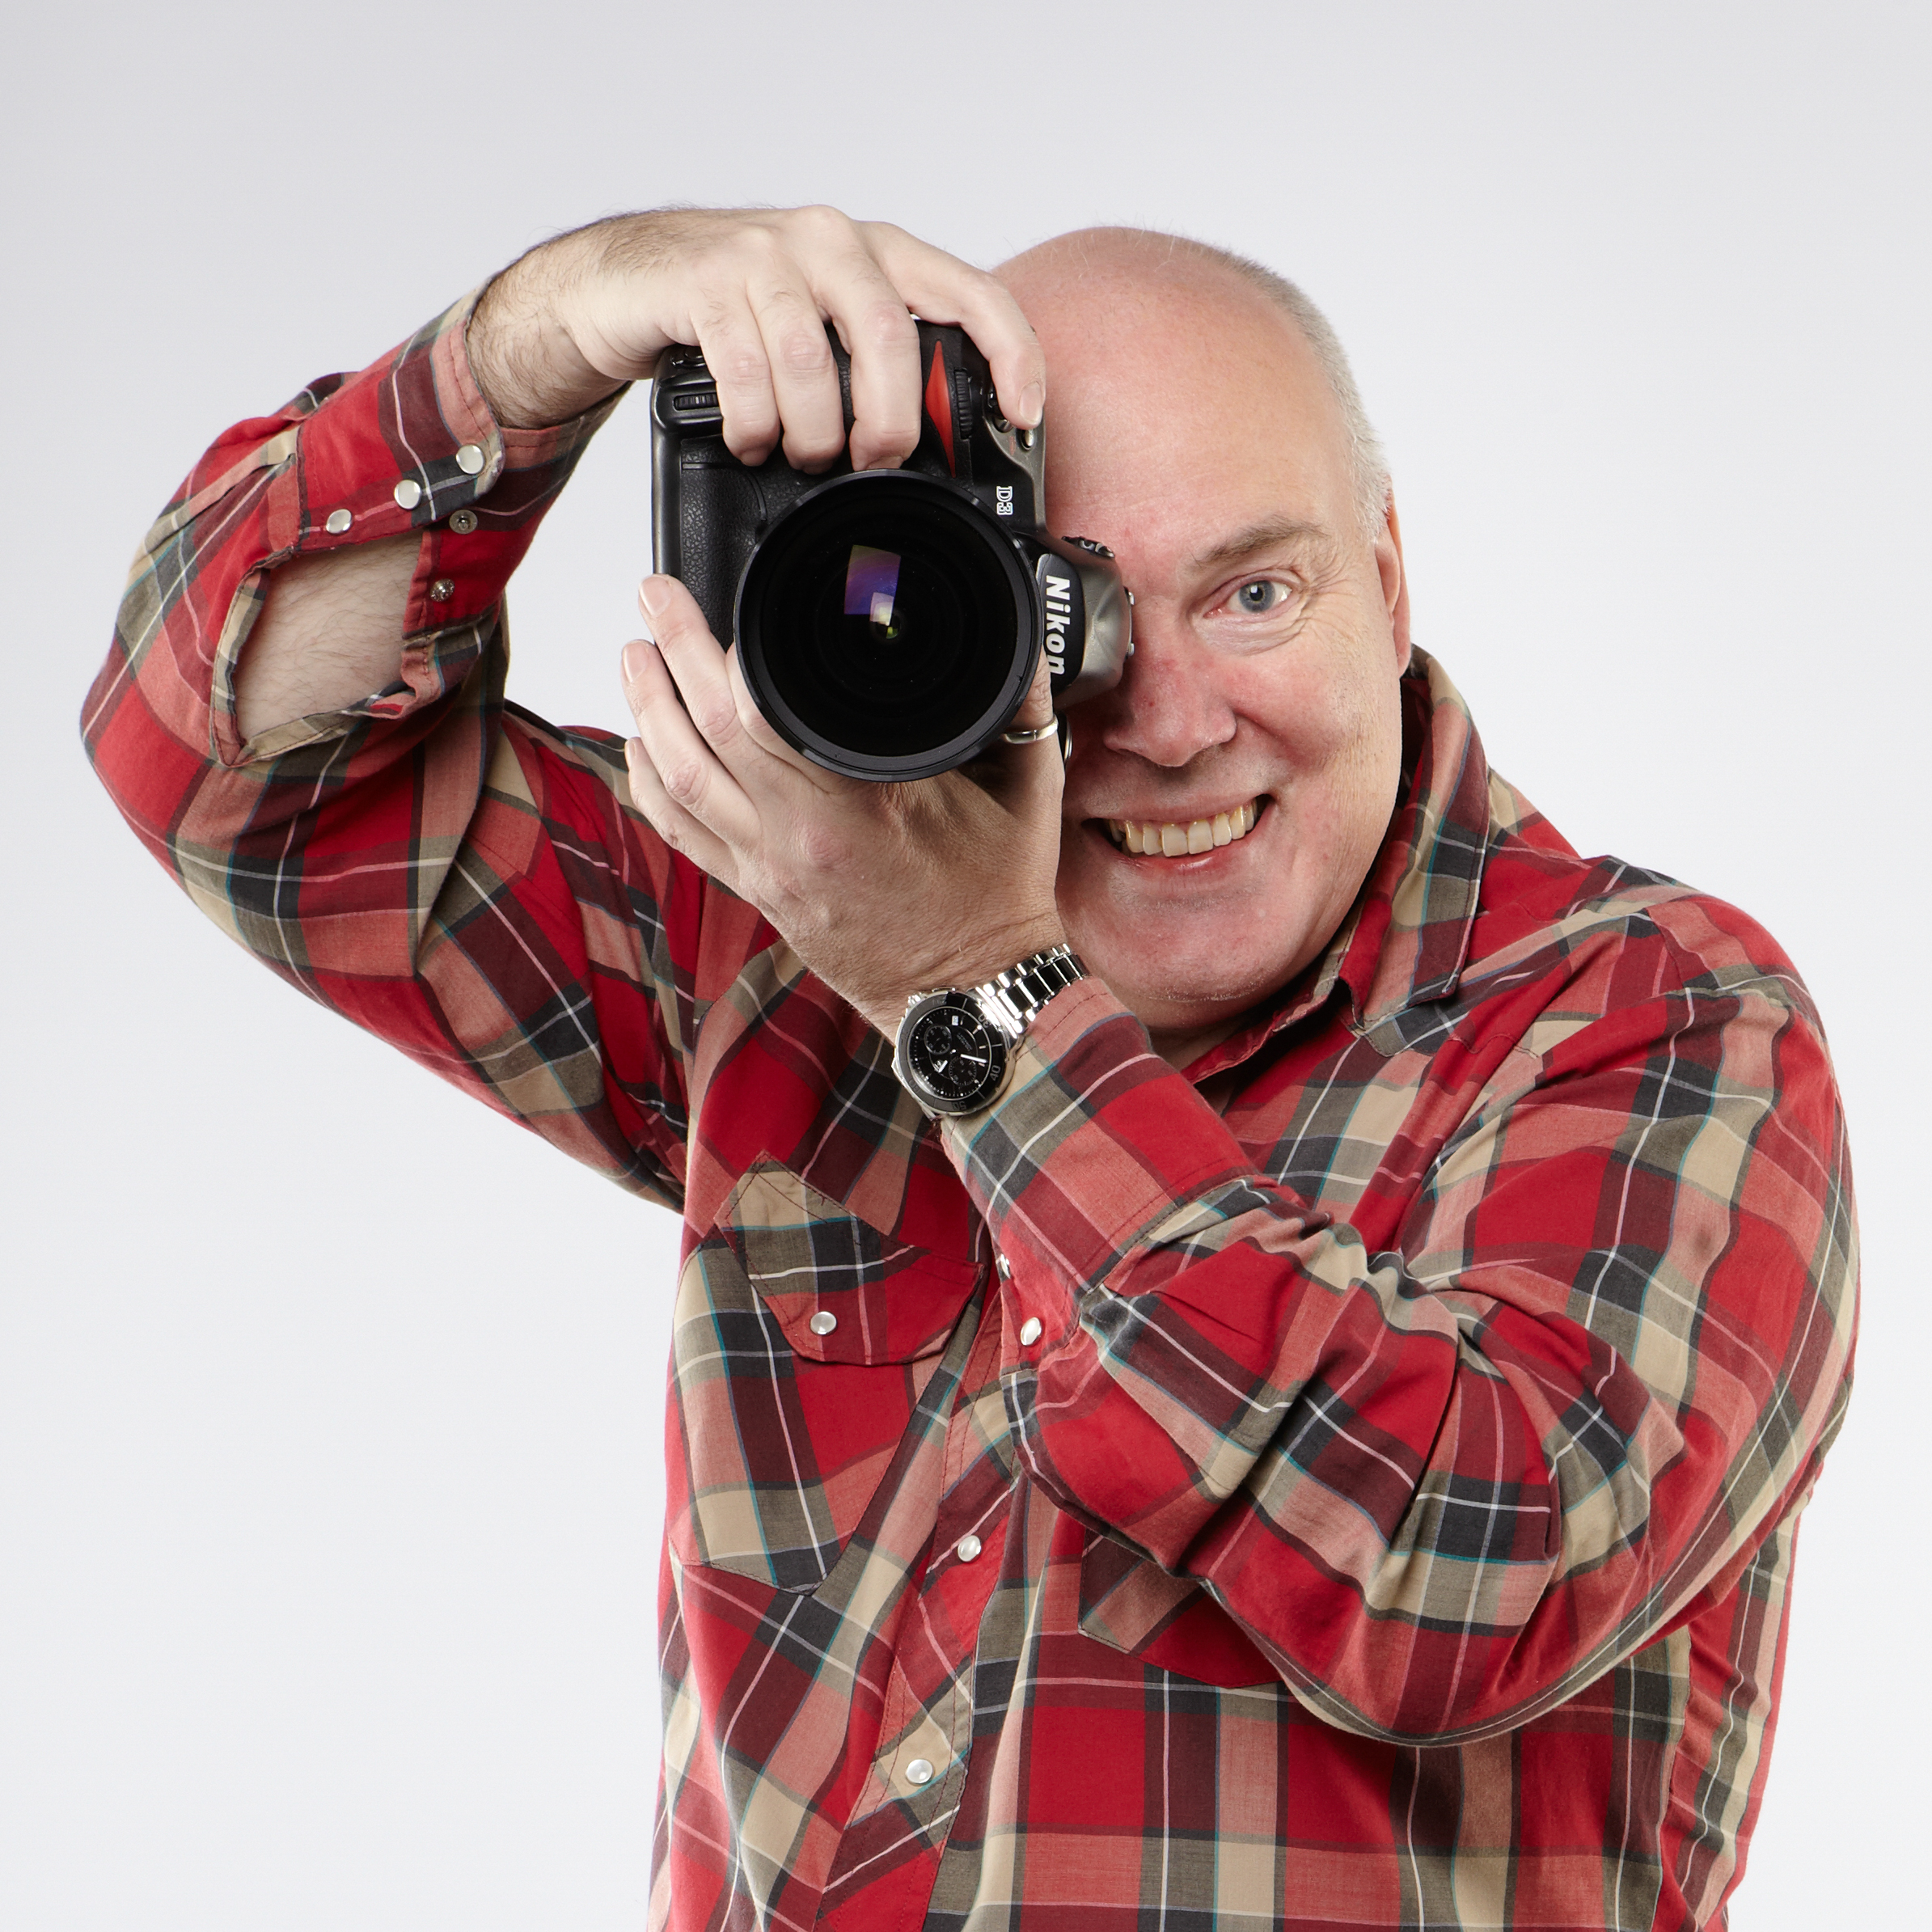
Chris George has worked on Digital Camera World since its launch in 2017. He has been writing about photography, mobile phones, video making and technology for over 30 years – and has edited numerous magazines including PhotoPlus, N-Photo, Digital Camera, Video Camera, and Professional Photography.
His first serious camera was the iconic Olympus OM10, with which he won the title of Young Photographer of the Year - long before the advent of autofocus and memory cards. Today he uses a Sony A7 IV, alongside his old Nikon D800 and his iPhone 15 Pro Max.
He is the author of a number of books including The Book of Digital Photography, which has been translated into a dozen different languages.
In addition to his expertise in photography and videomaking, he has written about technology for countless publications and websites including The Sunday Times Magazine, The Daily Telegraph, What Cellphone, T3 and Techradar.
