10 ways to steady up your video: learn to shoot like a pro with these handy tips
Shooting nice looking video is not as easy as it looks! Here are 10 ways to stop the shakes and smooth out your footage
The best camera deals, reviews, product advice, and unmissable photography news, direct to your inbox!
You are now subscribed
Your newsletter sign-up was successful
Anyone moving into video from photography faces a bit of a learning curve. But why? These days, the cameras are the same, the controls are similar and the technicalities of video resolution and frame rates aren’t too hard to grasp.
No, the hard part is shooting video that doesn’t look like it was shot from the back of a pickup truck with no suspension, that doesn’t leave your audience seasick and goggle-eyed, and is stable enough to actually get a proper look at what’s going on.
Stills photography is easy. You just have to wait for your chance and then press a button to freeze a moment in time. Video is merciless. You don’t just have to keep the camera steady for a fraction of a second, but for seconds at a time. Worse, the tiniest wobble, jitter or lurch while you’re filming is immediately obvious.
So how do you stop your video looking like it was shot by an amateur (even if it was)? Isn’t that what image stabilisers are for? Not quite. Image stabilizers can help but they definitely have their limits.
The video below was shot by our resident video expert Alistair Campbell on the Sony A6600 with its in-built IBIS. If anyone can flatter a camera's stabilisation, Alistair can, but even he normally likes a gimbal. You decide.
Here’re a quick 10-step guide, then, to getting smoother, more stable video clips. Some tips require the right kit, some require a bit of effort, some just need a bit of know-how and patience. Let’s go.
1. Use a tripod
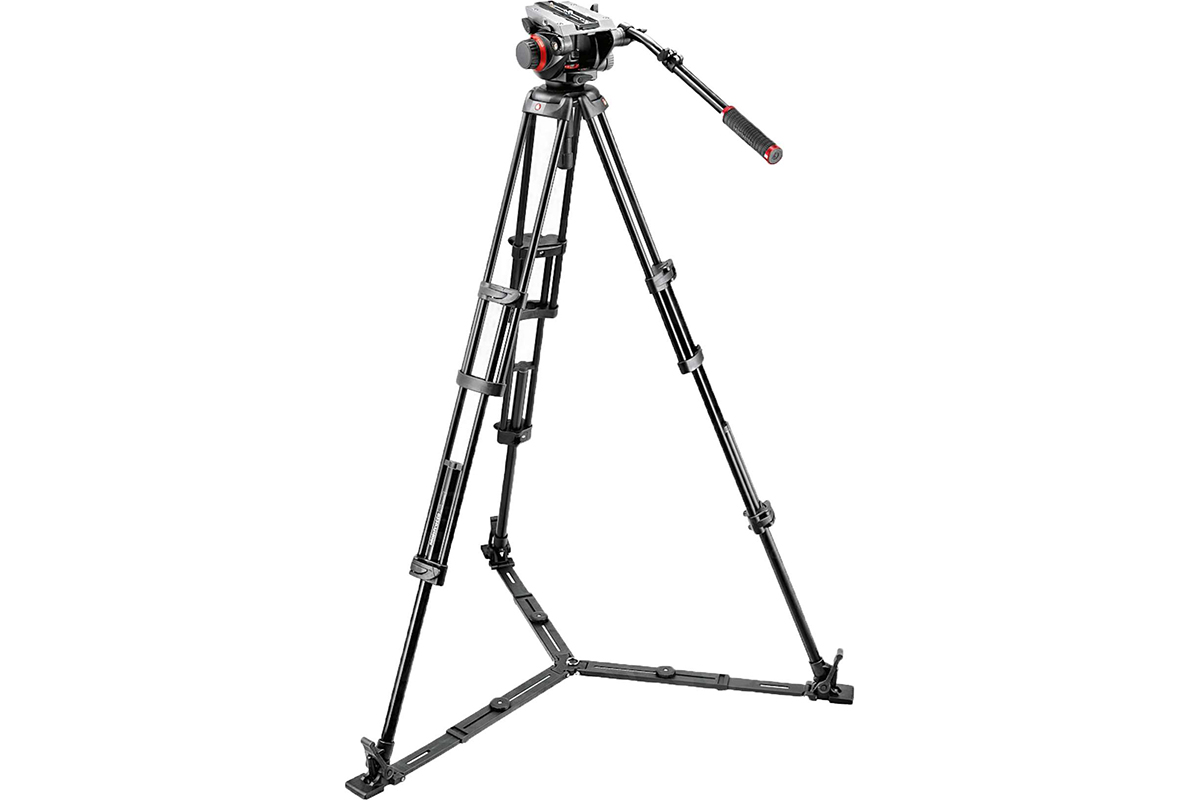
Yes, it’s boring, it slows you down and it fixes you to one spot. But if you’re crafting a movie rather than just running around at random, choosing where to film from will be part of your planning. A regular tripod will do, but a video tripod with a levelling base and a fluid video head will let you introduce smooth, level panning movements. There is nothing to beat a tripod for stable video.
The best camera deals, reviews, product advice, and unmissable photography news, direct to your inbox!
• Read more: Best video tripods
2. Use a gimbal
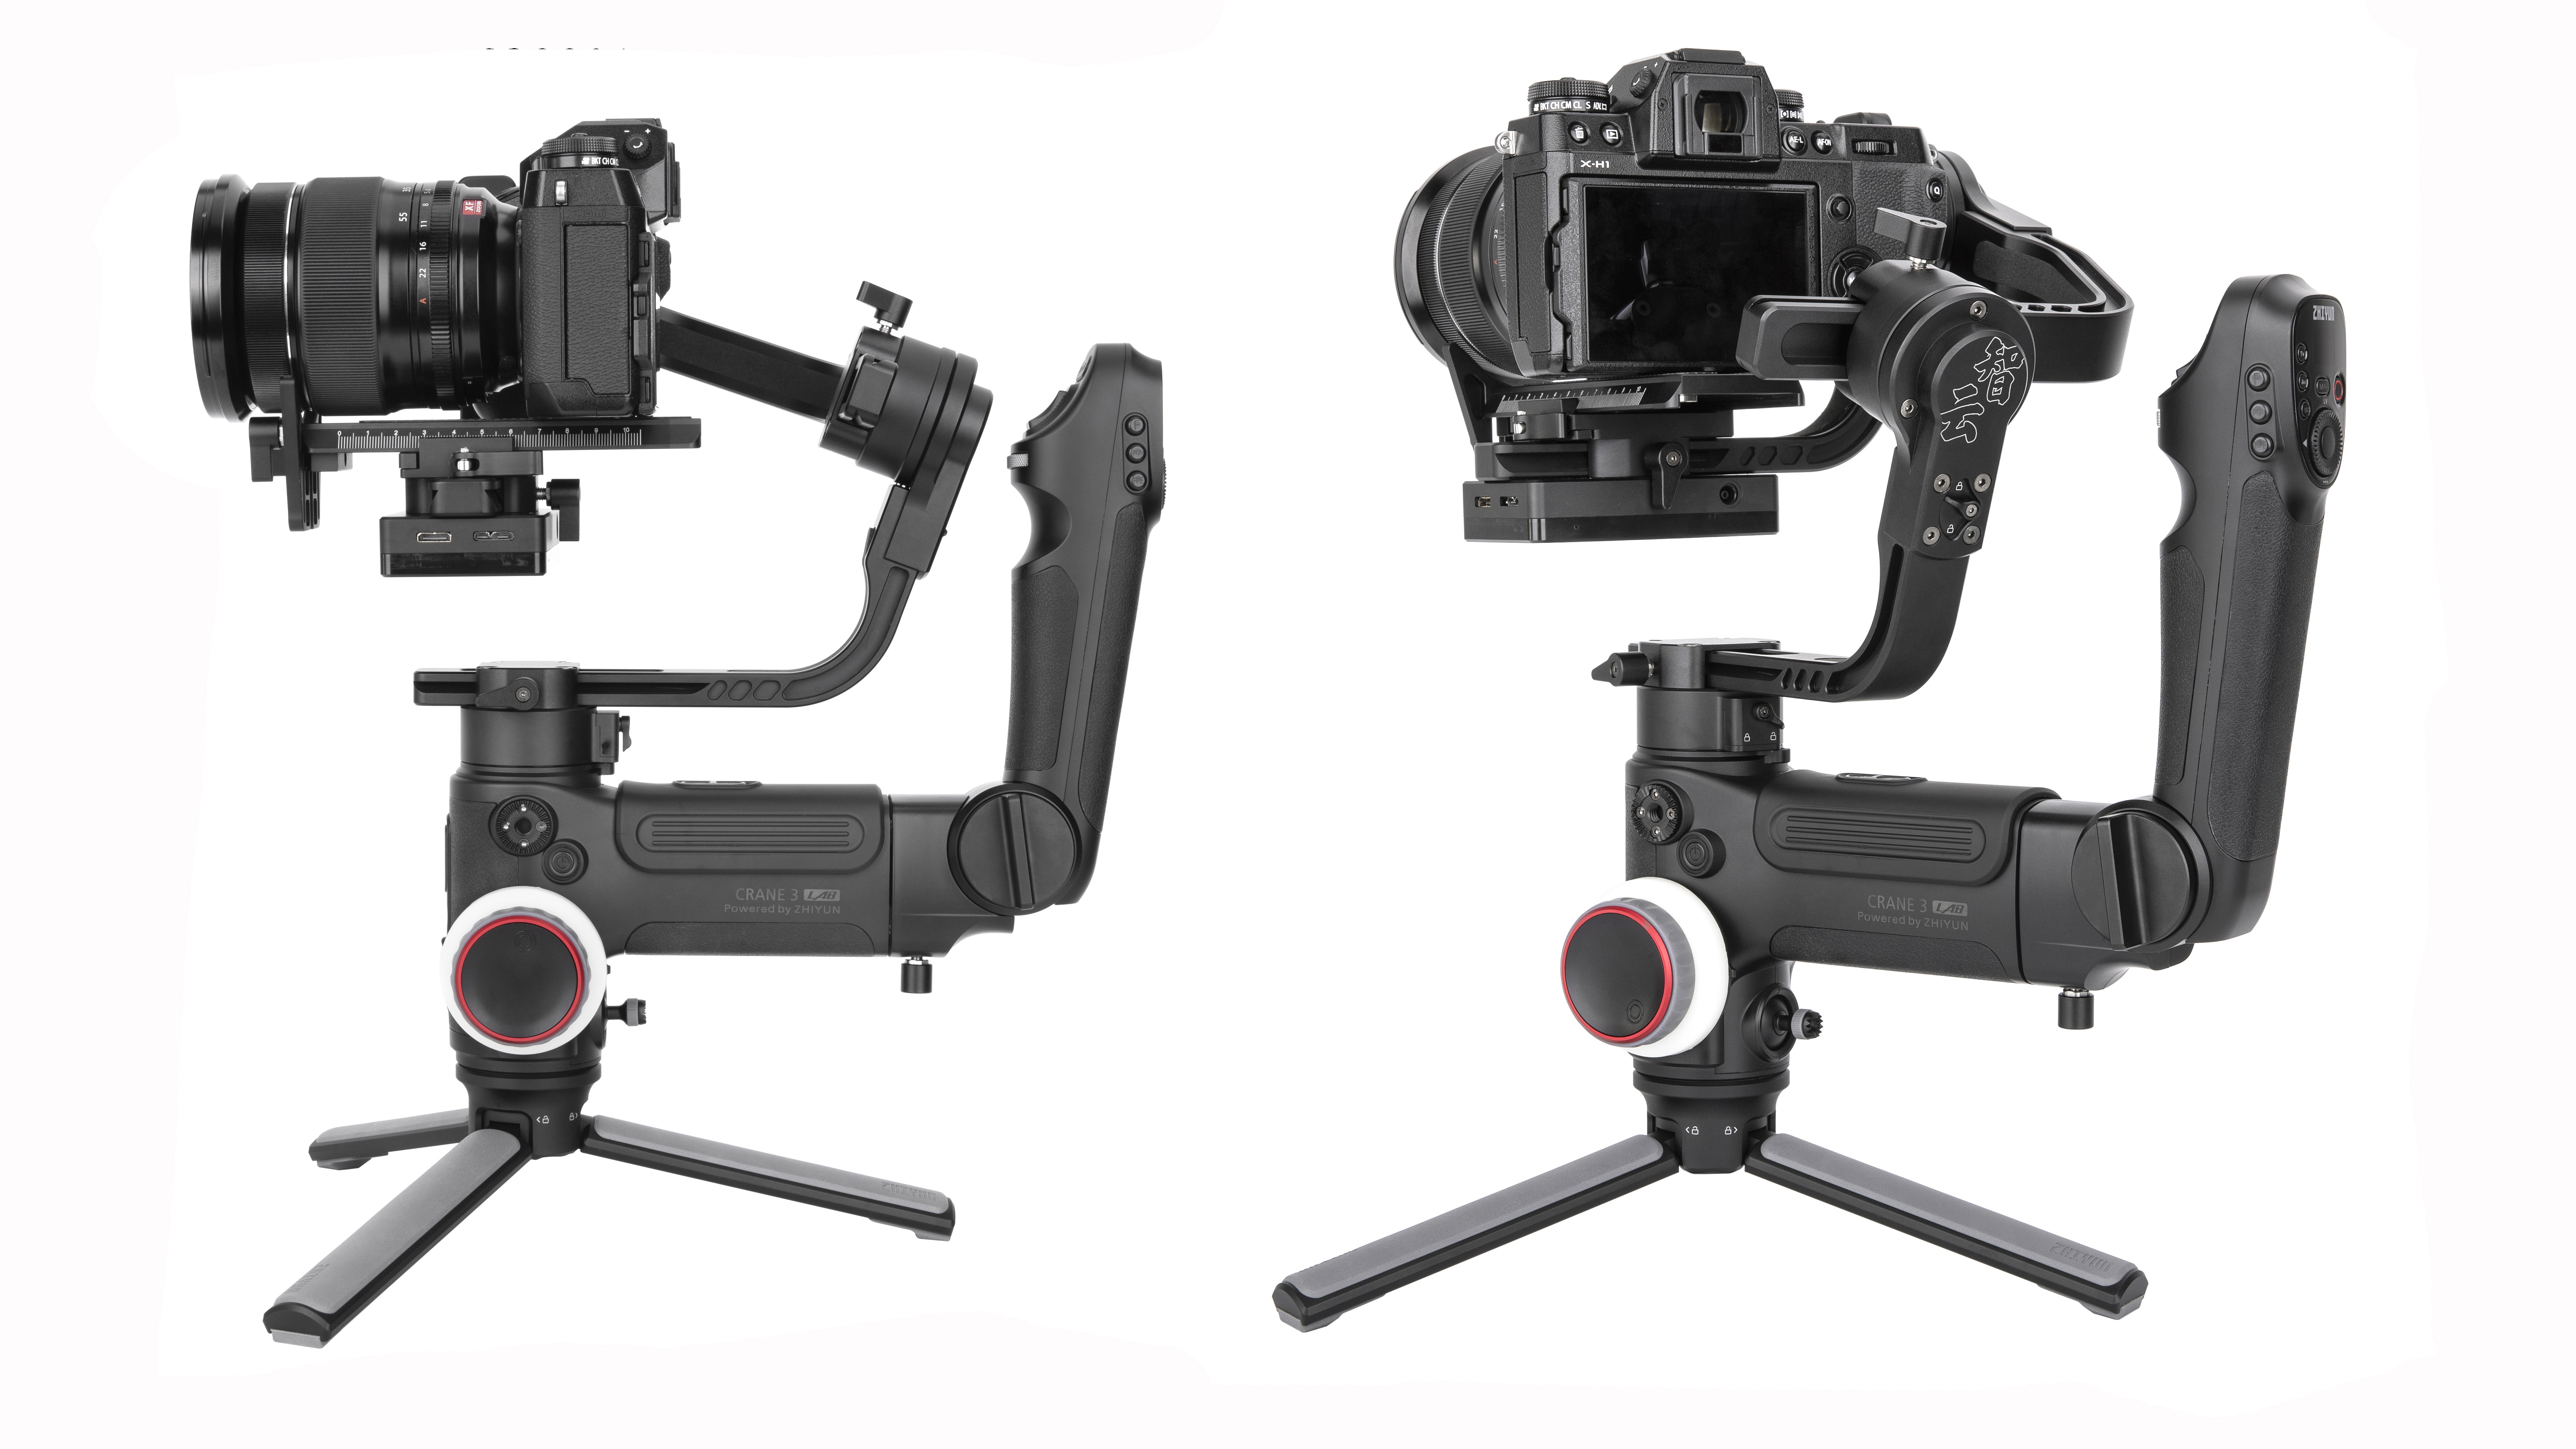
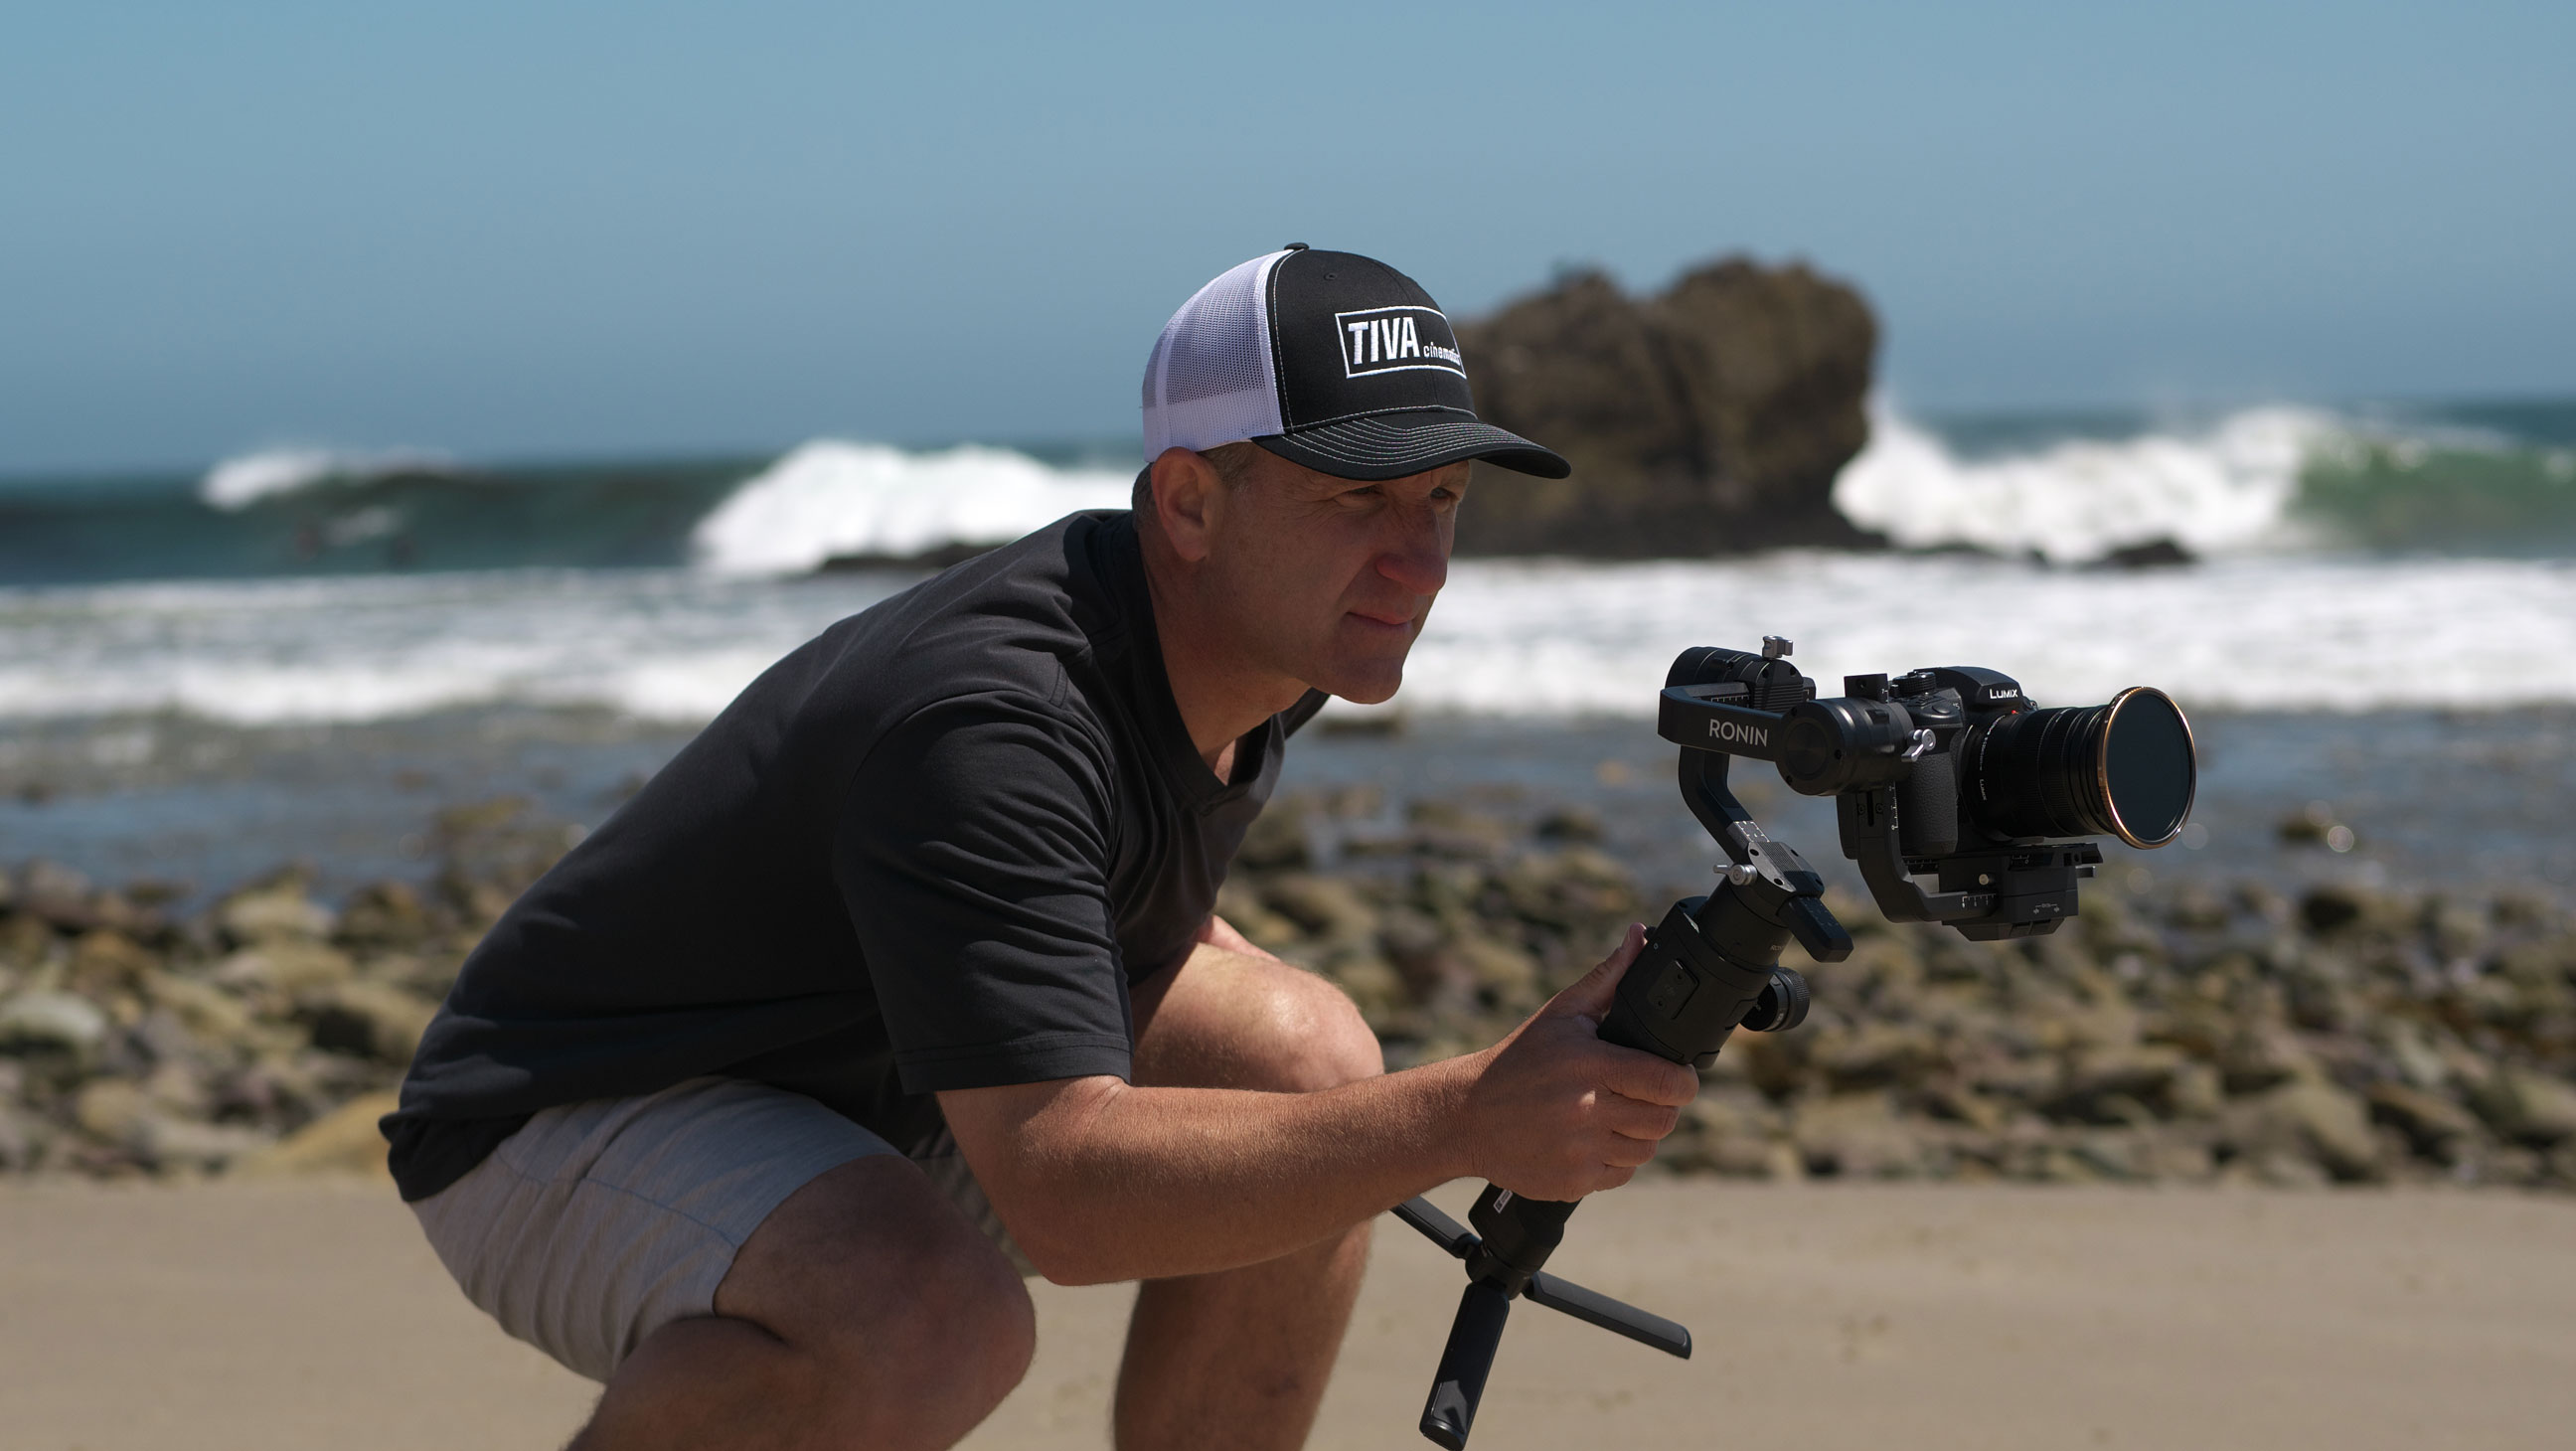
If there’s no space for a tripod, or you need to stay on the move to do your filming, then get a gimbal. Yes, lots of cameras have in-body stabilizers now, but they can’t do what a gimbal does. A stabilizer can stop the jitters, but a gimbal can smooth out much larger camera movements lasting a few seconds. A gimbal can produce really good handheld pans and smooth out run and gun footage far better than any in-body stabilization.
• Read more: Best gimbals
3. Try a slider
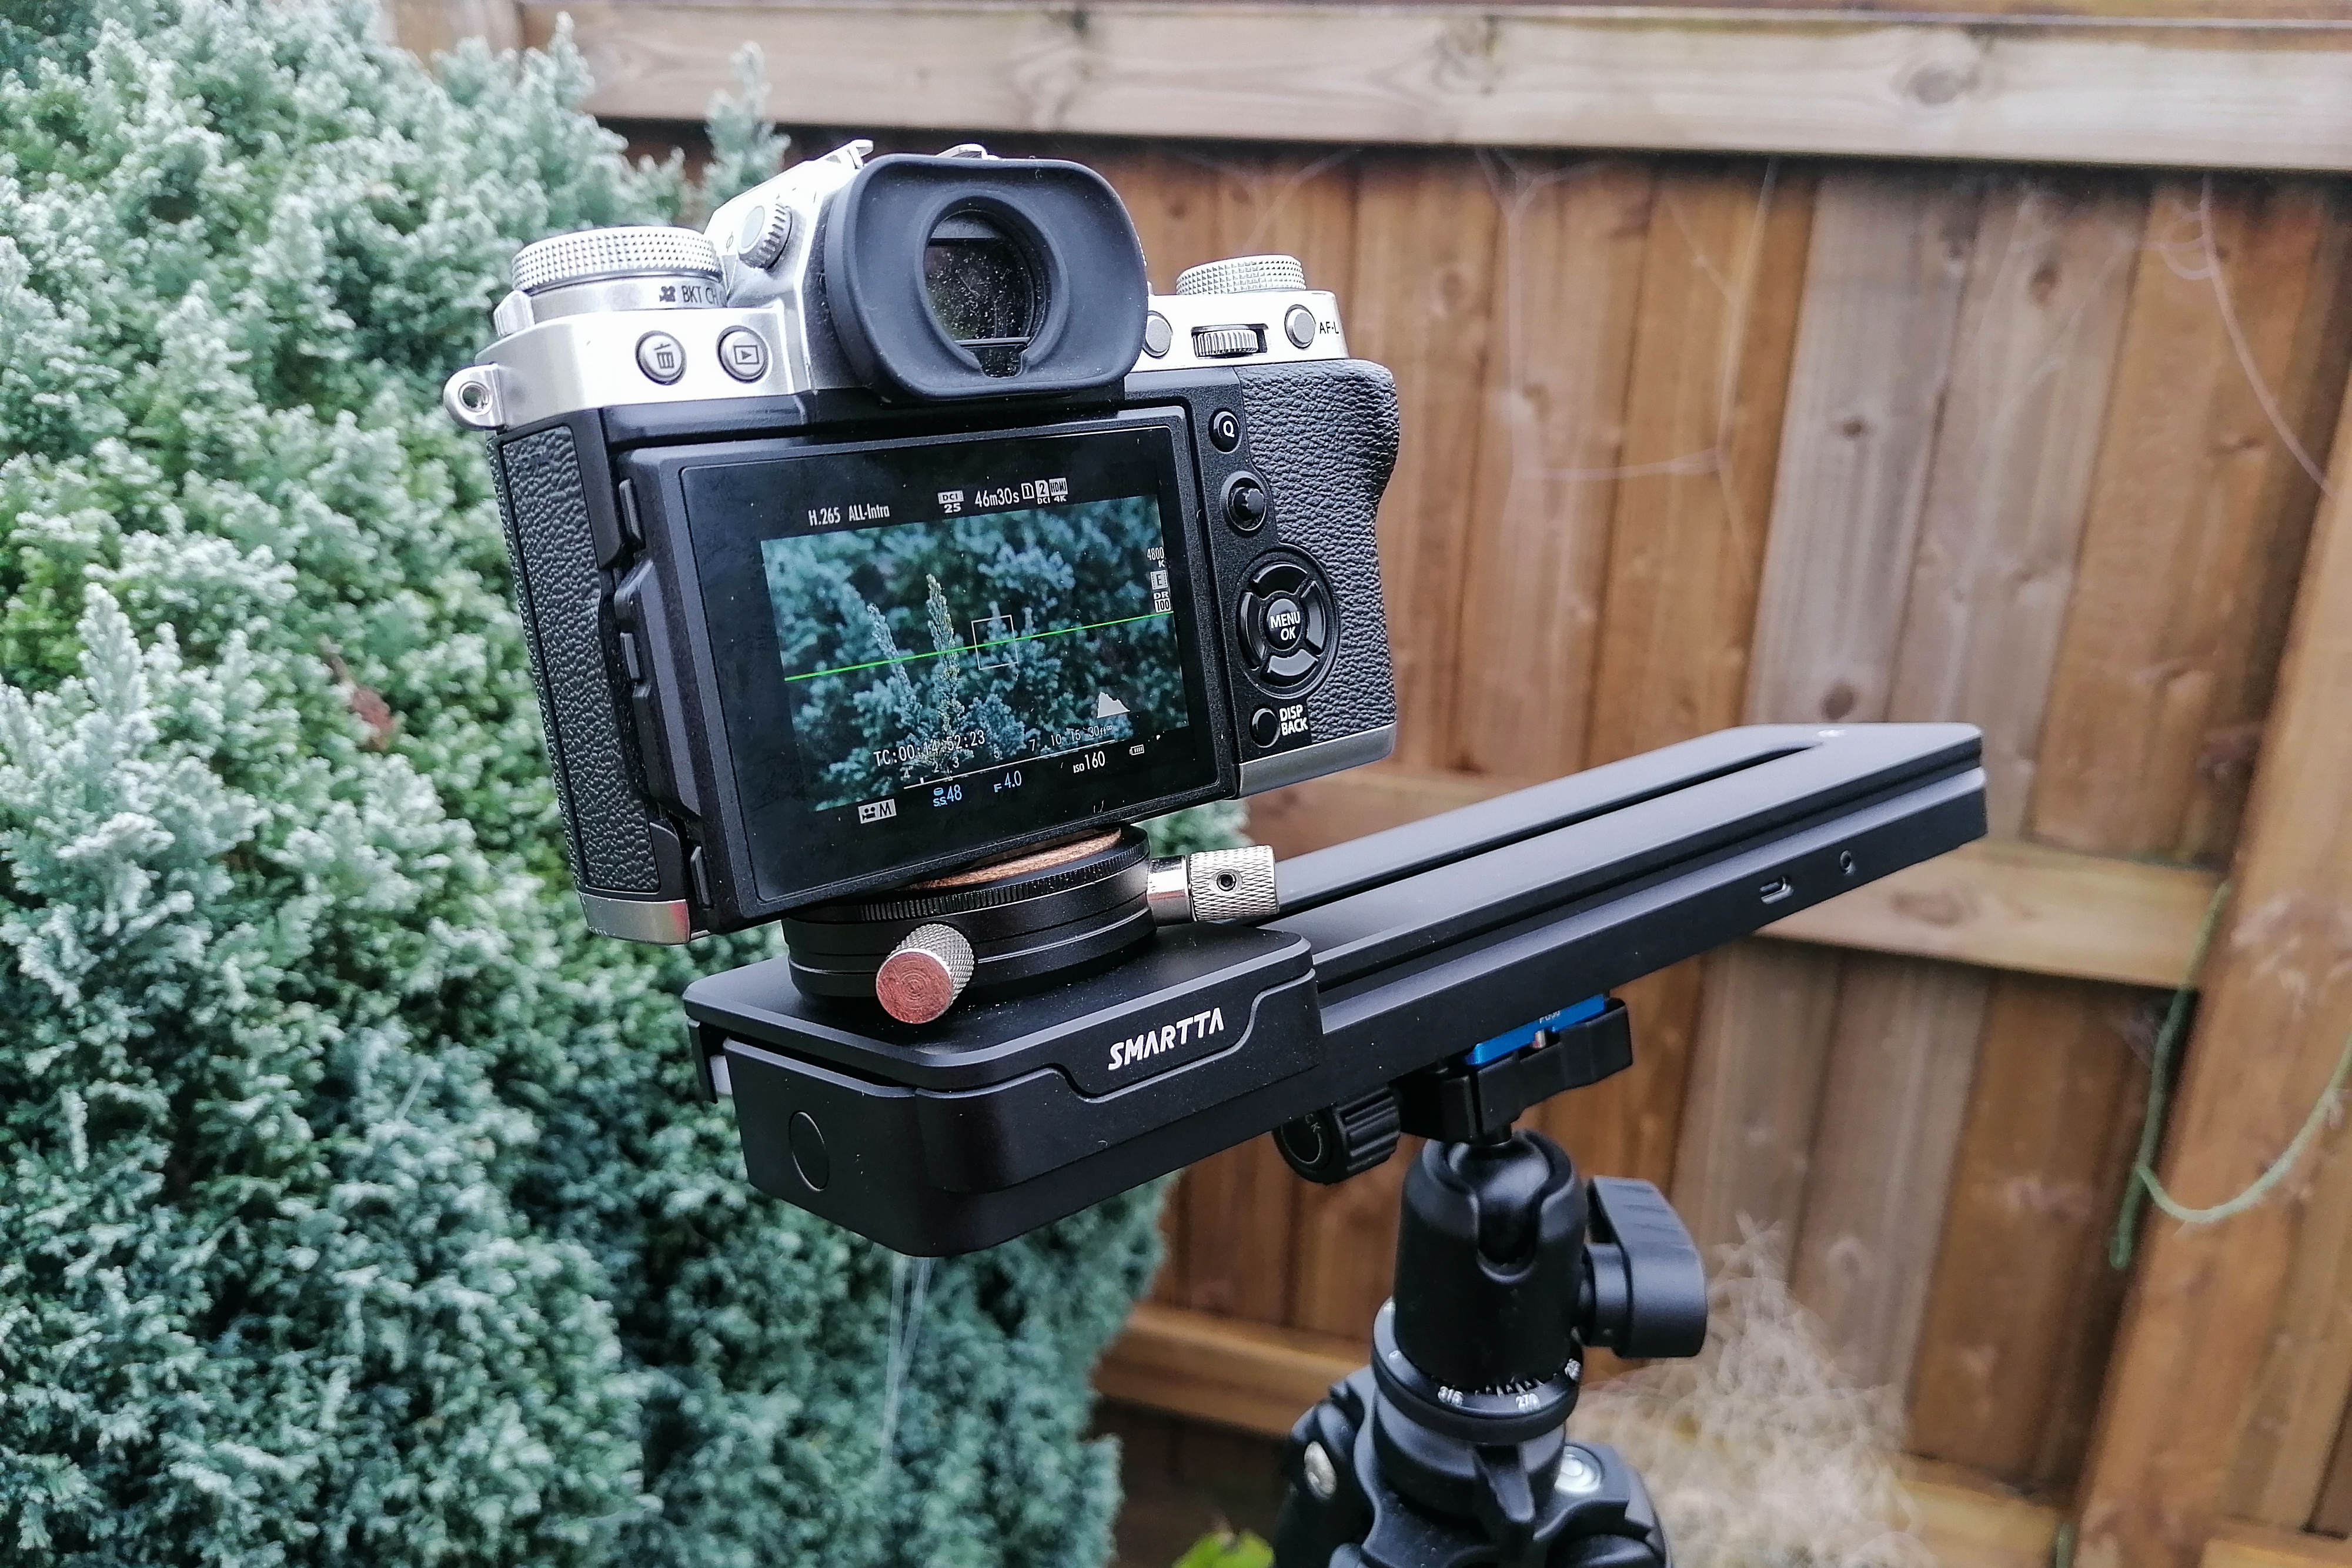
Tripods and gimbals are really good at panning shots, but not what we will call ’slider’ shots, where you are moving the camera sideways or up/down while pointing in the same direction. It’s a top cinematic trick usually carried out with wheeled ‘dollies’, but you can do the same with a slider attached to your tripod. Some are purely manual/mechanical, others are powered with adjustable speed controls (but can make a noise that messes with your audio).
• Read more: Best camera sliders
4. Pan slower
Ever wondered why fast panning movements look jerky and broken up? It’s because video relies on an illusion called ‘persistence of vision’. If you pan too fast, the next frame will be so different to the one before that your eyes and brain no longer fill in the gaps to recreate the appearance of smooth movement, but instead just see a succession of separate frames. It sounds slow, but the rule of thumb is to allow 7 seconds to pan a distance equivalent to the camera’s field of view. (You can reduce this with a faster frame rate, e.g. 60fps rather than 30fps.)
5. Get a grip
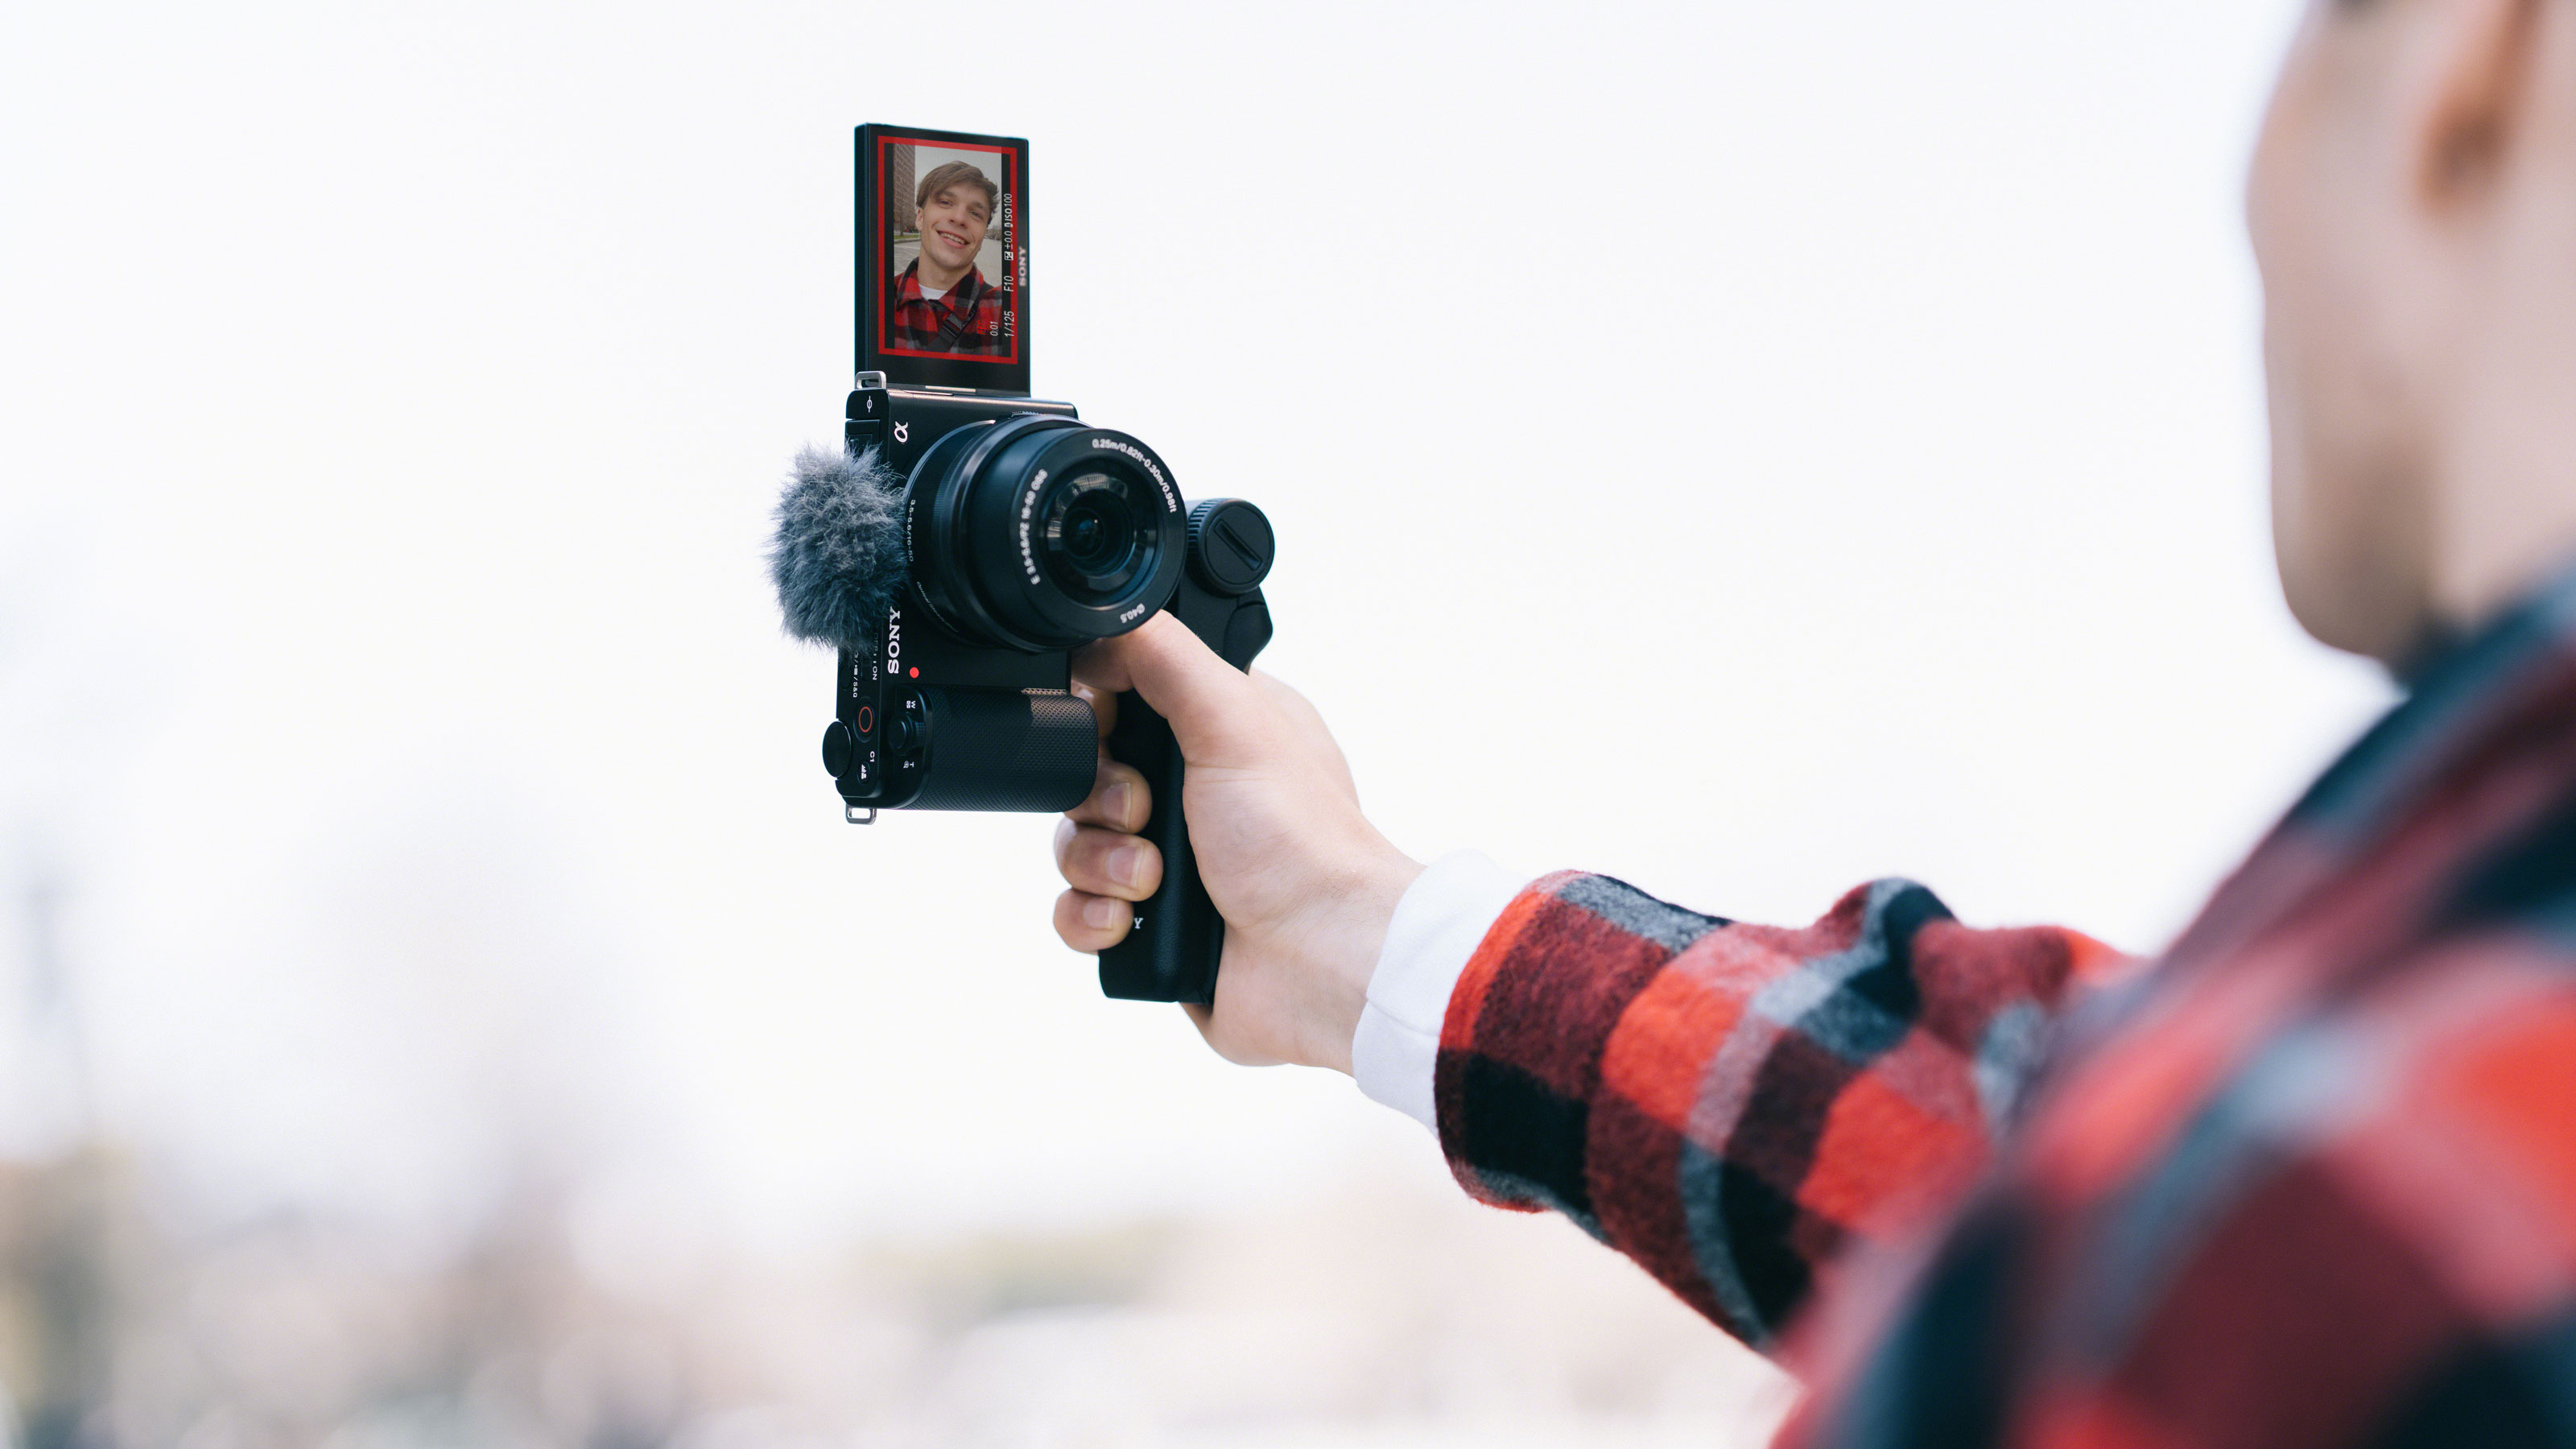
Tripods are cumbersome, gimbals need lots of setup and can be complicated to operate. You could just try using a grip. Some camera makers offer optional grips to go with their vlogging cameras – or you can get one of a number of mini-tripods designed as camera stands with the legs open and grips with the legs closed together. A grip can help smooth out camera movement (in-camera IBIS and/or lens stabilisation may do the rest), so it’s definitely an accessory worth trying.
• Read more: Best mini tripods
6. In-body stabilization (IBIS)
In-body stabilization (IBIS) does a good job for stills photography but is perhaps less effective for video. Sensor shift systems have a limited range of movement and often need to ‘re-center’, and they are not designed to smooth out larger movements in the way that gimbals are. IBIS is definitely worth having, but unless you are filming handheld from a fixed spot with no camera movement, you shouldn’t expect too much. Oh, and if you're using a tripod, switch the IBIS off to prevent possible 'feedback jitters' – another technical term we've decided to invent.
7. Lens stabilization
Lens stabilization can help too, though stabilized lenses are again best suited to stills photography. Some camera makers offer hybrid lens and in-body stabilization for an even greater stabilization effect, but even here it’s stabilization rather than smoothing. You may find it’s great for static shots, but for moving shots it won’t usually compete with a gimbal.
8. Digital stabilization
Don’t knock it. Digital stabilization has got a bad name from the old days of digital still cameras, where it was about as appealing as digital zoom, but in video cameras it works differently and makes more sense. Digital video stabilization shifts each successive frame to align it more accurately with those around it. The drawback is an increased crop factor (the system needs extra ‘space’ around the frames to allow for the movement) but it can be far more effective than you might expect.
9. Software stabilization
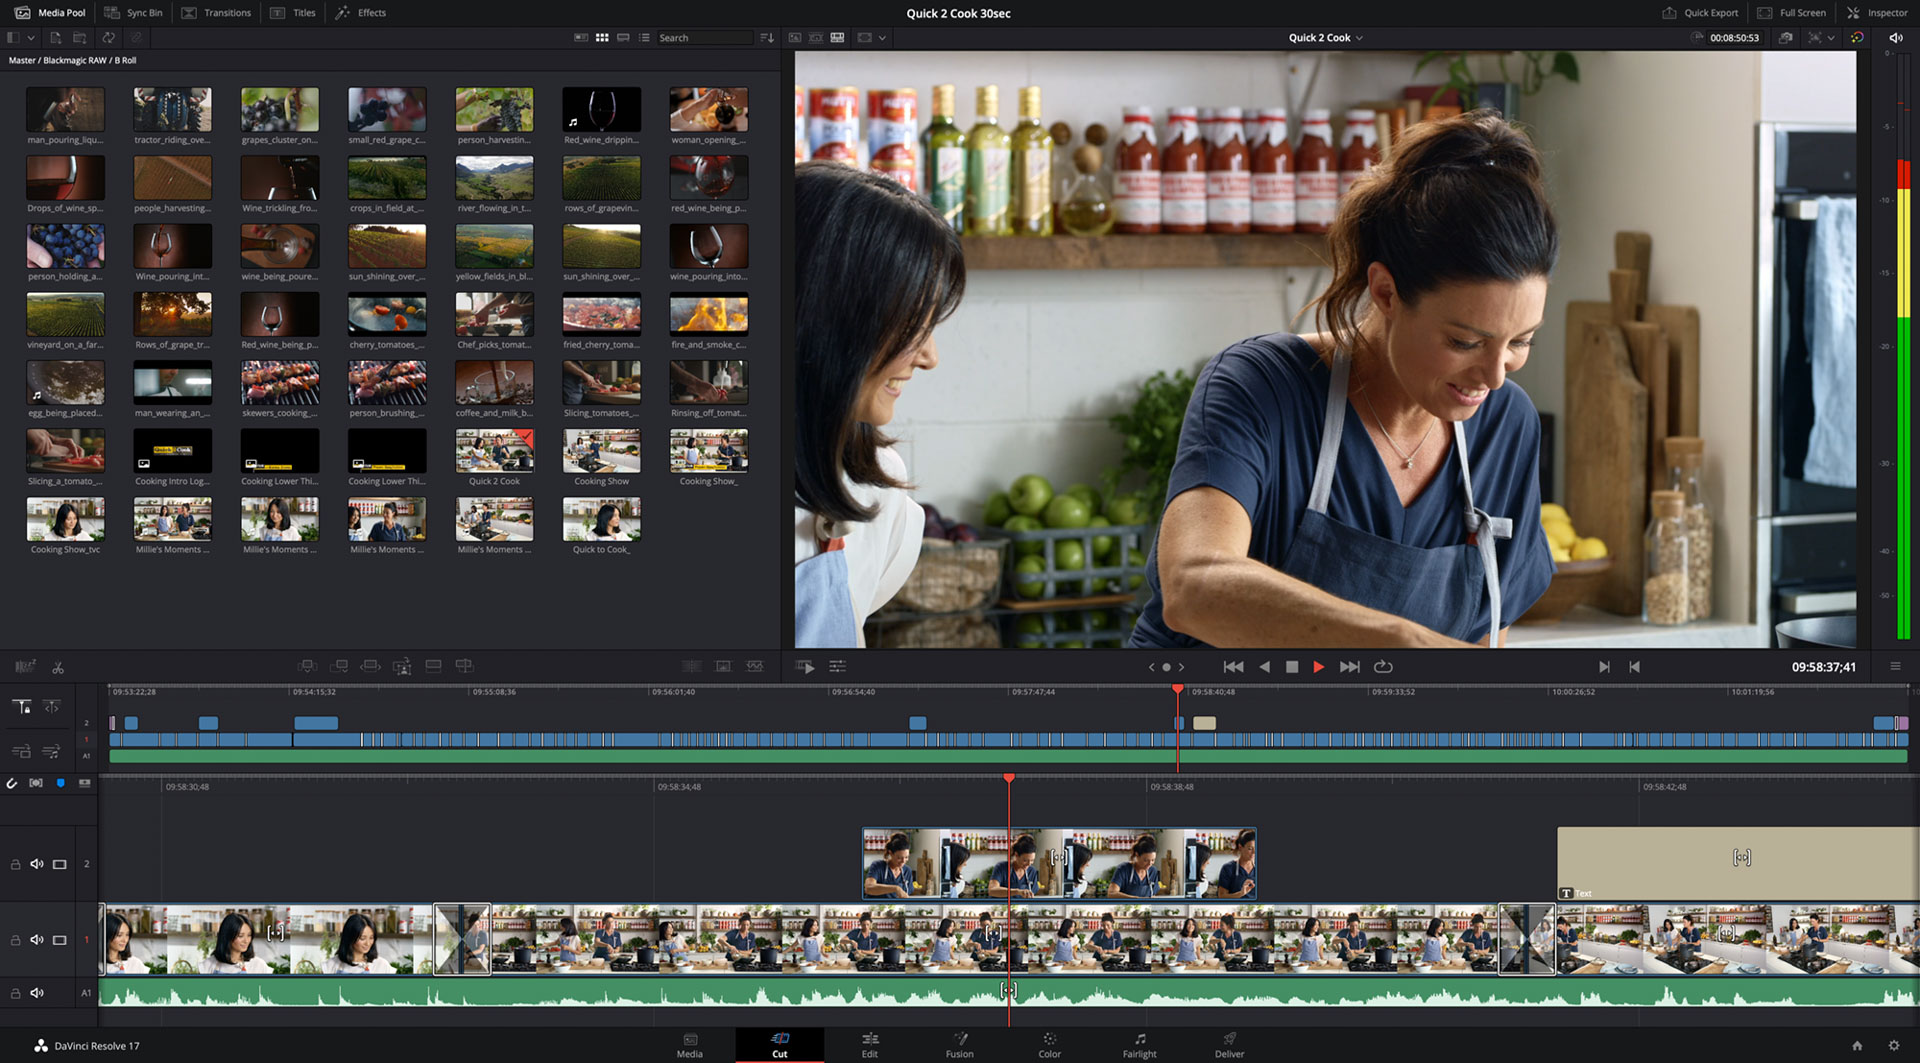
But not as effective as software stabilization. This is a feature in most video editing programs that it would be easy to overlook. Even the humble iMovie on the Mac has clip stabilization. This basically brings the full power of a desktop computer and software to bear on the digital stabilization process, with the result that your computer can often steady up footage to an almost uncanny degree, even when the in-camera stabilization has failed.
• Read more: Best video editing software
10. Frame rates and shutter angles
If you’ve done everything else right, there is one more little bit of finessing for smooth-looking footage, and that’s to make sure the shutter speed is twice the frame rate you’ve chosen. So at 30fps, you should use a shutter speed of 1/60sec. This gives a ‘shutter angle’ of 180 degrees. It’s an old movie term that dates back to when movie cameras had rotary shutters. A 180-degree shutter angle is reckoned to give the best compromise between detail rendition and smooth movement.
Read more:
• Best video tripod
• Best gimbal
• Best camera sliders
• Best mini-tripod
• Best video editing software

Rod is an independent photography journalist and editor, and a long-standing Digital Camera World contributor, having previously worked as DCW's Group Reviews editor. Before that he has been technique editor on N-Photo, Head of Testing for the photography division and Camera Channel editor on TechRadar, as well as contributing to many other publications. He has been writing about photography technique, photo editing and digital cameras since they first appeared, and before that began his career writing about film photography. He has used and reviewed practically every interchangeable lens camera launched in the past 20 years, from entry-level DSLRs to medium format cameras, together with lenses, tripods, gimbals, light meters, camera bags and more. Rod has his own camera gear blog at fotovolo.com but also writes about photo-editing applications and techniques at lifeafterphotoshop.com
