Have a light bulb moment! Create a surreal scene with this Photoshop project
Claire Gillo explains how to blend two images together to create a surreal scene that appears to be inside a light bulb
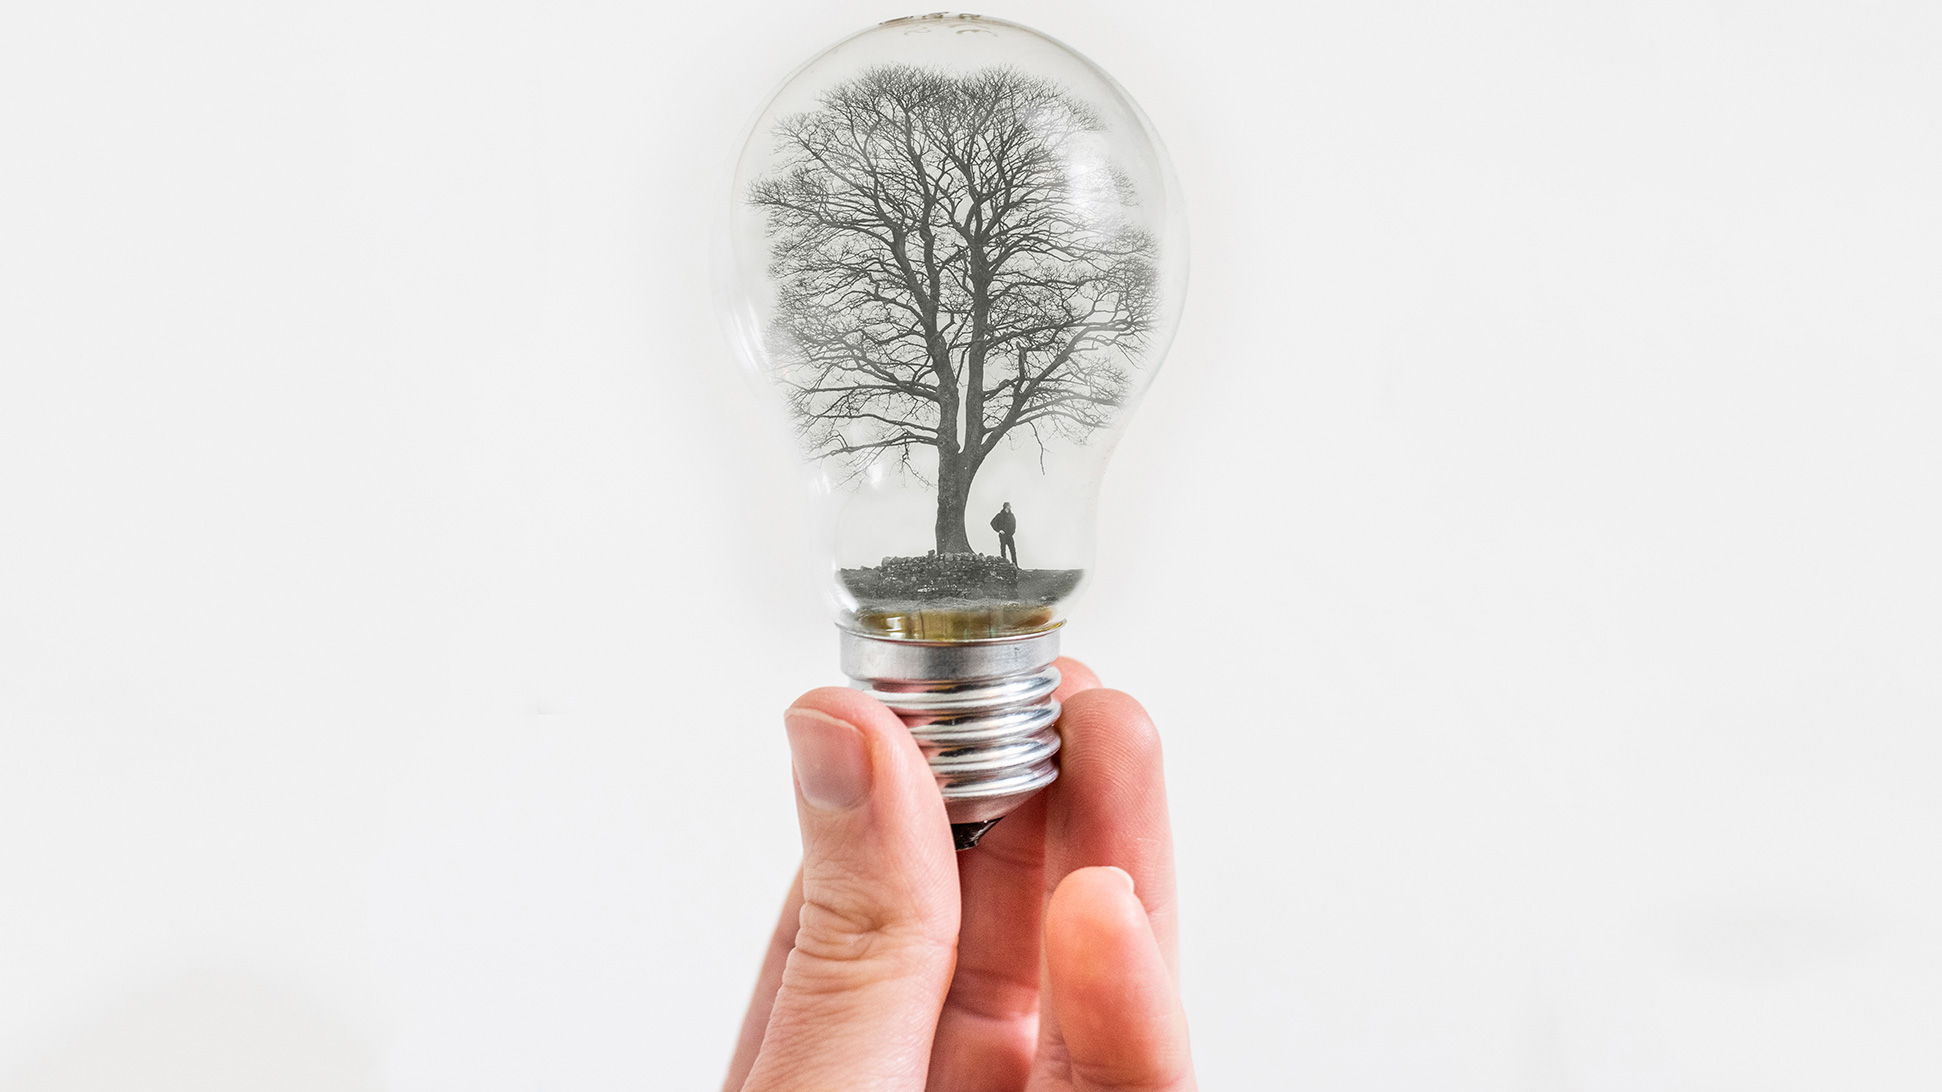
Photoshop was designed for exactly this type of creative exercise – and producing a surreal effect like this is a fun thing to do. Although it requires a bit of patience and decent observational skills, if you work in separate layers you’ll find the job far easier.
Working across layers enables you to return to different parts of the image and keep tweaking them until everything is matching perfectly.
• Read more: Photoshop tips
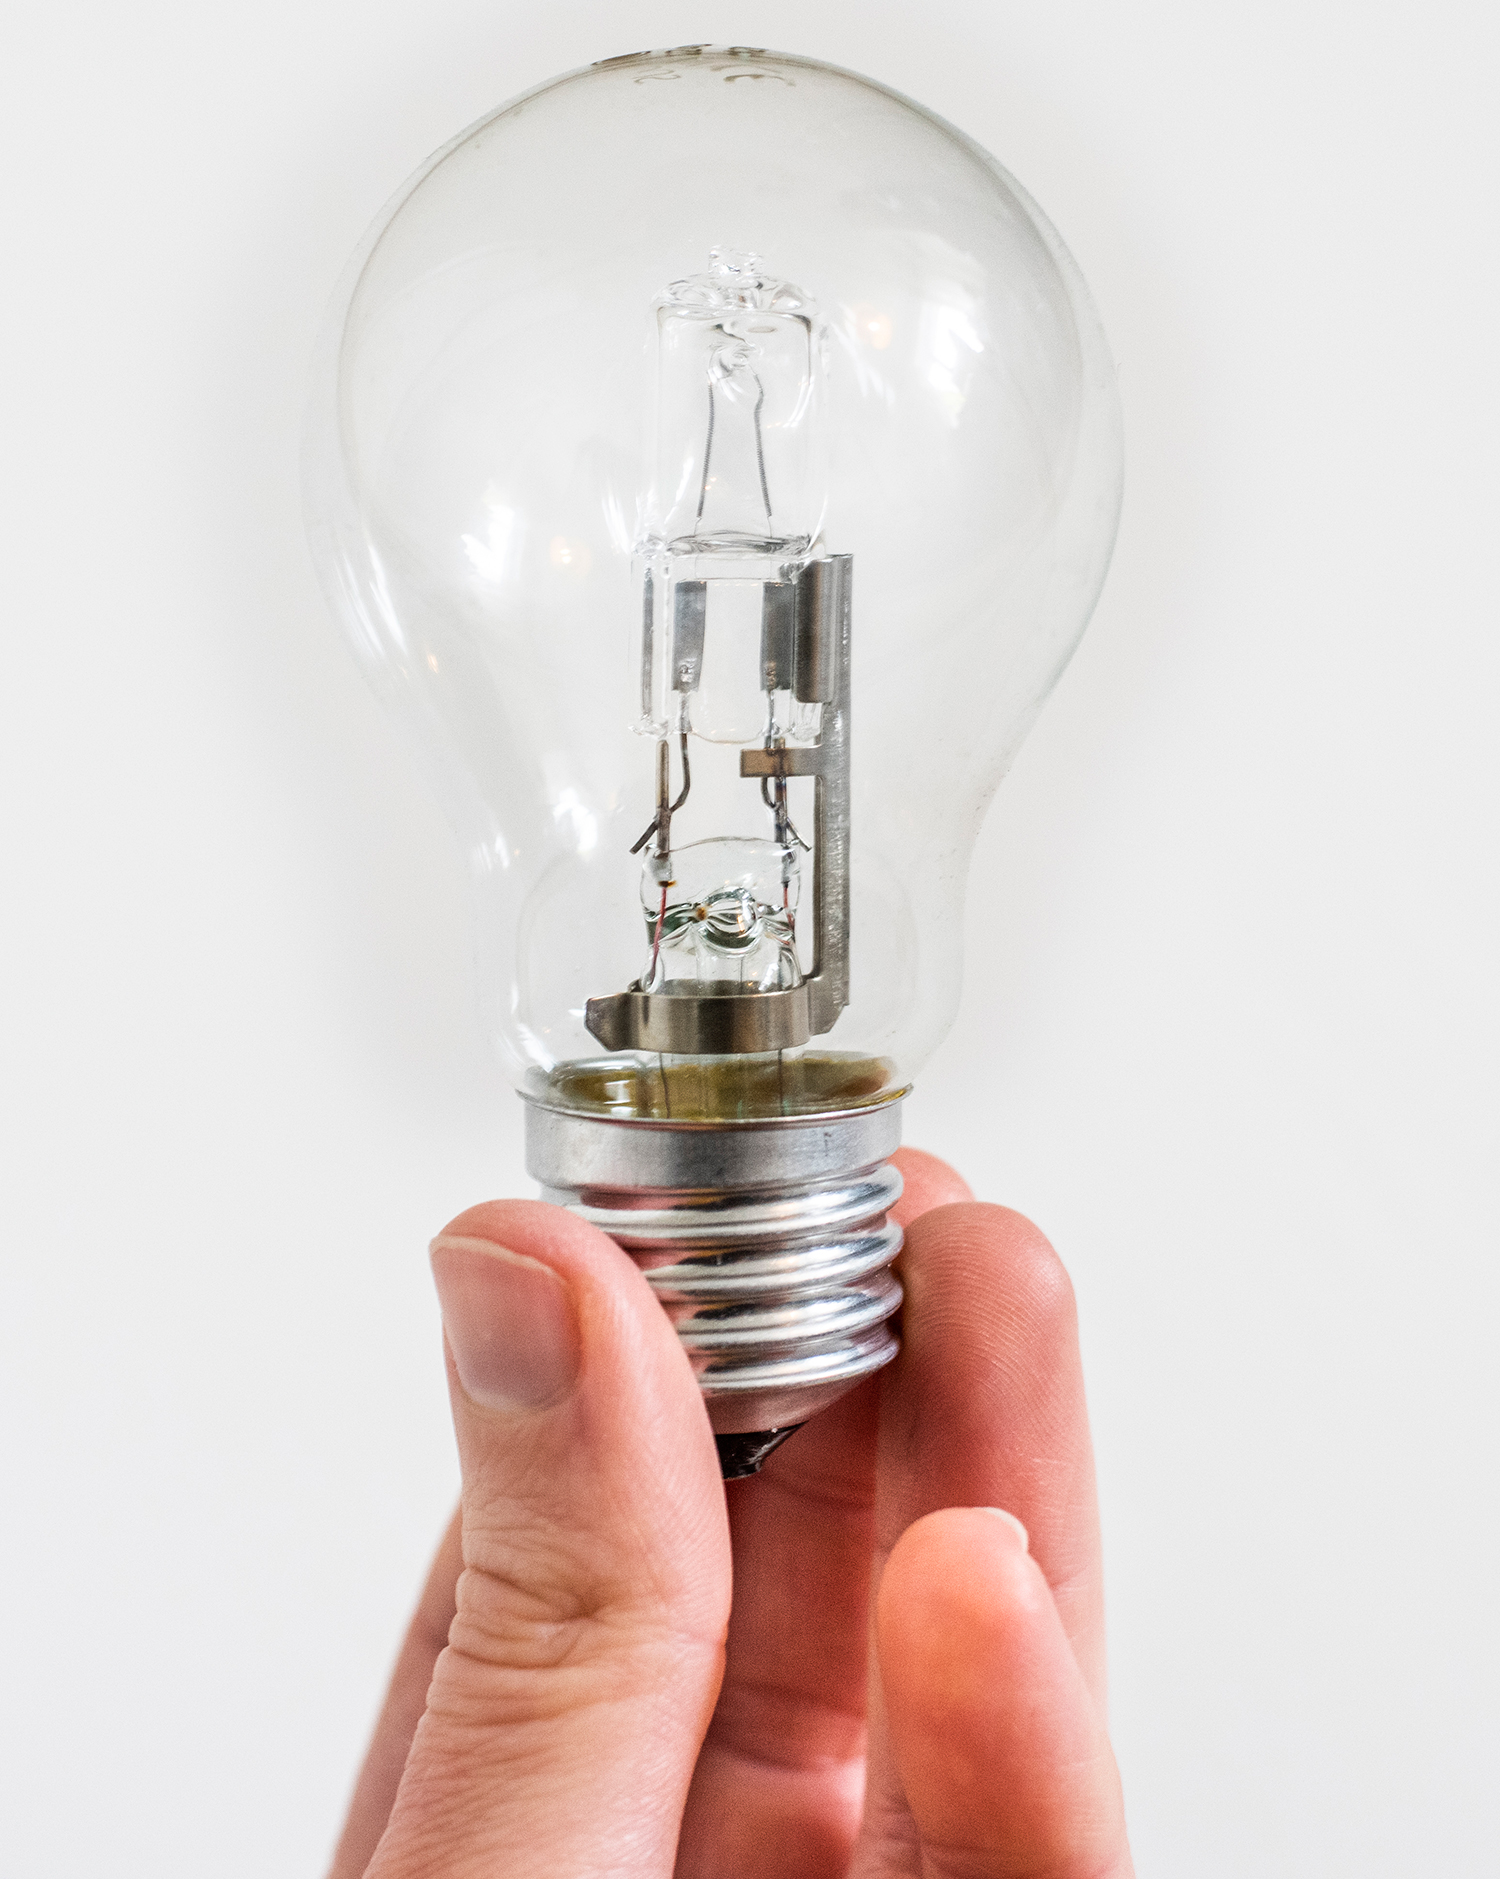
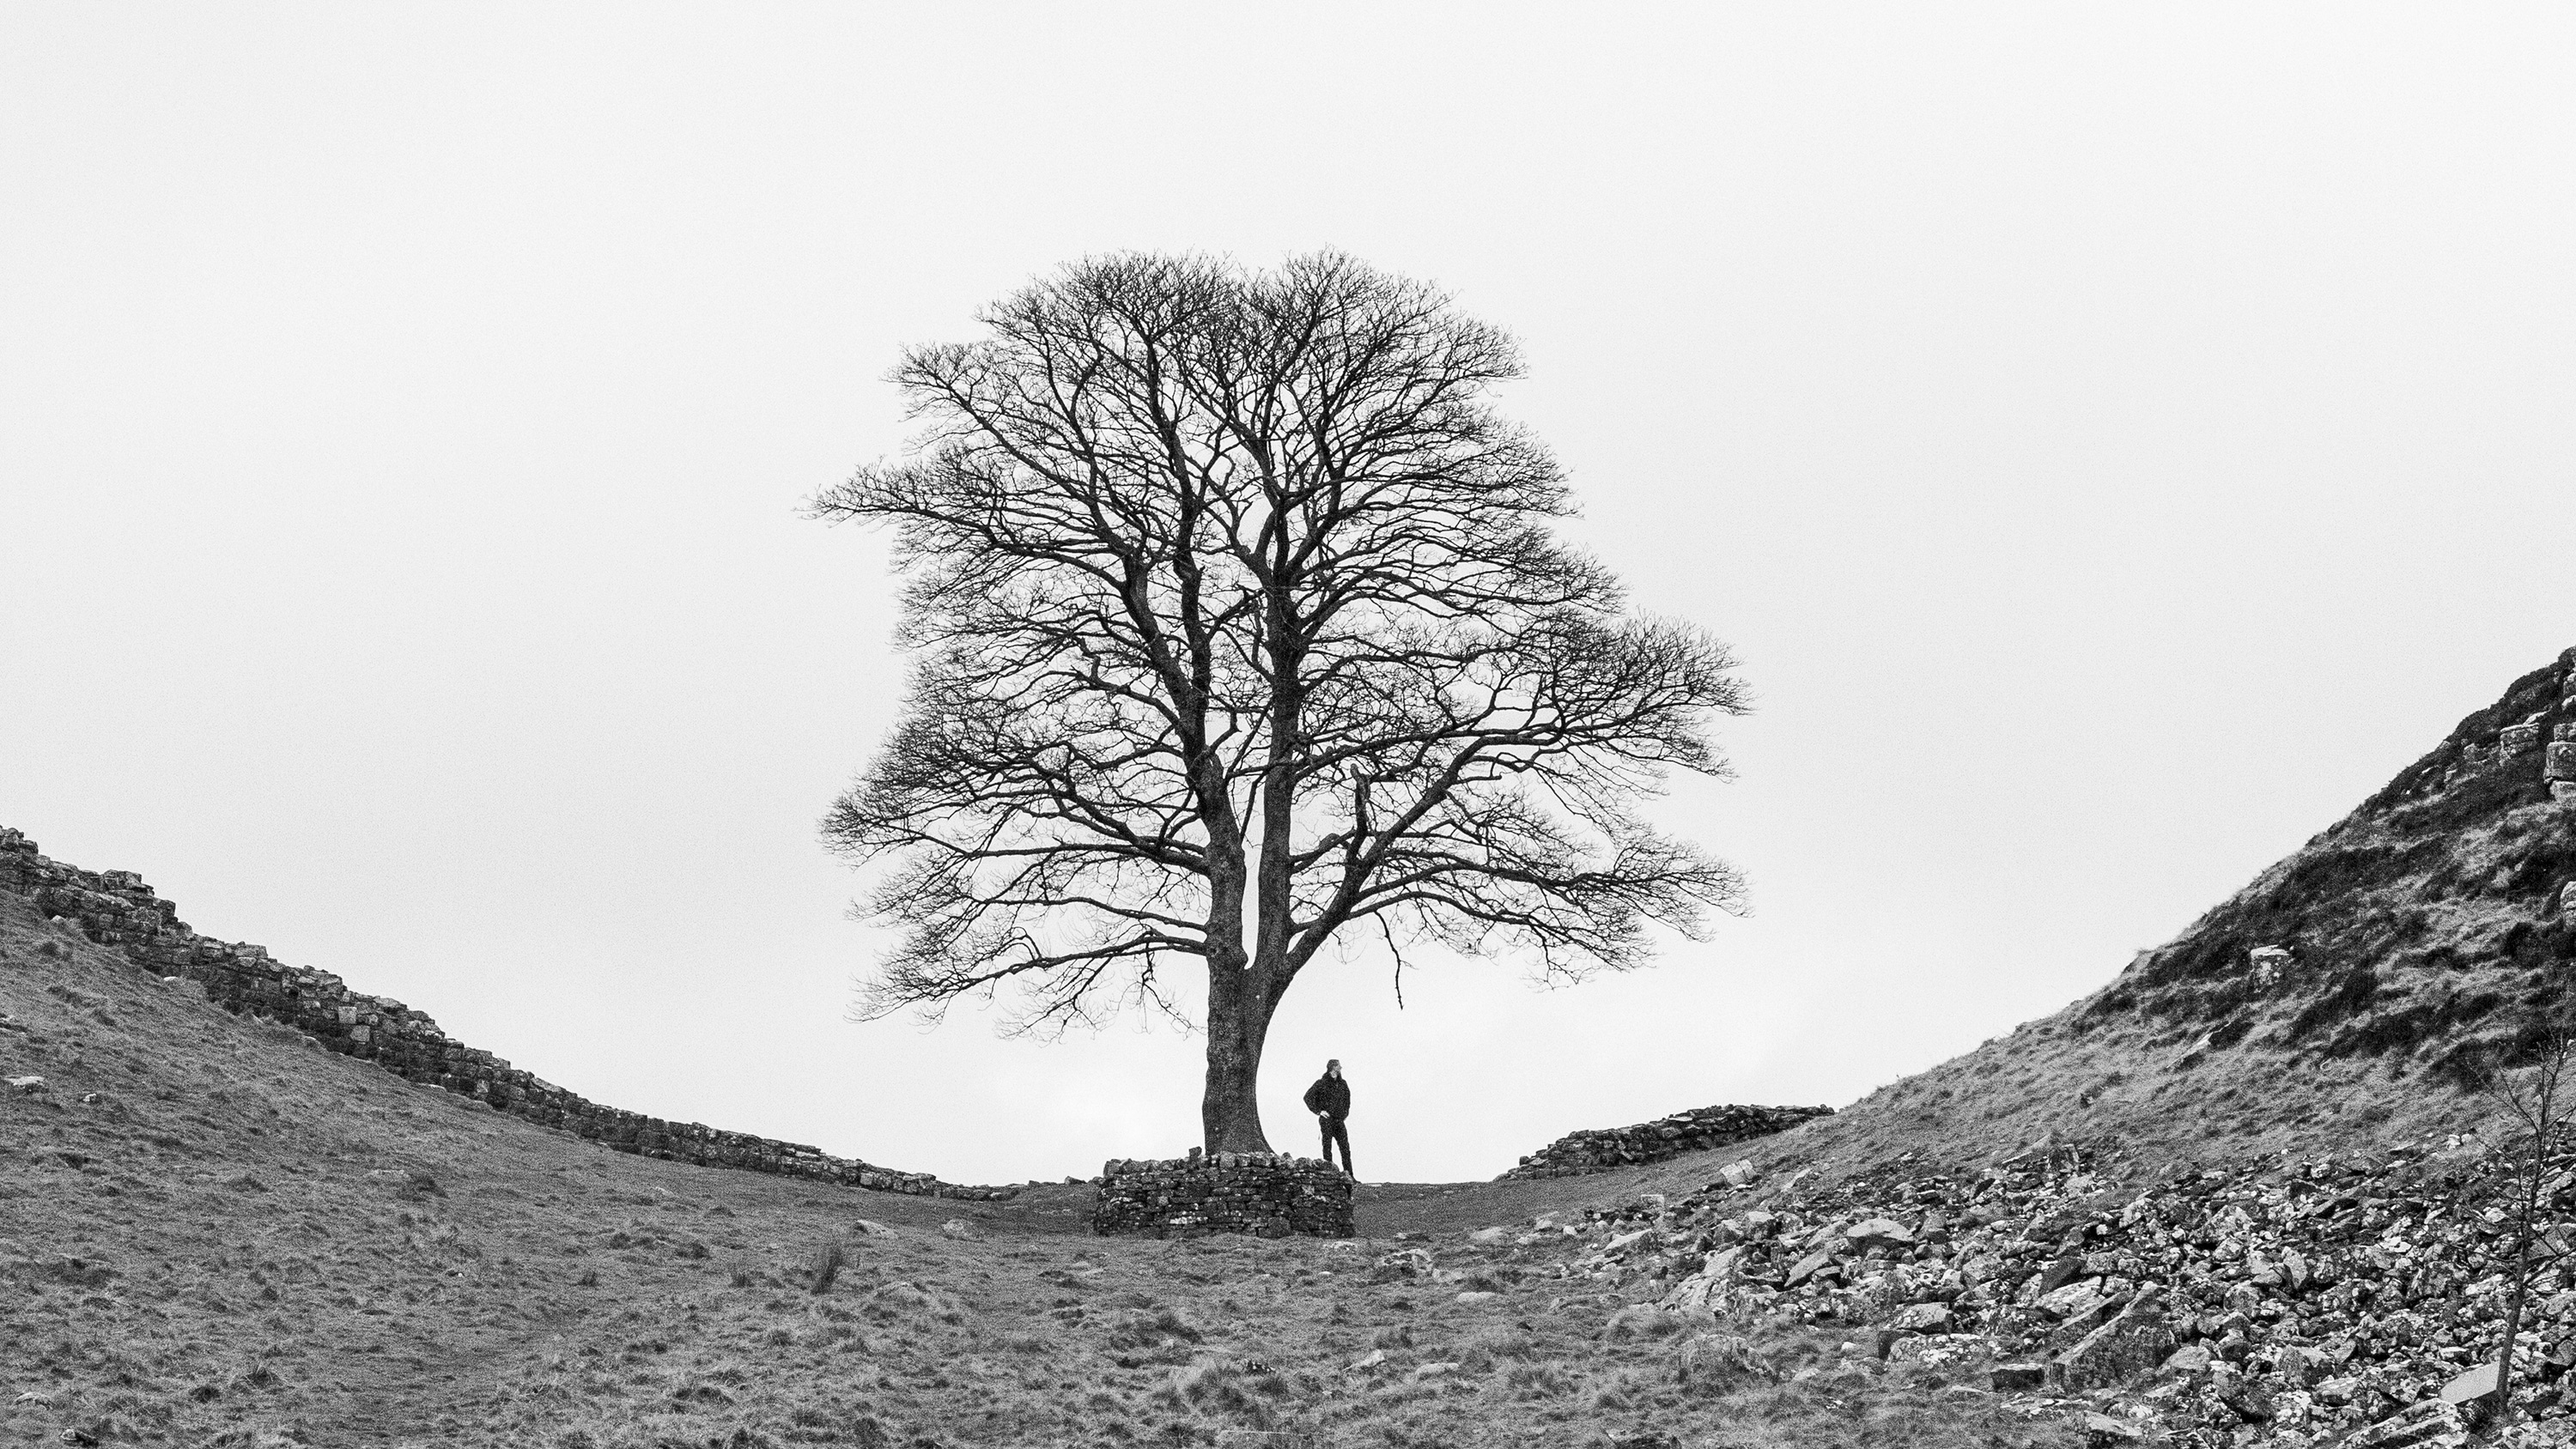
First off, you need to have some images to work with – and these need to have the same color background. In our example, we have used an image with a white background and have taken a snap of a light bulb that was also shot against white.
This will enable us to blend the images together more easily and quickly in Photoshop. Here's how it's done…
Step by step: Create a surreal scene in Photoshop
01. Clone
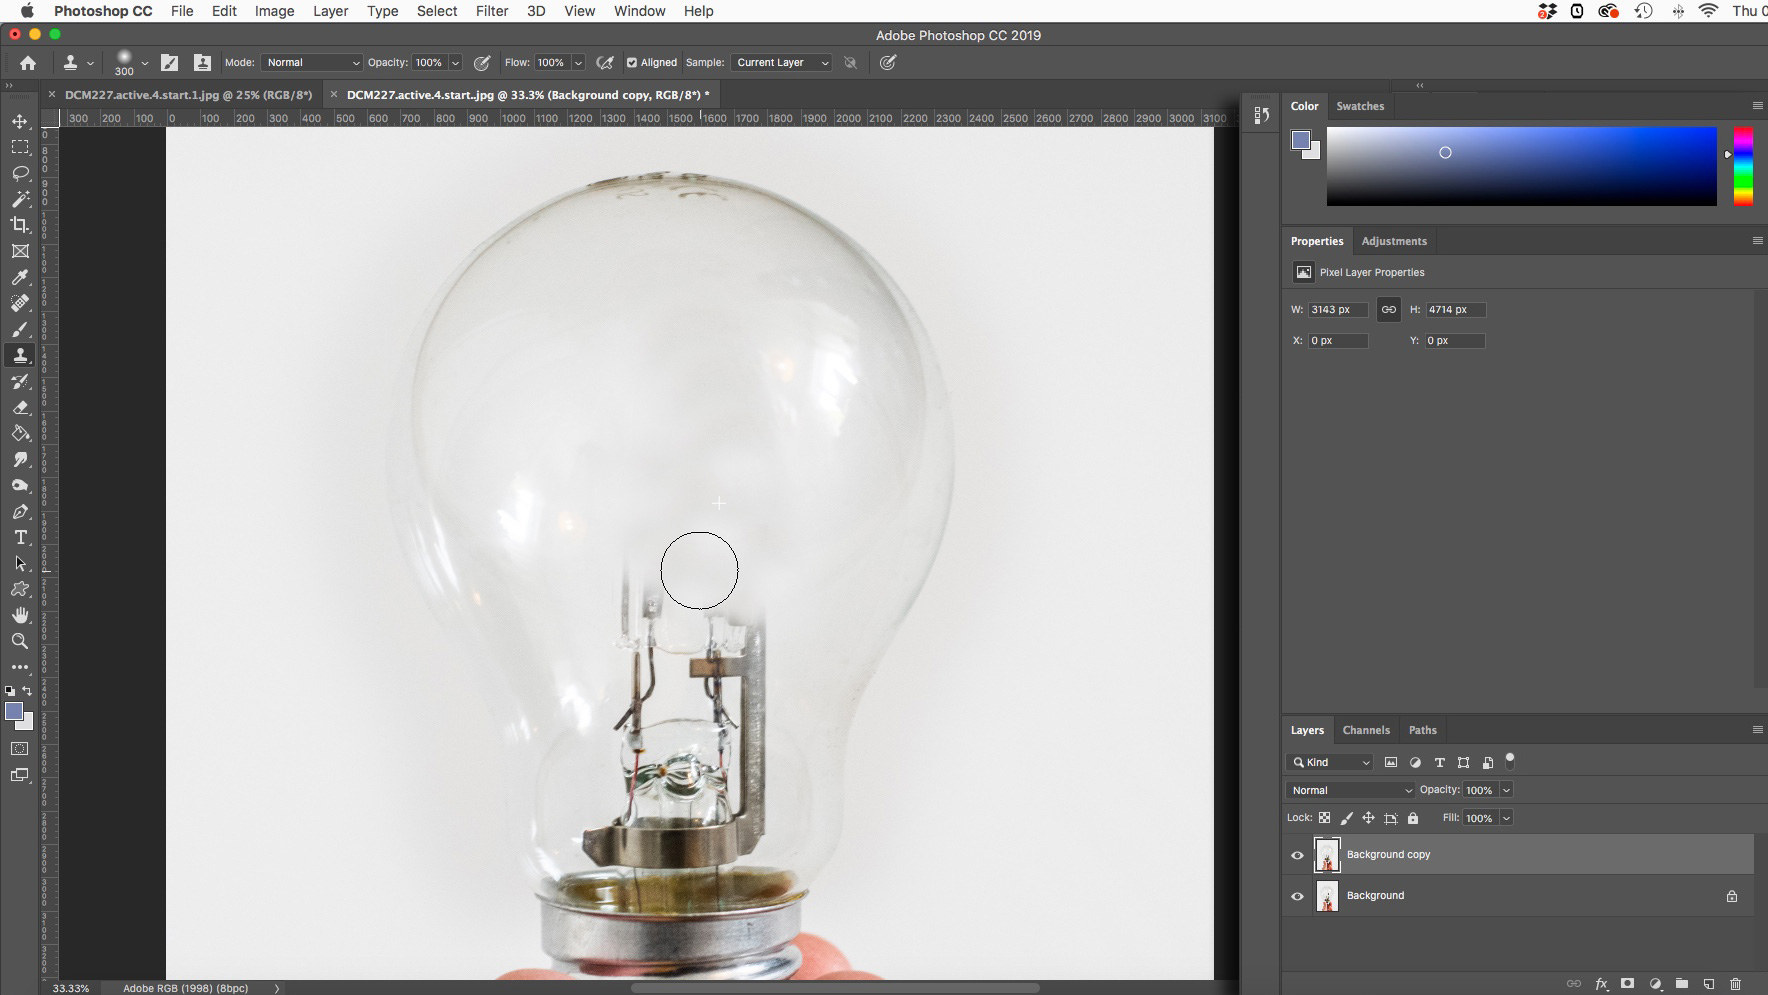
Open your light bulb image and duplicate the background layer. Go to the Clone Tool and remove the inner part of the light bulb. To do this, hold Alt/Option and click to select the clone point, and brush over the unwanted part of the light bulb. While you’re doing this, keep as many of the reflections intact within the bulb as you can, as you’ll need these later.
The best camera deals, reviews, product advice, and unmissable photography news, direct to your inbox!
02. Add the tree
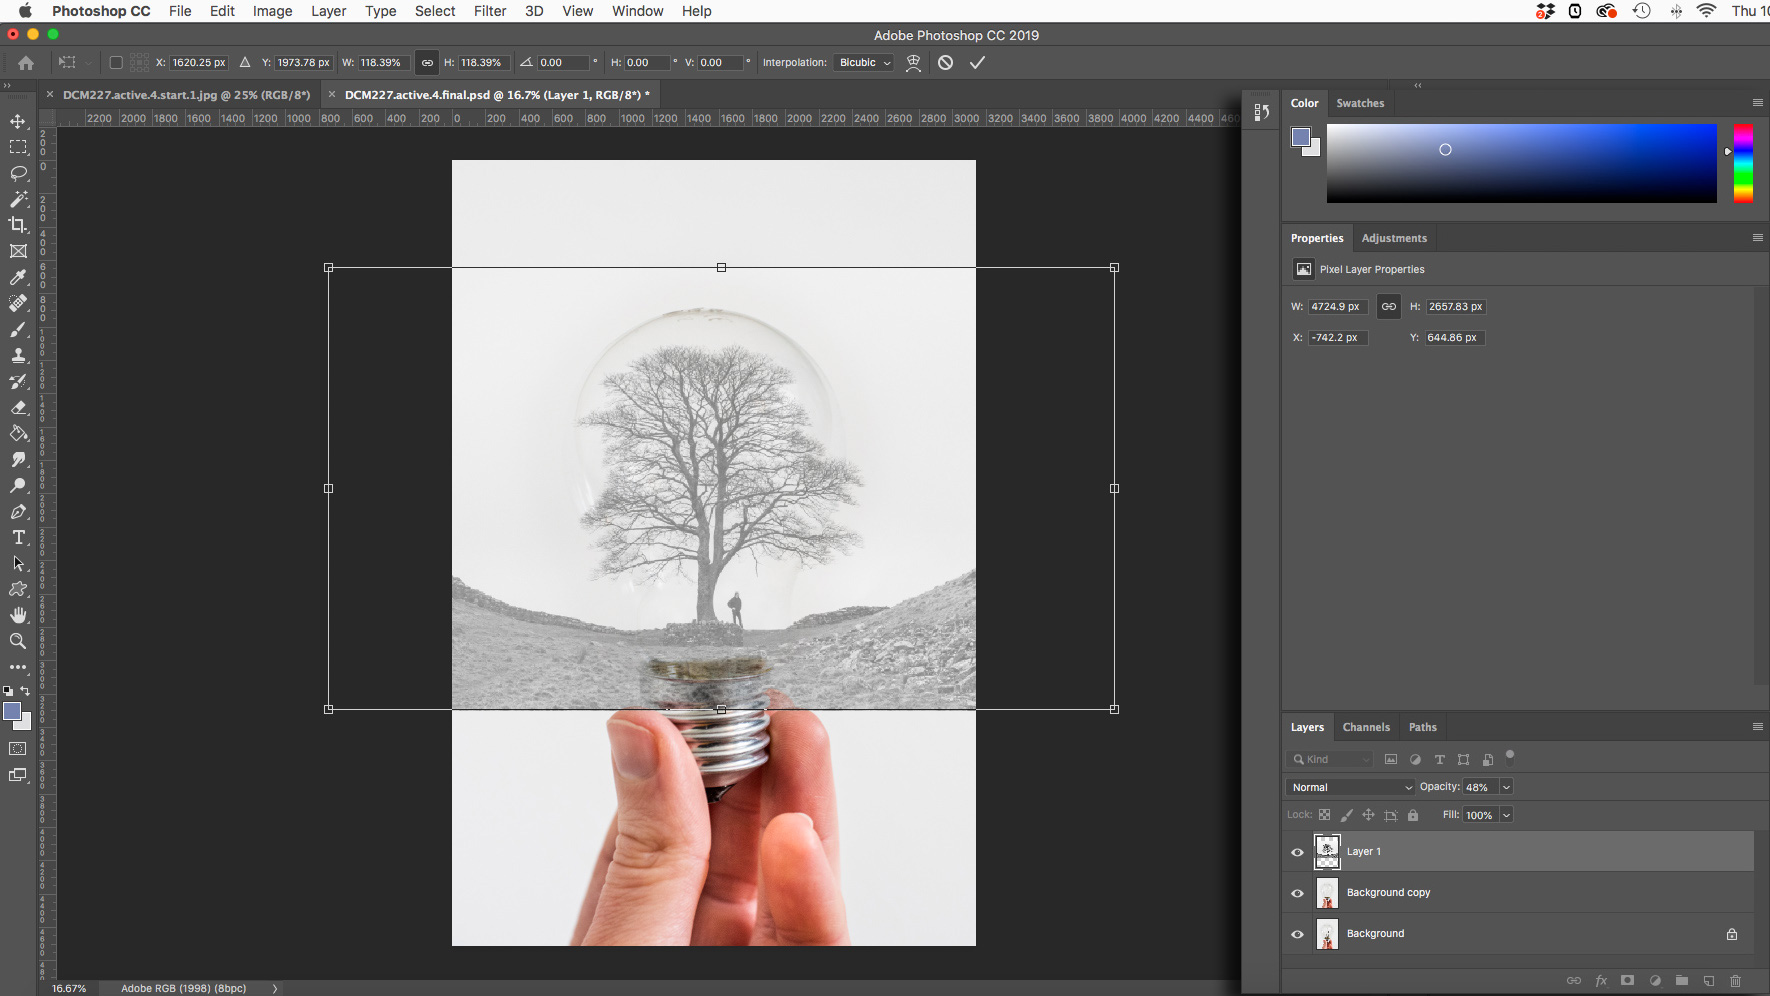
Import your other starting image of the tree over into the light bulb image as a new layer. Reduce the Opacity of the tree layer to 50% and place into position. You may need to adjust the scale of the image (Ctrl/Cmd + T). Press Return once you’re satisfied with the scale and position.
03. Layer Mask
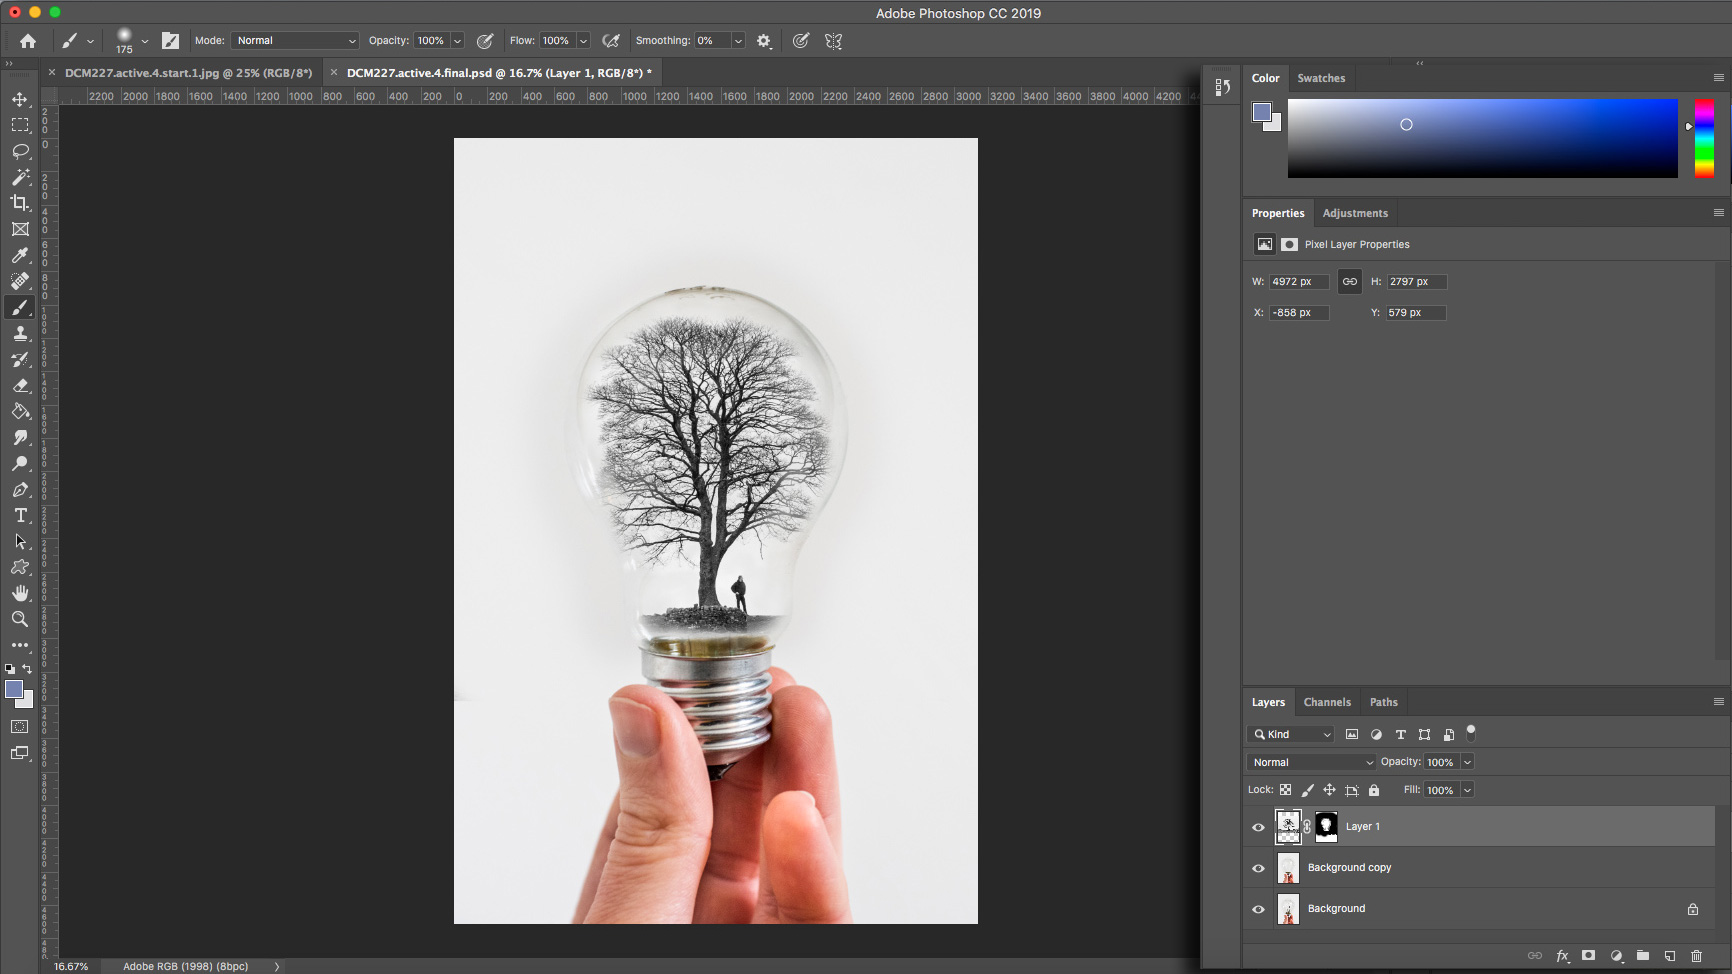
Add a layer mask to the tree layer image. Using a hard black brush on the mask, paint away any parts of the tree image outside the light bulb. Once you have gone carefully around the outside, you can increase the Opacity of the tree layer back to 100% and fine-tune your selection. Next, get a soft brush at 50% Opacity, and paint around the edges of the light bulb to soften.
04. Curves and color
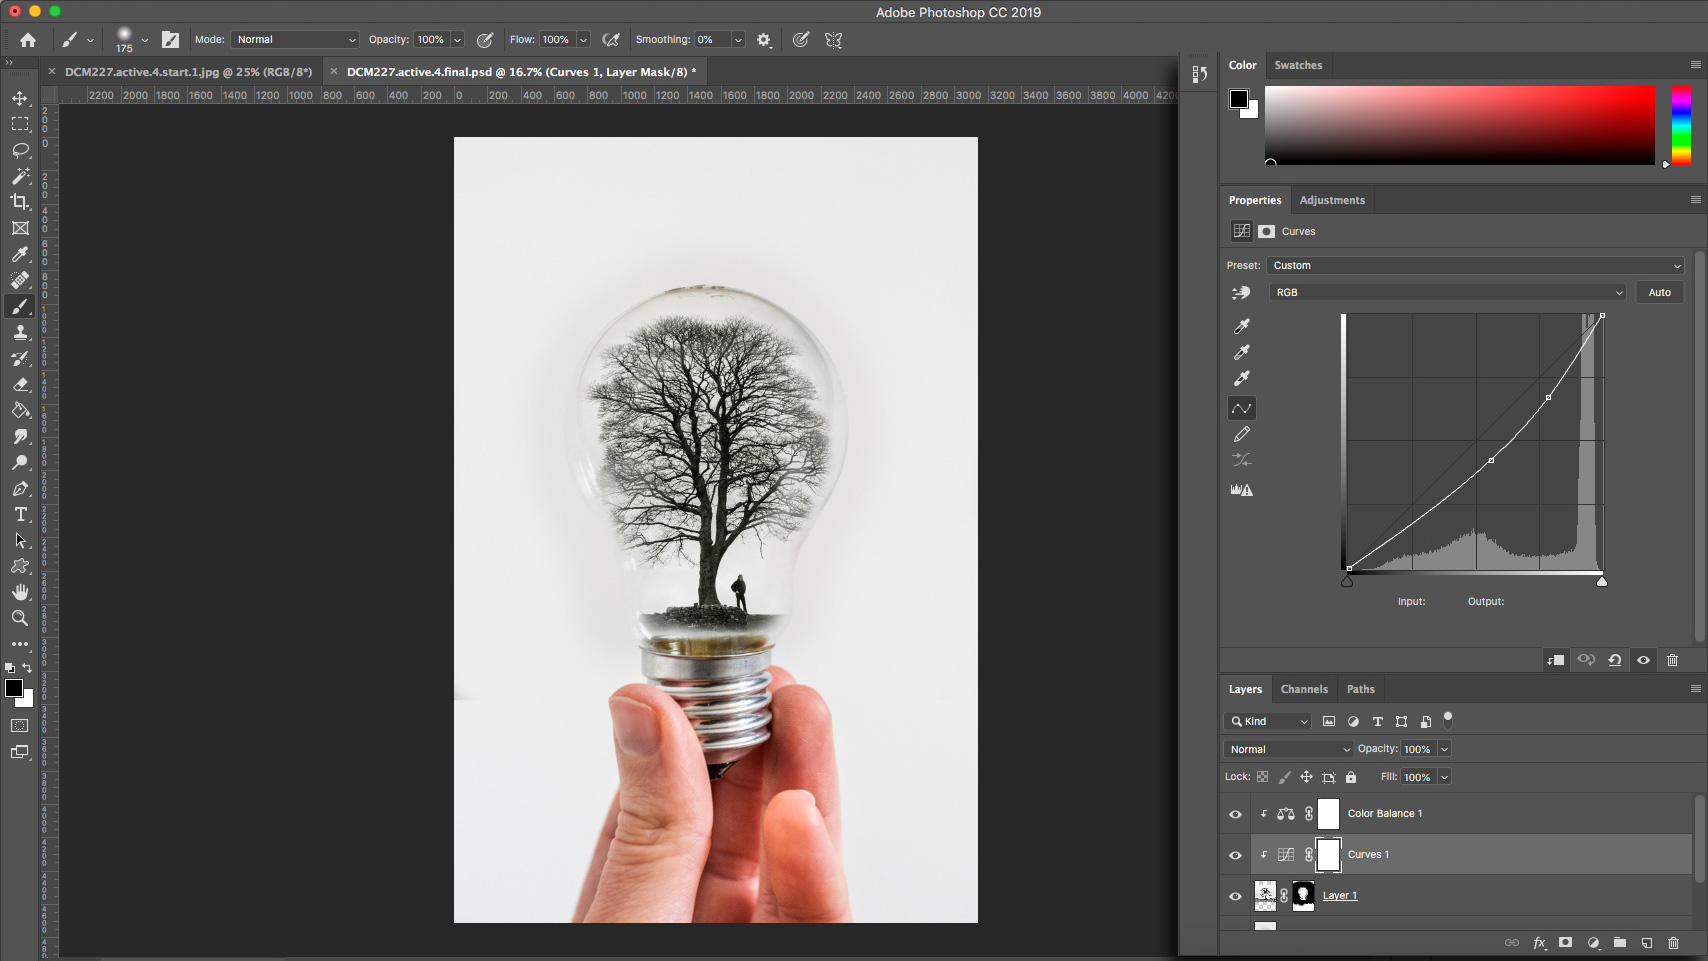
Click the Adjustment Layer icon in the Layers Panel Curves, then click it again and select Color Balance. Right-click on each of these new Adjustment Layers and select Create Clipping Mask. Any adjustments you make to these layers will now only be applied to the layer below. You can return to tweak the settings on these layers after the next stage.
05. Blending Mode
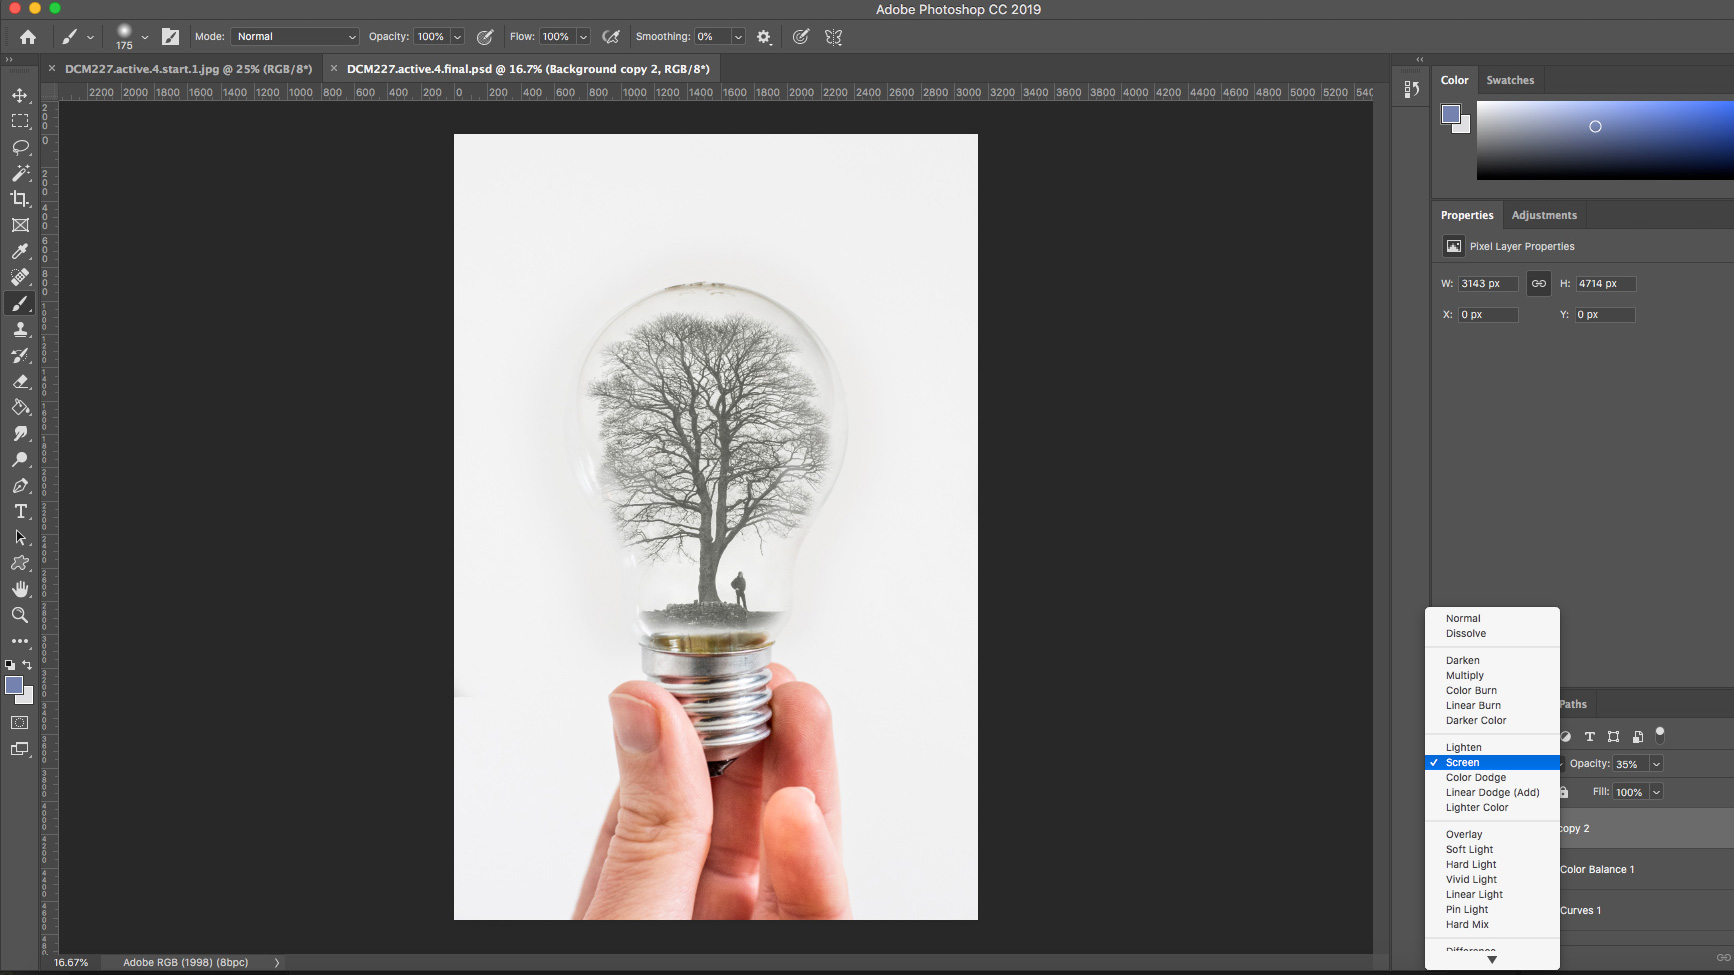
Duplicate your cloned light bulb image at the bottom of the layer stack and drag it to the top. Change this layer’s Blending Mode to Screen and Opacity to 35%. This creates the impression that the image is inside the light bulb. At this stage you can return to your Curves Adjustment Layer to darken the image down; use the Color Balance Adjustment Layer to add a hint of yellow to the highlights.
06. Fake reflection
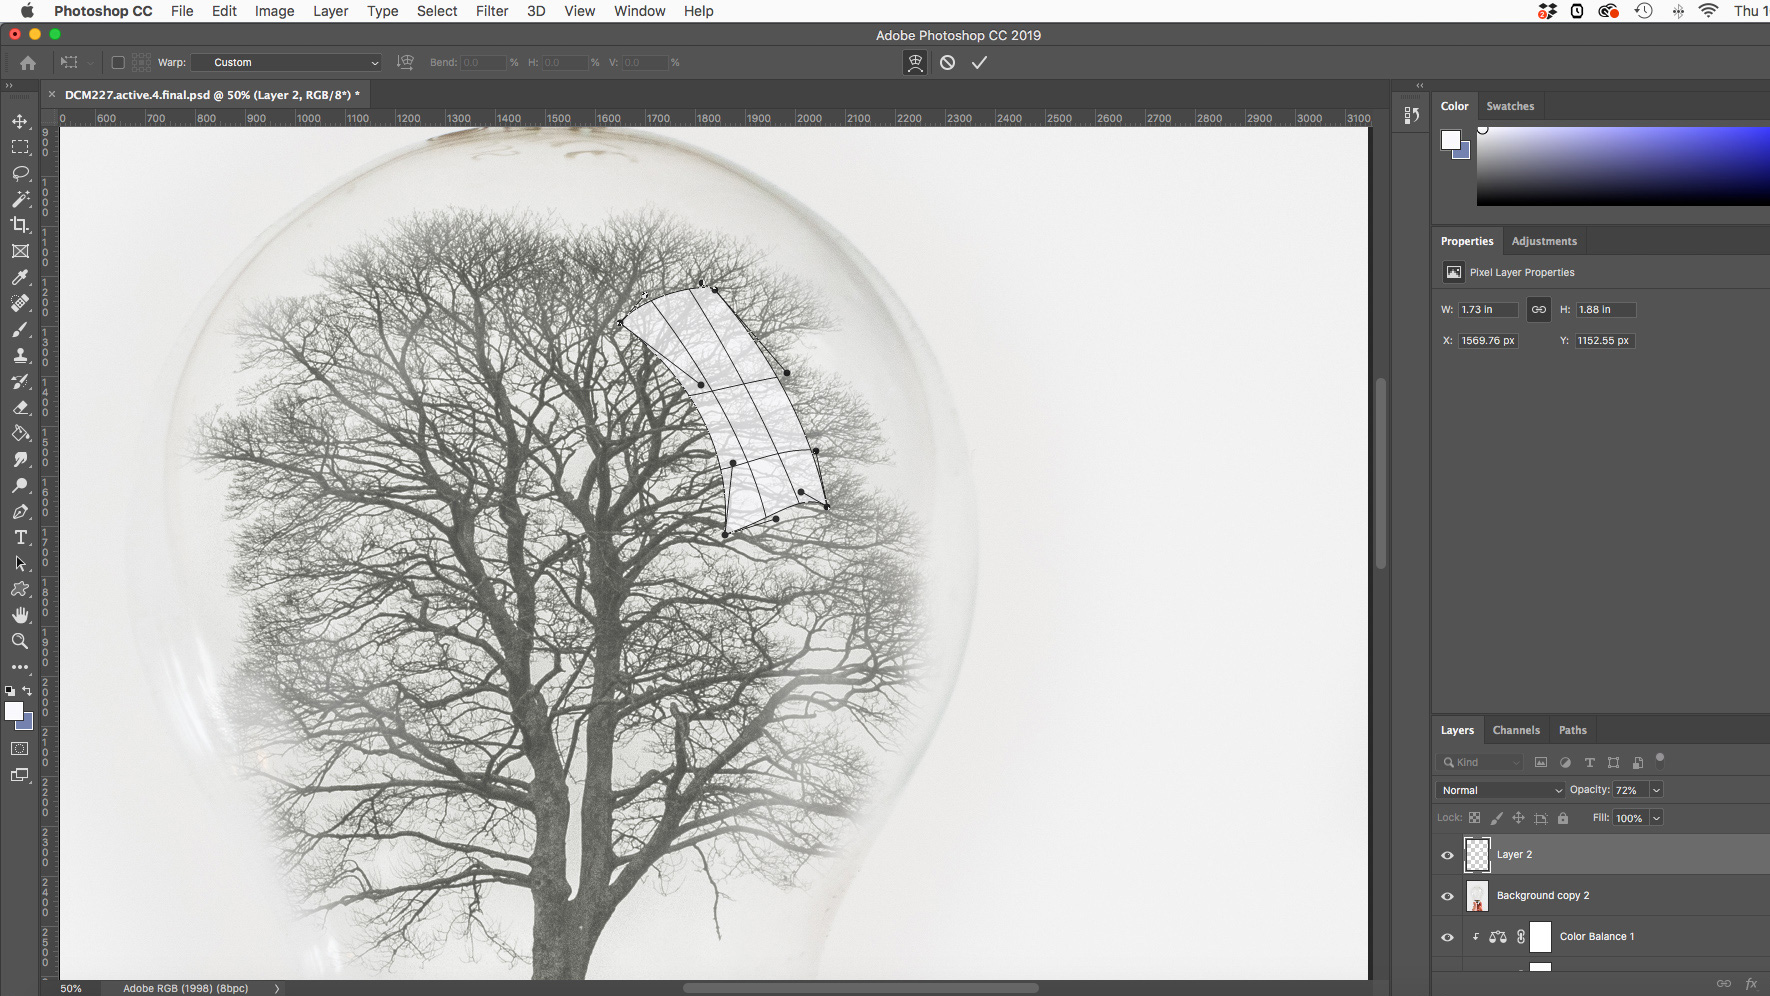
Finally, let’s add a fake reflection to the top of the light bulb. Add a new layer and make a small rectangle shape using the Rectangle Marquee Tool. Paint this in with a white brush, then deselect (Ctrl/ Cmd + D) the rectangle. Change the Opacity of the layer to 70%.
To distort the shape, go to Edit > Transform > Warp, then push and pull the points into a curved sausage shape. Blend the edges of the fake light strip by adding a Layer Mask and running a black brush at a reduced Opacity around the edge.
This article was first published in Digital Camera magazine.
Subscribe now
Every issue of Digital Camera magazine is crammed with tips, techniques, pro advice, reviews, news and inspiration to help you to hone your creative skills. To get a copy delivered straight to your door every month, subscribe at our online shop.
Alternatively, you could choose from our range of digital options, including:
• Apple app (for iPad or iPhone)
• Zinio app (multi-platform app for desktop or smartphone)
• Google Play (for Android devices)
• Readly (digital magazine subscription service )
Read more:
Best photo-editing software
Best free photo-editor
Best for photo editing laptops
Best desktop computer for photo editing
Claire is a professional photographer and writer, and lives by the the sea with her two young children, husband and cat in the southwest of the UK.
After graduating from The Bournemouth Arts Institute with a first-class degree in photography, Claire worked for a number of years in the publishing industry, including as Technique Editor for Digital Camera magazine.
She loves anything and everything to do with photography, from creating magazine articles to photographing ballerinas on the beach and newborn babies (but not at the same time). She mainly shoots with digital DSLRs, but does dust off her beloved Hasselblad medium-format film camera once in a while…
