Digital Camera World Verdict
The JOBY Wavo PRO DS does a fine job of enabling a DSLR or mirrorless camera user to capture better quality audio thanks to a tightly focused polar pattern, foam wind shield and shock mount (to reduce handling noise). The option to add an audio safety track is reassuring as it helps reduce the chance of recording sound levels that are distorted. However, it's only a little cheaper than the regular Wavo Pro.
Pros
- +
Safe channel captures a distortion-free track
- +
Long battery life
- +
Wind shield keeps noise at bay
- +
Super cardiod pattern reduces background noise
Cons
- -
No effective way to monitor sound levels
- -
Small saving against Wavo Pro
Why you can trust Digital Camera World
The Joby Wavo Pro DS tackles the other half of the video equation – audio. When shooting with a DSLR or mirrorless camera you’ll capture high quality 4K HD footage. However it’s unlikely that the accompanying audio will be comparably excellent . The sound captured by your camera’s built-in mic is likely to sound flat rather than full bodied. It may also suffer from handling noise as you adjust various camera knobs and dials.
Unless you get the camera close to the subject their sound levels will probably be too low to produce a strong clean track and their voice may even be obscured by wind noise buffeting the built-in mic. You may also record distracting ambient sound from the sides and rear of your camera.
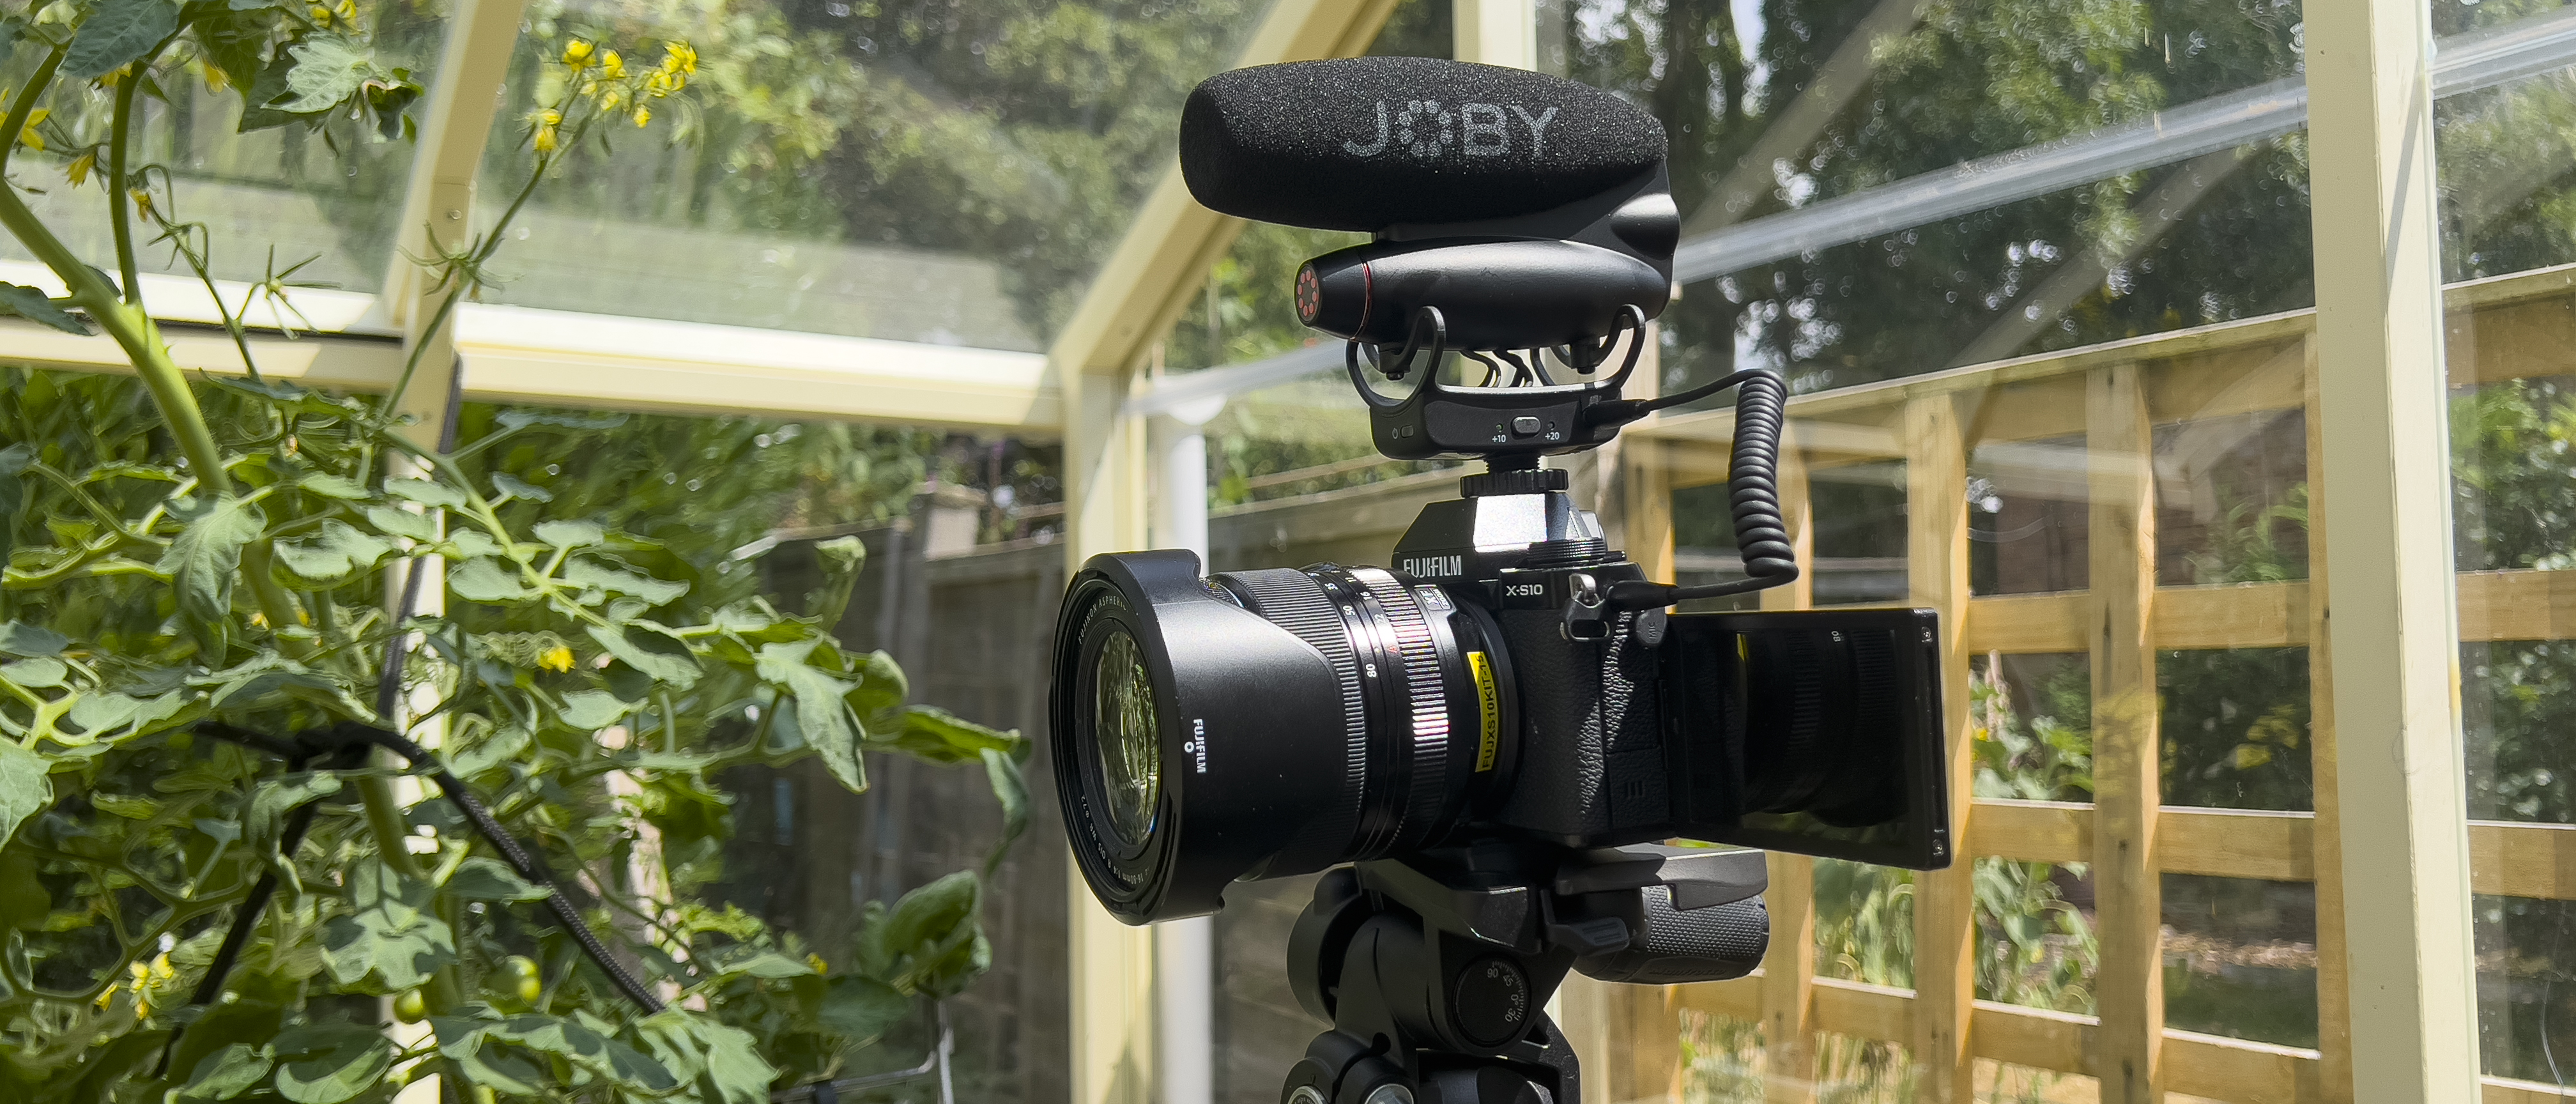
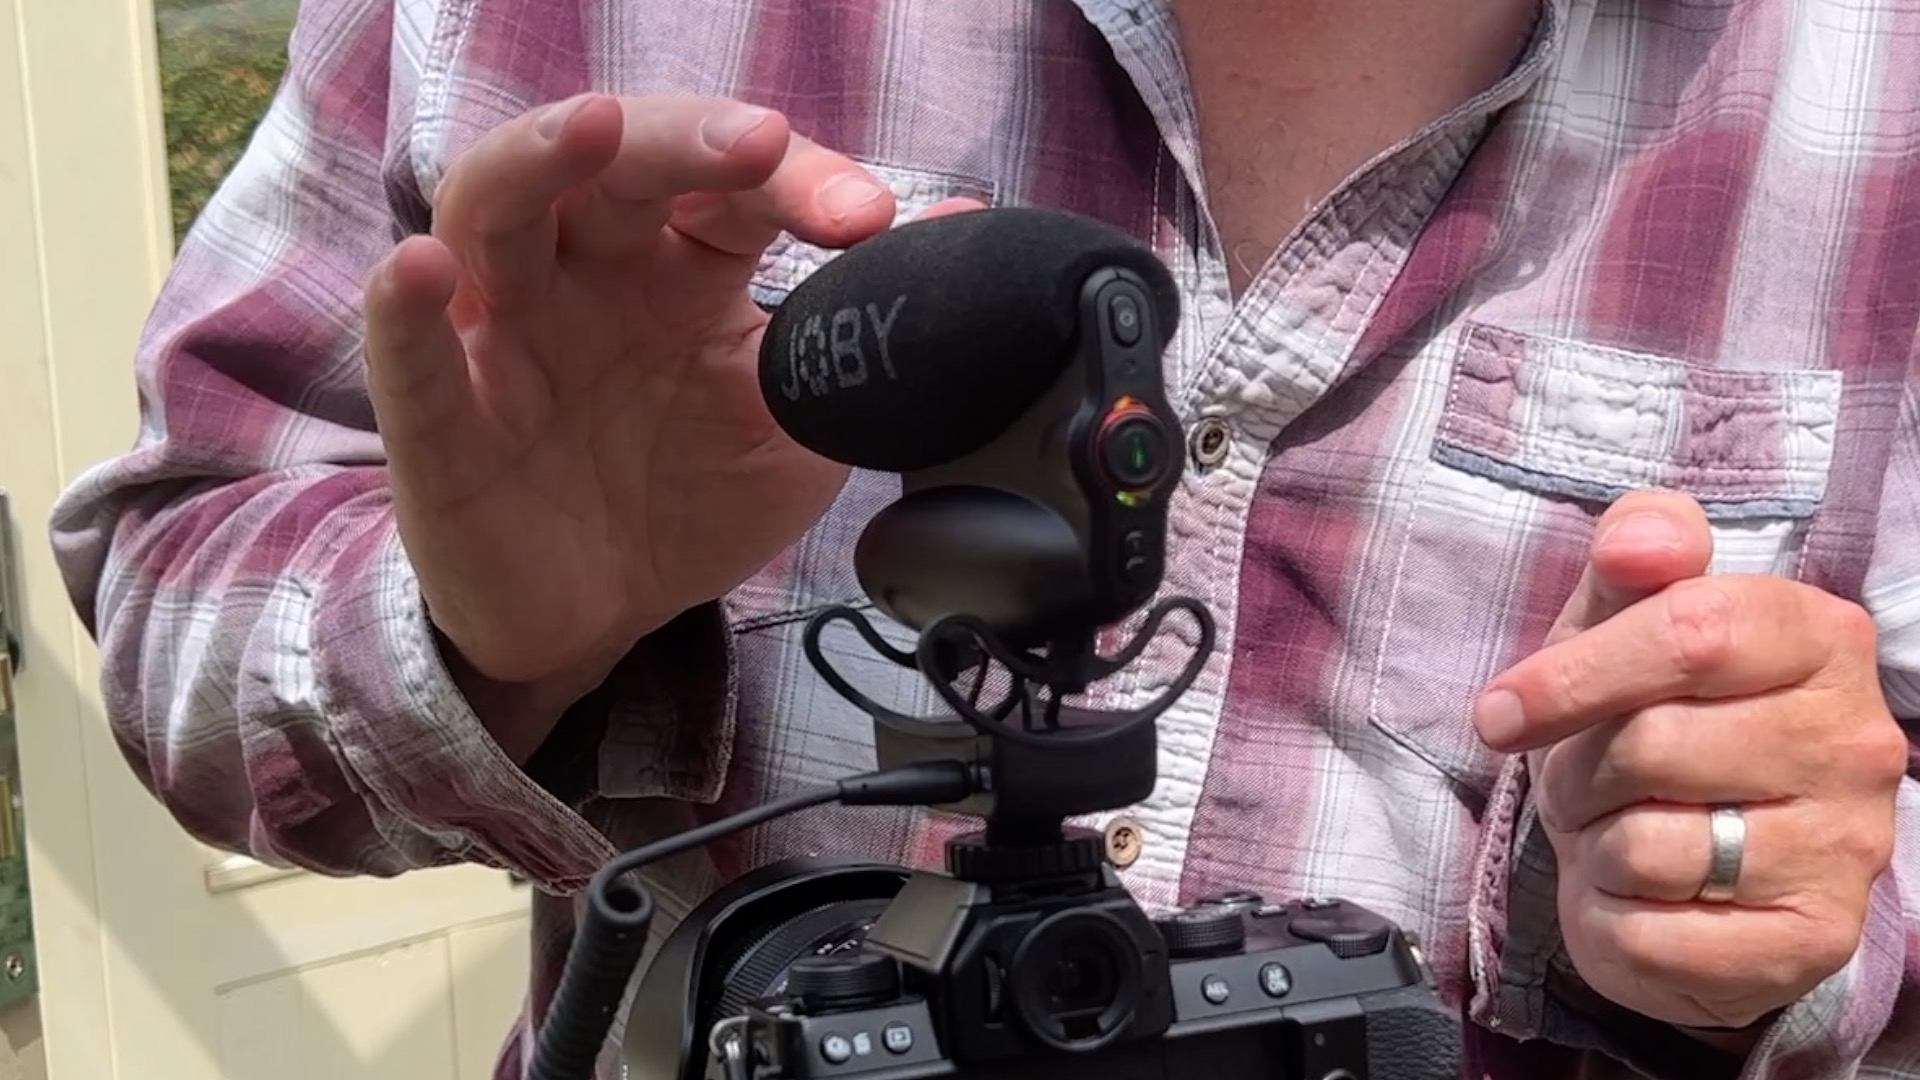
Fortunately, the JOBY Wavo PRO DS is available to overcome these common sound problems and help your audio production values match those of your footage. This on-camera shotgun mic can be attached via the classic shoe mount found on many DSLR and mirrorless cameras. By plugging its supplied 3.5mm jack cable into the camera’s mic input socket you can instantly improve the audio quality of your recordings.
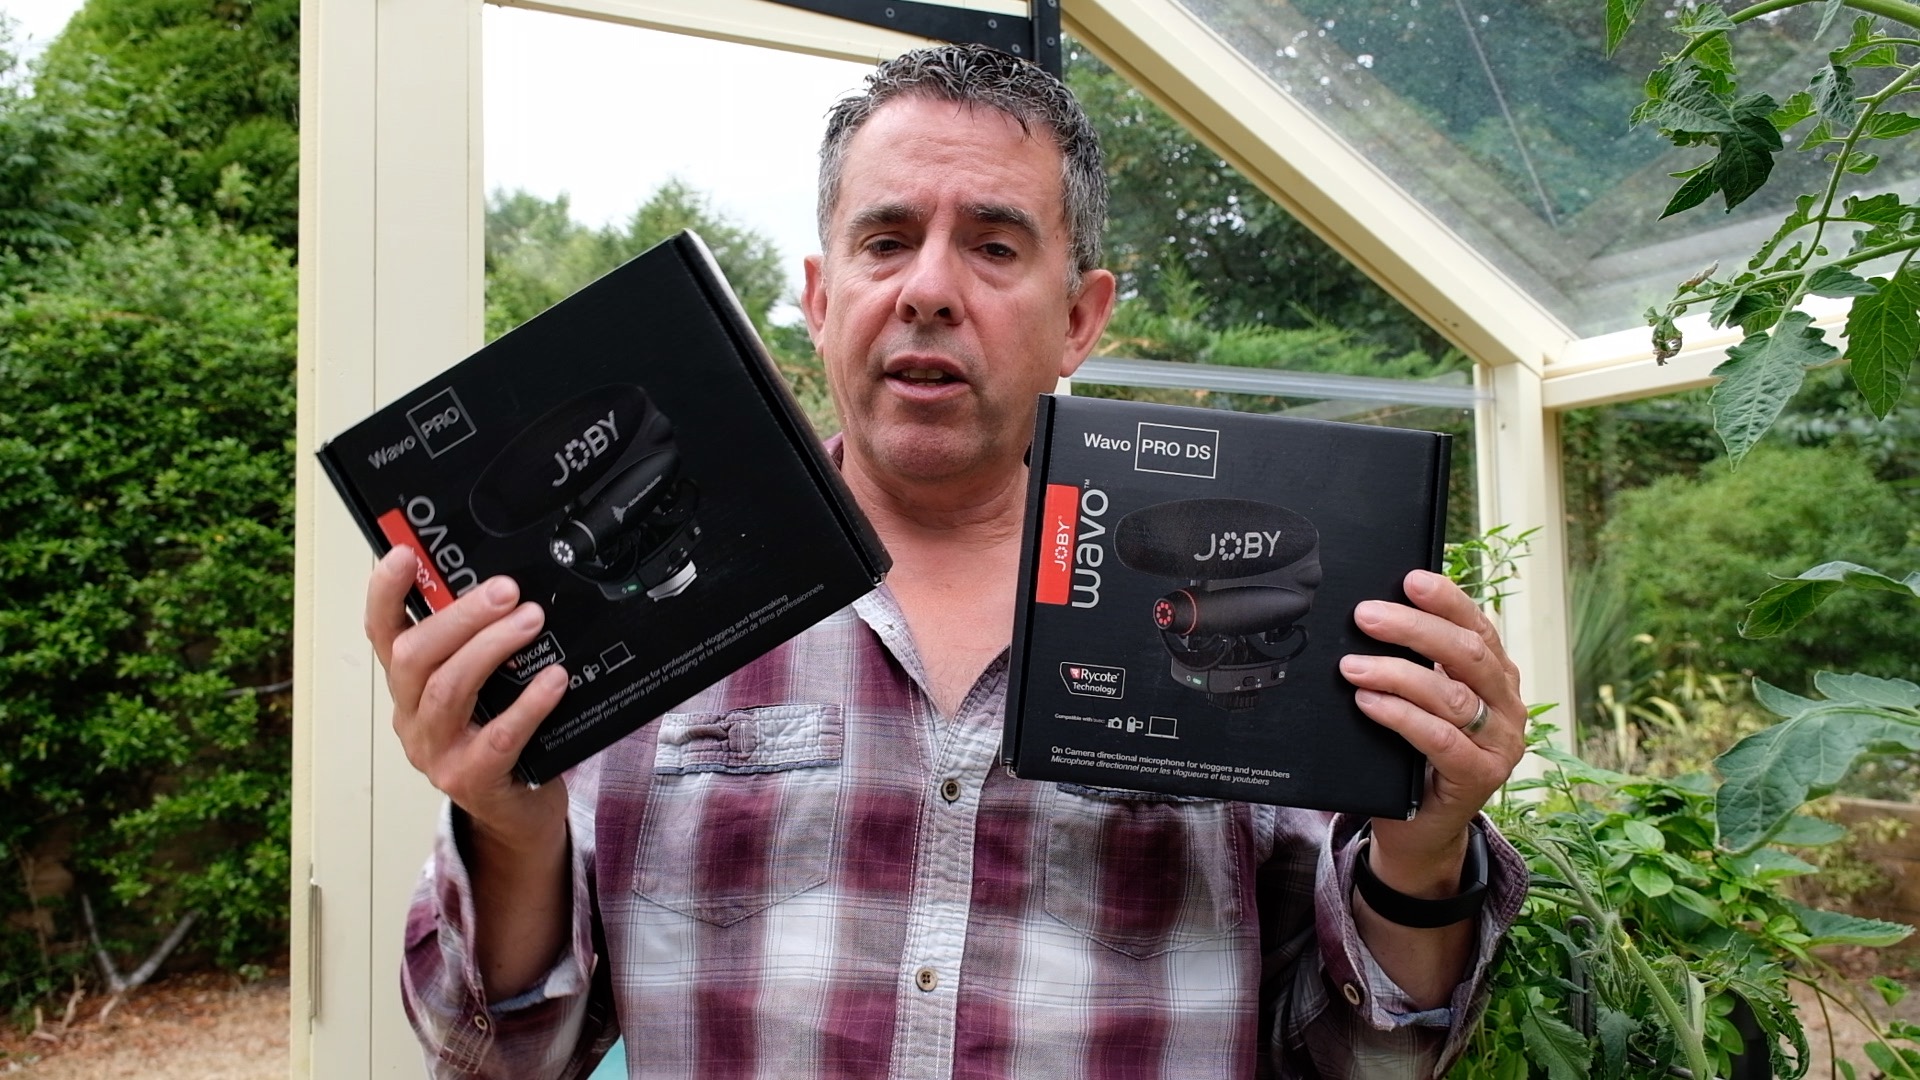
The JOBY Wavo PRO DS has a slightly more expensive sibling – the JOBY Wavo PRO. The Wavo PRO boasts a few extra features such as ANR (Active Noise Reduction). This helps reduce the rumble of handling noise. The Wavo PRO also has an additional mic input socket which is useful if you want to record two people – one via the shotgun mic and another via a lavalier mic such as the JOBY Wavo Lav PRO. The more expensive Wavo PRO is also bluetooth enabled, so you can control its sound recording levels via the JOBY Wavo smartphone app.
The cheaper JOBY Wavo PRO DS lacks an effective way to control sound levels so you need to rely on using your camera’s internal level controls to capture healthy (and undistorted) sound. The Wavo PRO is only £30 more expensive than the Wavo PRO DS, so it might be worth paying a little more for the Wavo PRO’s extra hardware and software features.
Specifications
Capsule type: Condenser Electret
Polar pattern: Super cardiod
Frequency response: 20Hz – 20KHz (+/-3dB)
Signal to noise ratio: 96 - 100 dBA
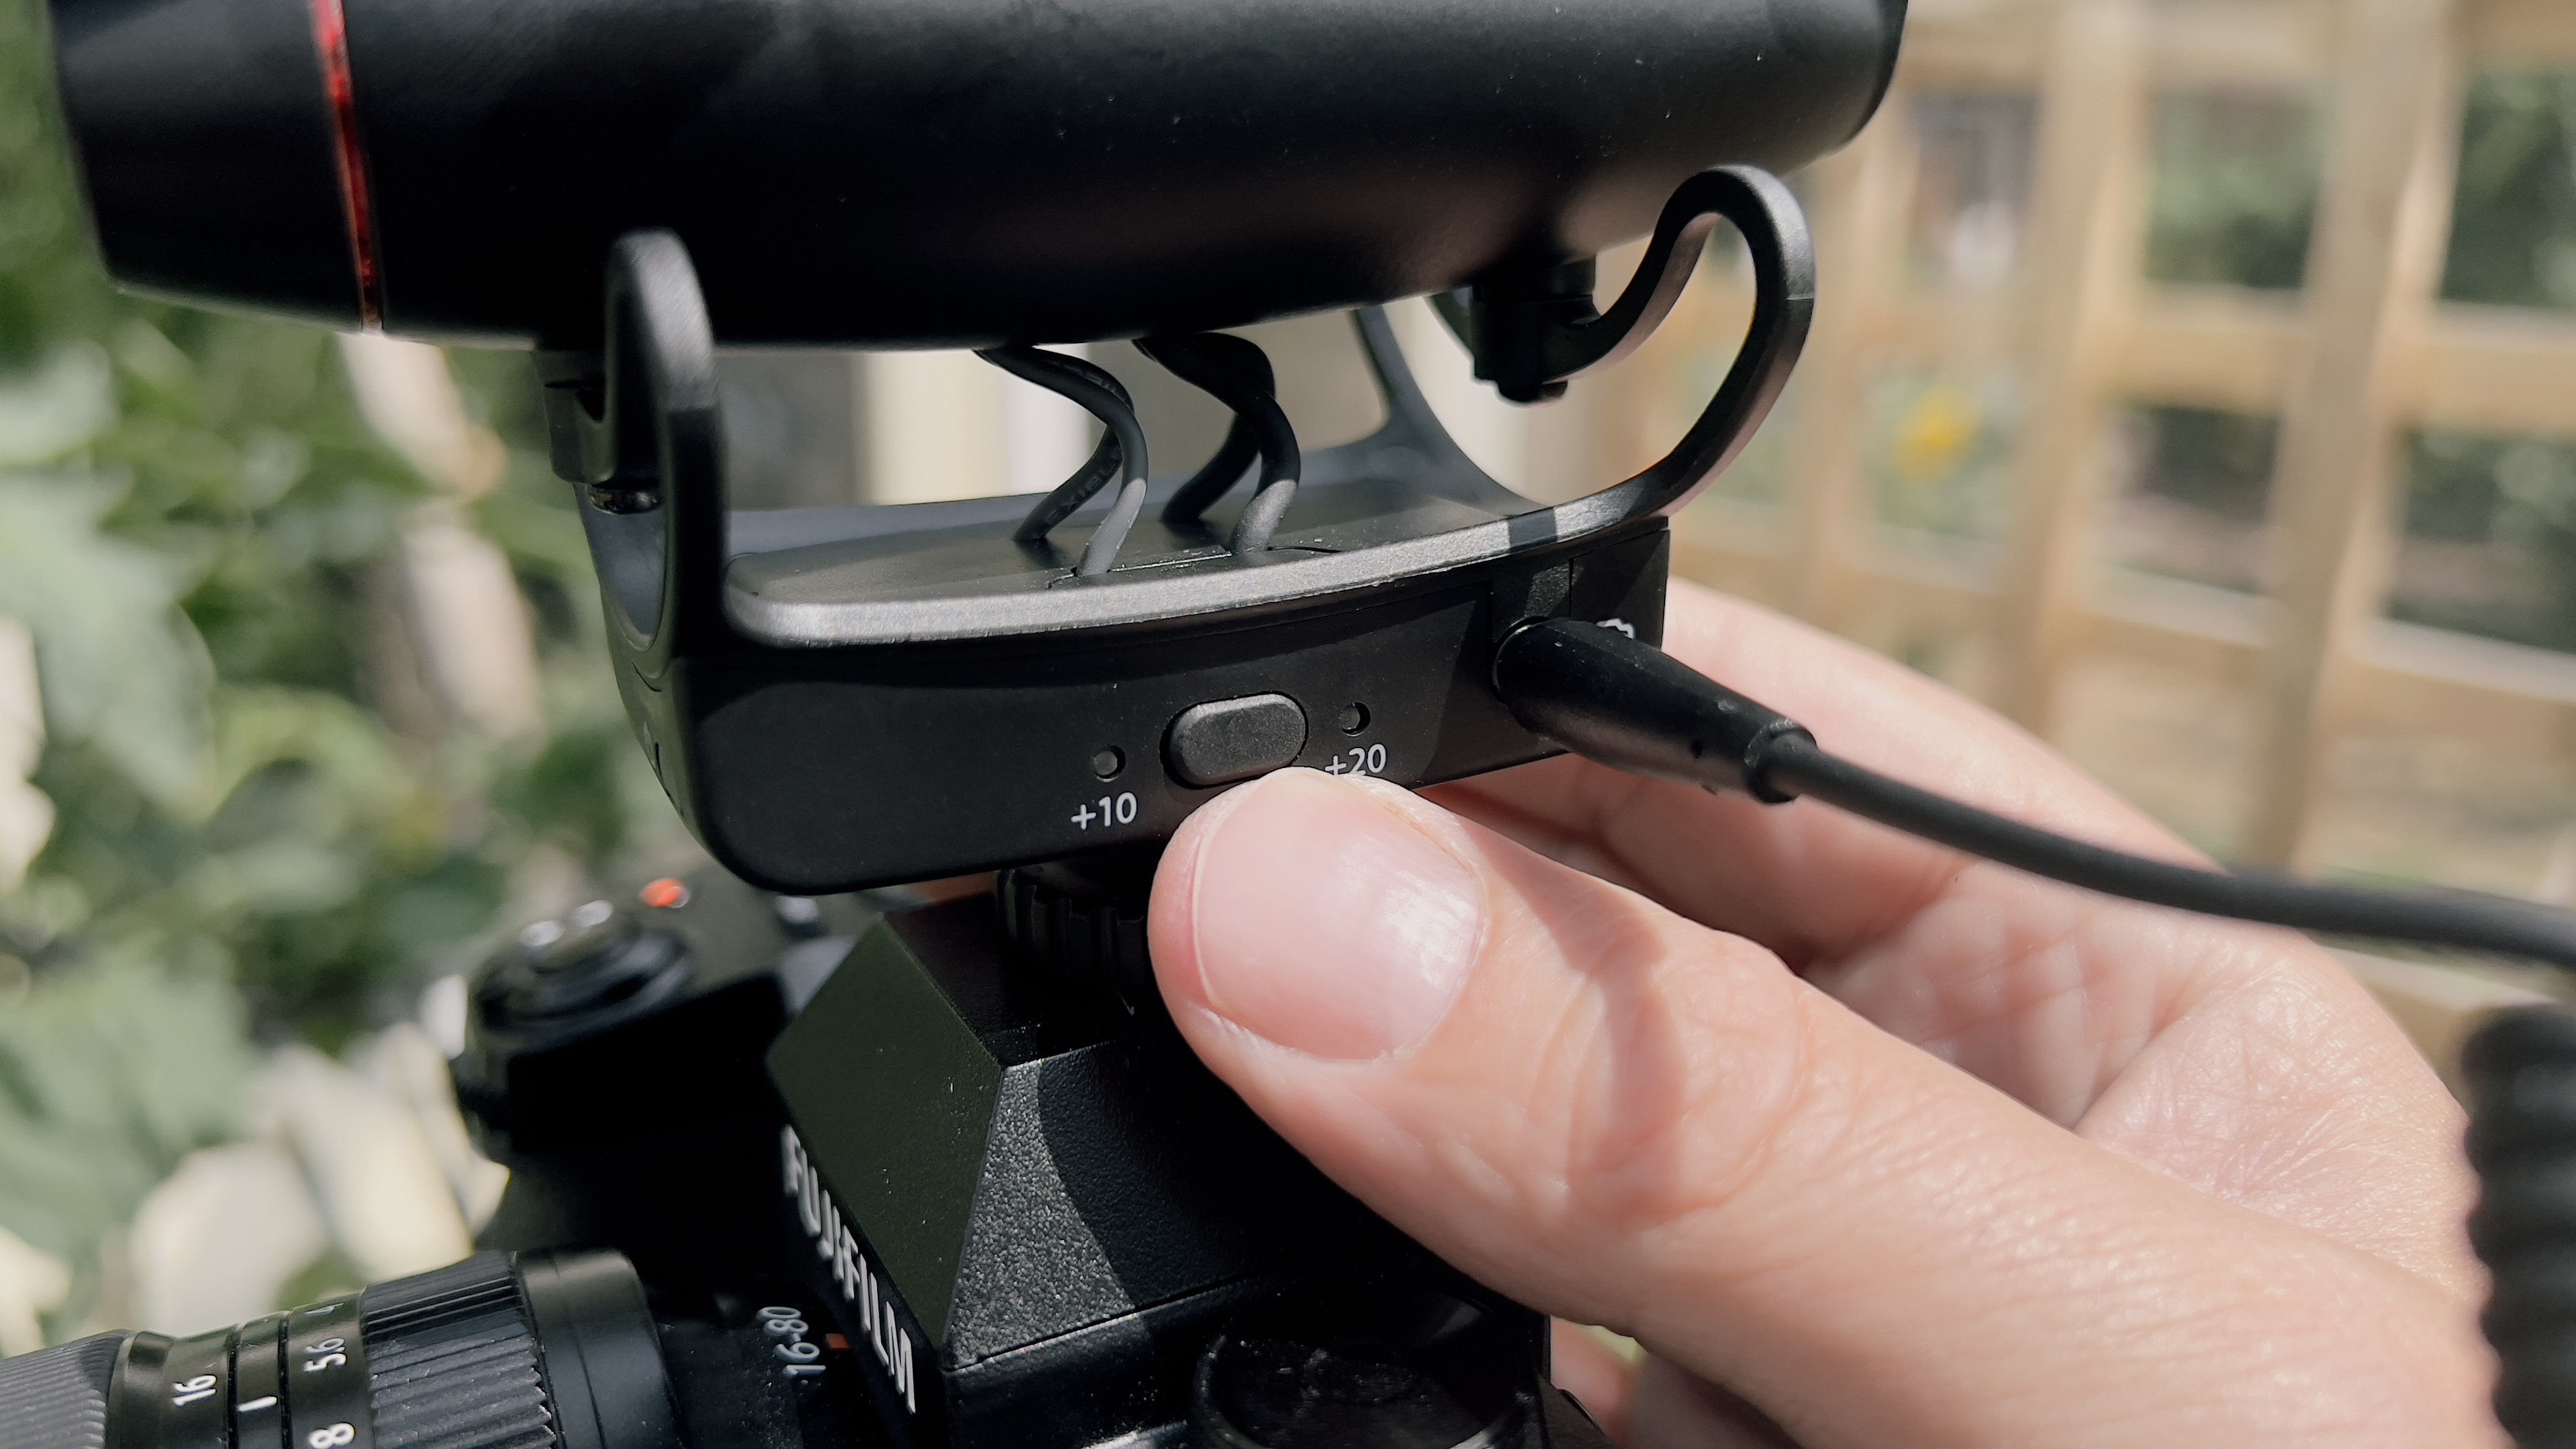
Gain adjustments: Up to +20 dB gain boost on camera output
Output connection: 3.5mm TRS, USB Type-C
Indicators: Battery level, Audio level metering LED
Battery life: 60 hours
Material: Aluminium
Key features
The acronym GIGO (Garbage In Garbage Out) certainly applies to sound recording. If you get the levels on your camera set incorrectly you can end up with a distorted sound track that’s impossible to fix in a post-production app such as Final Cut Pro.
The best camera deals, reviews, product advice, and unmissable photography news, direct to your inbox!
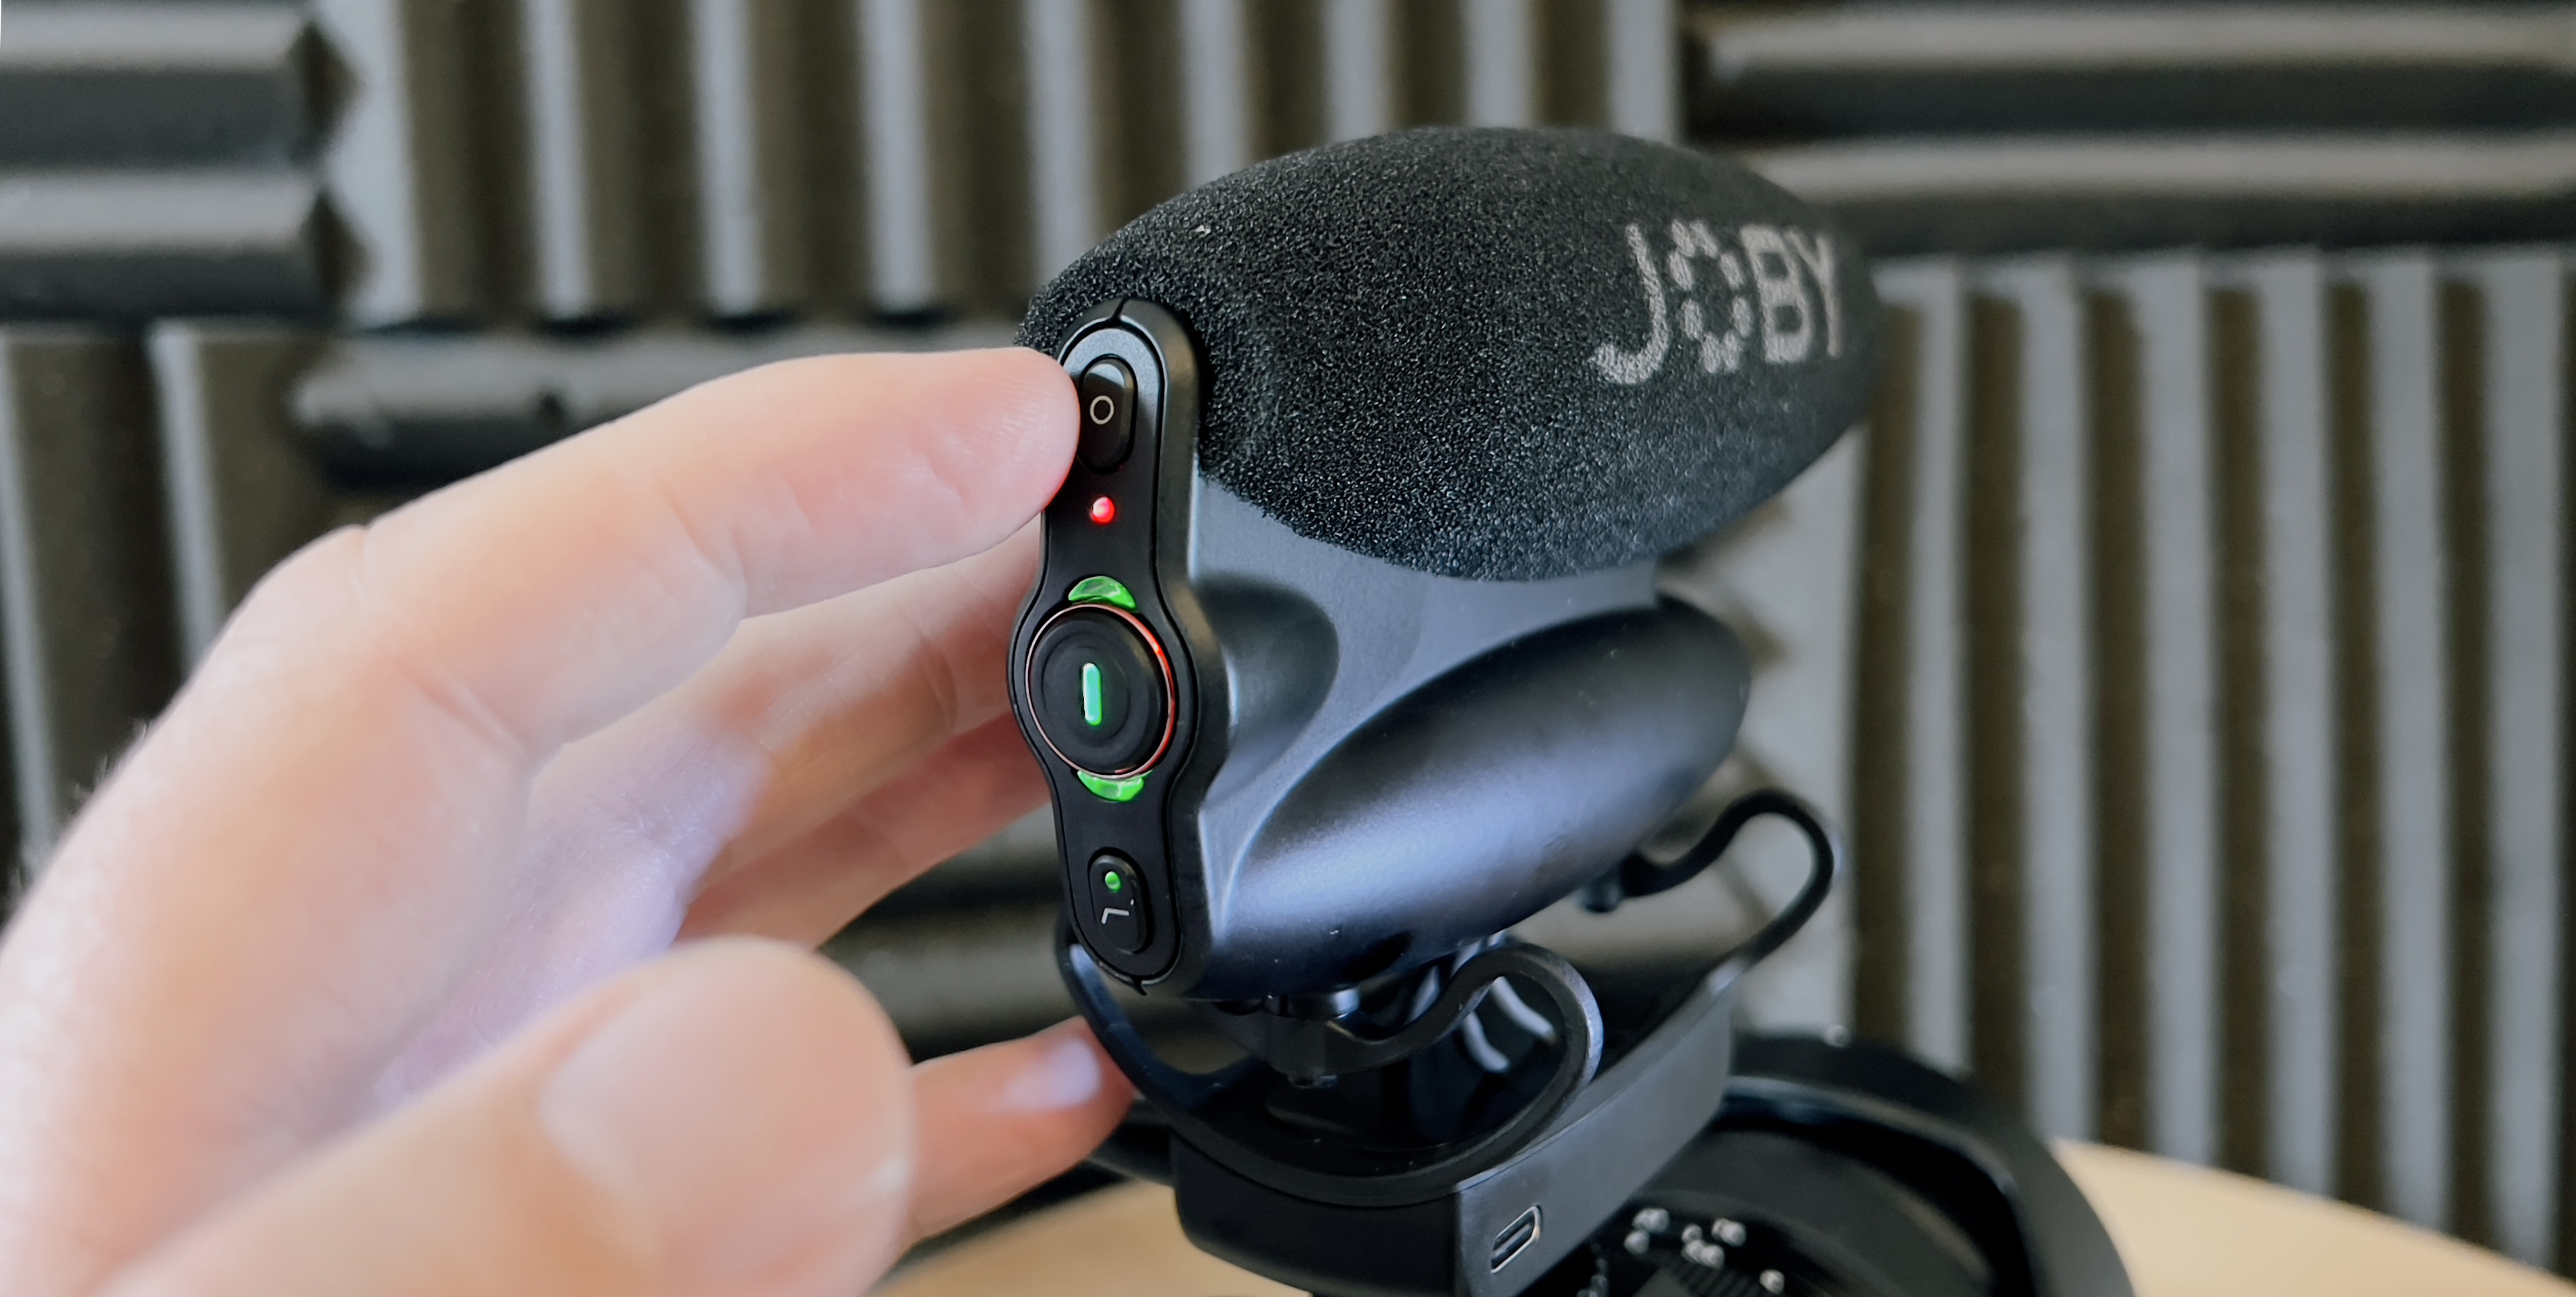
One welcome key feature of the Wavo PRO DS is its ability to record two separate audio tracks. By tapping the Safe button at the rear of the mic it will capture a lower level version of the input sound on a separate channel. If the main audio channel peaks and distorts you have a second safety channel to call upon in the editing stage. This belt and braces approach could be a real life saver – especially if you’re shooting something like a wedding where there’s no opportunity for a ‘take two’.
An additional low cut filter button reduces sounds below 100Hz (such as traffic noise or certain electronic hum sounds).
Build and handling
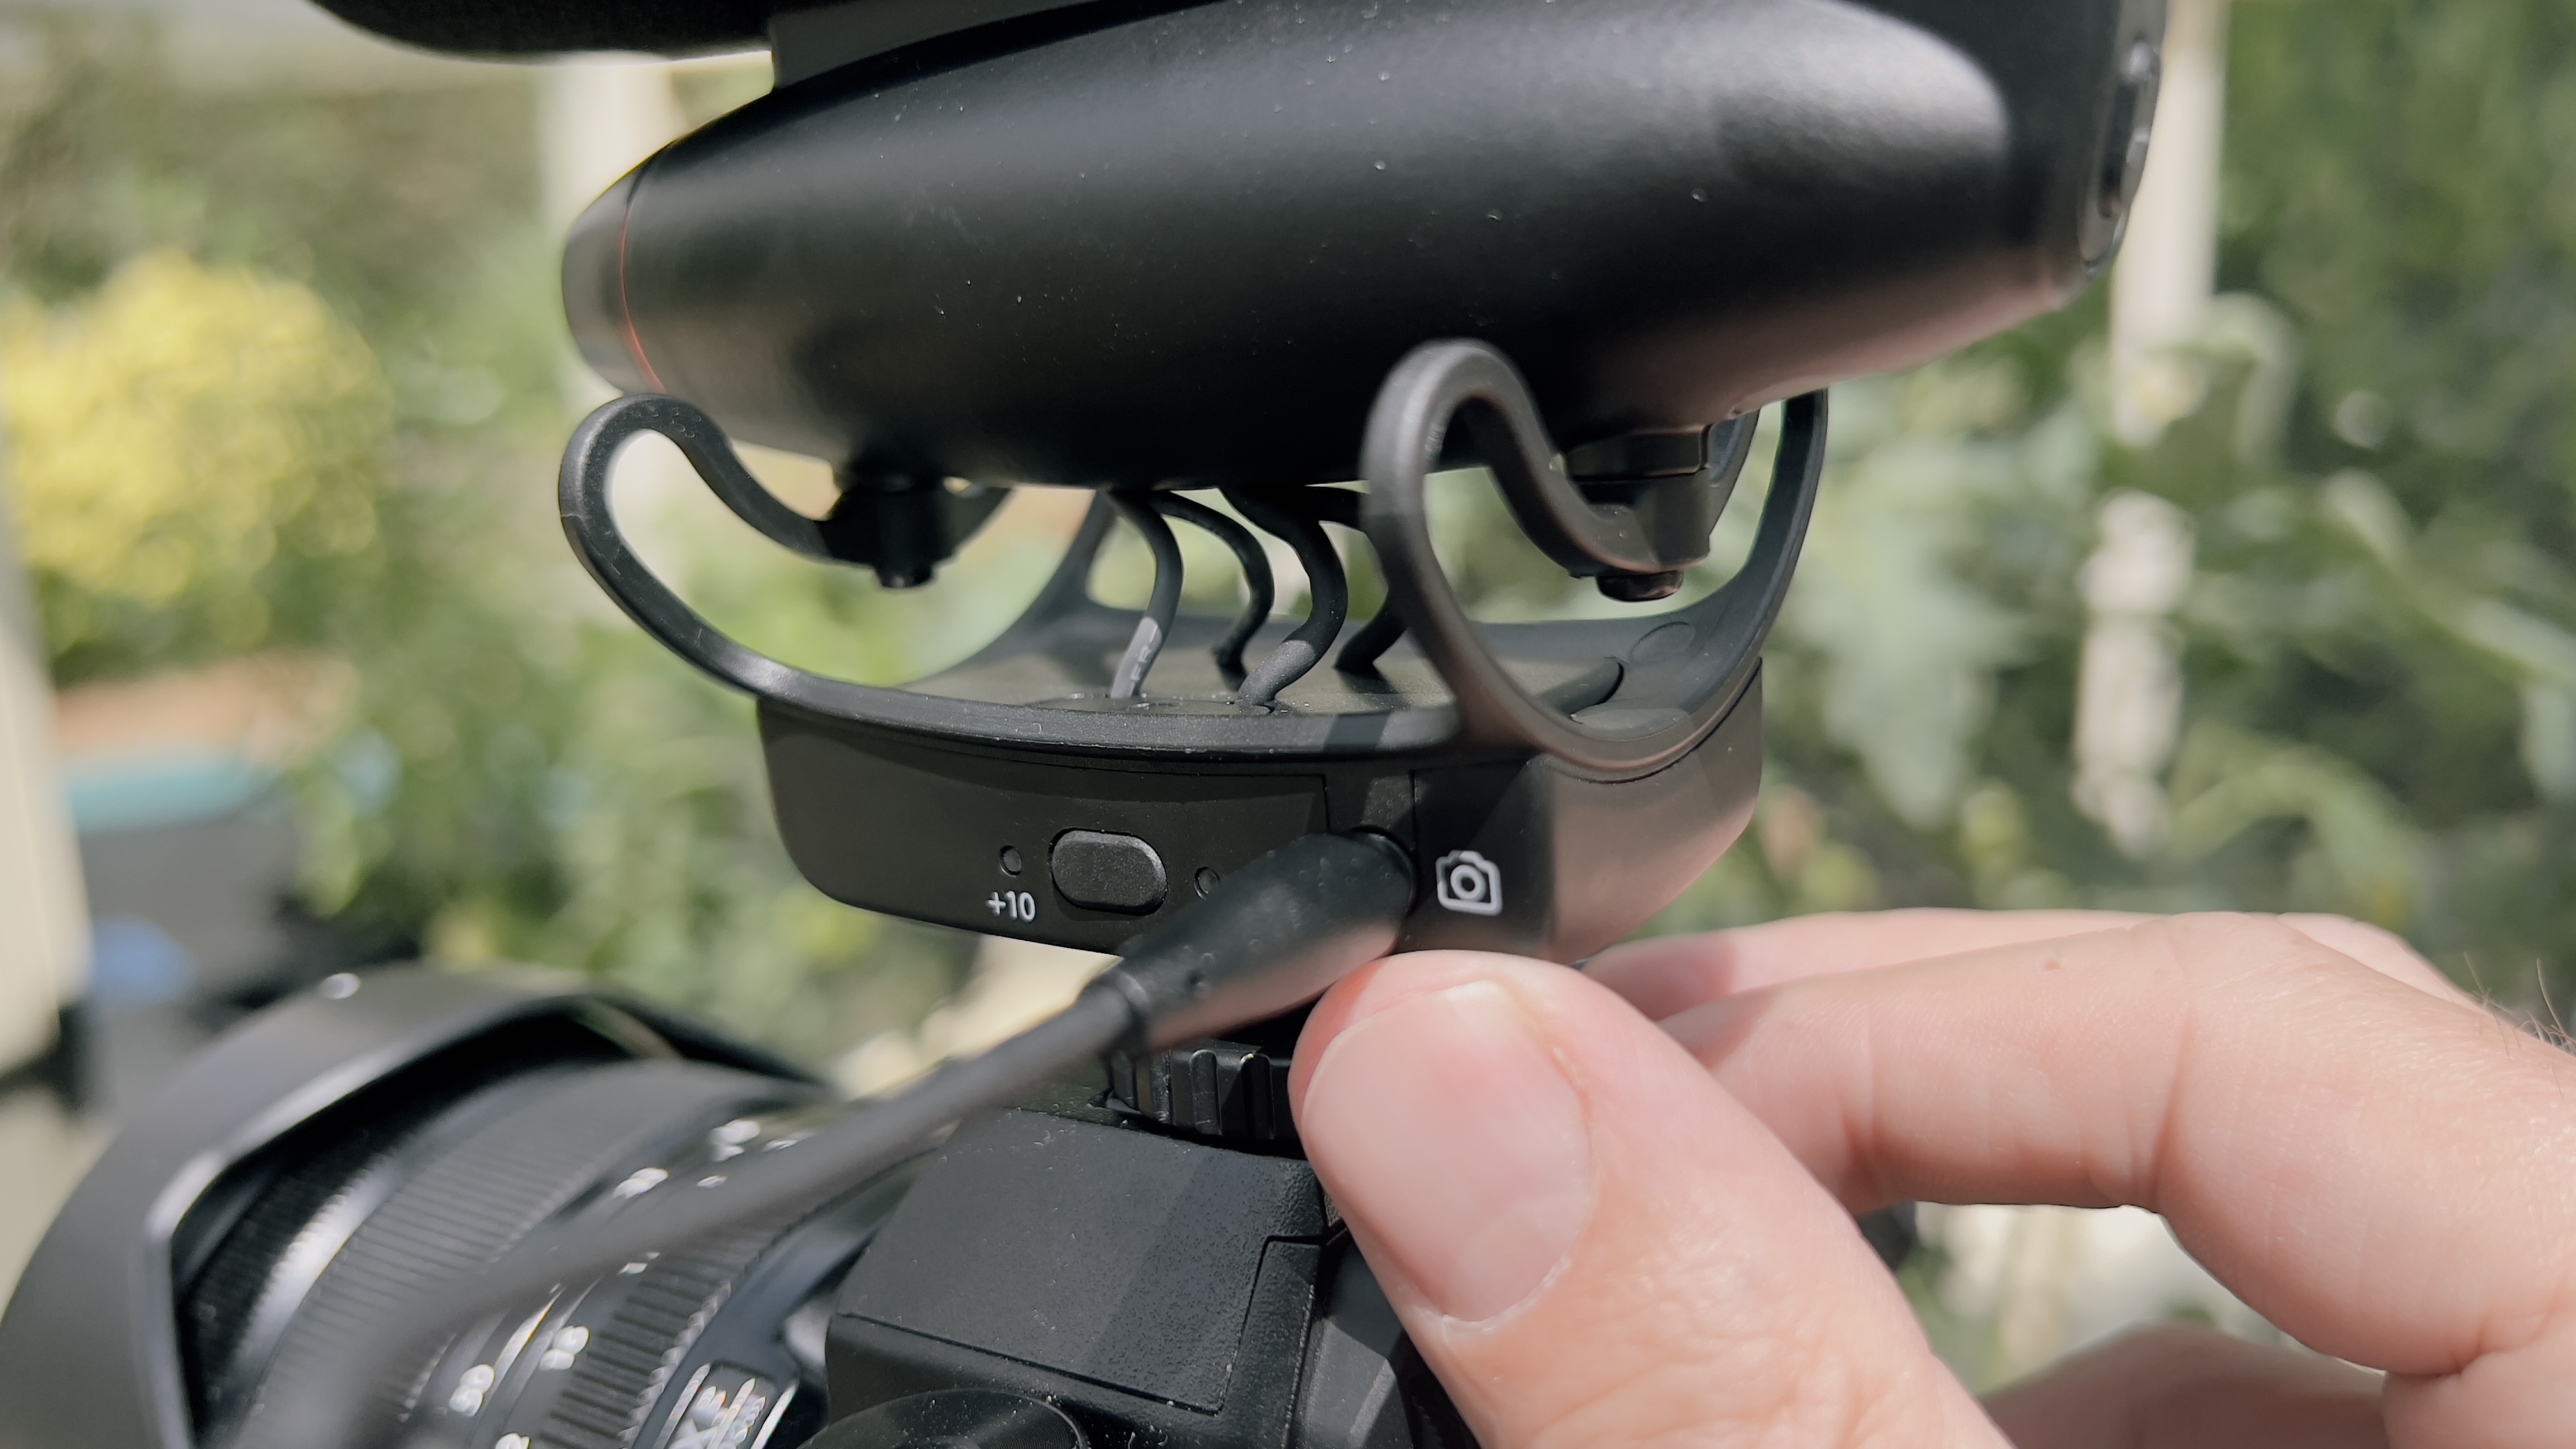
The Wavo PRO DS’s aluminium body feels satisfyingly solid and it comes fitted with a removable foam shield. It’s black metallic look complements the body of many digital cameras so it doesn’t look out of place. The shotgun mic is attached via a Rycote shock mount to a plastic unit that contains +10dB and +20dB gain boost buttons to boost the strength of your sound levels.
You can attach a USB-C cable to charge the mic’s internal battery so that it’ll record for up to 60 hours – which is more than enough to keeping shooting till the end of an event such as a wedding.
Performance
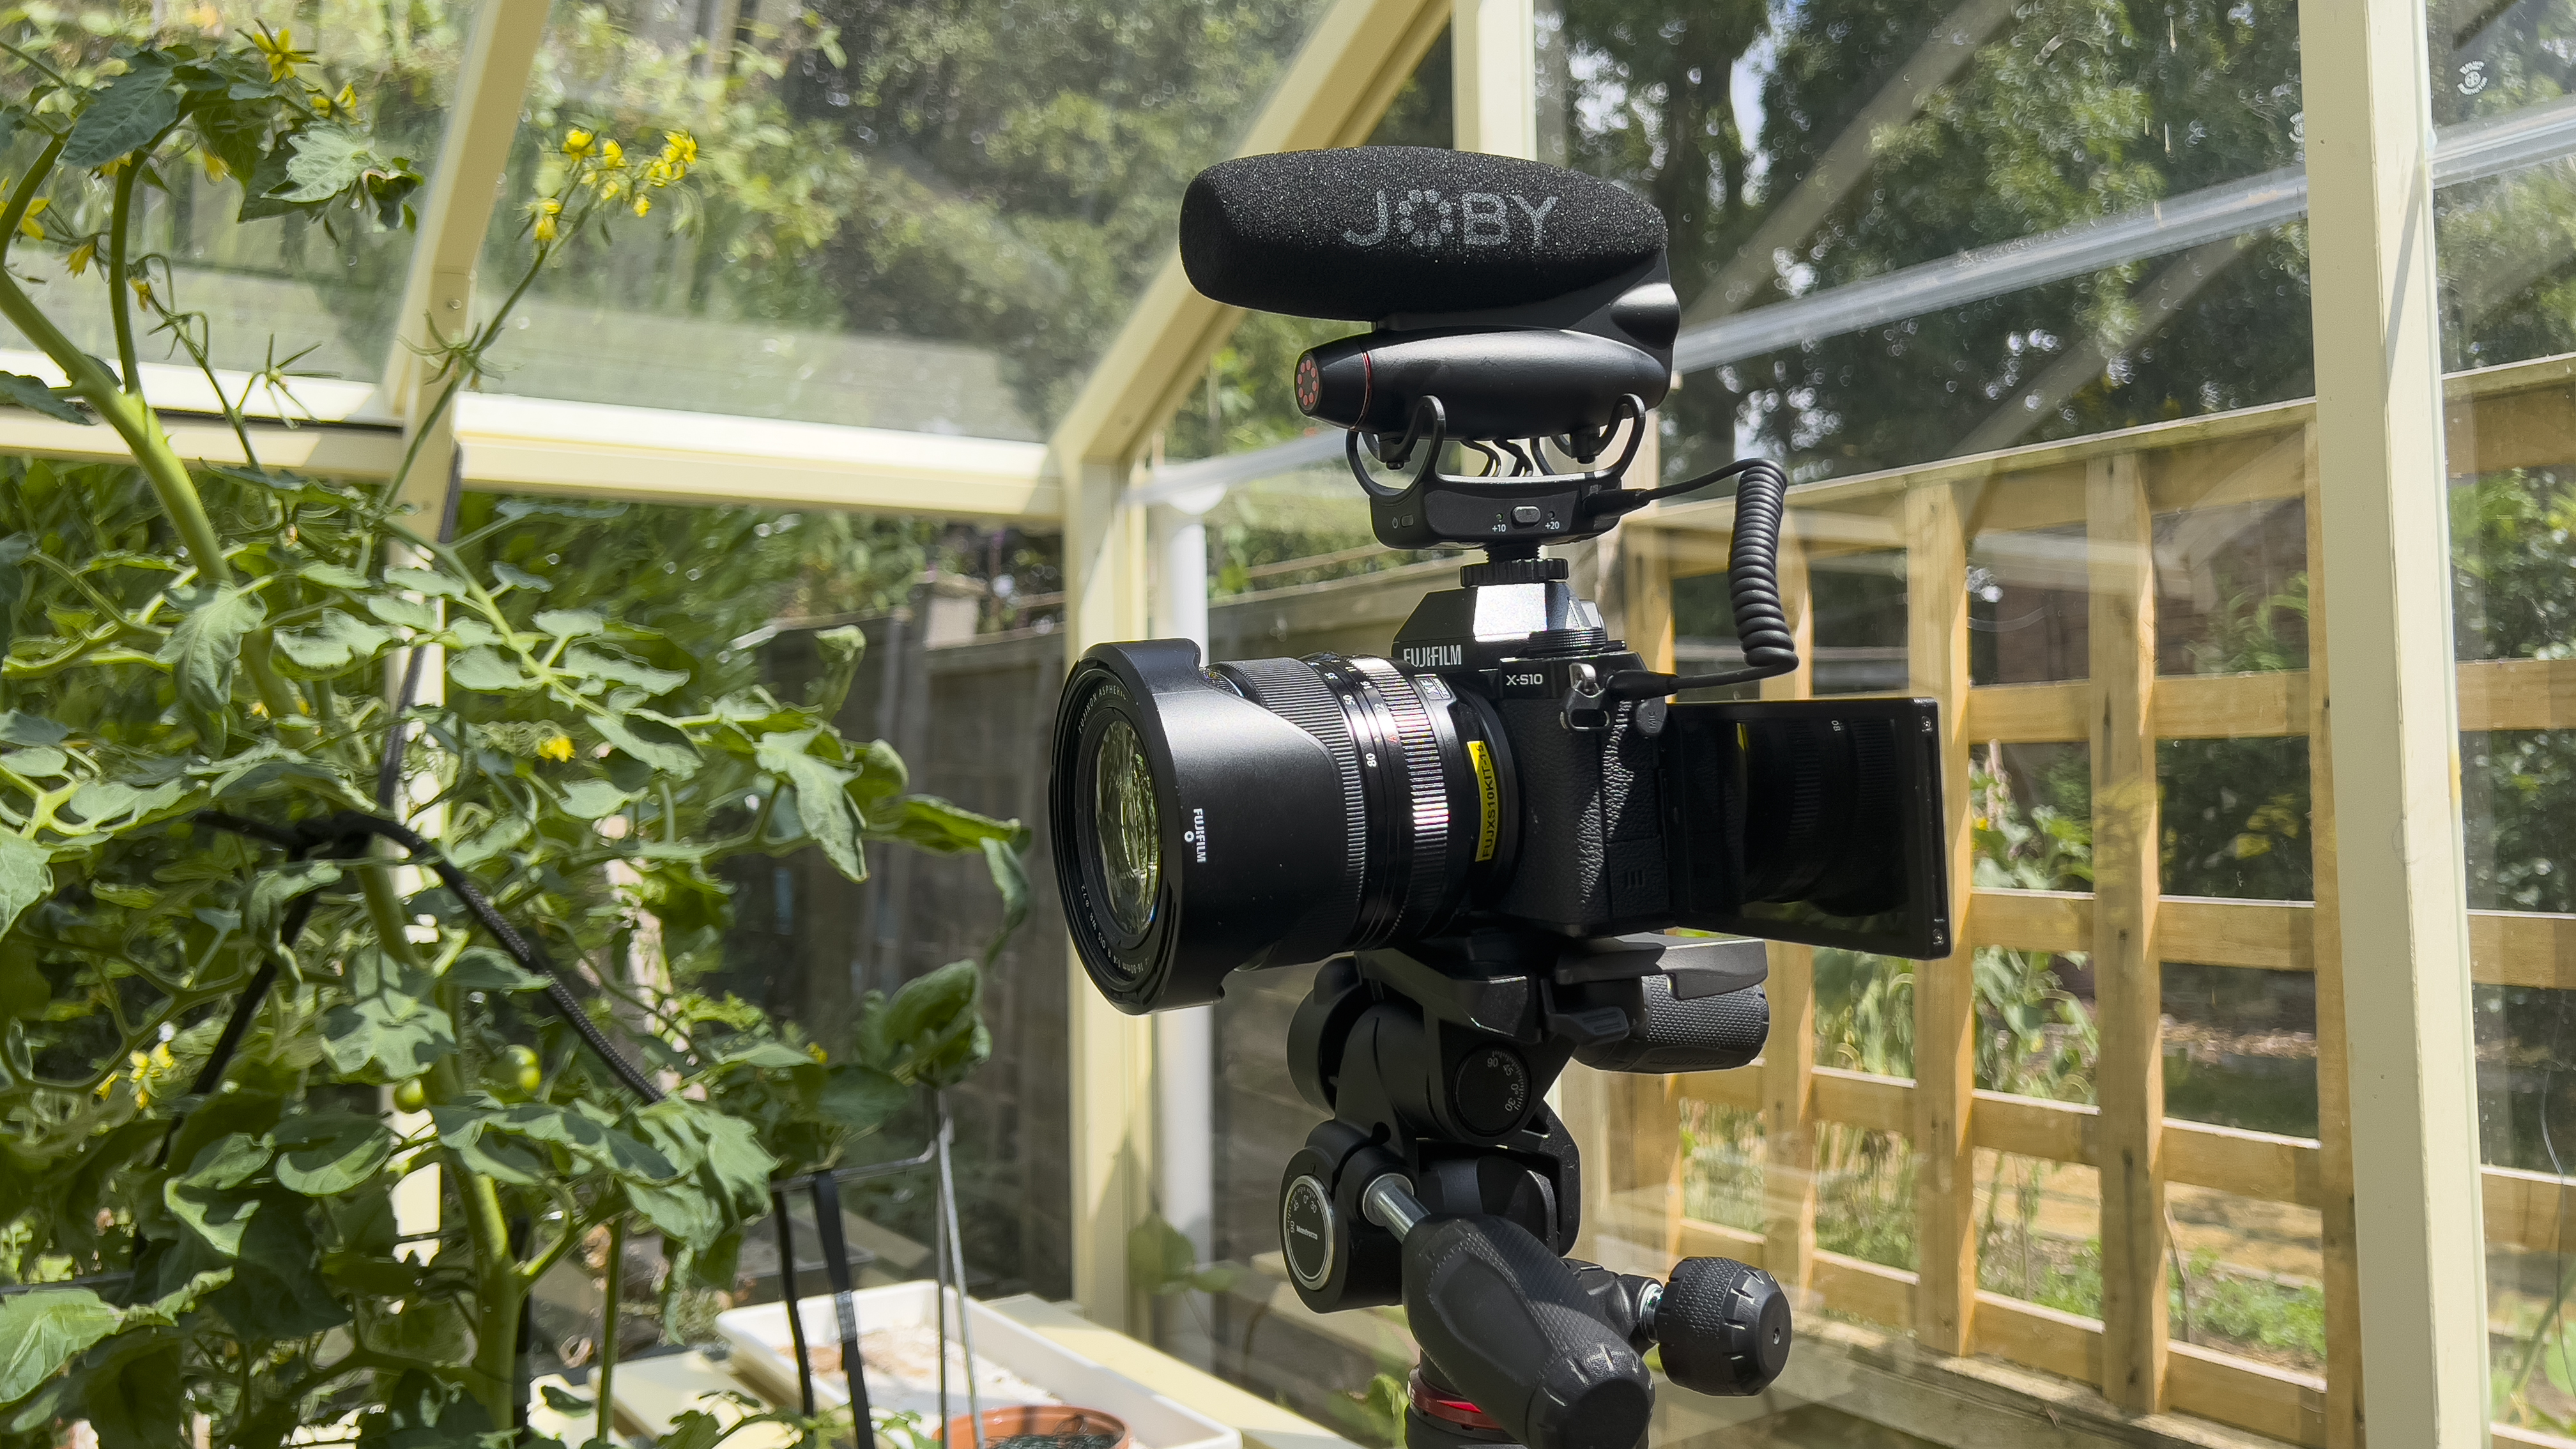
To test the Wavo PRO DS we attached it to our FujiFilm X-S10’s hot shoe mount. A quick rummage in the camera’s menu gave us a level indicator so we could see if the sound peaked during our recording session. Before we spoke directly to camera we flipped the viewfinder to check our composition and keep an eye on those sound levels.
The shotgun mic’s super cardioid polar pattern helped reduce unwanted ambient noise as it only picked up the presenter’s audio from directly in front of the camera. When we unplugged the Wavo PRO DS the audio from the X-S10’s built-in mic was comparably inferior. We could hear unwanted ambient sound and the the presenter’s voice had less impact.
Check out our test video above to hear the difference that the Wavo PRO DS can make to your sound recordings.
Verdict
The Wavo PRO DS can certainly improve the audio production values captured by your DSLR or mirrorless camera. It’s perfect for bloggers who need to talk directly to camera and it will pick up more of the banter in busy locations such as a wedding.
The LED at the back will flash orange if the sound input level is too loud, but this doesn’t help if you can’t see the rear of the mic when talking into the front of it. To capture subjects further away than a couple of meters from the camera you may want to consider a wireless mic such as the JOBY Wavo Air.
The Wavo PRO DS lacks some of the extra features of the more expensive Wavo PRO, so it’s designed to appeal to those on a budget. However, it's still pretty expensive for a shotgun mic and we feel that the £30 price difference between the two isn’t big enough to make the Wavo PRO DS a must buy, so we’d probably recommend the Wavo PRO as a more attractive prospect at this price level.
George has been freelancing as a photo fixing and creative tutorial writer since 2002, working for award winning titles such as Digital Camera, PhotoPlus, N-Photo and Practical Photoshop. He's expert in communicating the ins and outs of Photoshop and Lightroom, as well as producing video production tutorials on Final Cut Pro and iMovie for magazines such as iCreate and Mac Format. He also produces regular and exclusive Photoshop CC tutorials for his YouTube channel.
