Digital Camera World Verdict
The Joby Wavo AIR provides a quick, easy and effective way to take your production values to the next level, enabling you to capture high quality audio while being free of restricting cables. The mic transmitters’ Bluetooth signal has a surprisingly long range making it suitable for capturing clear and clean sound for a range of video productions.
Pros
- +
Works out of the box
- +
Captures broadcast quality sound
- +
Effective wind noise reduction
- +
Long range transmission
Cons
- -
Lightweight and plastic
- -
Sound slightly out of sync
- -
Needs extra cable for iPhone use
Why you can trust Digital Camera World
The Joby Wavo AIR wireless microphone provides a solution to a common problem. Thanks to ongoing technological advances we can capture high quality video footage on a range of devices including our smart phone. However our 4K high dynamic range content can be let down by poor audio quality. The further a person is from our camera’s built-in microphone the poorer the audio will sound.
The JOBY Wavo AIR wireless microphone, however, enables you to capture crystal clear broadcast quality sound from an interviewee who is talking up to 50 meters (over 50 yards) away from your video recording device.
Key features
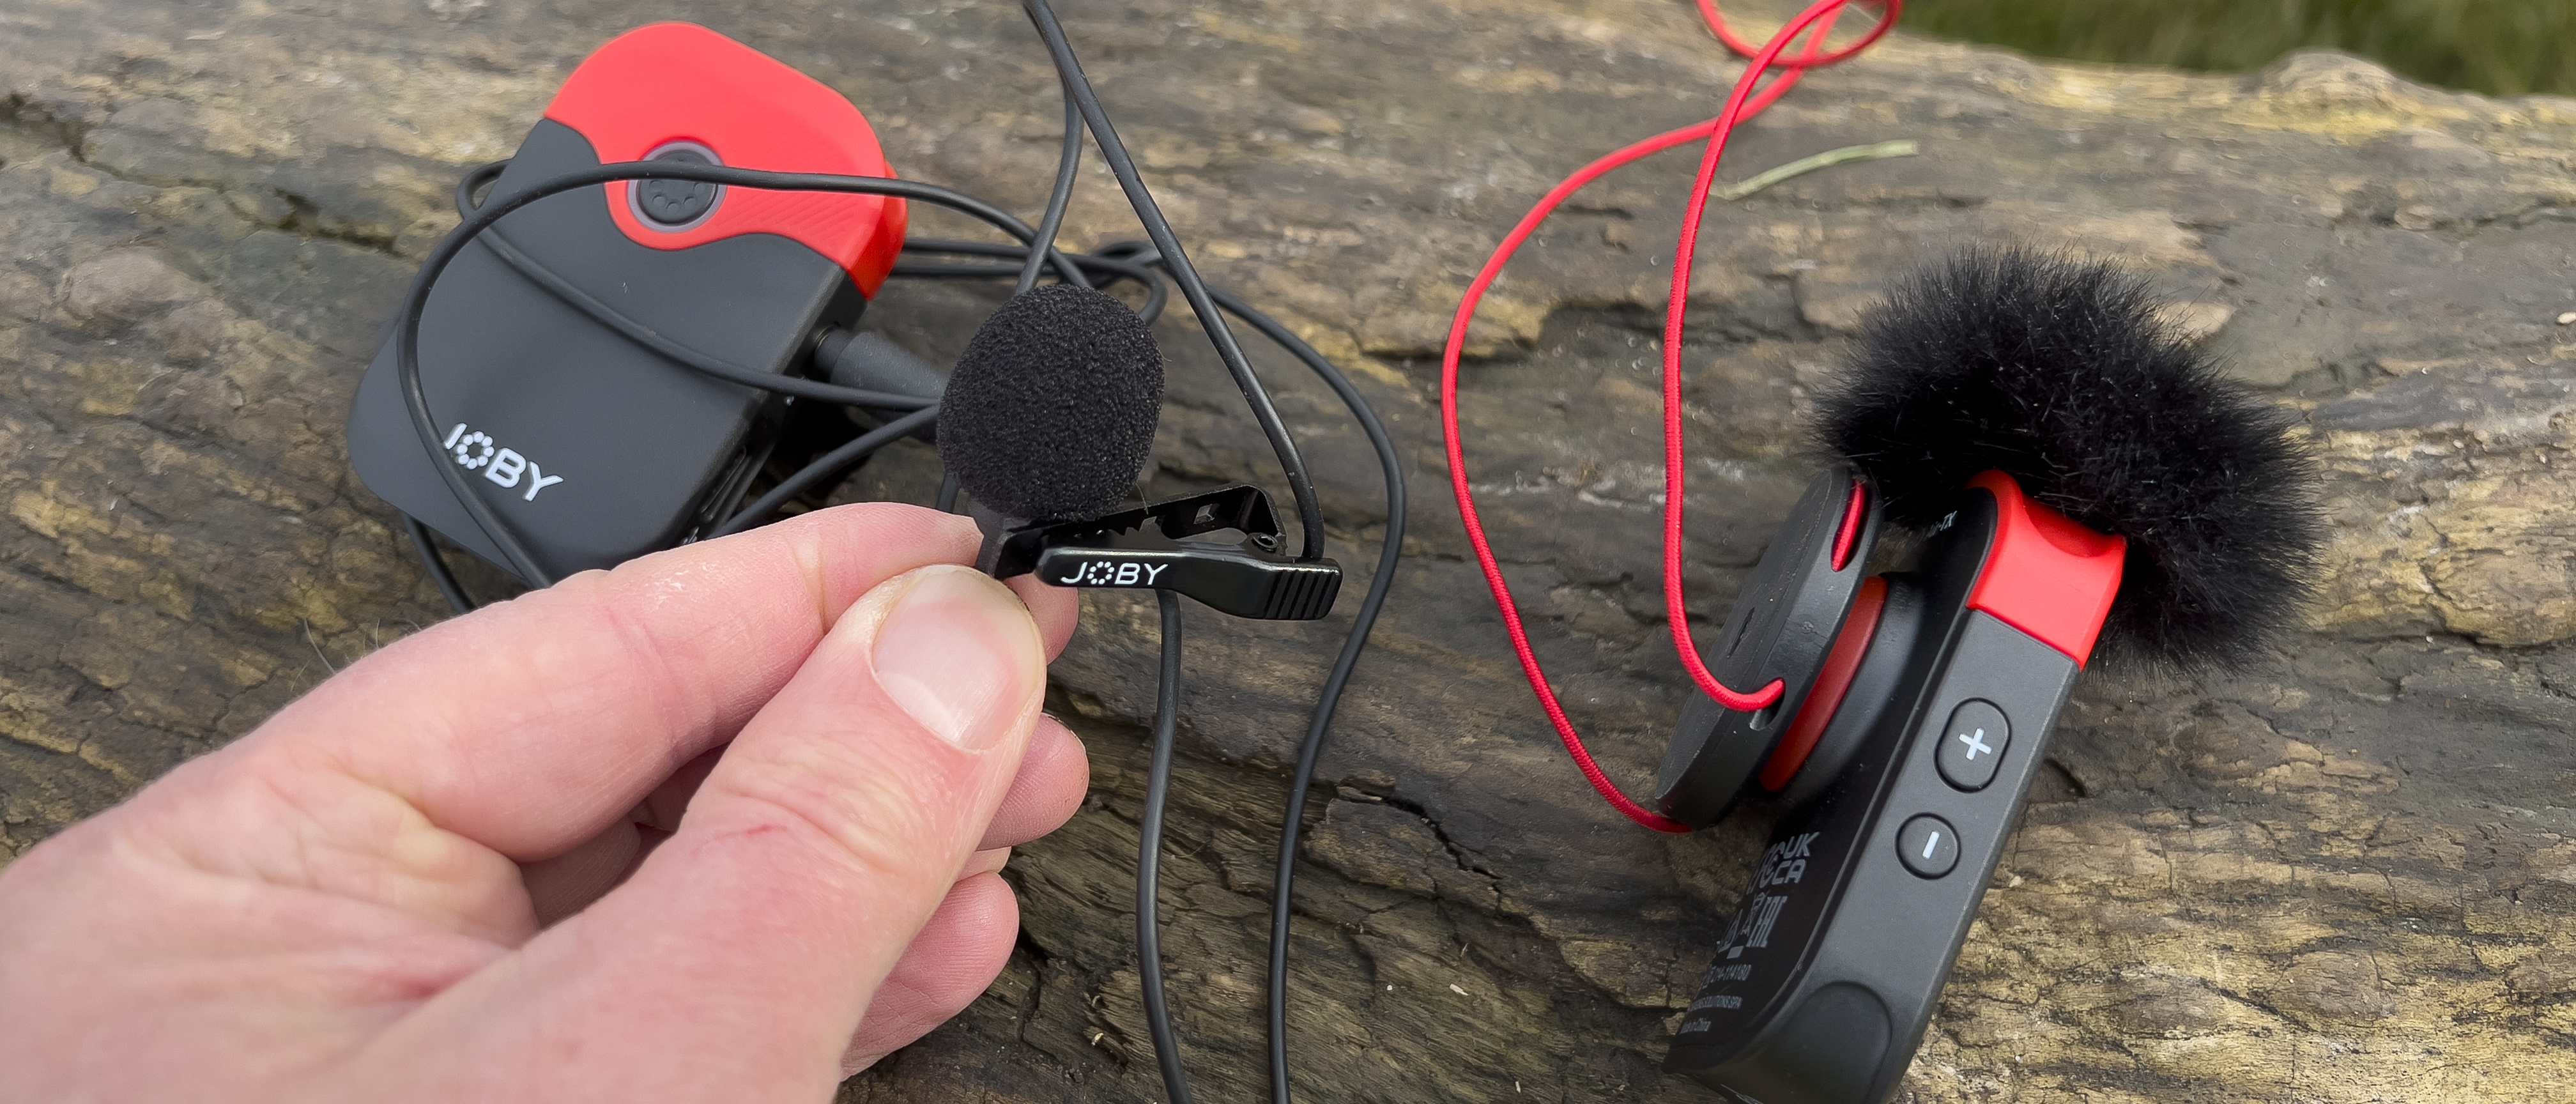
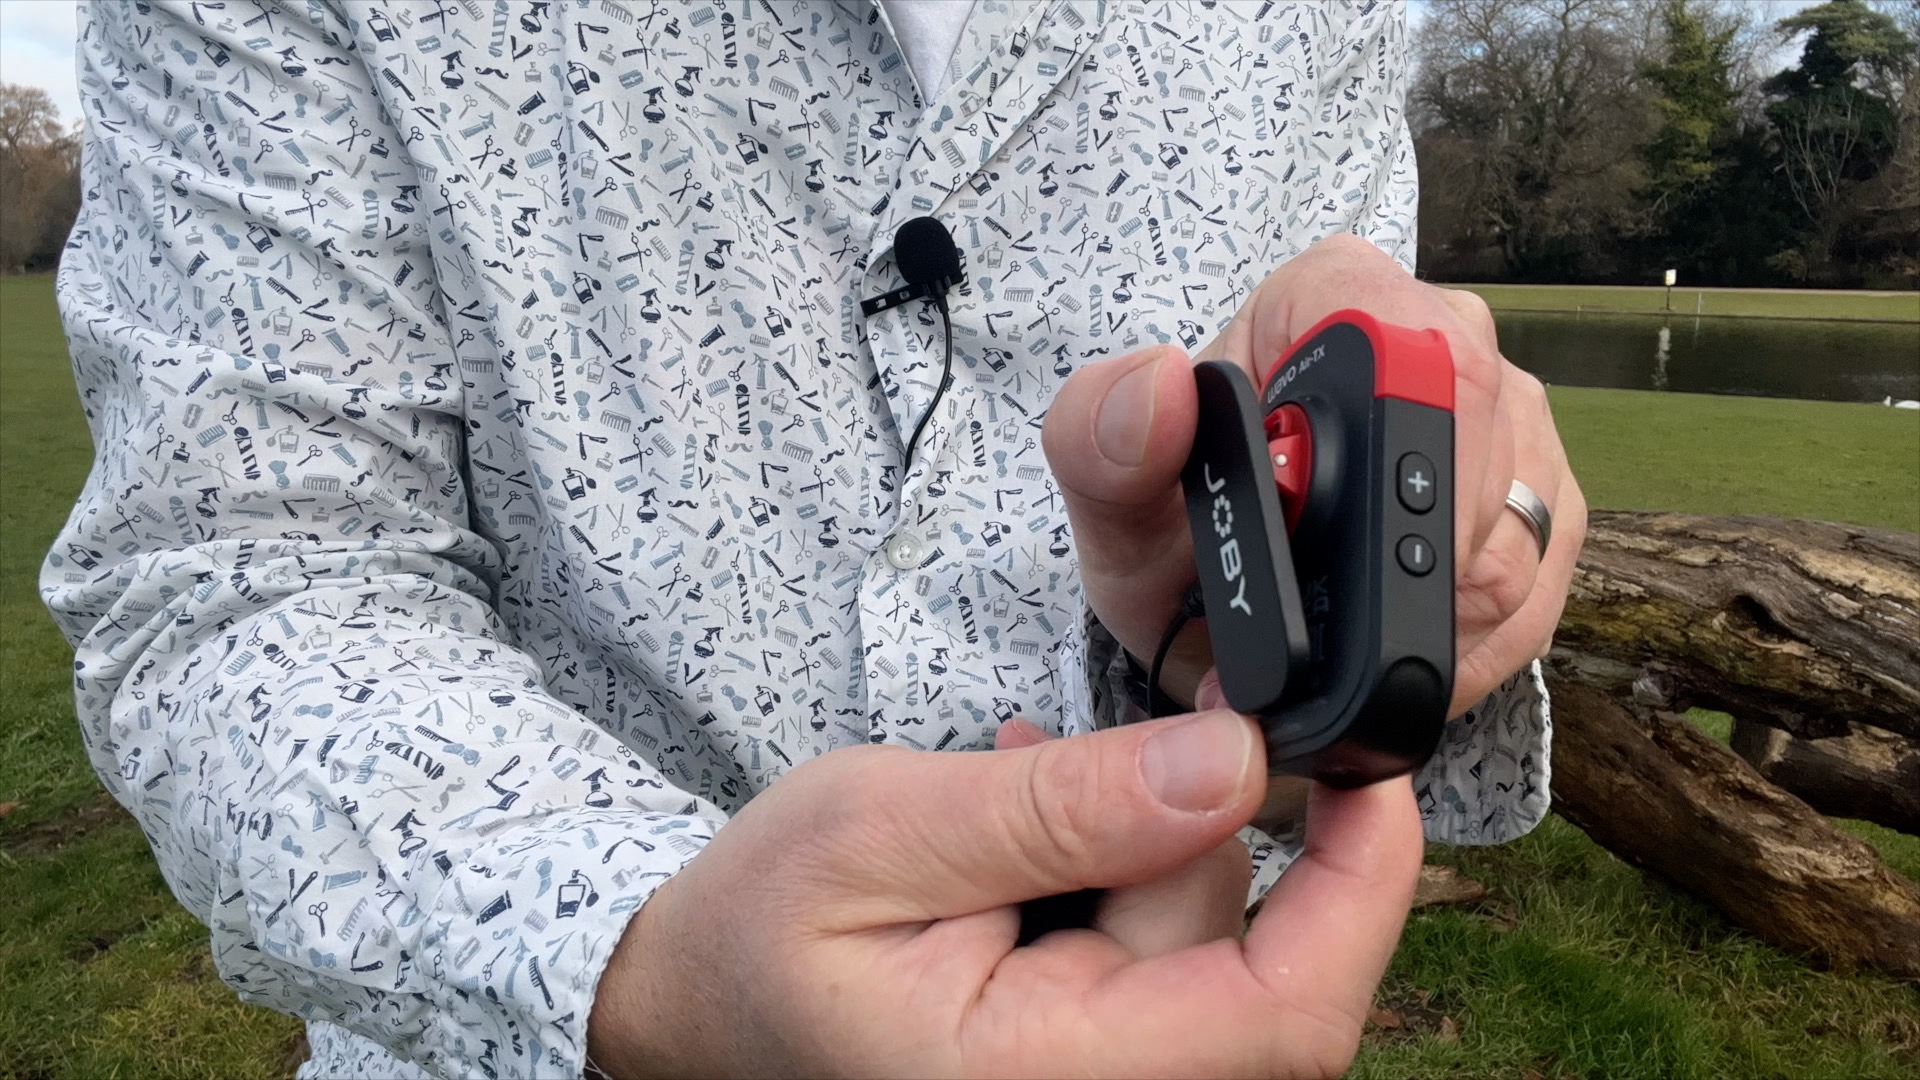
The Wavo AIR ships with two transmitters and one receiver. Each lightweight 2.4GHz wireless transmitter has a microphone built into the top of the device. These mics have an omnidirectional polar pattern so they can capture sound from 360º around the subject. This can lead to the addition of some background noise but we found that this was negligible in our test recording.
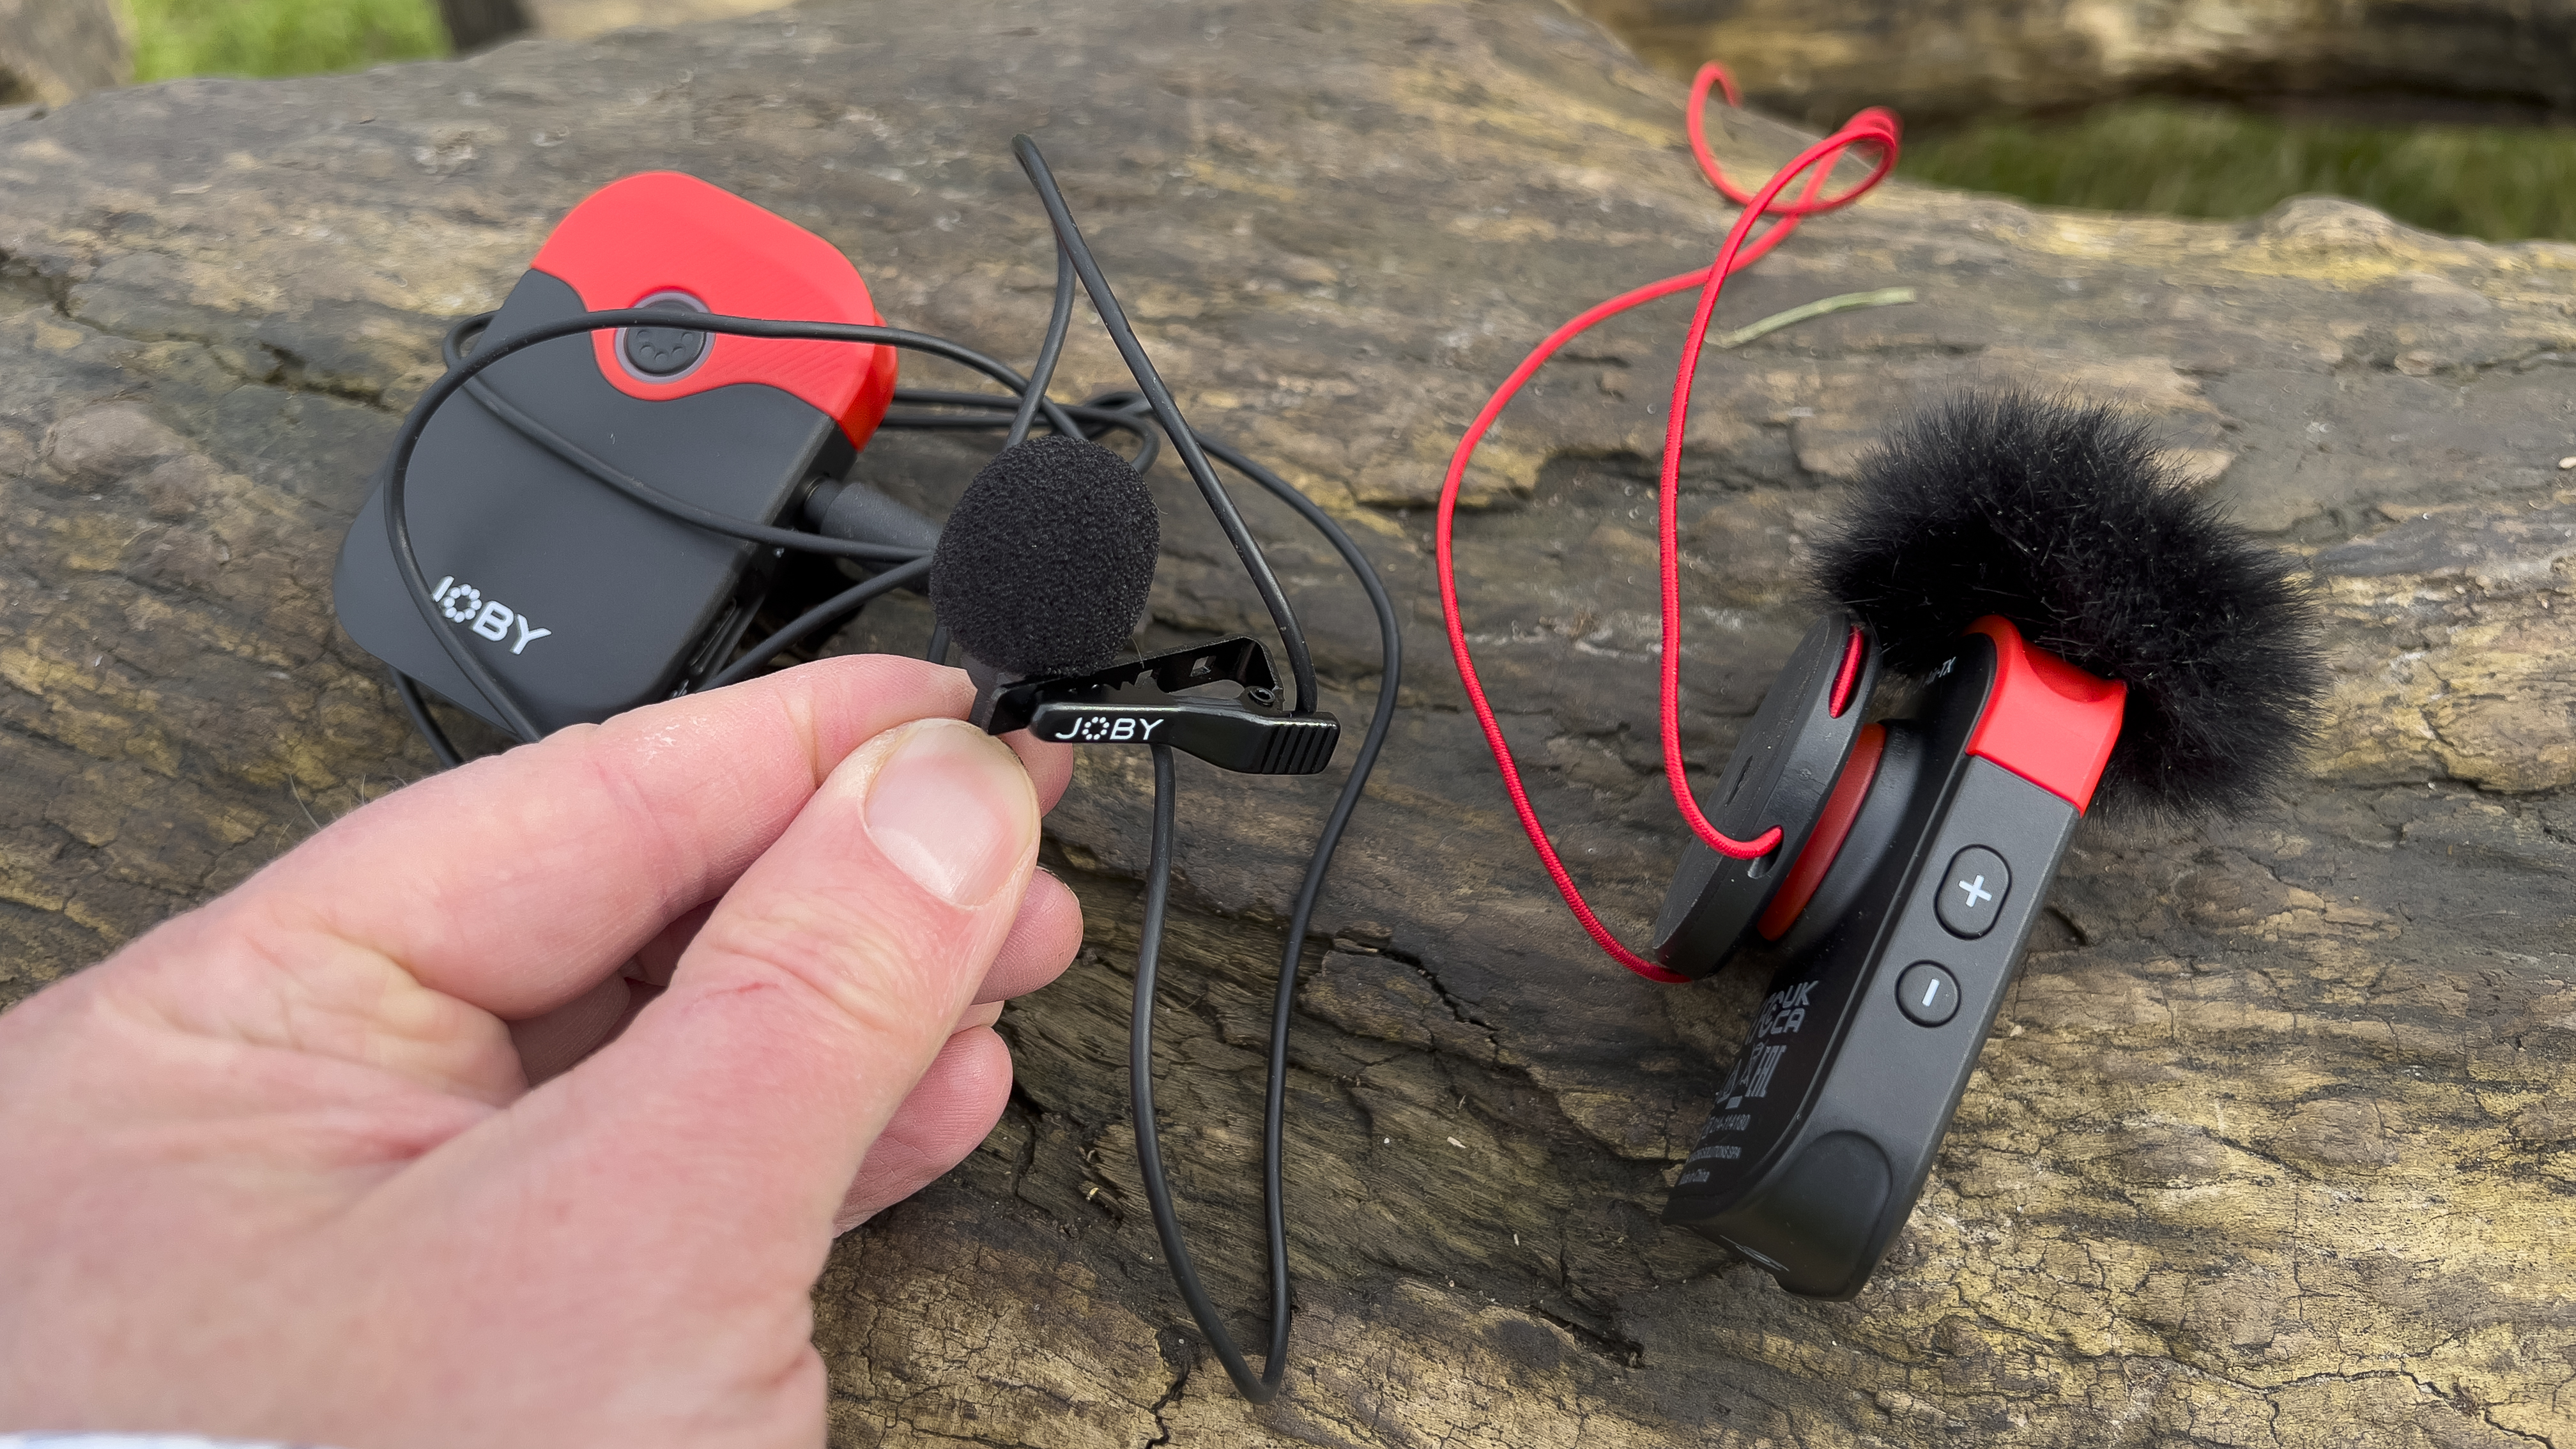
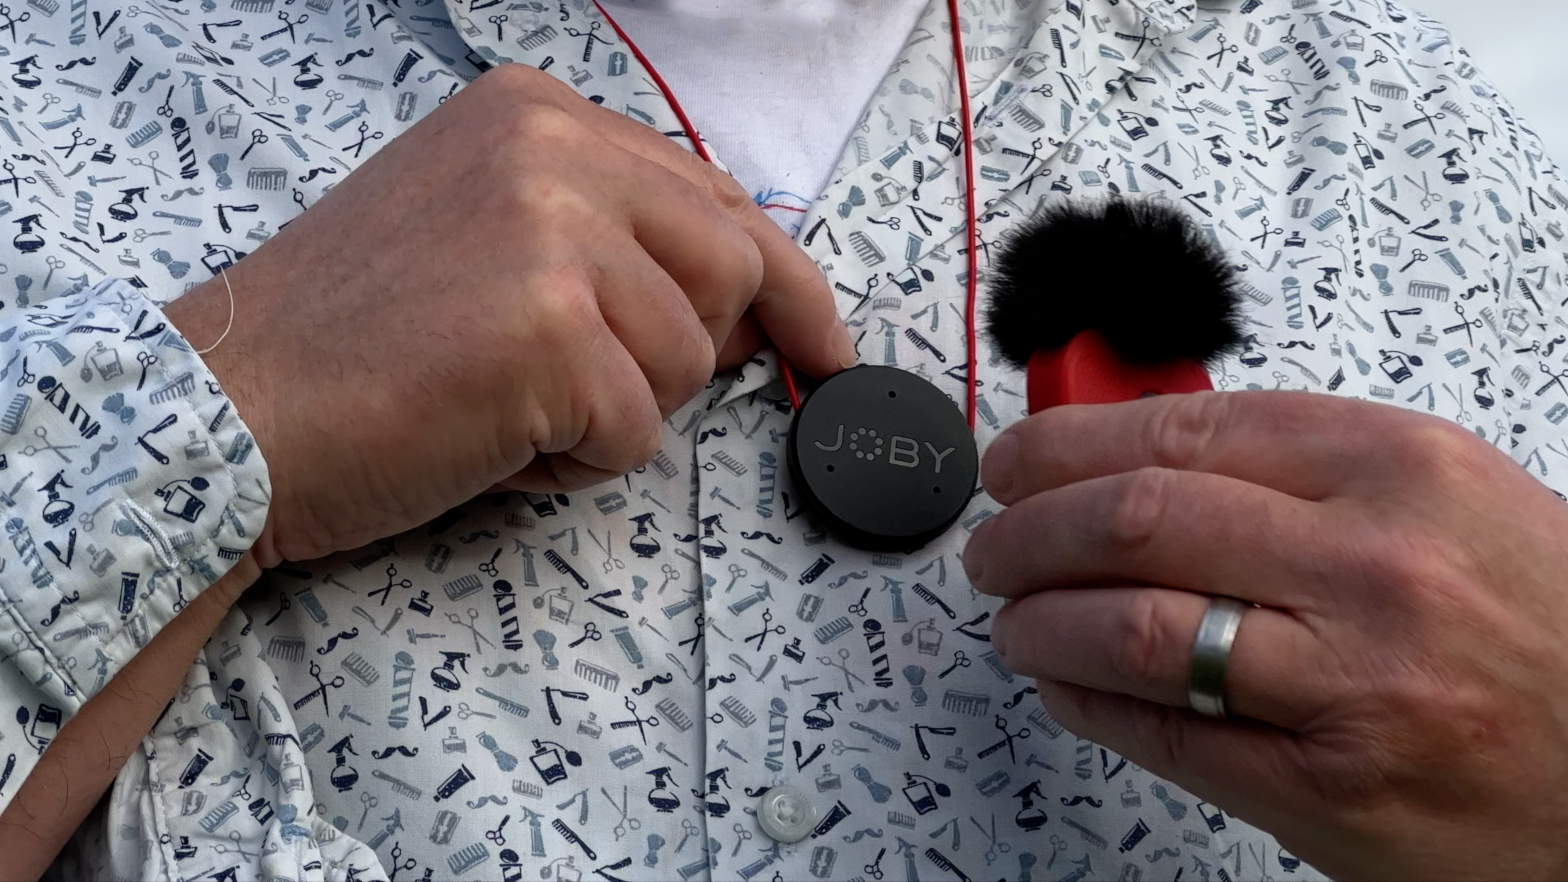
You can attach a transmitter to a magnetic necklace/pendant that ships with the kit, enabling you to get the mic in close proximity to the speaker’s mouth for a strong audio signal. A clip-on wind shield helps reduce take-ruining wind noise and this worked effectively when we tested the microphones in an open park location. Some wind noise was noticeable using the lavalier mics in a windier country lane but we defy any clip-on microphones to be wind-free in those circumstances.
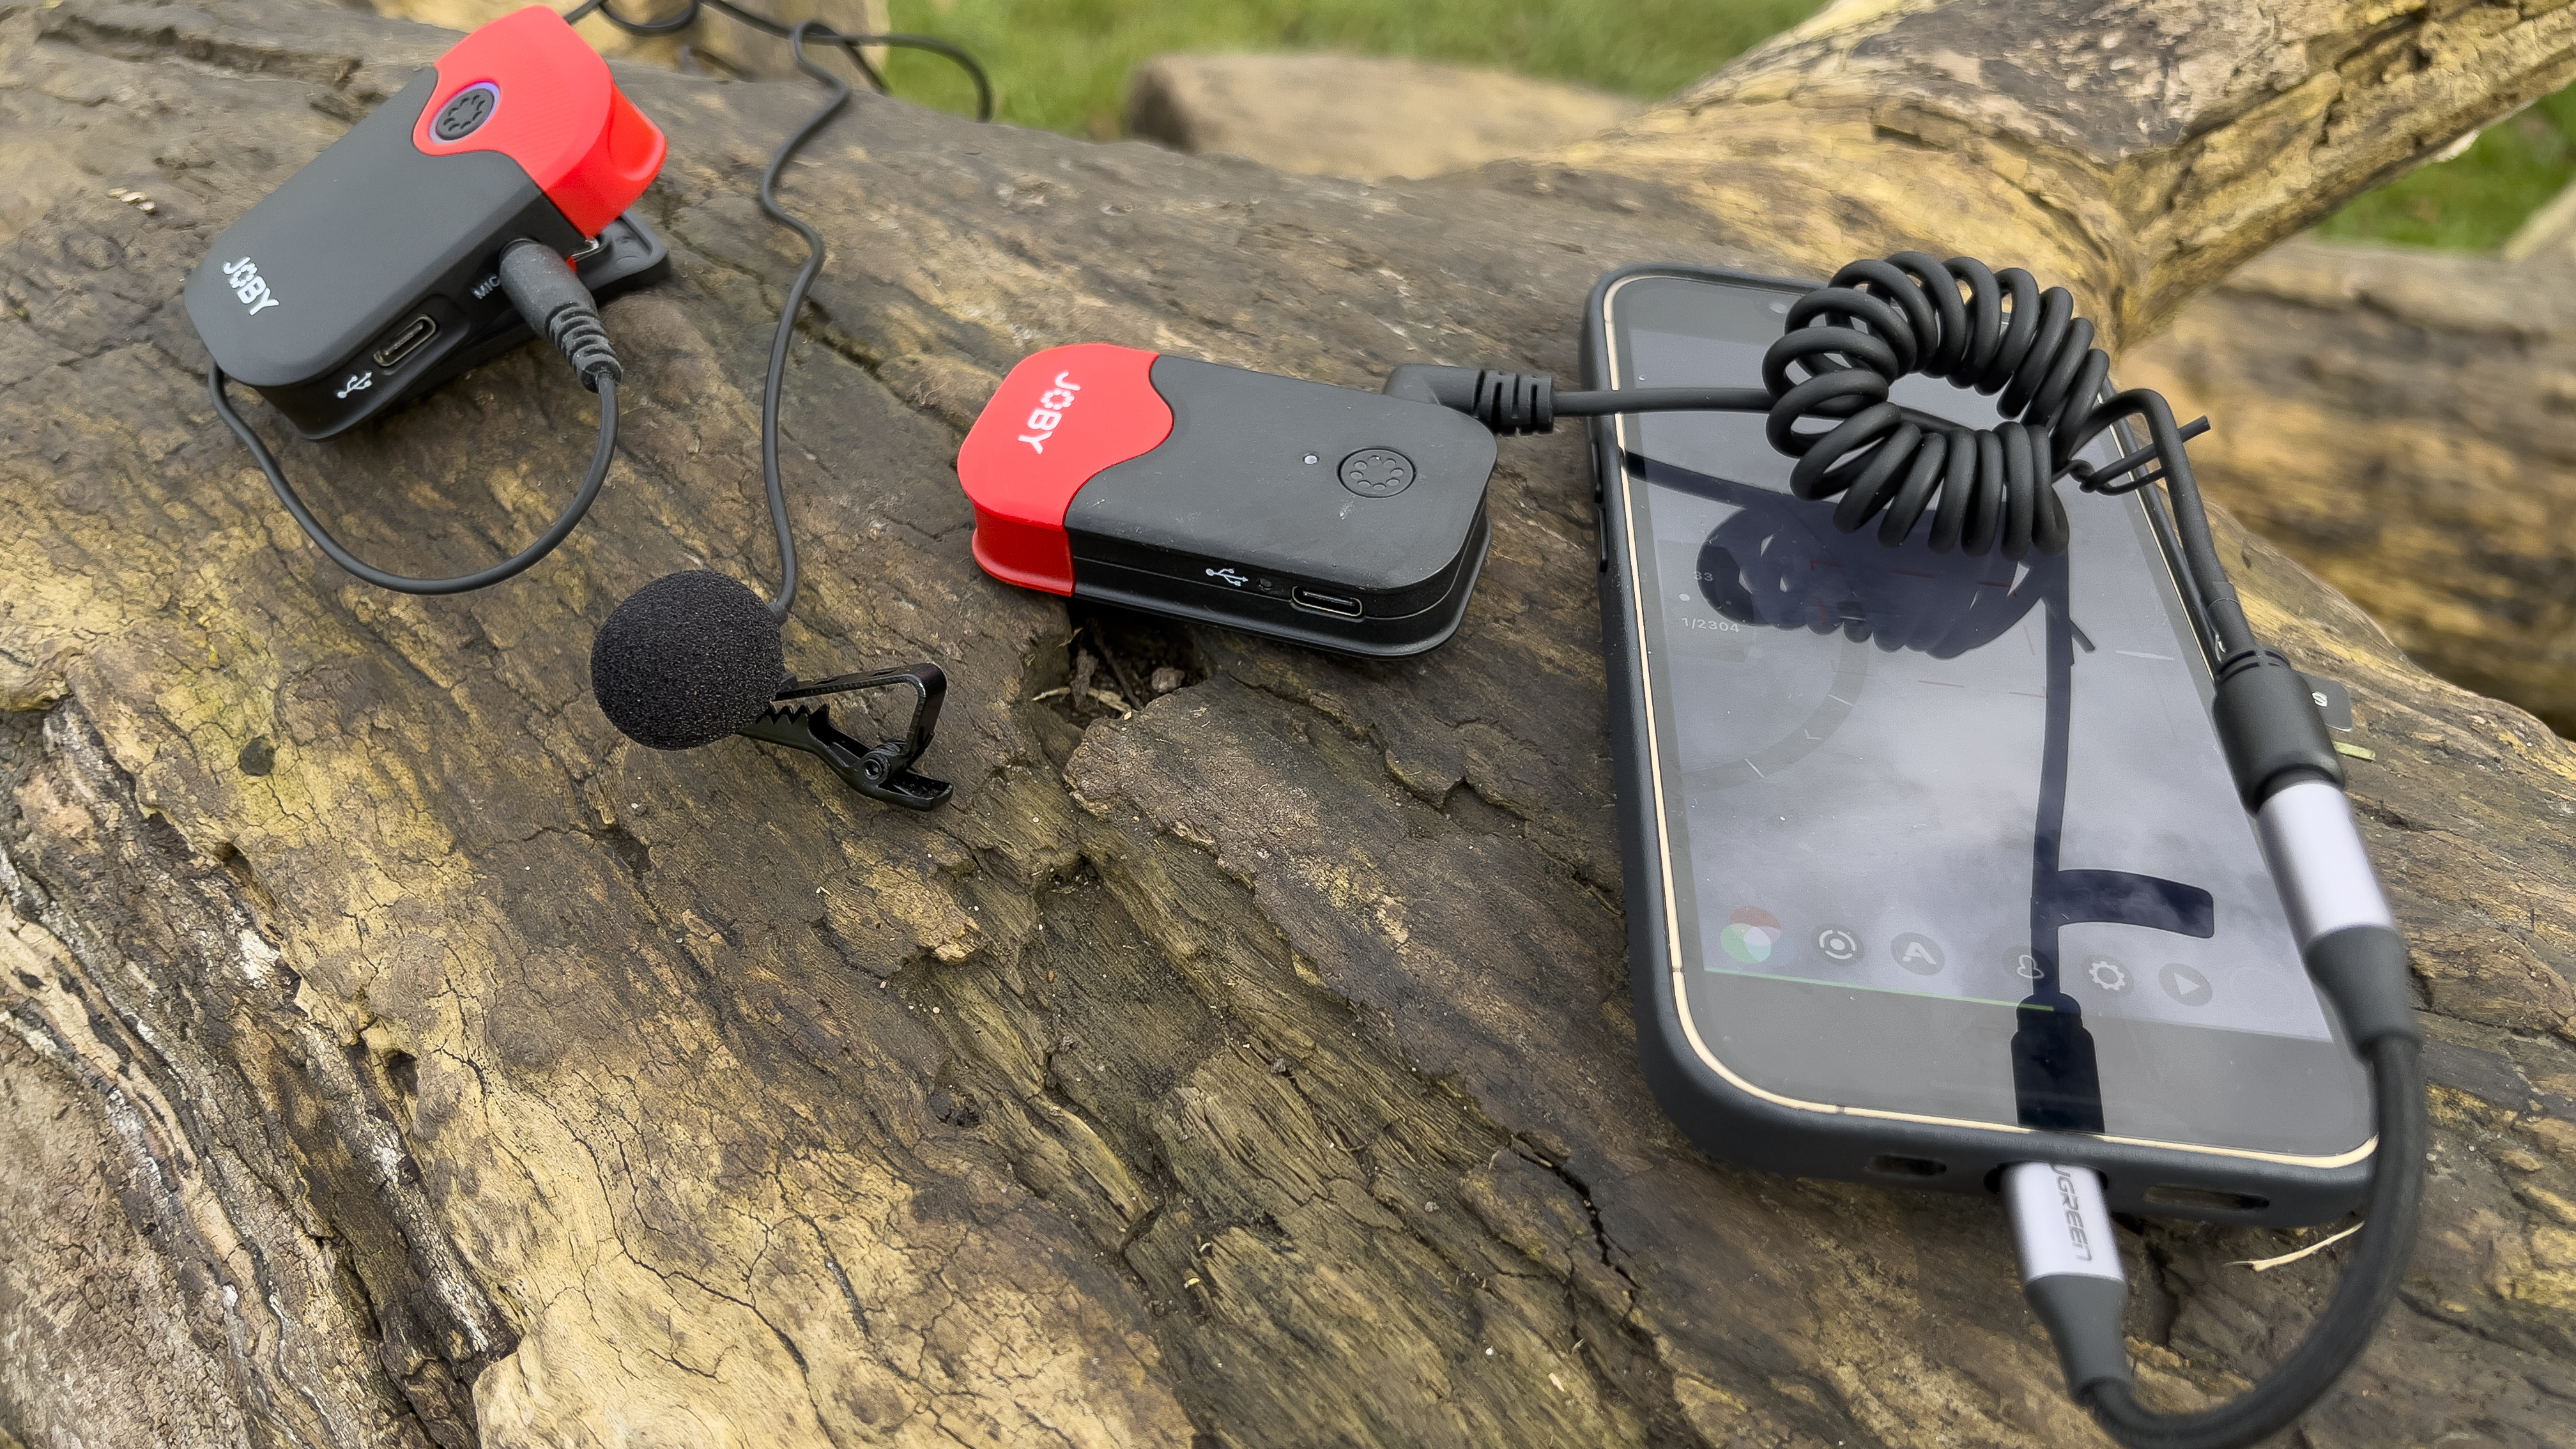
The magnetically mounted red and black mic transmitter is eye-catching (especially when it’s wearing a furry wind shield). This kit's visibility may suit the needs of social media content creators but for a more discreet and conventional recording you can plug in a supplied traditional cavalier clip mic into the transmitter and hide the cable inside the subject’s shirt. The transmitter can then be clipped out of sight on the subject’s belt thanks to a supplied belt clip.
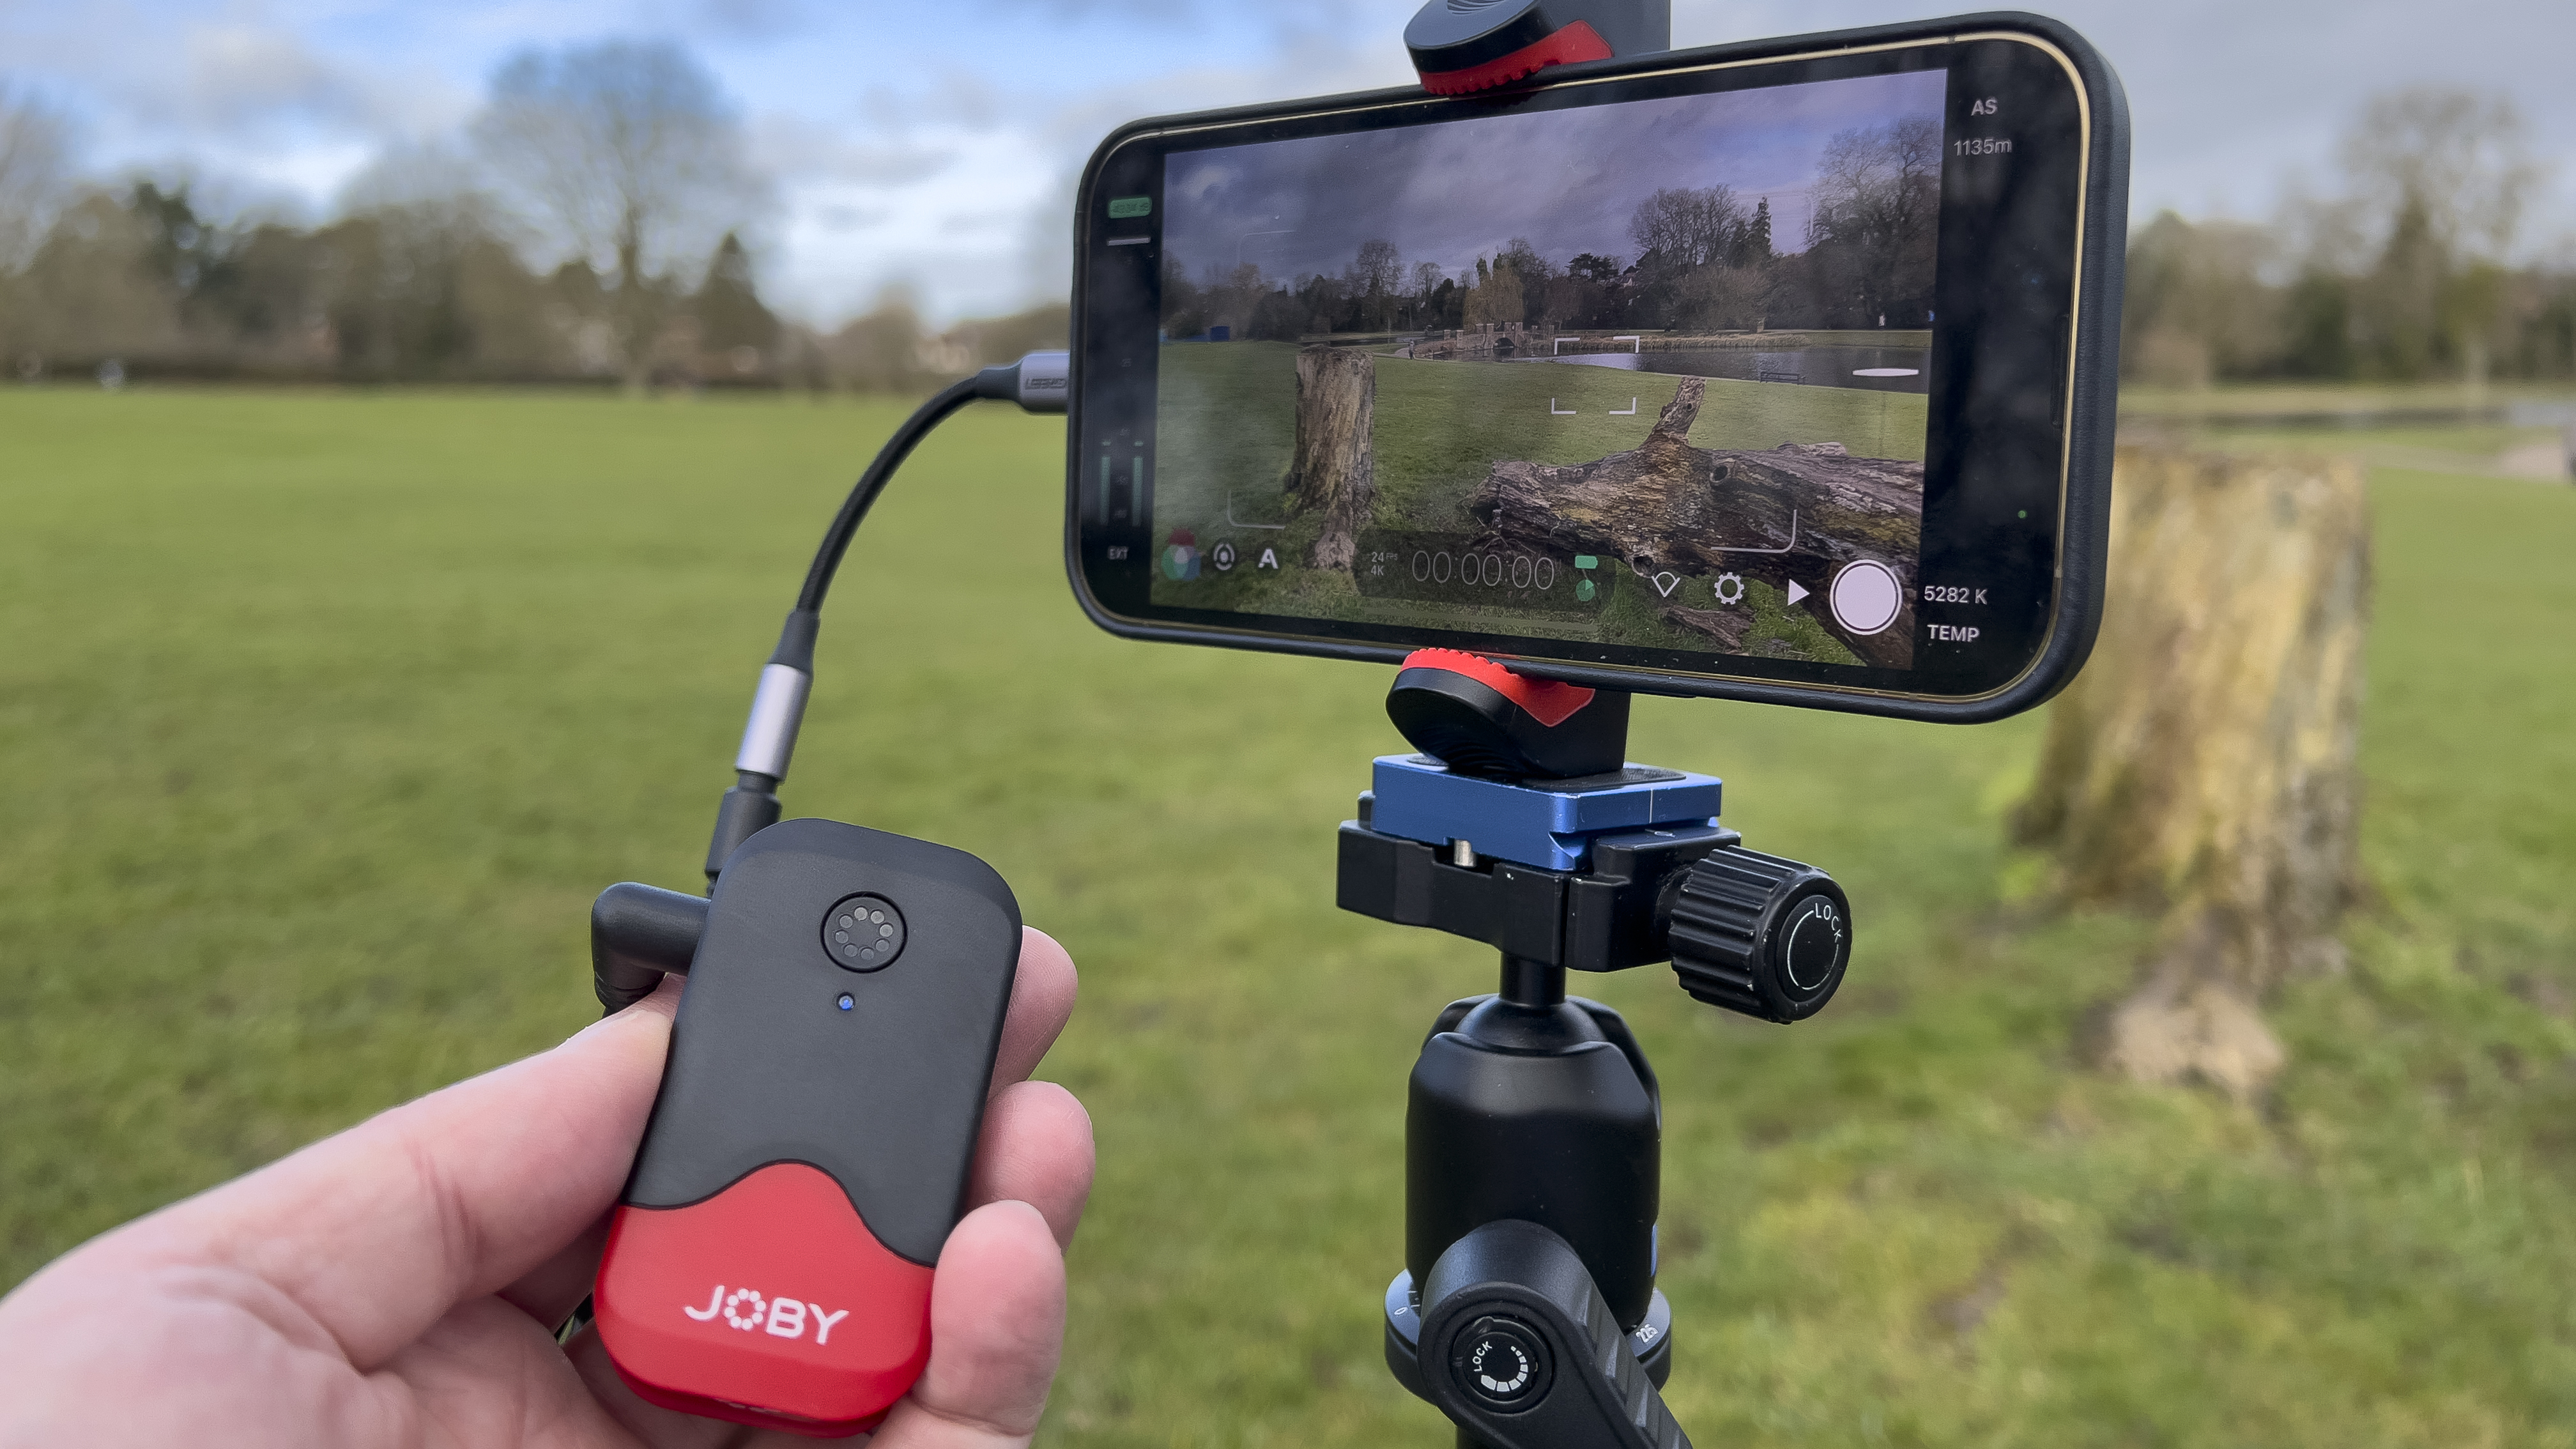
The receiver can be attached to a camera or smart phone using supplied TRS and TRRS cables. During our test we needed to supply an additional headphone jack to lighting cable adaptor to attach the Wavo receiver to our iPhone 13 Pro. We picked up a UGREEN Lightning to 3.5mm Headphone Jack Adapter for around $15/£15. Perhaps one of these adaptors could be included in future Wavo AIR releases due to the popularity of iPhones as video recording devices.
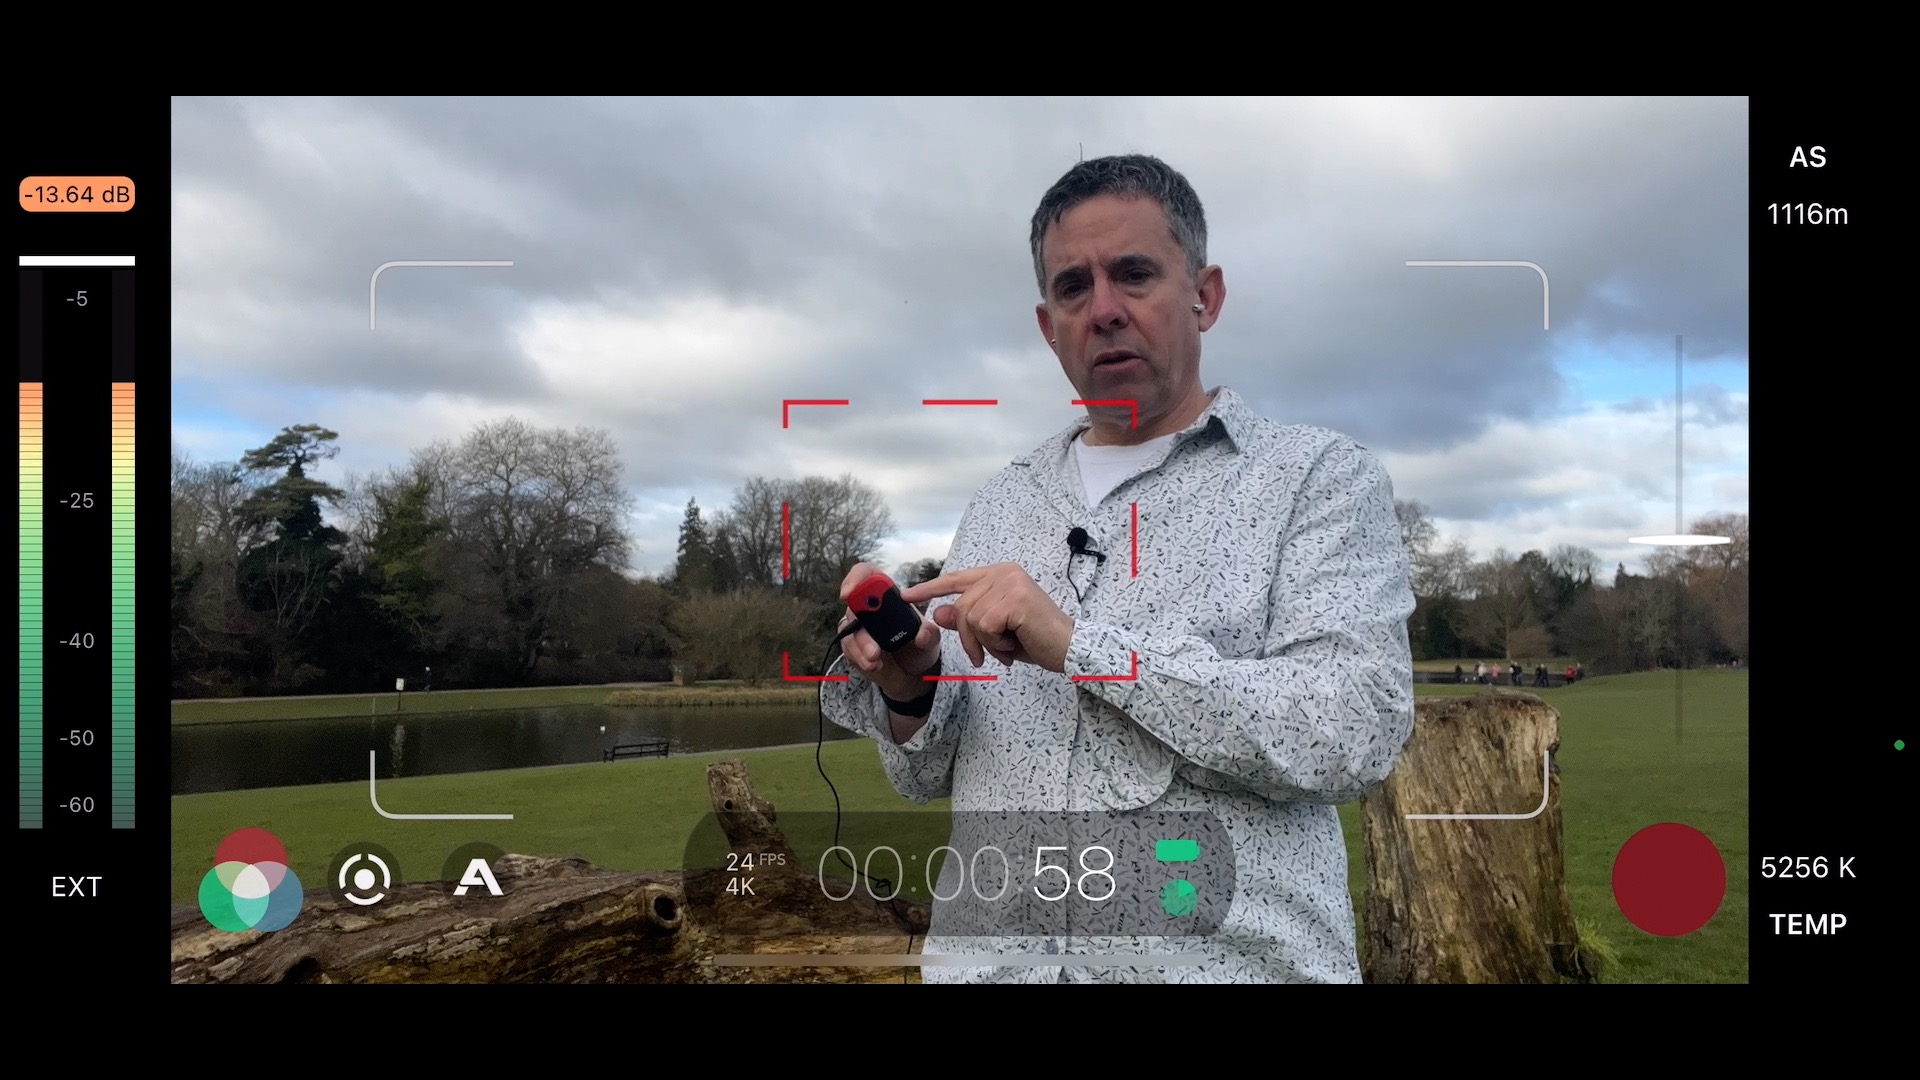
One of the key challenges faced when recording sound is to capture sound levels that are strong enough to be loud and clear without distorting the subject’s voice. The Wavo AIR transmitters have an LED wheel that lights up in increments when you tap the + button to increase the recording levels. This is no substitute for a proper sound level indicator that gives you a visual peaking warning (such as an animated level bar shooting into the red). However, by recording the Wavo AIR’s output onto the FiLMic Pro app we were able to view a professional sound level indicator and adjust the levels on the Wavo AIR’s transmitter with precise control.
The best camera deals, reviews, product advice, and unmissable photography news, direct to your inbox!
We also monitored the sound during the recording on Bluetooth headphones to help identify potential problems such as drop out, distortion or unwanted background noise.
Build and handling
The Wavo AIR transmitters, receiver and accessory mounts are made of lightweight plastic. The Wavo AIR works straight out of the box as the transmitter mics and receiver are paired. Documentation demonstrates how to pair the devices if required using a supplied pin (identical to the ones used to open an iPhone’s sim drawer).
We found that the transmitters’ clip-on wind shields were a bit fiddly to fit to the units, but they stayed attached once clipped in. Sound levels are controlled with a tap of the + and - buttons on each transmitter. After setting the mic sound levels we found that it was easy to accidentally tap these buttons and change the audio levels as we clipped the mic onto our belt.
Performance
Joby claims that you can record audio from the transmitters from up to 50 meters with obstacles – basically. as long as the transmitters and receiver have a clear line of sight. This proved to be the case during our test. Our sound was clear as a bell as when we faced the receiver at a 50 meter distance but it dropped out when we turned our back to the camera (losing line of sight.) We only had one instance of drop out during the test when we were facing the camera from a distance, and this only lasted for a fraction of a second.
We were also able to record subjects walking away from the camera to a distance of around 24 meters, a little shorter than the Joby claim of 30 meters with obstacles.
The two supplied transmitters enable you to record an interviewee and interviewer at the same time, though you can’t separate the audio into separate channels. This shouldn’t be a problem if you test and set the two subjects' levels before you start recording. Battery Life is documented at 6 hours which is more than enough for most shoots (and we had no issues with battery life in our test).
With bluetooth recordings you can get the problem of latency, where the sound is slightly out of sync from the video. As the sound from the Wavo AIR was only 3 frames out of sync it is a simple matter to detach the audio from the video in an app such as Final Cut Pro or Premier Pro and nudge the audio by 3 frames. The end result was perfectly synced high quality video and audio.
Verdict
The Joby Wavo AIR enables you to capture broadcast quality sound with the freedom to wander wirelessly. It’s perfect for capturing audio for both social media content and traditional ‘talking heads’ interviews. The build is a little plasticky, however, and there was a small latency via the wireless connection that left the audio slightly out of sync with the video – a common enough issue with wireless mics and not difficult to fix in editing software.
Read more:
• Best microphones
• Best audio recorders
• Best video editing software
George has been freelancing as a photo fixing and creative tutorial writer since 2002, working for award winning titles such as Digital Camera, PhotoPlus, N-Photo and Practical Photoshop. He's expert in communicating the ins and outs of Photoshop and Lightroom, as well as producing video production tutorials on Final Cut Pro and iMovie for magazines such as iCreate and Mac Format. He also produces regular and exclusive Photoshop CC tutorials for his YouTube channel.
