To make a DIY flash diffuser for macro photography
Time: 30 minutes
Skill level: Beginner
Kit needed: DSLR with pop-up flash, close-focusing lens, crisps can, tissue paper, rubber bands
Missed the earlier parts of this feature?
- How to use flash: Part 1
- How to use flash: Part 2
- How to use flash: Part 3
- How to use flash: Part 4
- How to use flash: Part 5
- How to use flash: Part 6
- How to use flash: Part 7
We’ve covered a lot of ground so far in this series of article on flash, but in Part 8 we’re taking it back to basics with a cheap lighting trick for great macro photos.
You can lock away your light stand and flashgun for this; all you need is your camera’s pop-up flash, an empty crisp can and a bit of tissue paper.
You’ll also need very basic DIY skills – we’ll be getting crafty with scissors and cutting the can down to size before fixing it to your camera with rubber bands – but the quality of light that’s funnelled onto the subject is worth the minimal effort involved.
Step by step: Funnel your flash

1. Set up your camera
Turn your camera to the Manual exposure mode and press the flash button. On some cameras you’ll need to keep the button depressed and then scroll the sub-command dial until you reach standard flash mode. Use the command dial to drop the flash power to -1EV stop.

Find a can which is silver on the inside, as this will reflect the light, rather than absorb it, making for a more powerful flash.
2. Shape the can
Offer up your crisps can to the pop-up flash and see which bits you need to cut for it to fit around the unit while it’s raised up. Mark the shape with a pen before cutting it to size. Cut the front off at an angle so that the light is forced down across the area in front of the lens.

3. Add tissue paper
Use tissue paper taped across the angled cut to diffuse the light and soften shadows. Don’t use too many layers or the flash power will be significantly reduced and you won’t be able to light the subject properly. If you want something more robust, try a shower curtain cut to size.

4. Attach your diffuser
Make holes in the can with scissors and poke rubber bands through them to strap the can around your camera. Using rubber bands makes it easy to take the can off when you want to shoot something other than a close up, as we did while walking around this forest.

Set your white balance to ‘flash’ for accurate colour reproduction
5. Get in close
With a macro lens on the camera, set an aperture of f/11 or f/16. Depth of field gets shallower as you focus closer, but a small aperture counteracts this a little. We’re using a sensitivity of ISO 1250 and a shutter speed of 1/80sec to ensure that the background that’s not lit by the flash is visible.

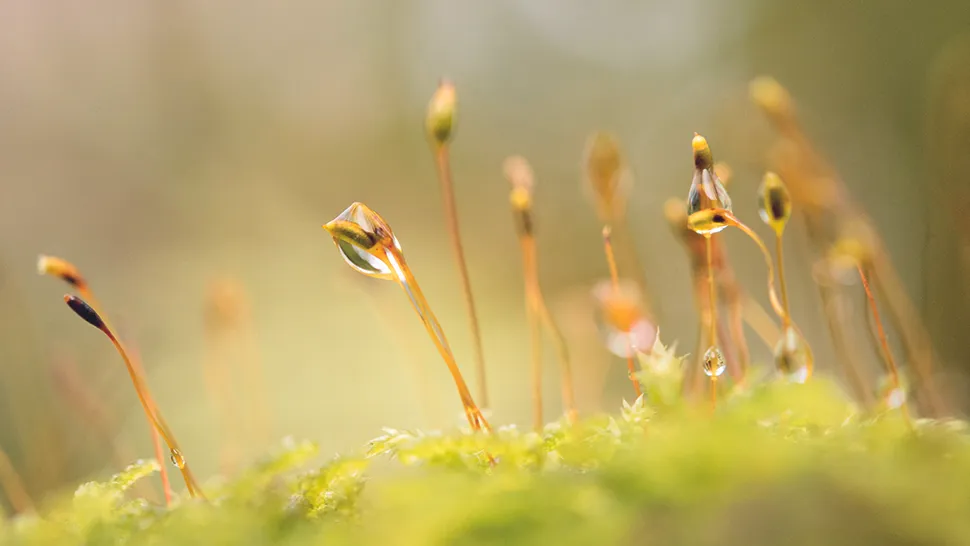
6. Experiment with composition
Try a different composition by turning your camera vertically, something that often suits tall, thin subjects. If you’re photographing delicate subjects such as fungi, be aware of how close your makeshift diffuser is. The last thing you want to do is bump into them and cause damage.
Read more: Cheat sheet - How to take the perfect landscape shot

