To make a mobile macro lighting studio
Time: 30 minutes
Skill level: Beginner
Kit needed: DSLR, flashgun, flash bracket, flash trigger cable, flashgun diffuser
Missed the earlier parts of this feature?
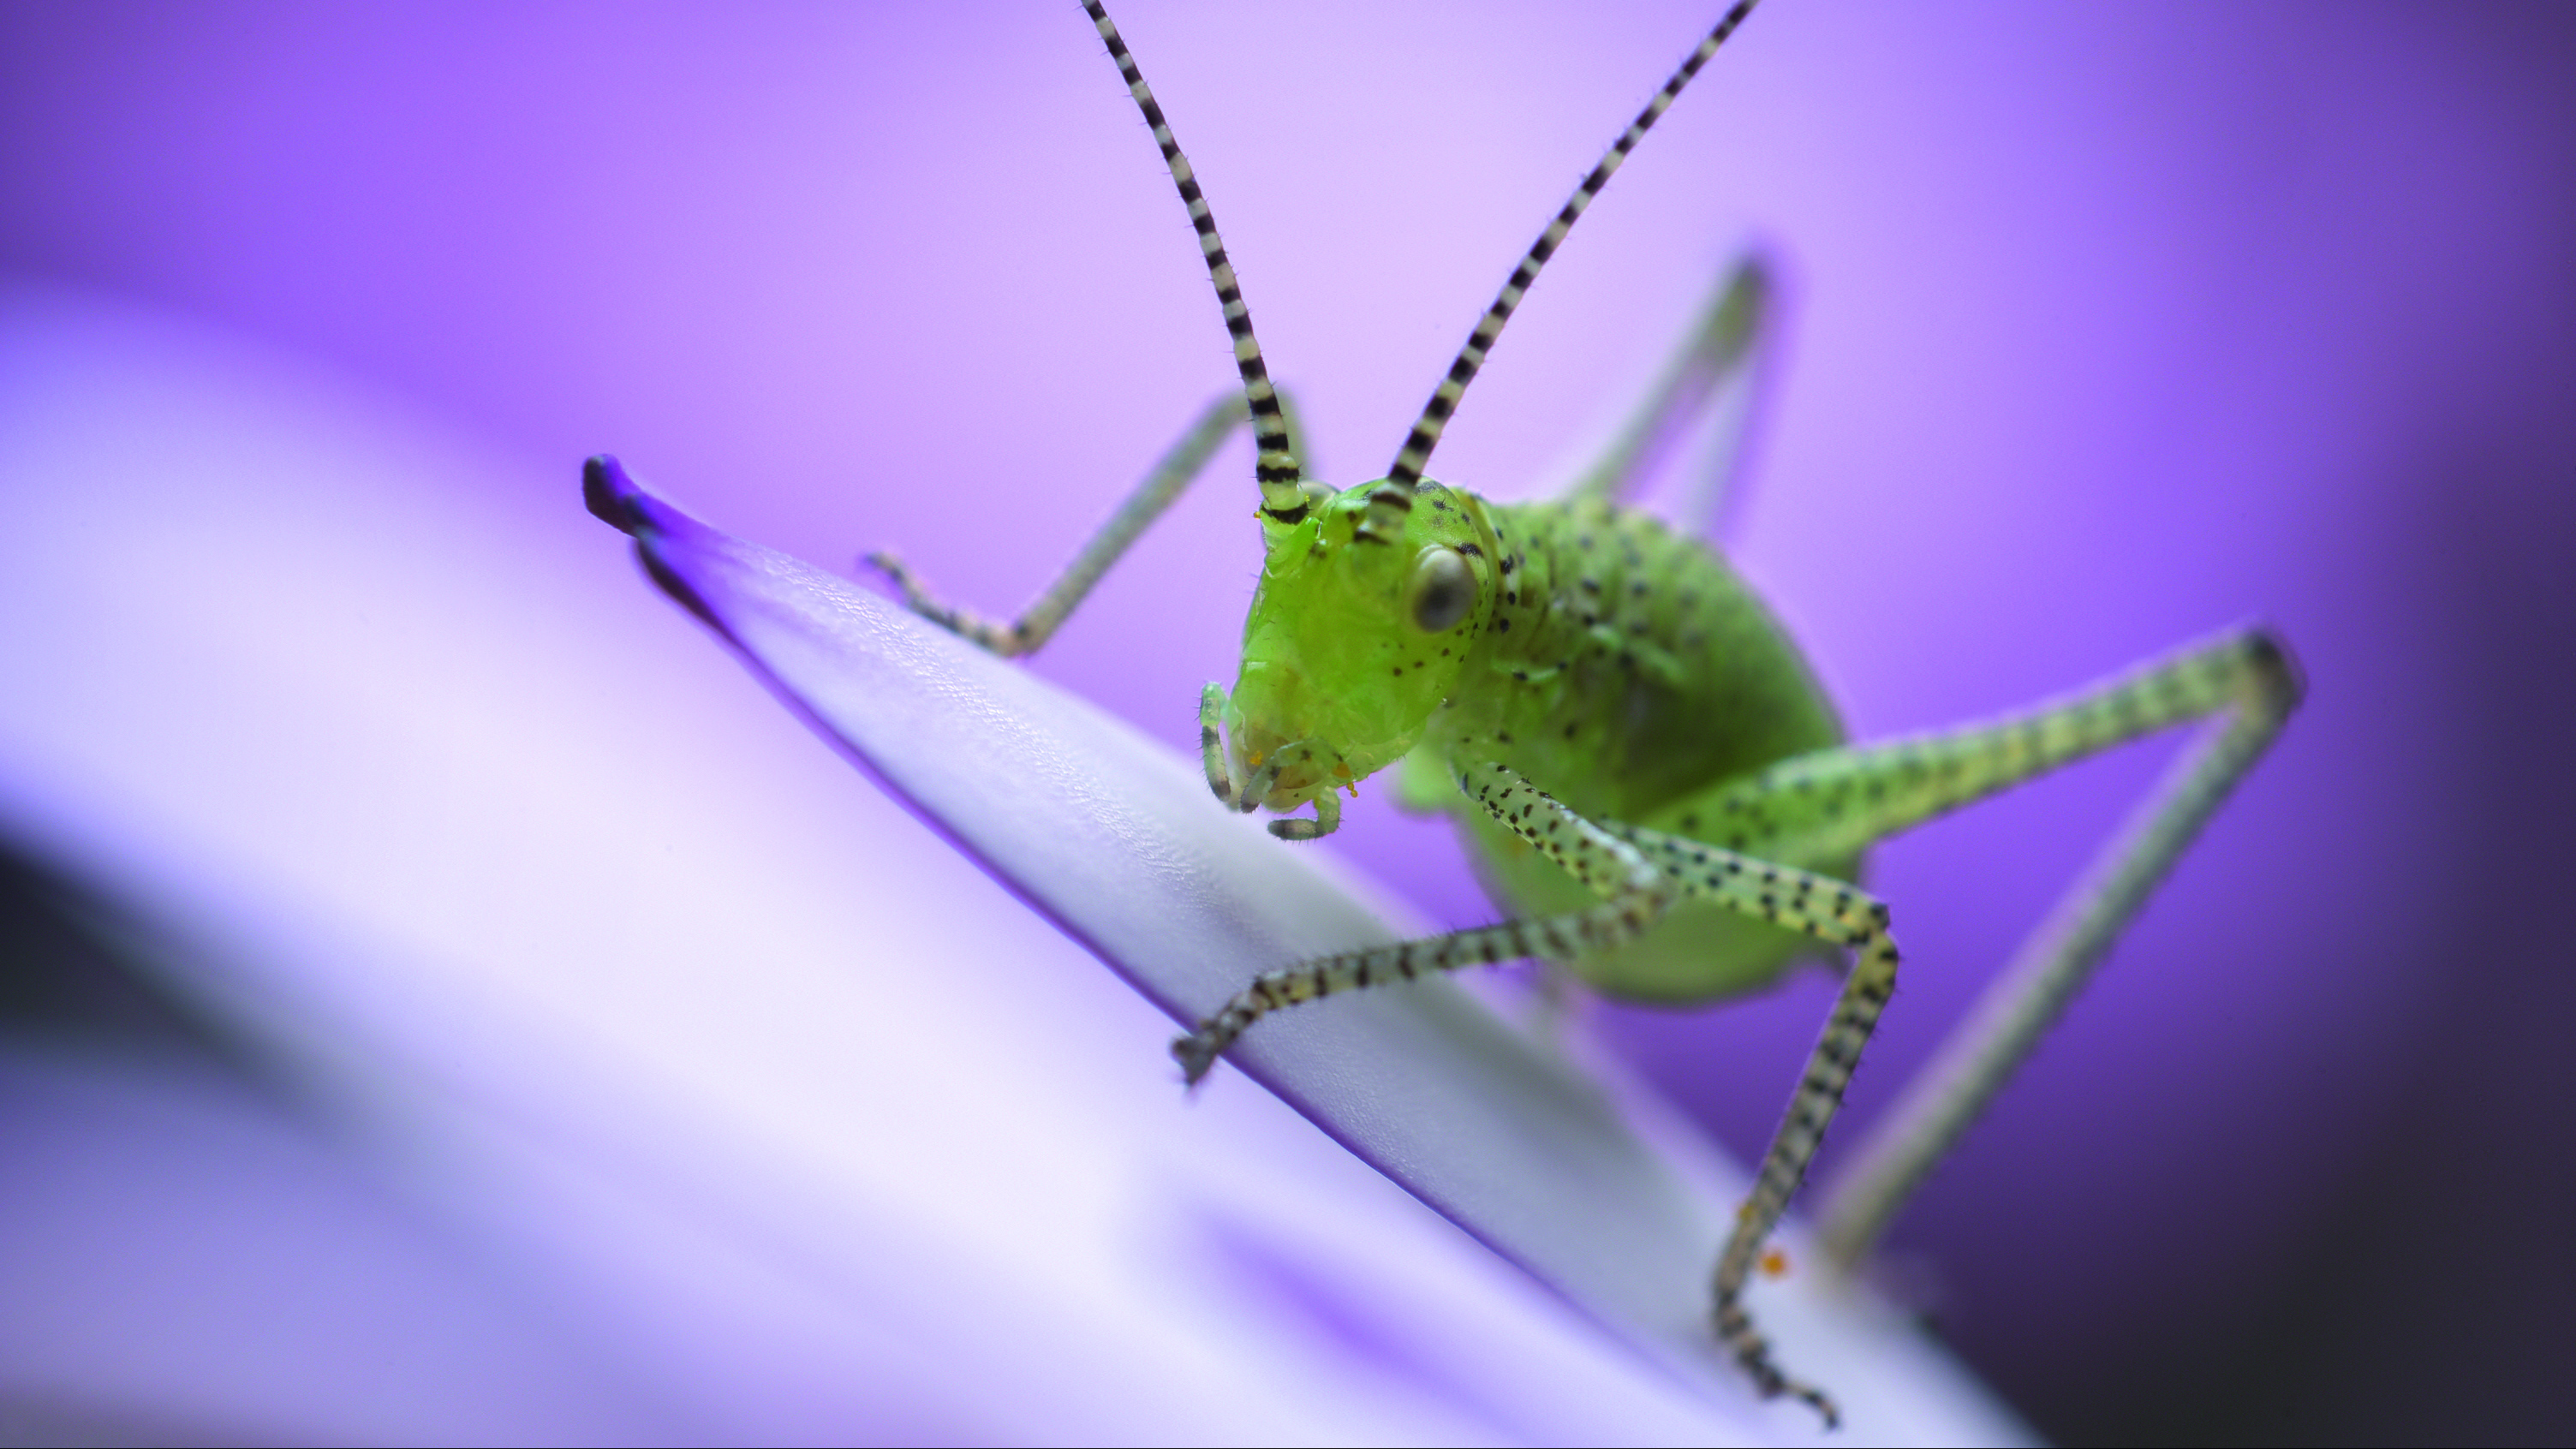
In the last instalment we showed you how to create film noir-style lighting with a GOBO. In this article, we’re going to show you how to go guerilla-style and make your own macro lighting setup that will work anywhere, at any time, and save space in your camera bag, as well as being relatively cheap.
There’s no need for clunky ring flashes, or dual flash heads that sit on the end of your lens. You need just one flashgun, a DSLR, a lens, a flash bracket, a wired flash trigger and a light diffuser to make a robust, mobile, macro studio.
Diffusing the light is the extra step that will enable you to take a studio-like portrait of your macro subject. You can mount everything together using the flash bracket and can lock in the settings you need to get perfect results every time.
Read on to see how it's done.
Step by step: Macro for not mucho
1. Reverse gear
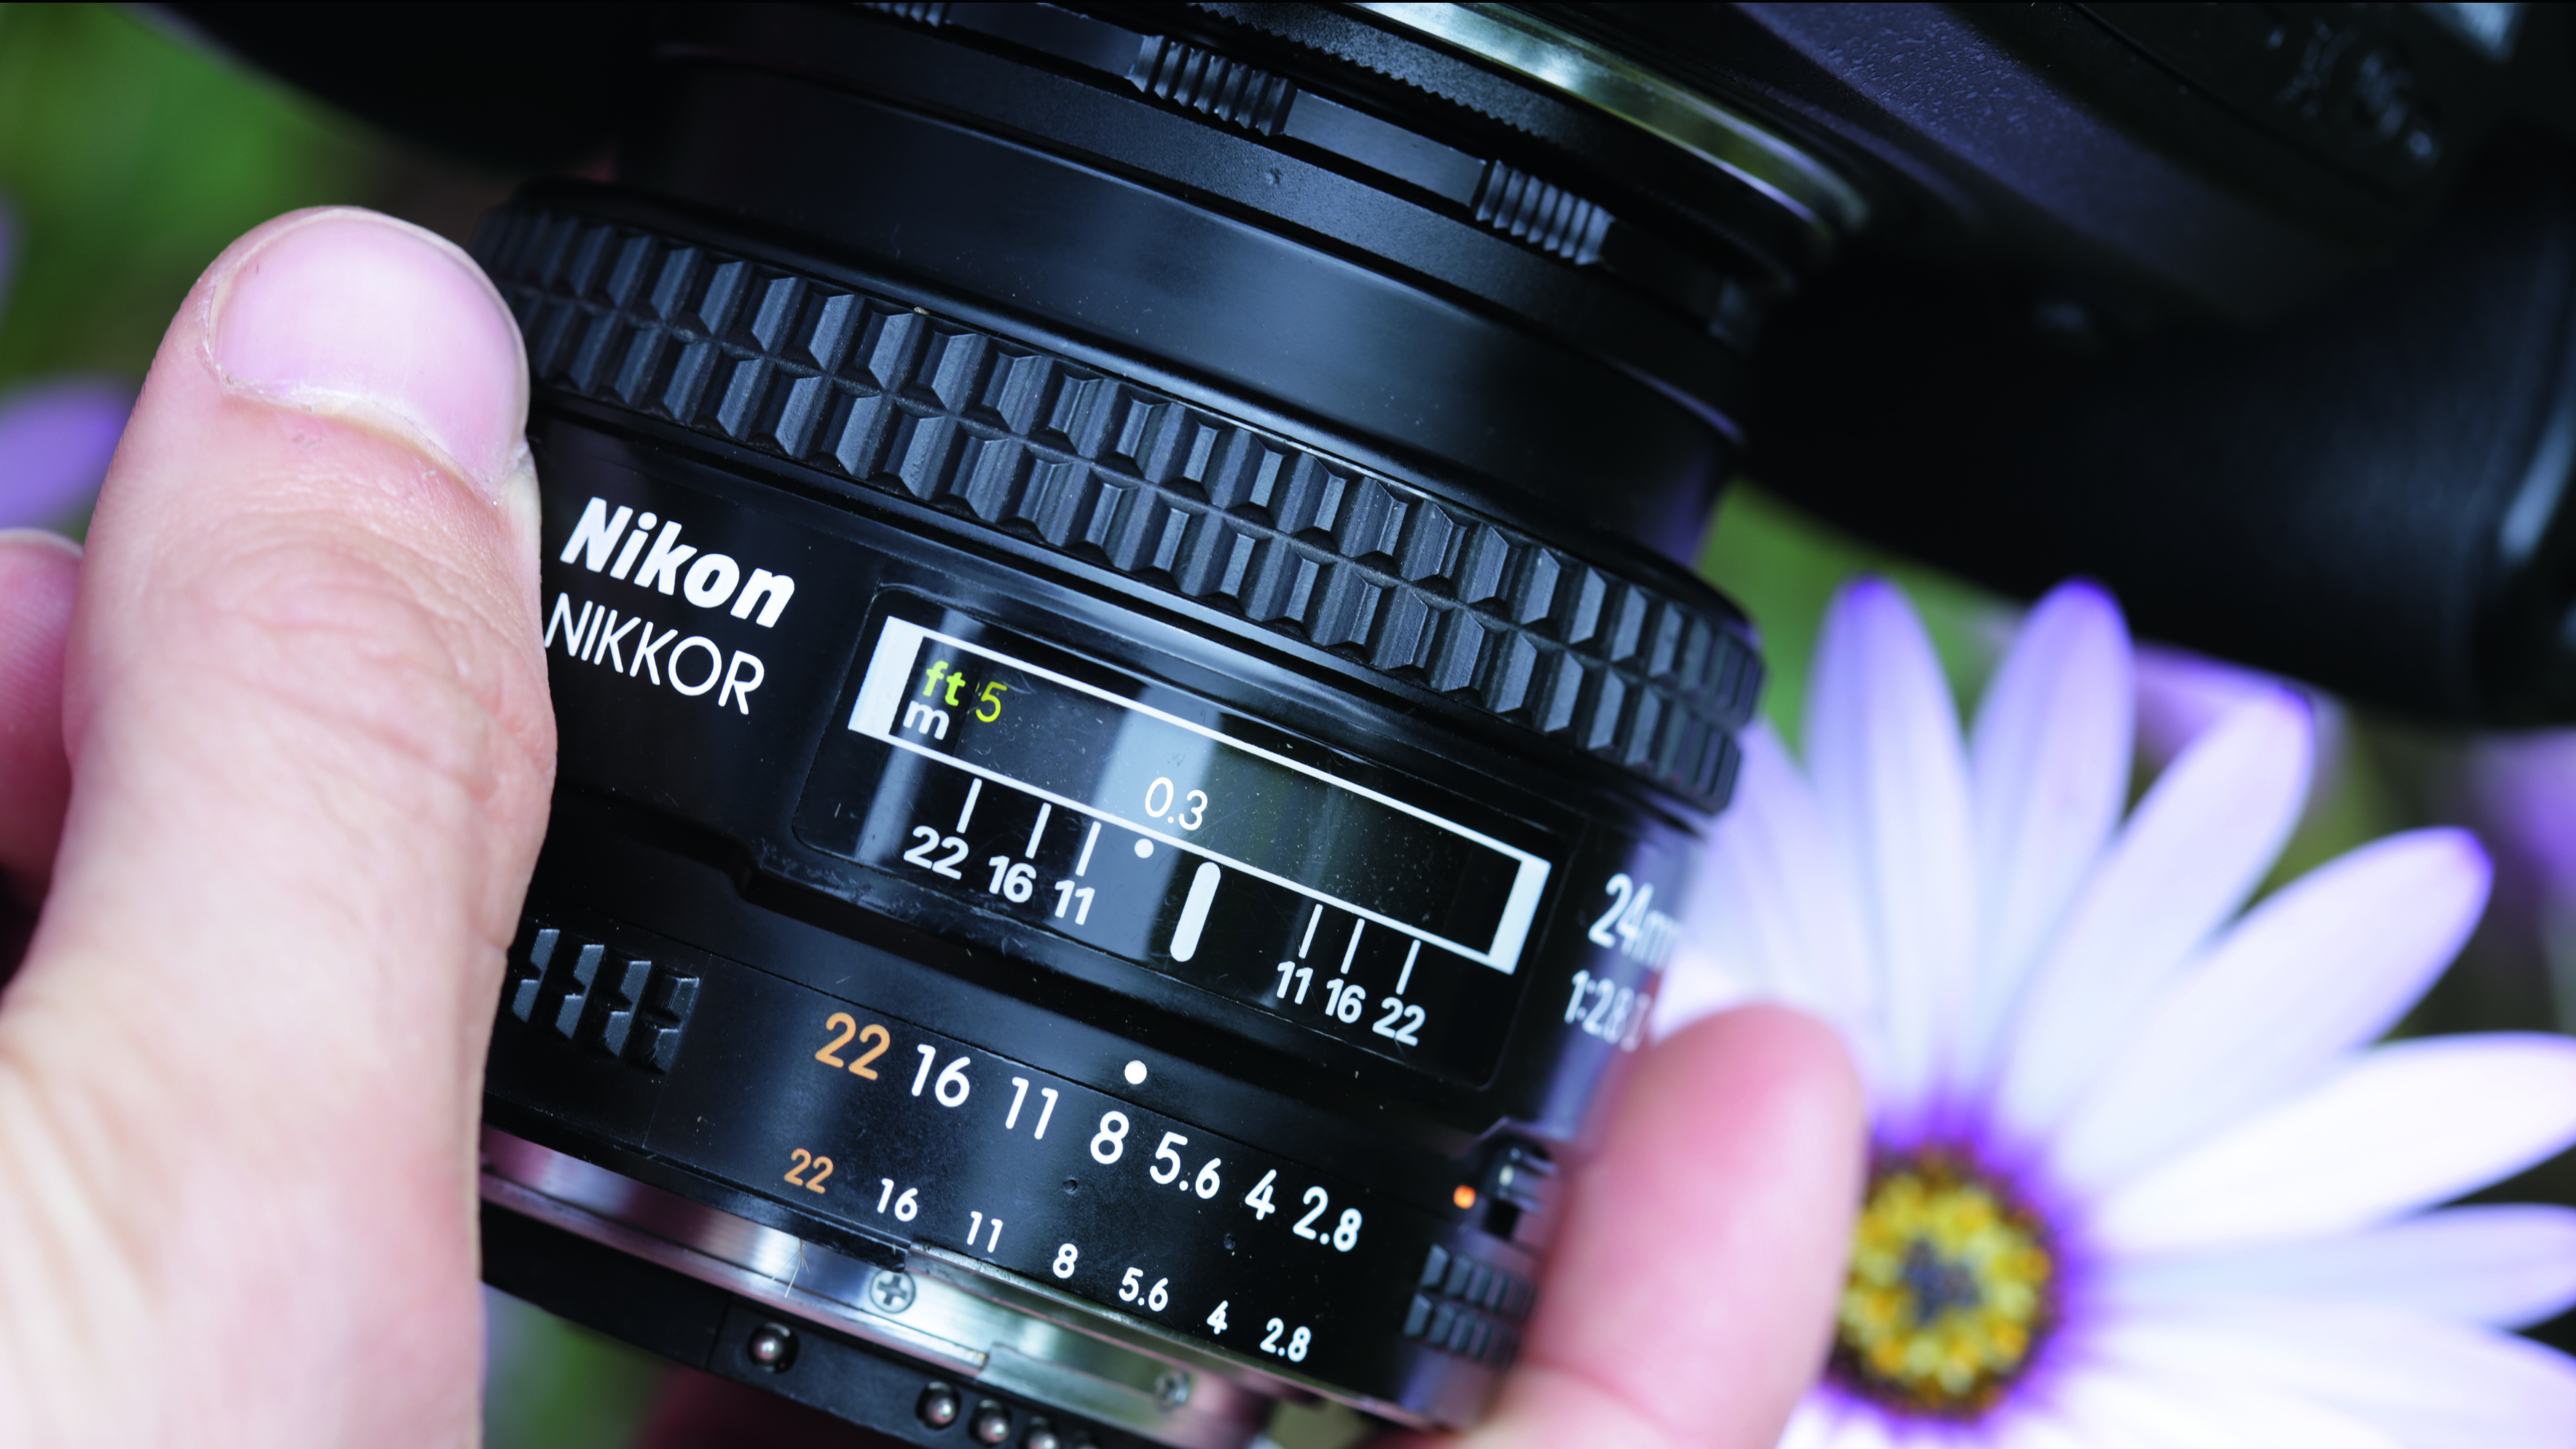
A macro lens, or even a kit lens, is fine for this shoot, but we opted to reverse a wide-angle lens to keep our kit as light and as cheap as possible. We used a 24mm f/2.8 lens but, whatever lens you use, switch it to manual focus and choose the minimum focusing distance.
The best camera deals, reviews, product advice, and unmissable photography news, direct to your inbox!
2. Down to the wire
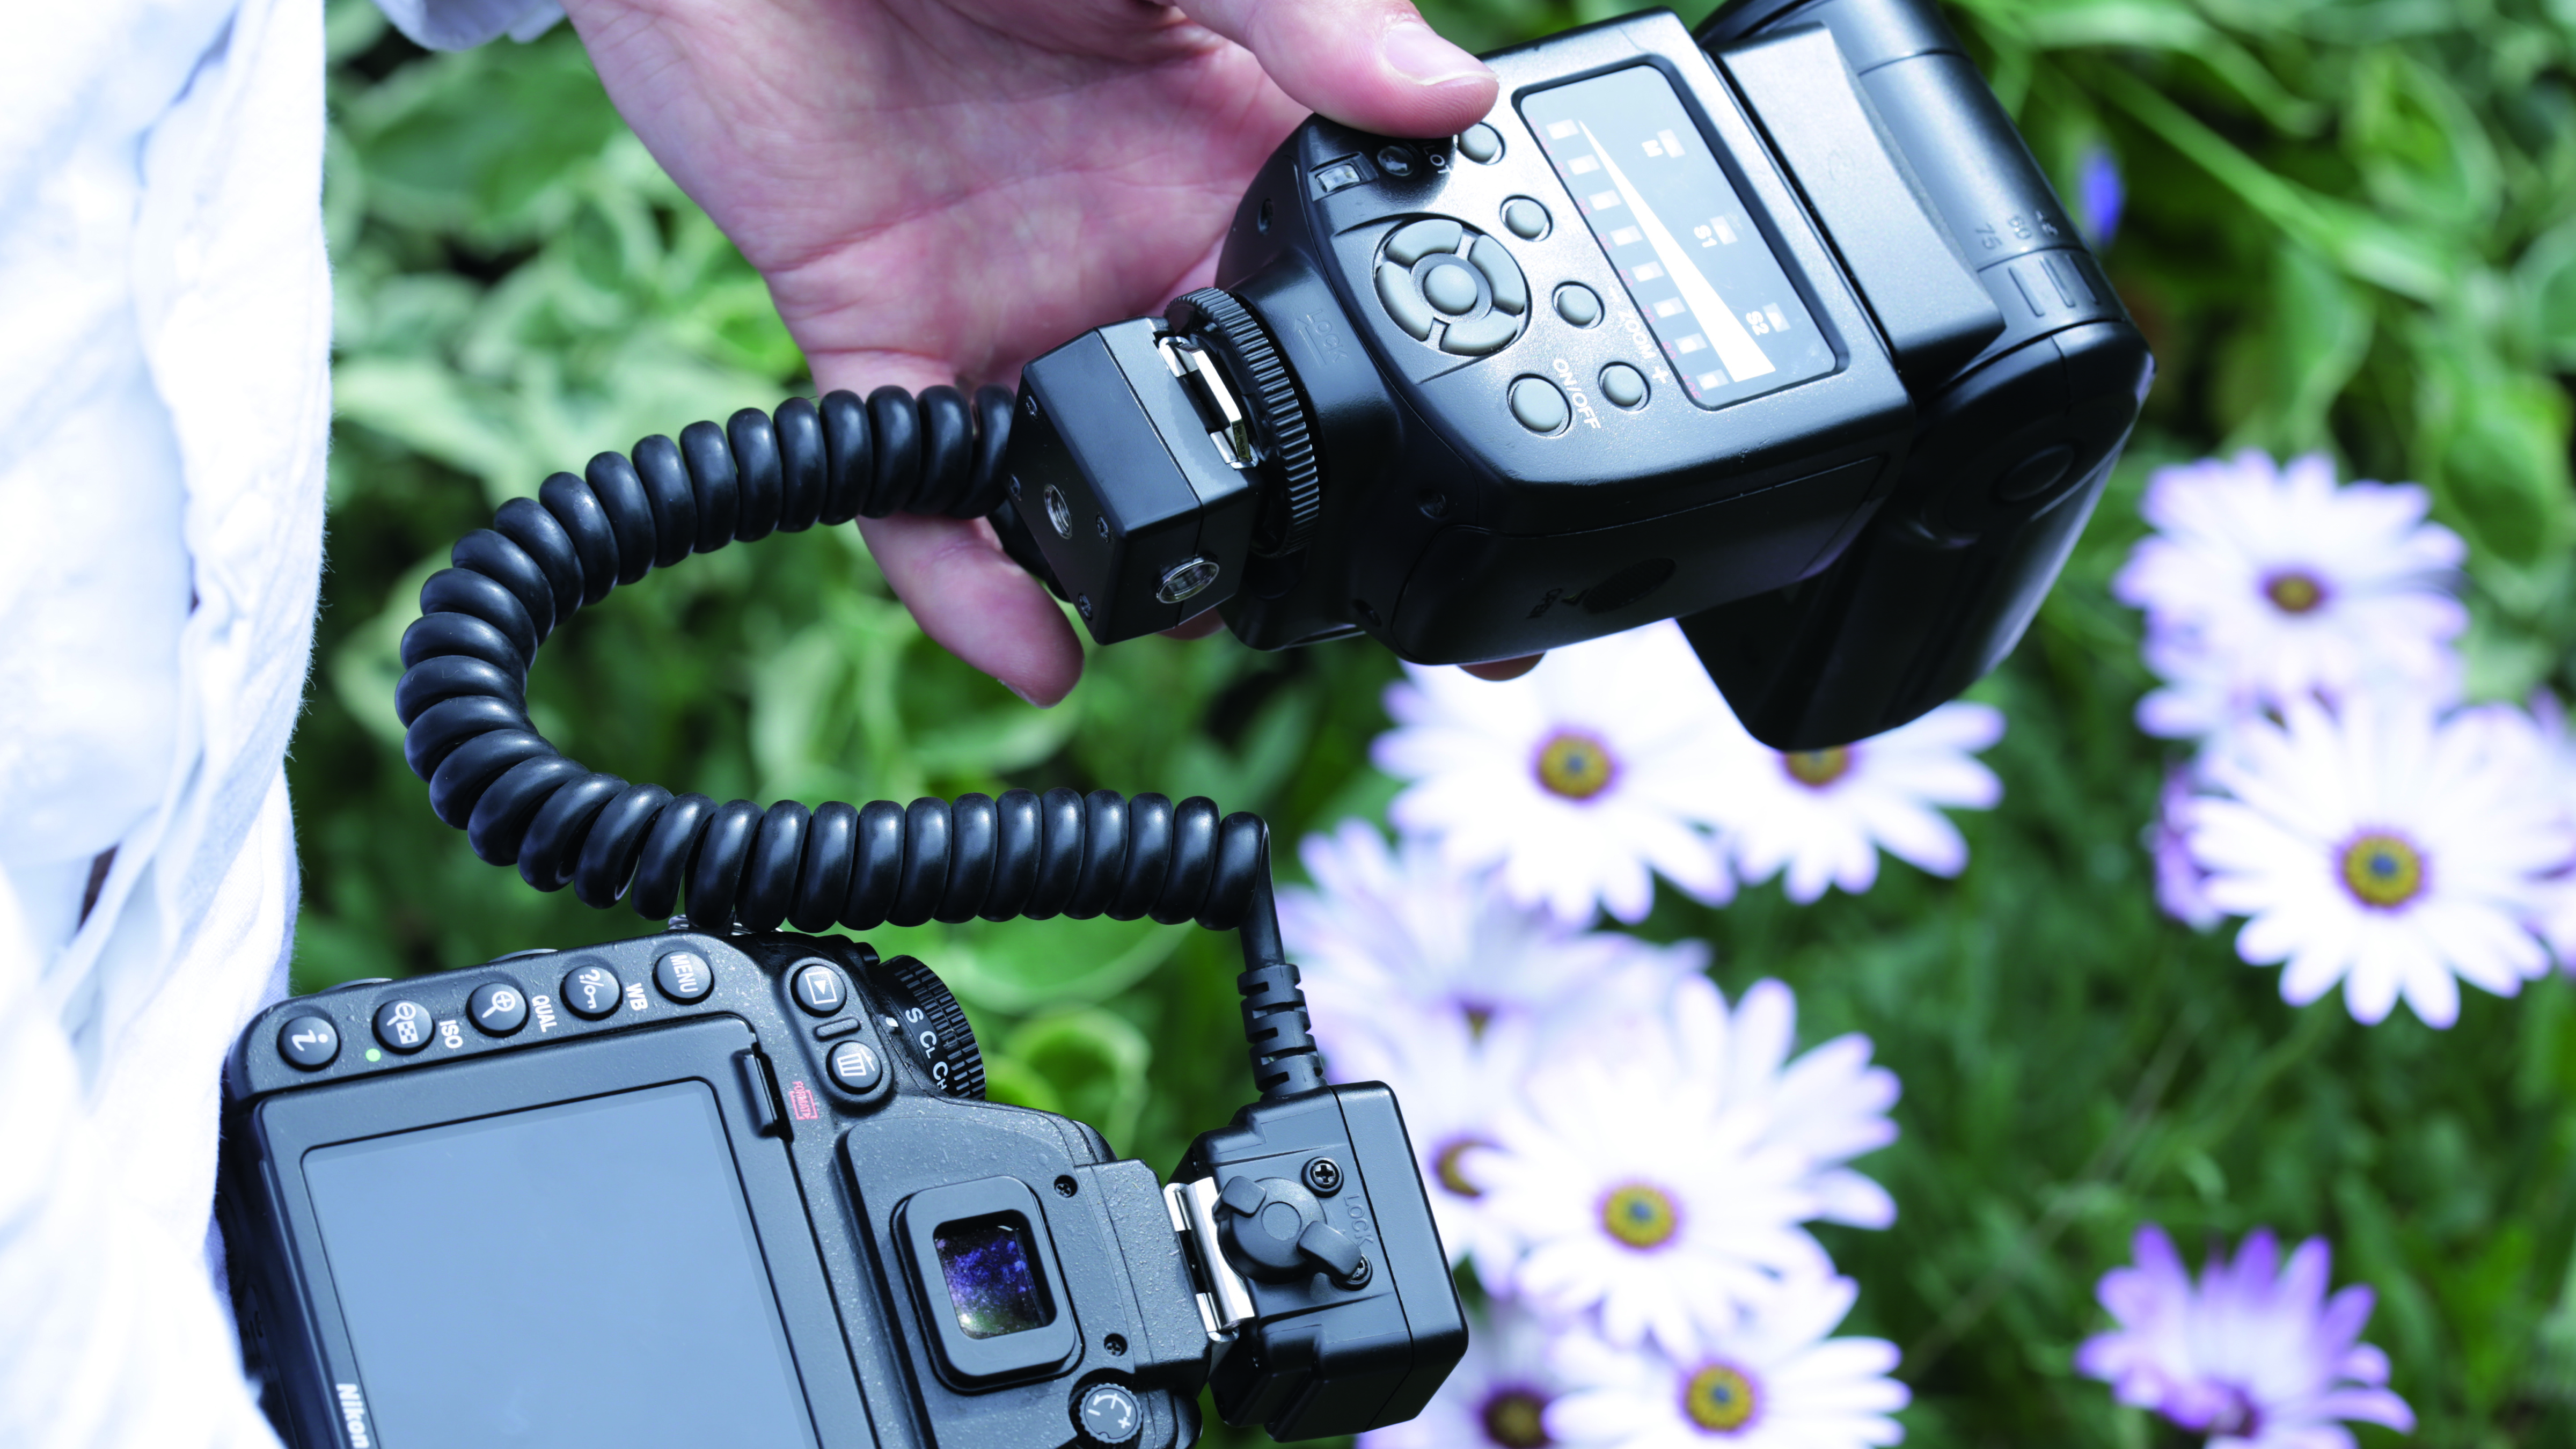
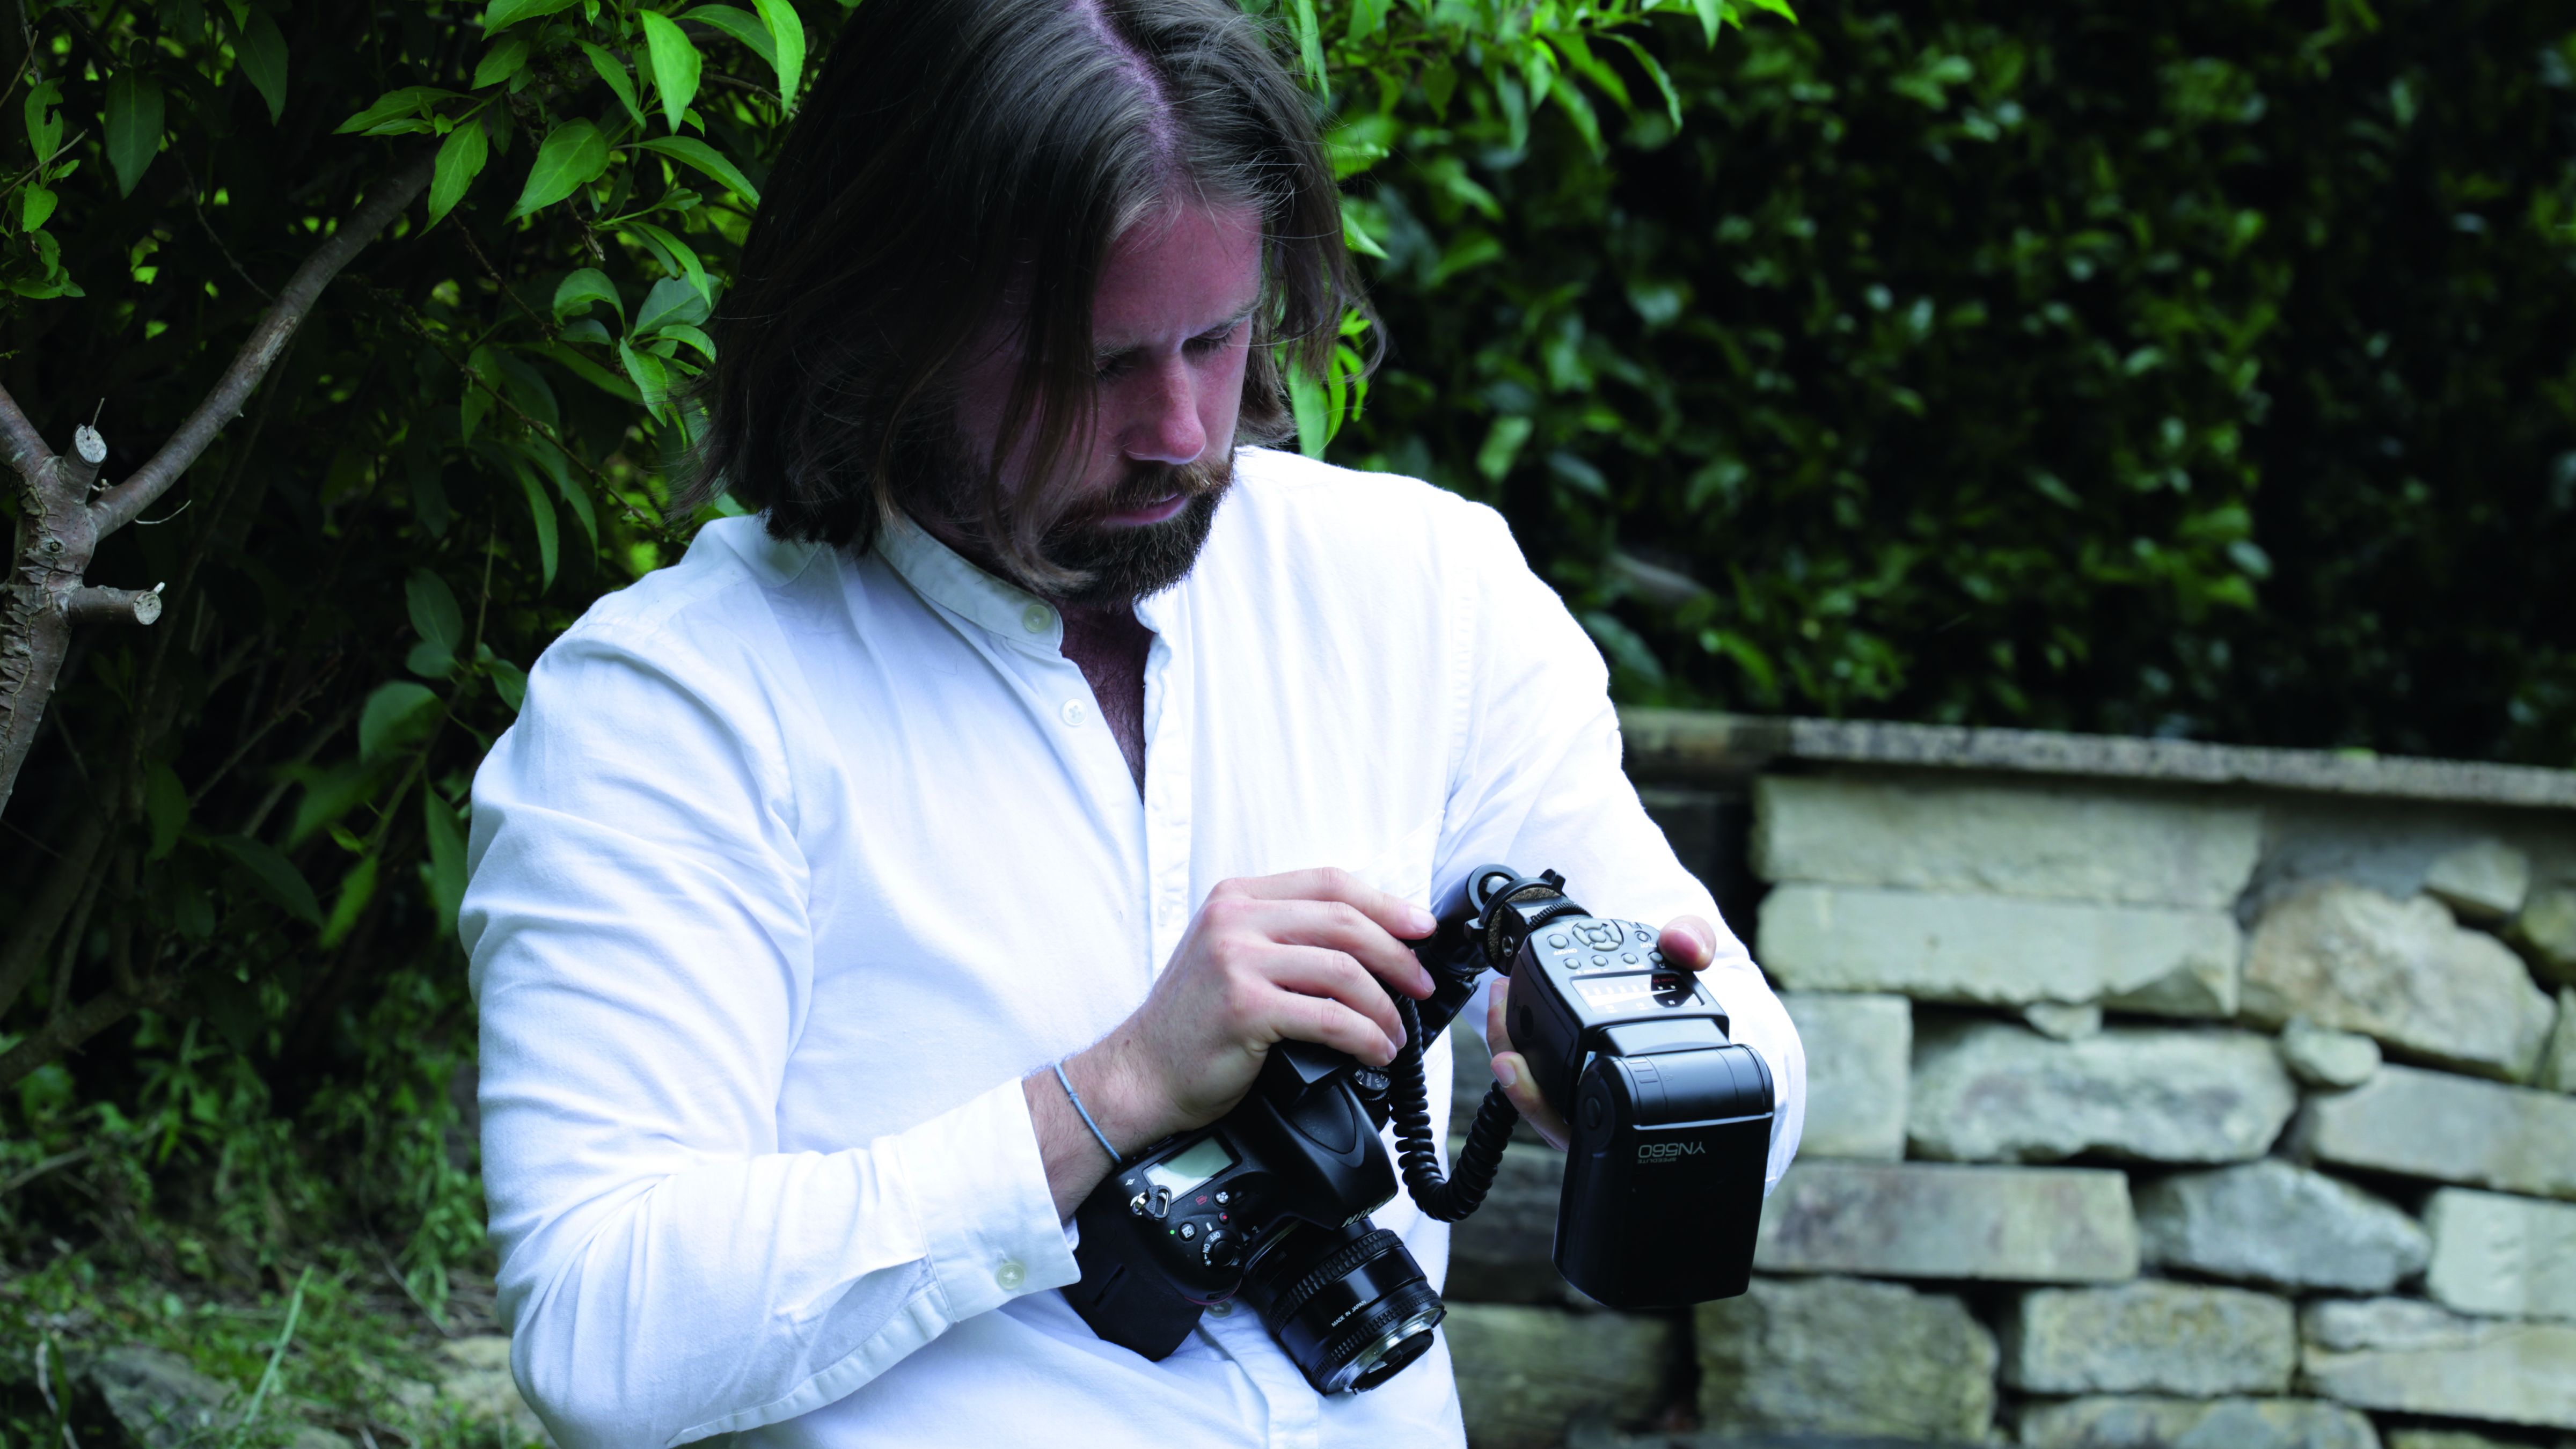
Cables are the most reliable way to trigger an off-camera flash, and they’re ideal for this project. Put one end on your camera’s hot shoe and lock the wire in place, then seat the flashgun on the hot shoe at the other end of the cable.
3. A place for everything
Use the bracket to position the flash above the lens, but without it poking over the front element. You want the light to be as close to the subject as possible – that way, you’ll need less power, resulting in quicker recycle times, and the light will be softer too.
4. Soft options
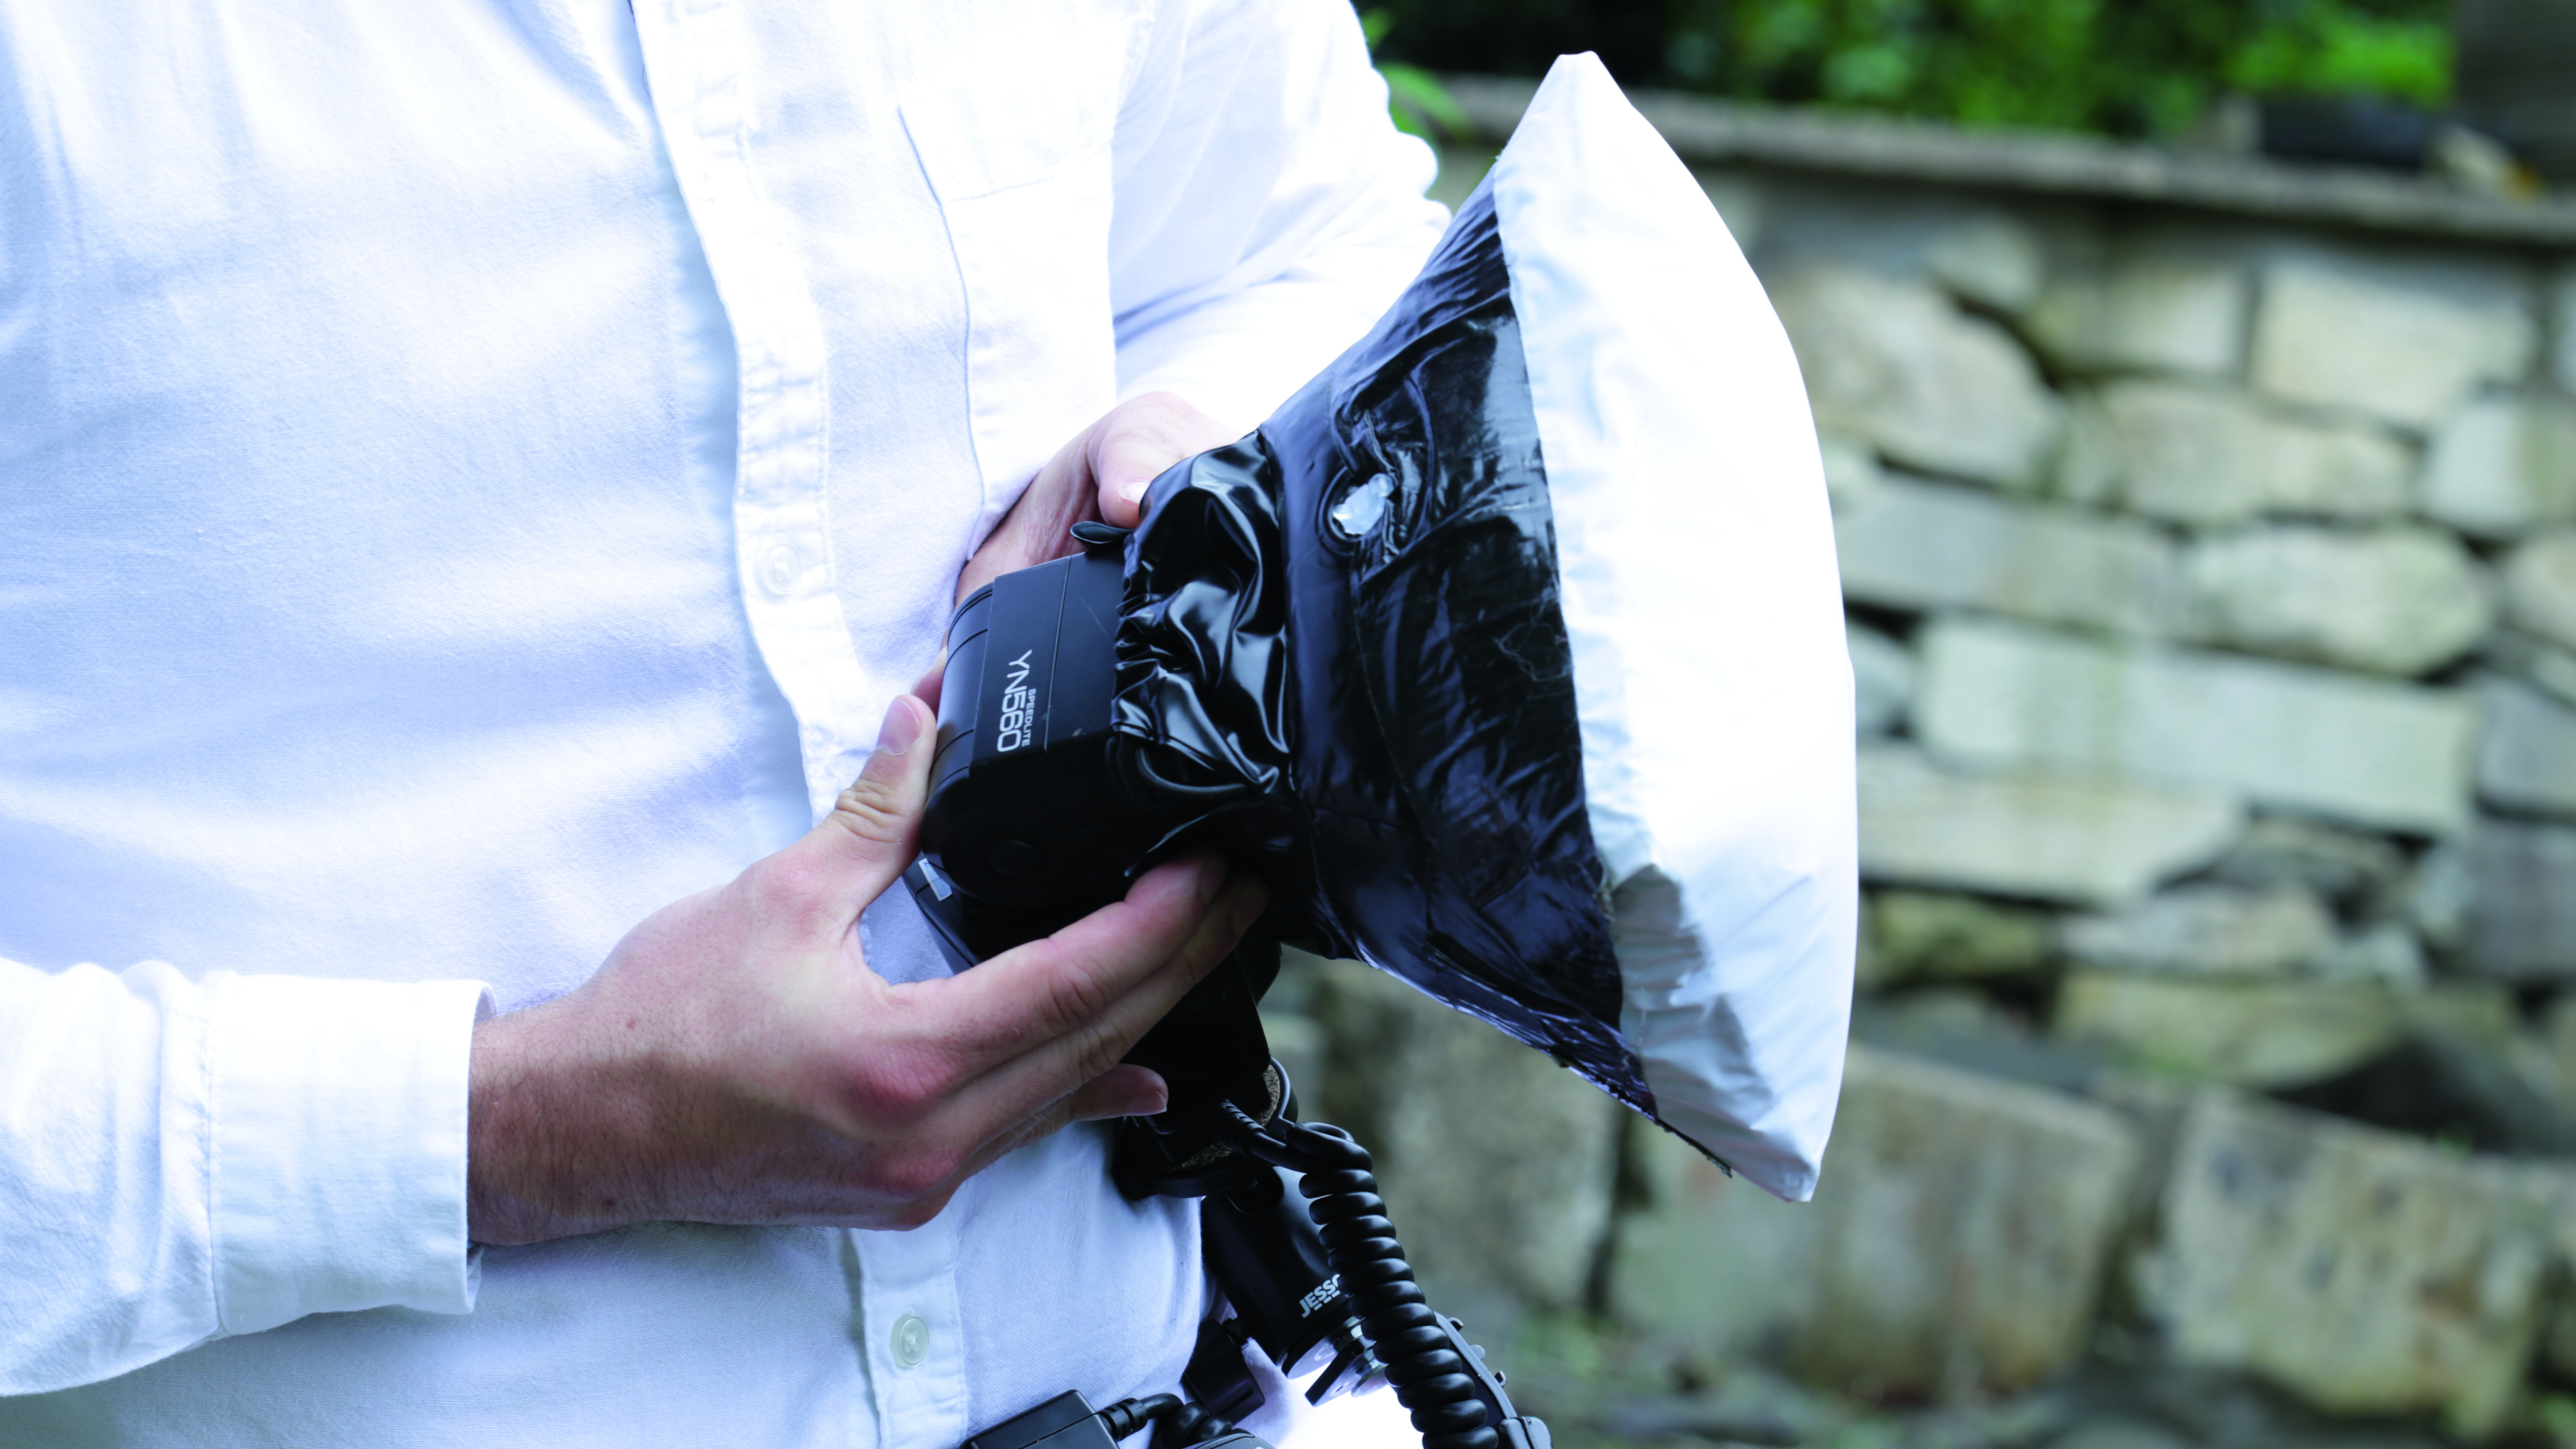
You need to soften the light, and there are many ways to do this. You could just use a sheet of paper, or make a softbox from a box with tissue paper over the flash hole. We chose a blow-up diffuser designed for flashguns because it’s waterproof and can be inflated quickly.
Arthropods move more slowly in cold conditions, so early morning is the best time to photograph them. It’s likely that you’ll get dew on the plants and arthropods because of the colder temperatures overnight, but if you don’t want to get up early, spray them with water to create the same effect.
5. Settings
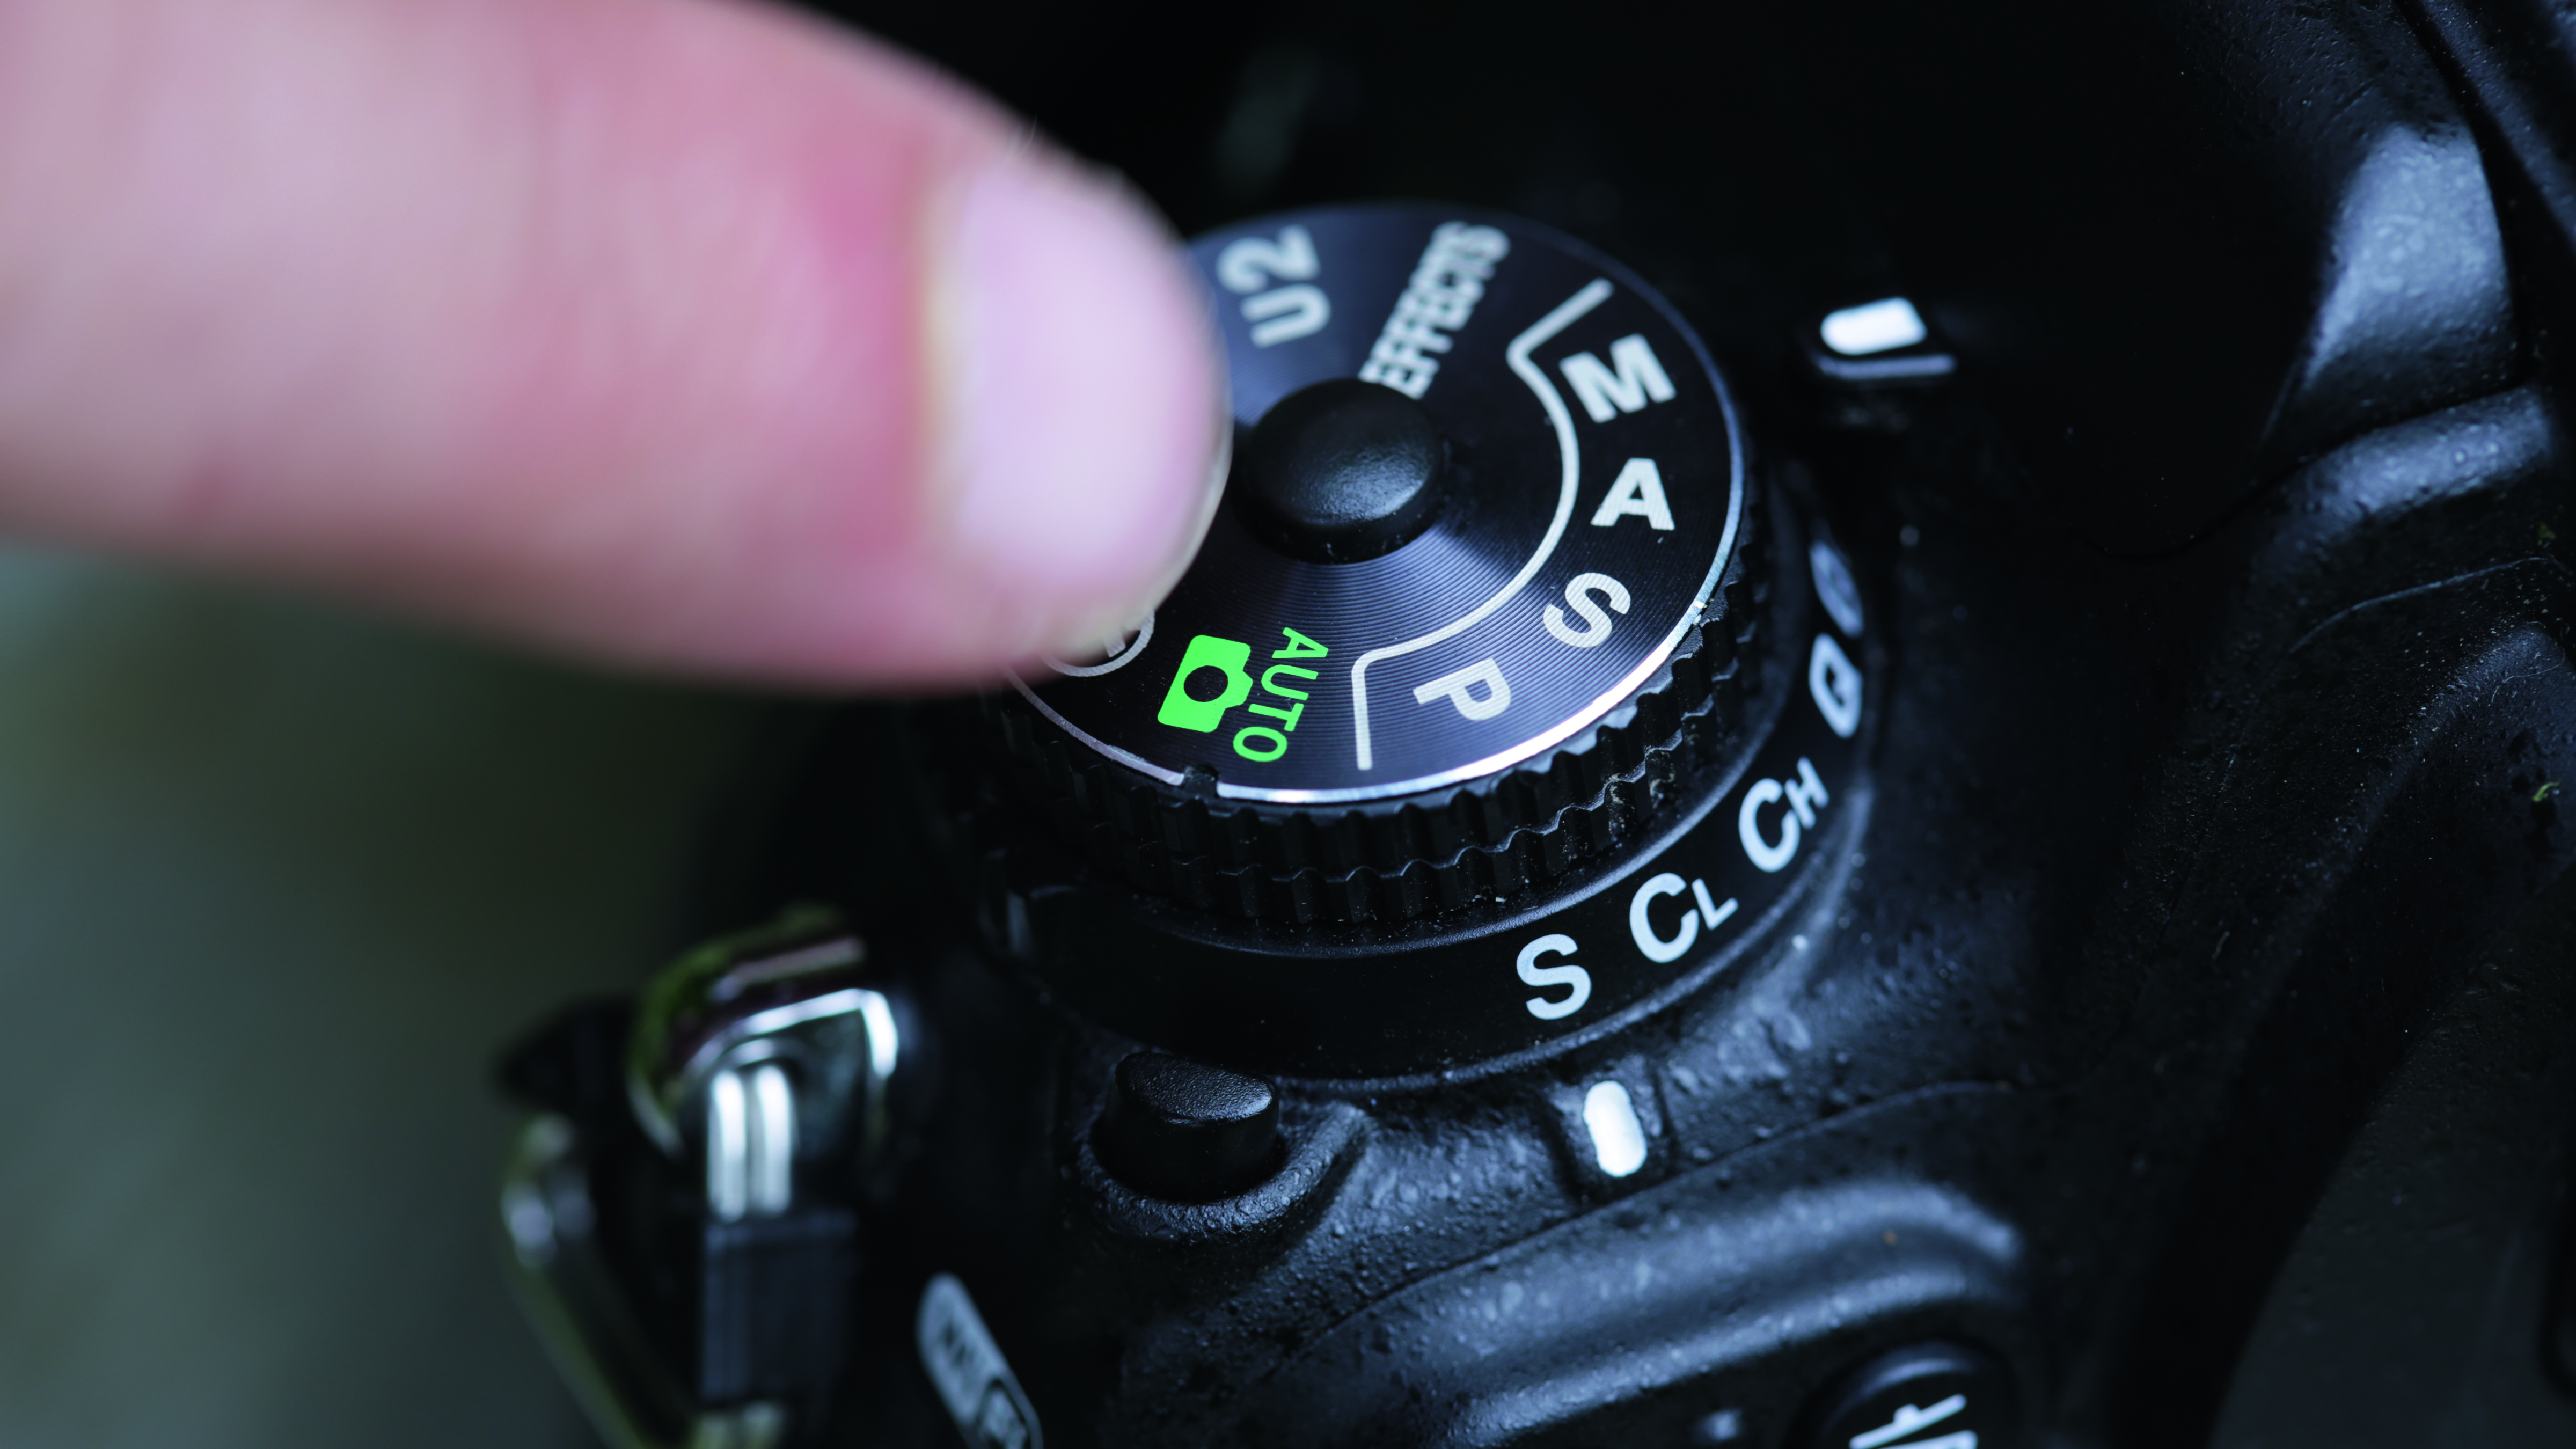
Set the Manual mode on your camera. Now, set your aperture to f/8, and your shutter speed to match the sync speed of the flash (which, for us, was 1/200 sec). We set 1/16 flash power as it exposed our subject well without clipping the highlights.

6. Keep going
The depth of field is so narrow with macro photography that you’ll need to rock back and forth from your subject while shooting in continuous drive. This way, a different portion of the subject will be in focus in each shot, and you can be selective when choosing the best photo.
Read more: How to use flash for your photography: Part 1 - Using a flag
N-Photo: The Nikon Magazine is a monthly publication that's entirely dedicated to Nikon users. As a 100% independent magazine, you can be assured of unbiased opinion from a trustworthy team of devoted photography experts including editor Adam Waring and Deputy Editor Mike Harris.
Aimed at all users, from camera newcomers to working pros, every issue is packed with practical, Nikon-specific advice for taking better photos, in-depth reviews of Nikon-compatible gear, and inspiring projects and exciting video lessons for mastering camera, lens and Photoshop techniques.
Written by Nikon users for Nikon users, N-Photo is your one-stop shop for everything to do with cameras, lenses, tripods, bags, tips, tricks and techniques to get the most out of your photography.

