Bounce flash: tips to achieve natural lighting with a flashgun
Harsh flash can kill the party atmosphere, but twisting a flash and using the bounce card can give a more natural look
The pull-out bounce card found on many modern flashguns is perfect for achieving bright, flattering shots of people indoors when you need to work quickly.
If you’re shooting in low light, you generally have three options. You could use a tripod and long exposure, increase the ISO to shoot handheld, or add lighting. If you’re taking pictures of partygoers, forget the first option as your subjects won’t keep still!
A high ISO can preserve the atmosphere, but you have to make do with grainy pictures and the widest aperture and slowest shutter speeds possible.
Adding light, by using a flash, is often the most flexible option. You can stay mobile, and you have a greater range of shutter speeds, apertures and ISO settings. The problem is that the harsh, directional light from a built-in flash kills the atmosphere, adds hotspots to faces, and casts ugly shadows behind the subject.
The answer is a hotshoe flash. Rather than point the flash head at the subject, one of the most valuable photography tips is to aim it at the ceiling or a wall for a more diffuse and even quality of light. Most external flashguns have a bounce facility, though some also enable you to turn and tilt the head.
However, even bounce flash can look bland! The light is just too even and eyes lack sparkling catchlights. To add these, use the pull-out bounce card found on many hotshoe guns. This white plastic sheet directs some of the flash output straight at the subject, giving a smidge of direct light and adding mirror-like catchlights.
01 Control the exposure
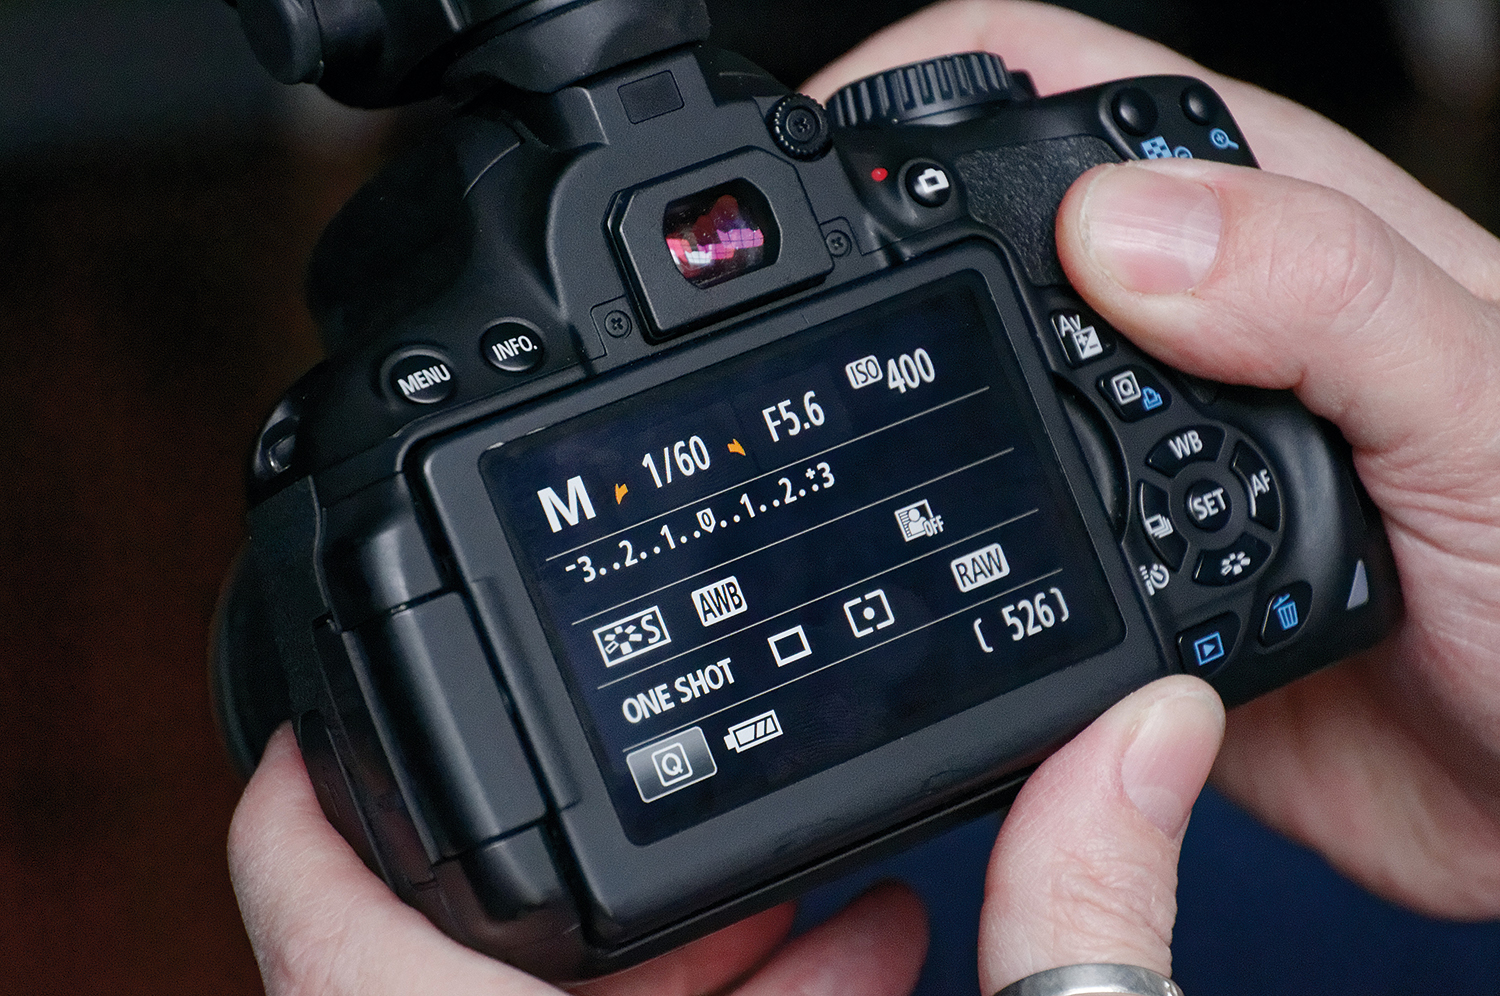
Set the flashgun to its E-TTL mode and it will take care of the flash exposure for you. However, it’s best to set the camera to Manual exposure mode, using a shutter speed of around 1/60 sec and a wide aperture (f/4, say) to ensure that the background is not in focus.
The best camera deals, reviews, product advice, and unmissable photography news, direct to your inbox!
02 Find the right surface
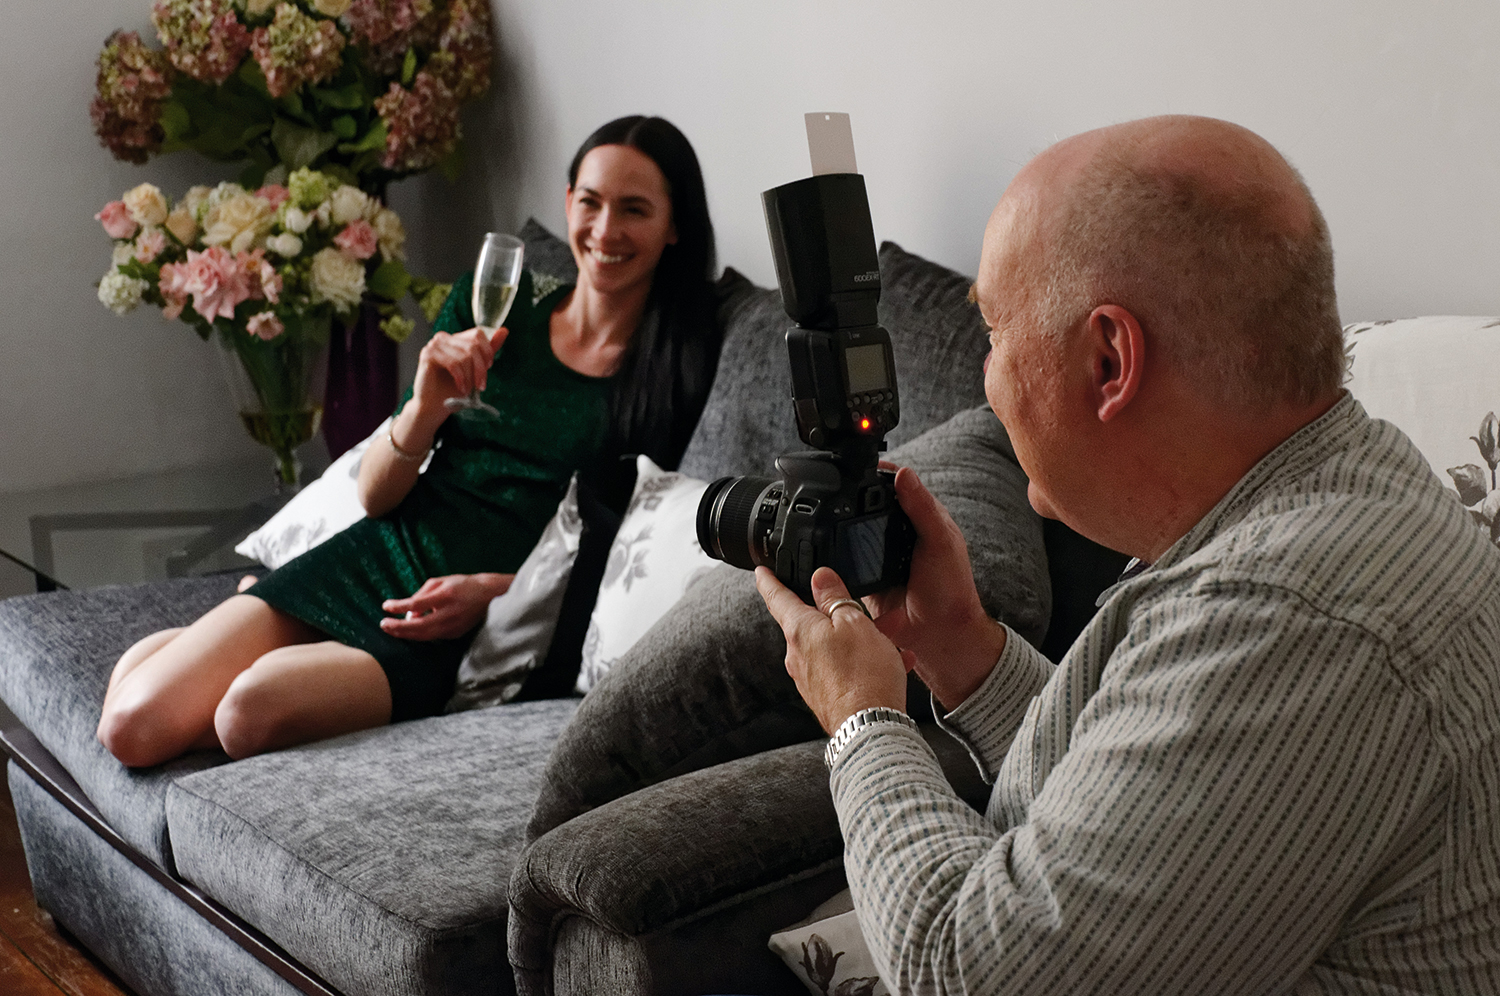
Check the color of the ceiling, as this can add a nasty tint to the shot; white is ideal, but off-white will do. We’re used to things being lit from above, so ceilings provide natural-looking illumination. You can bounce off a white wall, too, as this can look like window light.
03 Pull out the card
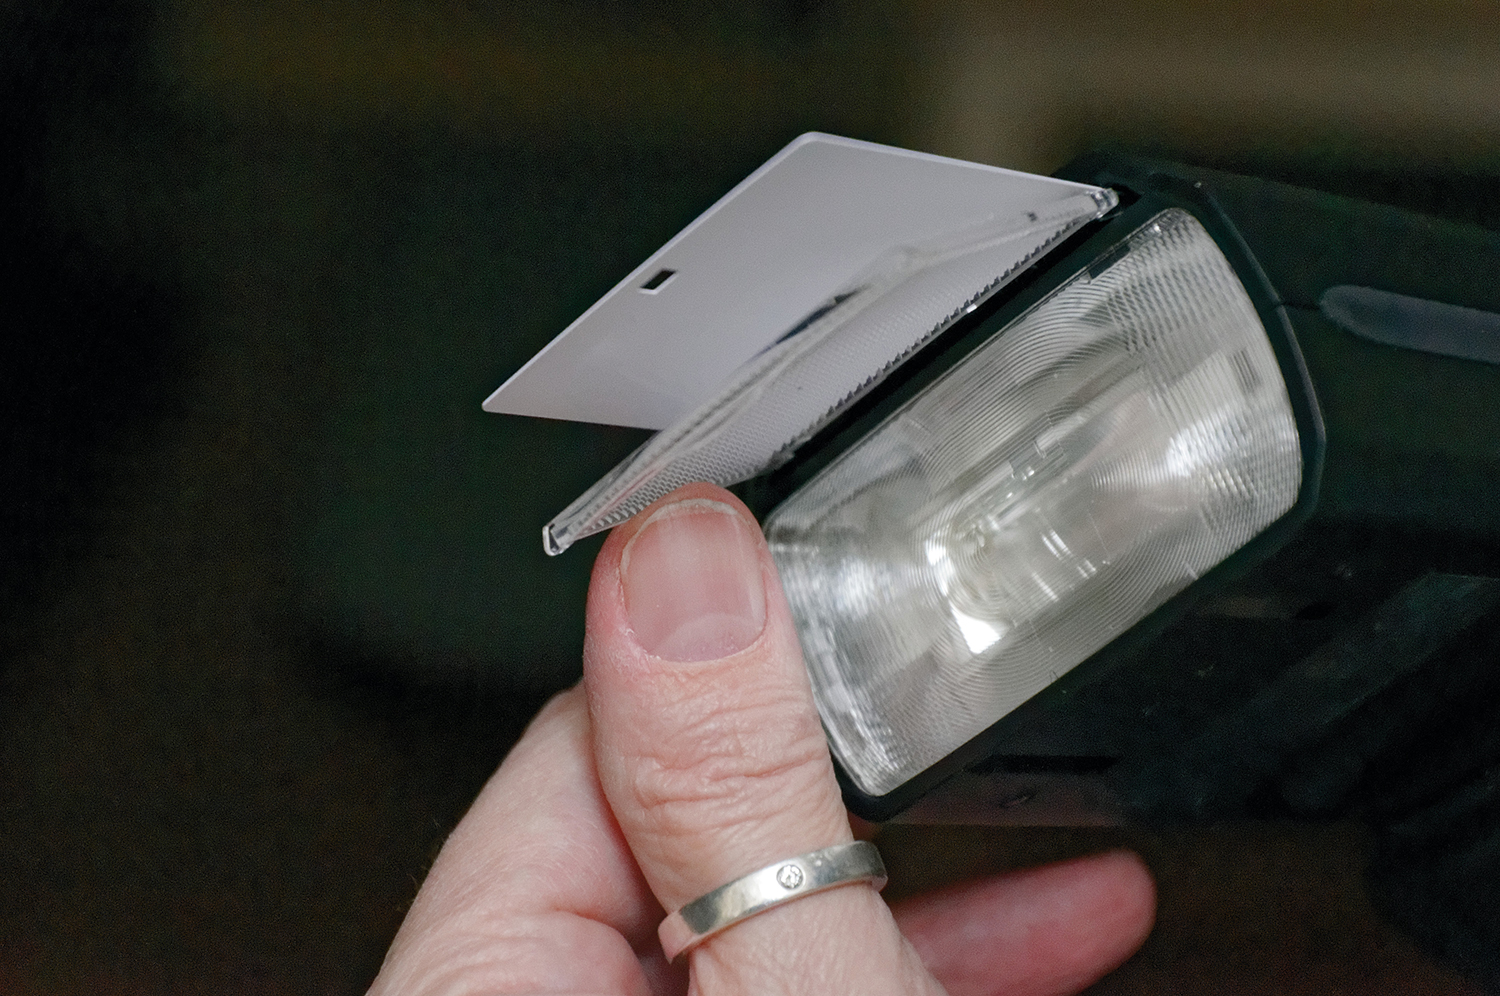
The secret weapon for making bounce flash portraits look alive, with engaging catchlights in your subject’s eyes, is a white plastic bounce card. This slots in above the flash and is pulled out with the wide-angle diffuser. Remove both, then push back the diffuser.
04 Compensation culture
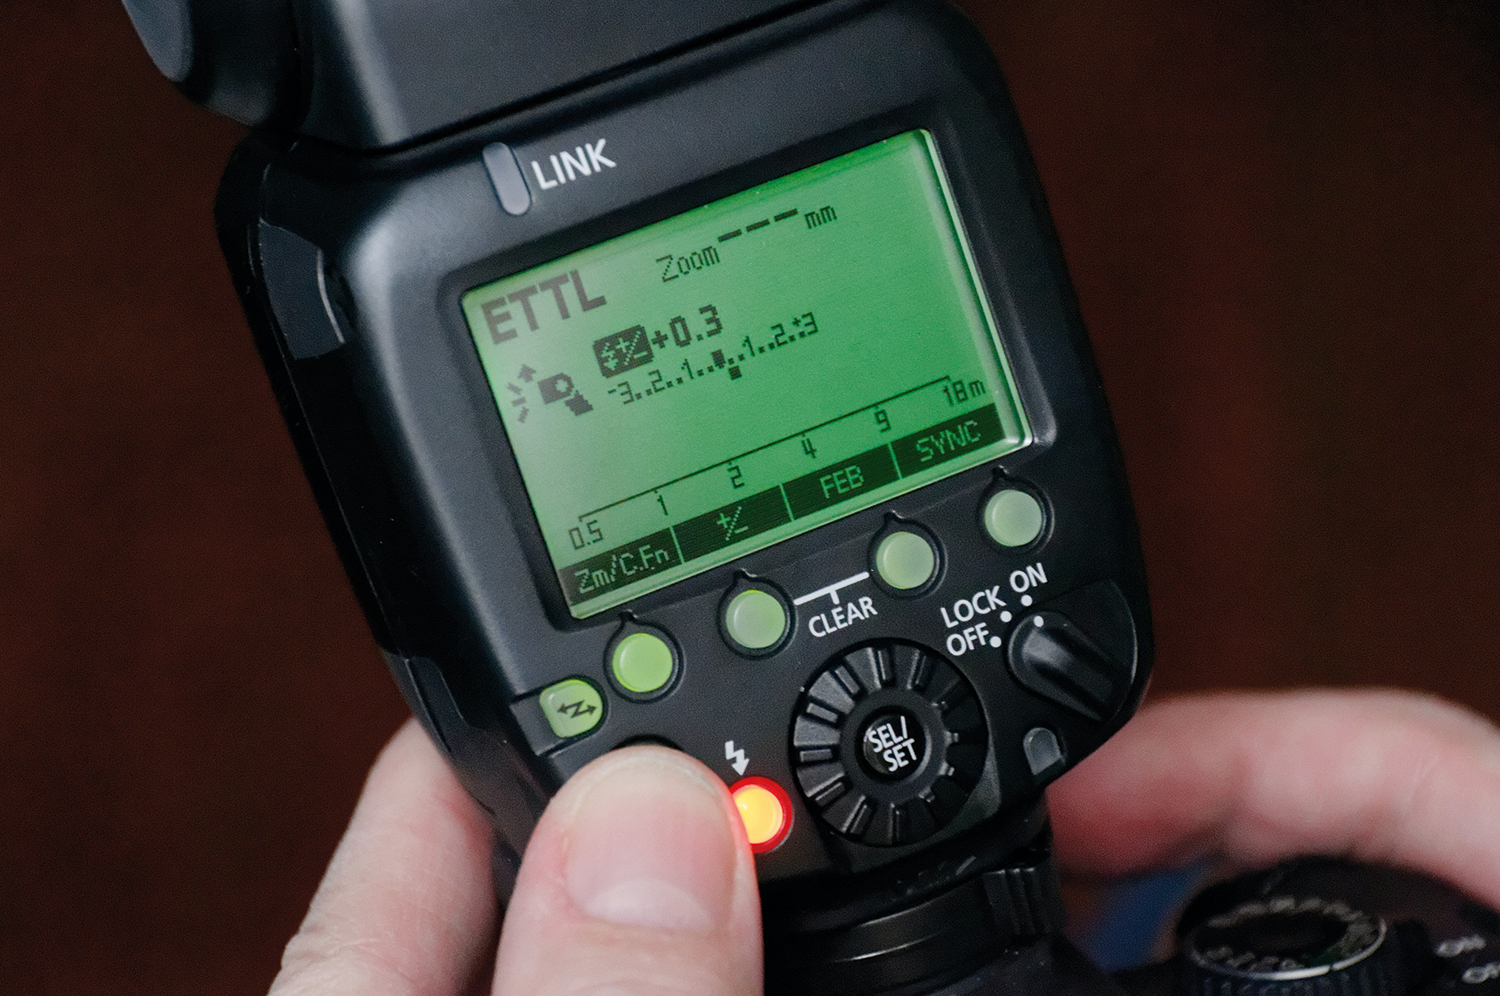
Look at your results on the back of the camera, checking the histogram for signs of both over- and underexposure. If the flash isn’t bright enough, or it's too bright, use the flash exposure compensation facility to increase or decrease the light level.
More videos:
Photography tips and techniques videos
The best flash diffusers, softboxes and modifiers
Headshot photography tips: shoot the perfect head-and-shoulders portrait
Fill-in flash: tips and tricks for using a flashgun in daylight
Chris George has worked on Digital Camera World since its launch in 2017. He has been writing about photography, mobile phones, video making and technology for over 30 years – and has edited numerous magazines including PhotoPlus, N-Photo, Digital Camera, Video Camera, and Professional Photography.
His first serious camera was the iconic Olympus OM10, with which he won the title of Young Photographer of the Year - long before the advent of autofocus and memory cards. Today he uses a Sony A7 IV, alongside his old Nikon D800 and his iPhone 15 Pro Max.
He is the author of a number of books including The Book of Digital Photography, which has been translated into a dozen different languages.
In addition to his expertise in photography and videomaking, he has written about technology for countless publications and websites including The Sunday Times Magazine, The Daily Telegraph, What Cellphone, T3 and Techradar.
