The best camera deals, reviews, product advice, and unmissable photography news, direct to your inbox!
You are now subscribed
Your newsletter sign-up was successful
Light and shade are essential ingredients of every photograph you’ll take, but sometimes, the difference between them – also known as the contrast – is too great for a satisfying shot. Strong light hitting a subject from one side will give very bright highlights and very dark shadows, and in many cases, you’ll want to brighten up the shaded side to reduce the contrast, balance the exposure and reveal a little more detail.
To achieve this, you’ll need to fire some extra light into the shadow side, and although you could do this using another light source such as a flashgun or an LED lamp, one of the most efficient ways is simply to bounce back the existing light with a reflector.
It sounds obvious, but anything that reflects light can be used as a reflector, from a sheet of paper or fabric to a piece of tinfoil. However, it’s worth bearing in mind that the colour of the reflector’s surface will be transferred to the subject, so something neutral (white, grey or silver) is most useful, unless you want to introduce a colour cast into the mix.
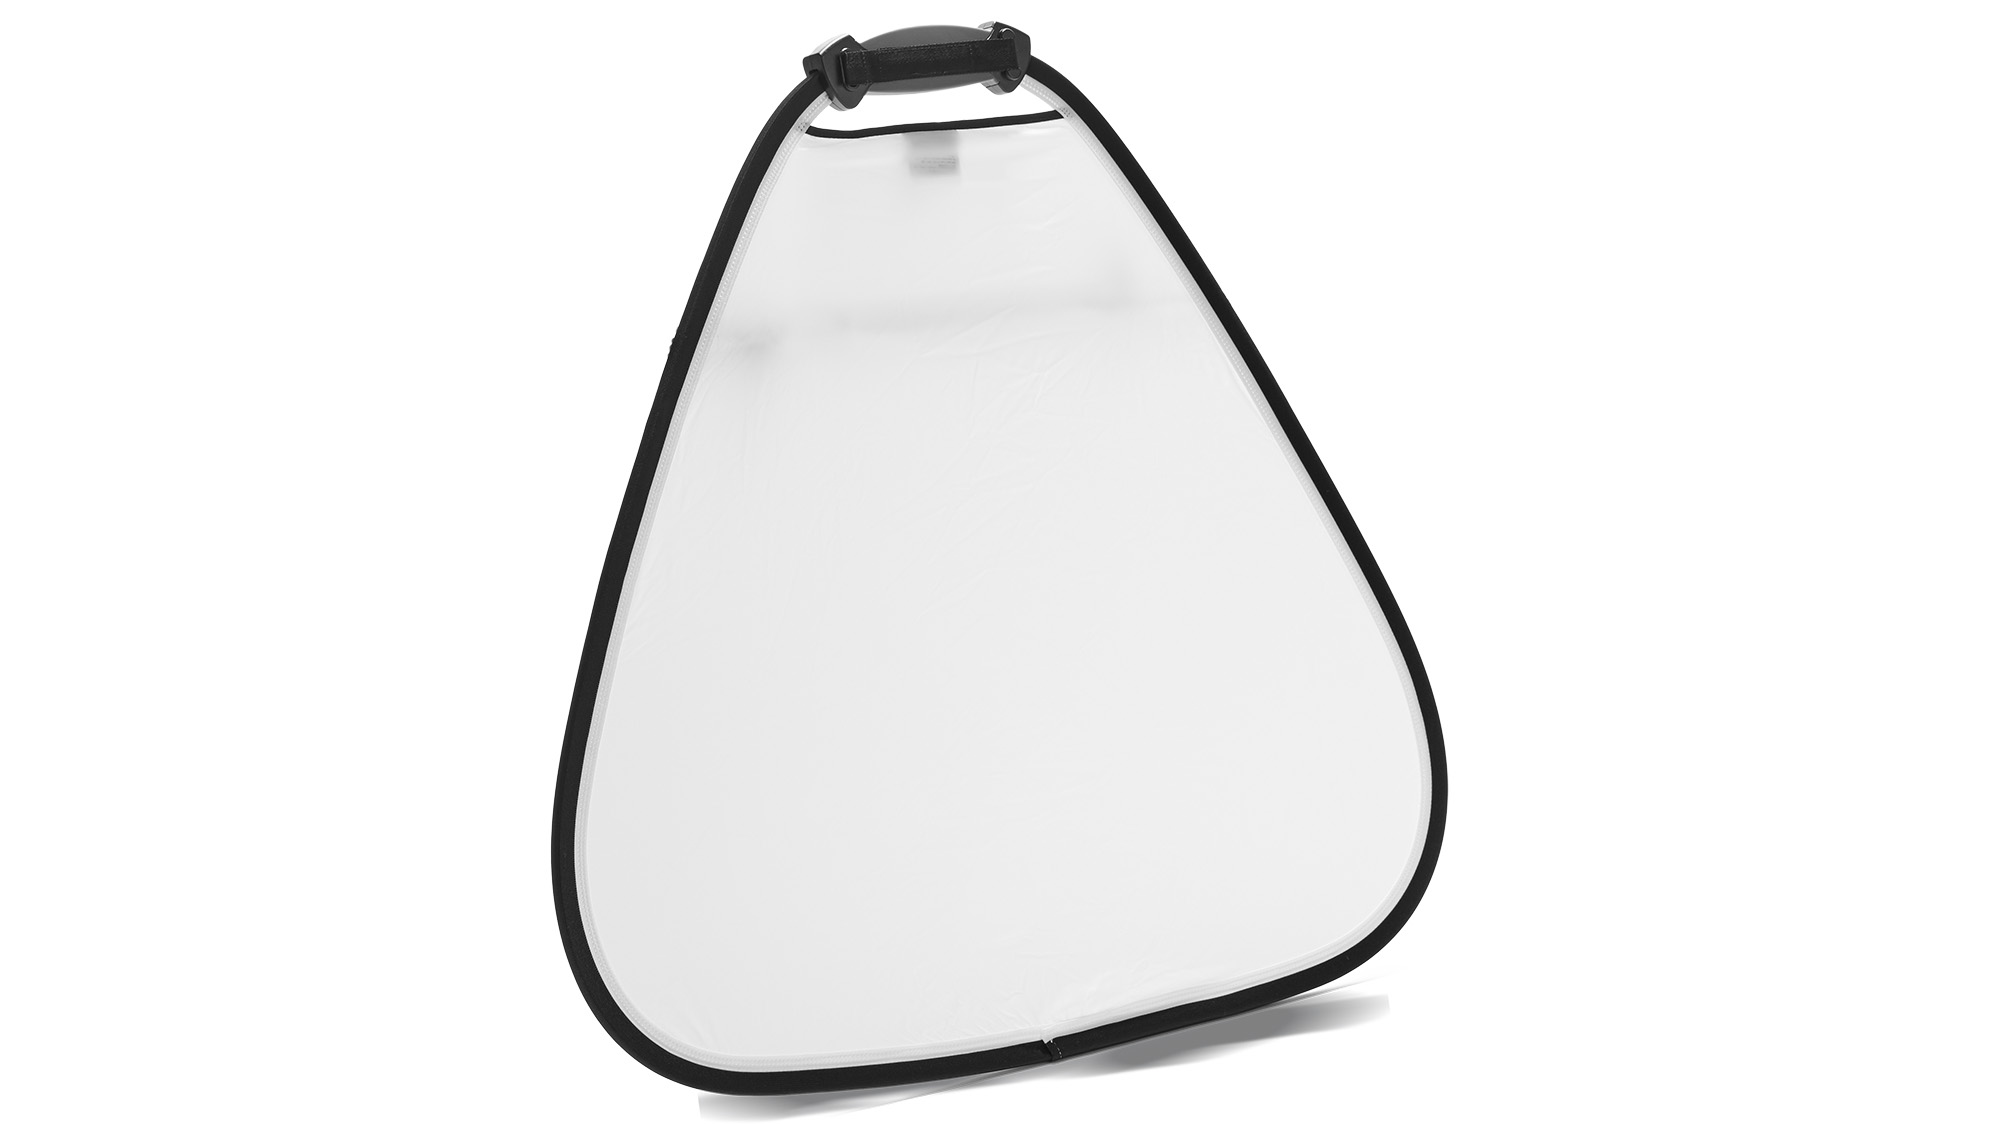
Purpose-built reflectors are cost-effective and versatile, and fold down to a third of their diameter for convenient carrying. If you’re into portrait photography, a great option is a ‘5 in 1’ model that gives white, silver and gold reflective surfaces that zip on, plus a semi translucent body to diffuse strong light or create shade, and a black ‘deflector’ to remove light from one side.
DIY reflectors
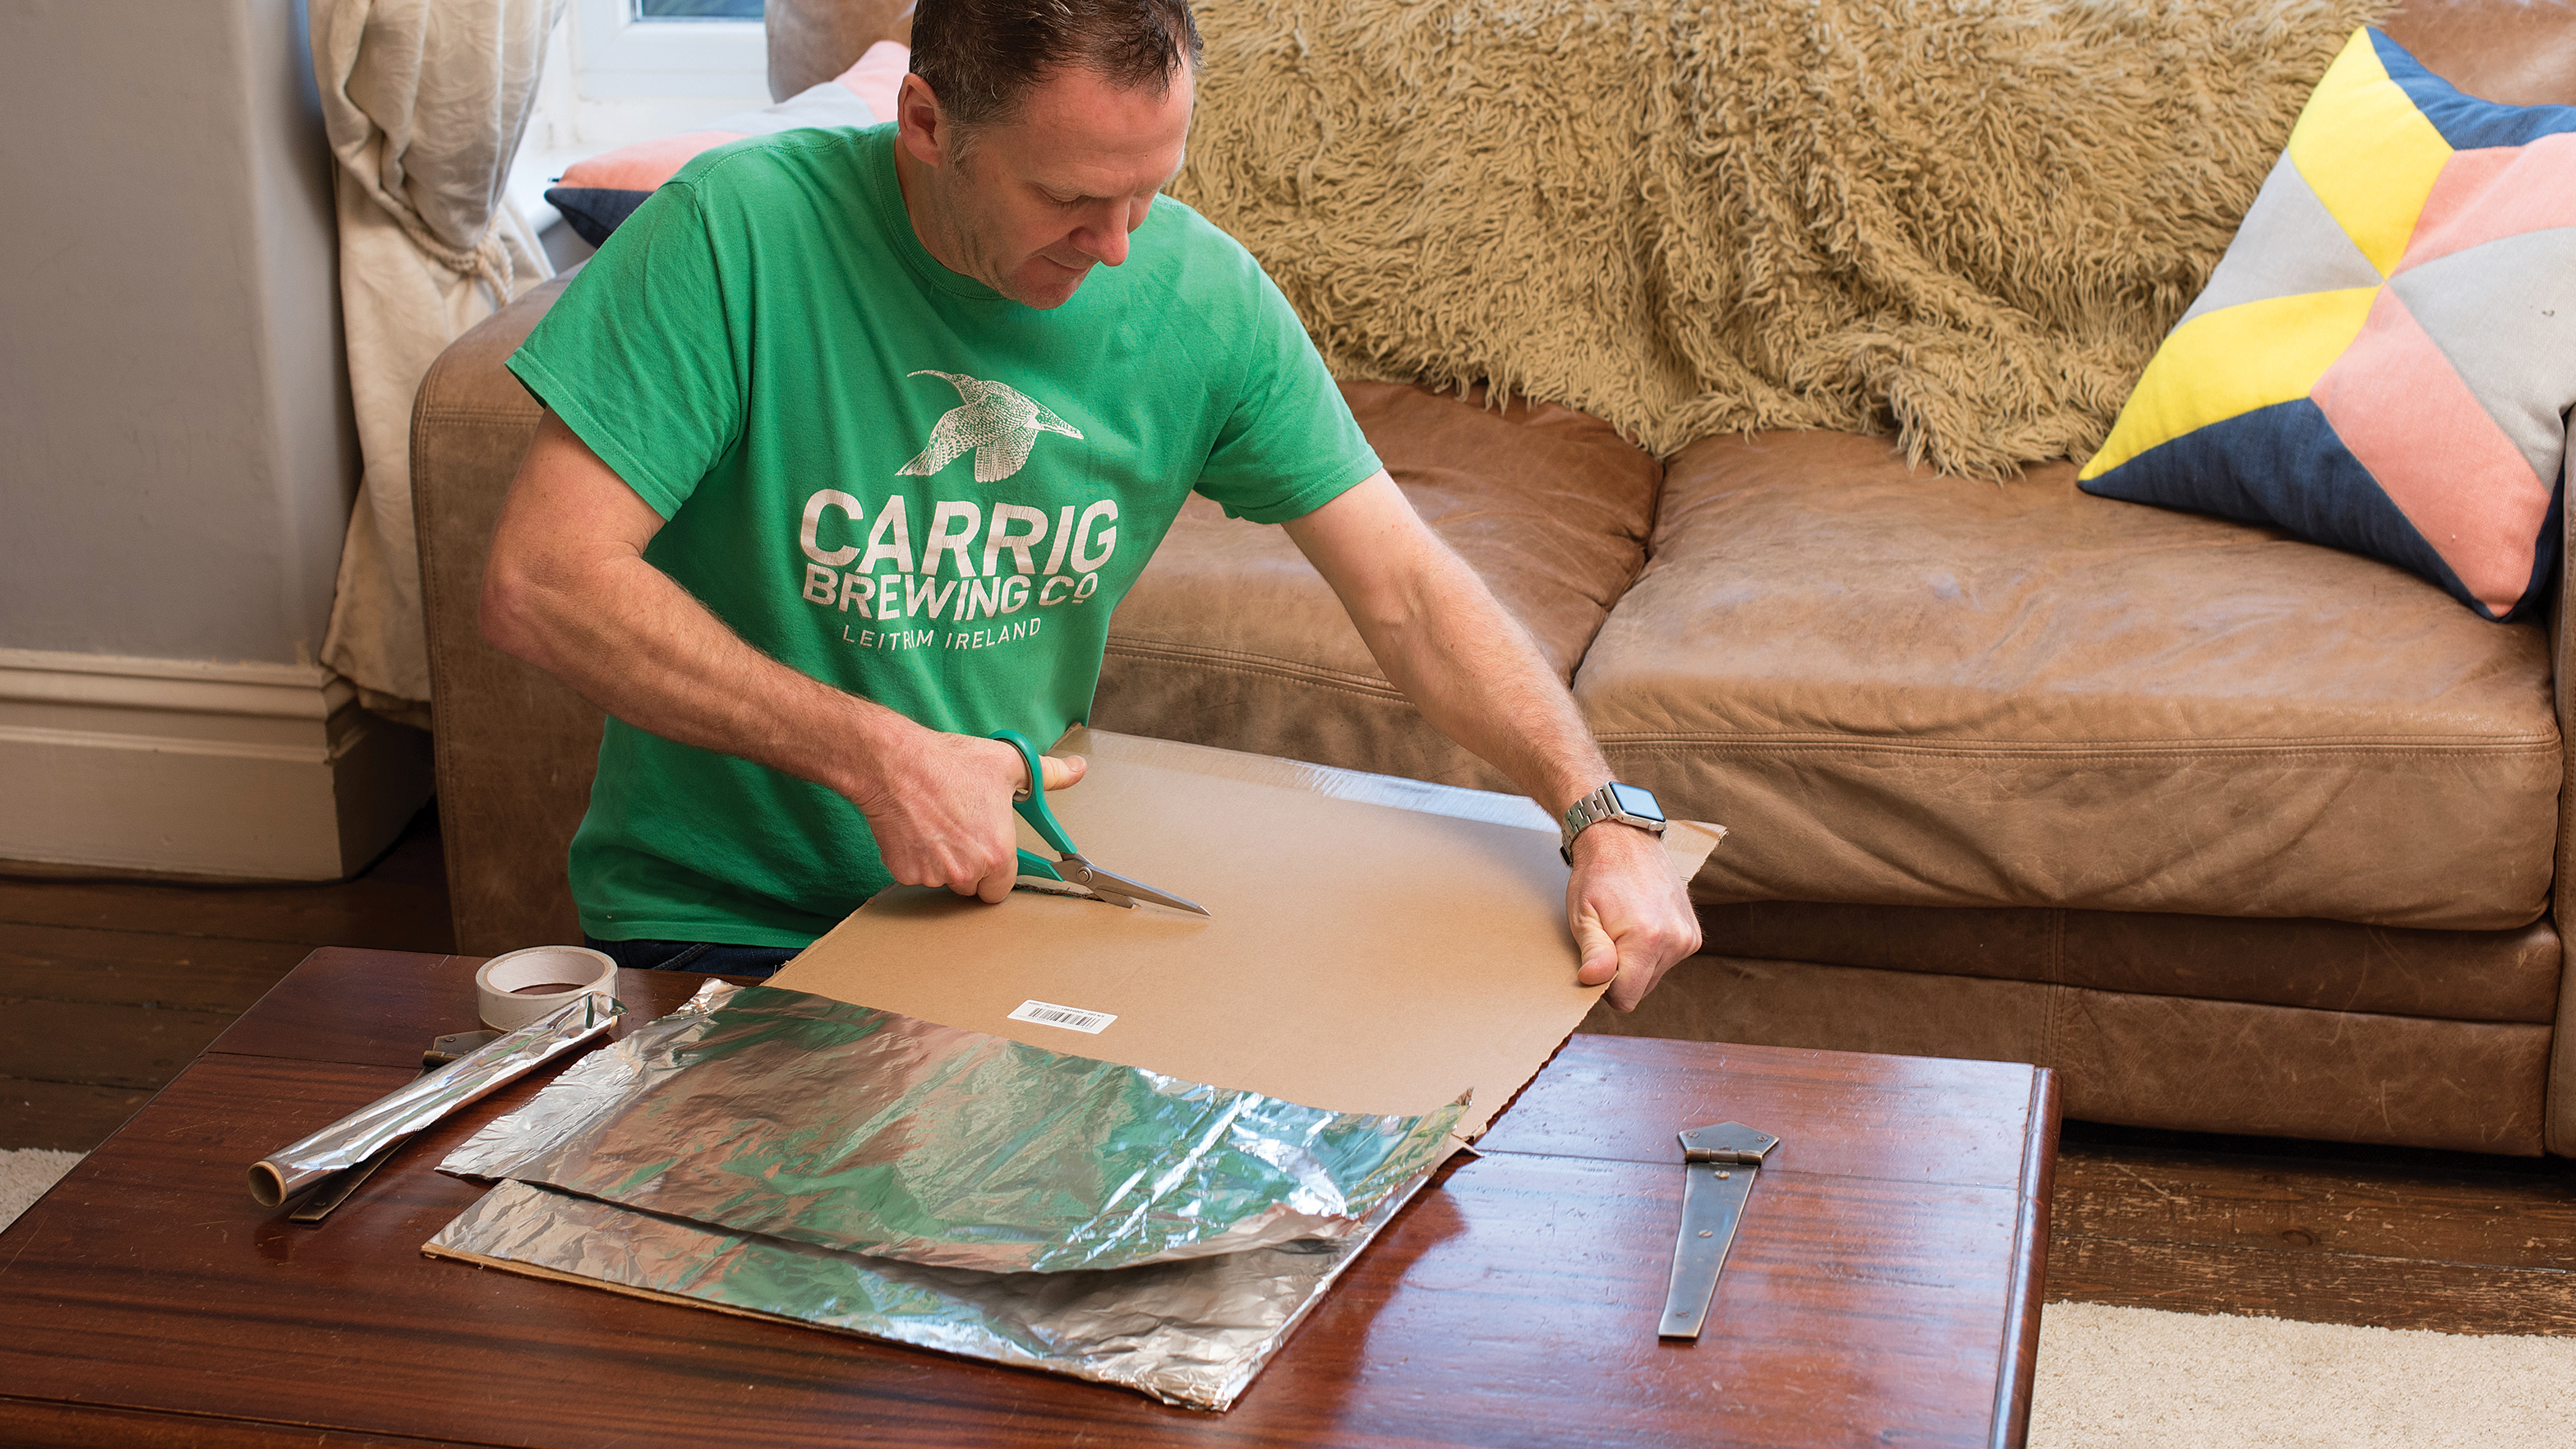
For nature and macro photography, smaller reflectors are more useful, as the ‘stage’ for flora and fauna is on a much smaller scale. Home-made options can be better than commercial reflectors for this purpose, and excellent results can be had from tin foil as it can be sculpted into the right shape in awkward positions to bounce light back. Just make sure it doesn’t have a mirror finish though, so scrunch it up to break up the surface and scatter the light before moulding it into the shape you need.
If you haven’t used reflectors before, you’ll find that the benefits are enormous, but there is a downside to their use. Getting the precise angle required for a reflector is best achieved by hand-holding it.
This is easy if you’re working close to a subject with your camera on a tripod, but may require a willing assistant to hold it in place for larger-scale projects. For head & shoulders portraits, your subject can normally do this, but if you shoot handheld, you can also prop the reflector on your tripod – provided it’s not too windy!
Read more:
• DCW Dictionary of photography
• Best reflectors
• Best lighting kits
• Best LED light panels
The best camera deals, reviews, product advice, and unmissable photography news, direct to your inbox!
Jon started out as a film-maker, working as a cameraman and video editor before becoming a writer/director. He made corporate & broadcast programmes in the UK and Middle East, and also composed music, writing for TV, radio and cinema. Jon worked as a photographer and journalist alongside this, and took his video skills into magazine publishing, where he edited the Digital Photo magazine for over 15 years. He is an expert in photo editing, video making and camera techniques.


