Use reversing rings for macro shots
Get more from your reversed lenses by avoiding any difficulties of these handy accessories

The best camera deals, reviews, product advice, and unmissable photography news, direct to your inbox!
You are now subscribed
Your newsletter sign-up was successful
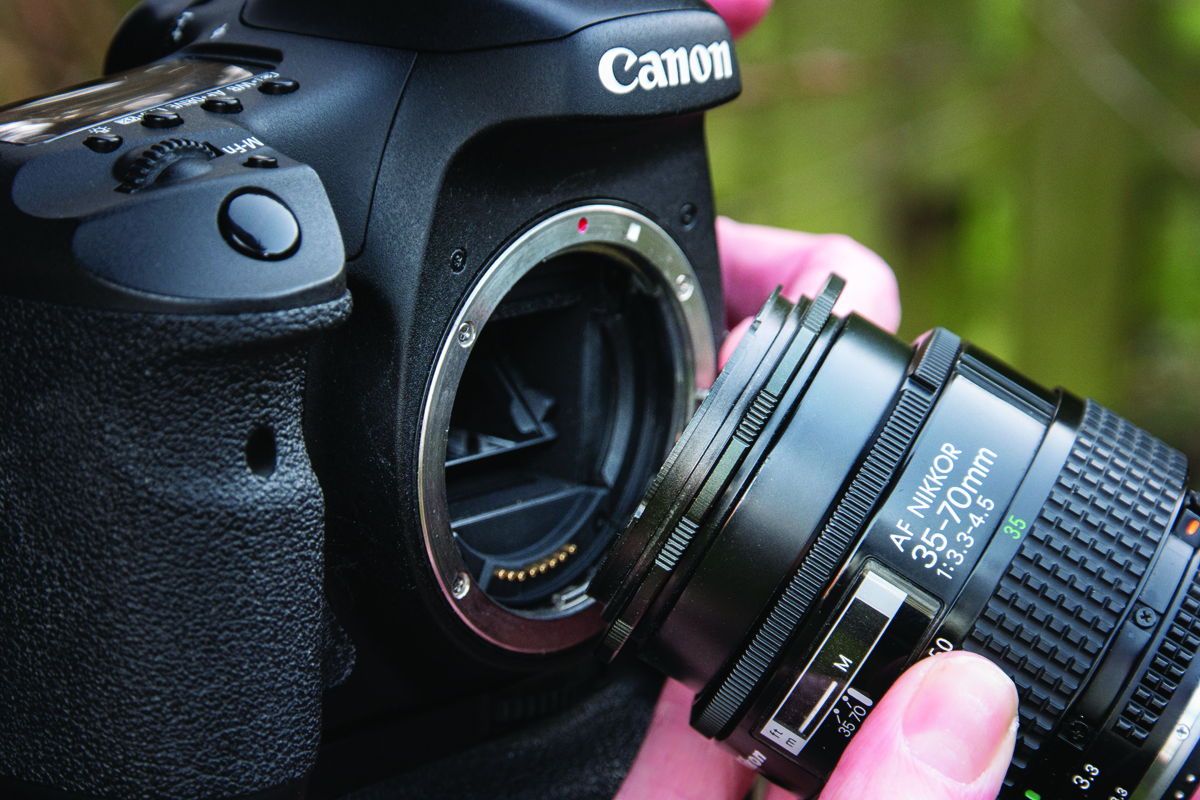
A reversing ring is a simple device that allows an inverted lens to be mounted on a DSLR, making use of the filter thread on the front of the optic. You need a model that has the correct lens mount for your camera AND the right filter diameter for the lens you are using.
Reversing rings can seem like obscure accessories to new photographers, yet they offer a superb level of additional functionality for your existing lenses.
By attaching a ring onto the filter thread of a standard or moderate wide optic, you can mount it on a camera body in the same way as any other compatible model – only backwards. The attached lens can now be used at very close focusing distances and will give you higher magnifications.
There are a few trade-offs when using a reversing ring that you need to bear in mind. As the lens mount is no longer in contact with the camera body when it is reversed, all autofocus and aperture control functionality is lost.
It's best to use a lens with a manual aperture ring, and this will enable depth-of-field control and reduce the need to keep remounting the lens the ‘right’ way around to set the aperture.
Here’s how to get the most value and your best shots out of a reversing ring.
Step 1: Secure the lens
Rather than attaching the ring to the camera body, screw it onto the lens filter thread first and then attach the full setup to the camera. This reduces the chance of an improperly secured lens being broken.
Step 2: Choose shooting mode
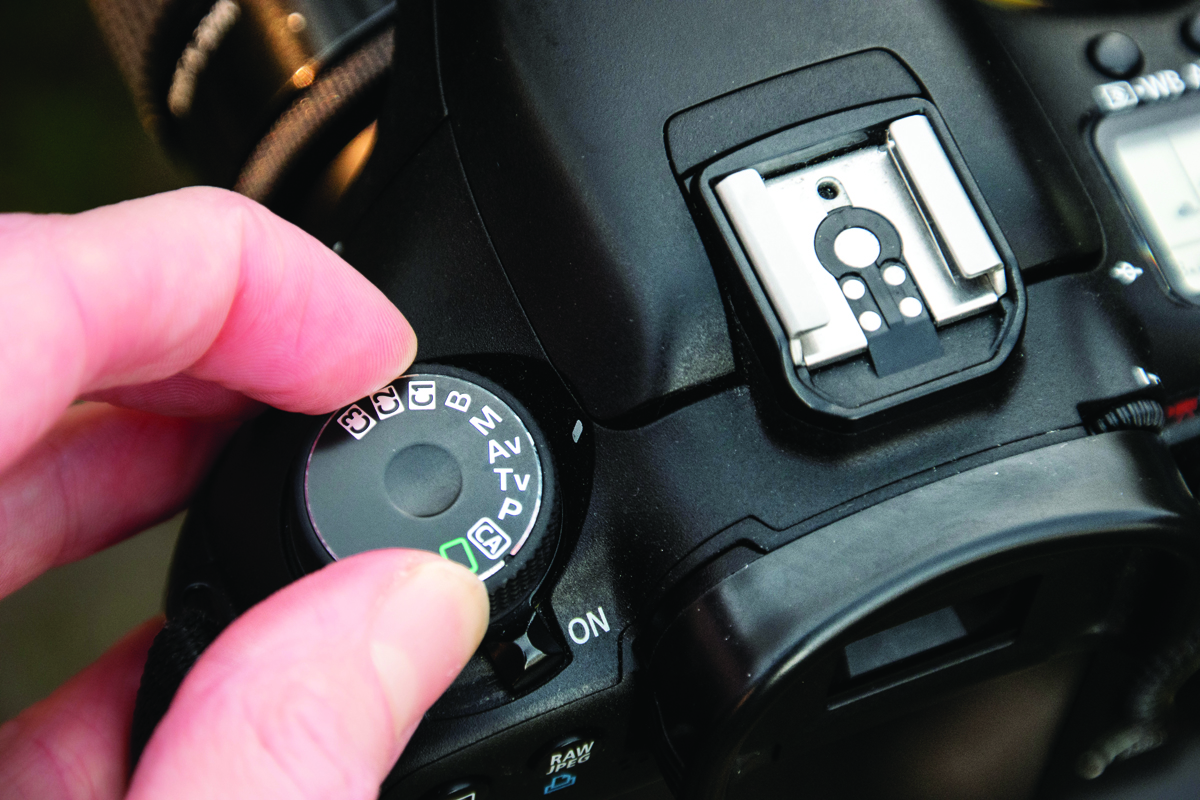
Shoot in Aperture Priority, Program or Manual mode. A or P mode enables you to set the f-stop and ISO while the camera controls the shutter speed.
The best camera deals, reviews, product advice, and unmissable photography news, direct to your inbox!
Step 3: Activate live view
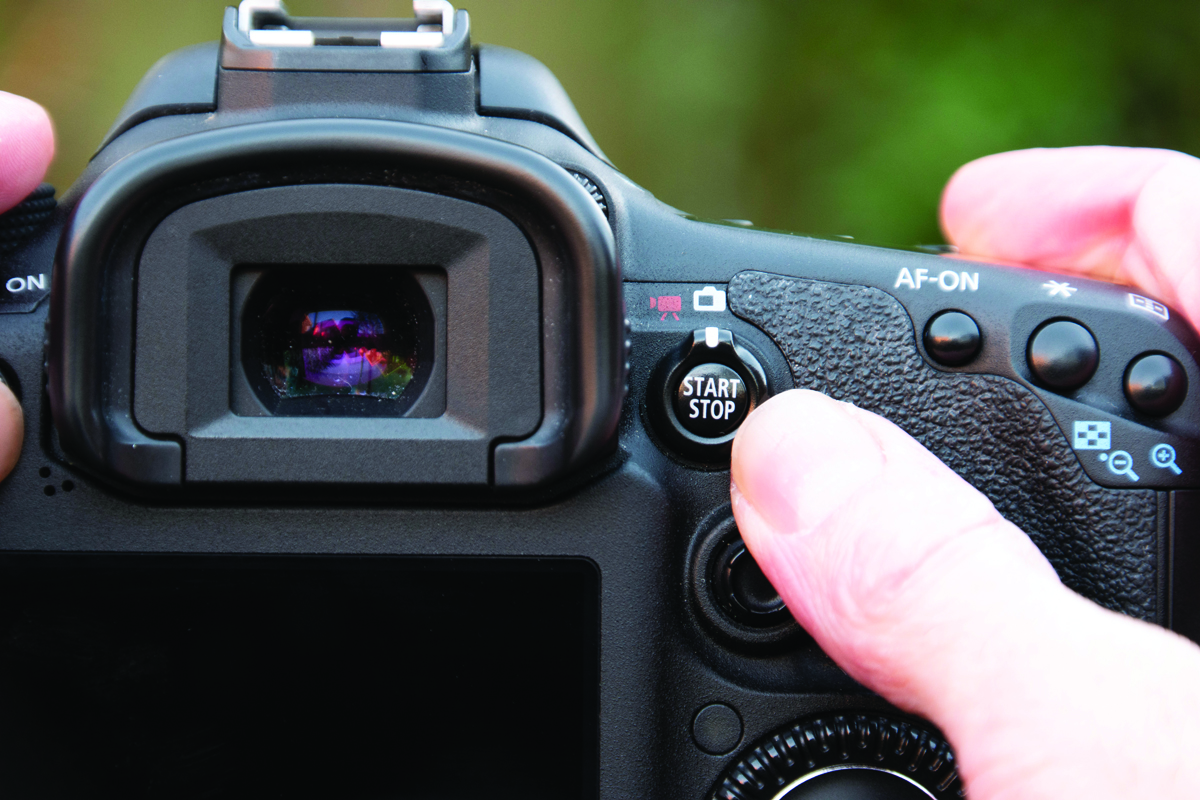
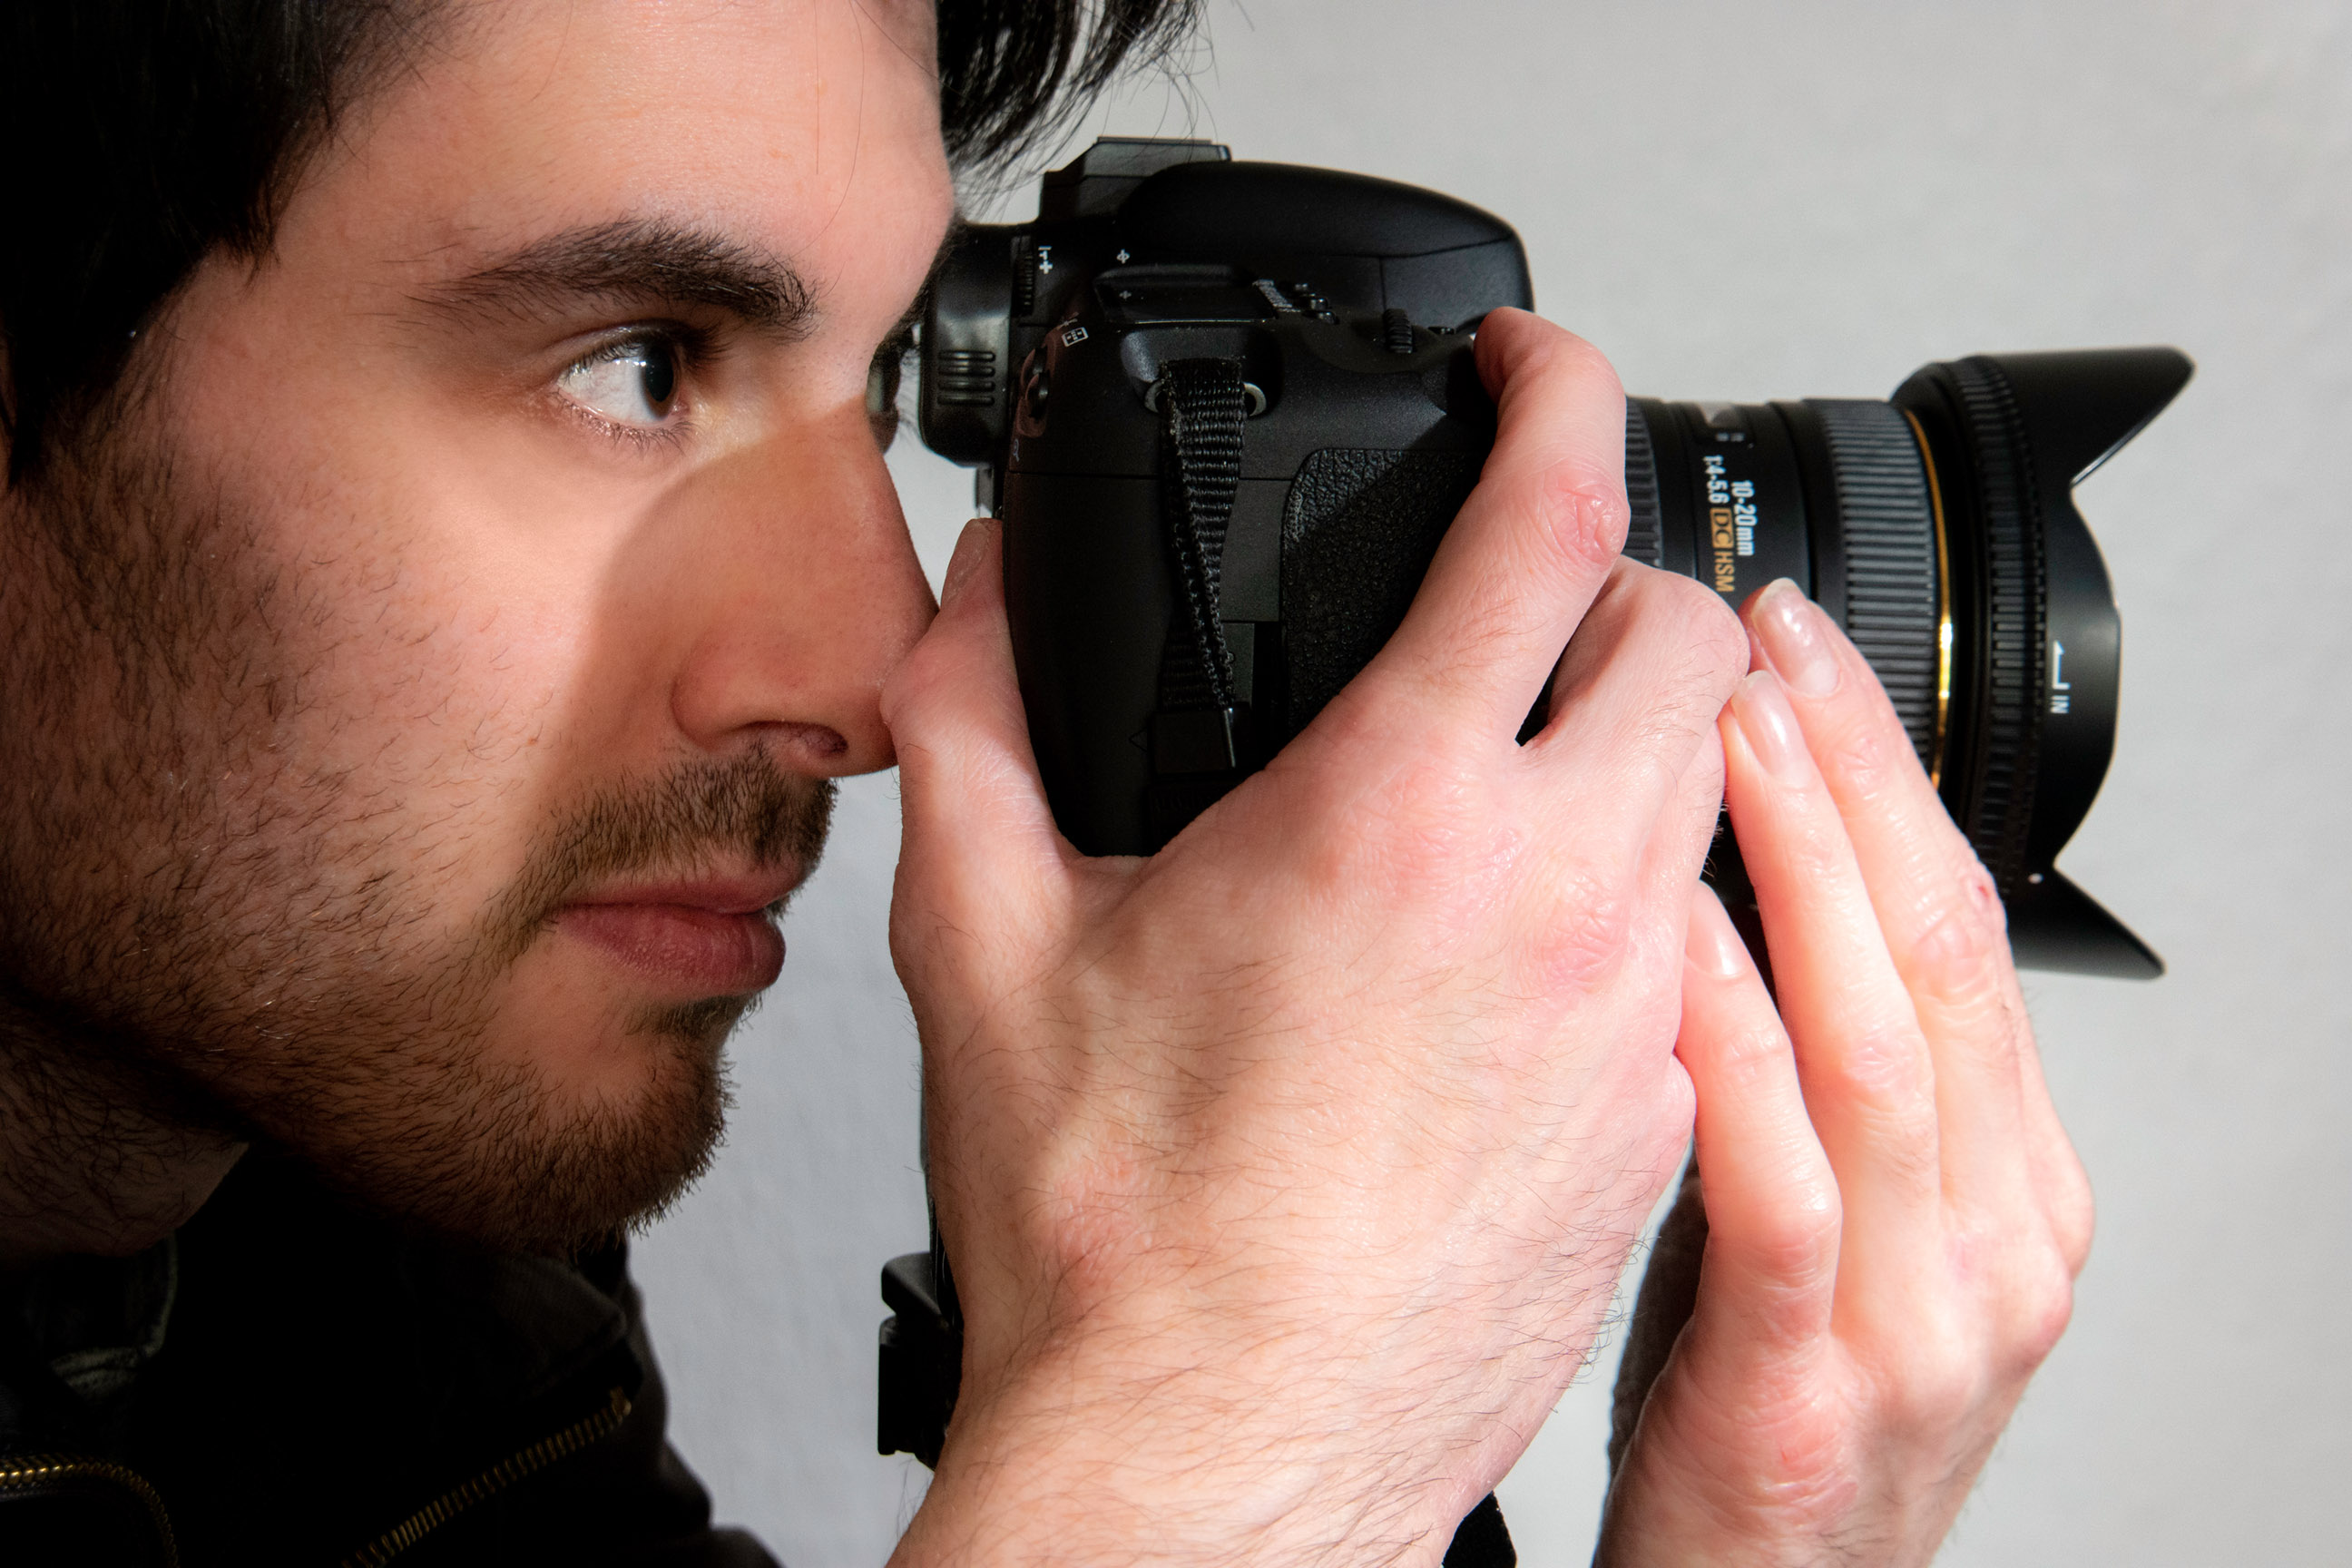
If shooting with a DSLR, it is often best to switch to live view instead of using the optical viewfinder, as it is more challenging to assess focus due to the preview size and native image brightness.
Step 4: Adjust camera position
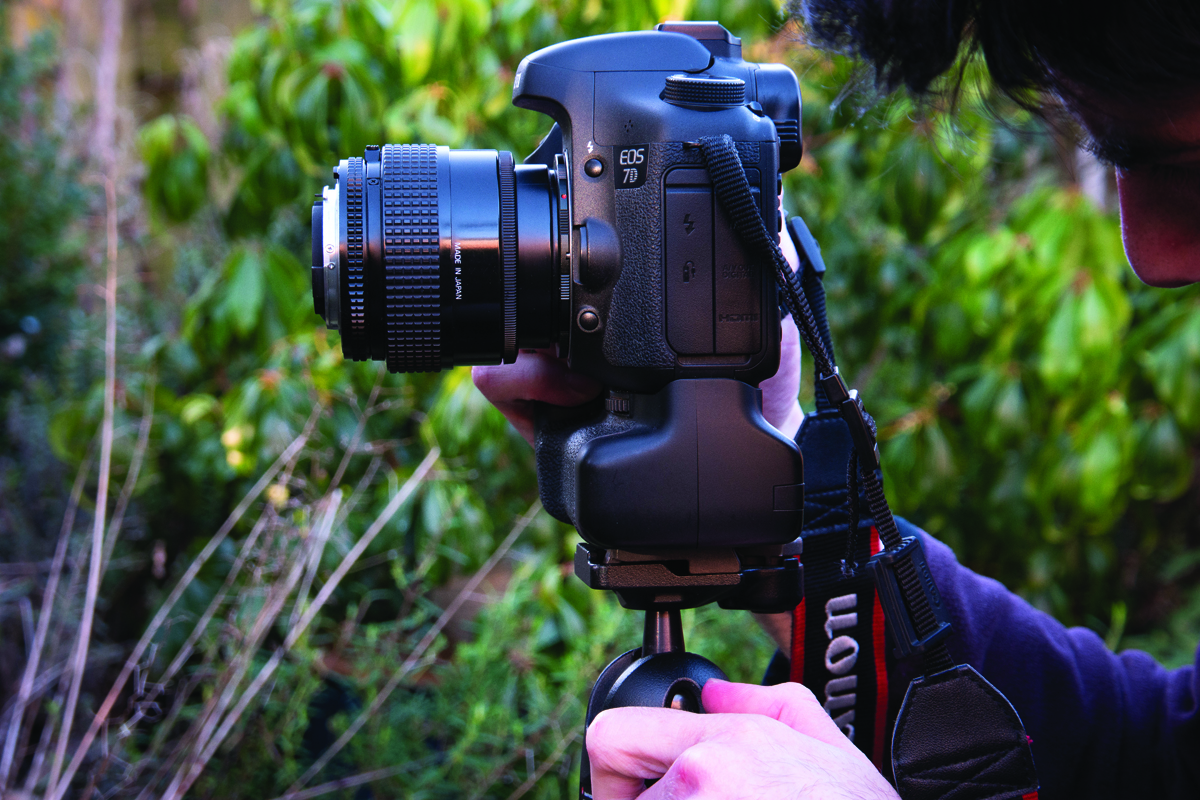
Find the closest possible focusing distance by racking out the focus of the lens and moving the camera until focus is achieved. You can then access the full range of usable magnifications.
Step 5: Zoom in and focus

Use the screen to zoom in on the preview and focus on the key areas of the subject using the focus ring. Use the lowest focal length for the greatest magnification and the highest to zoom out.
Step 6: Preset the aperture
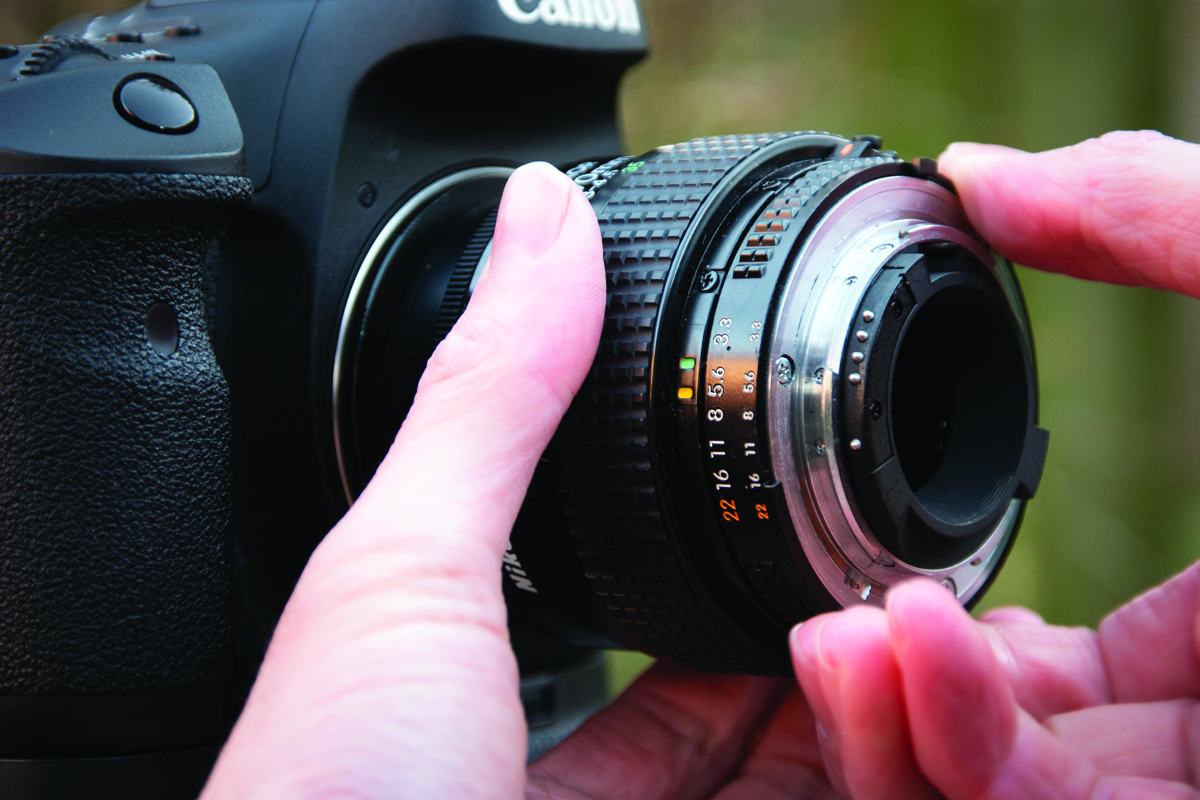
Rotate the aperture ring to the desired setting. It’s best to do this last to minimise darkening or noise on the preview image, and simply reshoot if an estimated DOF in step 5 is inaccurate.
Read more:
The best macro lenses in 2020
The best close-up filters
Use a reversing ring and flash for great macro shots
As the Editor for Digital Photographer magazine, Peter is a specialist in camera tutorials and creative projects to help you get the most out of your camera, lens, tripod, filters, gimbal, lighting and other imaging equipment.
After cutting his teeth working in retail for camera specialists like Jessops, he has spent 11 years as a photography journalist and freelance writer – and he is a Getty Images-registered photographer, to boot.
No matter what you want to shoot, Peter can help you sharpen your skills and elevate your ability, whether it’s taking portraits, capturing landscapes, shooting architecture, creating macro and still life, photographing action… he can help you learn and improve.
