This cool photo effect creates adds a spooky mist to night portraits
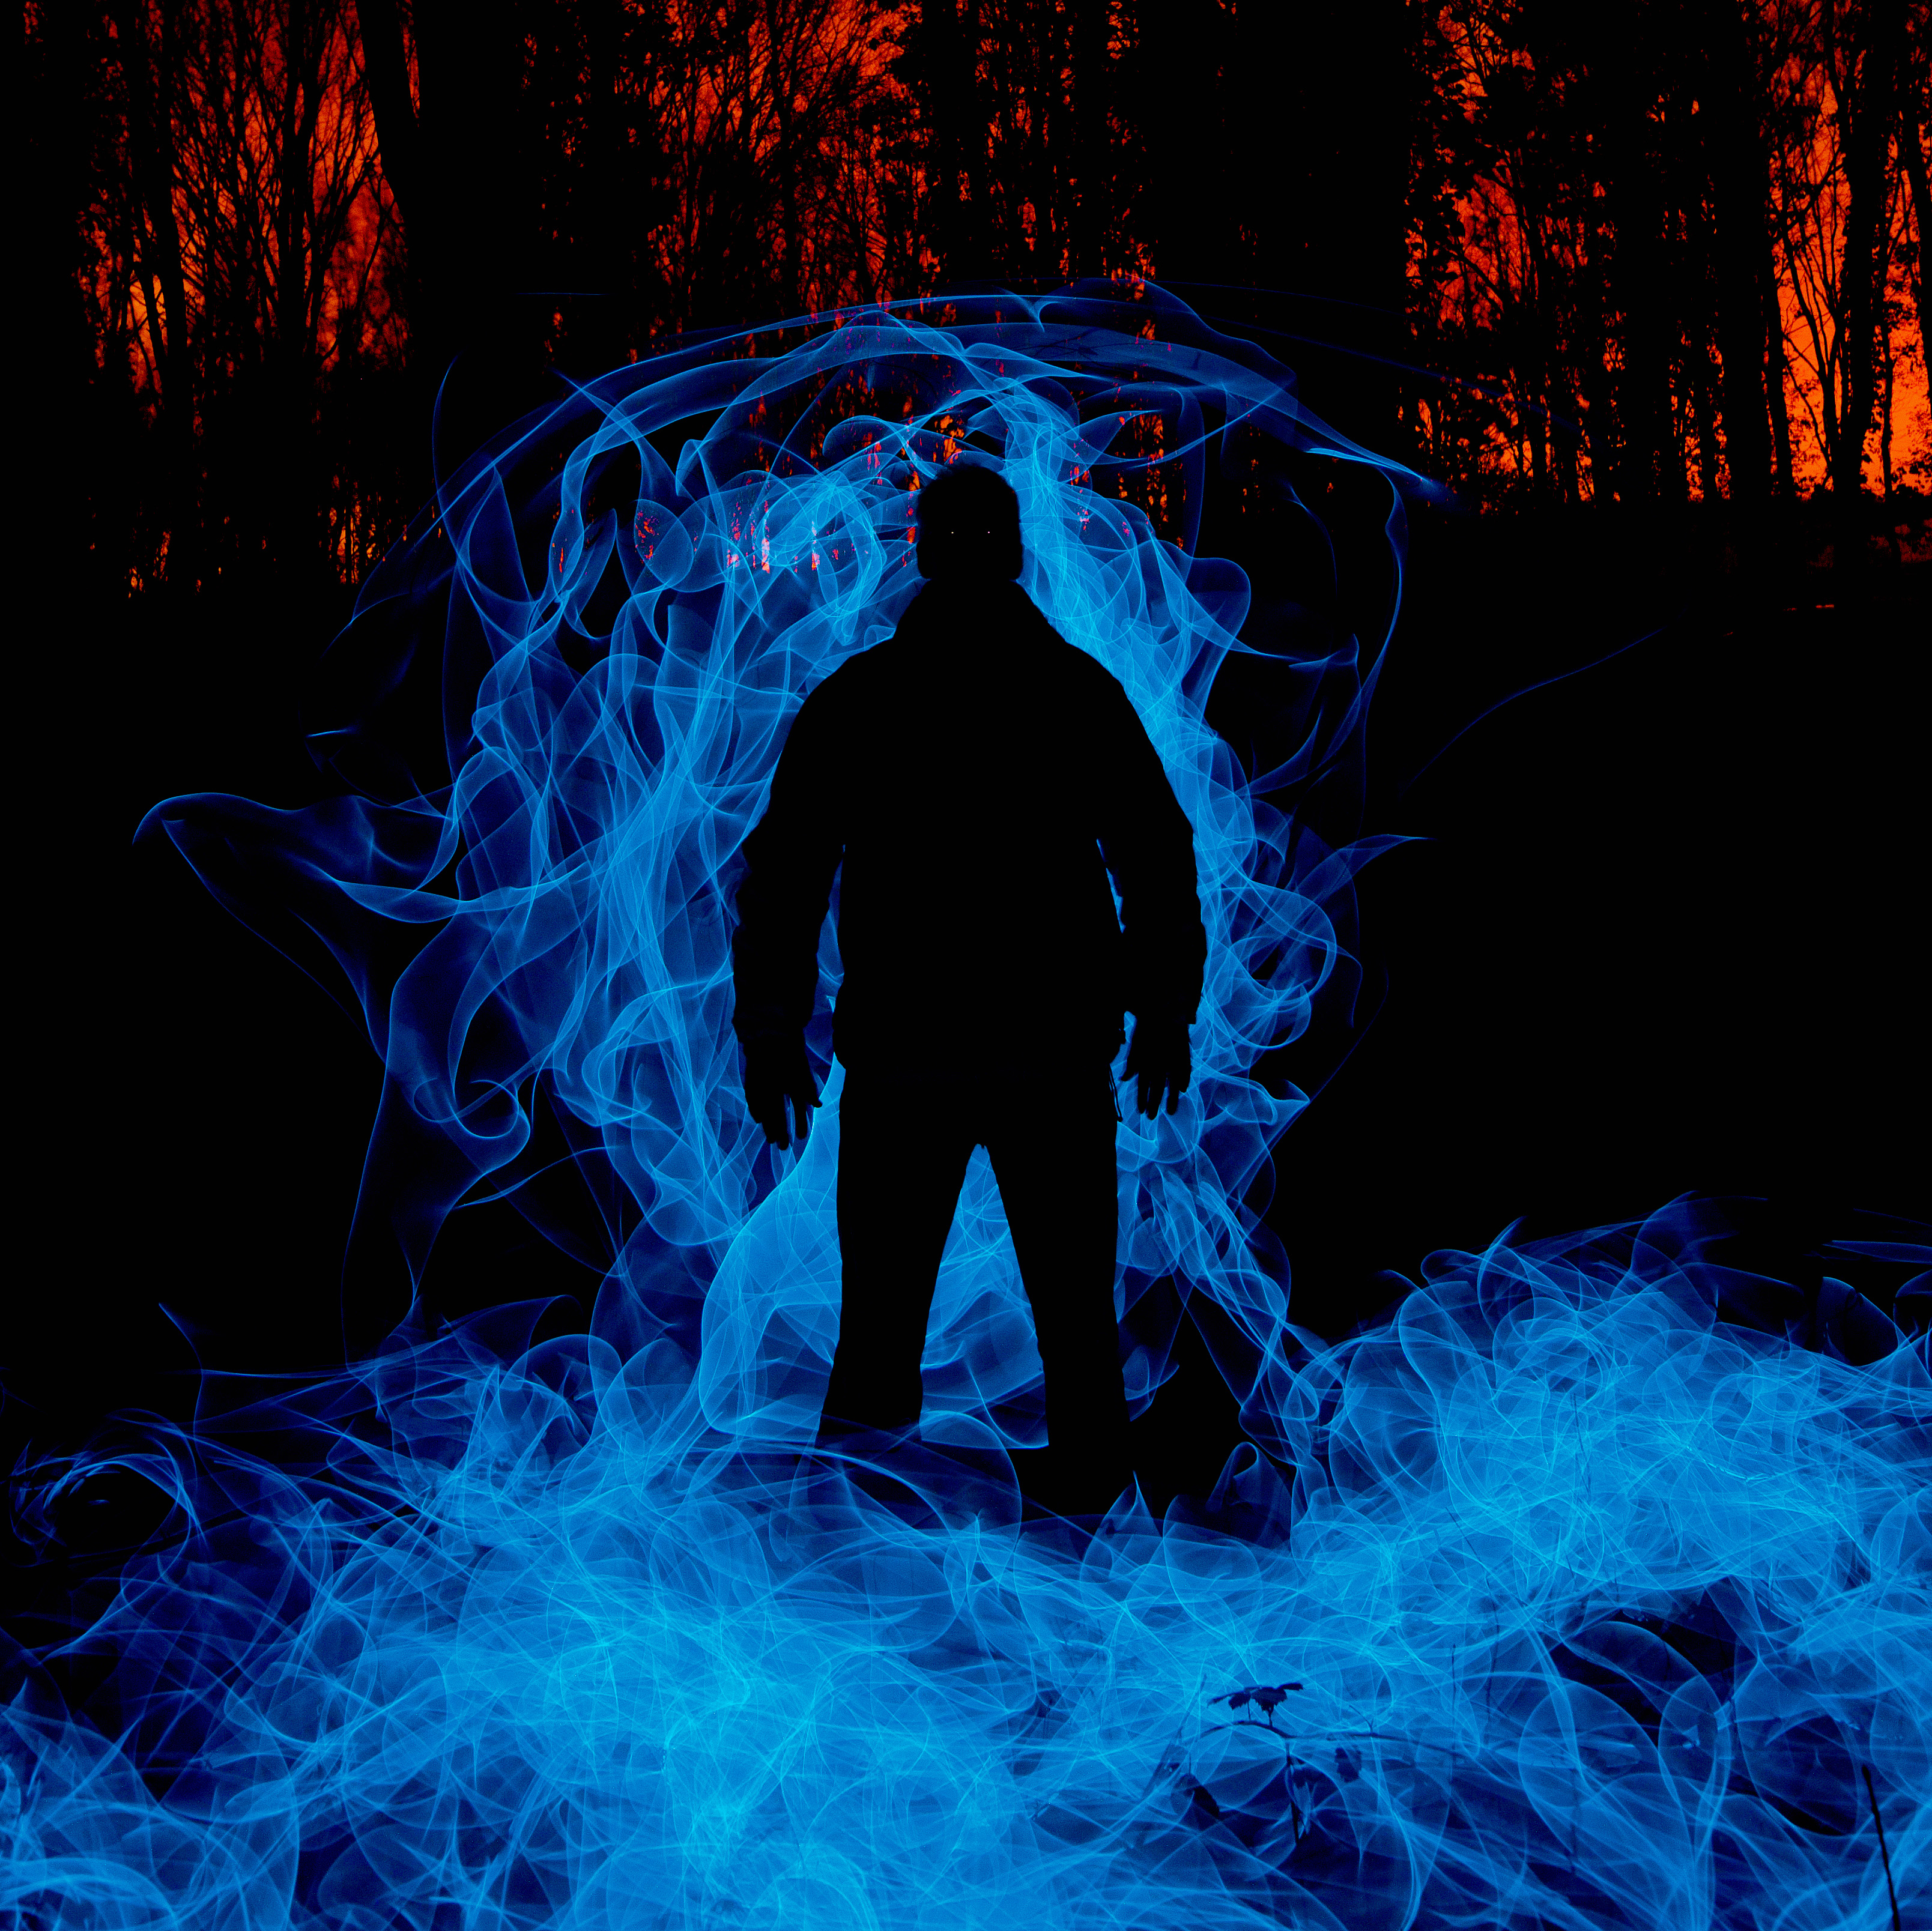
Create fiery pictures using EL wire for colored flame effects like something out of a horror movie.

Want to shoot ghostly portraits with your camera? This chilling photographic effect might look complicated, but it’s very easy and inexpensive. All you need is a tripod, a remote shutter release and electroluminescent (EL) wire for spectacular results.
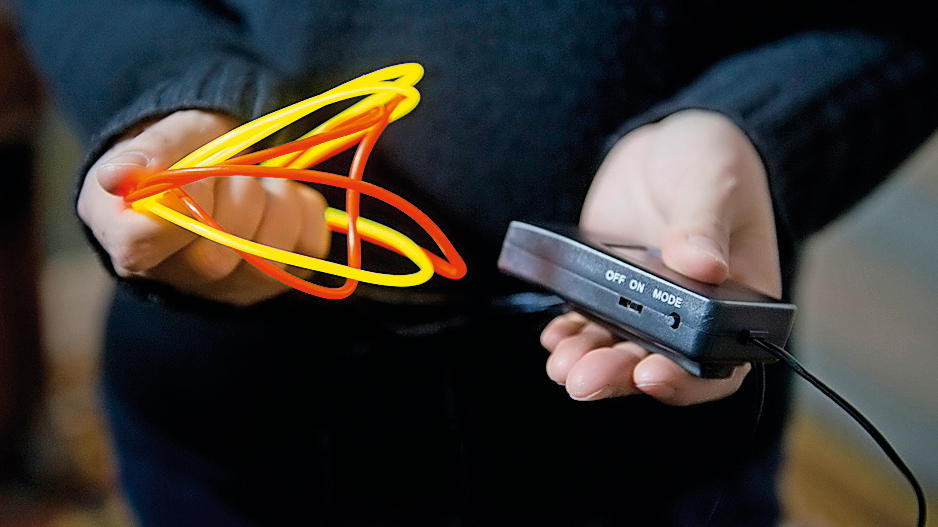
EL wire is a photography craft favorite. It’s made of thin copper that’s coated in phosphor, giving it a neon glow. It’s available cheaply in many different colors from specialist sites that cater for those wanting to customize cars, or to decorate night clubs. The beauty is that unlike other light sources, it illuminates evenly across its surface - allowing you to move it through a scene during a long exposure to create a mist-like effect in the image.
EL wire is powered by a mini inverter, powered by batteries. It’s worth having a stash of extras in your pocket. Turn on the inverter and set it to Constant mode (ie so it is not blinking). When you’re ready to shoot, press and lock your remote shutter button to start the exposure.
Have your model stand completely still, and start whipping the wire around and behind him or her – don’t paint directly in front of the model. Keep constantly moving so you don’t show up in the shot. Wearing dark clothing will help you to remain invisible in the scene.
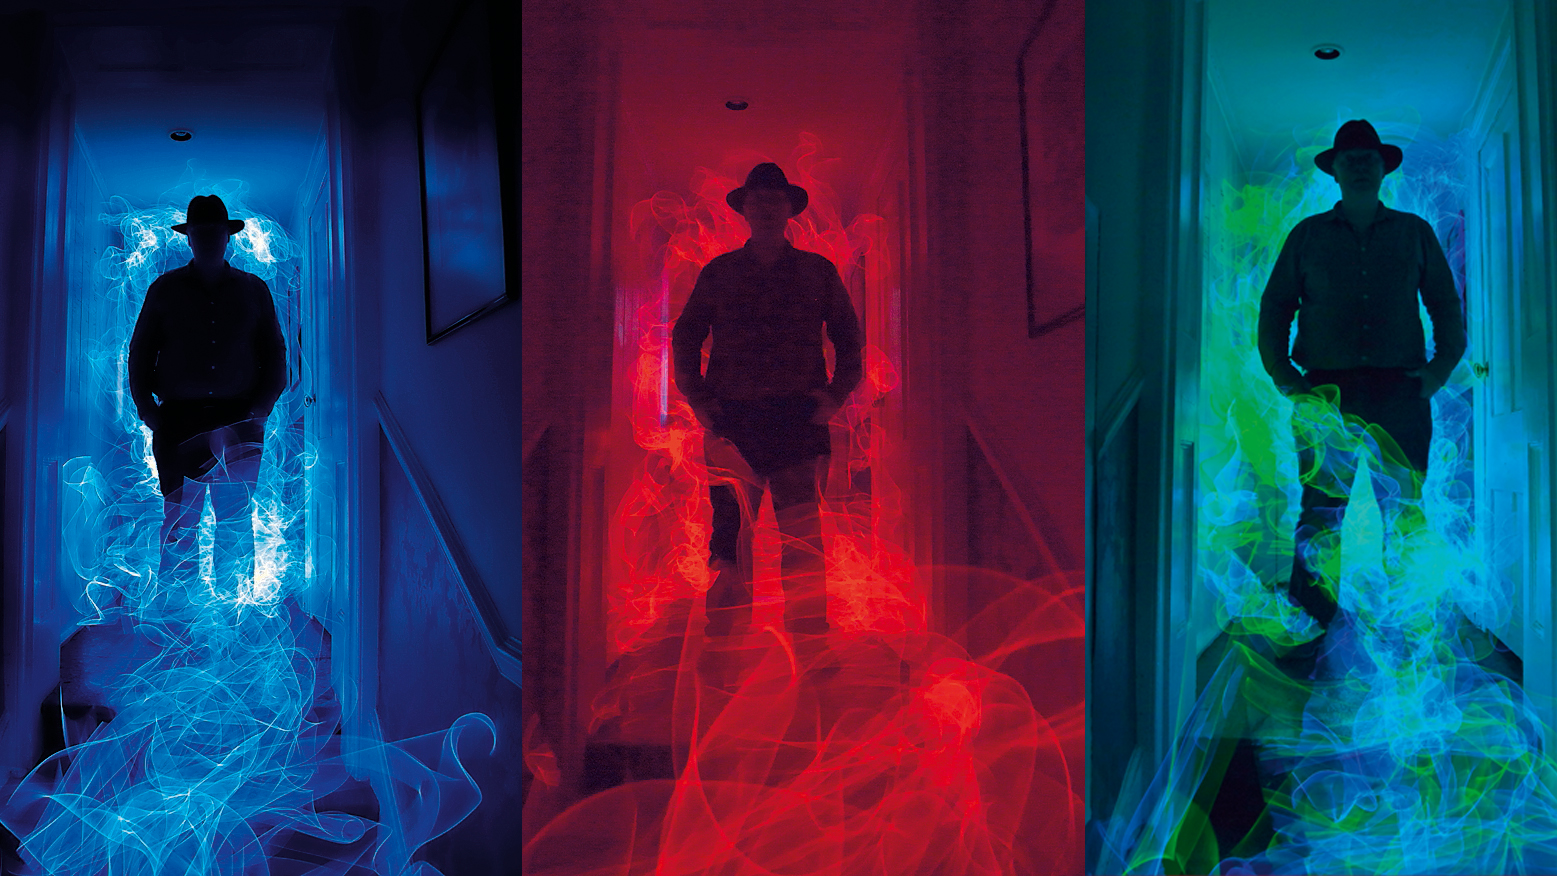
We shot at night in a blacked-out corridor, and in a wood after dark, and got one of the team to pose as the ominous-looking silhouette in this shot. Your model will need to be prepared to stand stock-still while you shoot a long exposure and use the wire to paint an electric fog around the body.
Switch to Manual so that you’re fully in control of the settings, and shoot in RAW. Pick a low ISO, such as 100, and an aperture of f/5.6. If you find that the highlights of your photos end up blowing out, try a narrower aperture, such as f/8.
Get your camera set up on your tripod and switch to B or Bulb mode. Your D-SLR will usually only allow a maximum exposure of 30 seconds, but Bulb lets you keep the shutter open for as long as you want. You’ll need a remote shutter release to avoid camera shake.
The best camera deals, reviews, product advice, and unmissable photography news, direct to your inbox!
When you’ve finished painting, flick the remote shutter release out of the lock position to end the exposure, then check to see if your light trails are looking good. If they are, try experimenting with different colors – using two or more at once creates a cool flaming effect.
- Chris GeorgeContent Director


