Take creative home portraits with simple flash skills and vibrant color gels
James Paterson shows you how to use inexpensive colored gels and a simple flash setup to craft vibrant portraits
Watch video: Take vibrant portraits with flash and color gels
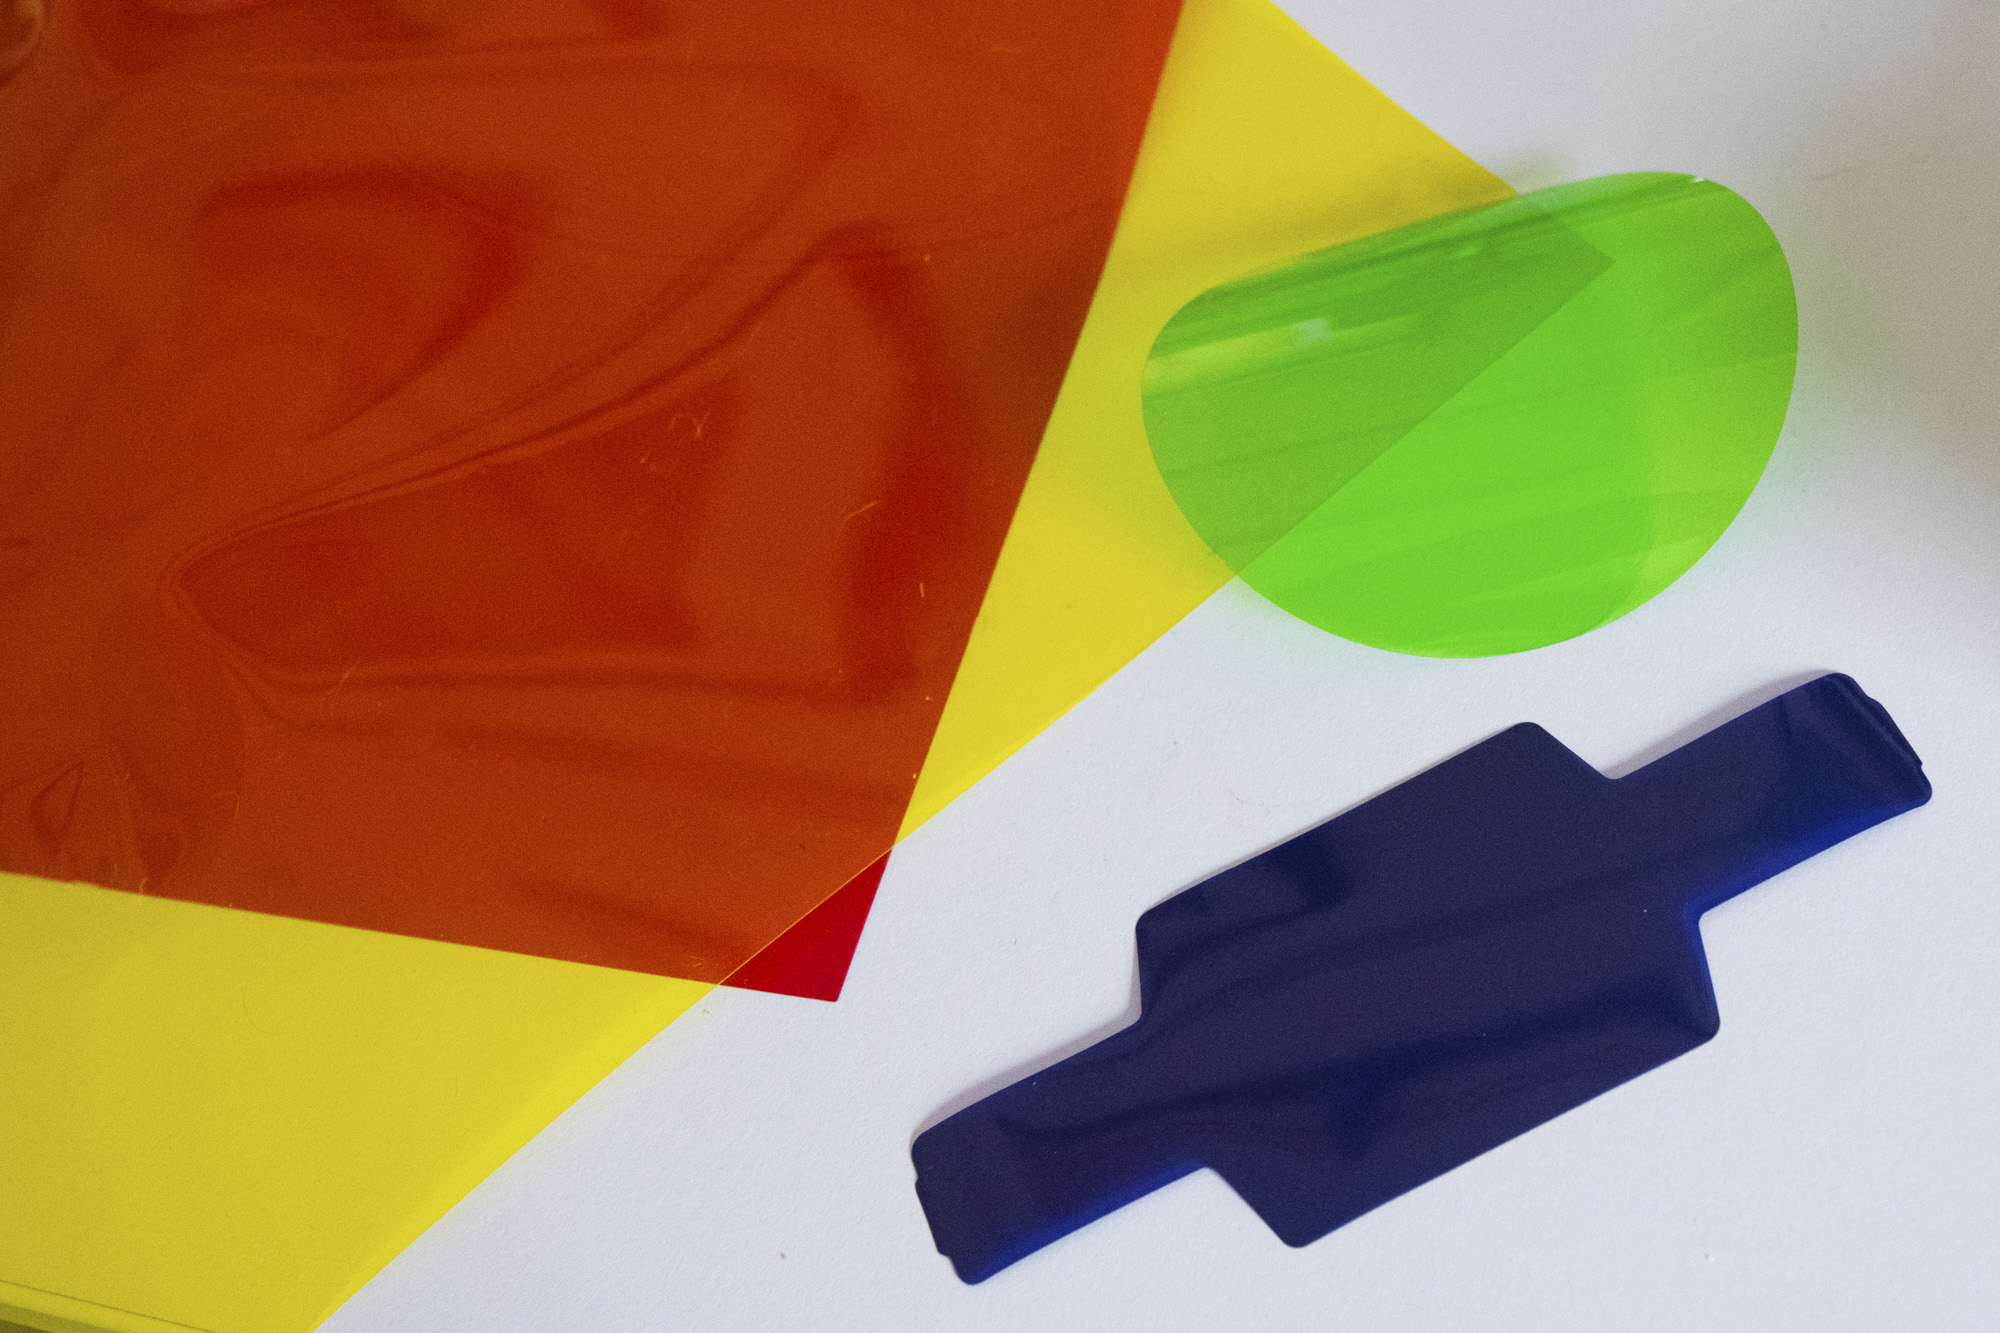
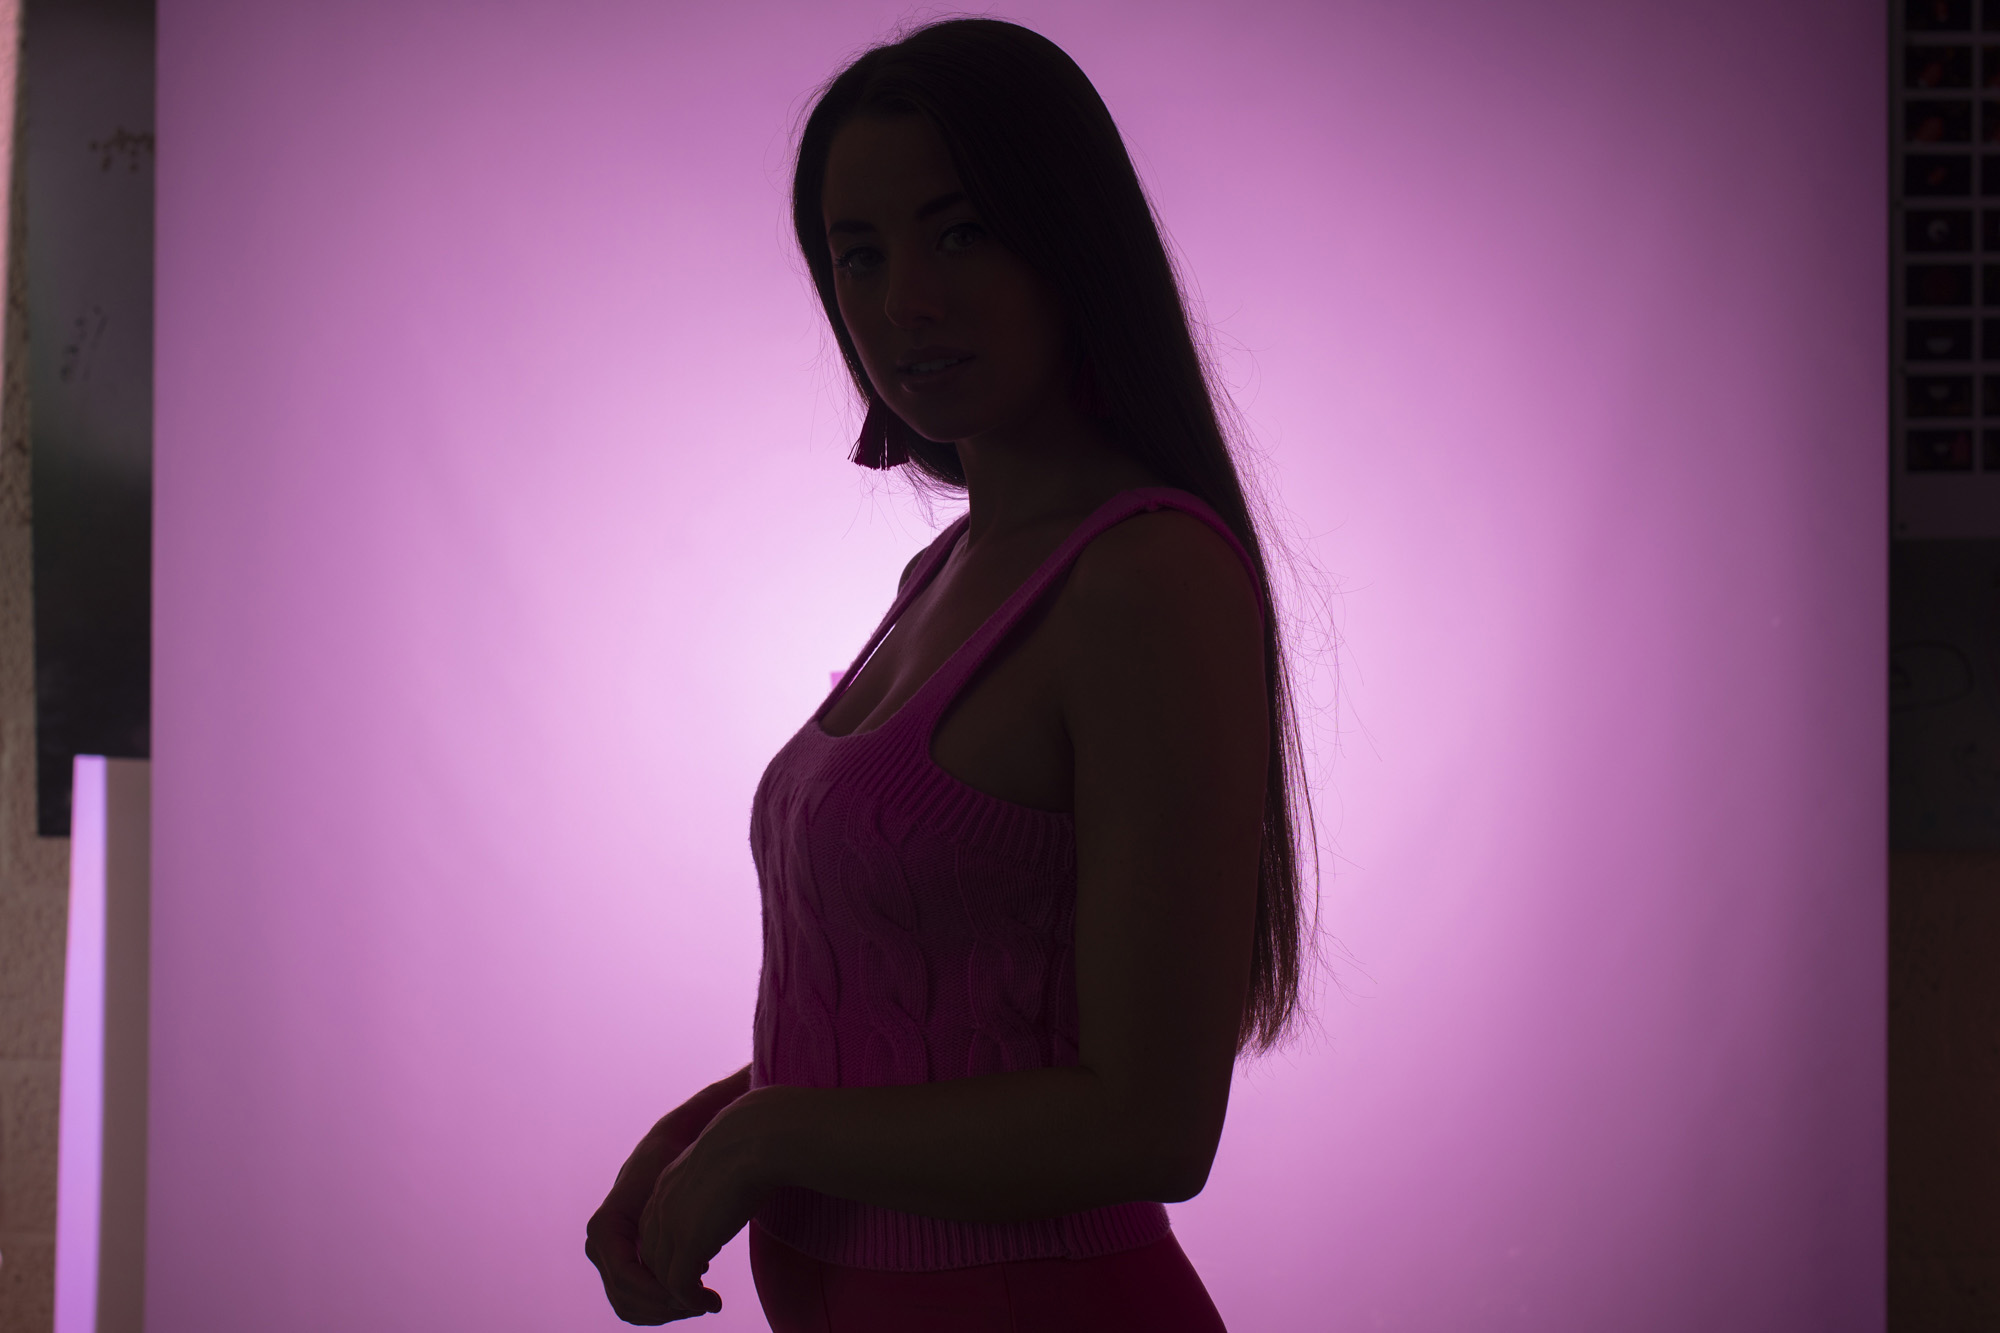
Color gels are a cheap yet wonderful way to enhance your lighting and add impact to your portraits. By placing a gel in front of a flash or LED you can tint the light to any shade you like. Whether you want a bold colorful backdrop or an atmospheric color tint over your subject, gels can be a great choice. What’s more, they’re inexpensive, and can be used over equally affordable flashguns.
So a simple lighting setup with a couple of gelled flashguns won’t cost the earth. And you don’t really need a studio to create beautiful color gel portraits – any large space will do.
• Read more: Best flashguns
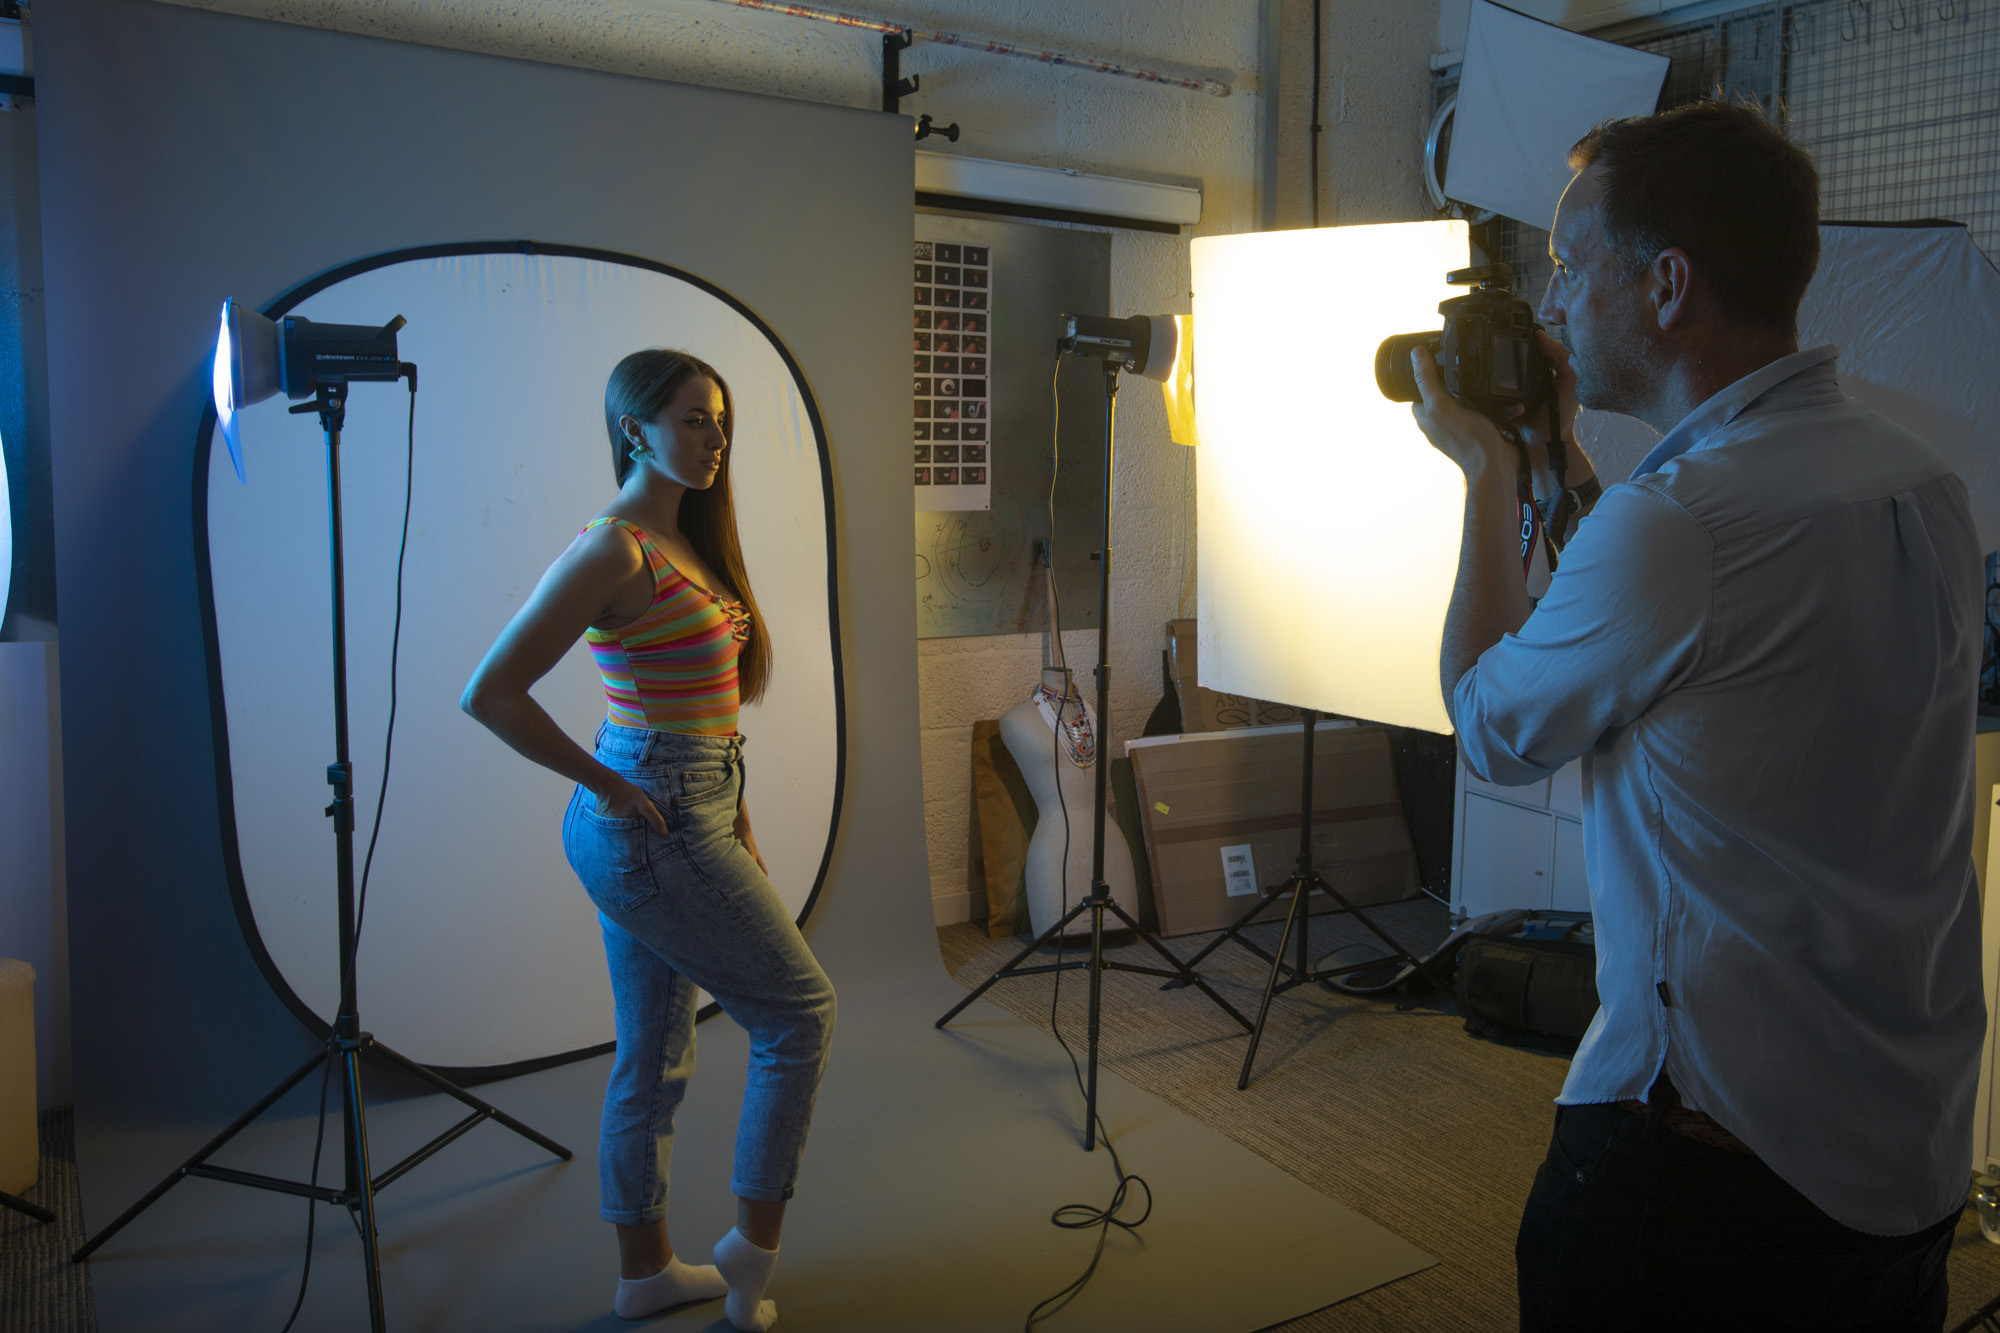
In this project we’ll look at a range of techniques for creative gel photography, from bold vibrant looks to moody low-key effects. We’ll explore complementary color combos and explain the best way to gel your lights. Of course, many of the techniques here can also apply to general studio portraiture, like setting the right exposure and controlling the spread and hardness of your lights. If you’re looking for a way to add impact to your portraits then these techniques can give your images a huge boost.
What’s more, you can explore a vast array of different color combinations that – when tailored to your subject’s look, outfit and accessories – give you complete creative control over the final portrait. Like an artist with a set of paints, you can spread colors over your subject and scene, mix them together, tint different areas and blend colors at will.
01 Placing gels
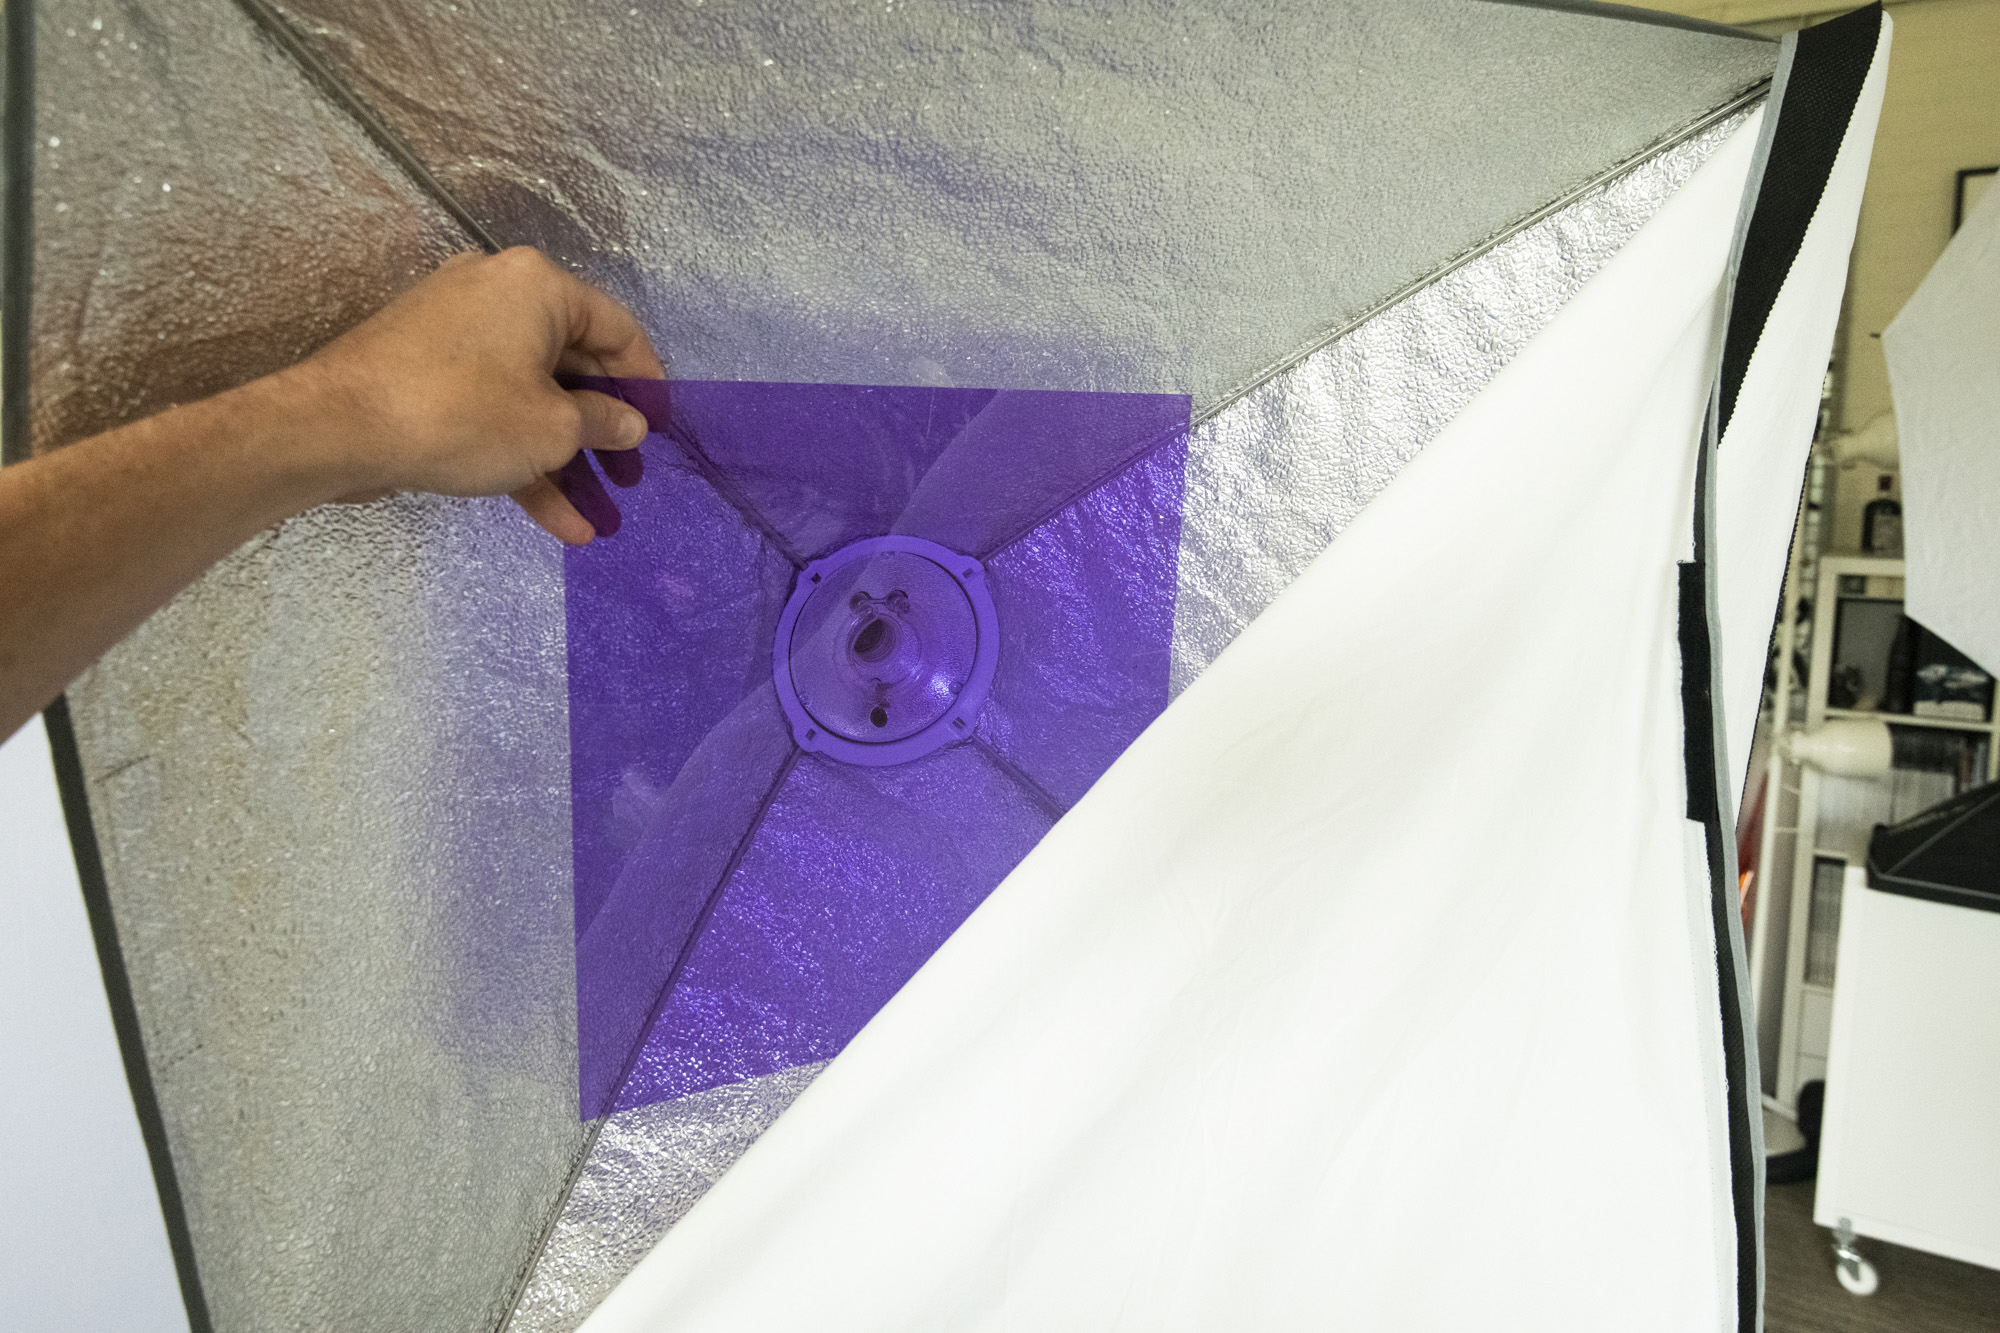
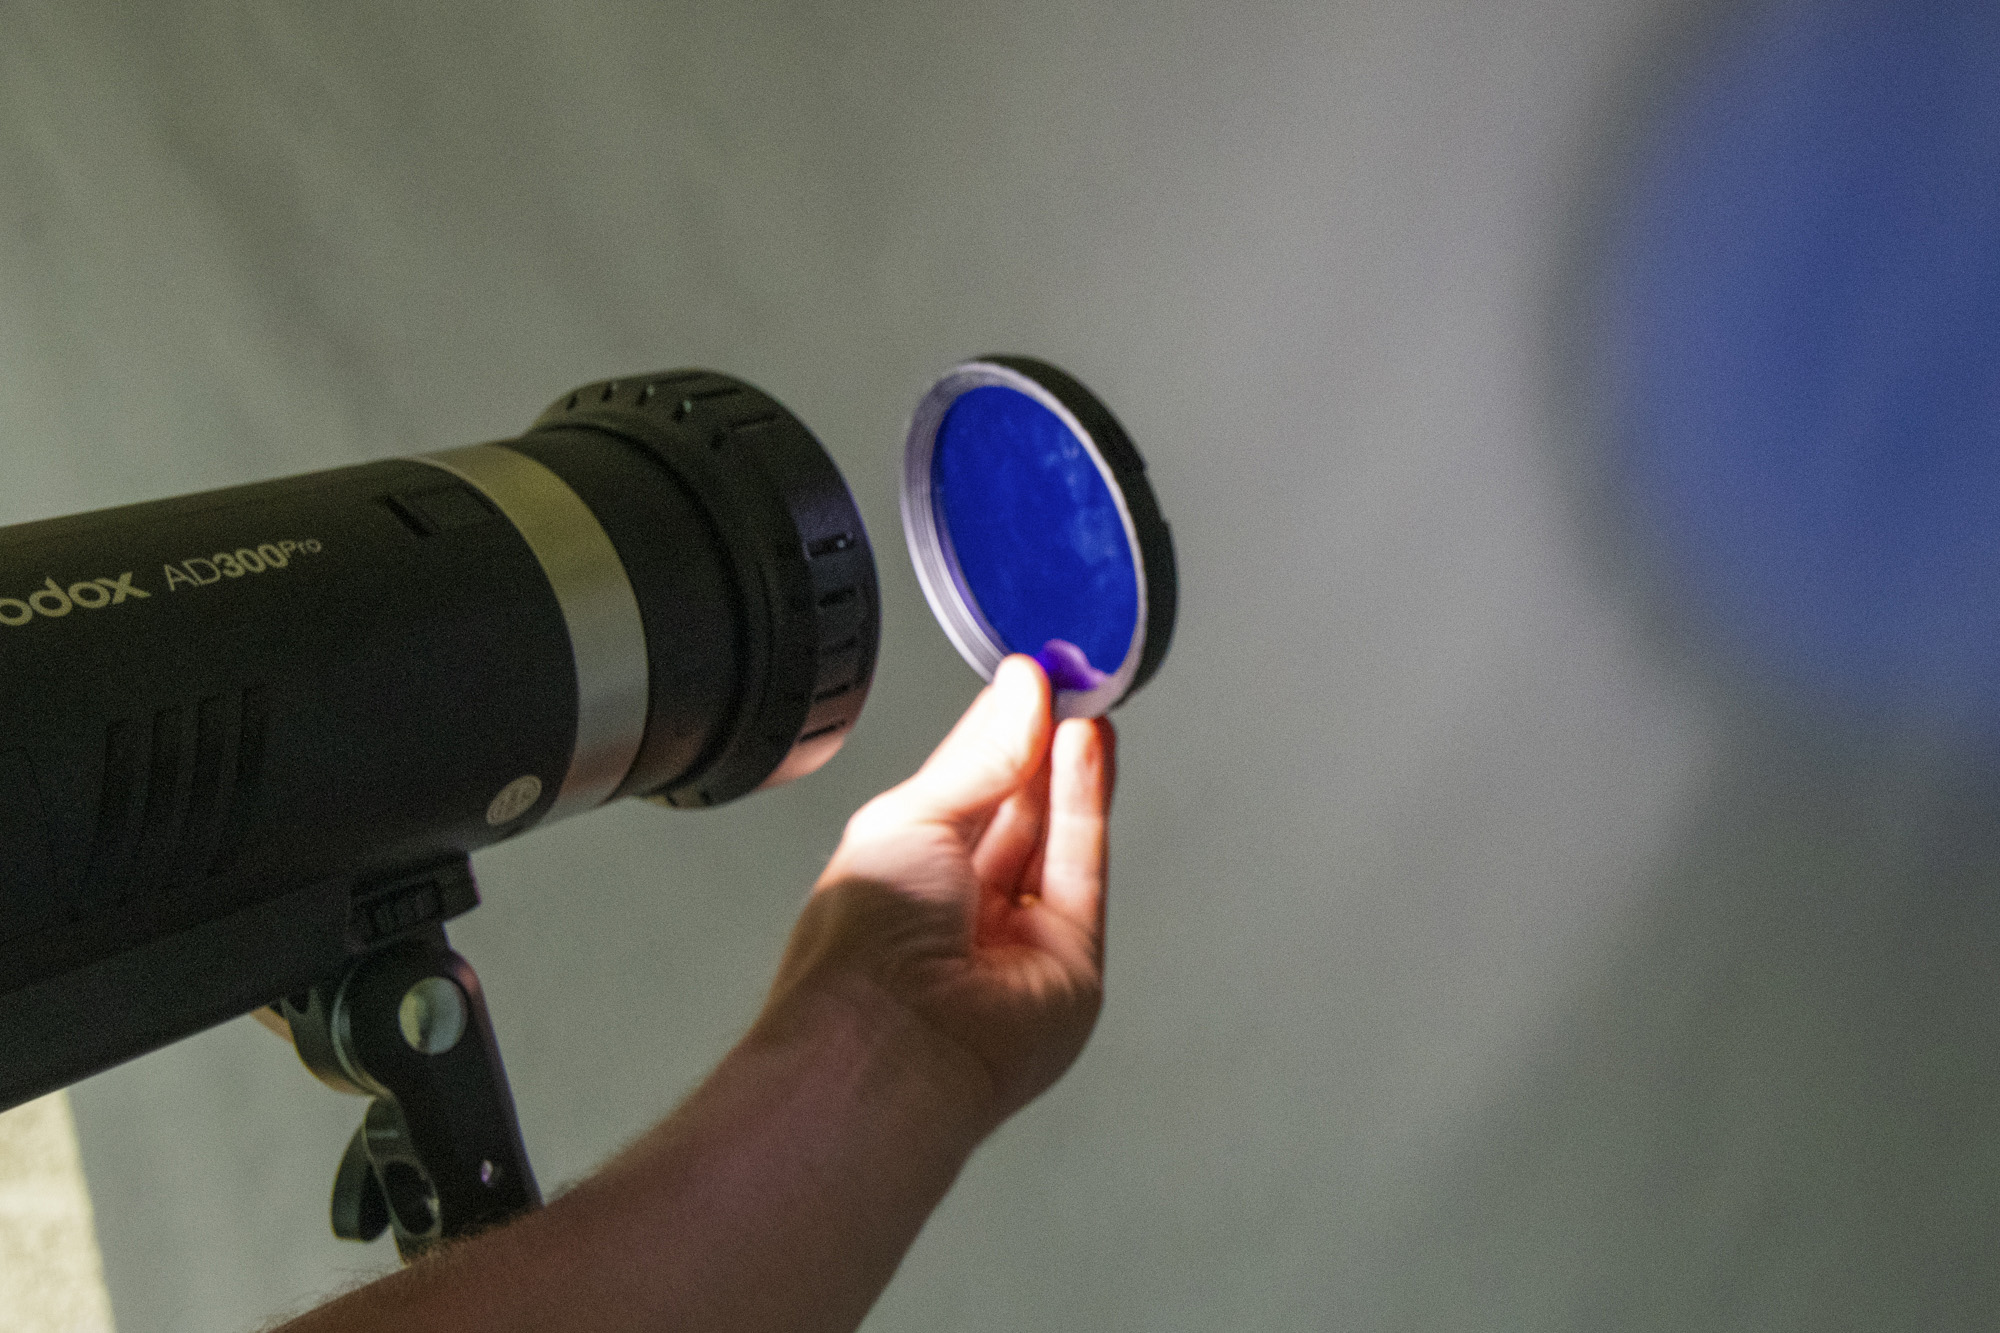
When placing a color gel over your light source, don’t leave any gaps around the edges. If you’re using a studio flash it’s best to leave the modeling light off. It can be easier to remove the modeling bulb, as this makes it simpler to place the gel over the flash bulb.
The best camera deals, reviews, product advice, and unmissable photography news, direct to your inbox!
02 Color combinations
If you want to combine two or more gels, choose colors that are complementary. If you look at a standard color wheel, the colors opposite one another will work in harmony, so go for a red / green combo, or blue / orange, or yellow / purple.
03 Setting flash power
Gels tend to reduce the power of the light source by a stop or two, so increase your flash power accordingly. Some gels will be more dense than others. If you find the colors look too weak, try reducing your flash power and open your aperture to compensate.
04 Hard and soft lights
For hard light, we leave the gelled flash bulb bare. For softer, more diffuse light we can fit our gel inside a softbox, beauty dish or other flash modifier. The bare light can produce more saturated colors, while the softbox will weaken the effects of the gel but produce softer light.
05 Setting exposure
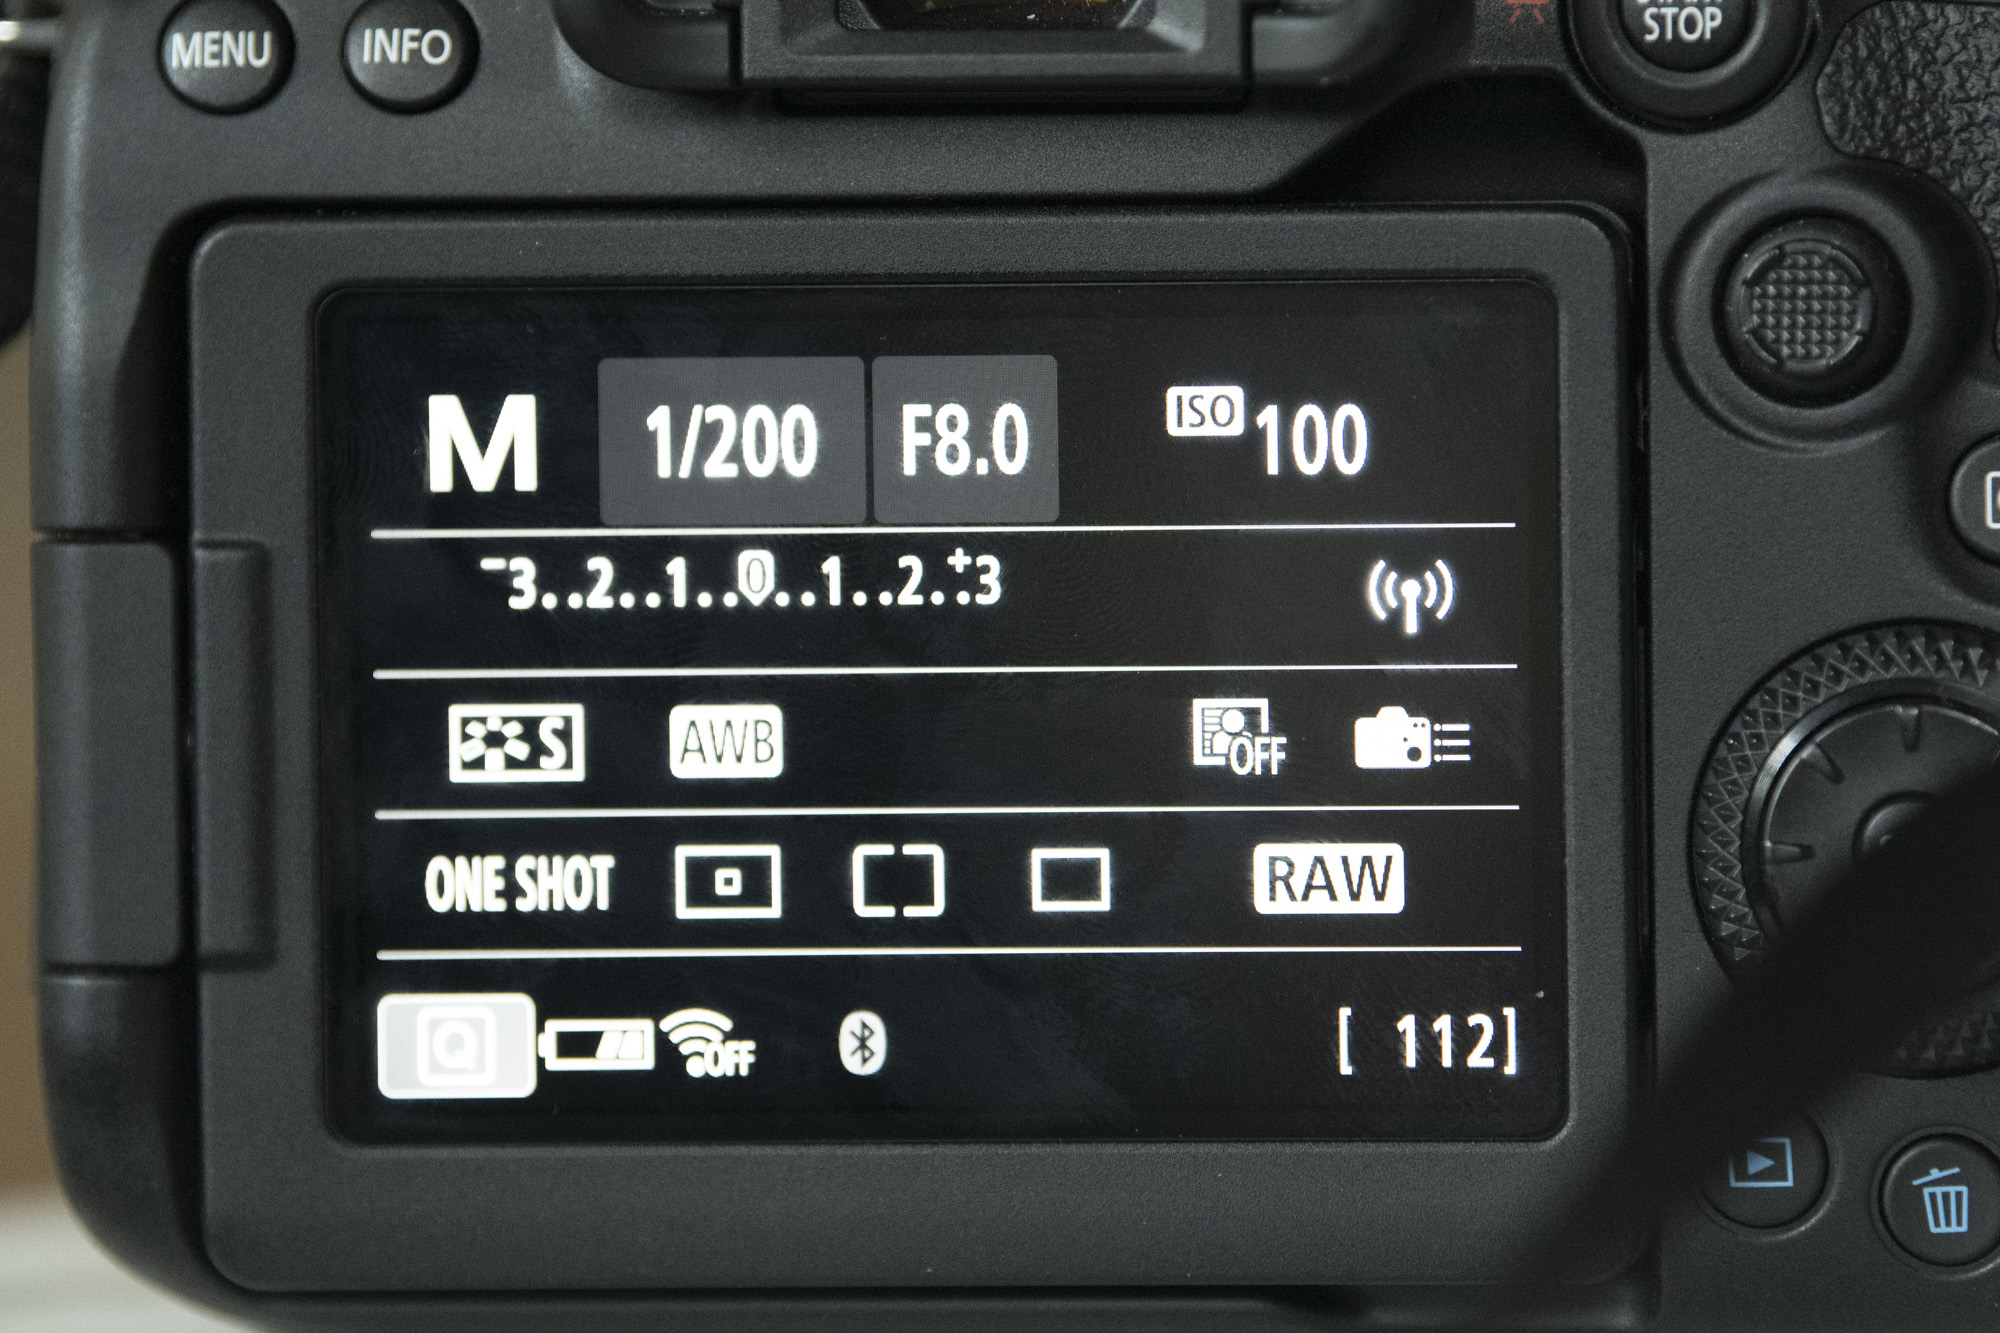
Use Manual mode for exposures. Start by matching your exposure to one light source, then turn on the others and adjust the power until they work together. A good exposure to begin is 1/200 sec, f/8, ISO100. Tweak the aperture and power until shots looks right.
06 Build from the back
Using several flashes can get complicated, so it helps to build the lighting one at a time. Normally we’d start with the key light, but when gelling a backdrop it’s easier to start by working out an exposure for the back light, then building from there.
07 Finish off in post-production
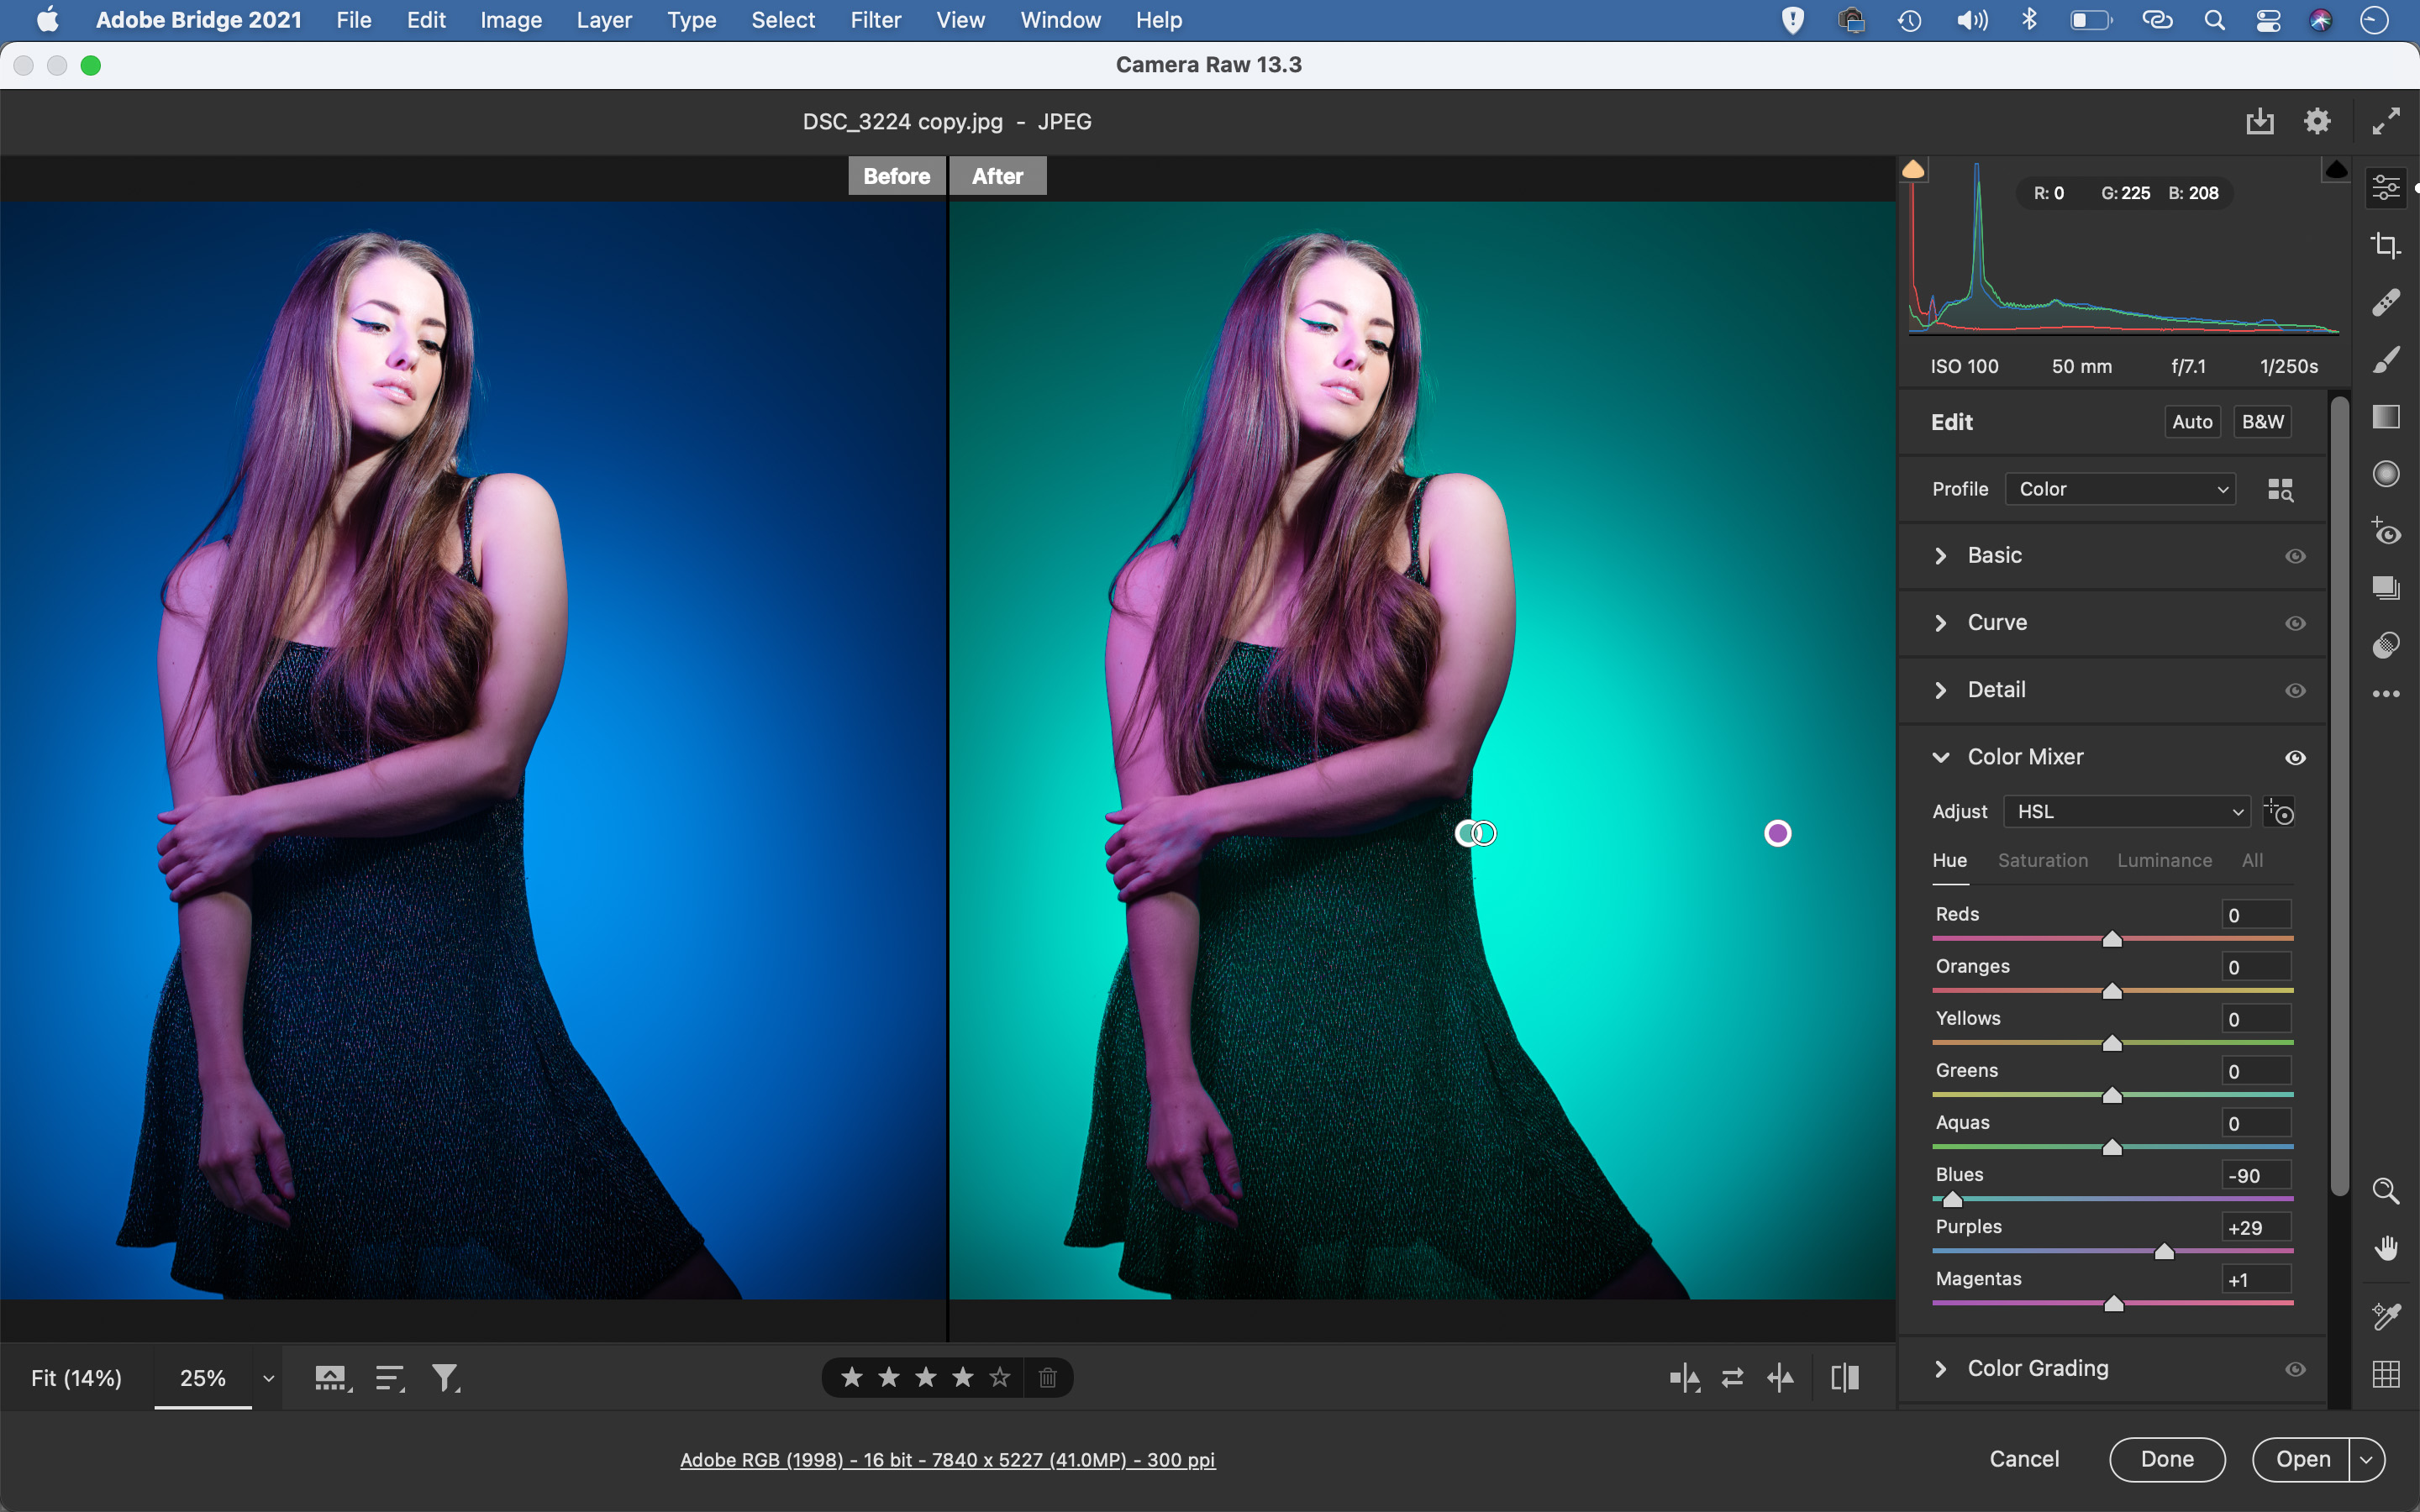
Even bold colors from gelled lights can look a little flat when you first open them, but it's simple to fix and enhance them in Lightroom. Start by experimenting with white balance (shoot in Raw so that you can change white balance after). Next, use Vibrance, which targets and boosts the weaker colors.
For targeted color control, head to the Color Mixer panel. Here you can target Hues, then use the target tool to drag left or right over colors in the image to alter them. This lets us completely change the color of the backdrop here. You can also use the Adjustment Brush to paint in more color or selectively alter white balance for variation.
PhotoPlus: The Canon Magazine is the world's only monthly newsstand title that's 100% devoted to Canon, so you can be sure the magazine is completely relevant to your system.
Read more:
The best photo editing software: image editors for novices through to pros
The best photo-editing laptops: top laptops for photographers
10 best online photography courses – from beginner guides to masterclasses
The lead technique writer on Digital Camera Magazine, PhotoPlus: The Canon Magazine and N-Photo: The Nikon Magazine, James is a fantastic general practice photographer with an enviable array of skills across every genre of photography.
Whether it's flash photography techniques like stroboscopic portraits, astrophotography projects like photographing the Northern Lights, or turning sound into art by making paint dance on a set of speakers, James' tutorials and projects are as creative as they are enjoyable.
He's also a wizard at the dark arts of Photoshop, Lightroom and Affinity Photo, and is capable of some genuine black magic in the digital darkroom, making him one of the leading authorities on photo editing software and techniques.
