Silhouette photography: camera settings
Work with strong backlighting to shoot graphic images that make the most of color and form for stunning silhouettes
The best camera deals, reviews, product advice, and unmissable photography news, direct to your inbox!
You are now subscribed
Your newsletter sign-up was successful
For as long as photography has existed, silhouettes have been popular – during the Victorian era, they were even seen as an affordable way of capturing a portrait. It’s easy to assume the process of creating a silhouetted image is straightforward, but that's not always the case.
We spend so much time producing balanced exposures and avoiding reducing subjects to silhouetted outlines so to shoot one intentionally, you may assume that all you have to do is underexpose. However, this represents only half of the procedure. If care is not taken, the main subject can become lost in the frame. Overlapping of elements in the scene can cause a loss of shape and therefore impact, while even choosing an ideal subject for this approach can be a challenge.
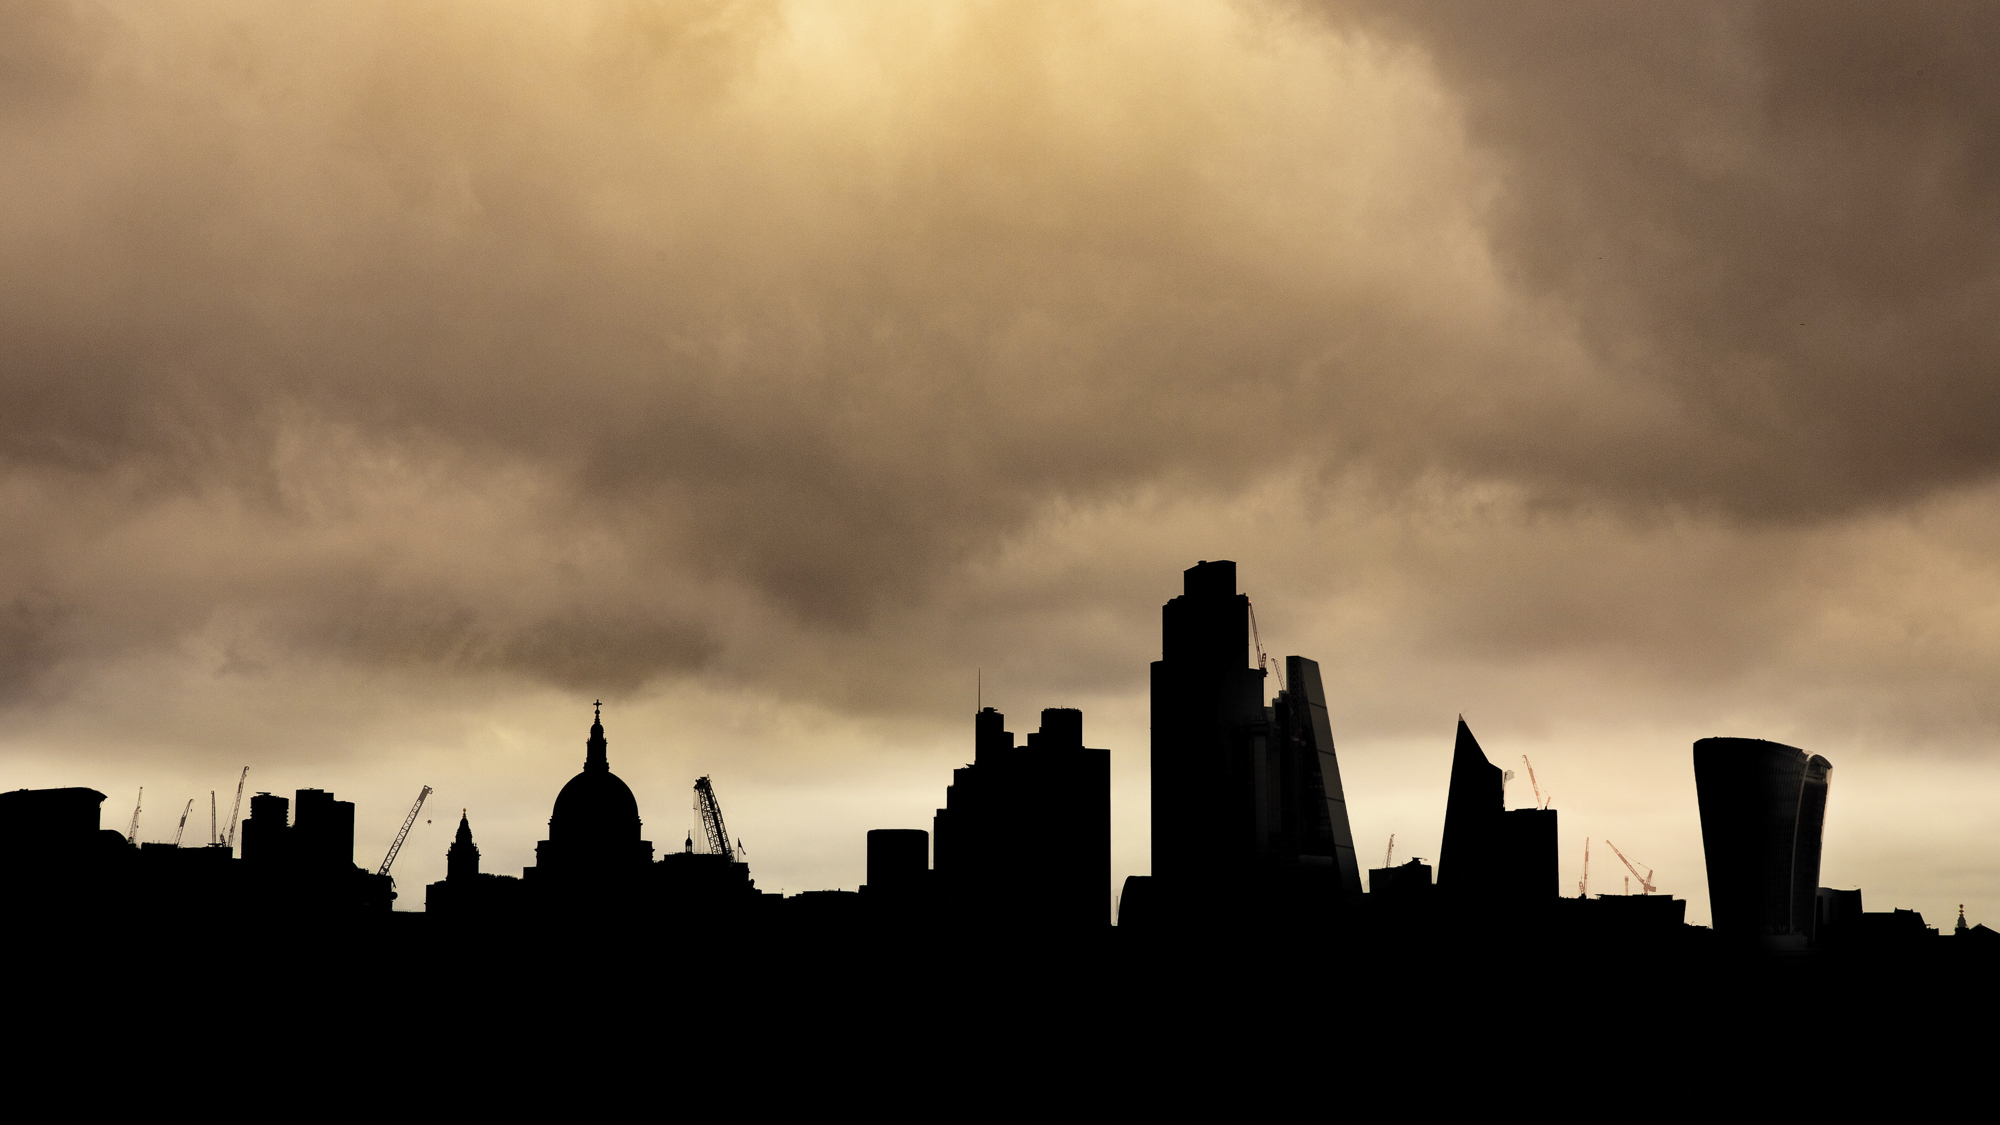
The best candidates for silhouette photography have a variety of discrete characteristics – strong shapes that sculpt the negative space around and between them. Since there's no detail to work with, the color and graphic properties of the scene take centre stage. Create a balance of bright and dark areas and ensure the exposure is adequate to turn the subject solid black.
In terms of kit, any of the best cameras for photography can be used to create silhouettes, although you'd ideally want to choose a camera with manual exposure mode so that you can control the effect. Let's learn how to get started...
1. Set depth
To push the graphic qualities of the scene, we need extensive depth-of-field. To achieve this, stop down the aperture to at least f/8, with f/11 or f/16 preferable when using a longer focal length. Check for any blurring of defined lines.
2. Meter from the highlights
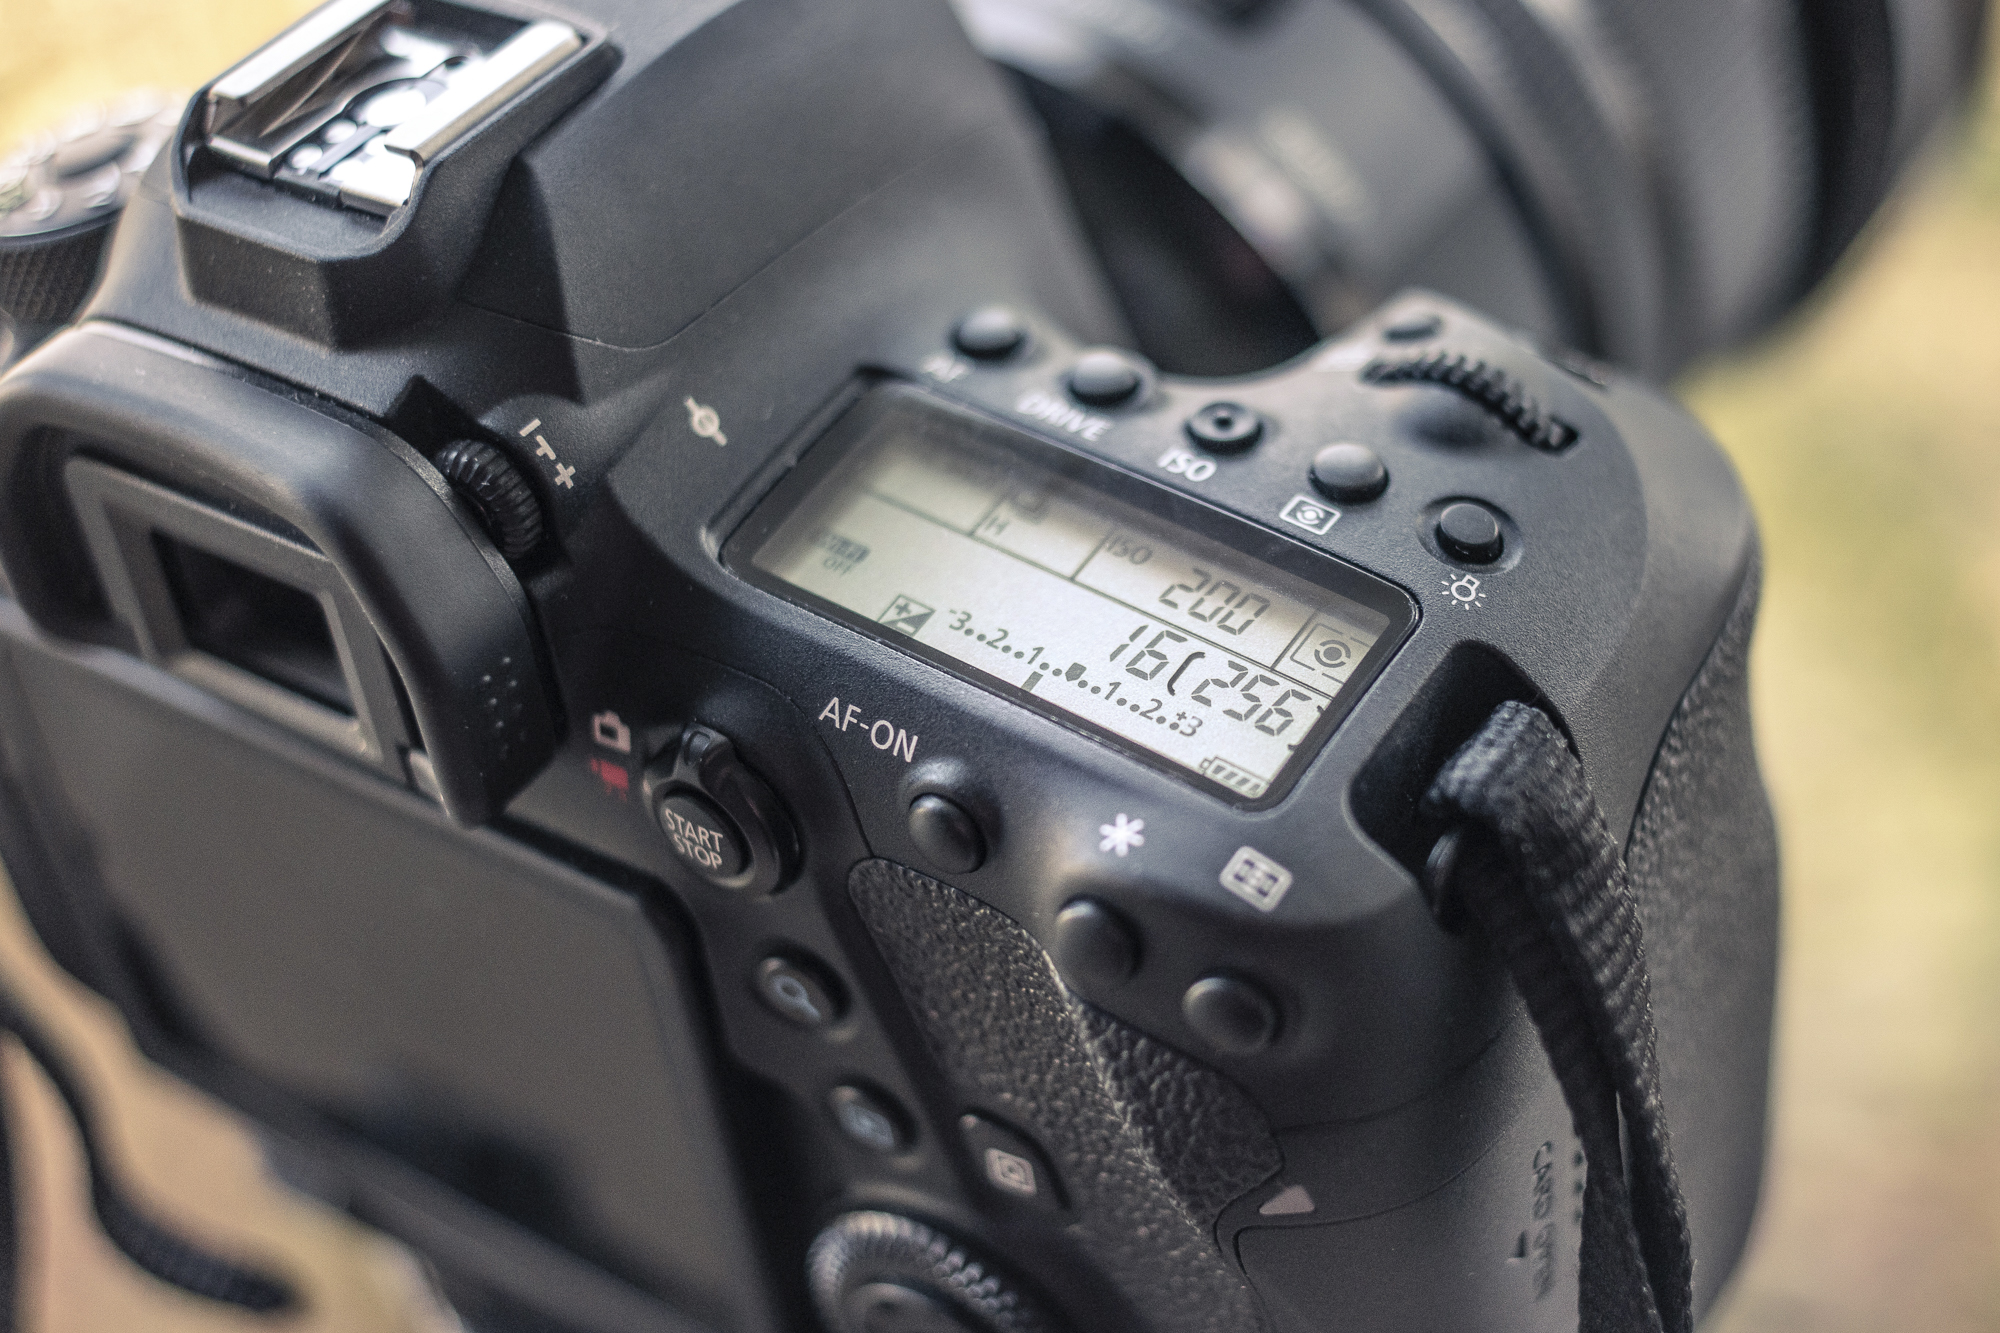
Since preserving detail at both ends of the exposure scale is unnecessary, metering from the brightest areas of the frame will ensure there are no blown highlights while pushing foreground elements into shadow.
3. Shoot a test
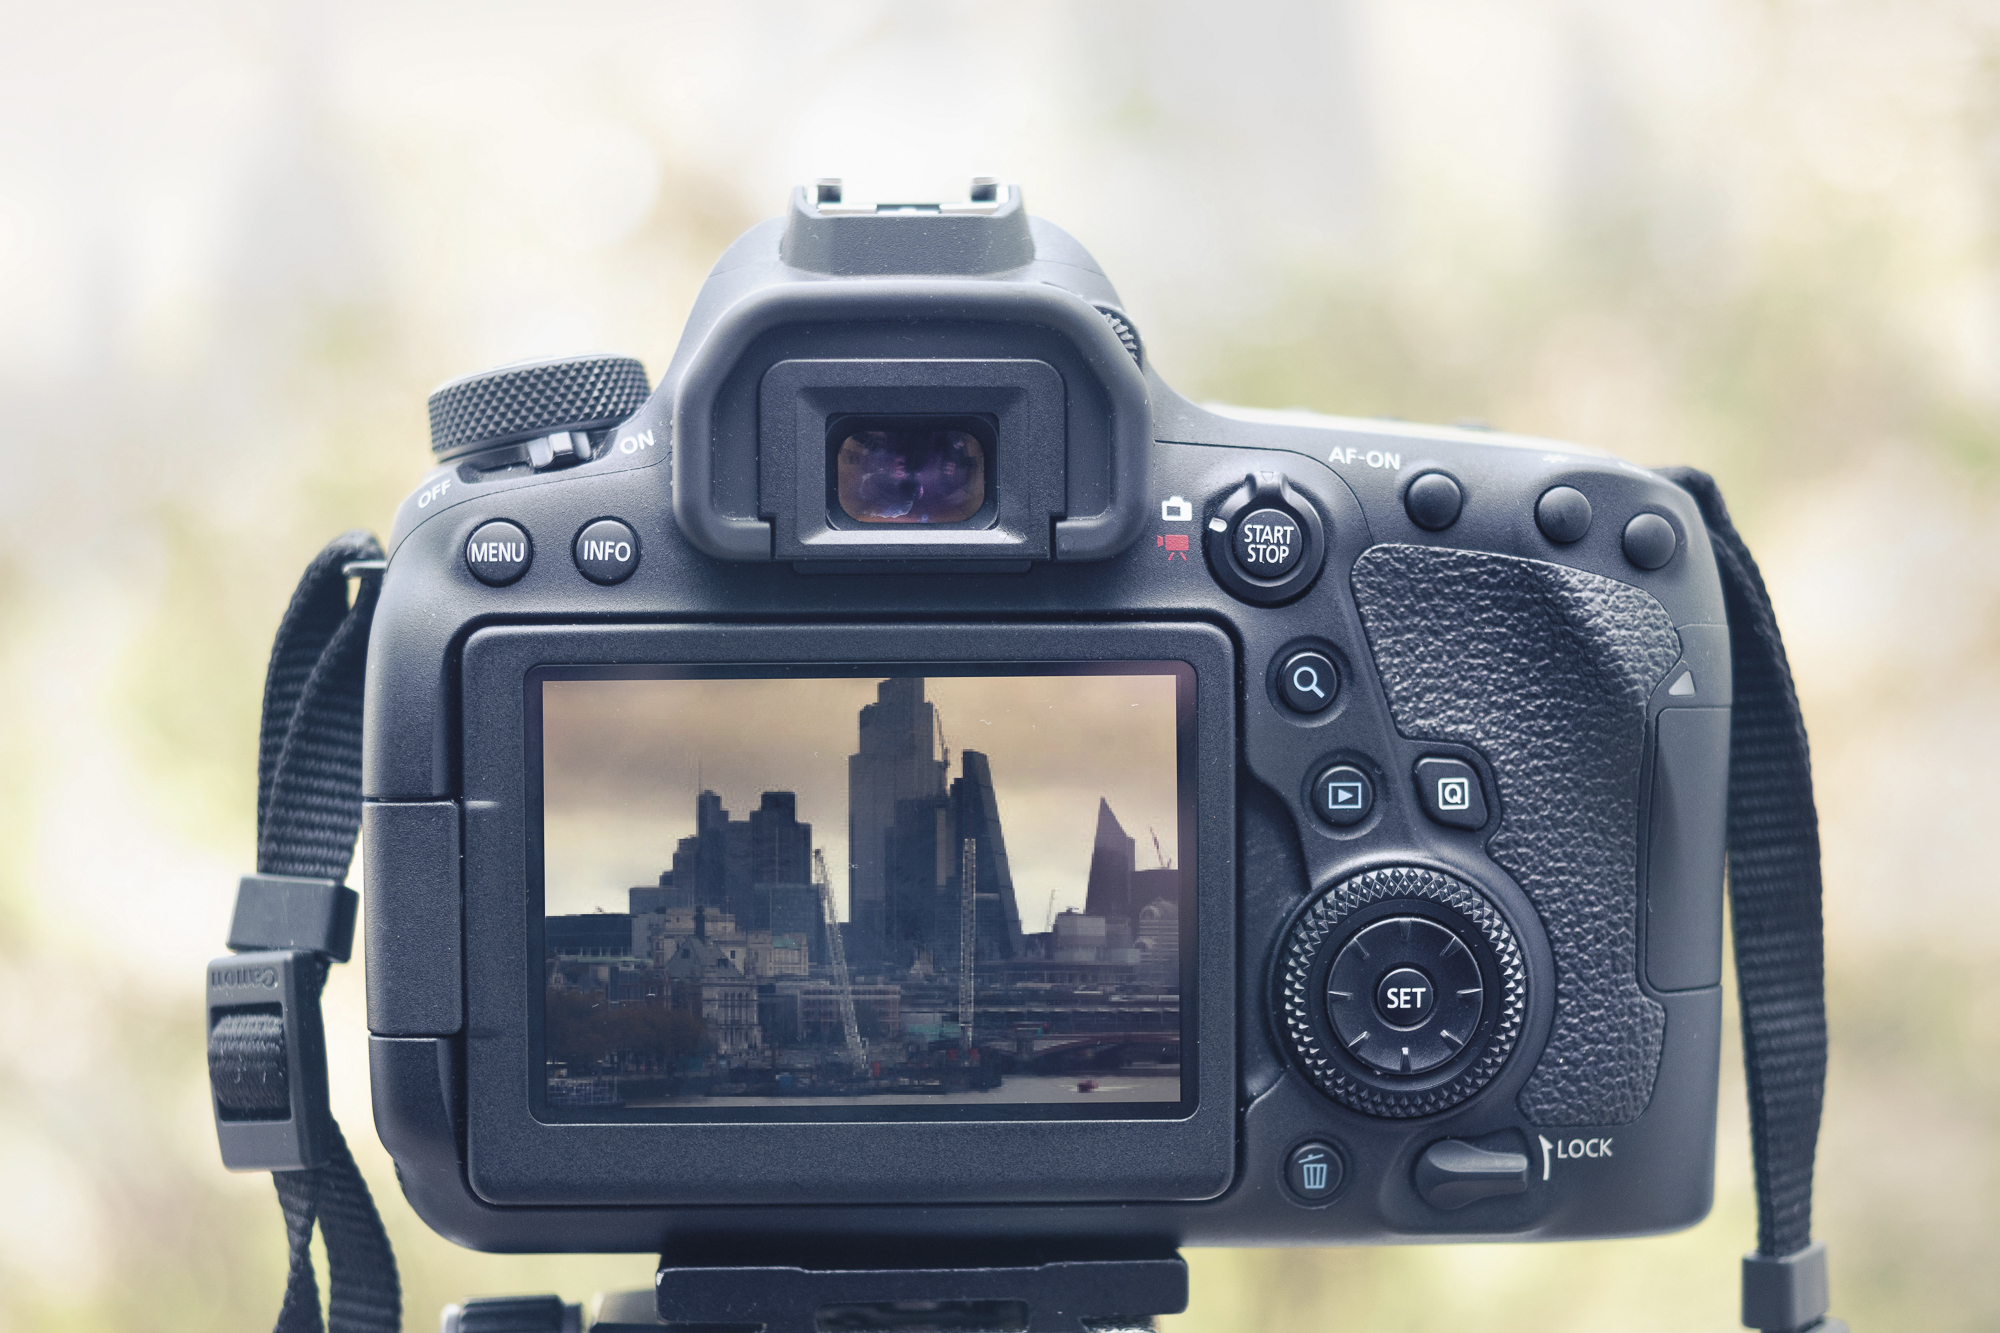
Roughly set a composition that you like and capture an image to assess the overall brightness. Look for any unwanted remaining detail in the foreground or particularly bright highlights in the sky that could ruin the ‘dark’ effect.
The best camera deals, reviews, product advice, and unmissable photography news, direct to your inbox!
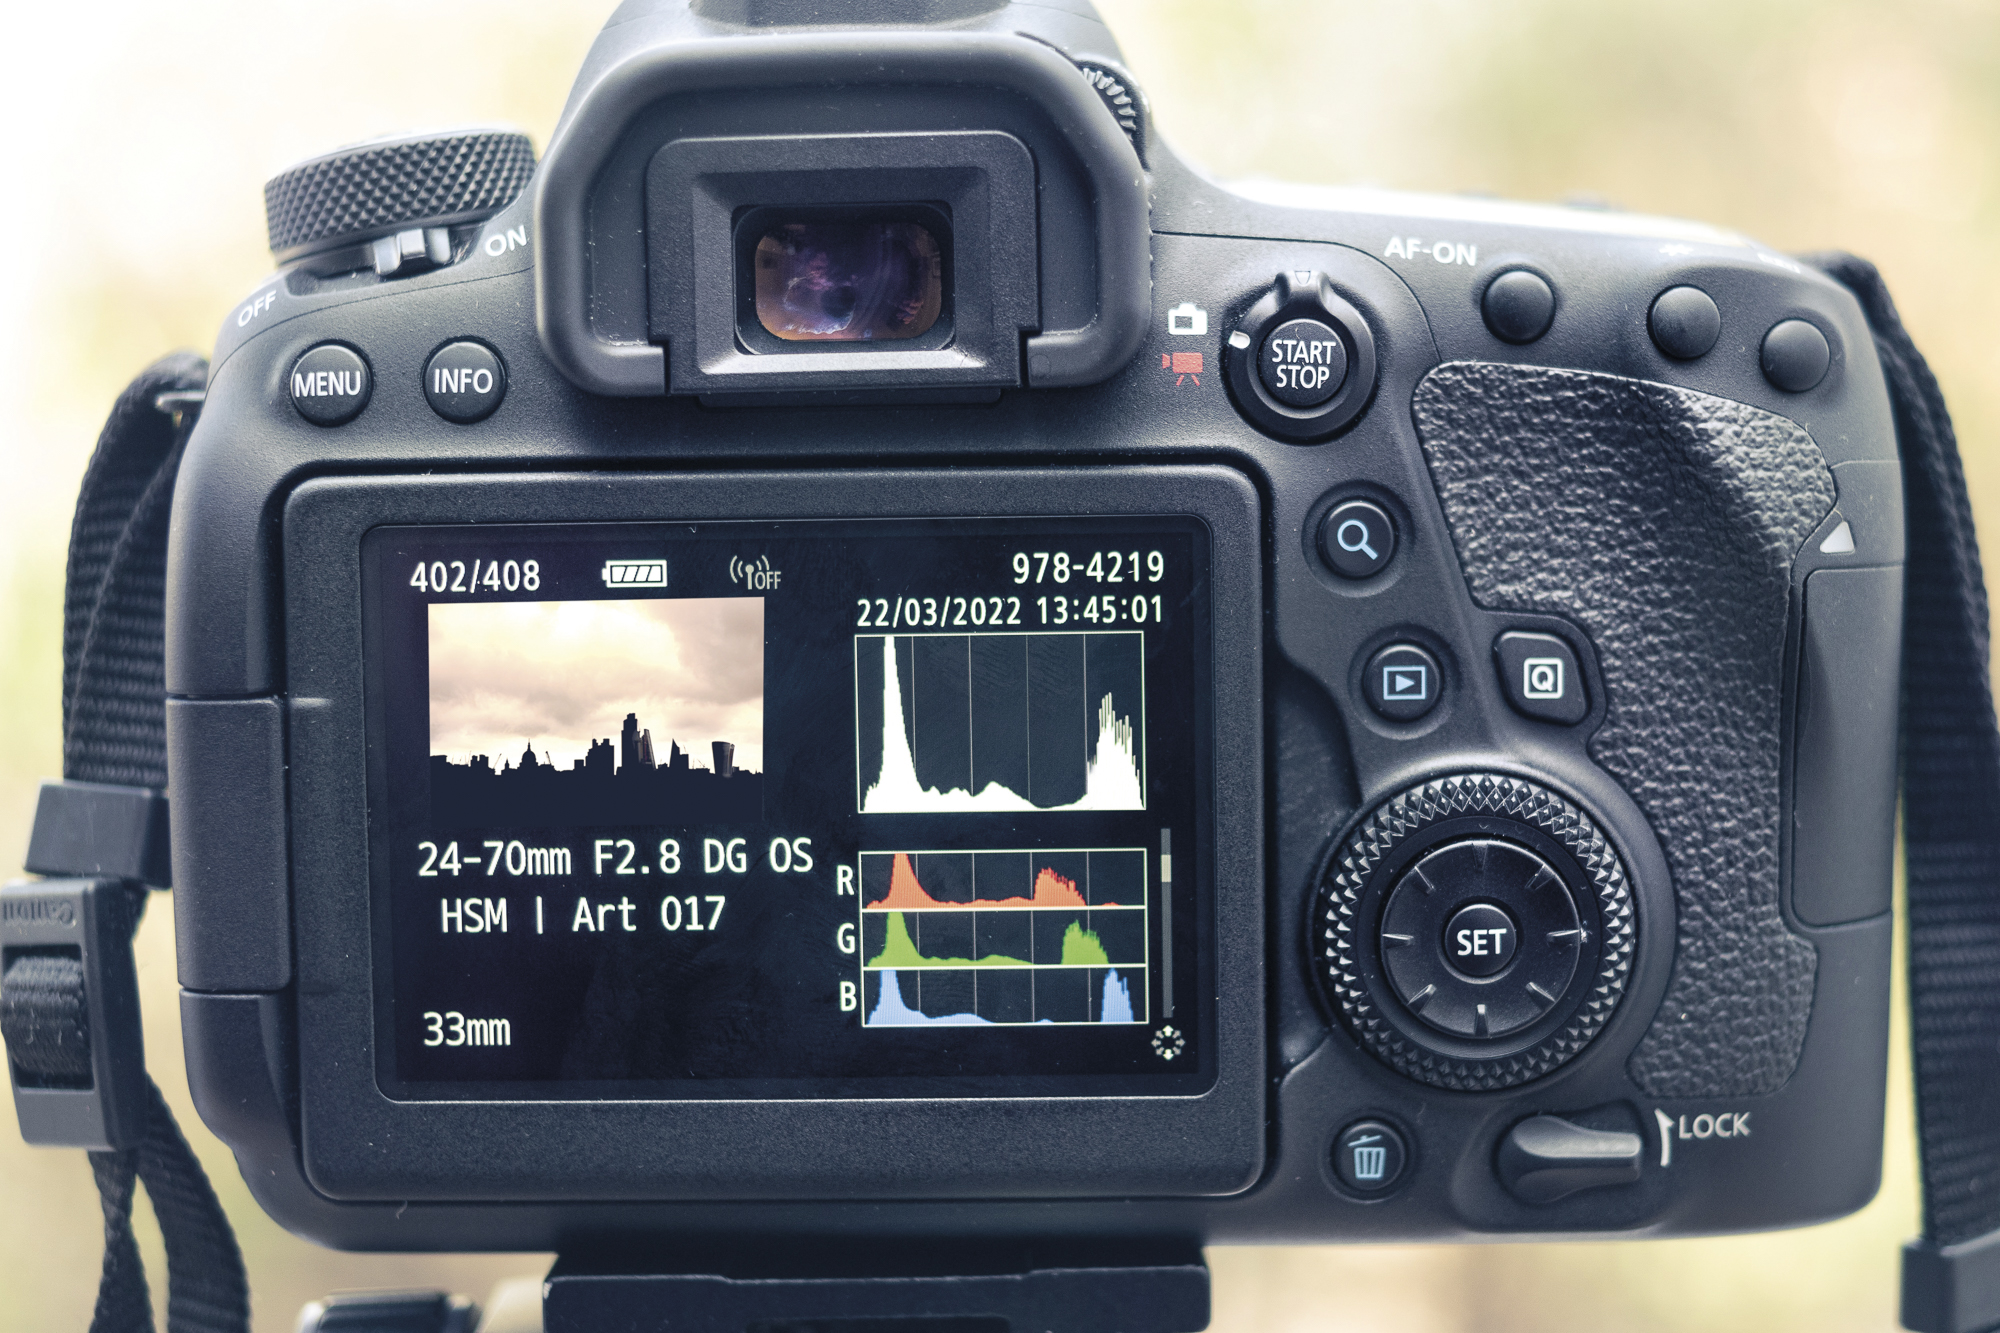
4. Adjust exposure
Keeping a close eye on the camera’s histogram, adjust the exposure settings until the graph is skewed towards the left side. Most of the tones should be divided into two peaks at either extreme of the exposure scale.
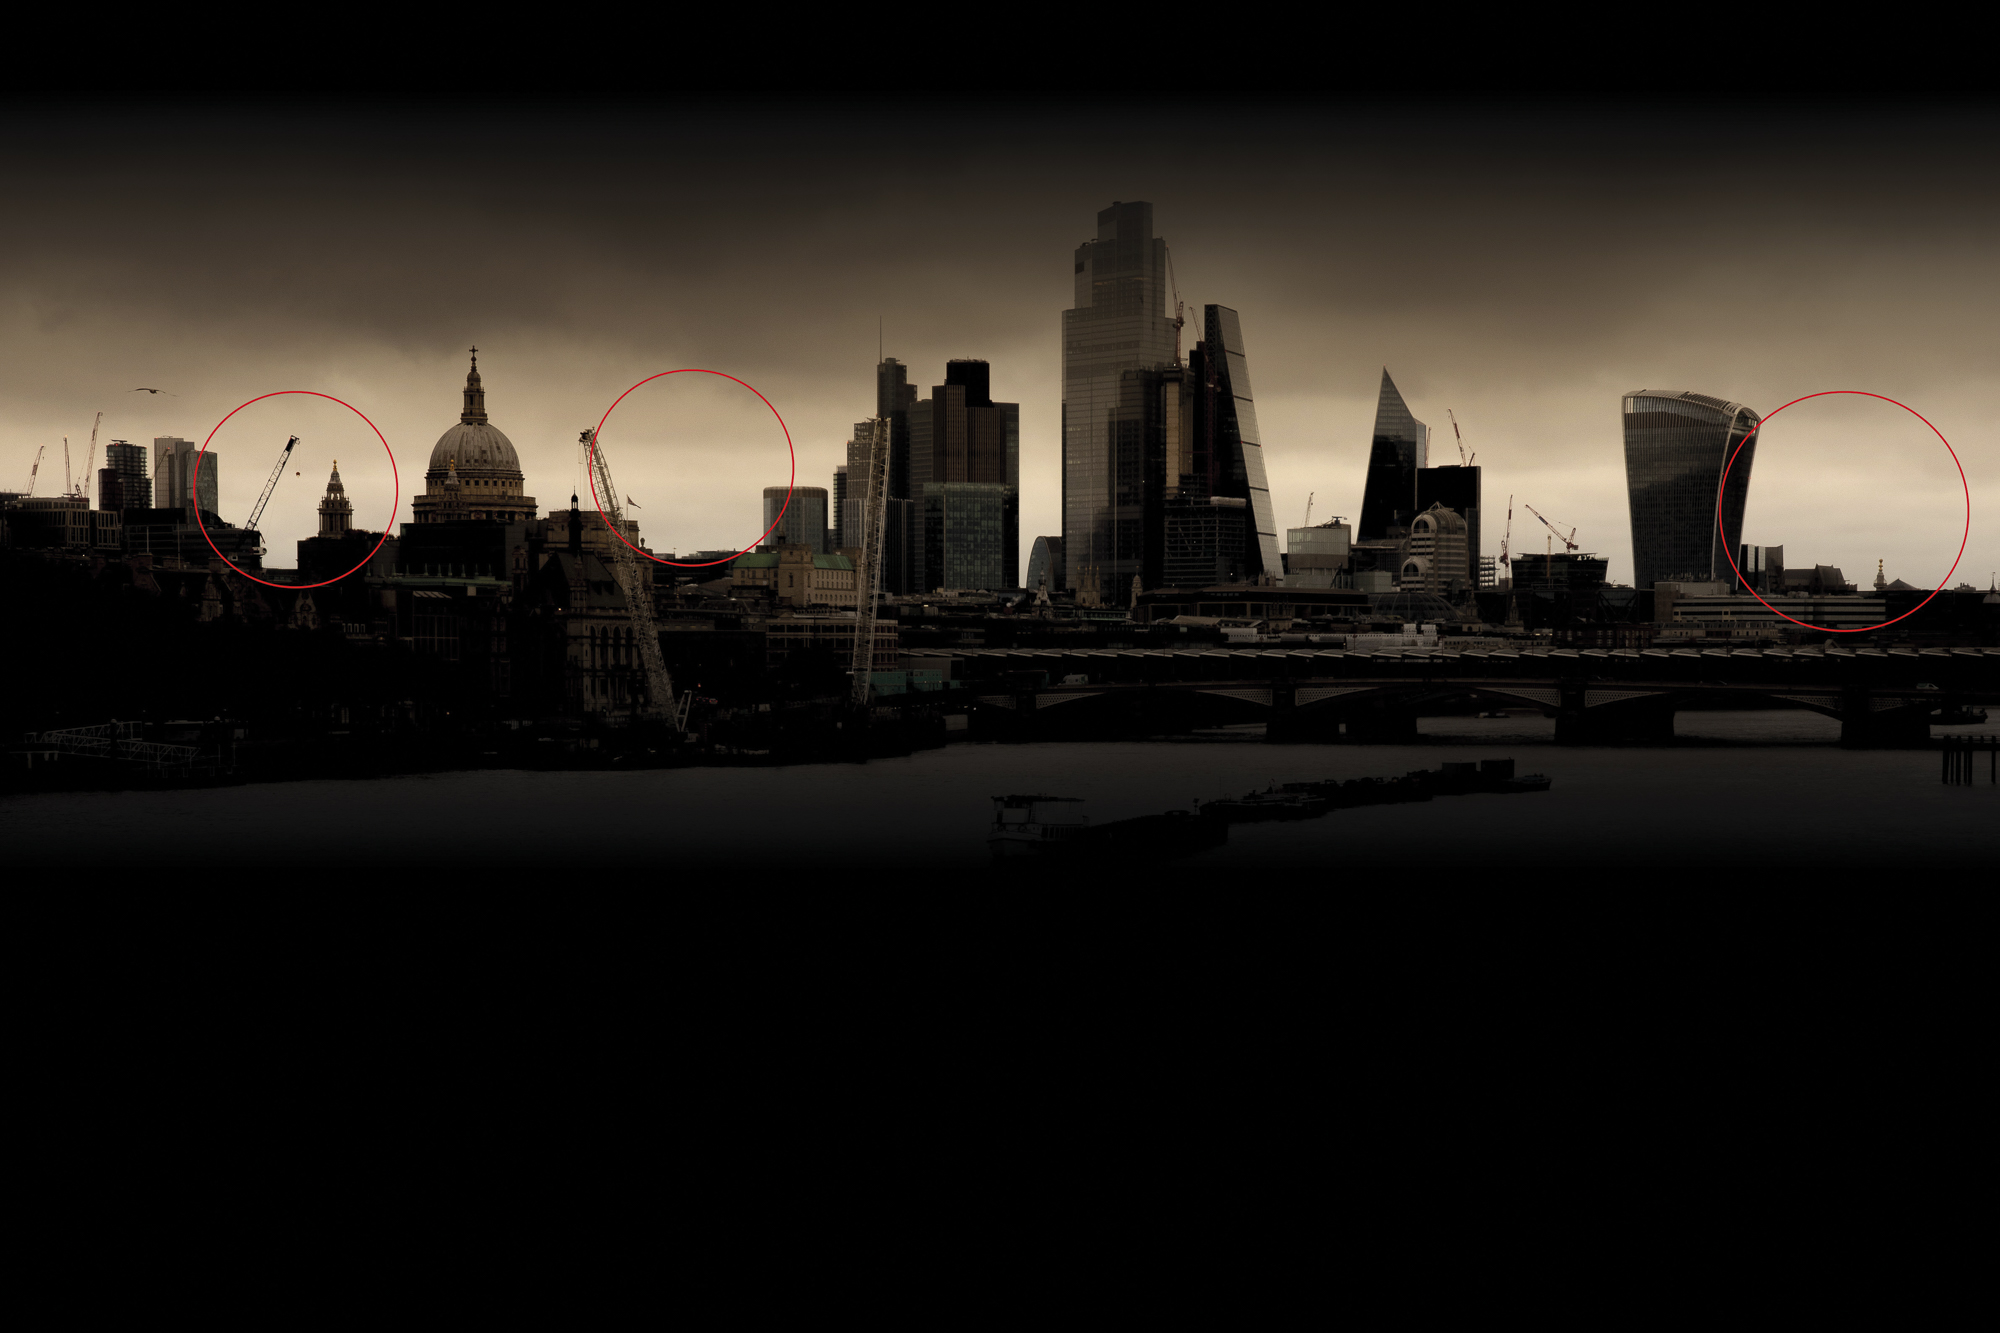
5. Check overlaps
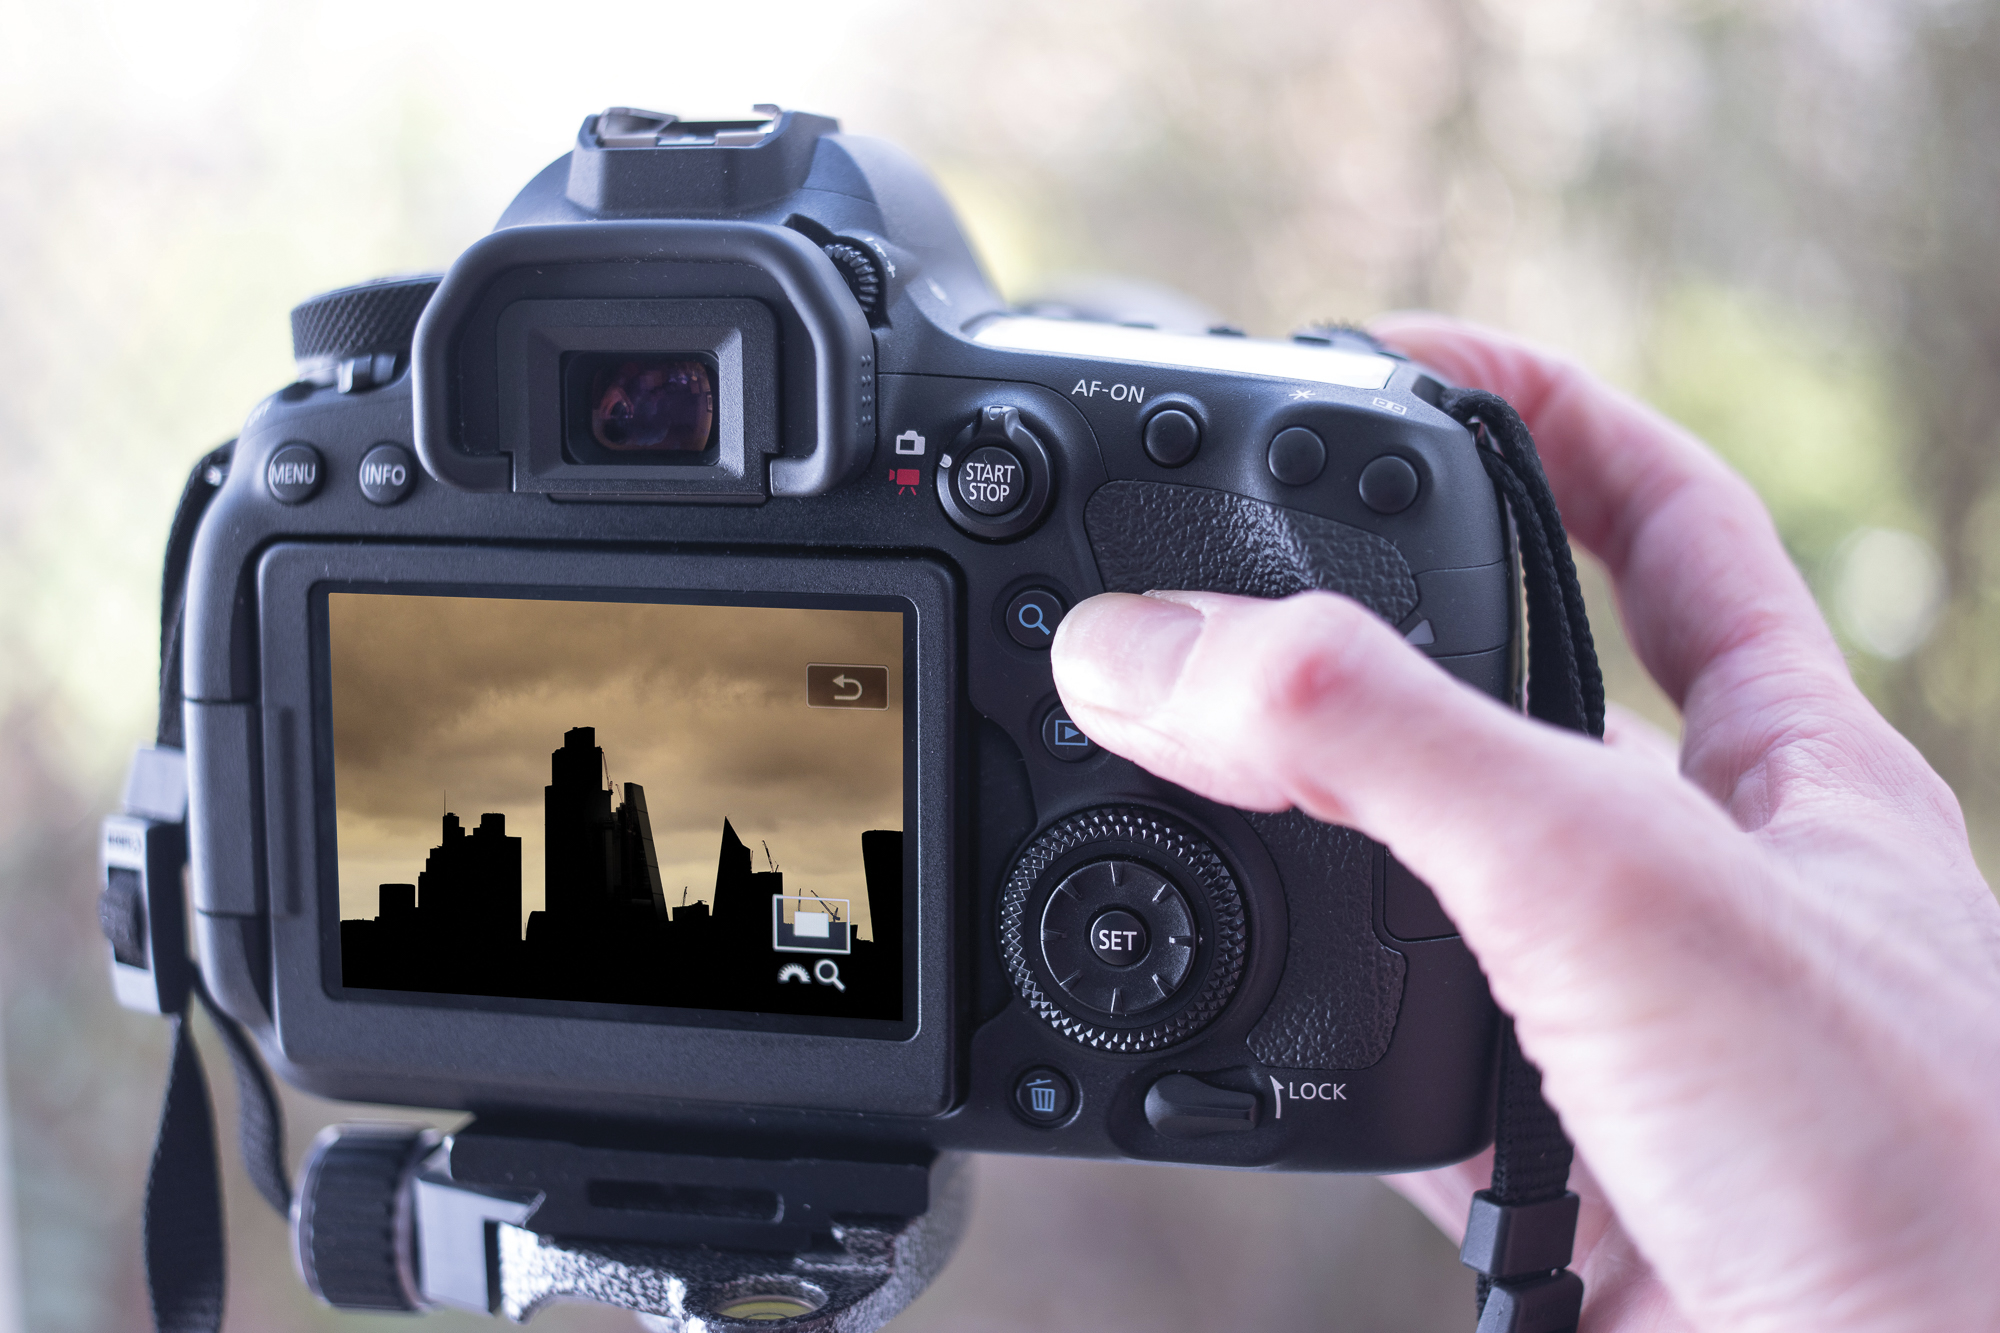
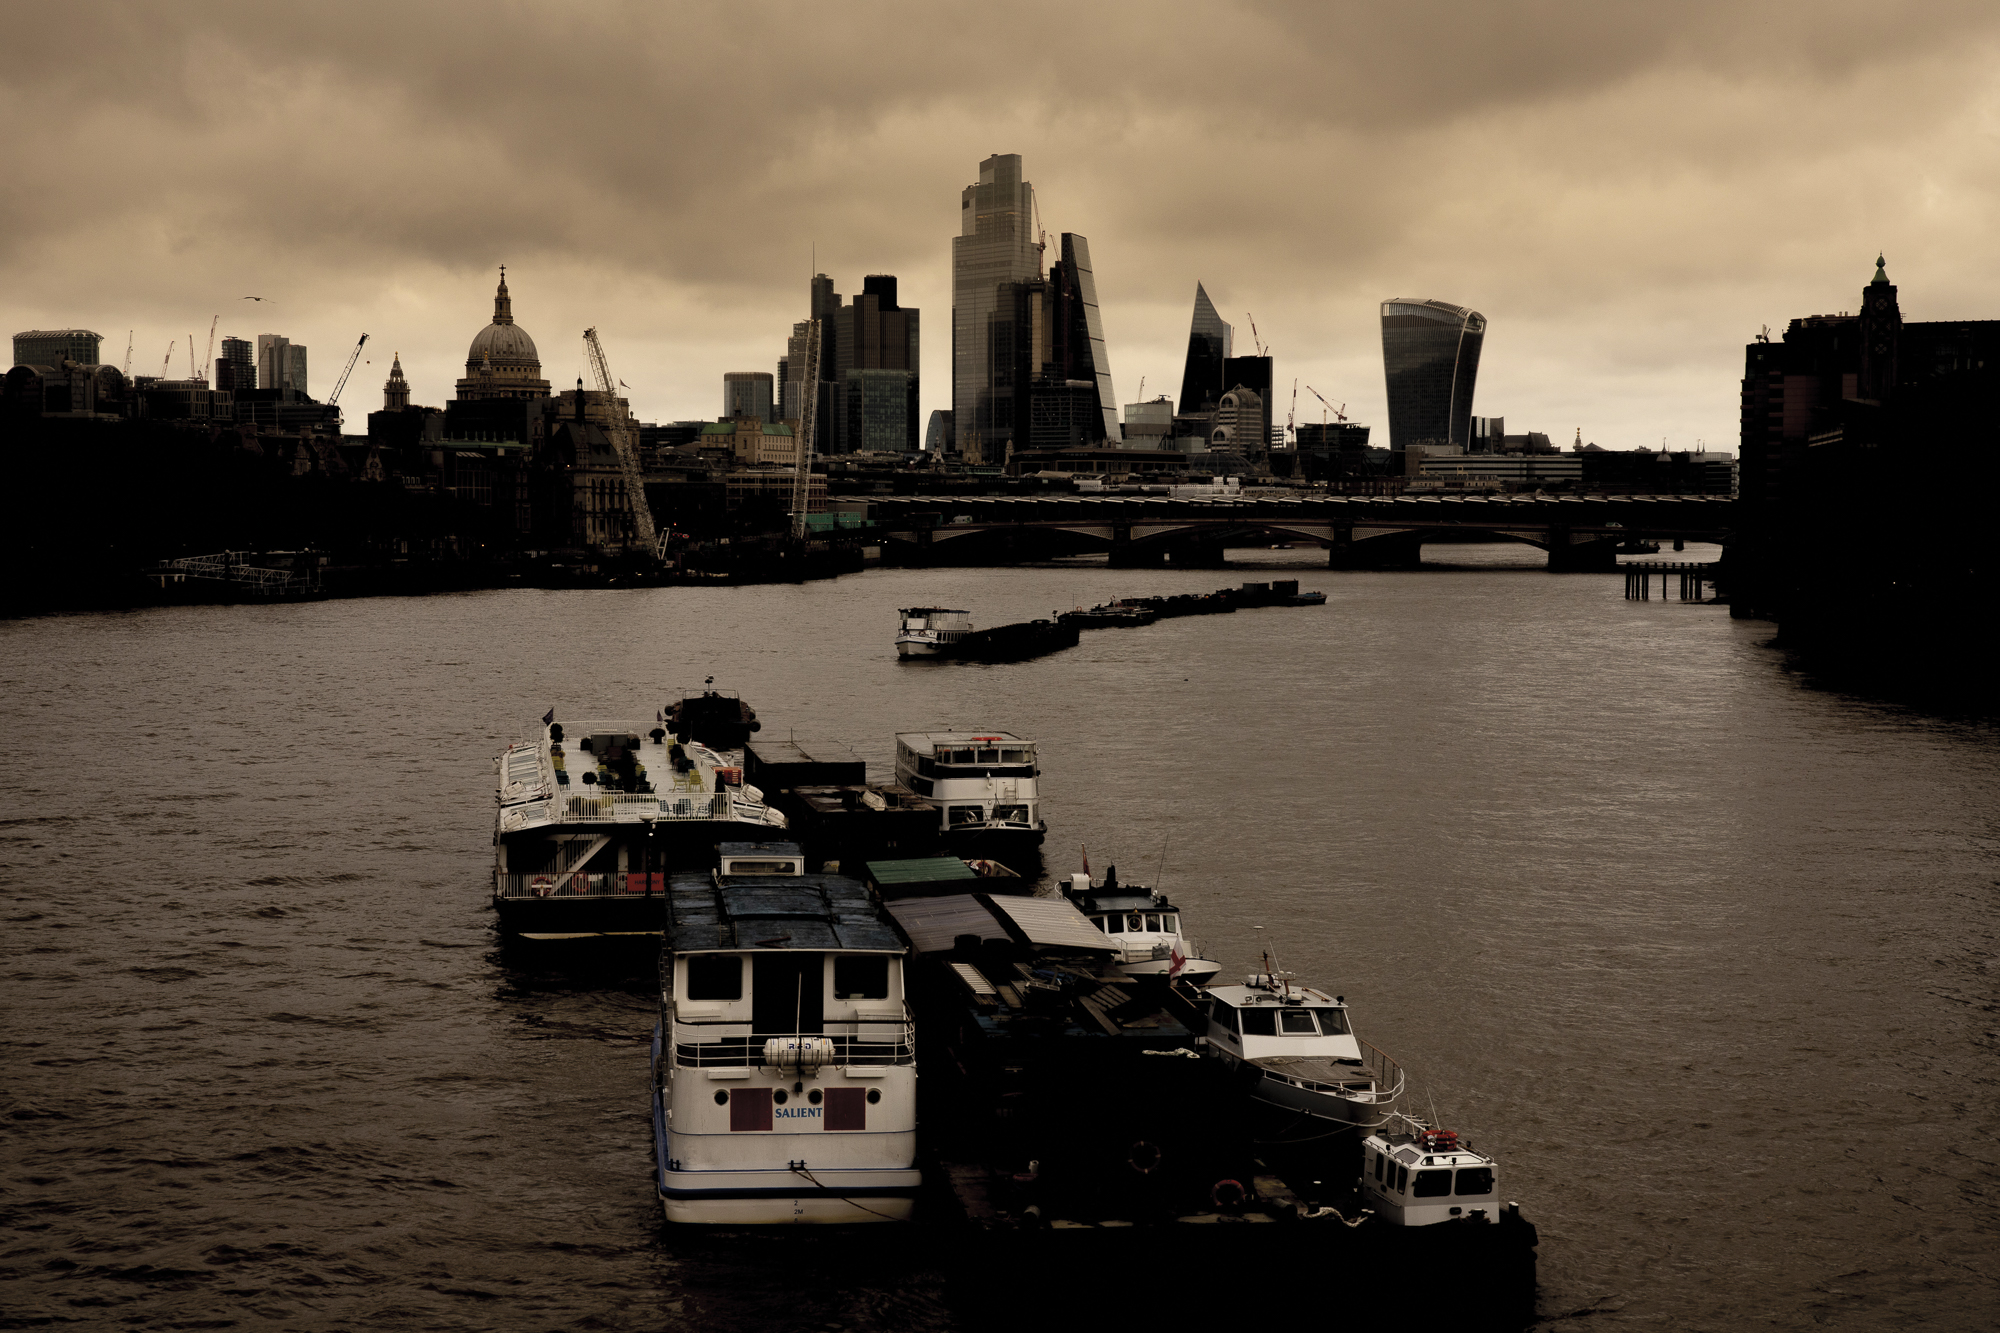
Zoom in closely on your image to assess the structure of the silhouetted foreground. In this case, we zoomed in on the skyline to check for any unwanted overlaps that might be spoiling the shape of the dark region.
6. Adjust compression
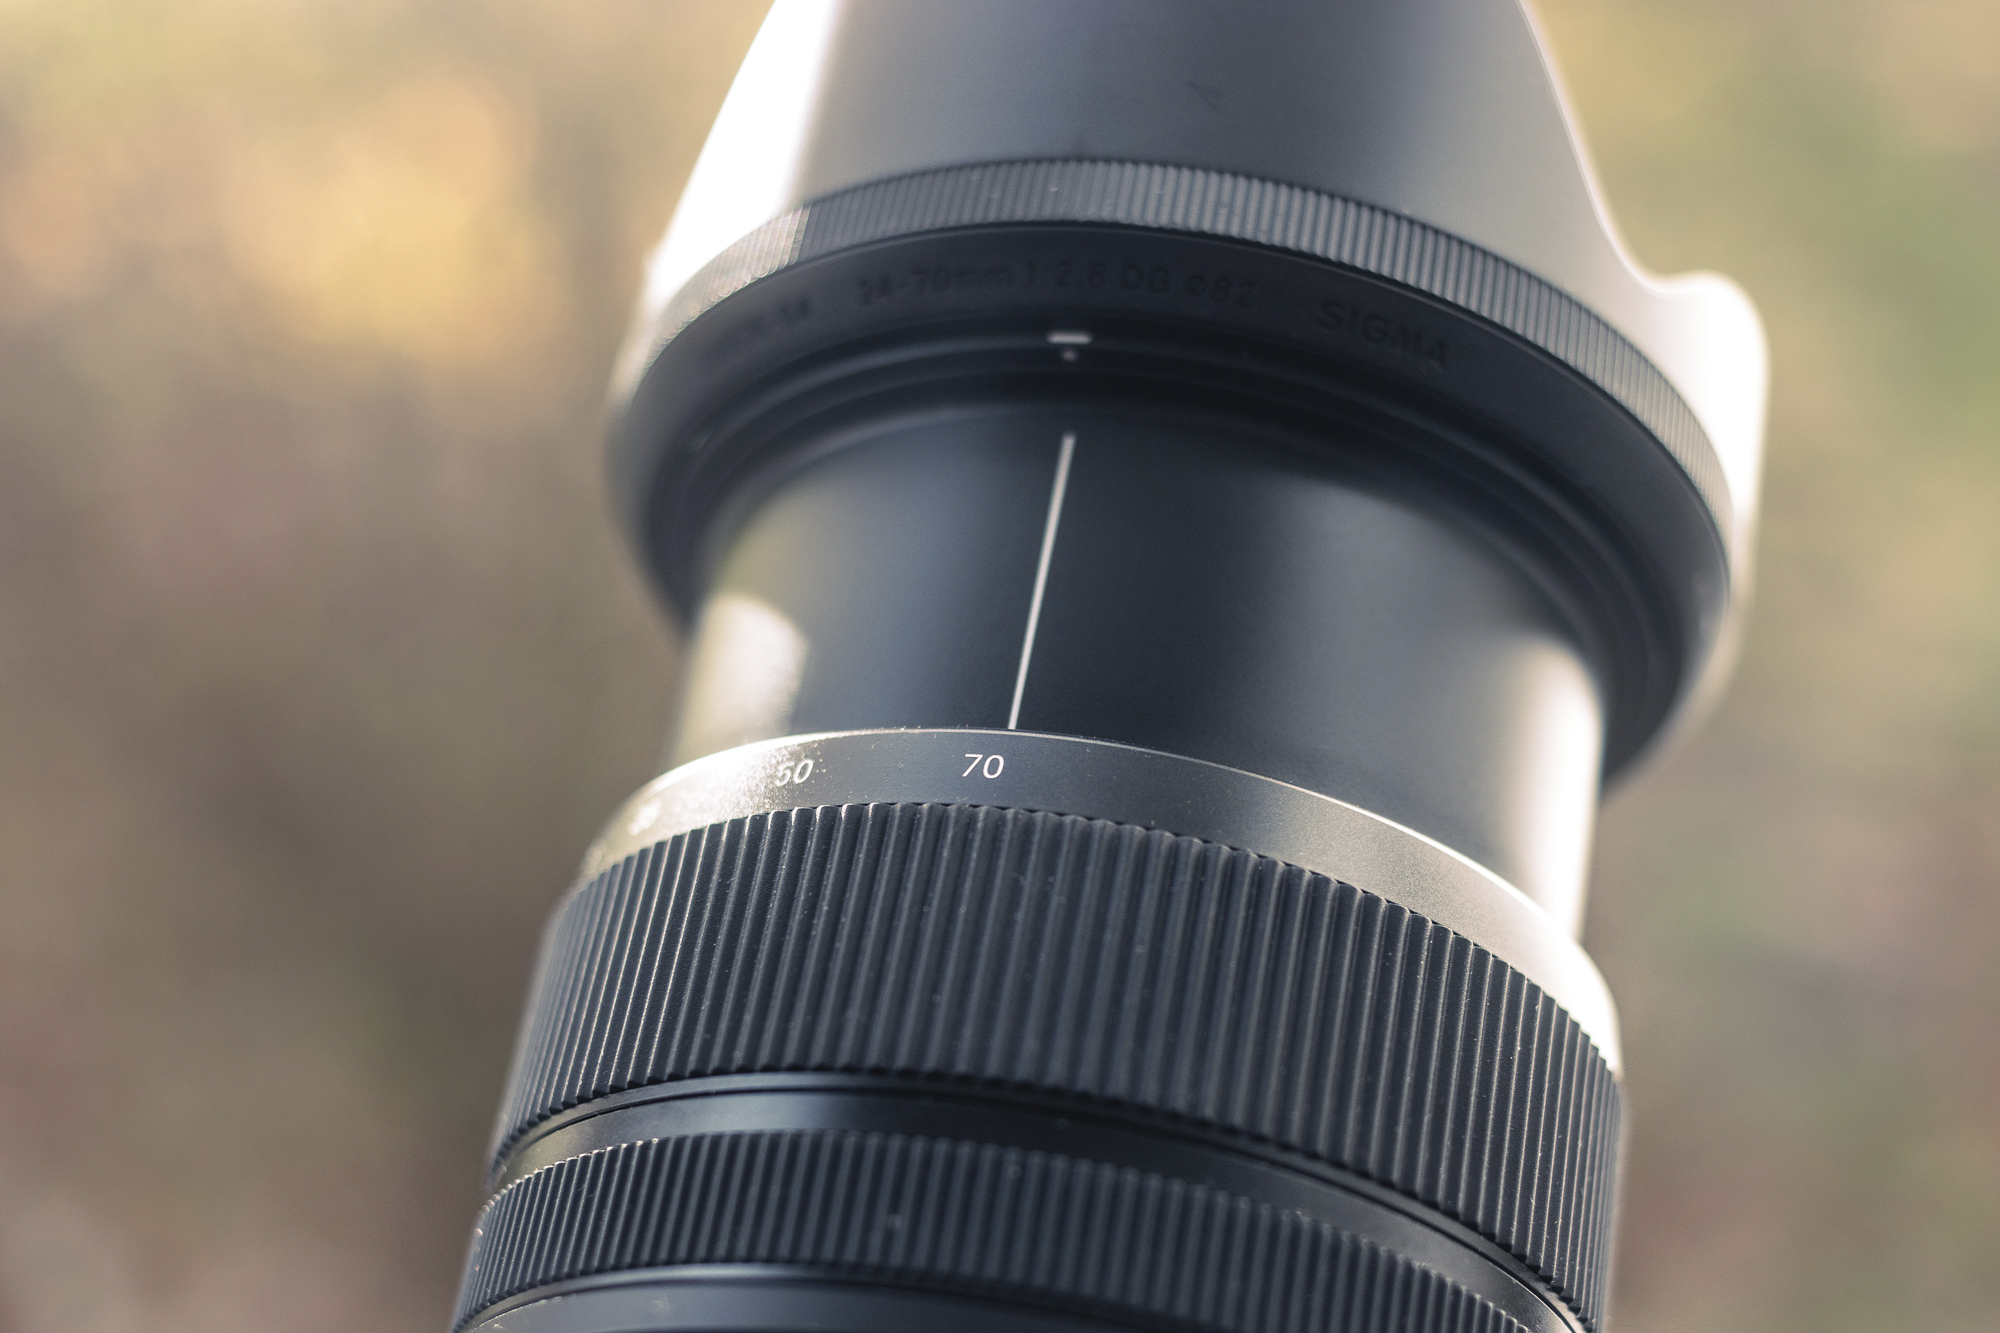
Play with the lens compression to see the effect that this has on the structure of the silhouette. Wide-angle lenses will stretch the gaps between objects while zooming in closer will seemingly reduce this space.

If you enjoyed this tutorial but want to know how to edit your images, why not look at the best photo editing software? If you're really keen to improve your skills further than online photography courses could be the way to go.
As the Editor for Digital Photographer magazine, Peter is a specialist in camera tutorials and creative projects to help you get the most out of your camera, lens, tripod, filters, gimbal, lighting and other imaging equipment.
After cutting his teeth working in retail for camera specialists like Jessops, he has spent 11 years as a photography journalist and freelance writer – and he is a Getty Images-registered photographer, to boot.
No matter what you want to shoot, Peter can help you sharpen your skills and elevate your ability, whether it’s taking portraits, capturing landscapes, shooting architecture, creating macro and still life, photographing action… he can help you learn and improve.
- Lauren ScottFreelance contributor/former Managing Editor
