
Lightroom profiles and presets might sound as if they do a similar sort of thing. Whatever a profile does, wouldn’t you be able to achieve something similar with a preset? Maybe, but profiles do have a particular significance and value in Lightroom.
We are publishing one hack a day this New Year holiday period, see our other Lightroom Hacks
Lightroom profiles are applied right at the start of the imaging process and before any manual adjustments. They control the way Lightroom interprets and converts the color values in the image file. They are like a starting point for everything else.
You could, perhaps, use Adobe’s generic Color profile and get a similar result with presets and edits, but not always, and you would have used up some of your processing ‘headroom’ at the same time. What you get with a profile is a much closer starting point to the look you want, meaning less editing and manipulation later.
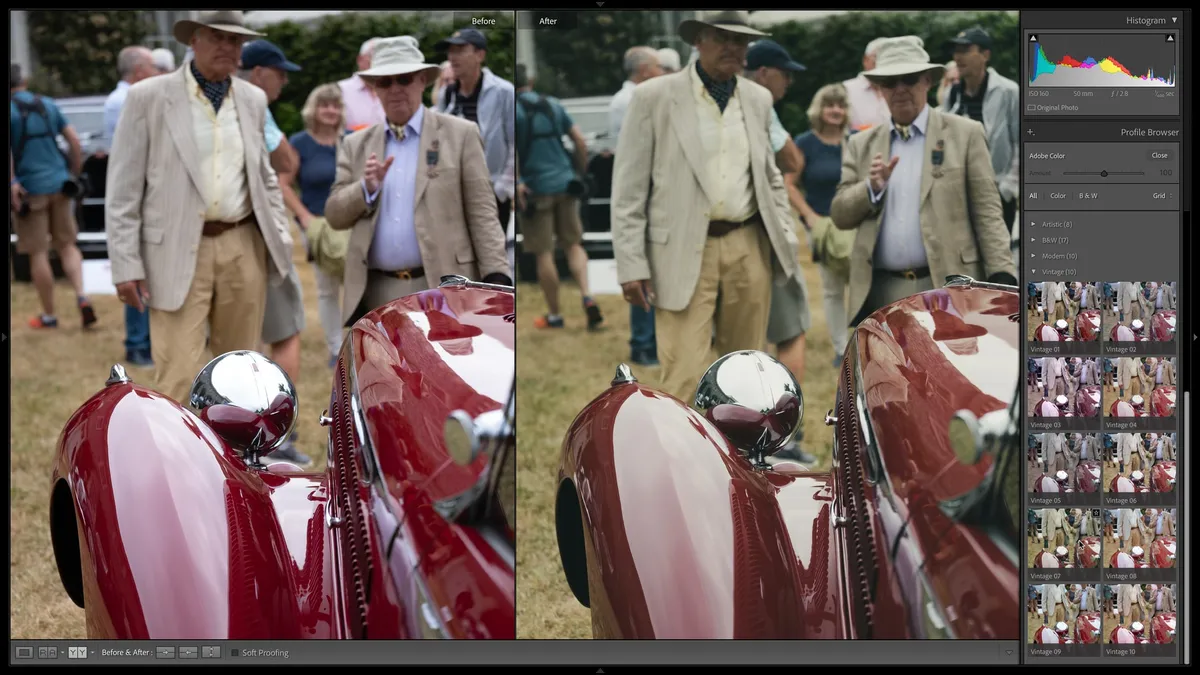
The other thing is that you may not be aware just how many profiles you have to choose from, and it’s worth clicking the Browse button in the Basic panel to find out.


The first section to check out is the ‘Camera Matching Group’. If you ever think Fujifilm raw files don’t match the camera’s Film Simulations, this is where you need to go! Lightroom has profiles for Velvia, Provia, Classic Chrome and more.
And then further down the panel is Adobe’s own selection of ‘Artistic’, ‘B&W’, ‘Modern’ and ‘Vintage’ profiles. These can all give your images a strong, highly individual look without the need for presets and the adjustments they bring with them. The B&W profiles are especially strong, giving black and white images with much more depth than simple mono conversions or in-camera picture styles.
So before you spend hours (or cash) on Lightroom presets, make sure you’ve seen what Lightroom’s large collection of profiles can offer. These may bring you much closer to the ‘look’ you want than you realize.
Read more:
• Best photo editing software
• Lightroom review
• Lightroom Classic review

