
How often in Photoshop have you used the same mask twice? It’s a really useful technique for editing two parts of an image ‘oppositely’. And now you can do the same in Lightroom with the Duplicate and Invert Mask command. It’s a really useful option that’s really easy to miss.
We are publishing one hack a day this New Year holiday period, see our other Lightroom Hacks
I’ve used this technique on this silhouette of a ruined church against a setting sun. The original shot was taken purely for the silhouette, but coming back to it now I thought it would be interesting to see how quickly and how effectively Lightroom’s AI masking would be able to turn it into something else.
So the issue here is that the thing that needs the most work is NOT the sky but the church and the hillside, and none of Lightroom’s other AI tools will select those effectively. I’ll come to that.
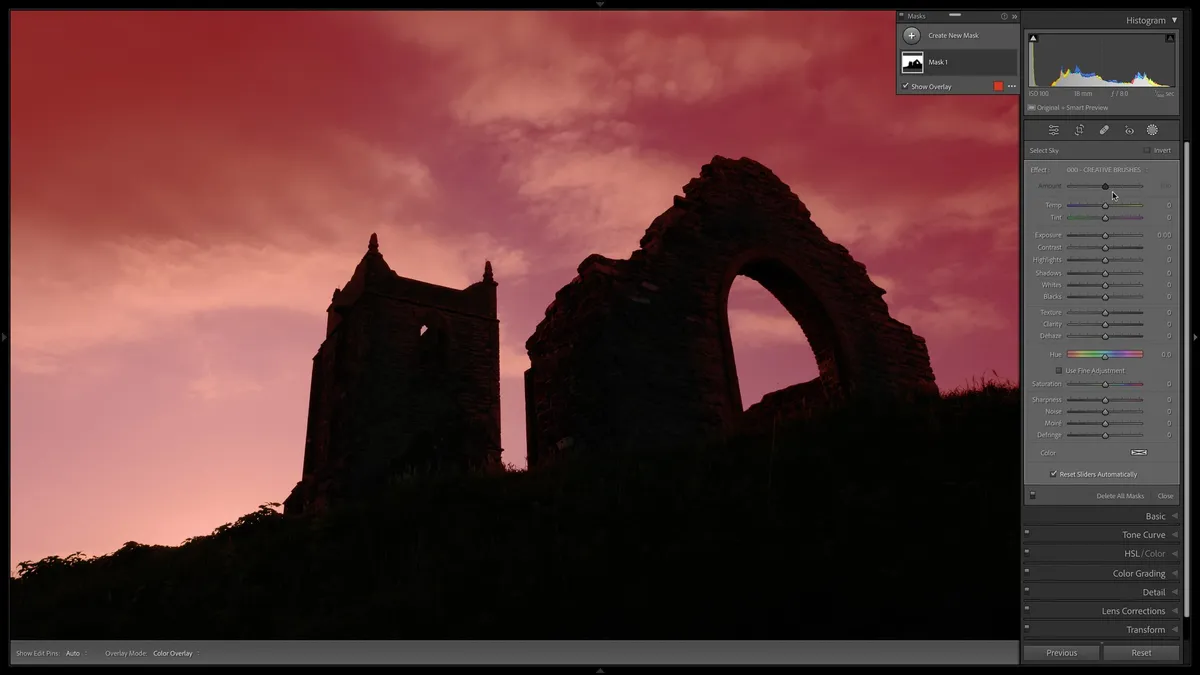


But first, I’ll use the Sky mask tool to select the sky and make a few adjustments. I’ve done some work here with the Exposure, White Balance and Dehaze sliders to create more of a sunset effect with richer blues and warmer clouds.
What I need to do now is edit everything else, and the simple way to do this is click the three dots alongside the sky mask in the Mask panel and choose ‘Duplicate and Invert Mask’.
Now I have a new mask with everything BUT the sky selected, which is exactly what I wanted. I can now set to work bringing out all that unexpected shadow detail using the Exposure and Clarity sliders.
That just leaves one question. What kind of camera could possibly have this kind of dynamic range and shadow detail? You’re going to be disappointed – it was a ten-year-old Nikon D3100! Who needs HDR stacking when you’ve got raw files like this?
Read more:
• Best photo editing software
• Lightroom review
• Lightroom Classic review

