Learn how to shoot jaw-dropping Milky Way galactic core photos
This is how to achieve incredible astrophotography images of the Milky Way's galactic core
The best camera deals, reviews, product advice, and unmissable photography news, direct to your inbox!
You are now subscribed
Your newsletter sign-up was successful
Watch video: How to shoot Milky Way galactic core photos
Whether you’re just getting started with astrophotography or you’ve been fumbling around in the dark for years, one of the most spellbinding areas of the night sky is the Milky Way’s galactic core. And the great thing about it is, you don’t need specialized kit, strong telescopes or star-tracker systems to capture it.
All you need is a camera, a tripod and a decent wide-angle lens. In this project, we show you how to shoot for the core, which settings you need and how to add impact to the resulting shot by light-painting the foreground.
• These are the best cameras for astrophotography
A shoot like this is all about the planning. We need to know where the cluster of stars that make up the core will be, and when, and we need to know that it’ll be visible – otherwise there’s little point in staying up late. The Milky Way core is only visible at certain times of the year, depending on whether you’re in the Northern or Southern Hemisphere. It’s easiest to capture it when the sky is at its darkest.
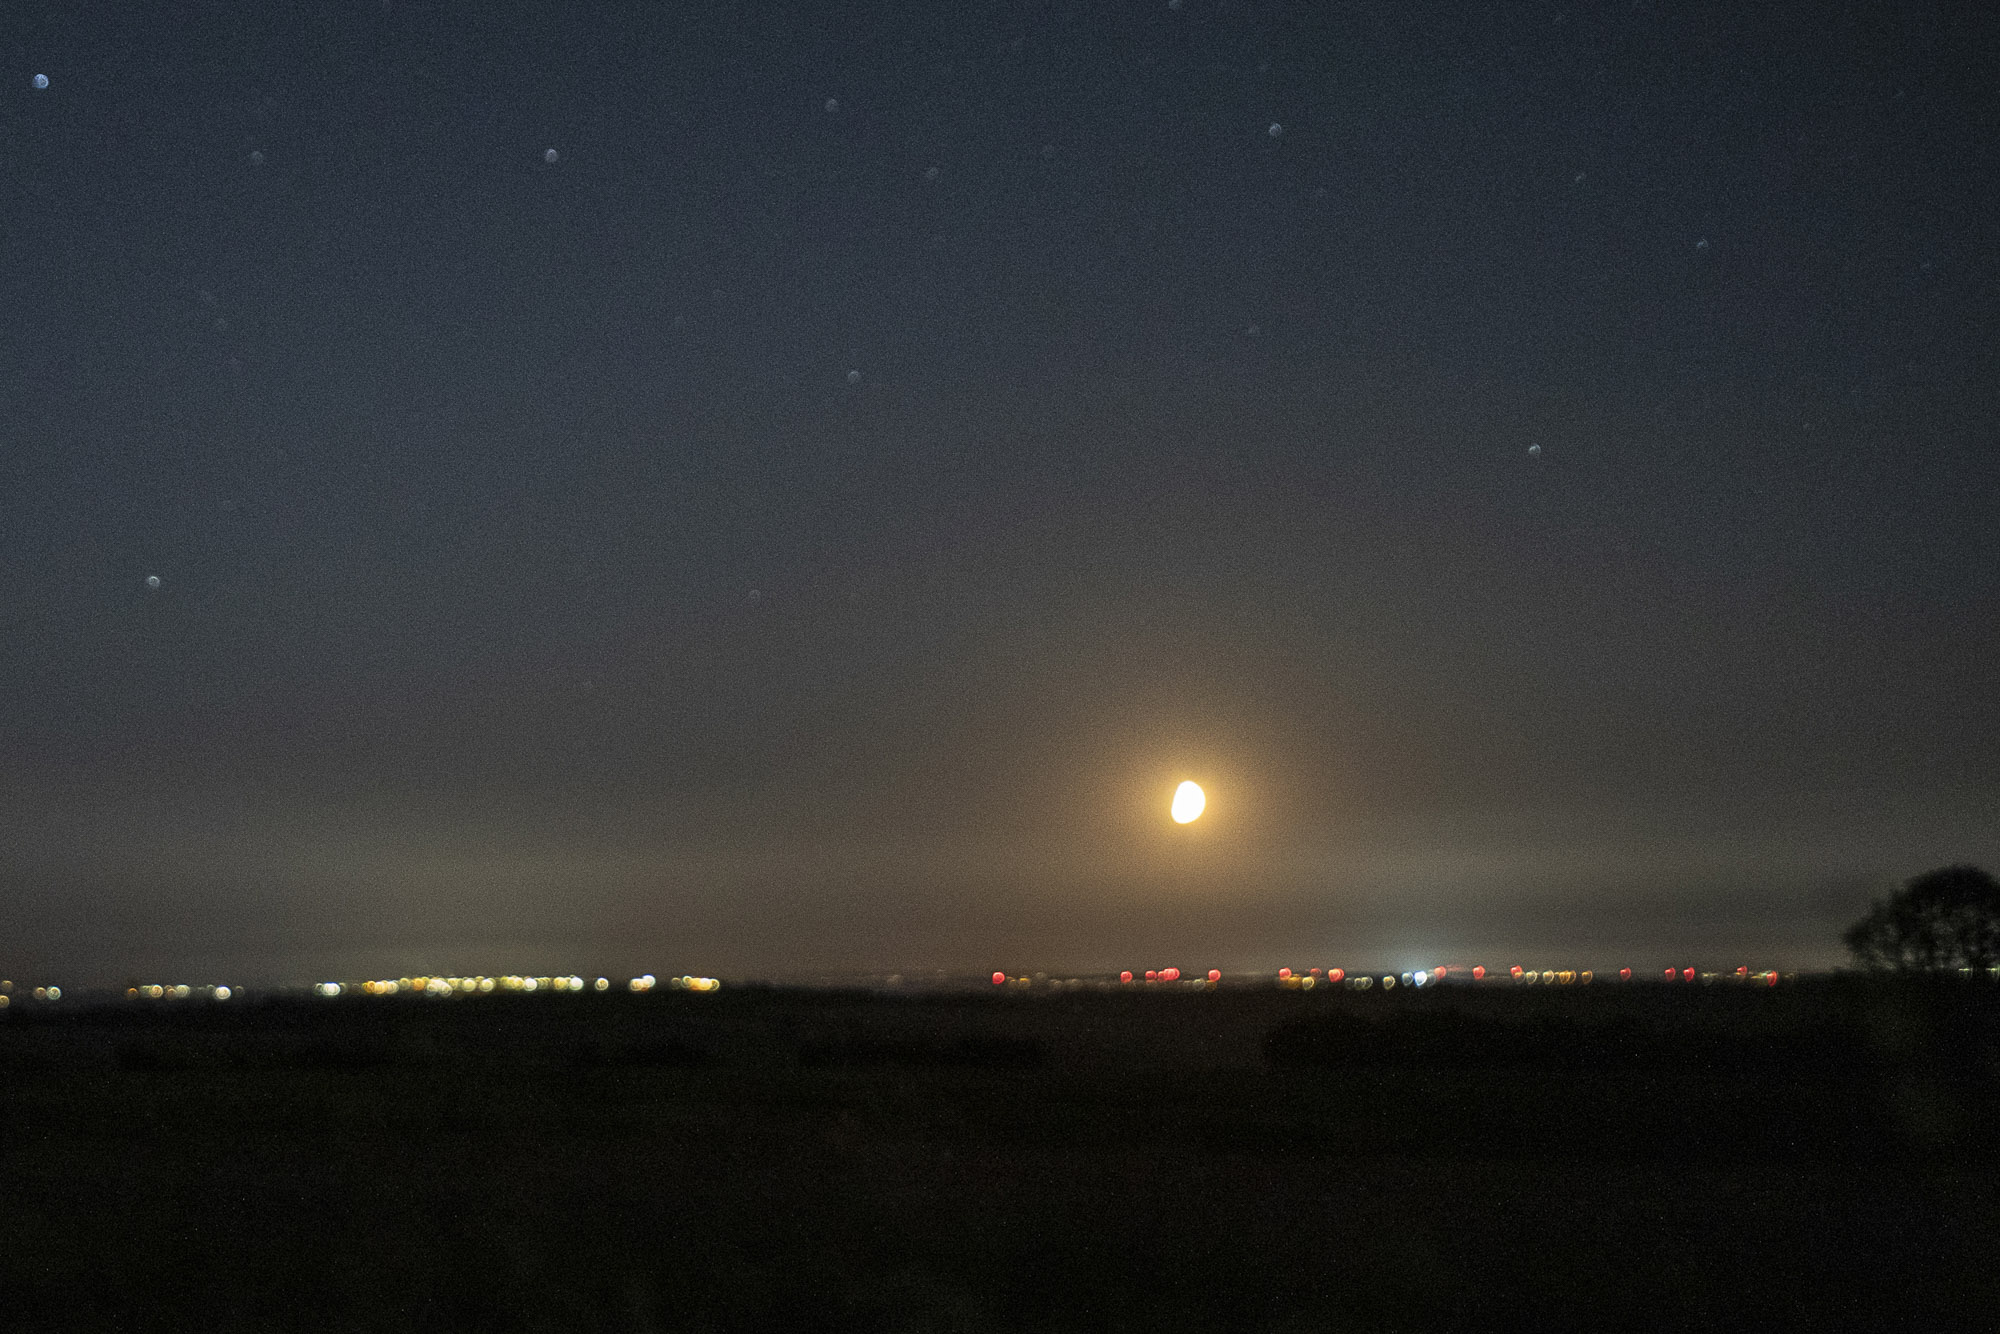
This means waiting until the brightest object in the night sky – the moon – is in the new moon phase. However, this doesn’t necessarily mean you can’t capture it at other times. We went out with the moon in its first-quarter phase, with the light at 56% of its full moon strength. By waiting until after moonset (the time when the moon disappears below the horizon), we could form a clearer picture of the stars.
1. Plan it with an app
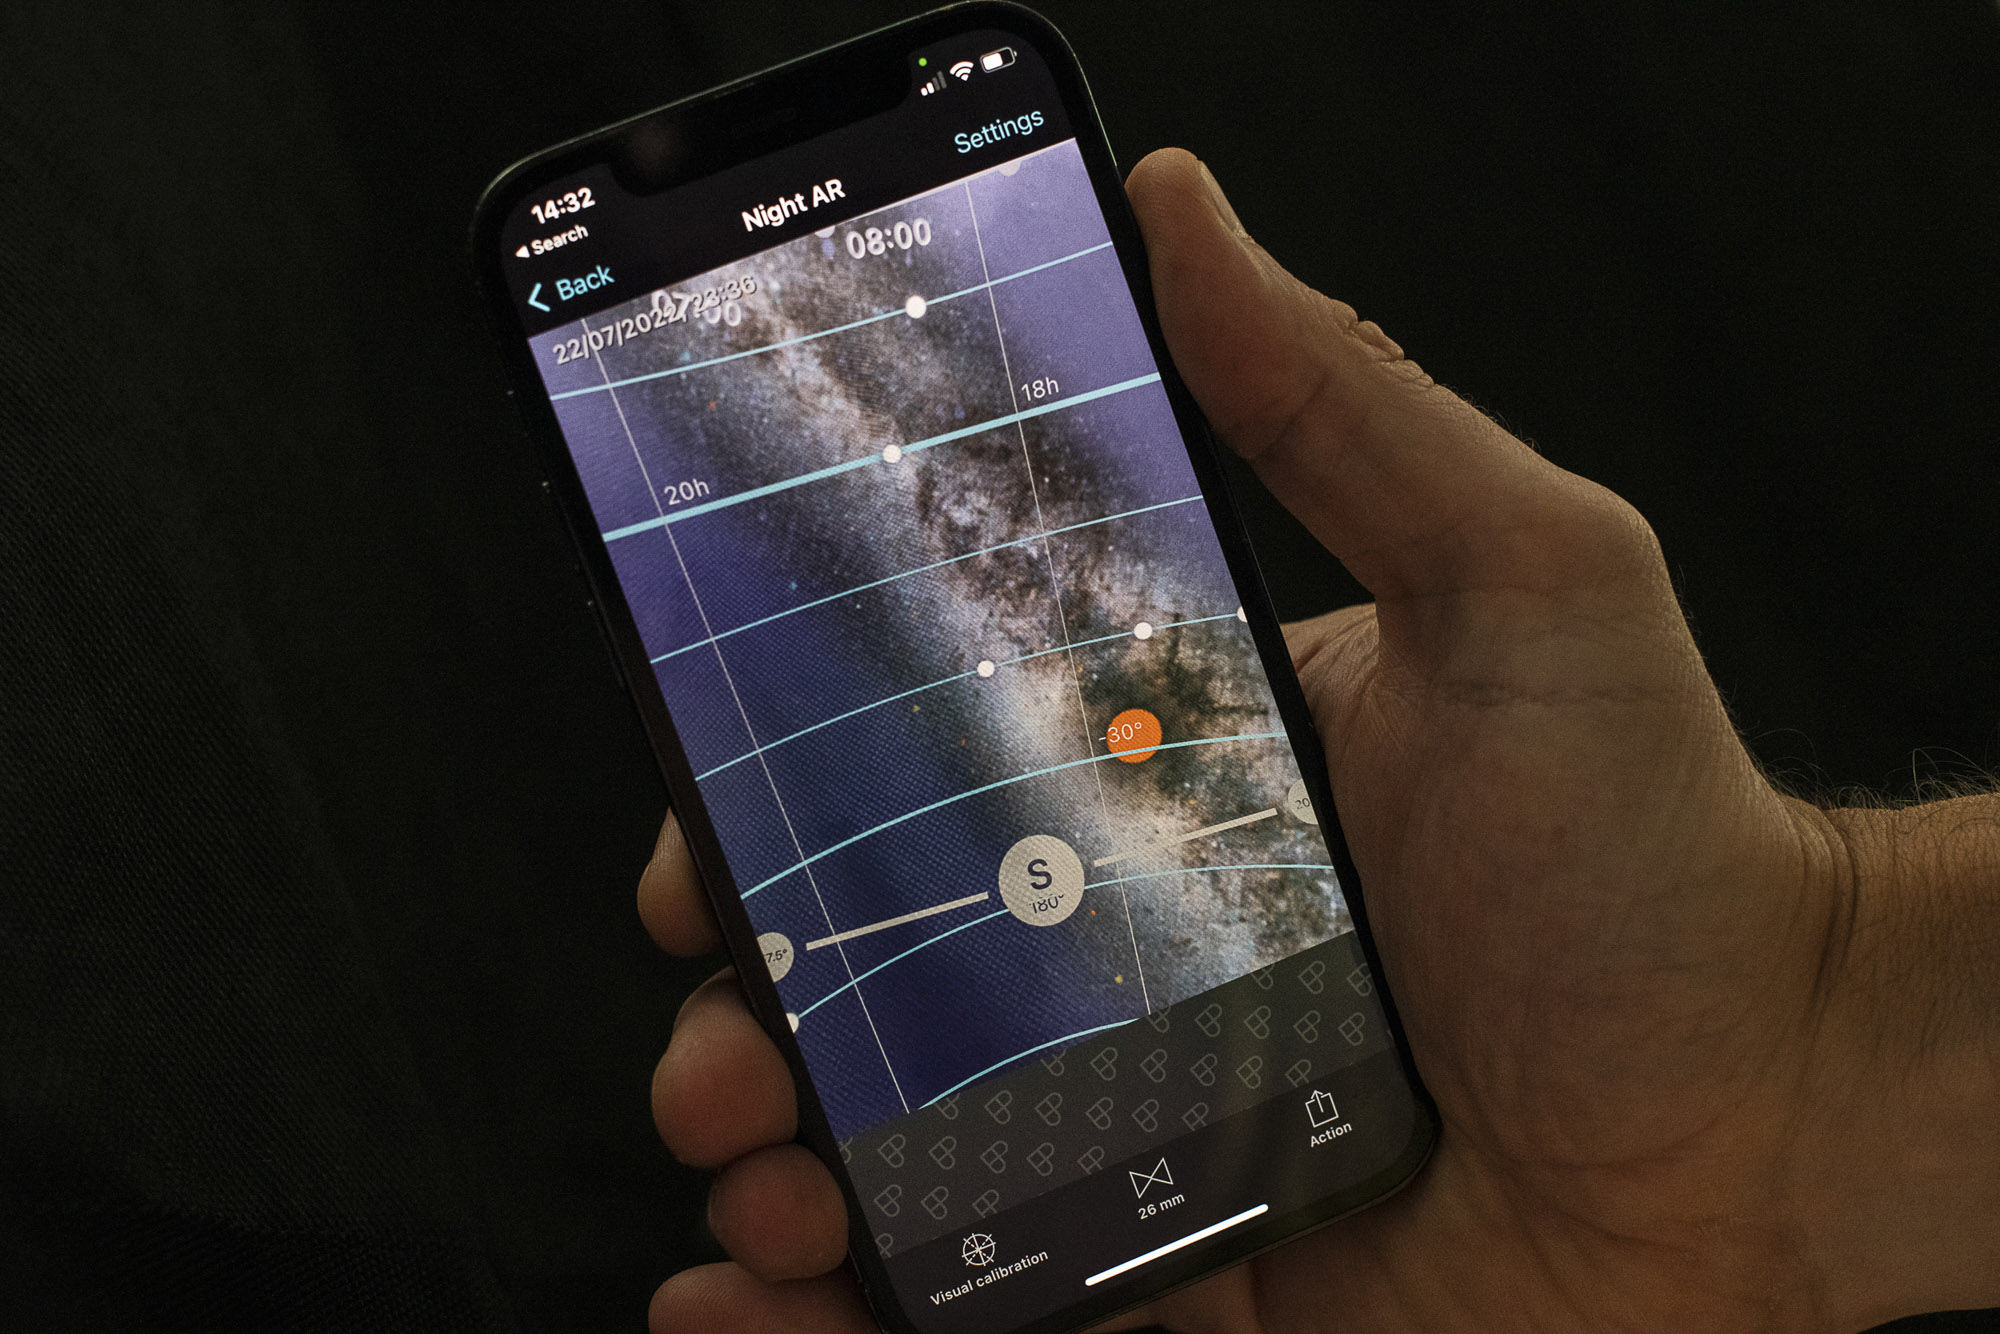
It’s easy to predict where the galactic core, moon or constellations will be using an astrology planning app. So, you can plan your shoot days head – or even weeks or months ahead. An app like PhotoPils has a night AR mode that overlays star positions on your phone camera view.
The best camera deals, reviews, product advice, and unmissable photography news, direct to your inbox!
2. Minimize moonlight
The Milky Way is clearest at the new moon, as the sky is at its darkest. But you can go out at other times; here the moon was in its first quarter. We waited until it dropped below the horizon (check your stargazing app for moonset), at which point the sky gets darker.
3. Camera settings
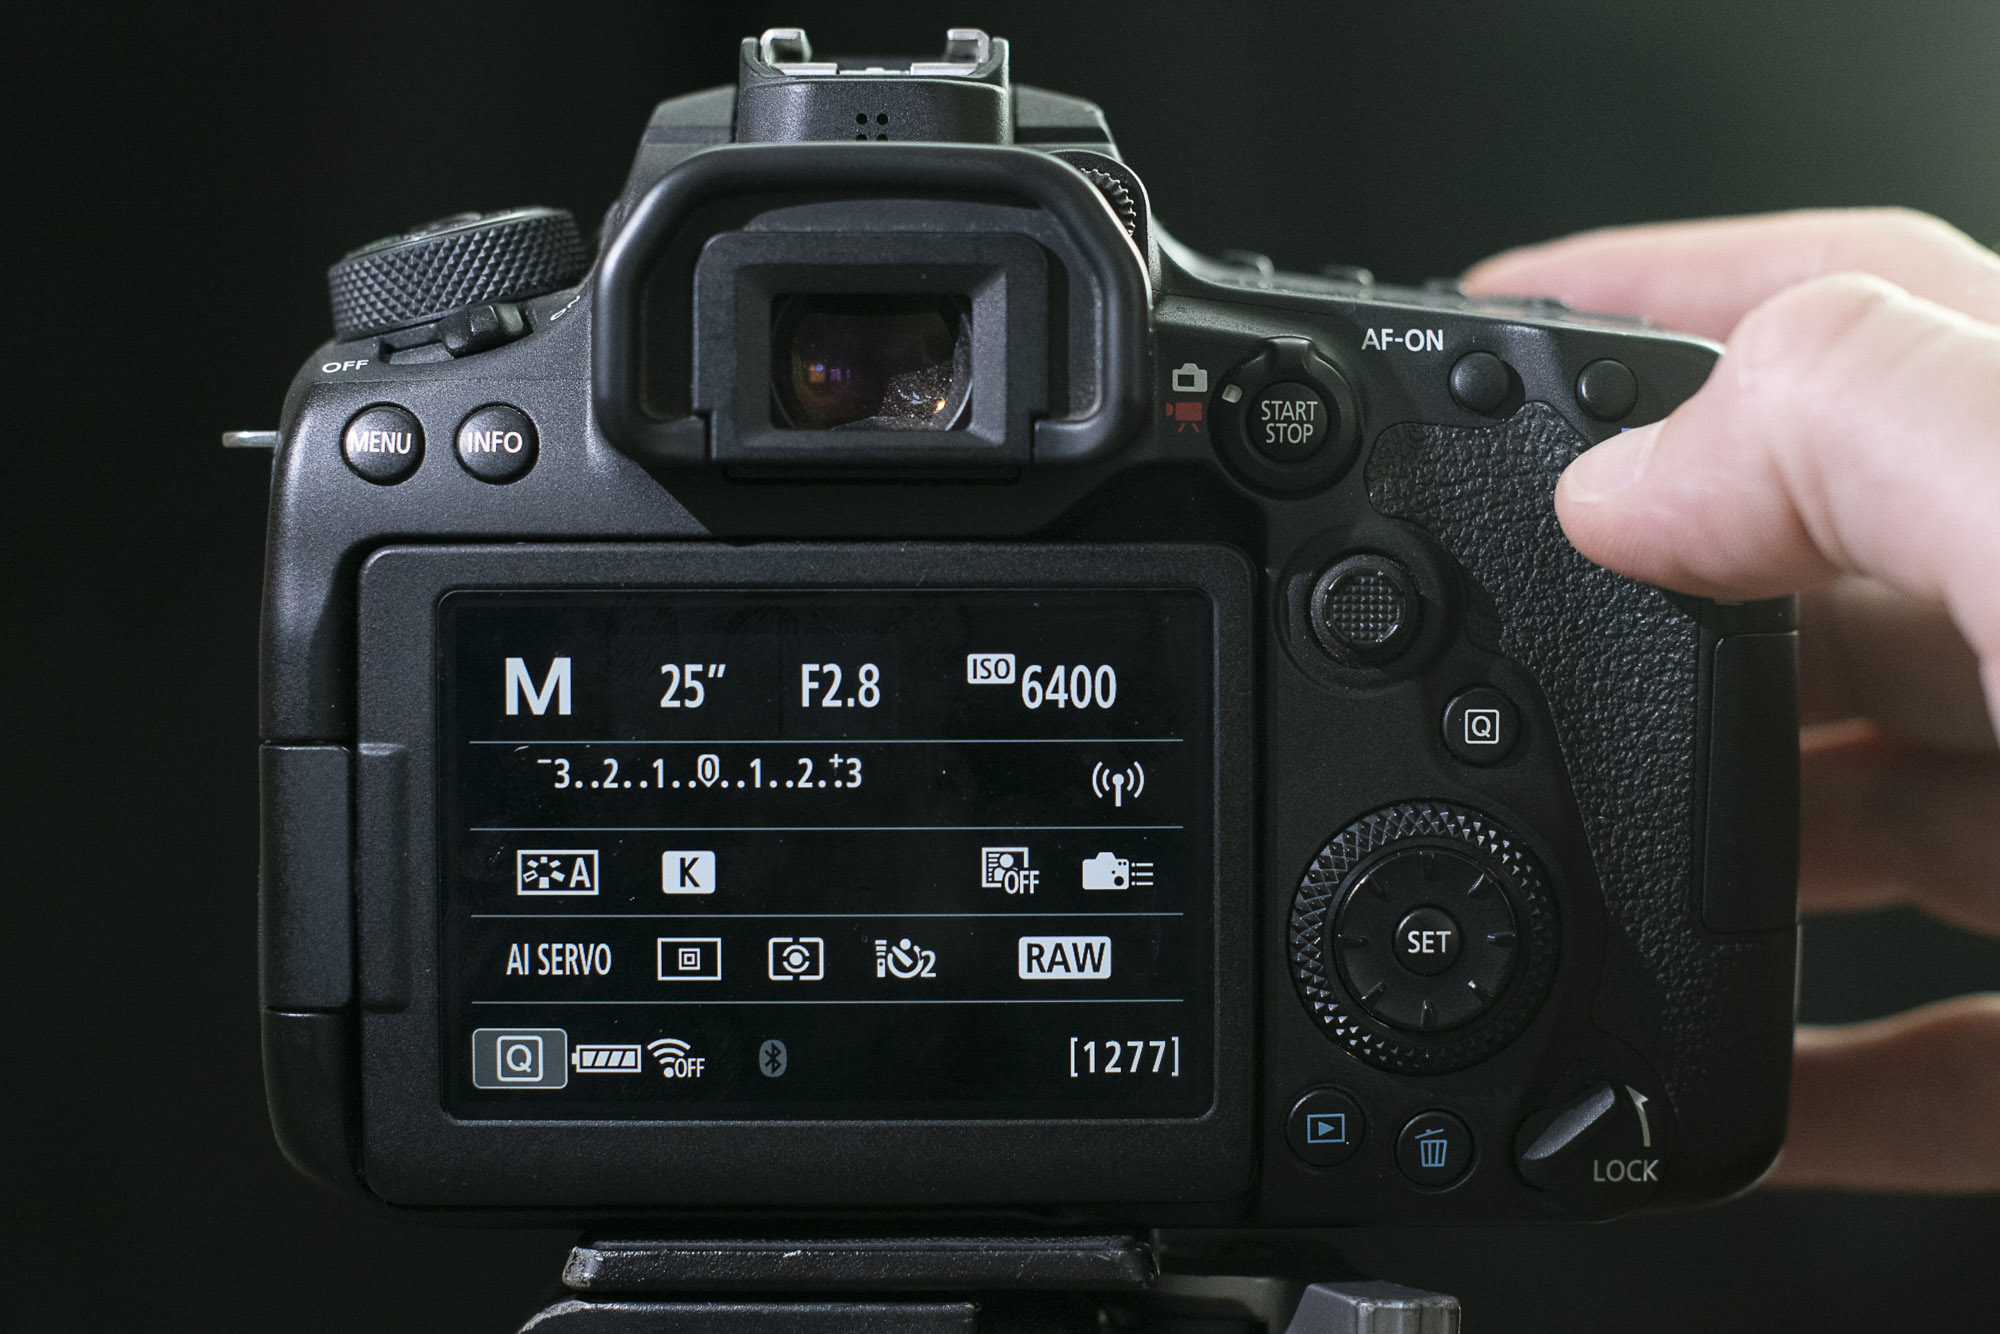
A high ISO, wide aperture and long exposure are key to capturing the Milky Way. Here’s a stock exposure to get you started: set your camera to manual mode with ISO3200-6400, and set your lens to a wide aperture, such as f/2.8. As for shutter speed…
4. Calculate shutter speed
… stars constantly shift across the sky because of the earth’s rotation. If exposure is too long, motion causes them to streak. The movement is more pronounced with longer lenses. A useful rule of thumb for max shutter speed is 500 divided by the focal length – which is 25 seconds, for us.
5. Focus on infinity
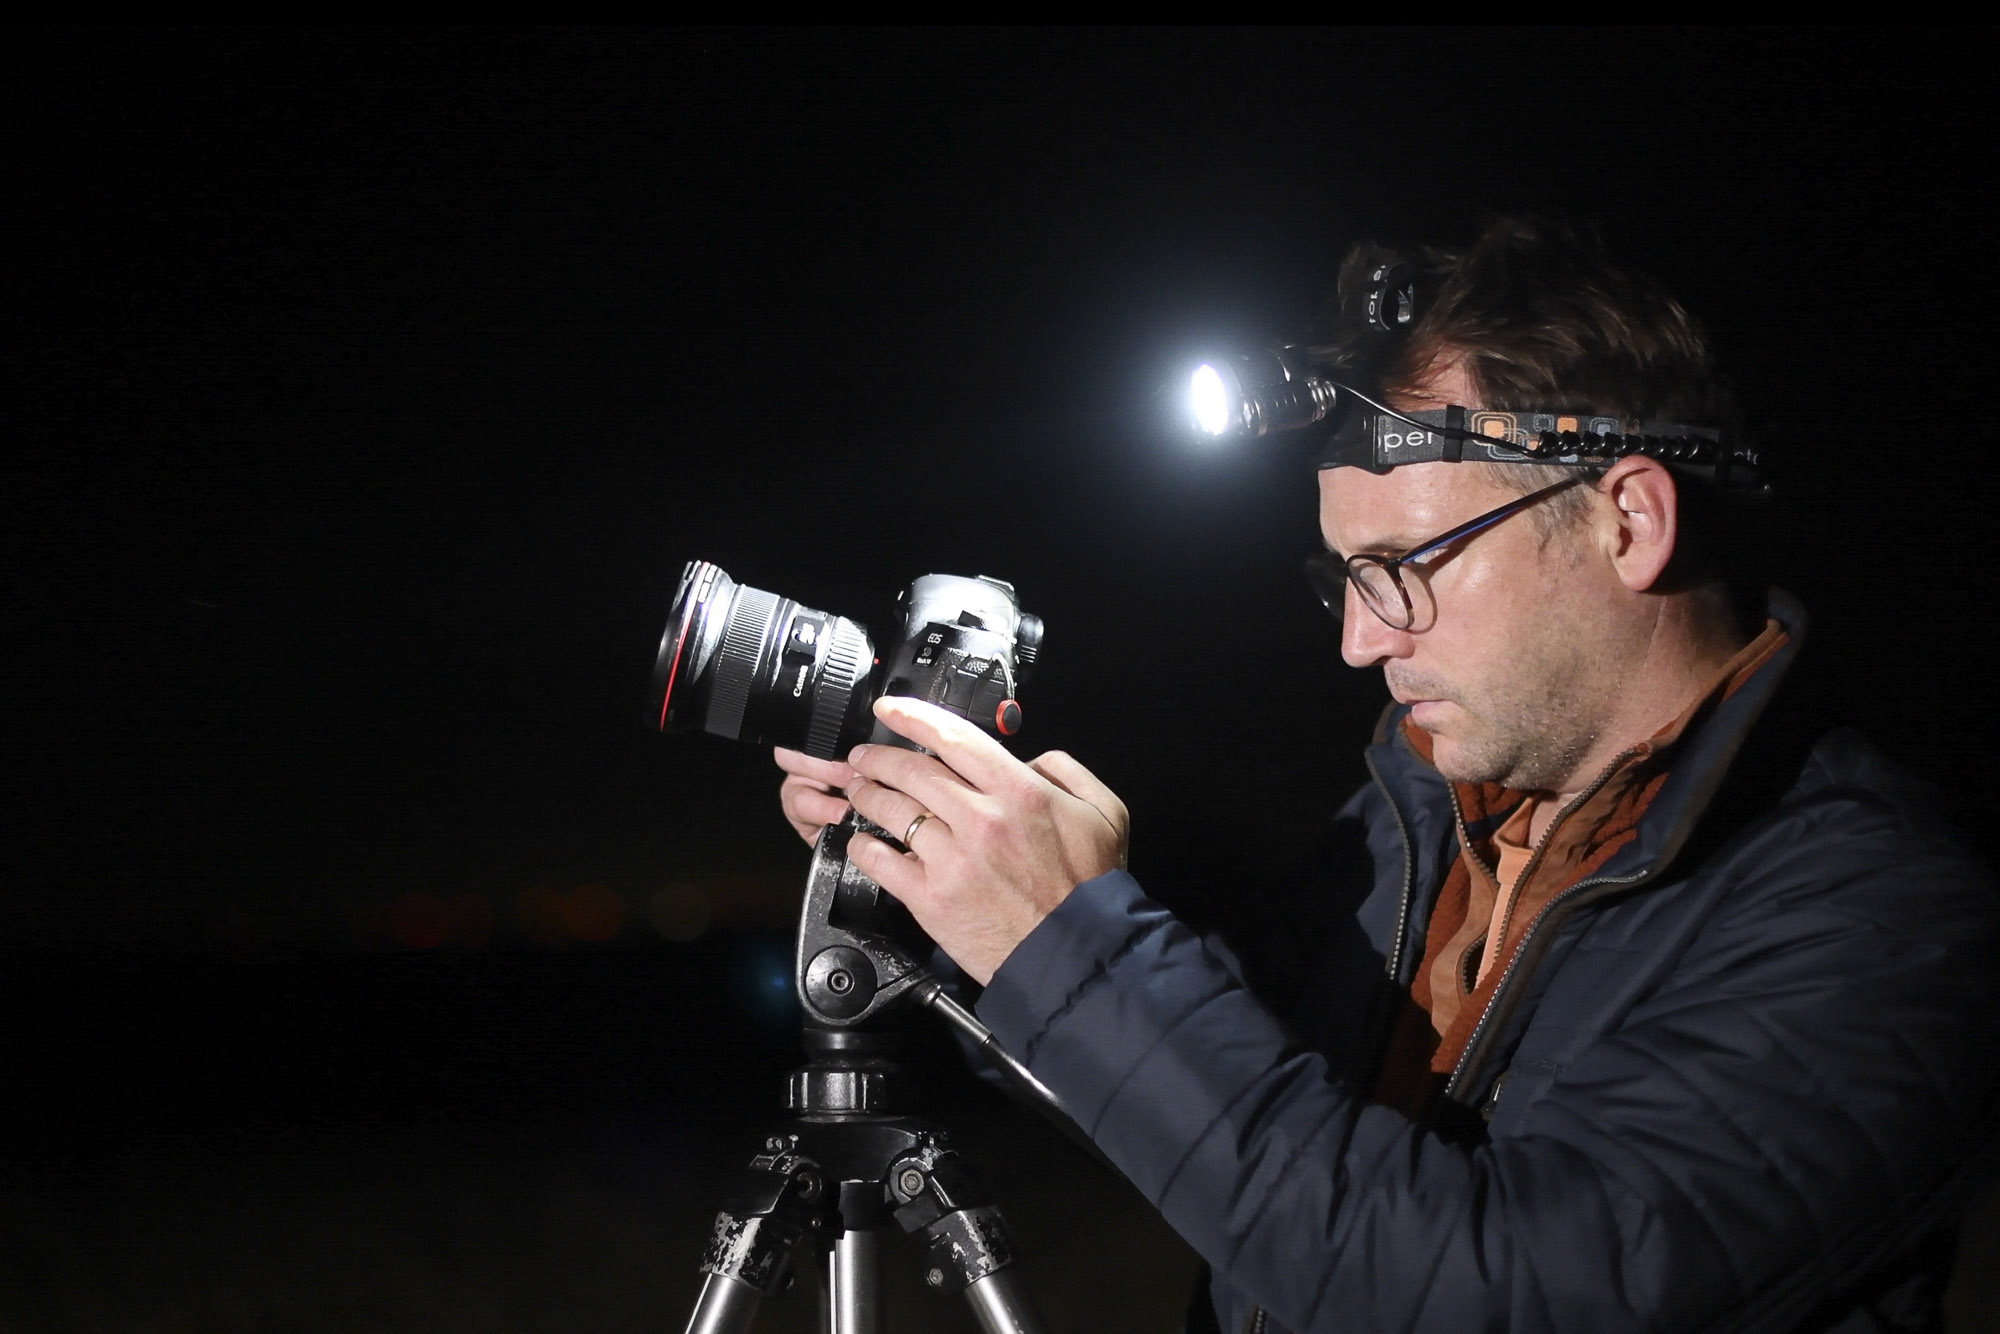
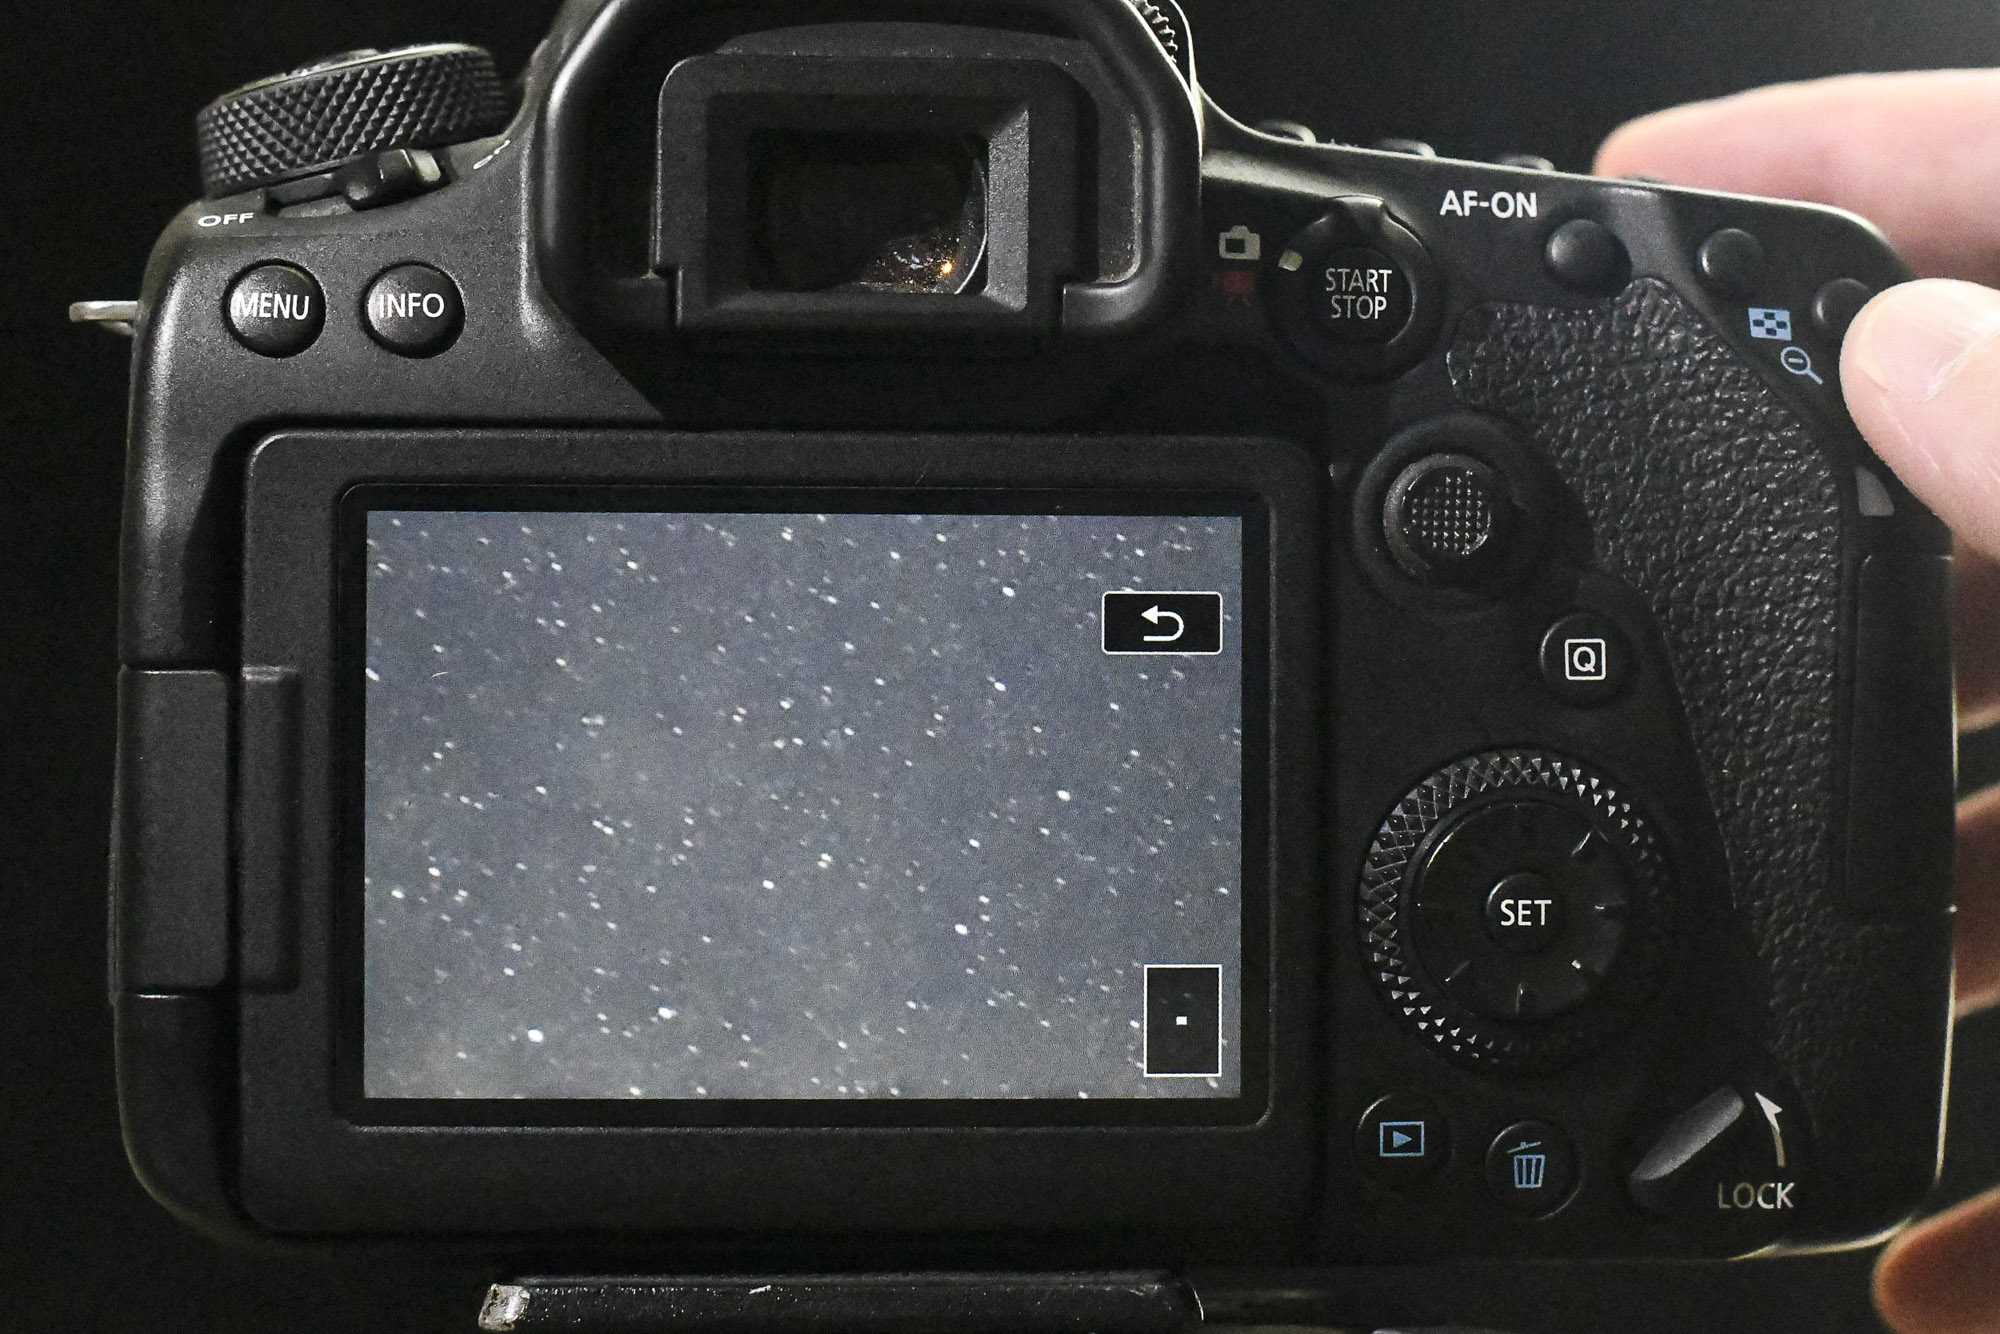
Focusing can be tricky in the dark, as autofocus may hunt around without snapping on to anything. Use Live View and zoom in, then use manual focus to lock on to a star or other distant bright spot. After the first shot, zoom in on playback to check stars are sharp.
6. Include landmarks
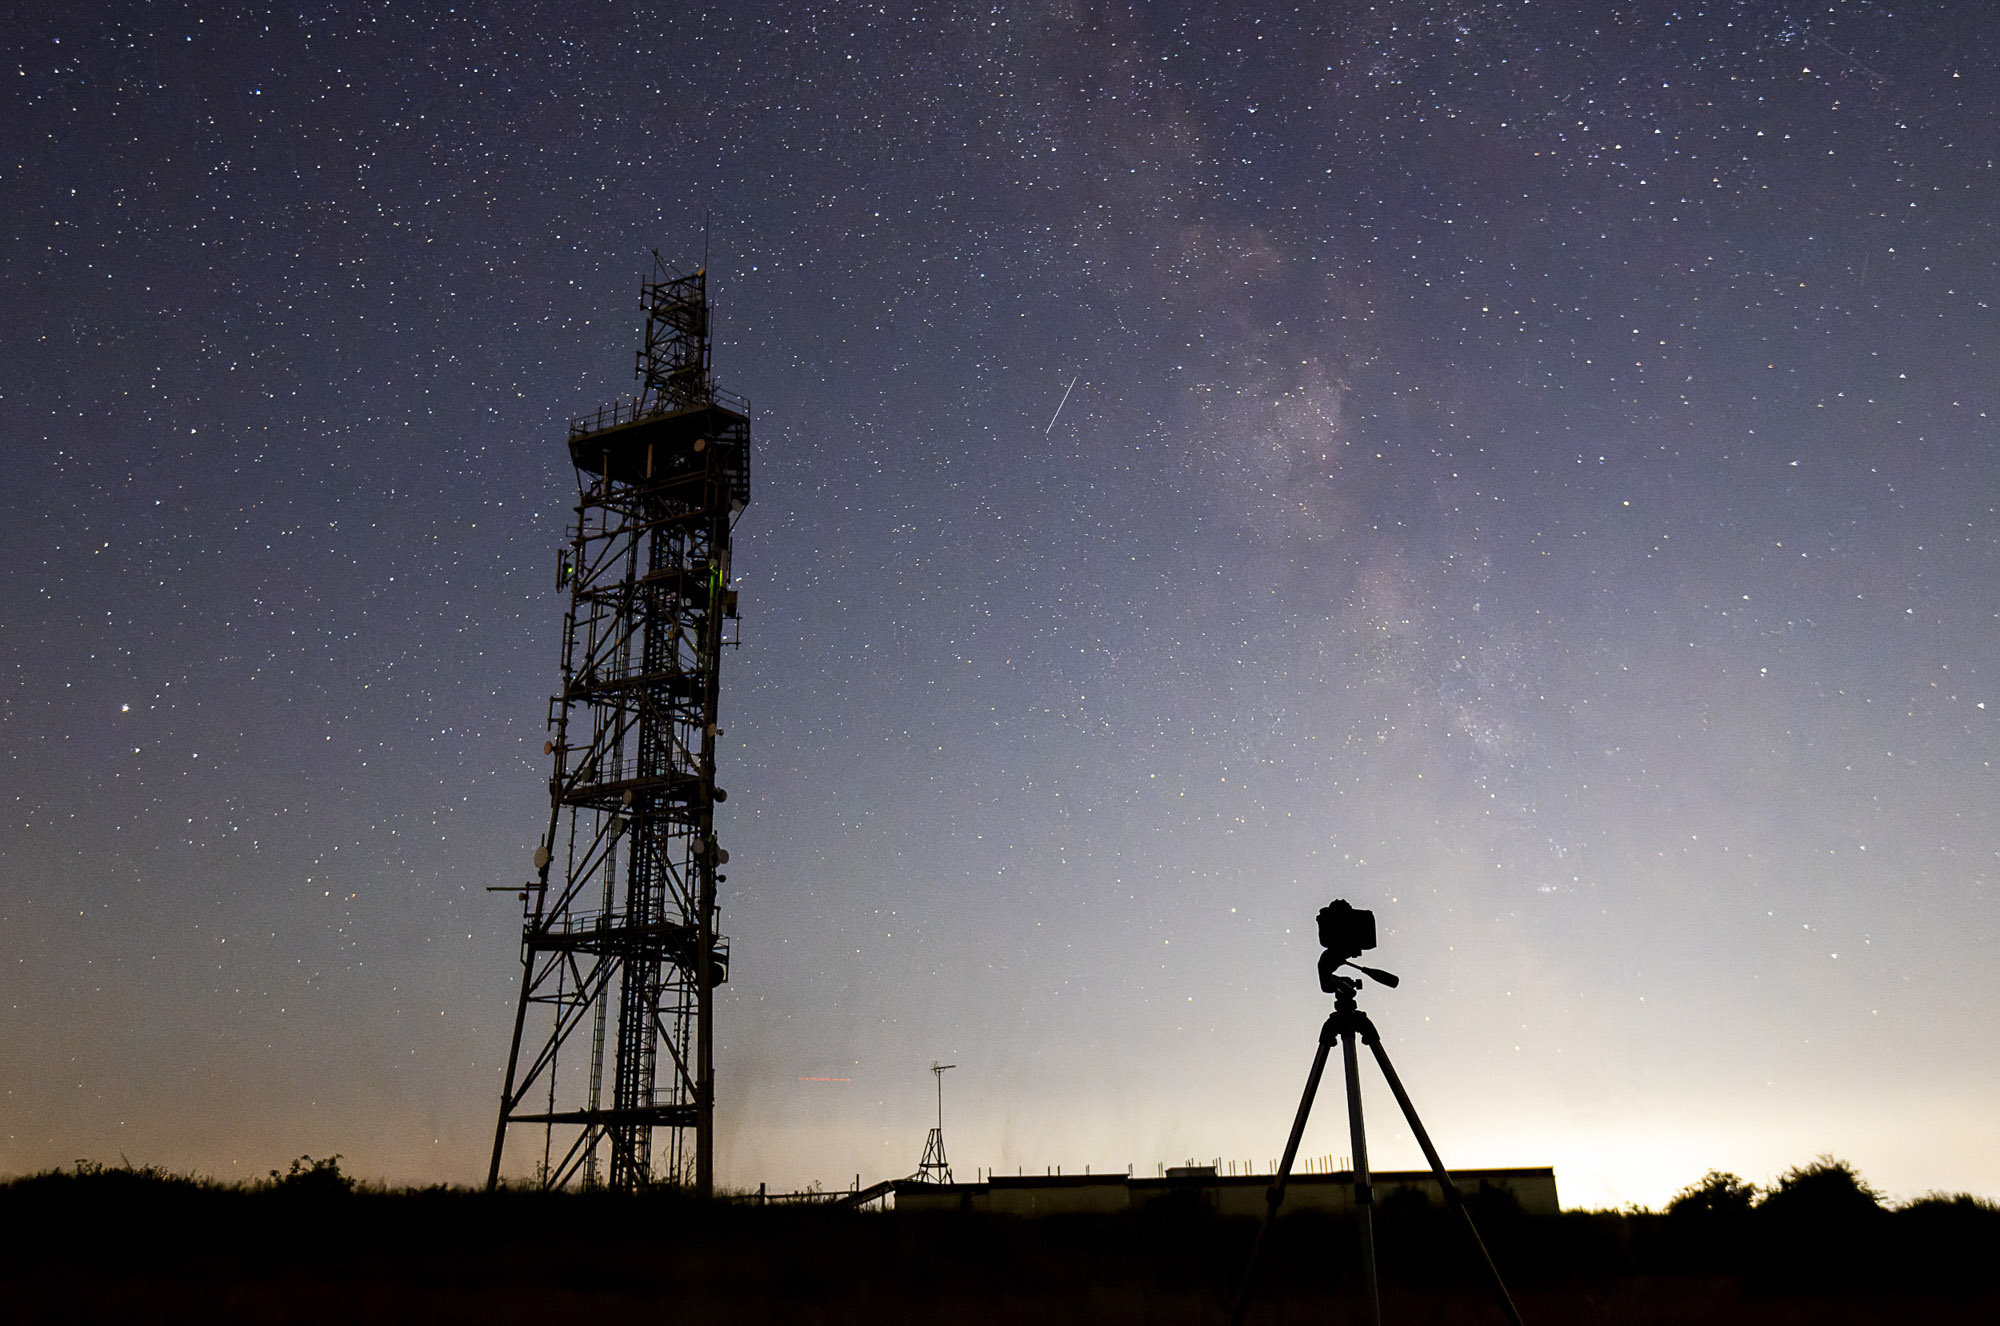
Approach this like a landscape project and think about foreground – what can we include to complement the night sky? Landmarks like the tower here add context to the scene, plus it gives you the opportunity to try light-painting the foreground with a torch.
7. Light-paint with a torch
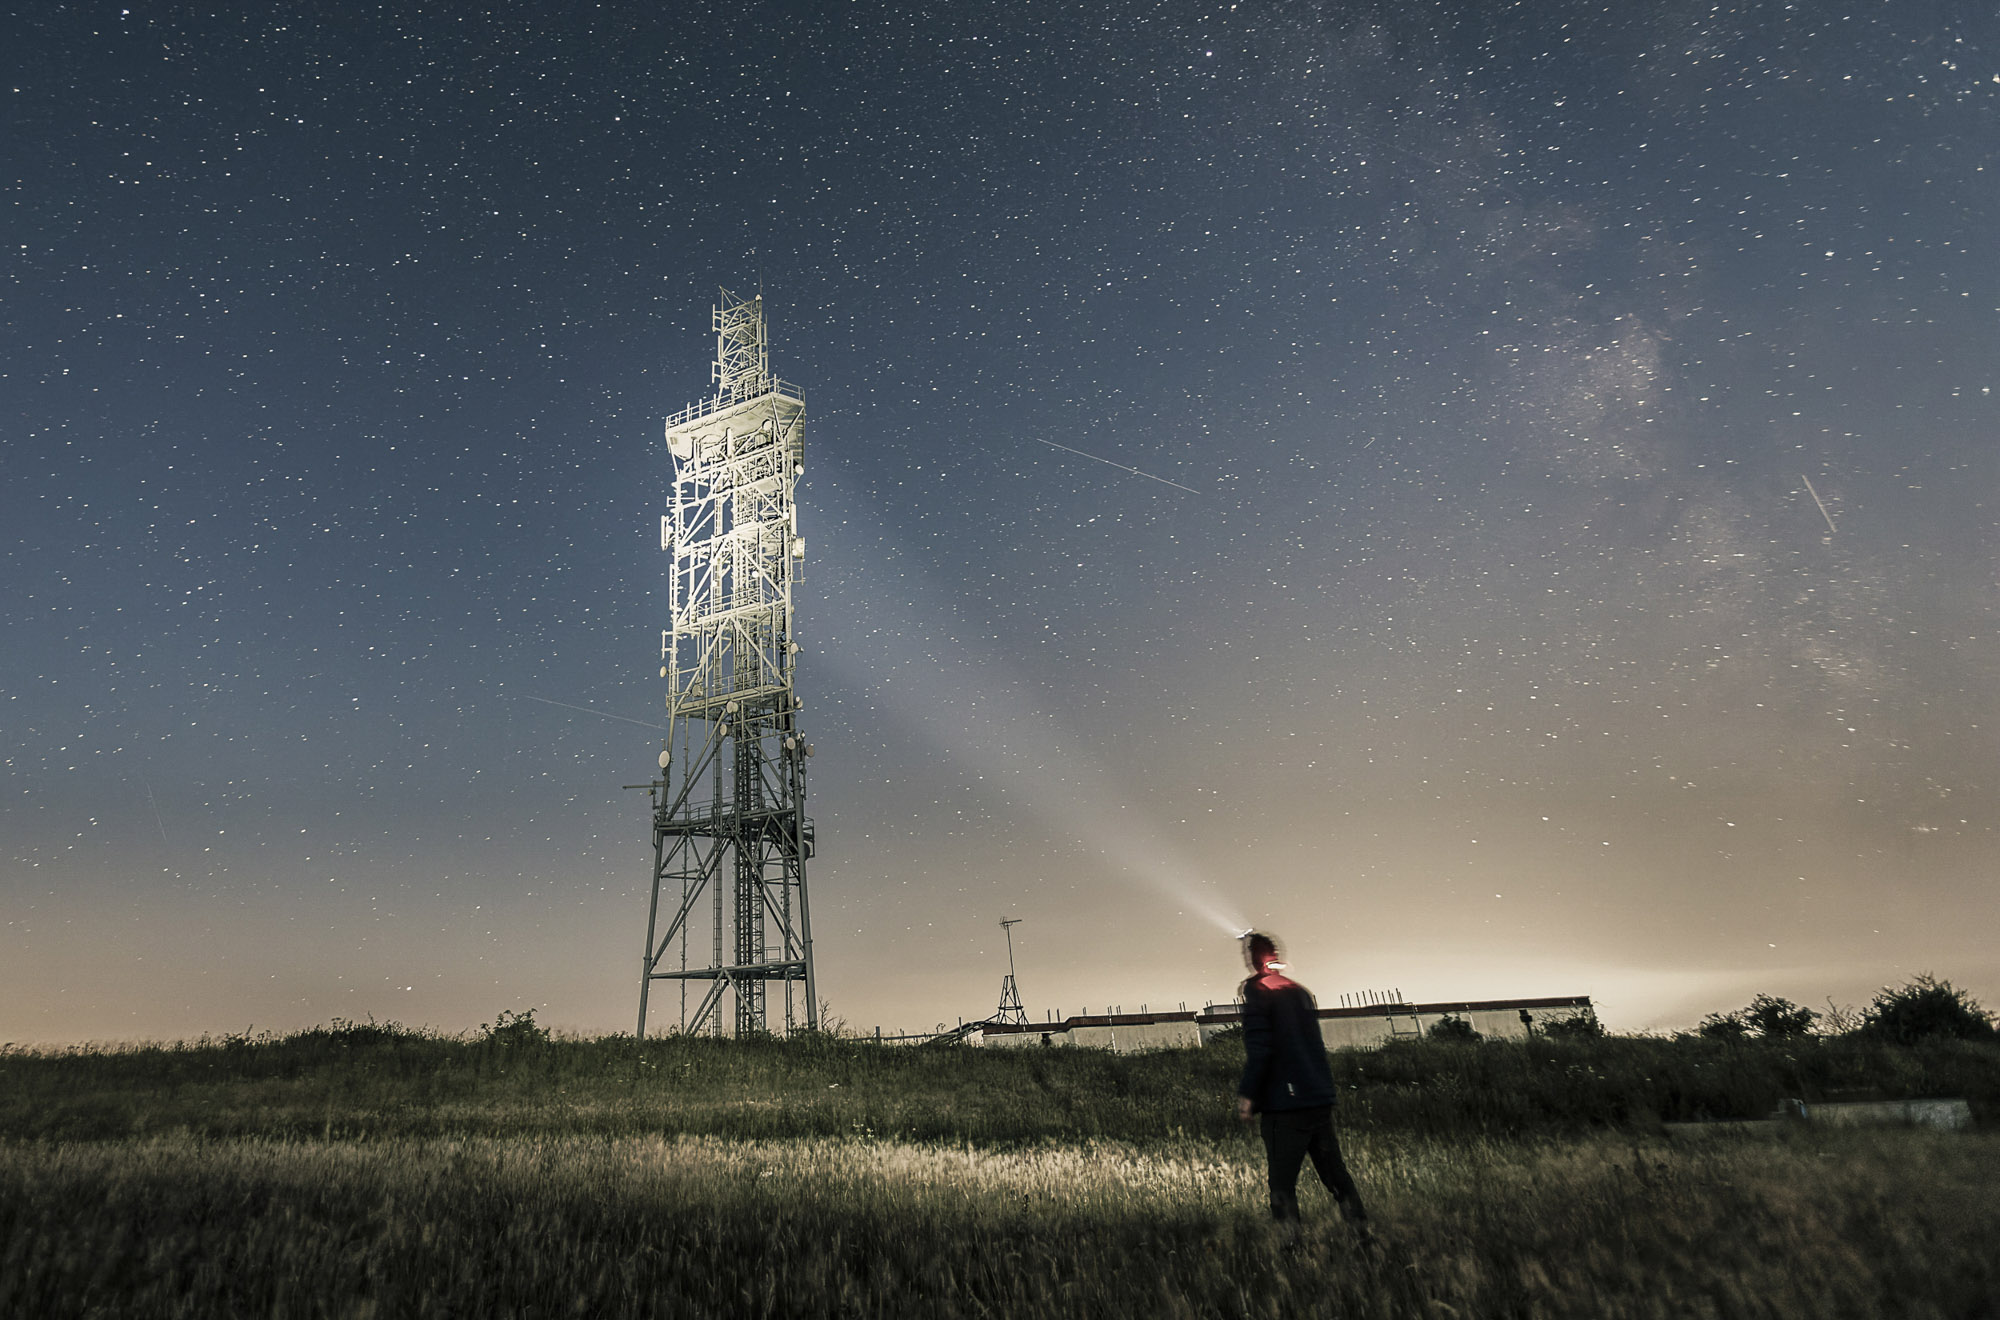
While your camera’s sensor stays open for 20-30 seconds during your exposure, try using a torch to paint over objects in the scene – like the tower here. The length of time you need to paint depends on the strength of your torch and your distance to the subject, so trial and error is needed to get it right.
8. Paint from the side
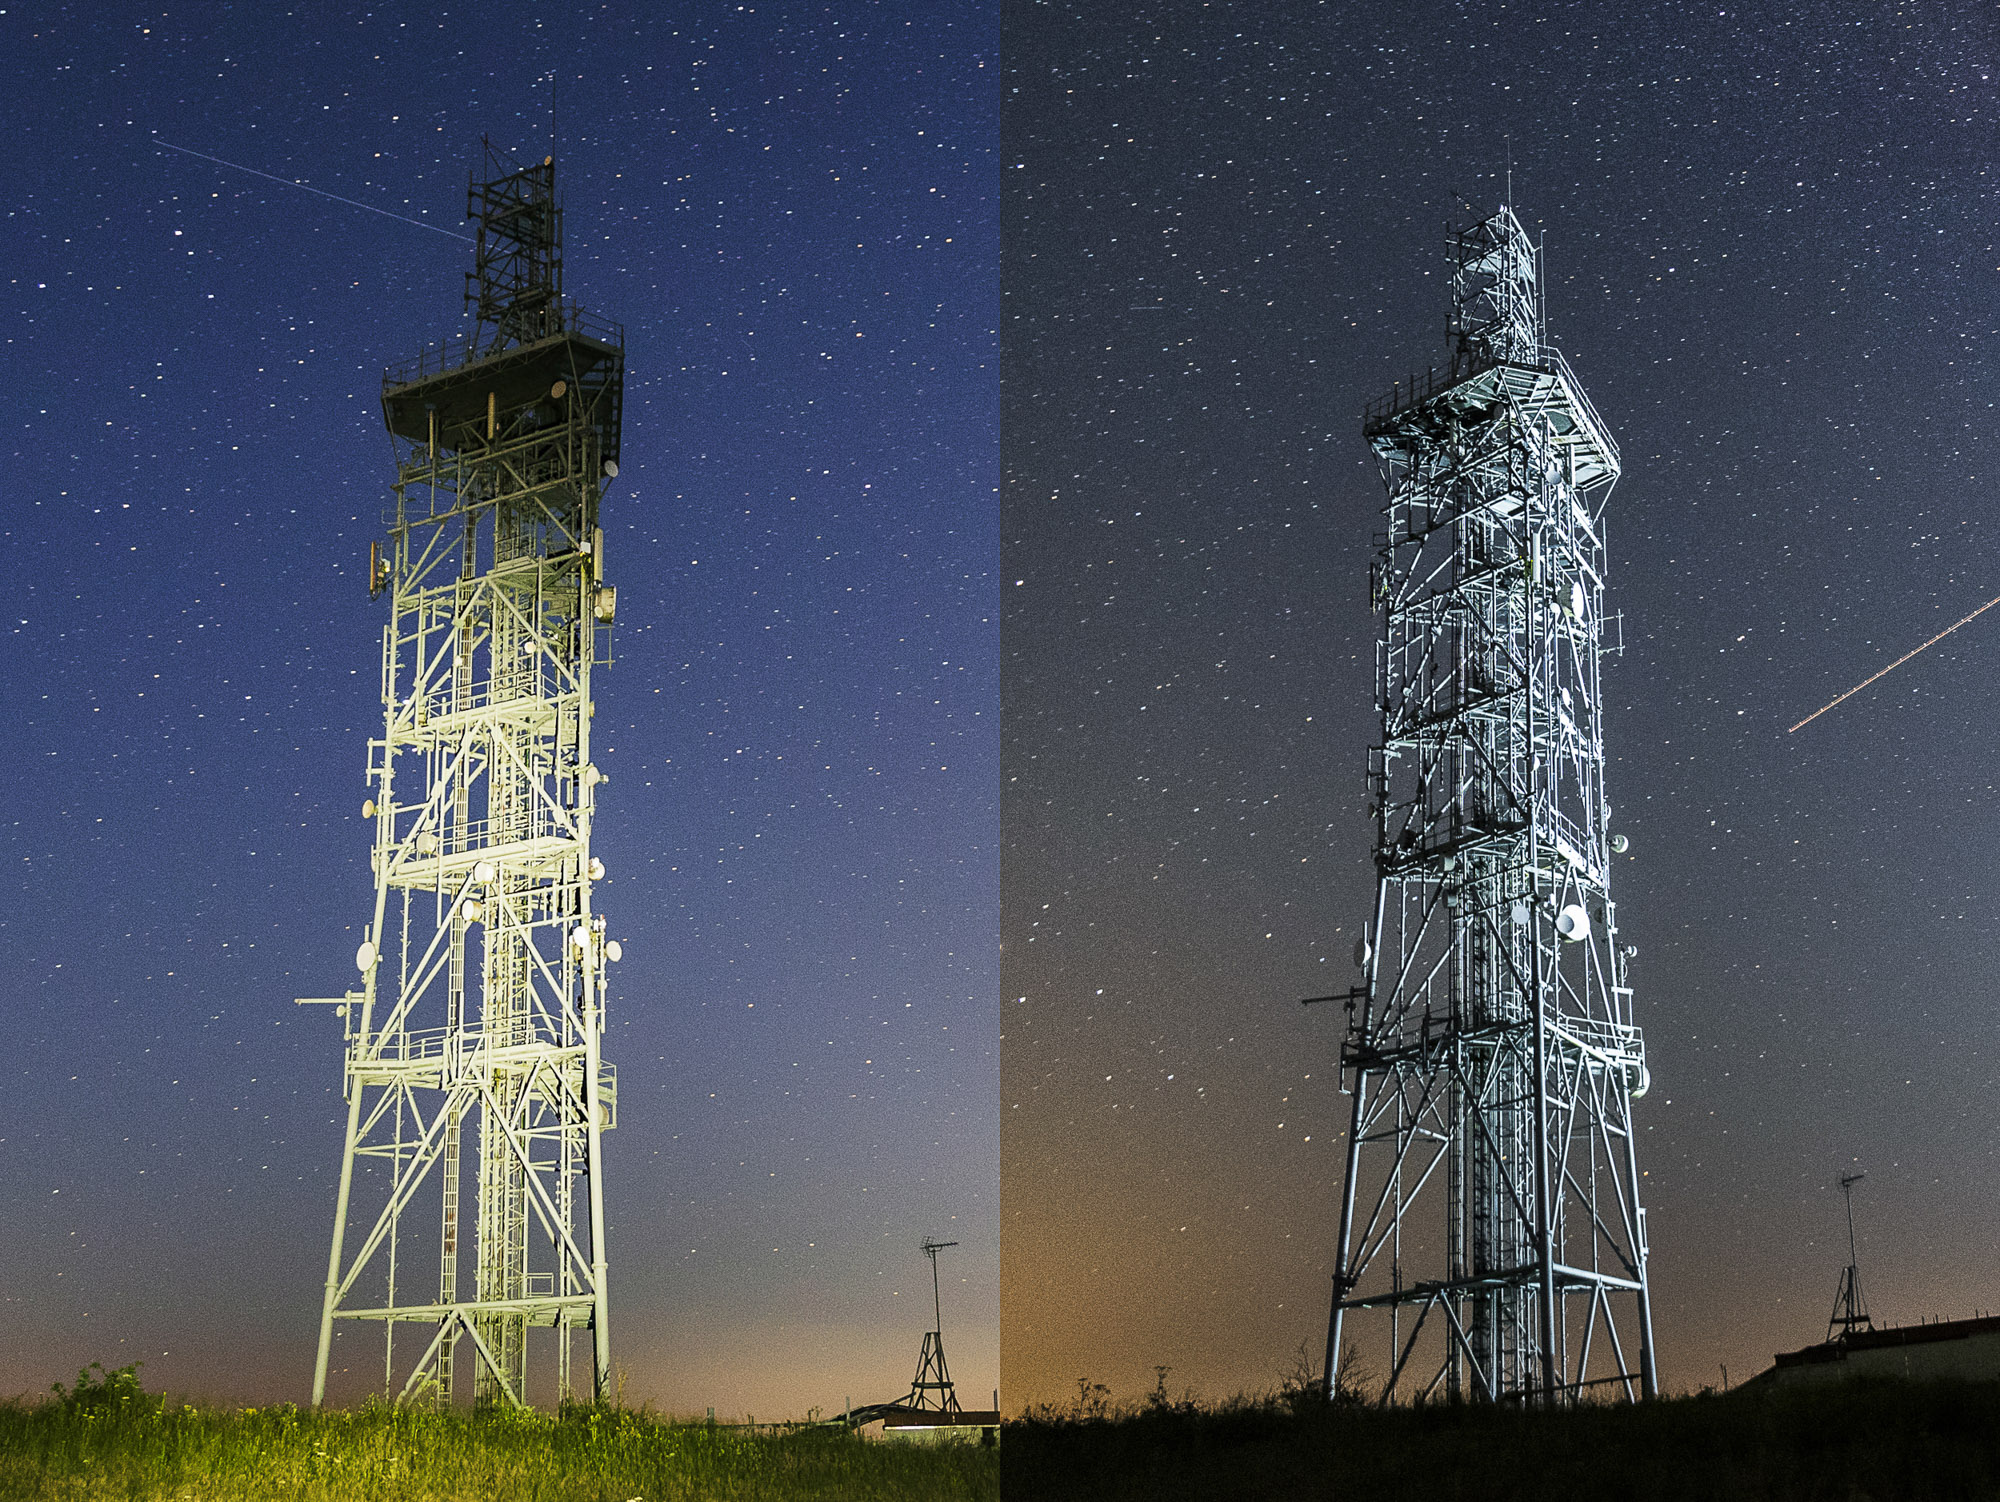
Don’t shine your torch from the camera position, as this leaves the scene looking flat (like the left image). Instead, walk around to the side or behind the objects or buildings in the scene (watch your step!) and shine from here instead, as a side-on angle makes the lighting more dramatic.
9. Blend frames afterwards
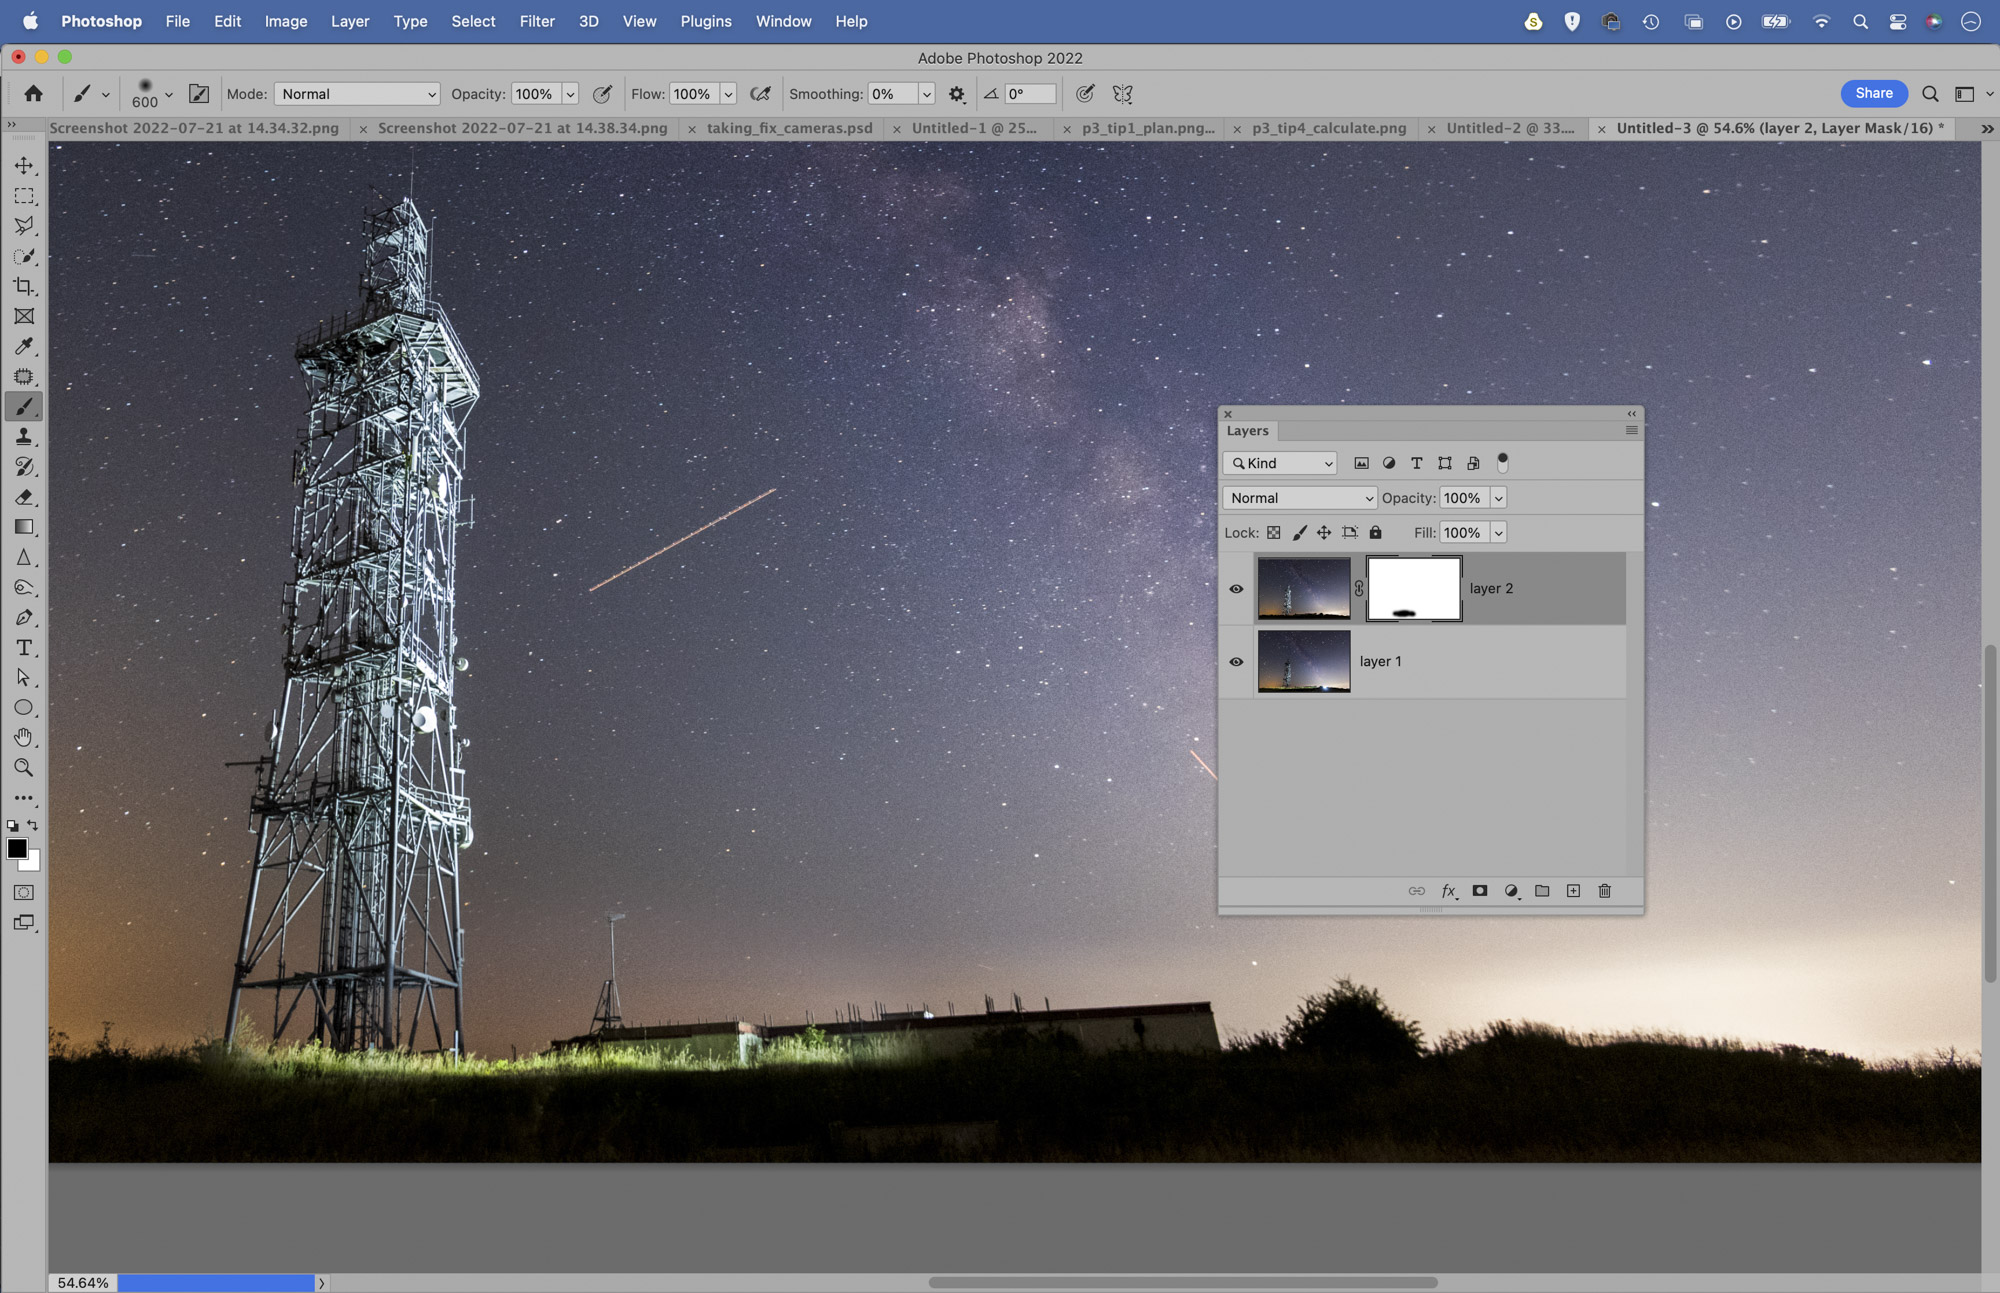
You don’t need to get everything perfect in a single frame; you can paint over different areas of the scene over several shots, then bring everything together after. Open the images as layers in Photoshop or Affinity Photo, then paint layer masks to control what is visible or hidden on each layer.
10. Fix noisy high-ISO images
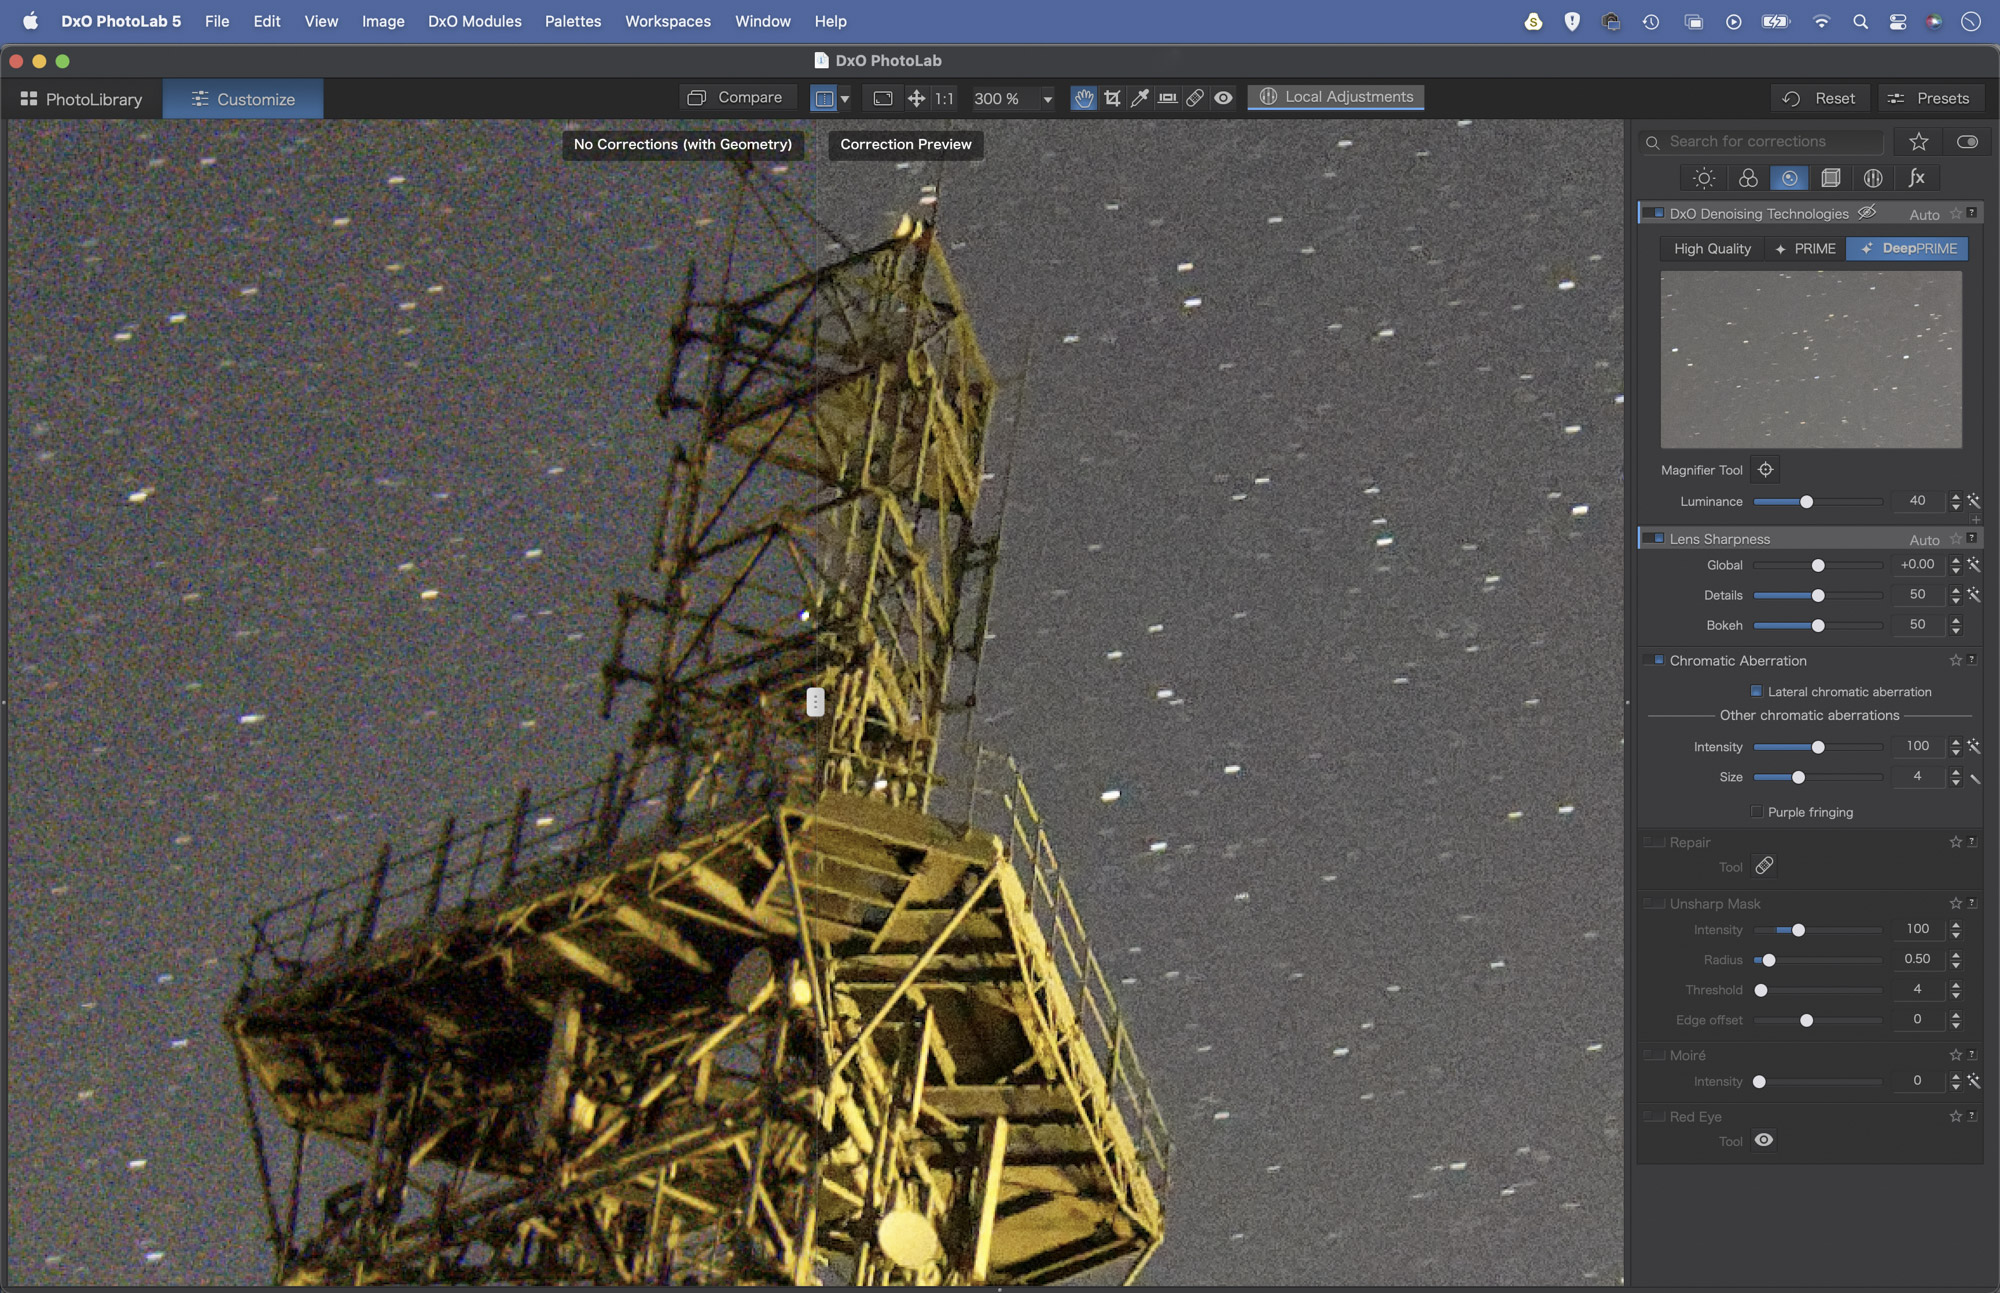
When editing your Milky Way photos, one of the key concerns is handling the noise that naturally occurs when using ISOs of 3200 upwards. A good noise-reduction workflow is essential, and while Adobe leads the way in most areas of image editing, the noise tools in Lightroom and Photoshop lag behind the very best.
For this, look at DxO PhotoLab 5 (and the pared-down DxO PureRaw) as it offers the unparalleled DeepPrime tool, which automatically clears up noisy photos. The results on your high-ISO images can be astonishingly good. Then there’s Topaz deNoise AI and On1 NoNoise AI. Like DxO, these also employ artificial intelligence for results that exceed what Photoshop, Lightroom or Affinity Photo can do. Check out the best noise-reduction software for more recommendations.
PhotoPlus: The Canon Magazine is the world's only monthly newsstand title that's 100% devoted to Canon, so you can be sure the magazine is completely relevant to your system.
Read more:
Best cameras for portraits
Best portrait photography tips
Best photo editing software
Best photo-editing laptops
The lead technique writer on Digital Camera Magazine, PhotoPlus: The Canon Magazine and N-Photo: The Nikon Magazine, James is a fantastic general practice photographer with an enviable array of skills across every genre of photography.
Whether it's flash photography techniques like stroboscopic portraits, astrophotography projects like photographing the Northern Lights, or turning sound into art by making paint dance on a set of speakers, James' tutorials and projects are as creative as they are enjoyable.
He's also a wizard at the dark arts of Photoshop, Lightroom and Affinity Photo, and is capable of some genuine black magic in the digital darkroom, making him one of the leading authorities on photo editing software and techniques.
